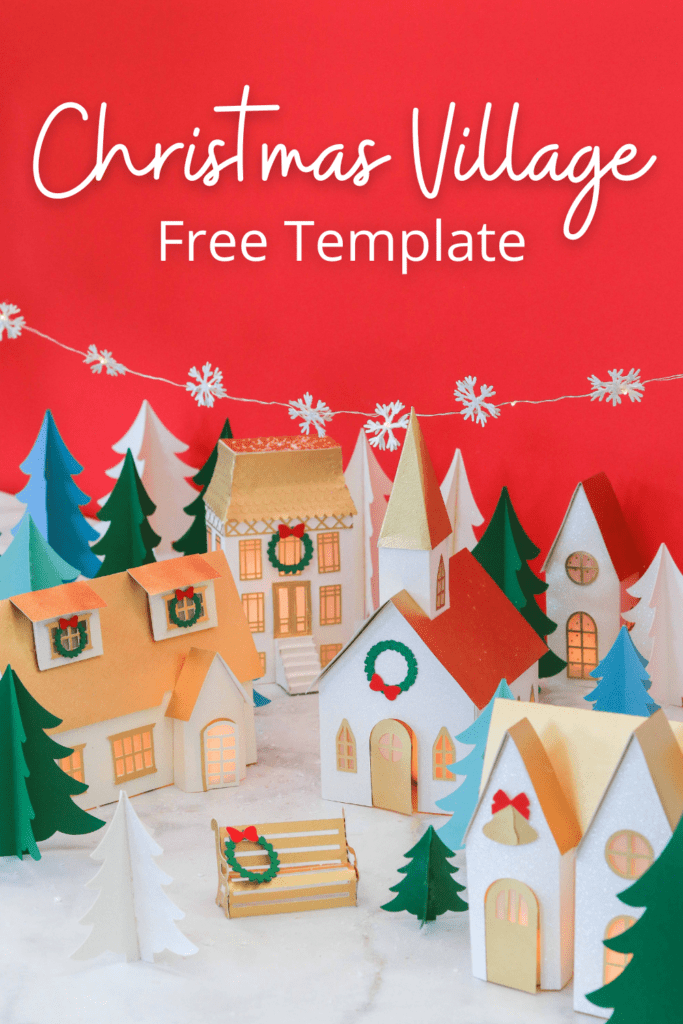
Learn How to Make a Paper Farmhouse Christmas Village with This Free Cricut SVG Template and Step-by-Step Tutorial
For as long as I can remember, I’ve always loved Christmas villages. I remember a close family friend who would set up an elaborate Christmas village each year. I’d spend countless hours playing with the houses and figurines, admiring the glowing village, and organizing the tiny accessories.
As an adult, I knew I wanted a Christmas village in my own home to recreate those memories with my children.
I fell in love with a beautiful glass German Christmas village with white and gold details. Sadly, the set was sold out by the time I found it. I decided I had to make my own version using my favorite medium, paper.

My favorite part of this snowy village is that you can add a tea light or flameless votive to the inside of each house. The candlelight filters through the windows bringing your houses to life.
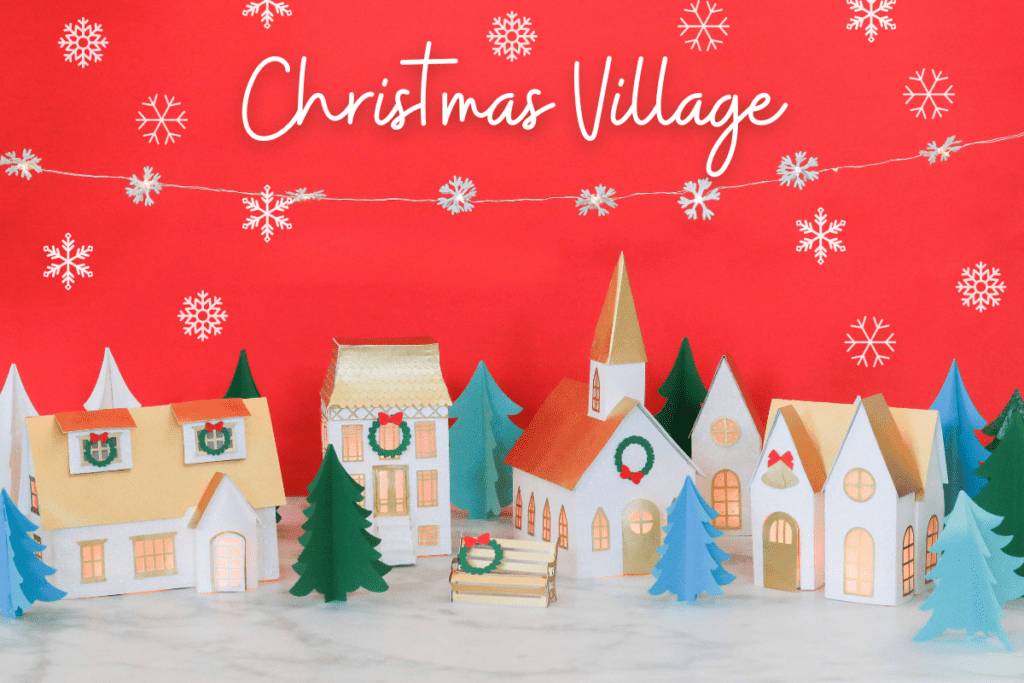
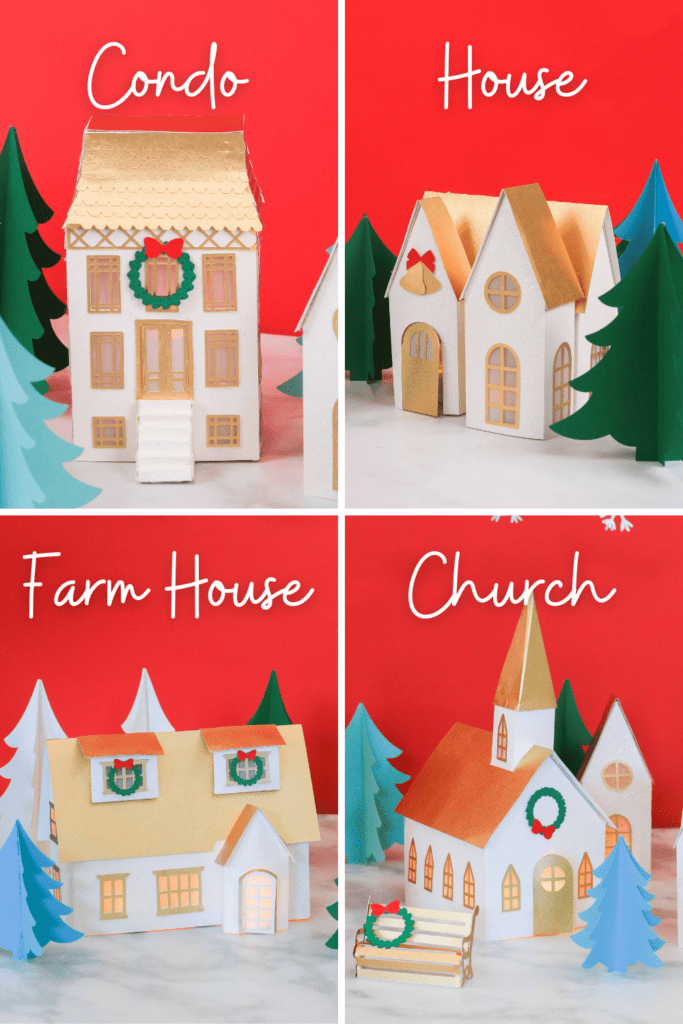
This holiday village includes a farmhouse, condo, church, house, trees, and a park bench. Each project has its own blog post to walk you through the construction of each item.
You can use this holiday village to decorate a mantel or as a tablescape to bring a Christmas dinner party to life.
This blog post features the tutorial for the farmhouse design which measures 12" across. It has dainty window cutouts, two dormers on the roof, a small entryway, and comes with extra cutouts for tissue or translucent paper to illuminate LED lights.

What Type Of Cardstock Should I use?
I recommend using 80 lbs cardstock because it's a heavier cardstock that can keep its shape and is sturdy enough for the base. For the accent pieces, you can use lighter-weight cardstock.
I decided to use glitter cardstock to portray white, glistening snow and lightweight translucent paper with gold polka dots to go behind the window cutouts. Other materials you could use to put behind the window cutouts are vellum, foil, or tissue paper.
For heavier card stock, a double scoring wheel will make the paper easier to fold, especially when using textured card stock such as glitter.
Learn How to Make a Paper Farmhouse Christmas Village with This Free Template and Tutorial
How Much Paper Do I Need?
Farmhouse Base: 3 Pieces of 12" x 12" Cardstock
Details (Window and Door Trims): 1 Piece of 12" x 12" Cardstock
Roof & Door Pieces: 1 piece of 12" x 12" Cardstock

Table of Contents
Supplies Needed:
- Cricut Maker, Cricut Explore, or Other Cutting Machine
- StandardGrip Mat
- Cardstock 65-80 lbs
- Fine-Point Blade
- Vellum
- Scraper Tool
- Scoring Wheel Tip & Housing or Scoring Stylus
- LED Candles
- Hot Glue or Craft Glue
- Clover Wonder Clips
DOWNLOAD THE FREE FILES HERE

Upload SVG File
Download the SVG File to your computer, Create a new project, and Upload it to your canvas.
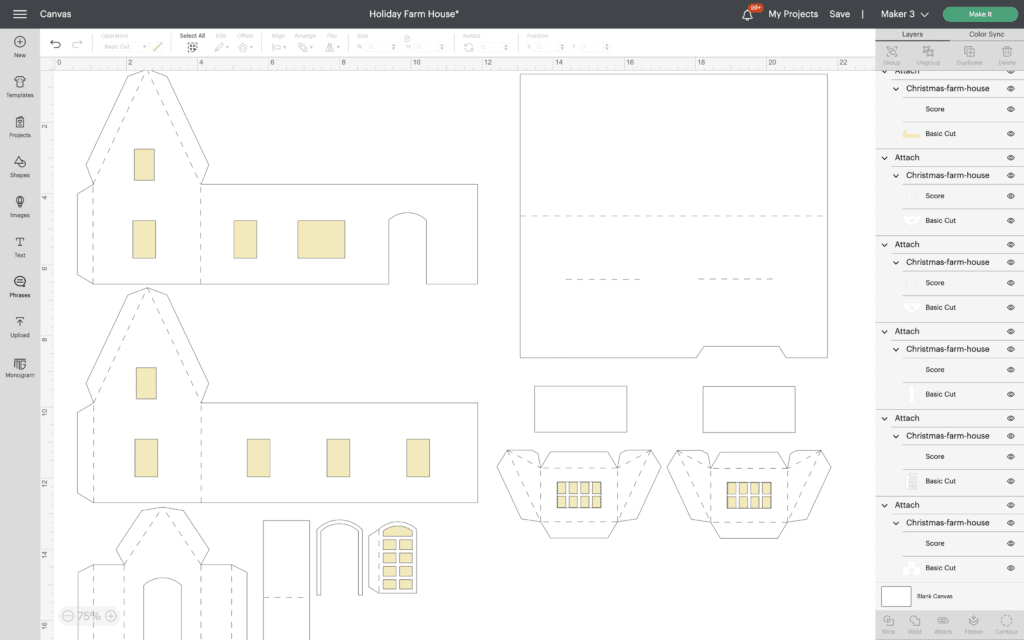
In Design Space, ungroup all farmhouse pieces and change the lines on the two house pieces, roof pieces, and entrance pieces to score lines.
A way to differentiate score lines from basic cut lines is if a lines fill color is red when clicked on. If so, change the line from Basic Cut to Score in the drop-down menu in the top left corner, then attach them to their respective pieces in the right panel.
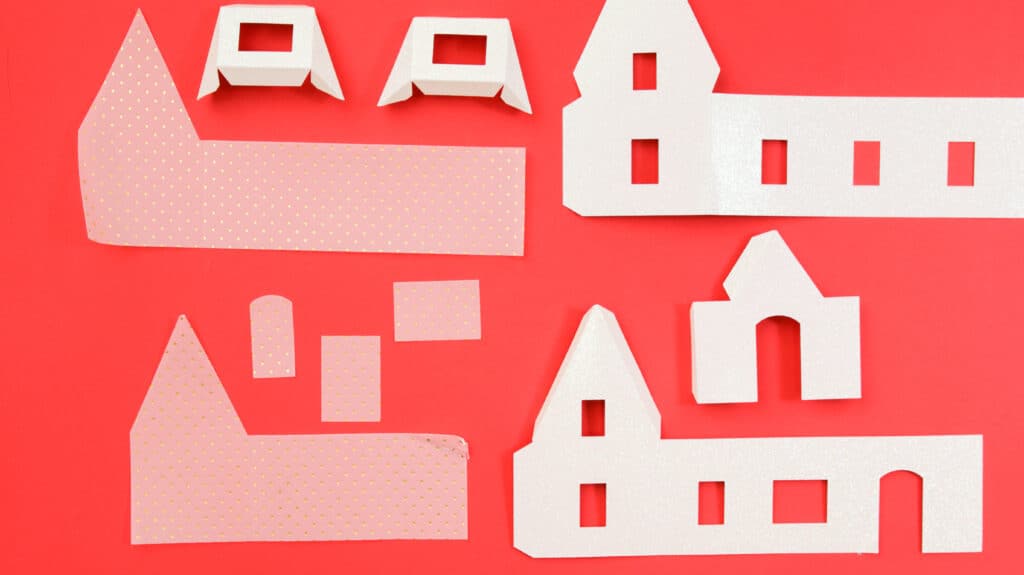
Step One: Cut Out Holiday Farmhouse Pieces
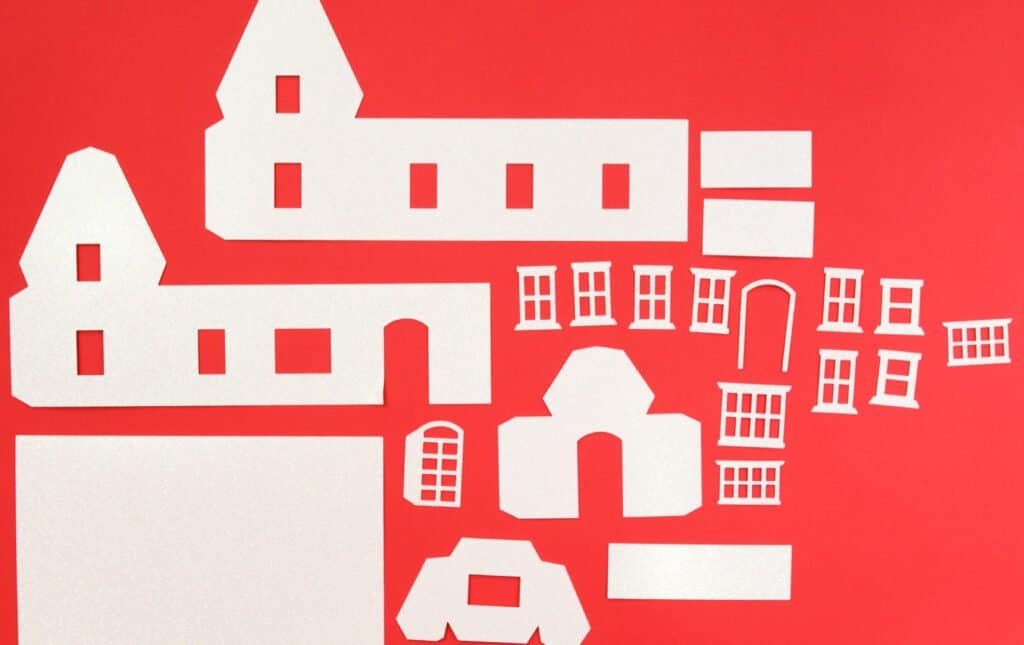
Farmhouse Design Consists of:
- 2 House Pieces
- 2 Dormers (roof structures)
- 4 Roof Pieces (1 Large, 1 medium, 2 small)
- 1 Entrance
- 1 Door
- 11 Window Trims & 1 Door Trim
- 5 Extra Cutouts (2 house pieces, 1 door piece, 2 window dormer pieces)
Begin this holiday craft by loading your mat with cardstock, placing it into the cutting machine, and cutting out all pieces.
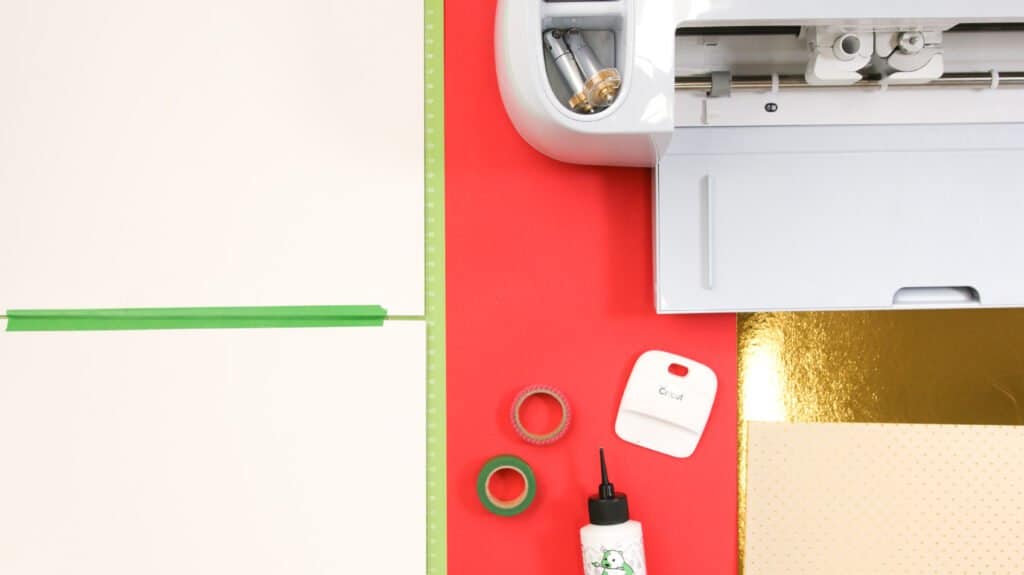
If you're using textured card stock such as glitter, I recommend placing it face down on the mat, securing it with washi tape, and mirroring the design in Design Space; this makes it so that the score lines are visible.
Step Two: Fold Farmhouse Pieces
After cutting, the next step is to fold the score lines on each of the farmhouse pieces.

Step Three: Glue Extra Cutouts to House Pieces
You don't have to do this step, but this is a great, easy way to illuminate light if you want to add small lights to the inside of the house.
The first step to assembling the house is to glue your tissue, vellum, or translucent foil paper cutouts to the back of the dormers, door, and house pieces.

Step Four: Add Details
It's time to add the details. Grab the eleven window trims, and start gluing them to their corresponding window cutouts. Then, glue the door trim onto the entrance piece.
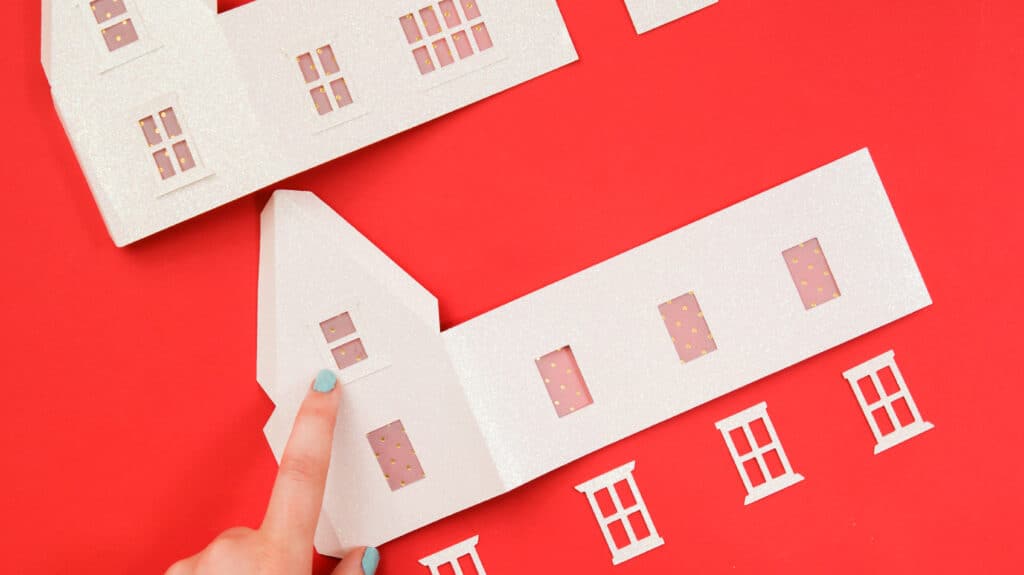
Now, add the door to the entrance piece by gluing the side tab to the inside and add the small roof to the side tabs on the top of the entrance.

Step Five: Assemble Roof Pieces
While the details are drying in place, move on to assembling the roof. Take the two dormers (roof structures with windows), and the large roof piece and align the bottom fold of the dormers with the two score lines on the large roof piece, and glue or tape the three tabs in place.

Once both of the dormers have been attached to the roof, grab the two small roof pieces and glue them to the three top tabs of the roof window pieces.

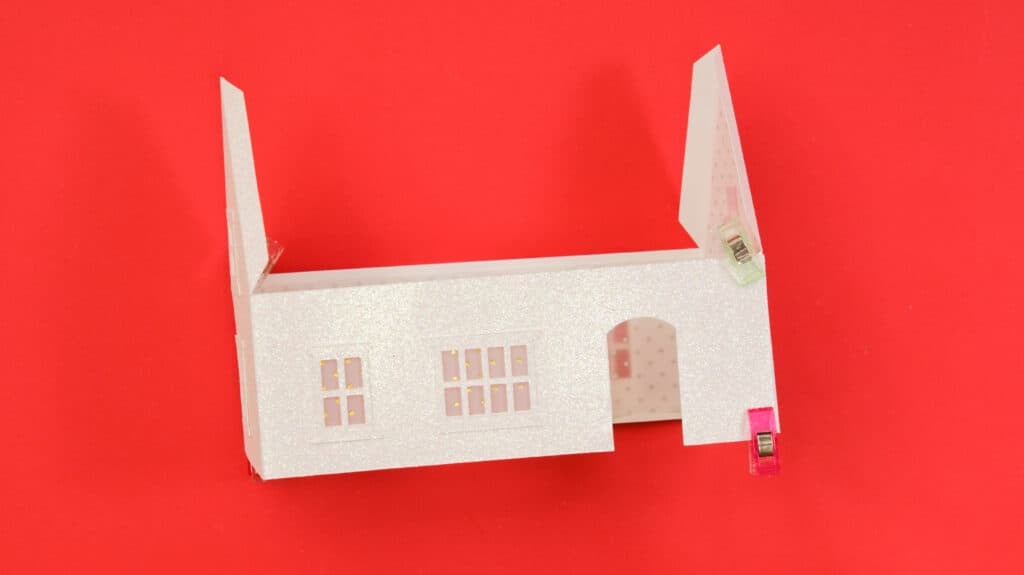
Step Six: Glue House Pieces Together
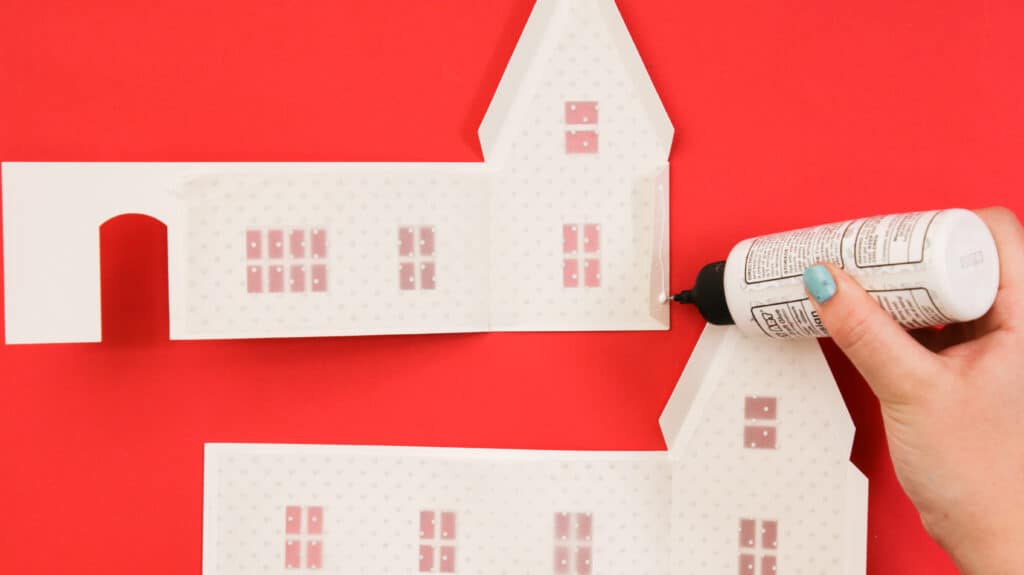
Before adding the roof, we need to assemble the base.
Attach the house pieces together by gluing one tab to the adjoining side.
Tip: Use clips to hold everything in place while it dries.
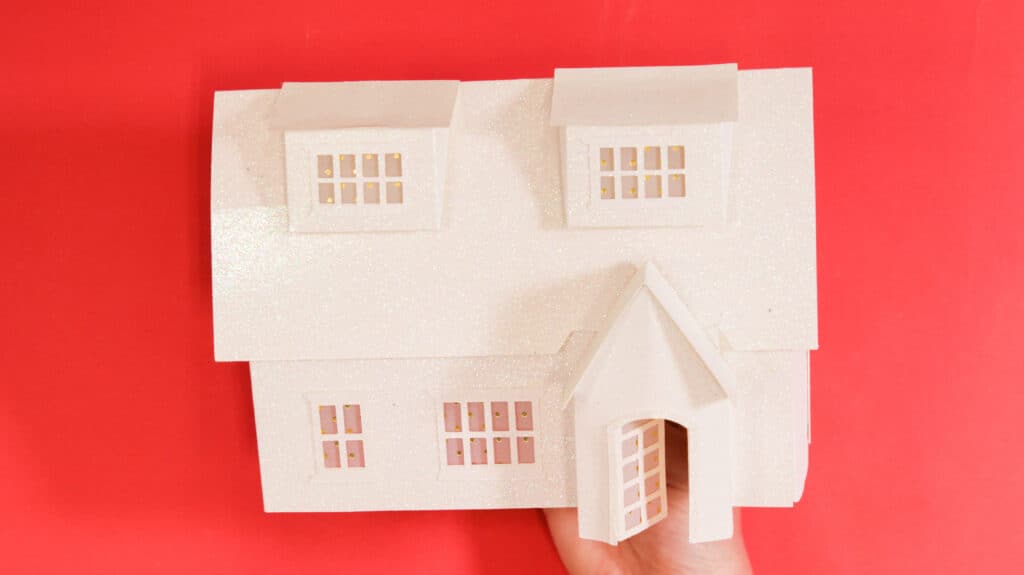
Step Seven: Add Roof
Once the base is dried, apply glue to the two roof tabs on each side of the house and place the roof on top. I found it helpful to lay the house down while attaching the roof.

Step Eight: Add Entrance
The final step is to add the entrance to the front of the house. Glue the two tabs of the entrance piece to the sides of the door cutout while double-checking that both door cutouts are aligned. To flush the entrance with the house, stand both pieces up and attach.
Finished Holiday Farmhouse
Once everything is dried, you've finished this enchanting farmhouse holiday craft.
There are so many ways to display this Holiday Craft Farmhouse Design. You can use gold foil for the window trims, surround the house with Miniature pine Christmas trees, and display it in the middle of your dining room table or on the top of a piano.
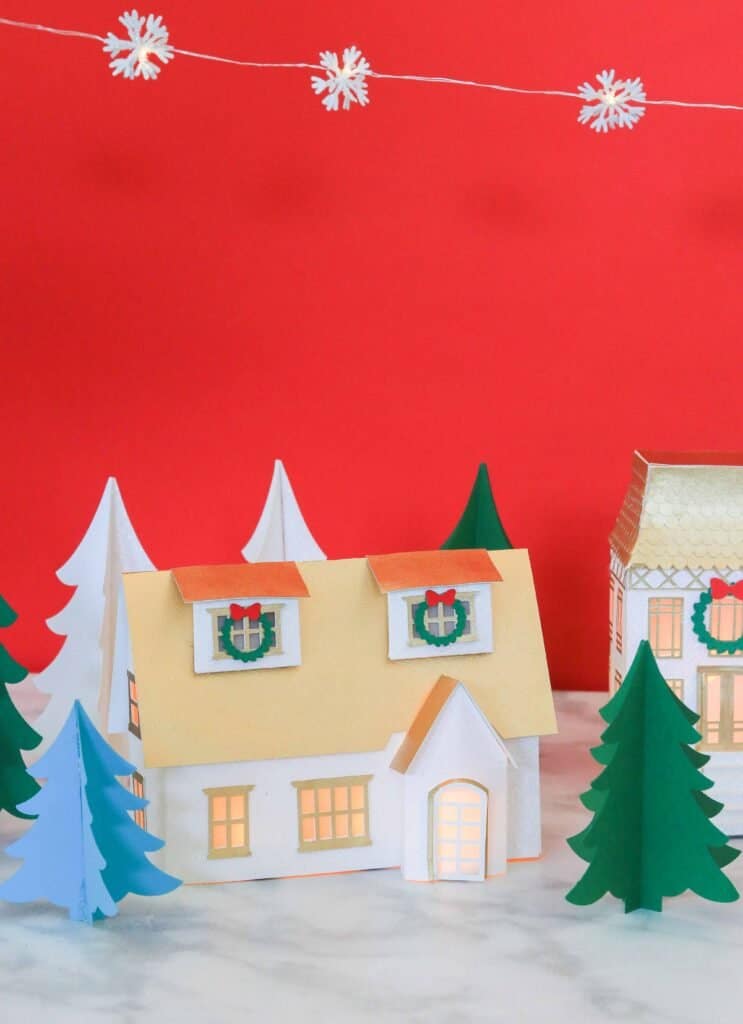
You can even add wreaths, sleigh bells, or other decorations from the other Christmas village designs to this farmhouse.
Another idea is to turn this design into a gingerbread house by decorating it with beads or paint frosting onto the card stock with acrylic paint. There's so much you can do with this craft during the holiday season or any season!
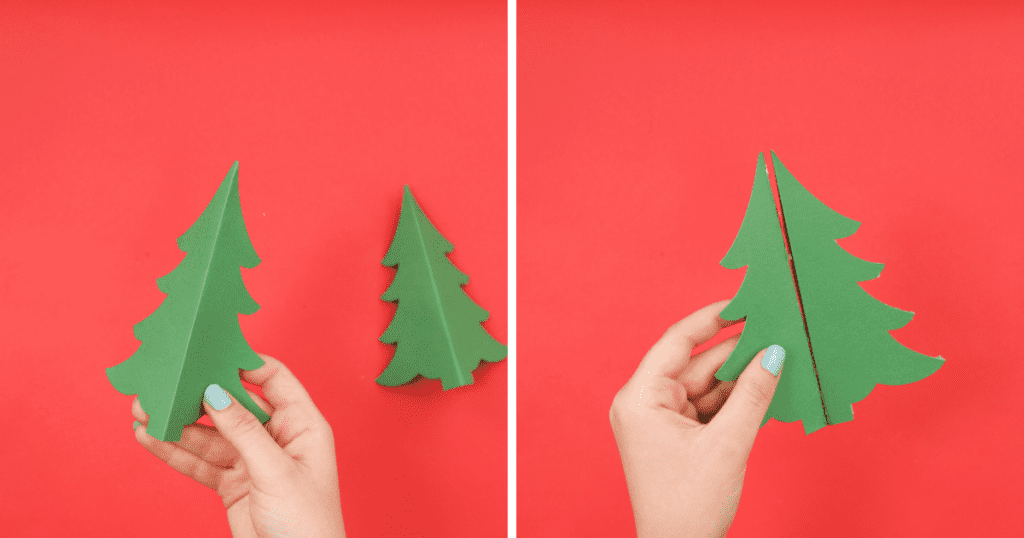
How to Assemble Christmas Tree
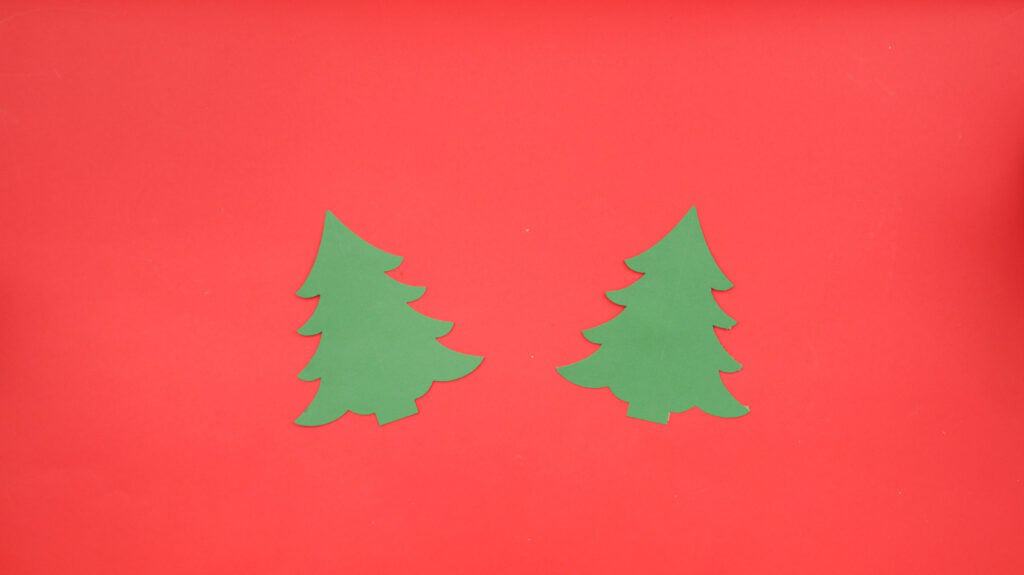
To assemble the Christmas tree, cut out two tree pieces, and fold them along the score line.
Glide hot glue along the fold of one of the tree pieces, then attach the pieces together.
How to Assemble Park Bench
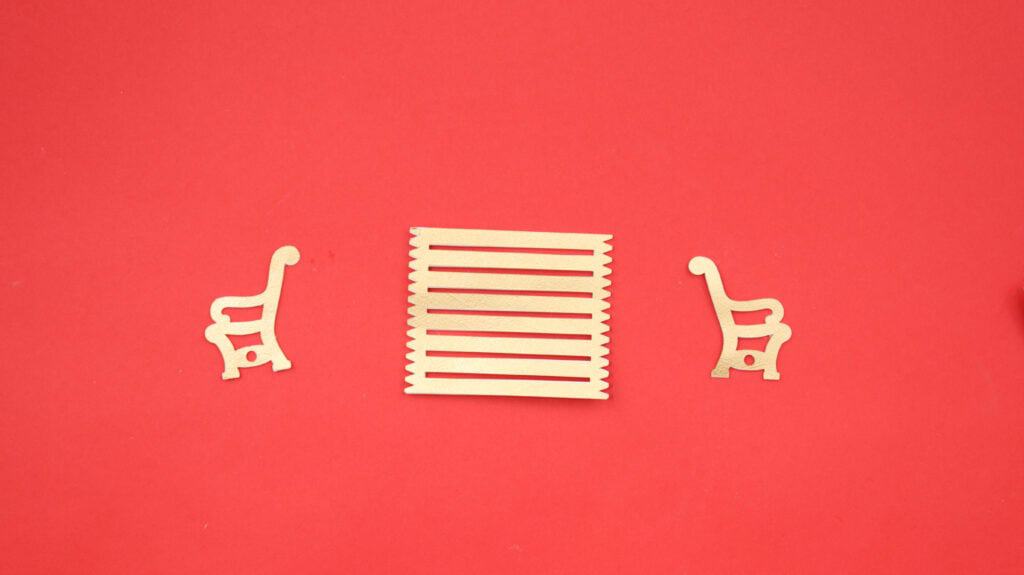
The park bench includes:
- 2 Armrest pieces
- 1 Long rectangular Seat Cutout
To assemble the park bench, take an armrest piece and the long rectangular seat cutout.
Fold the tabs on each side of the rectangular cutout, and apply glue to one of the end tabs. Attach it to the bottom of the armrest piece, and continue to glue the tabs to the armrest following the shape.
Pro Tip: Use a weeder tool or a pair of tweezers to hold the rectangle cutout in place while it dries.
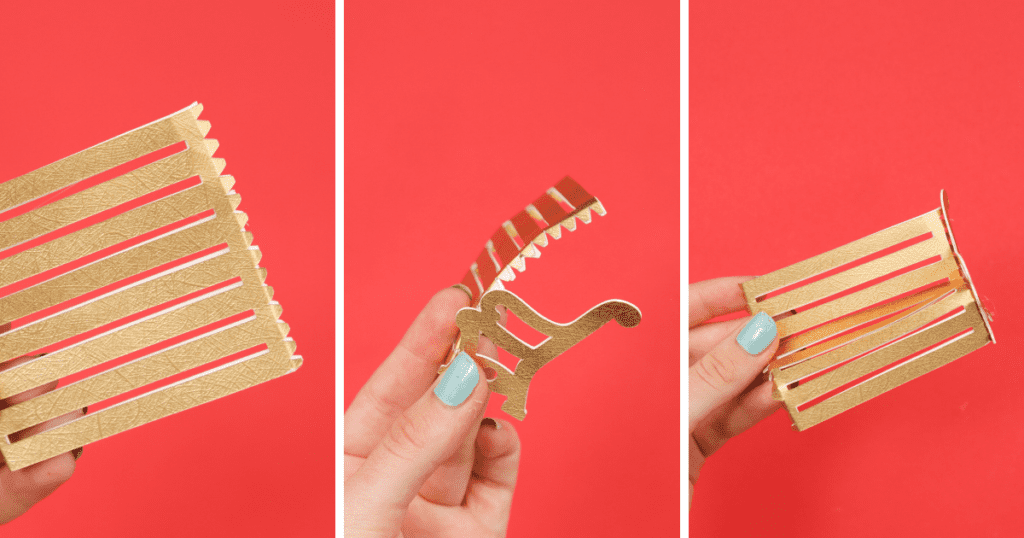
Repeat this to the other side.


Looking for more Christmas Village tutorials? Click here for the church, house, and condo. (Coming soon!)
Join my crafting Facebook group where you can show us what you’re making, ask questions, and learn from others!
Don’t want to forget about this free template? Save this project for later! Click here to save this project on Pinterest.
Looking for even more Christmas Cricut projects? Check out the links below!
- Paper Christmas Angel Luminary
- Layered Paper Christmas Ornaments
- Printable Christmas Gift Tags
- Christmas Door Decor
- Layered Paper Winter Snowflake Wreath
Very fun project! I am looking forward to trying my hand at it! How big is the finished base of the house?
Bonjour j'arrive pas a avoir le jour 1 pour faire mon village
Esque c'est normal....j'ai bien l'eglise ,mais pas ce lui ci
I'm not understanding how to change the cut lines to score lines...???
Me either
i believe you need to click on that line and change from basic to score then select all and attach to the parts that will cut
I would love to create this, but I don't own or have access to an SVG cutter machine, nor can I afford to buy one.
Is it possible to share PDF files for these?