Learn How to Make a Paper House Christmas Village with This Free Cricut Template and Tutorial
The holidays are almost here, and now is the time to start on all the holiday crafts!
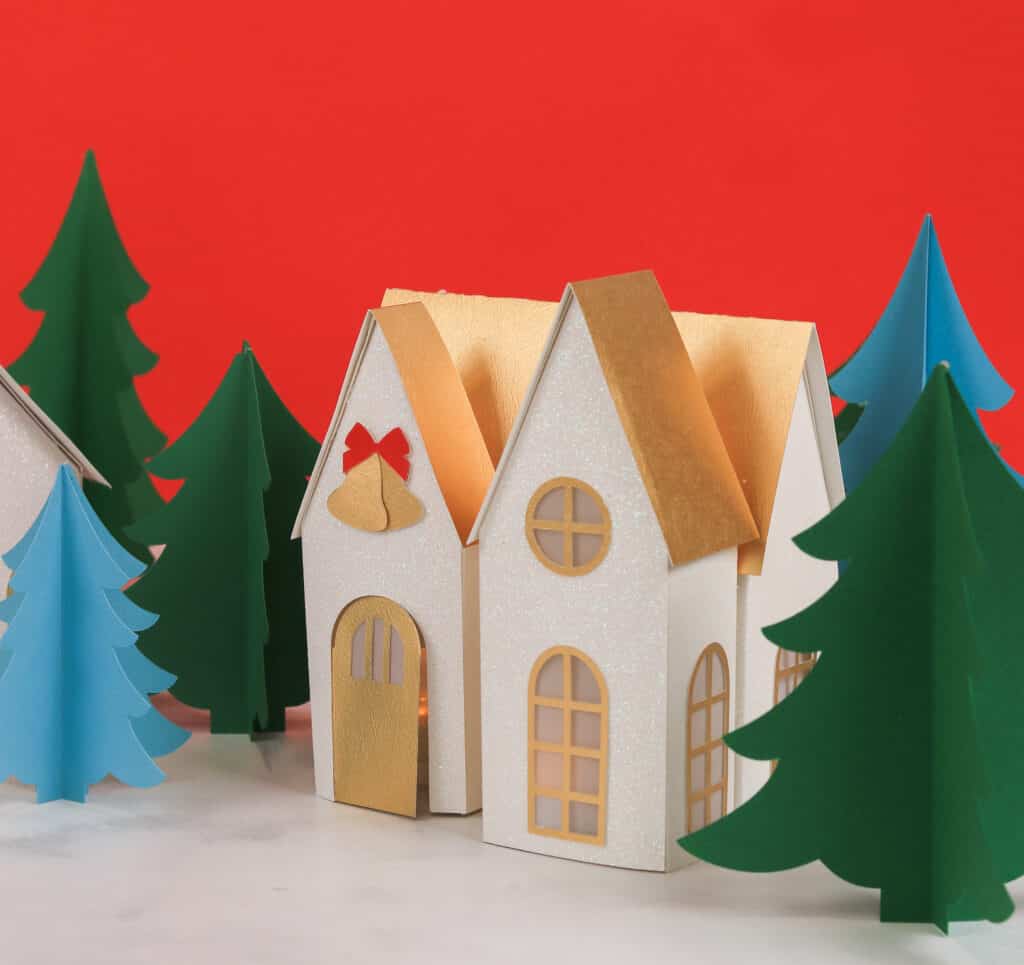
This house design measures 10" across, and has festive details such as sleigh bells with a bow hanging above the entryway, and it comes with extra cutouts for translucent paper materials to put behind the window trims to help illuminate LED lights.
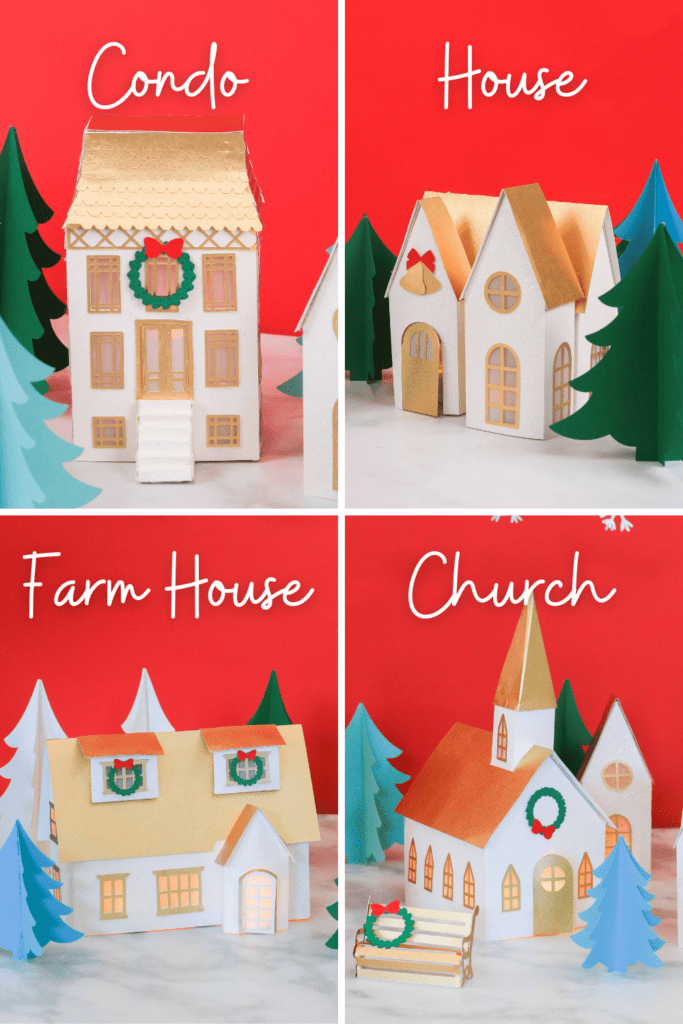
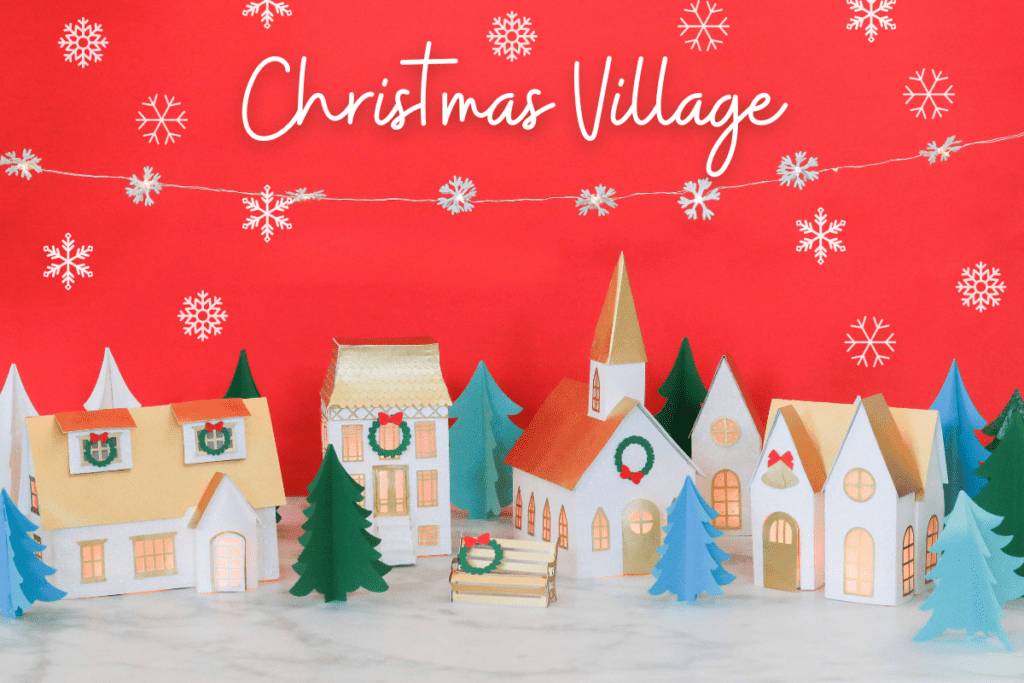
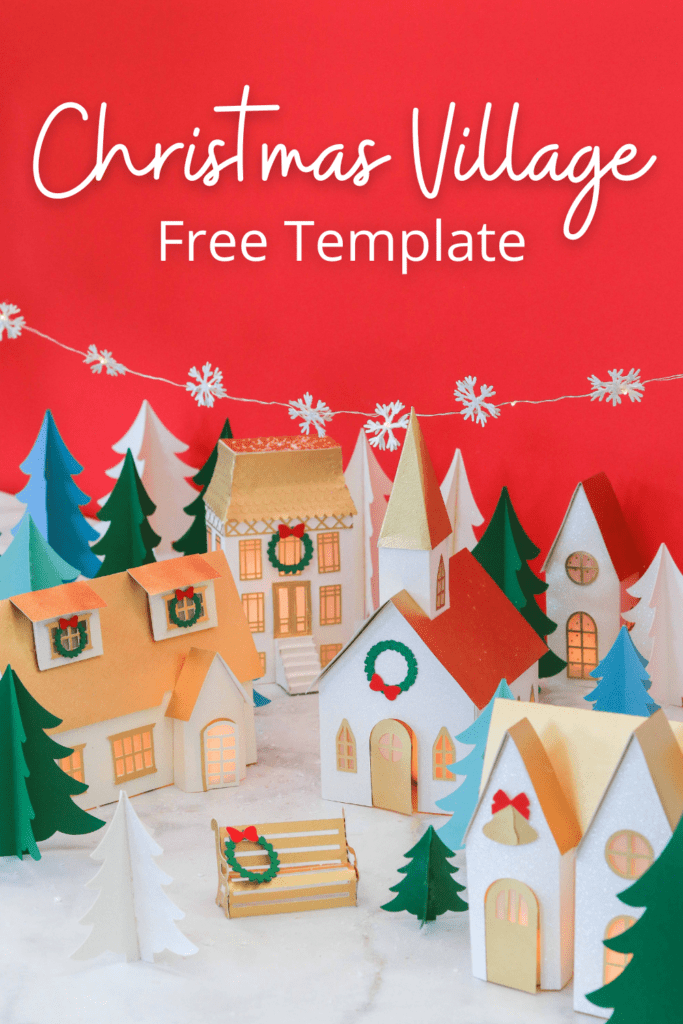
This Paper Christmas House is one of the four Christmas village designs. This holiday village includes a farmhouse, condo, church, house, trees, and a park bench. Each project has its own blog post to walk you through the construction of each item.
What type of Paper Should I Use?
I recommend using sturdier cardstock (such as 80lbs) for the base of the building. Using this weight of cardstock will hold the structure of the building instead of letting it tip over. For the details, you don't necessarily need to use heavier cardstock. Instead, use lightweight cardstock such as 65lbs.
For the extra house cutouts I used vellum, but you can use foil or tissue paper.

For the structure of the house, I used glitter cardstock. When using textured cardstock, it can be harder to see where the score lines are. To make them visible, place your cardstock face down on the mat, tape it into place, and mirror the image in Design Space.

Supplies Needed:
- Fine-Point Blade
- Vellum
- Scraper Tool
- Scoring Wheel Tip & Housing or Scoring Stylus
- LED Candles
- Hot Glue or Craft Glue
- Clover Wonder Clips
Table of Contents
CLICK HERE TO DOWNLOAD THE FREE SVG FILE!
Upload SVG File
Before we start, we need to upload the design to Design Space. First, click Create New Project, then click Upload on the bottom left panel, and upload the SVG to your canvas.

Change some of the lines on the house pieces into score lines by clicking on the line, then change the operation from Basic Cut to Score. Looking at a line's fill color is a way of distinguishing score lines from cut lines (If the color is red, it's a score line).
Step One: Cut Out All Paper Christmas House Pieces
Load your mat with cardstock into your machine and start cutting out all the Christmas house pieces.
Paper Christmas House Consists Of:
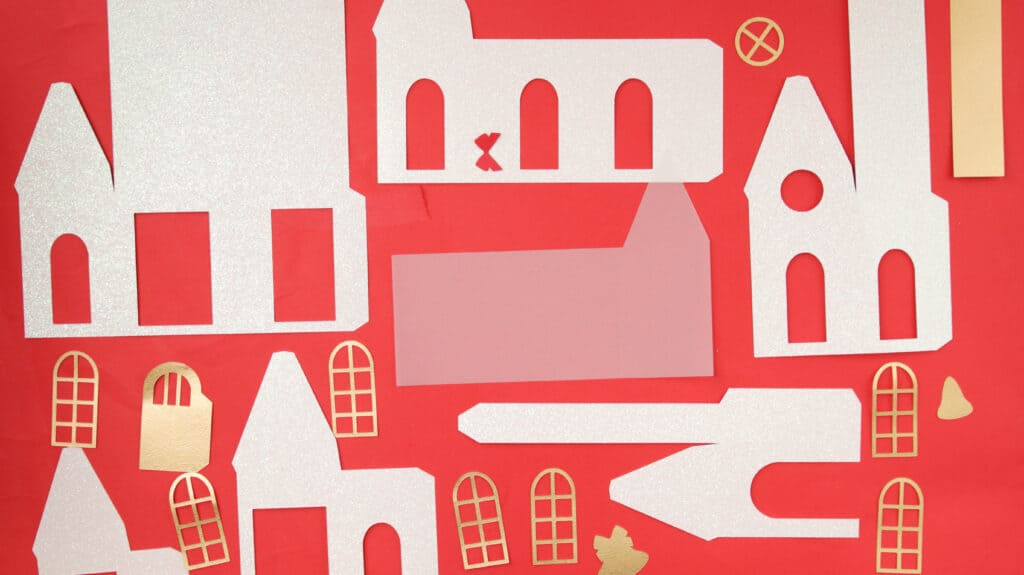
- 2 House Pieces, Doorway Entrance Pieces, Window Entrance Pieces
- 3 Roof Pieces
- 8 Window Trims
- 1 Door
- 2 Sleigh Bell Pieces & 1 Bow
- 5 extra House Cut Outs (for foil, vellum, or tissue paper)
Step Two: Fold Paper Christmas House Score Lines
Once your machine cuts all house pieces, it's time to fold along the score lines. (All parts will have score lines except the window trims and sleigh bells.)
(optional): Glue on Extra Cutouts
You don't have to use the extra cutouts, but if you're going to use LED lights to make this project shine, use translucent foil, vellum, or tissue paper for the house cutouts behind the windows to illuminate the lights.

Align cutouts to their corresponding pieces and glue them into place.
Step Three: Add Details
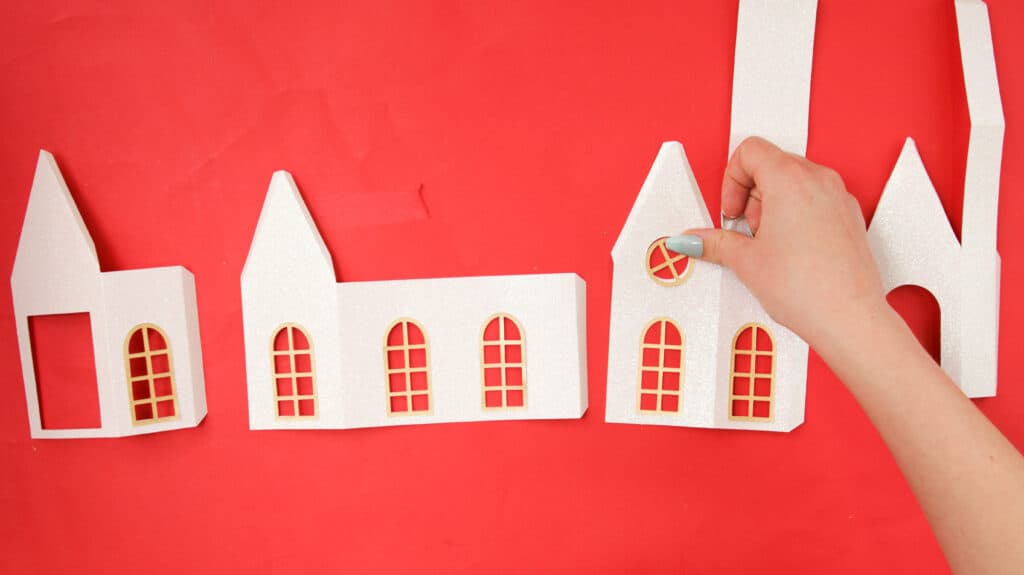
After folding, glue the window trims to the window cutouts. Then, apply glue to the side tab of the door and attach it to the inside of the entrance piece with a door cutout.

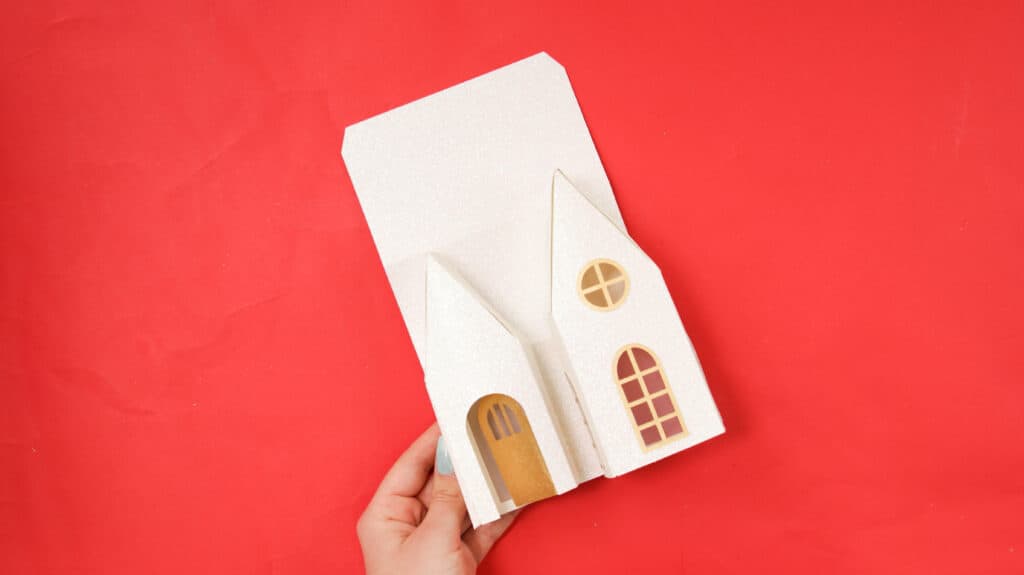
Step Five: Assemble Entrance Structures
Now we're going to assemble the entrance pieces.
To assemble the entrance piece, take the piece with the door and the one with a rectangular cutout. Join the entrance pieces together by applying glue to the side tabs. Then, fold the roof over the top two tabs and secure it with glue.
To assemble the window entrance piece, repeat the steps taken to make the entrance piece.
Step Six: Add Entrance Pieces
Once your entrance and window piece are dried, align the entrance piece to the left rectangular cutout on the front of the house and glue it into place. Then, align the back side of the window piece to the square cutout on the right.
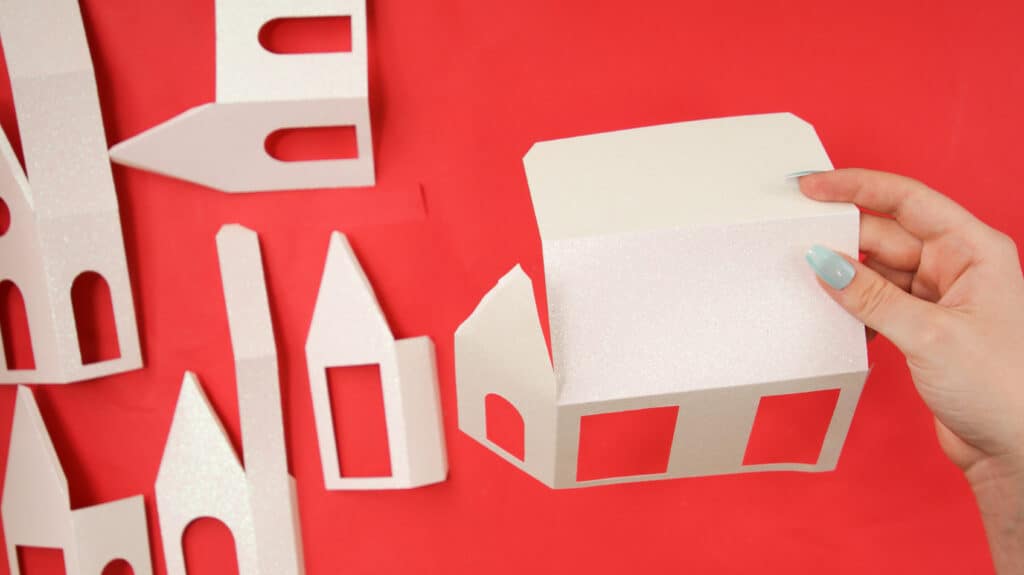
Step Four: Assemble Paper Christmas House
To assemble, take the house pieces with the roof and the one with three window cut-outs.
Apply glue to one of the side tabs on one piece and attach it to the adjoining side.
The piece with the roof and two rectangular cutouts should be facing the front.
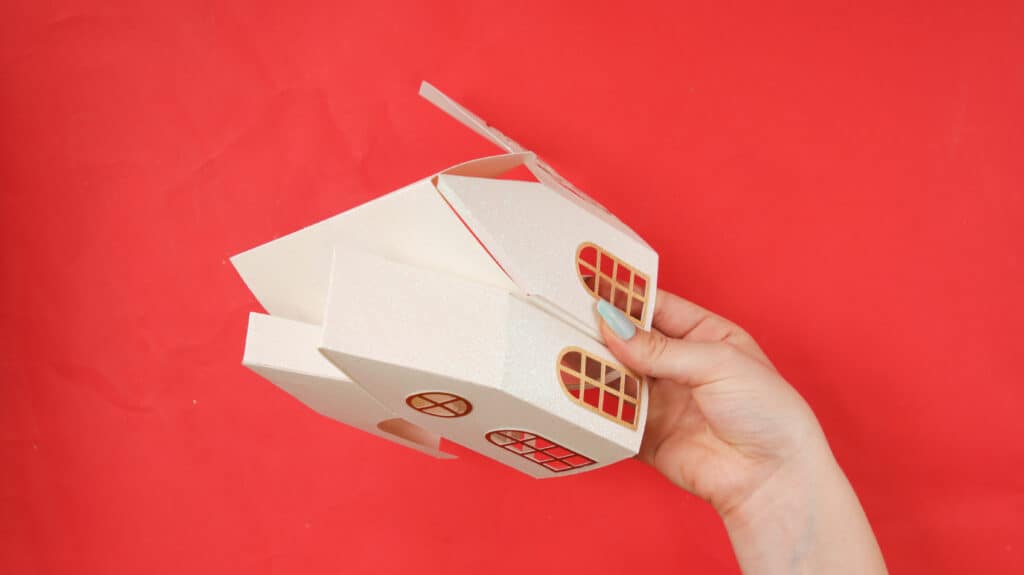
Glue the roof flap to the four tabs along the top and secure it inside the back of the house.
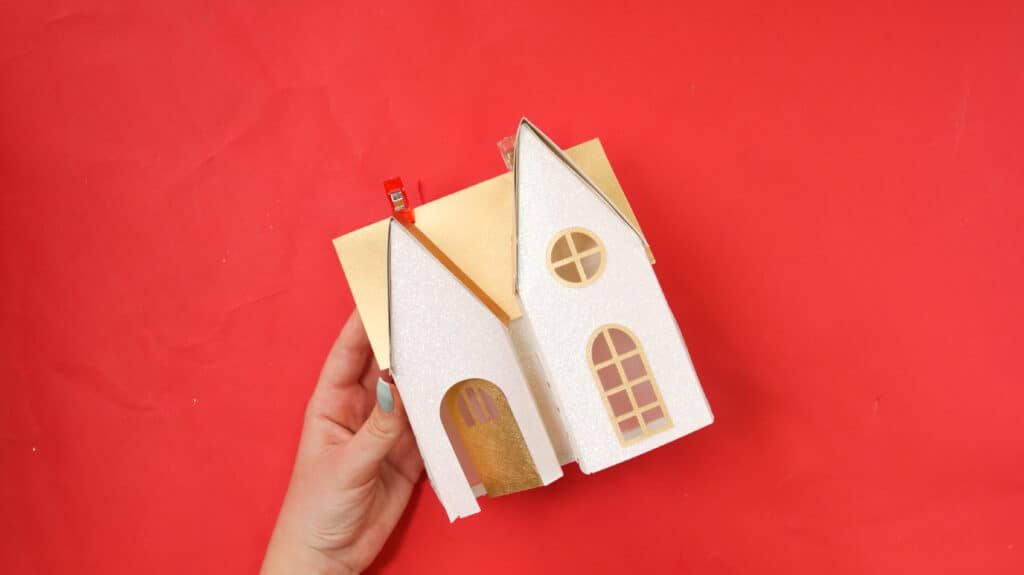
Step Seven: Add Roof Pieces
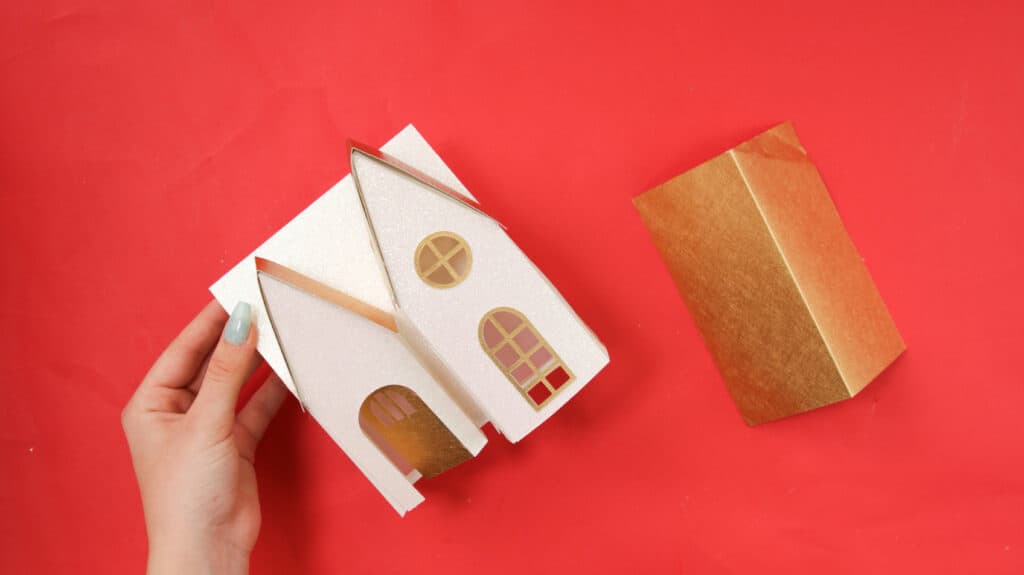
Next, glue the roof pieces to all the house pieces. Glue the biggest one to the back of the house, the medium roof to the window piece, and then glue the smallest roof piece to the top of the entryway.
Step Eight: Add Final Detail
The final step is to glue on the sleigh bells above the door to this Paper Christmas House. Once added, this holiday craft is finished!
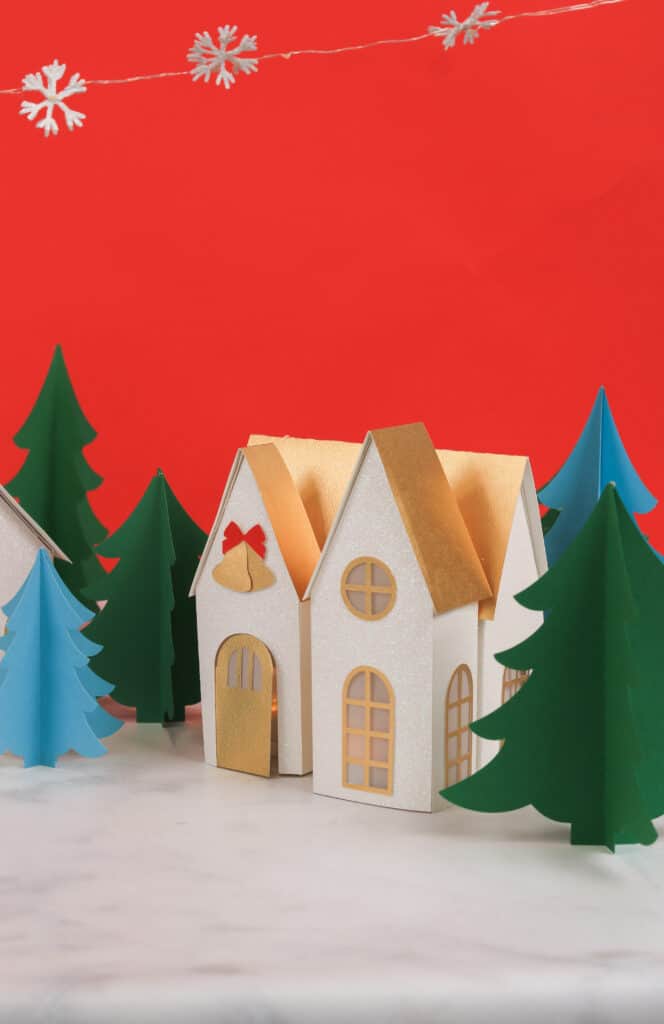
Show this display off with the rest of the Christmas village designs or on its own, surround it with the paper Christmas trees, and the cutest park bench (included in the Christmas village collection), then light up the interior with LED candles.
I wanted some of the Christmas trees to have a frosted look, so I made some trees with different shades of blue cardstock to add color to the village.

Looking for more Christmas Village tutorials? Click here for the condo, church, or farmhouse.
Join my crafting Facebook group where you can show us what you’re making, ask questions, and learn from others!
Don’t want to forget about this free template? Save this project for later! Click here to save this project on Pinterest.
Leave a Reply