Make a 3D paper Christmas Angel for the holidays with this free SVG. Make an angel ornament to hang on the tree or use as mantle decor.
Christmas Angels have always been a traditional way to decorate for the Christmas season. Angels are a symbol of love, peace, and harmony. And this angel will bring just that to your holidays.
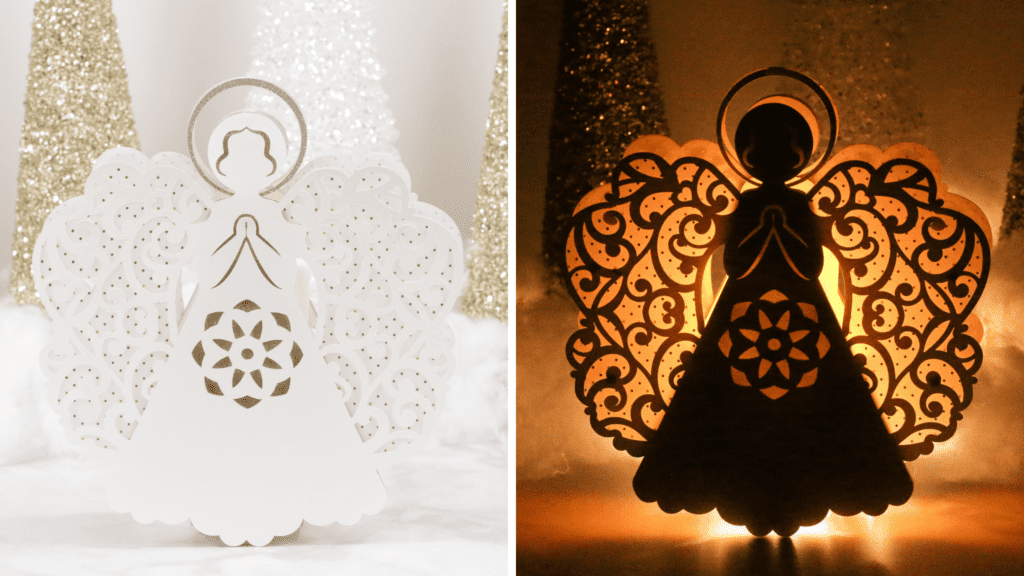
I love designing 3D layered cut files and wanted to create something really special for my 25 Days of Craftmas.
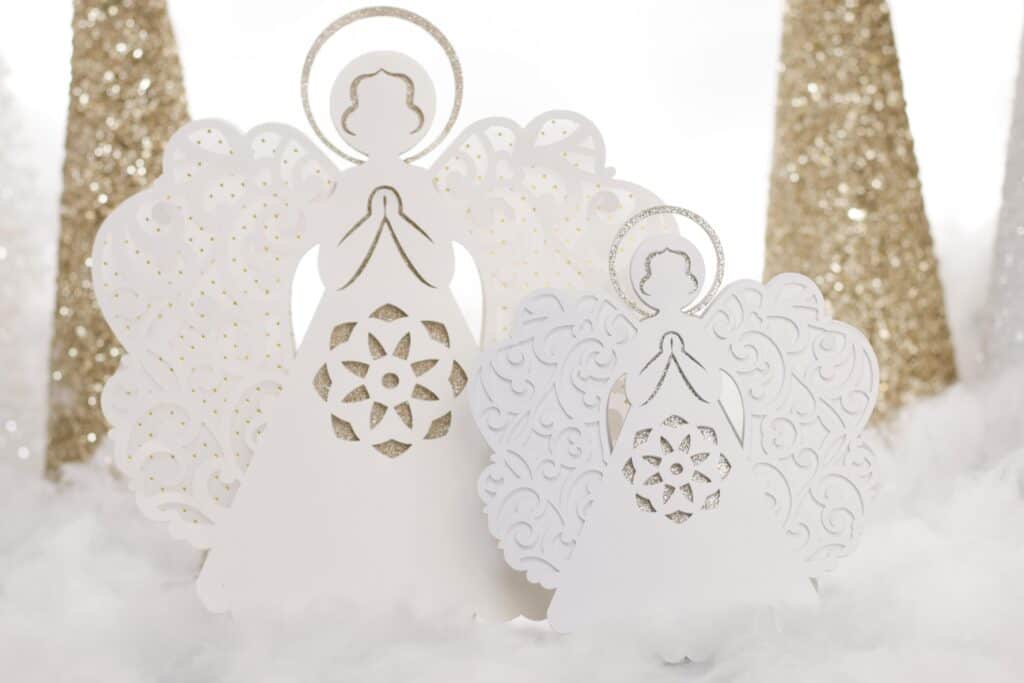
This Christmas Angel can be used in so many ways.
It's designed with a spot to hold a flameless votive candle so you can use it as an Angel Candle Holder to display on your mantle.
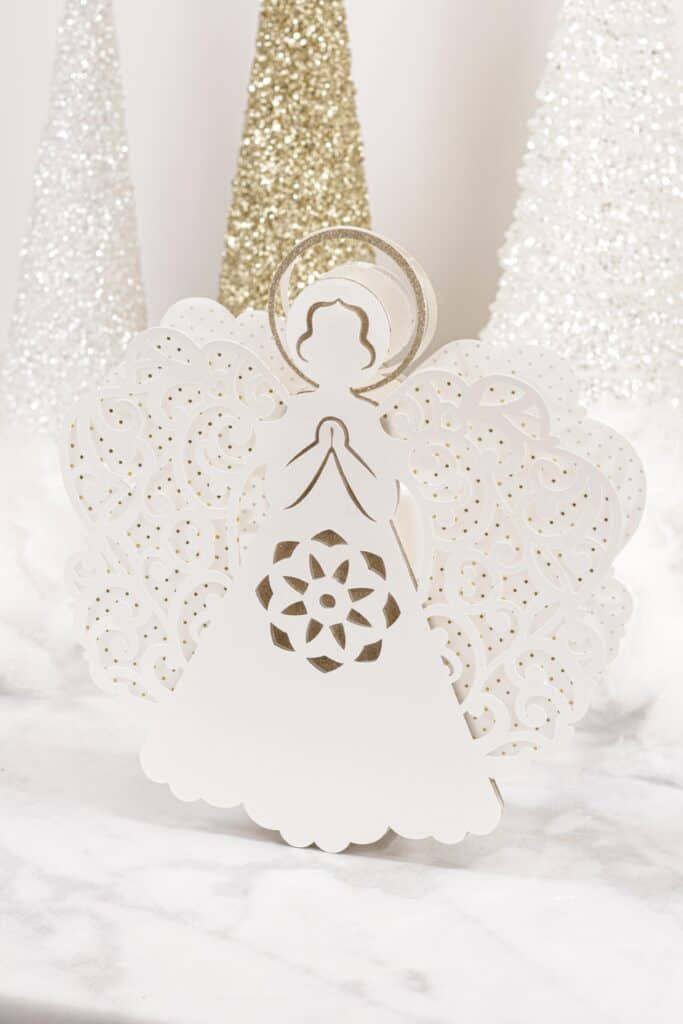
Remove the candle holder, add some fairy lights and add the angel as a Christmas tree topper.
You can also create a smaller Christmas Angel ornament to hang on the Christmas tree.
Whichever way you choose to craft with this angel, I'm sure it will have a special place in your home.
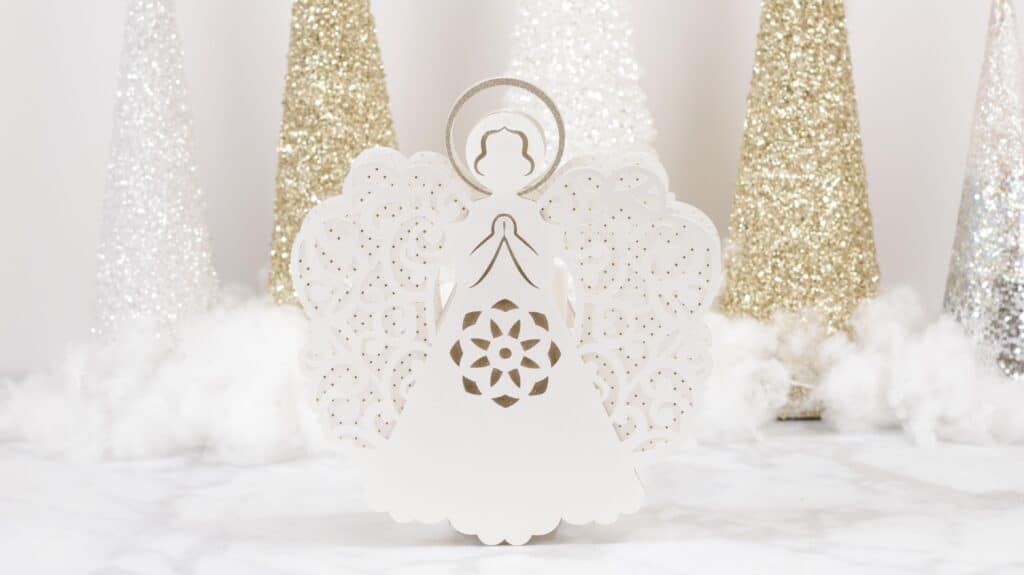
Table of Contents
SUPPLIES
- Cricut Maker, Cricut Explore, or another cutting machine- Cricut or Amazon
- Cricut Cutting Mat - StandardGrip
- Fine-Point Blade
- Cardstock (Glitter, Vellum, Pearl) I used vellum on my middle layer to allow the light to shine through.
- Foam Adhesive
- Craft Glue or Hot Glue
- Flameless Votive Candle (optional)
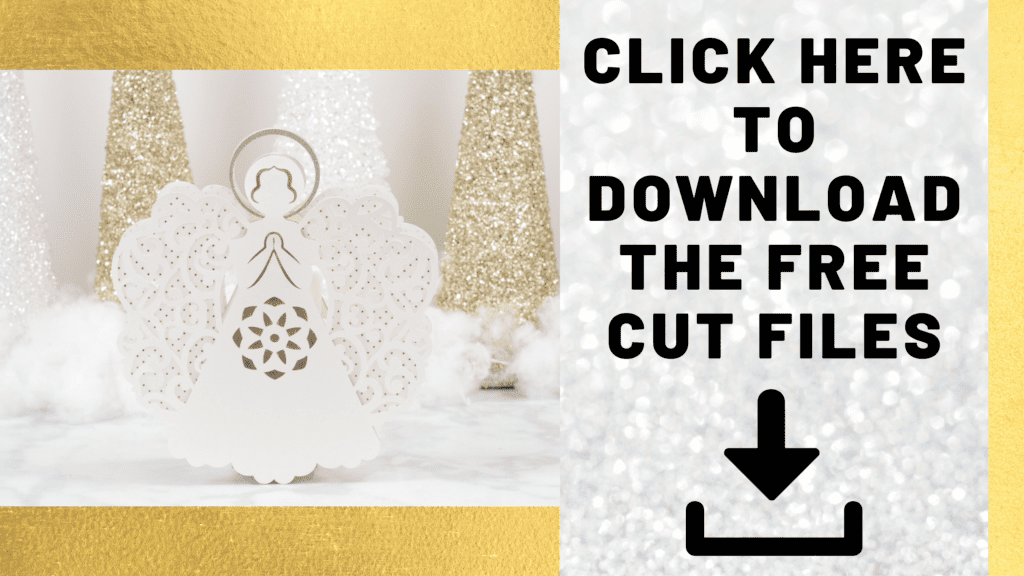
Download the Free Christmas Angel Cut File Here.
STEP 1: Upload the Christmas Angel SVG File to Cricut Design Space
Begin by opening Cricut Design Space and clicking the + to create a new project.
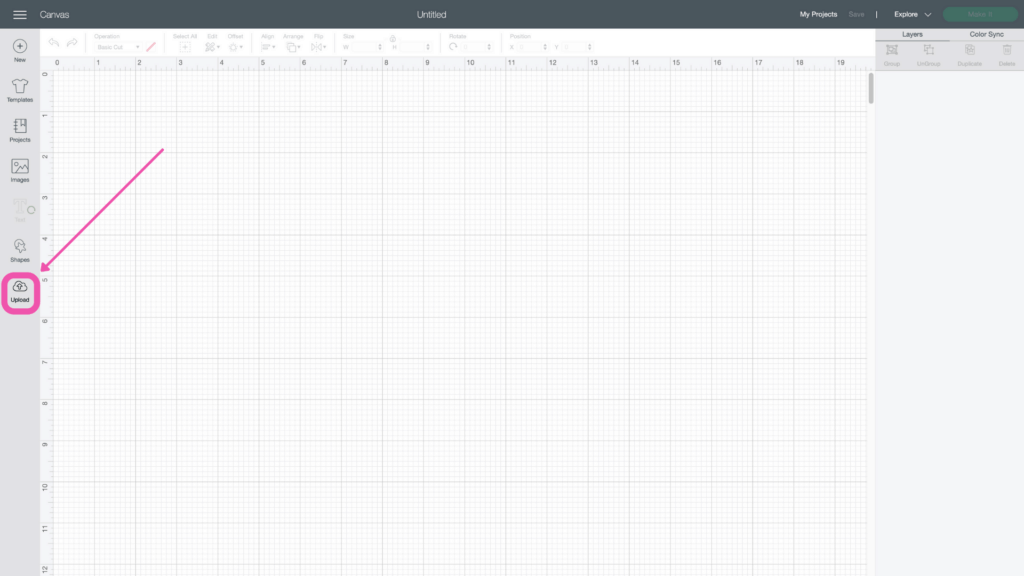
In the Design Panel on the left, select "Upload."
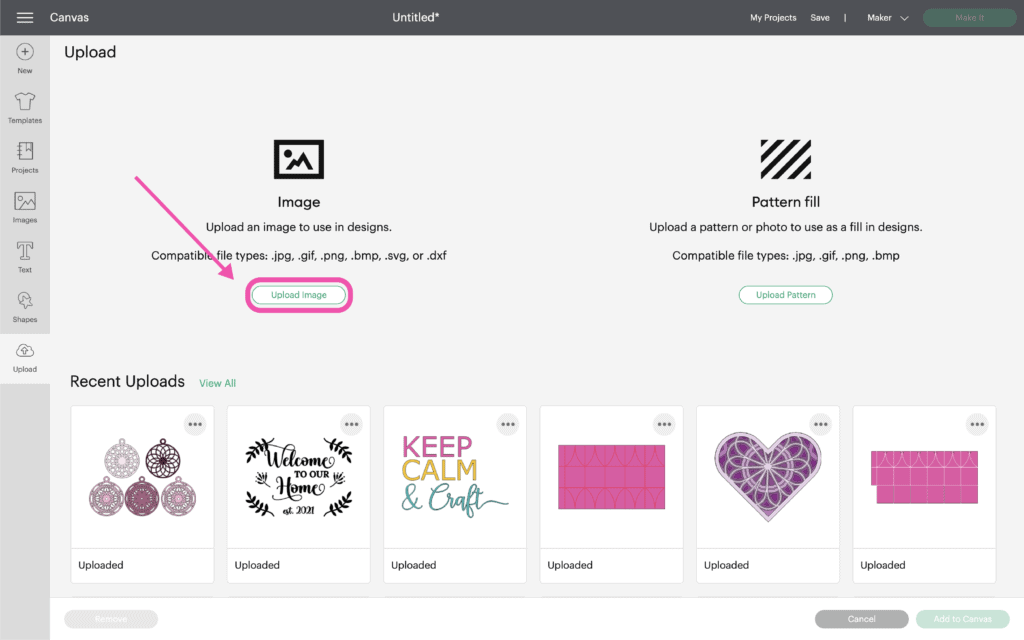
Click 'Upload Image'
Click 'Browse' or drag and drop the file.
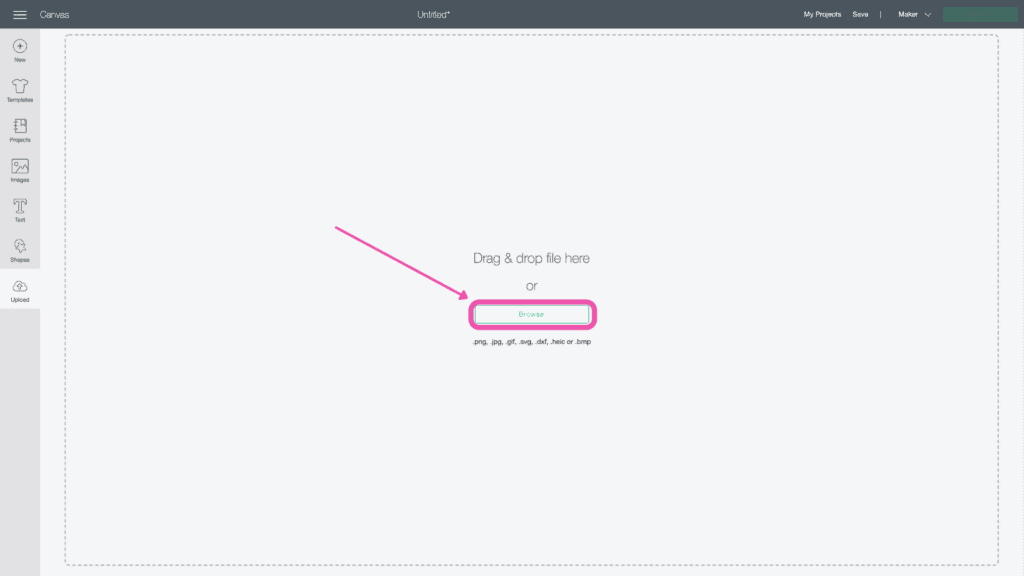
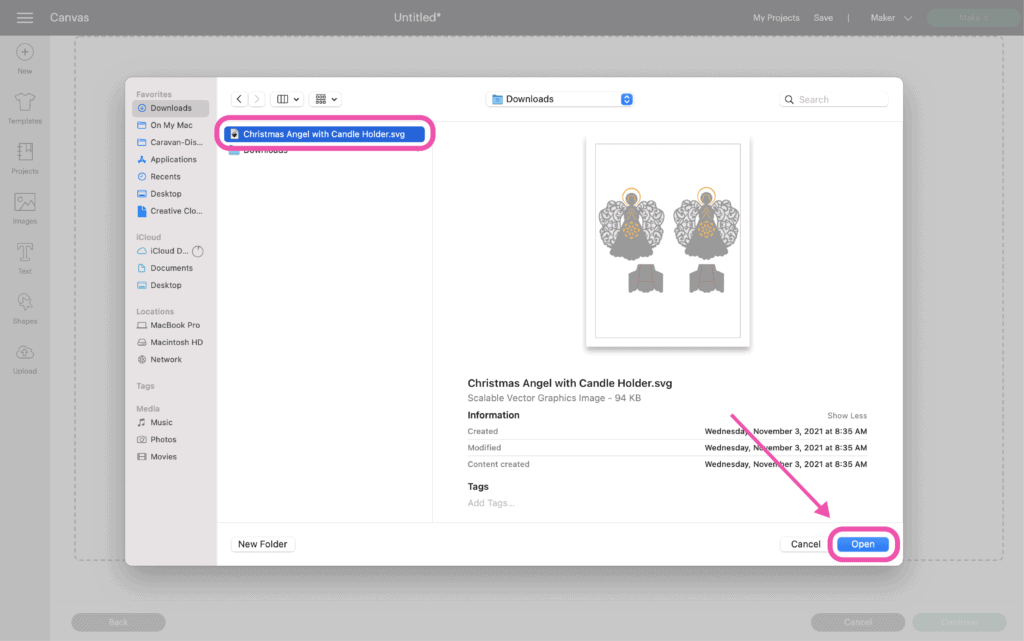
Navigate to the file on your device to click 'Open' it to Cricut Design Space.
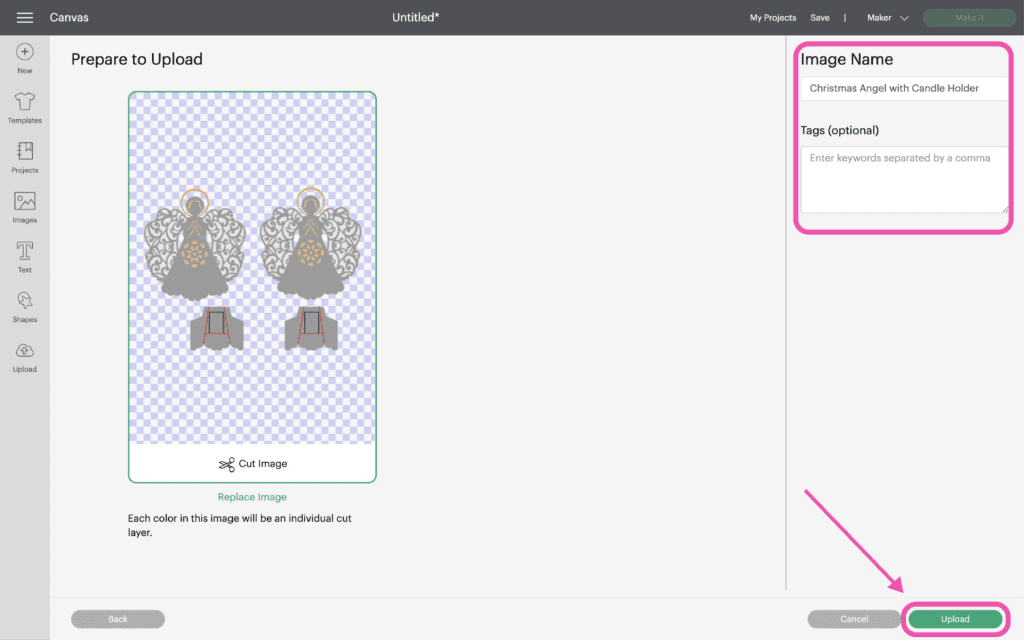
On the Prepare Screen you can change the name of the project and add tags. Click "Upload."
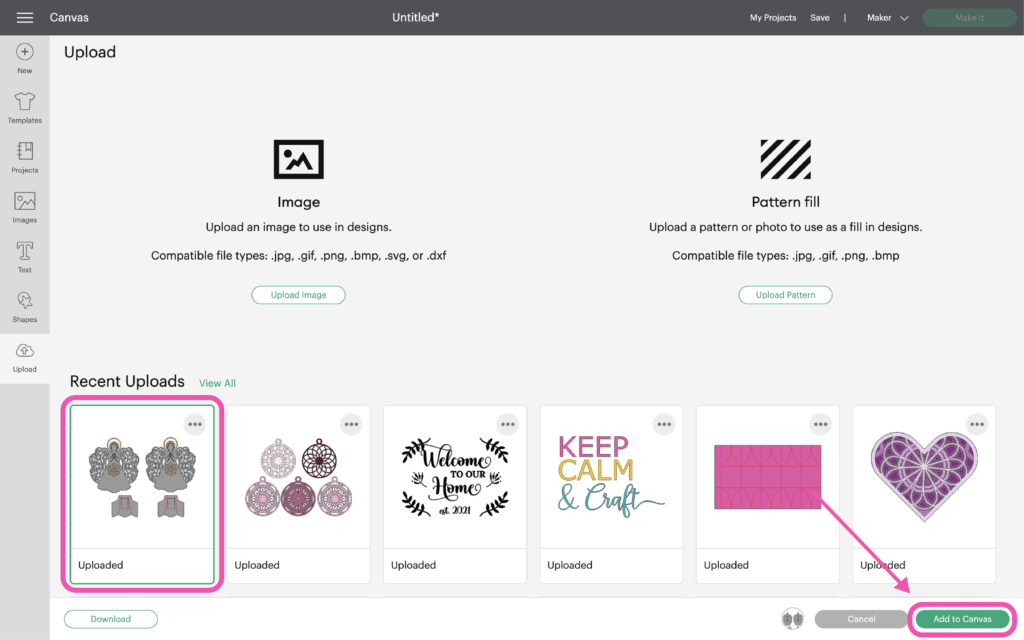
Once you have the file uploaded, select it and click "Insert Images" to bring it onto your canvas.
STEP 2: Prepare the Christmas Angel in Cricut Design Space
The cut file will import into Cricut Design Space as one group.
First, we need to ungroup the layers by clicking 'Ungroup' at the top of the Layers Panel.
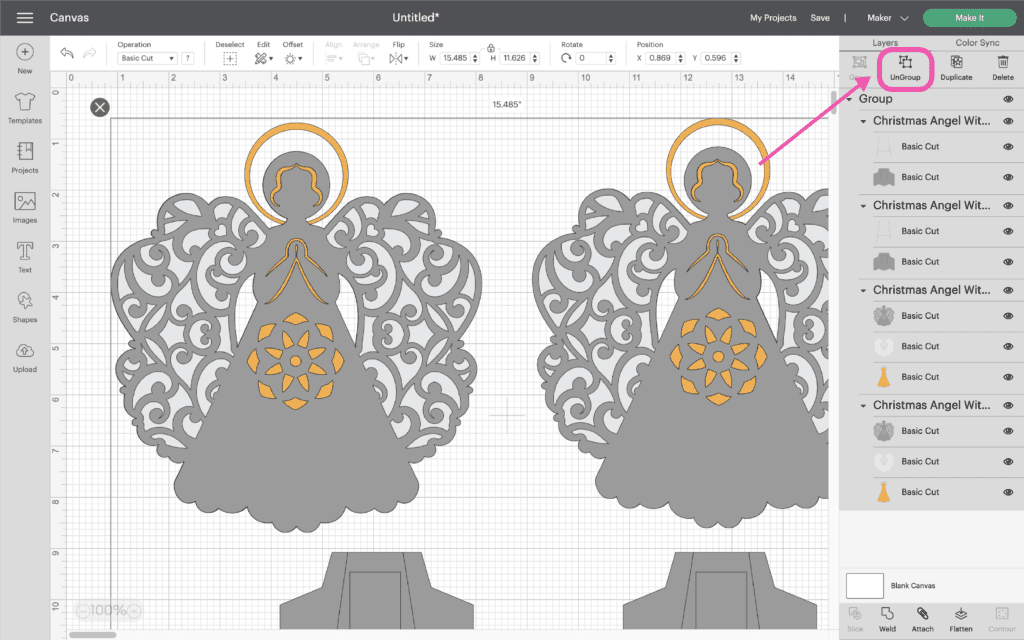
There are two layers that provide the stand for the two sides of the angel. These layers have cutlines that we need to update to scorelines.
Select each of the highlighted layers by holding down the Shift key while selecting each layer in the Layers Panel.
Under Operation in the Edit Toolbar, select 'Score' from the dropdown menu.
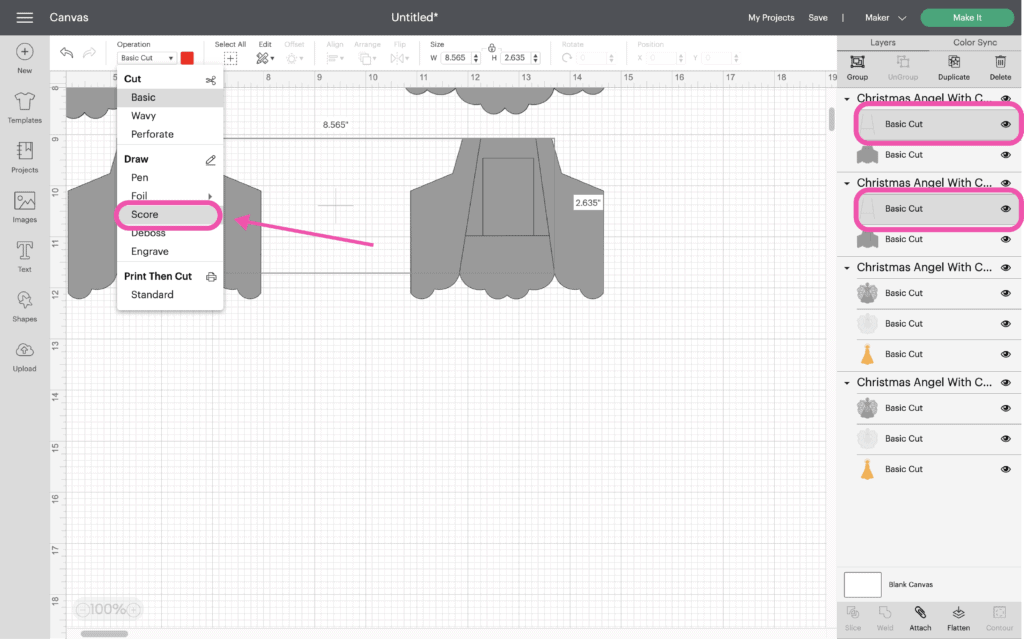
Next, select each group separately and click 'Attach' at the bottom of the Layers Panel.
This will tell the cutting machine to score the lines on that layer in that exact spot.
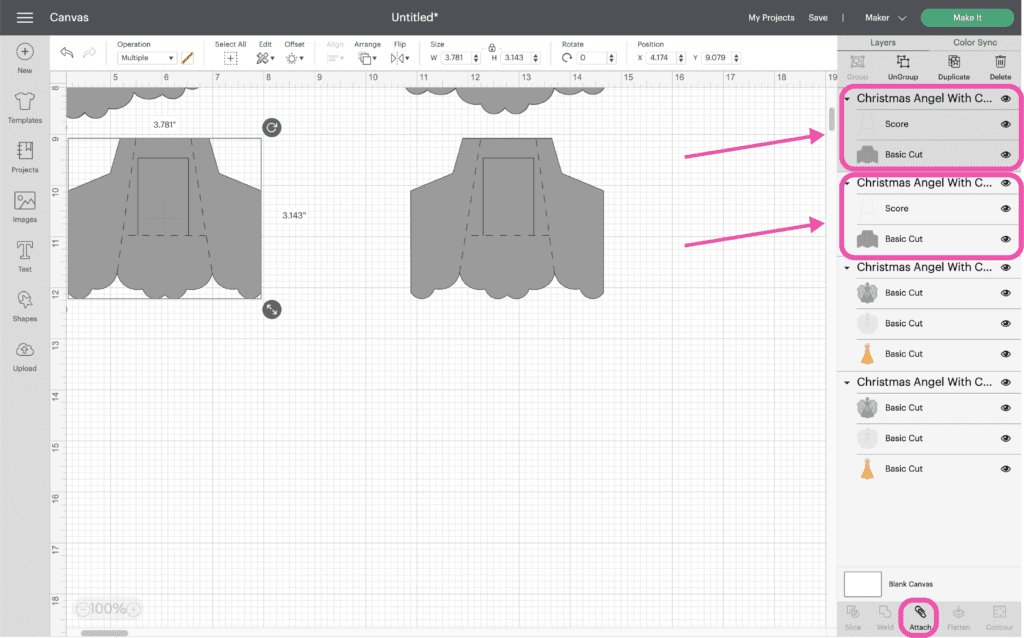
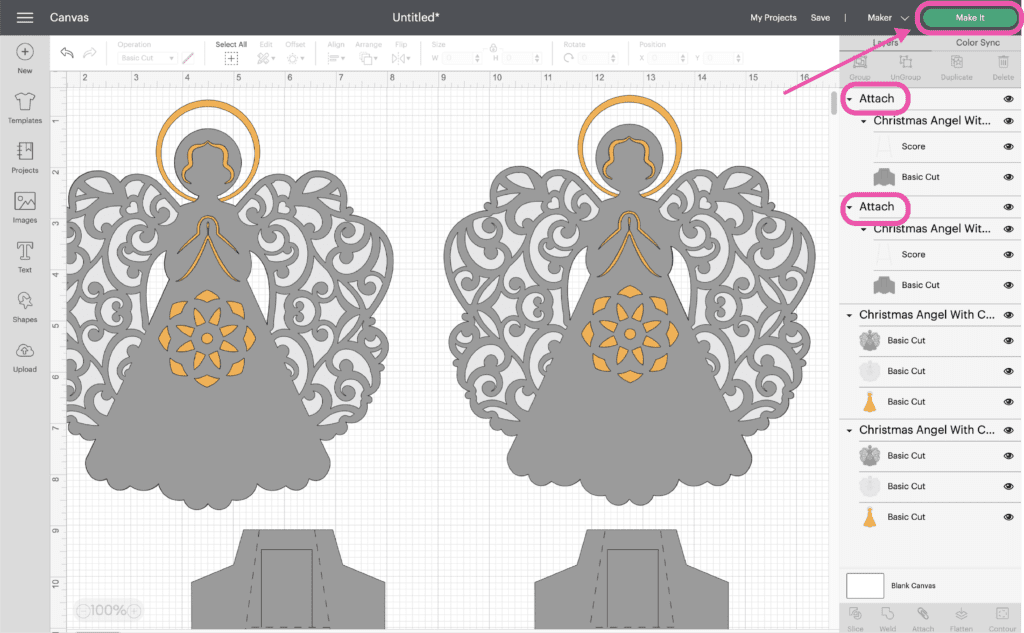
You should now see the word 'Attach' at the top of those two layers.
Click 'Make It' in the top right-hand corner.
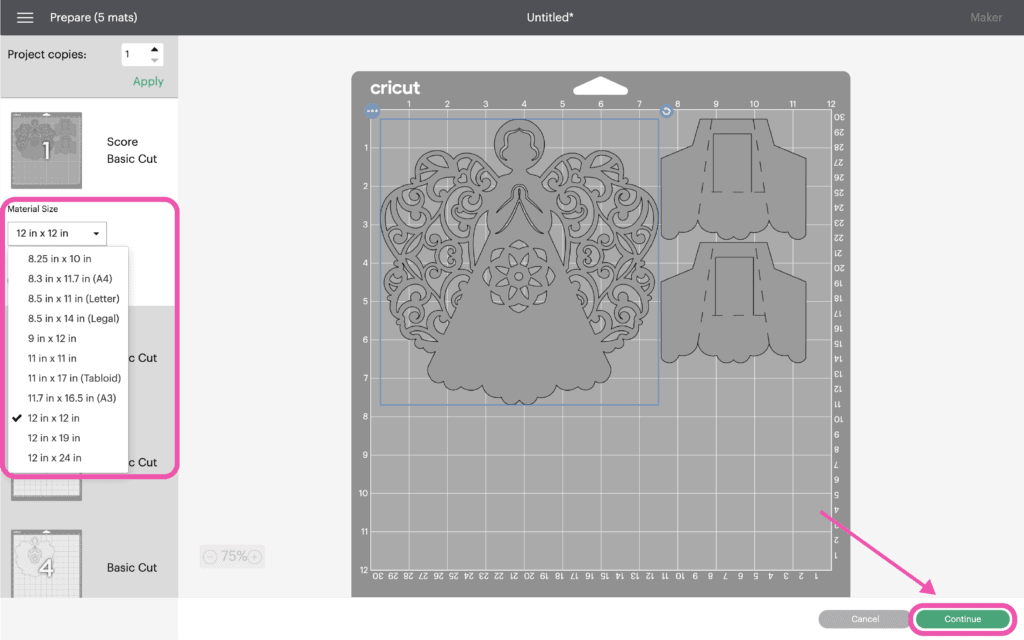
On the Preview Screen select the size material you'll be using and click 'Continue'.
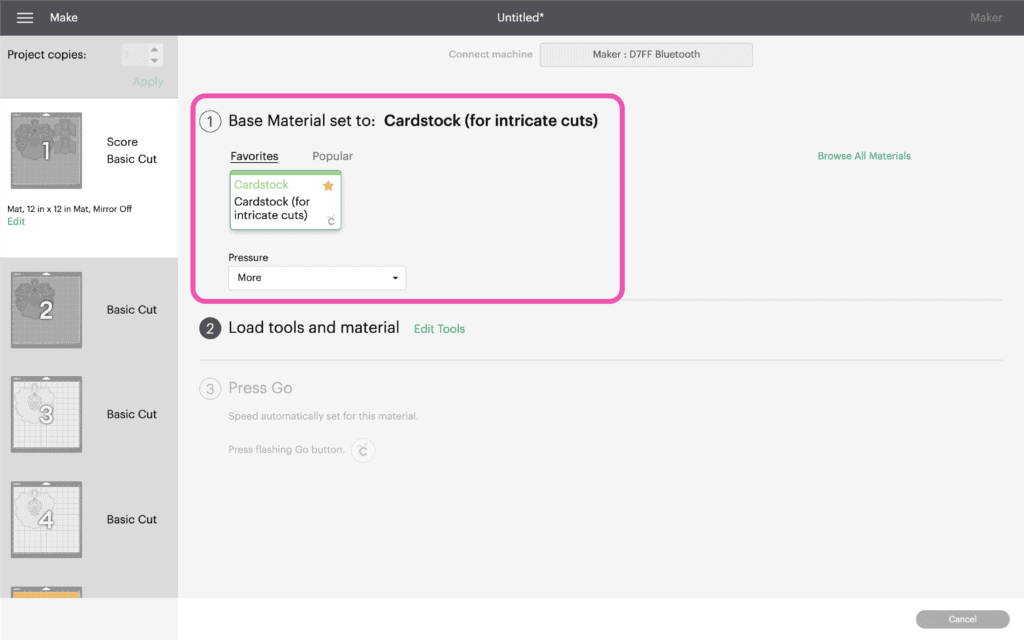
Connect to your cutting machine and select the material you're using. For regular cardstock I use the Cardstock for Intricate Cuts setting for detailed designs like this one.
It applies less pressure to reduce any tears and cuts the design twice to ensure a nice clean cut.
If you're using other types of cardstock like Glitter, use the material setting appropriate for that material.
I also like to update my pressure to More.
Click 'Continue'.
STEP 3: Cut Out the Christmas Angel
I'd recommend using a Standard Grip Mat for this project especially if you are using glitter paper.
Start by removing the clear liner from your Cricut mat and then set it aside.
Place the cardstock paper onto the mat and press down firmly on the paper to adhere it to the mat. This step is really important when cutting out intricate designs. I like to use a brayer to secure my material to the mat.
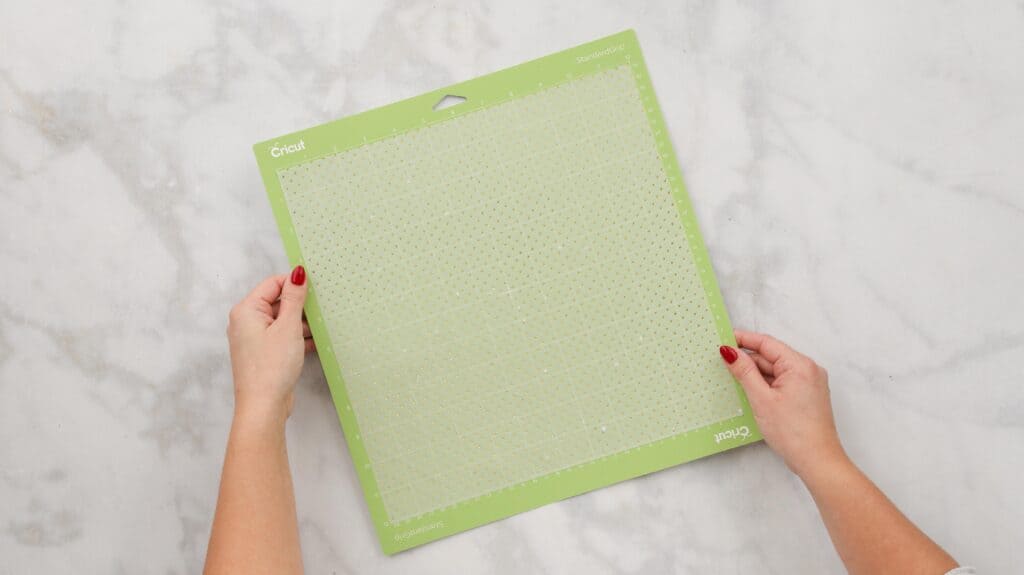
If the paper isn't completely secured to the mat, you will have tearing during the cutting process.
I typically use the Standard grip mat when I'm cutting out intricate paper designs to ensure that the paper doesn't shift around while being cut.
Insert the mat into the cutting machine and press "Go."
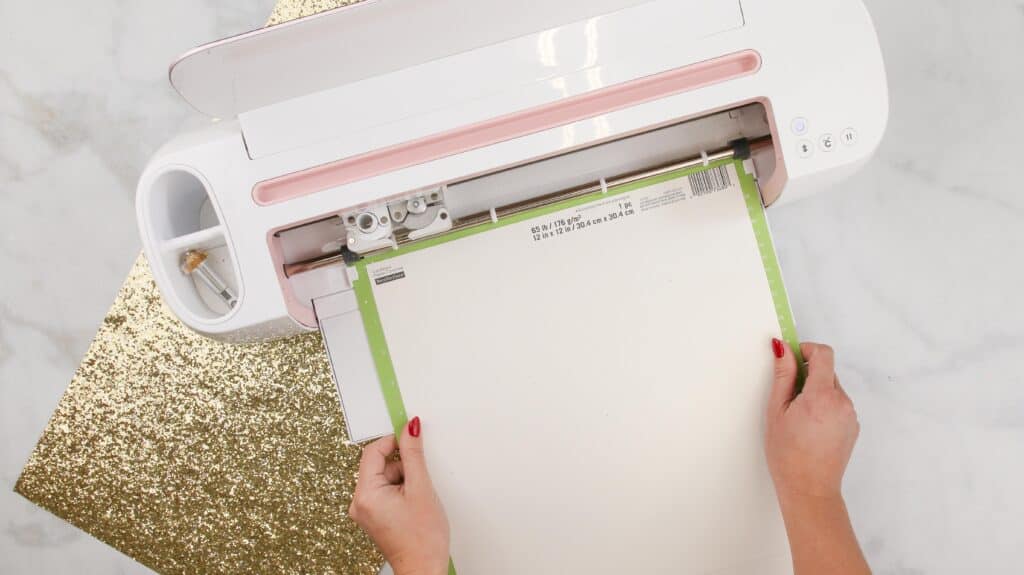
Once the machine has finished cutting the design, remove the mat from the machine. Repeat this process until you've cut out all three layers of your angel.
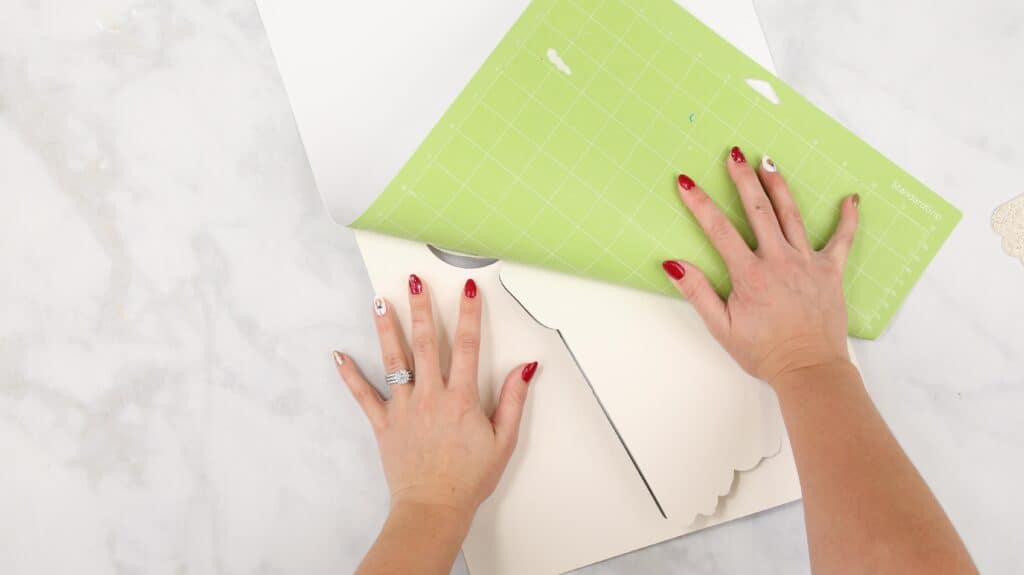
Flip the mat right side down and gently peel it away from the paper. This will keep the angels from getting bent or torn.
STEP 4: Assemble the Christmas Angel
Lay all of the pieces out in front of you. You should have two layers, two middle layers, two back layers, and two inside candle supports.
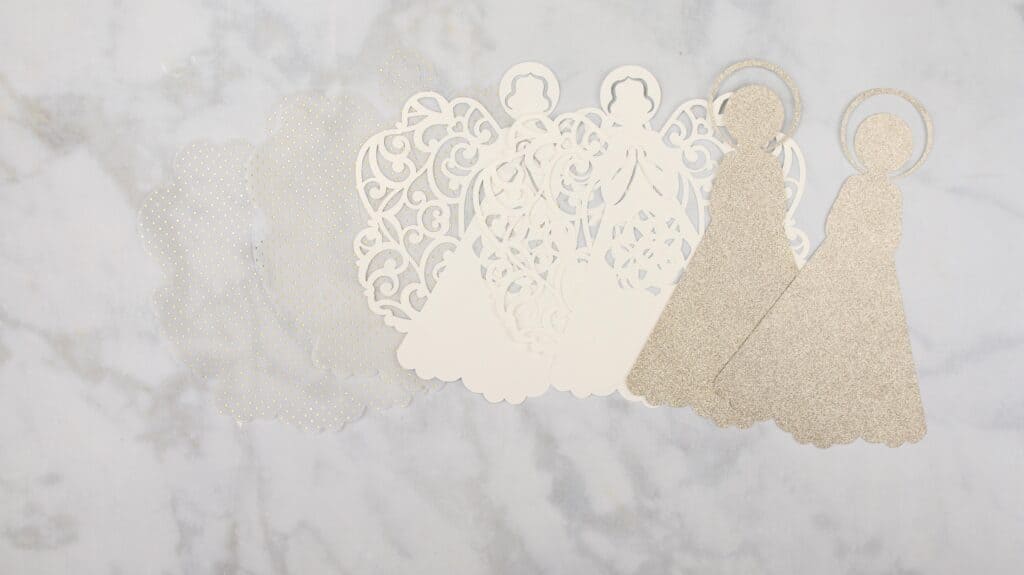
Apply small foam adhesive dots to the back sides of the front and middle layers. Try to place them in the same spots on both designs to create an even rise.
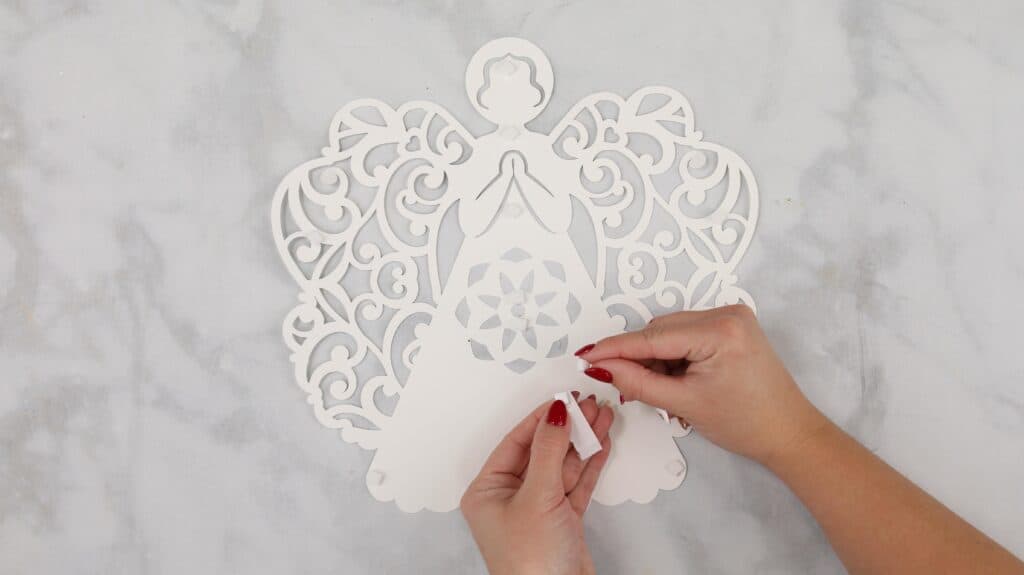
The image below shows you from bottom to top how the layers should be placed.
Layer your design taking care to align all of the details of the angel. I like to start by aligning the angel's bottom first and working my way upwards towards the halo.

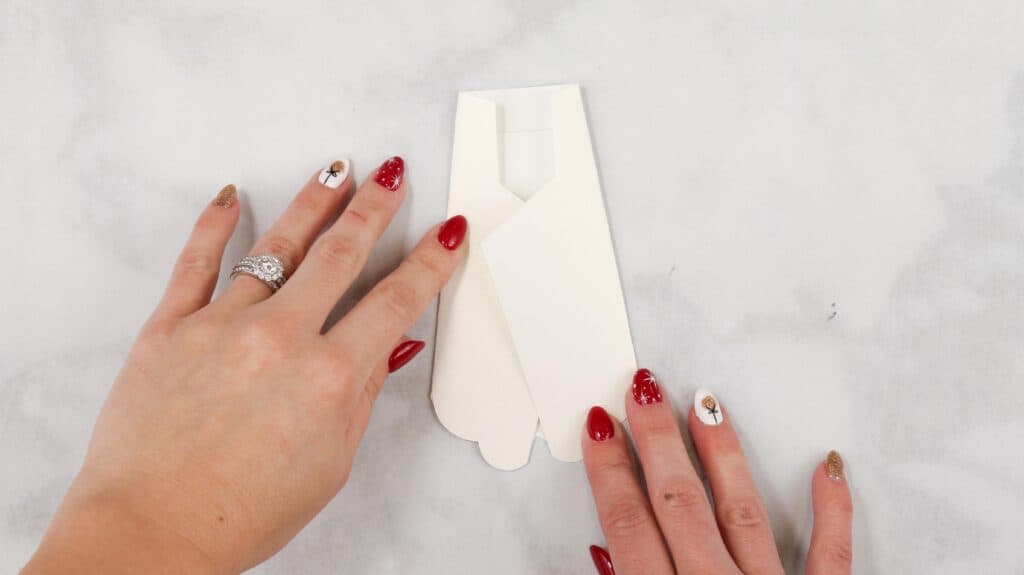
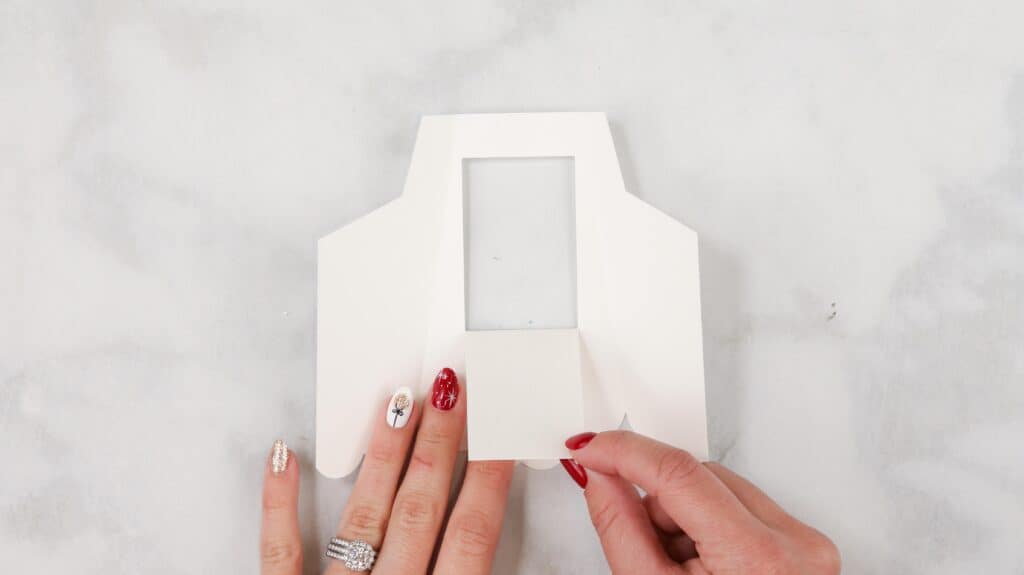
Create the candle supports by folding them along the scoring lines so they resemble the bottom photo.
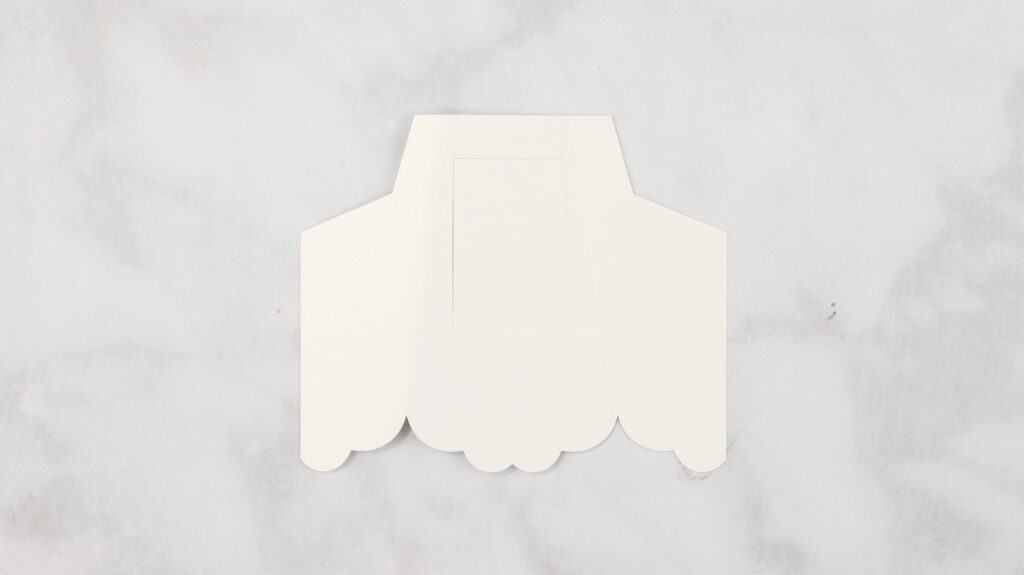
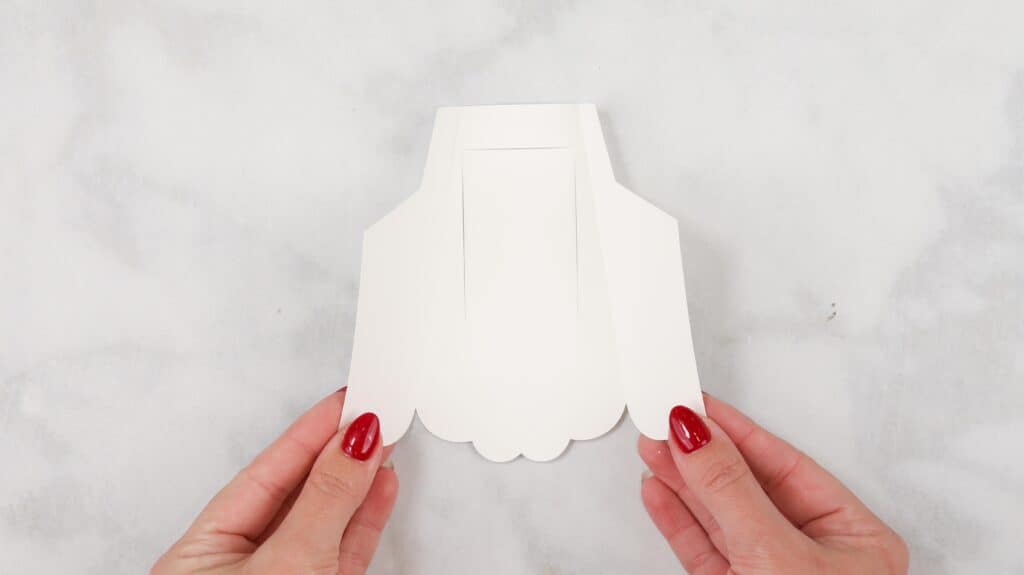
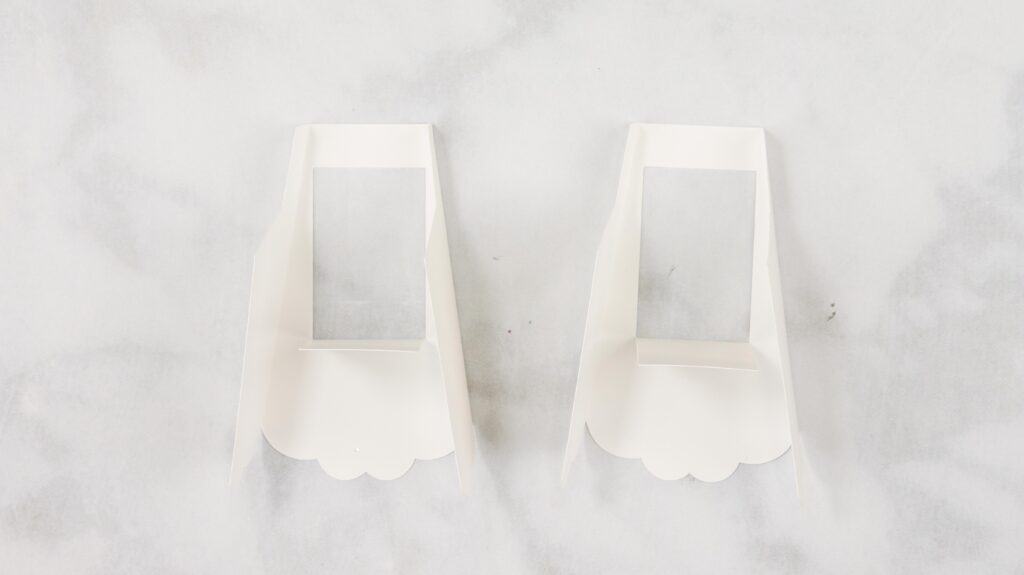
Add in the supports to one side of the angel to resemble the photo below.
The sides of the supports should be placed side by side and glued to the angel.
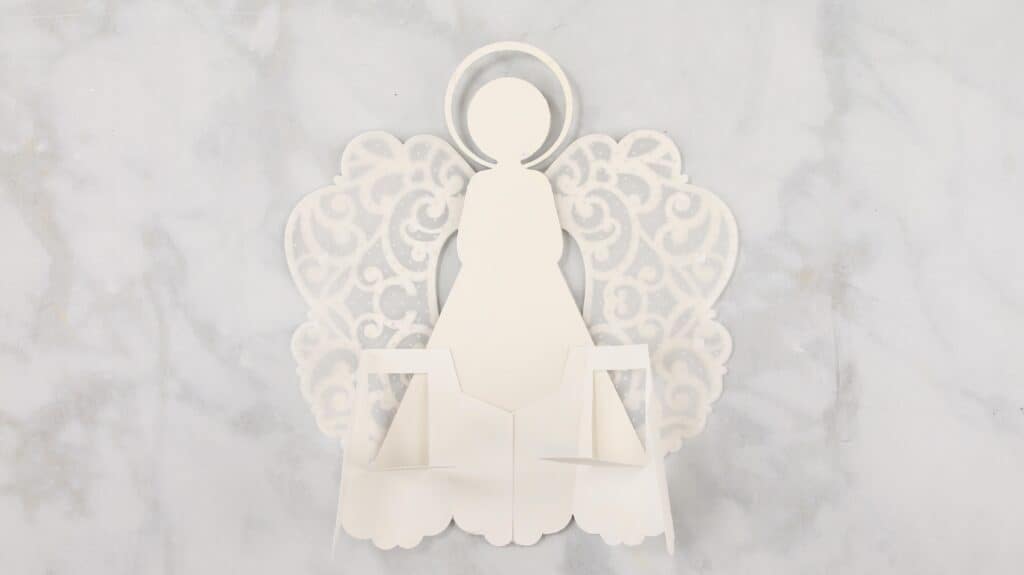
Bring the two supports together and glue the middle flaps together. This is where the candle will sit. The sides should be aligned, mimicking the other sides that are already attached to the angel.
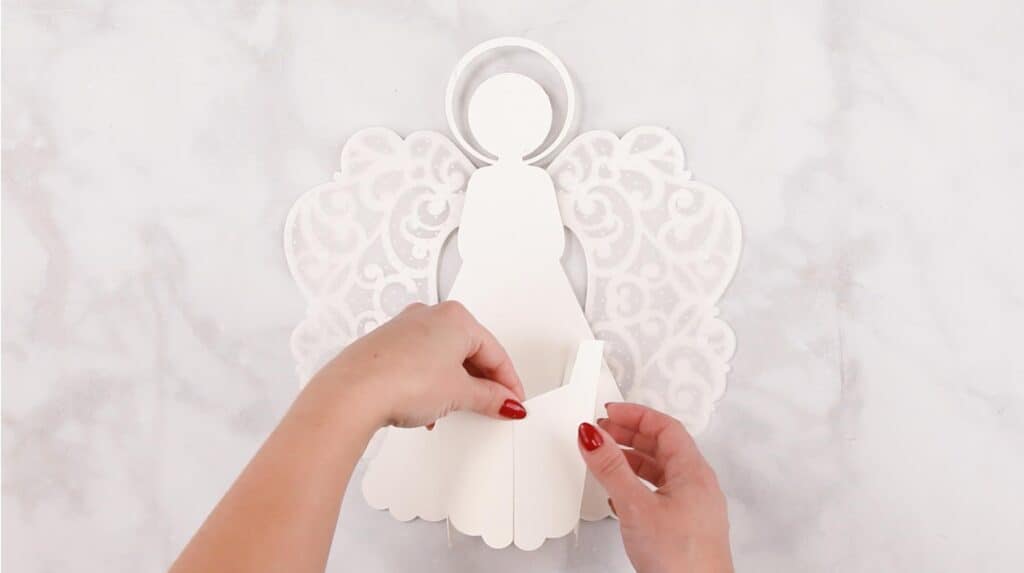
Adhere glue to the supports and connect them to the other angel.
Next, use a glue dot to connect both sides of the angel's halo together.
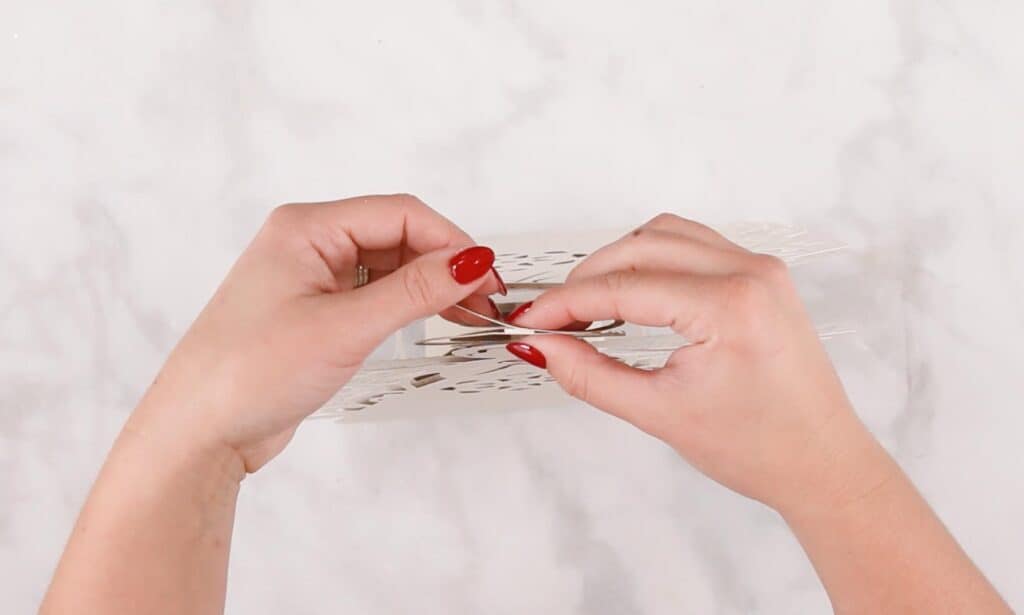
Now you have your 3D Christmas Angel. You can use this as a tree topper, to decorate your mantel, or even as an ornament to hang on your tree.
Add a tea light to the center candle holder to illuminate your design for an extra special touch!
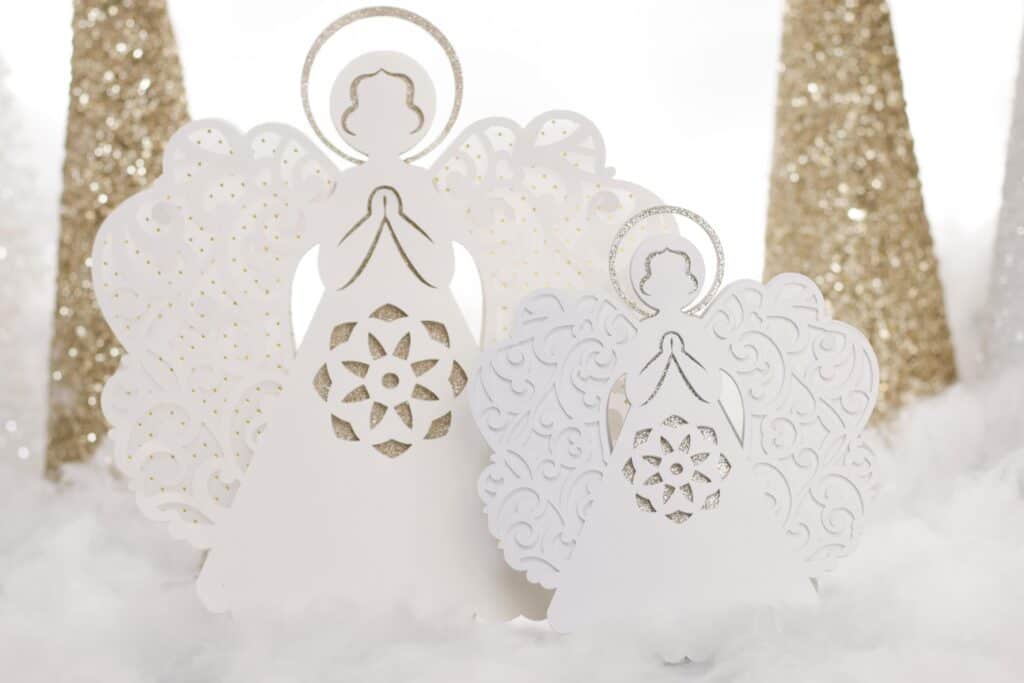
You can increase or decrease the size of the file to customize the design to your preferences.
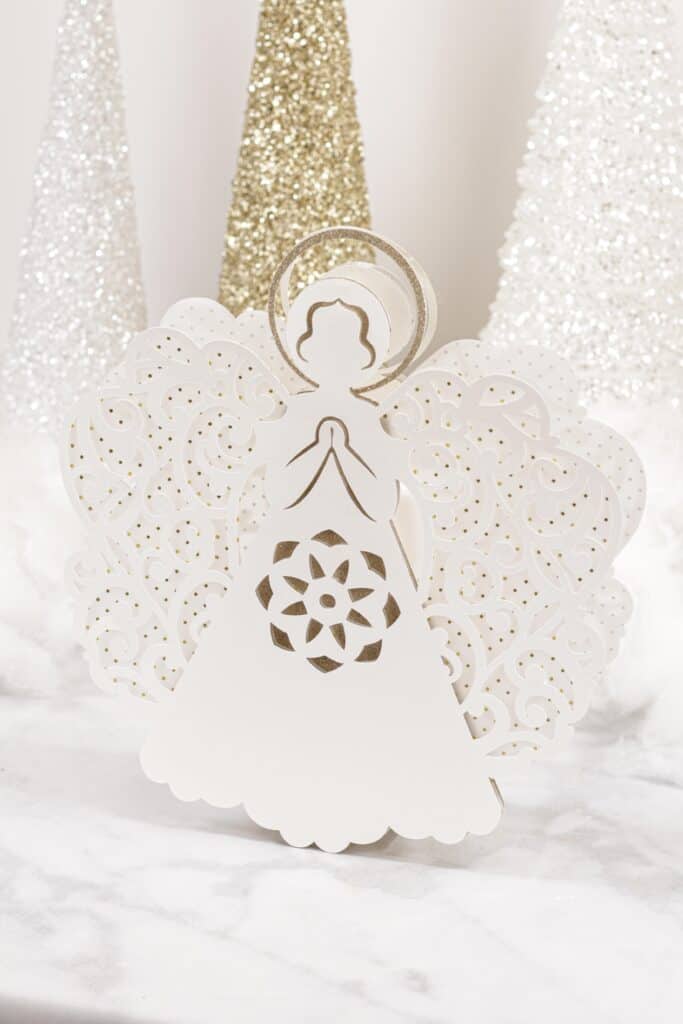
Look how stunning this angel is once a tea light has been added!
Don’t want to forget about this free template? Save this project for later! Click here to save this project on Pinterest.

Don't forget to post your finished angels on Instagram and use the hashtag #sweetredpoppy to be featured in our Instagram stories.
Follow Sweet Red Poppy on Instagram to get a look behind the scenes, find out about new patterns and enter our giveaways.
Join my Cricut, crafting and sewing Facebook group where you can show us what you’re making, ask questions, and learn from others!

Great
Wow
Gorgeous and thank
you creating the file!
Carla from Arizona
So happy you enjoy it, Carla!
hi there first ty for this beautiful angel i'm interested to know as you used gold cs how does the light show thru?.. mine doesn't..also are those holes punched on the inner one? i'm thinking of using pearl vellum there..tia merry christmas and huggzz fron Canada
Hello Gail! You're correct, we used a polka dot vellum paper for the middle layer so the light shines through. Good luck!
hope you can help me l download the Christmas Angle when when l try to open in cricut it won't open thanks