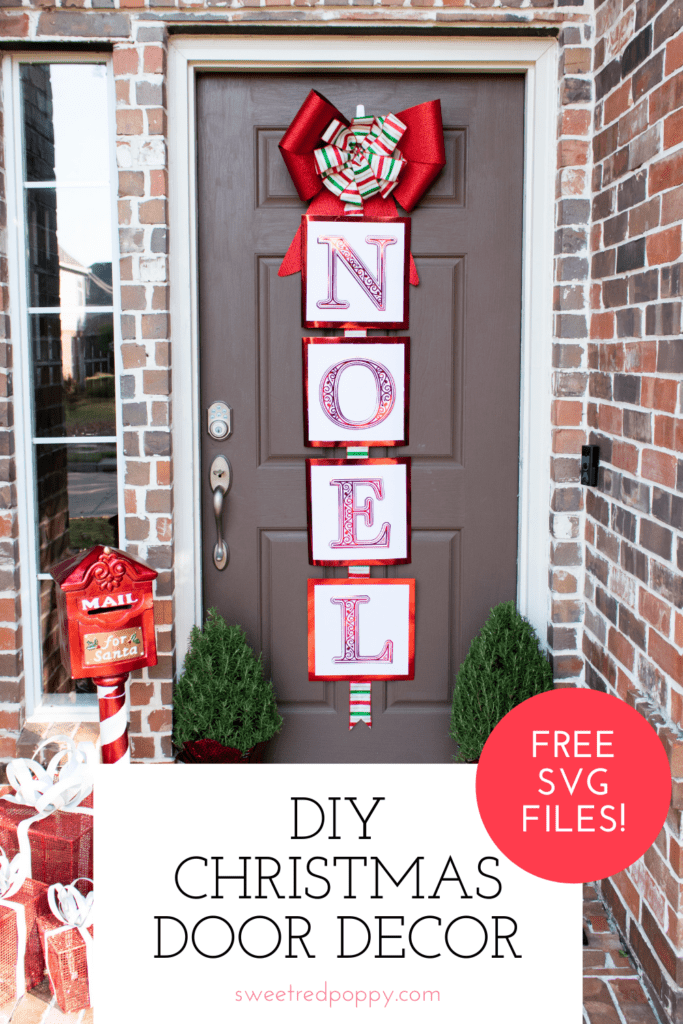
Find out my favorite DIY Christmas door decor idea and get a free SVG to decorate your doors for Christmas.
Want to know my secret to decorating my house for the holidays? I'm obsessed with Christmas door decorations.
And I'm not talking about the traditional door wreath.
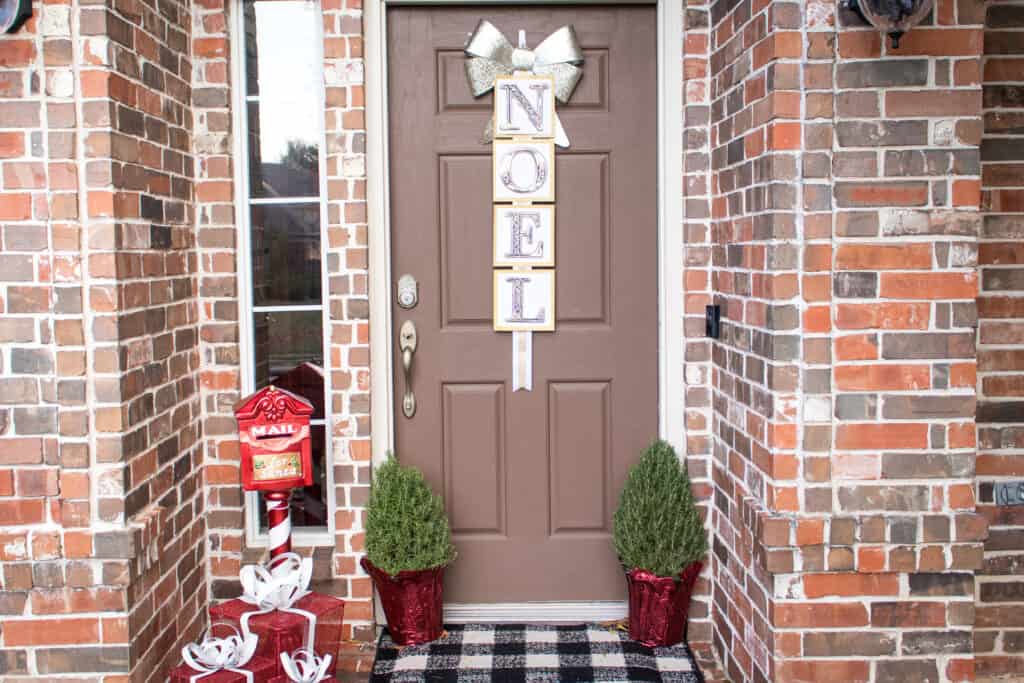
I love to make custom Christmas door decorations that are simple yet elegant.
Doors make the perfect blank canvas and are a really easy and fun way to add holiday decor throughout the house.
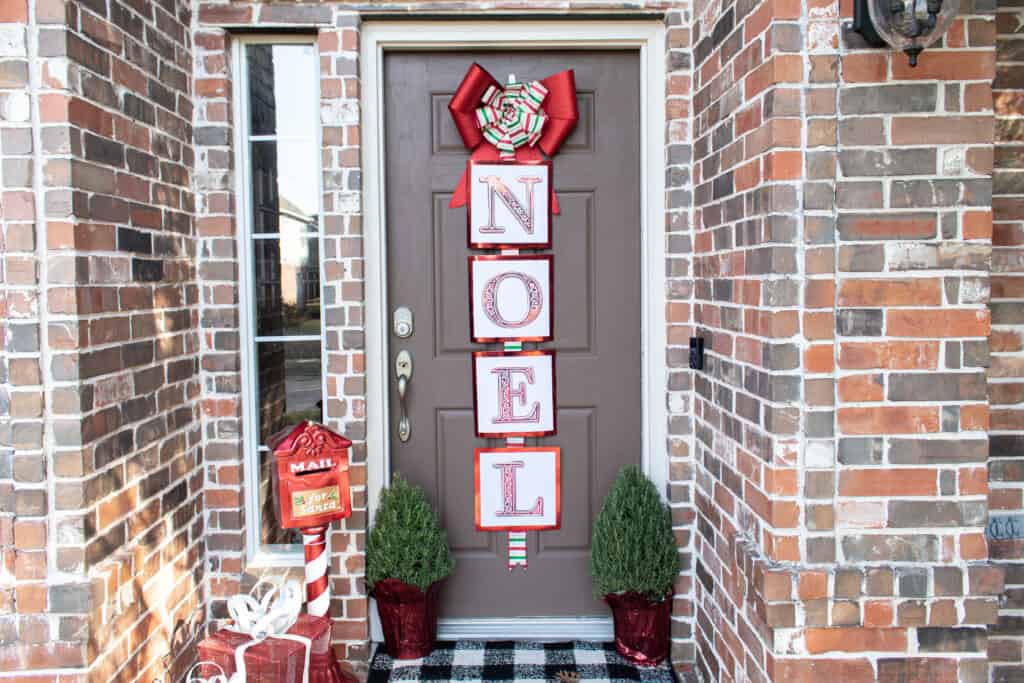
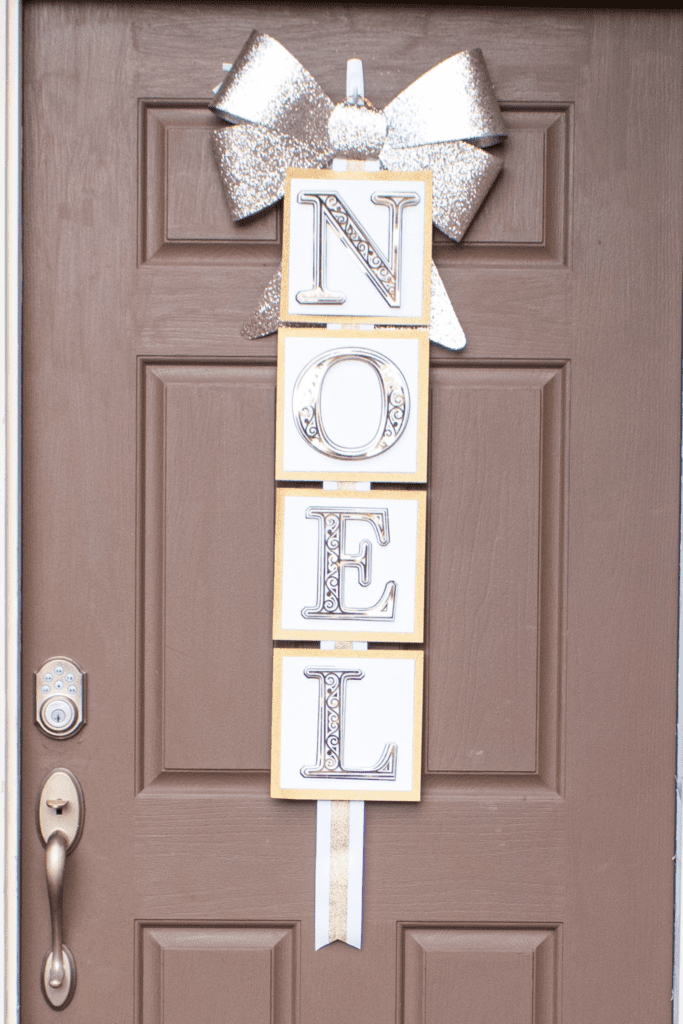
I used two different colors of cardstock to frame the letters and hung them vertically on a piece of ribbon with a bow on top.
Depending on the color combinations you choose for the cardstock and the type of ribbon, you can match your holiday home decor.
Looking for modern Christmas decor? Try a combination of gold and black cardstock.
Or perhaps you like farmhouse Christmas decor. Try adding a burlap or plaid ribbon.
Table of Contents
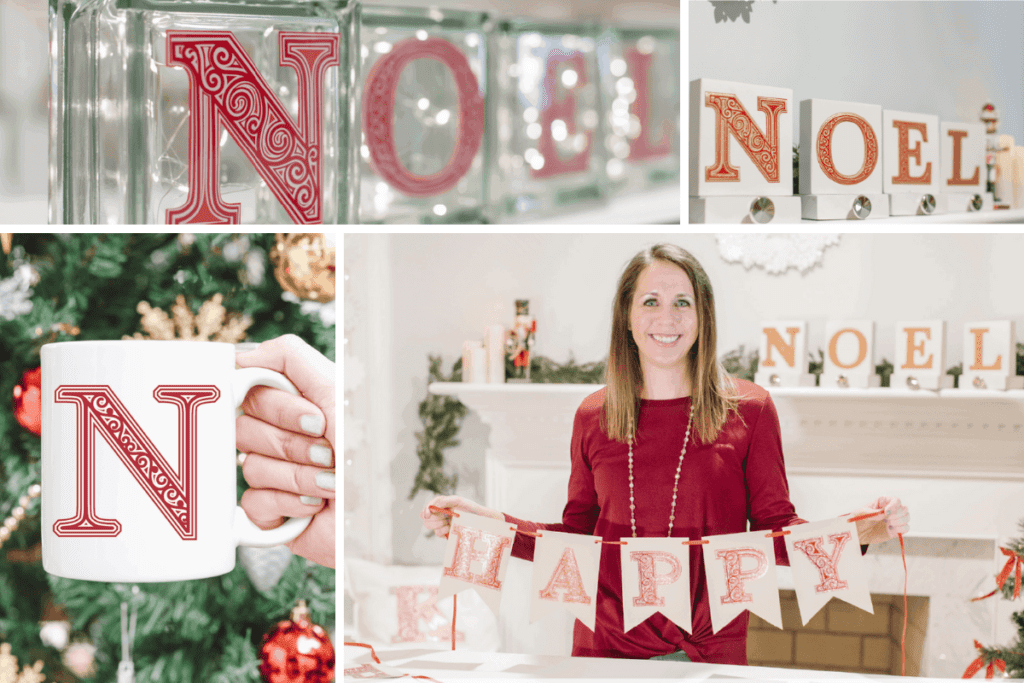
HOLIDAY LAYERED LETTER SVG
This Noel door decoration is made using my Holiday Layered Alphabet.
You can download the letters to spell Noel for FREE below or purchase the entire alphabet to create a custom meaningful holiday word like Joy, Peace, Merry and more.
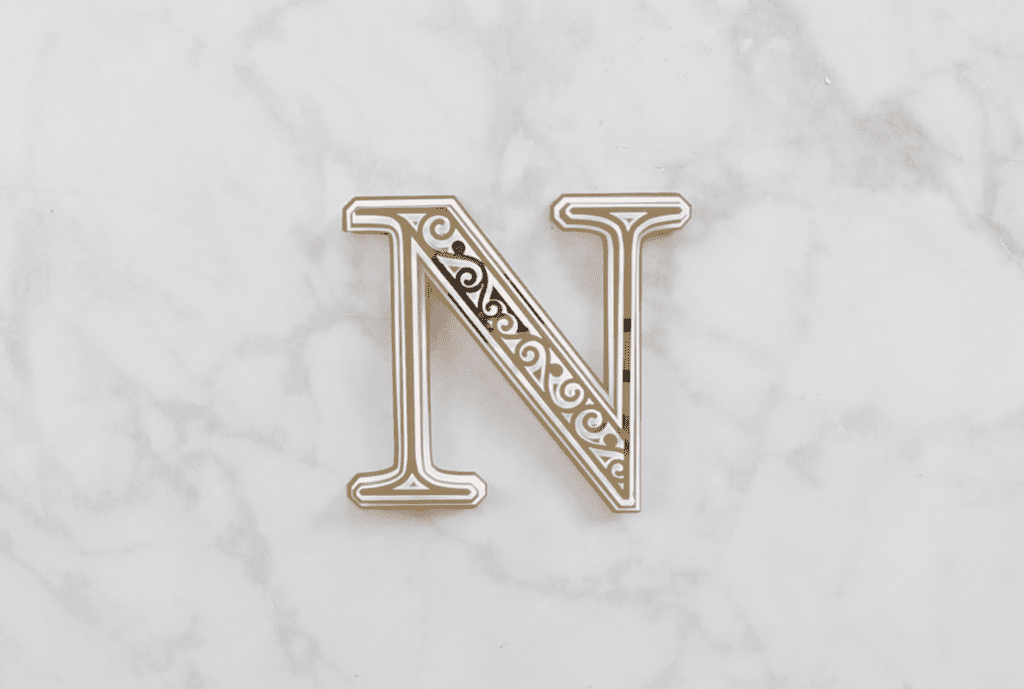
Each letter has five easy-to-cut layers you can cut using a smart cutting machine.
The 3D look is created by using foam adhesive in between each layer which is double-sided, thick adhesive that gives the letters their dimension.
This layered alphabet was designed by our Creative Director, Maggie. Look at all the different ways she used these designs. You can view more of her layered cut files here.
SUPPLIES
To make this Christmas door decor, you need:

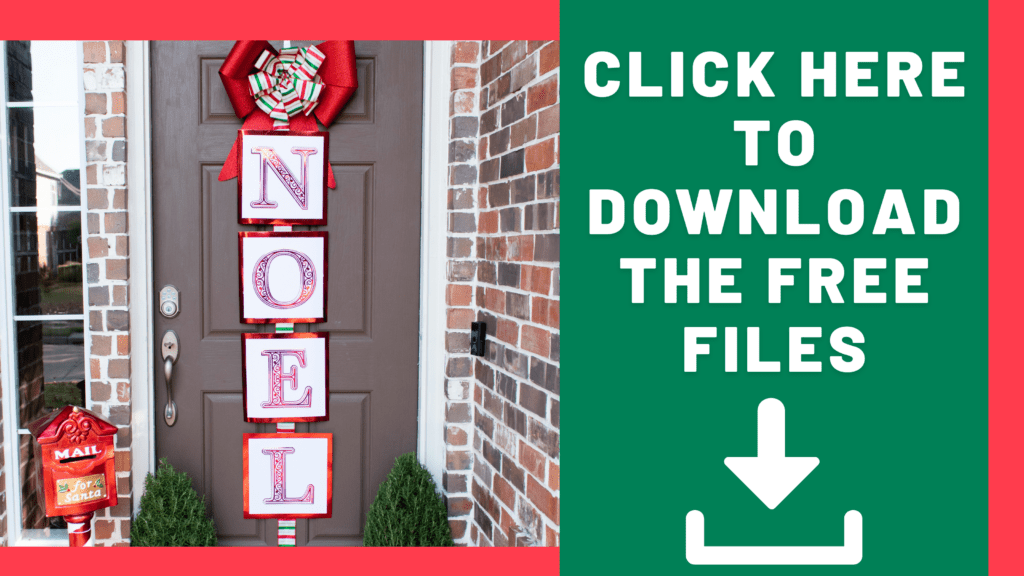
Click Here to Download the FREE Noel Cut Files
Purchase the Full Holiday Layered Alphabet
Step 1: Upload the SVG File to Design Space
Open Cricut Design Space and click the + to create a new project.
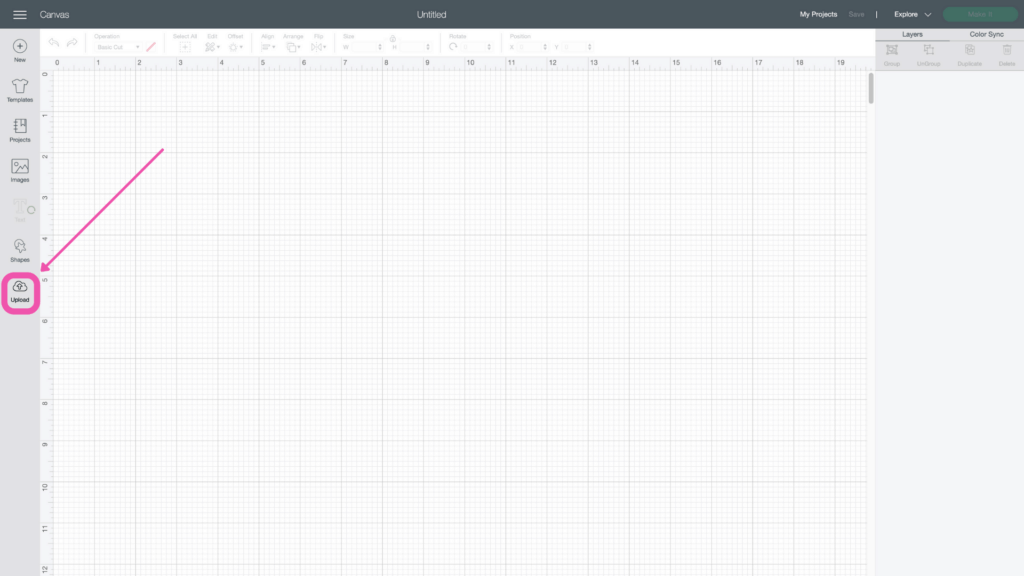
In the Design Panel on the left, select "Upload."
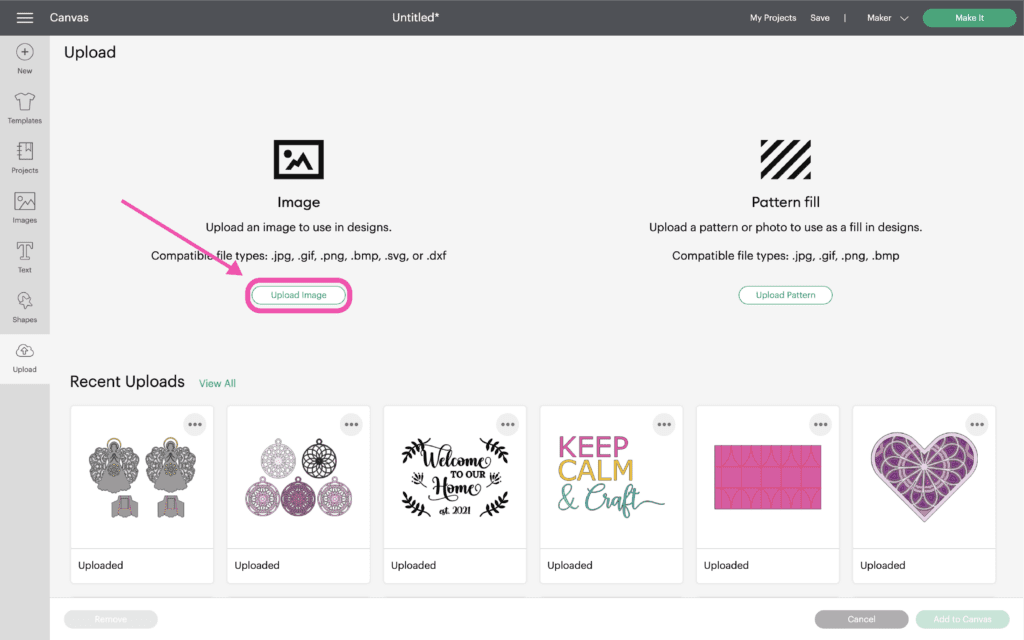
Click “Upload Image.”
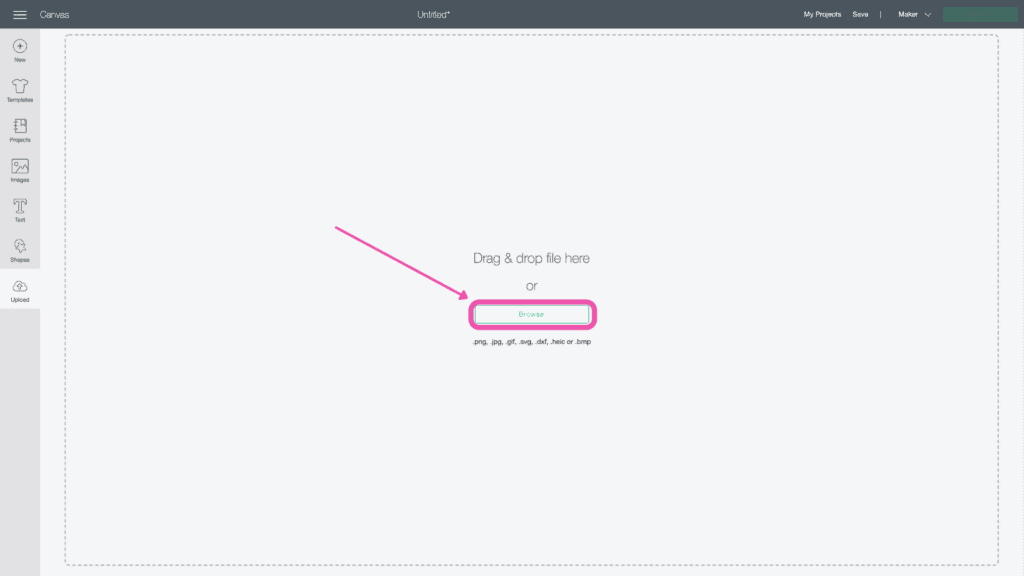
Click “Browse.”
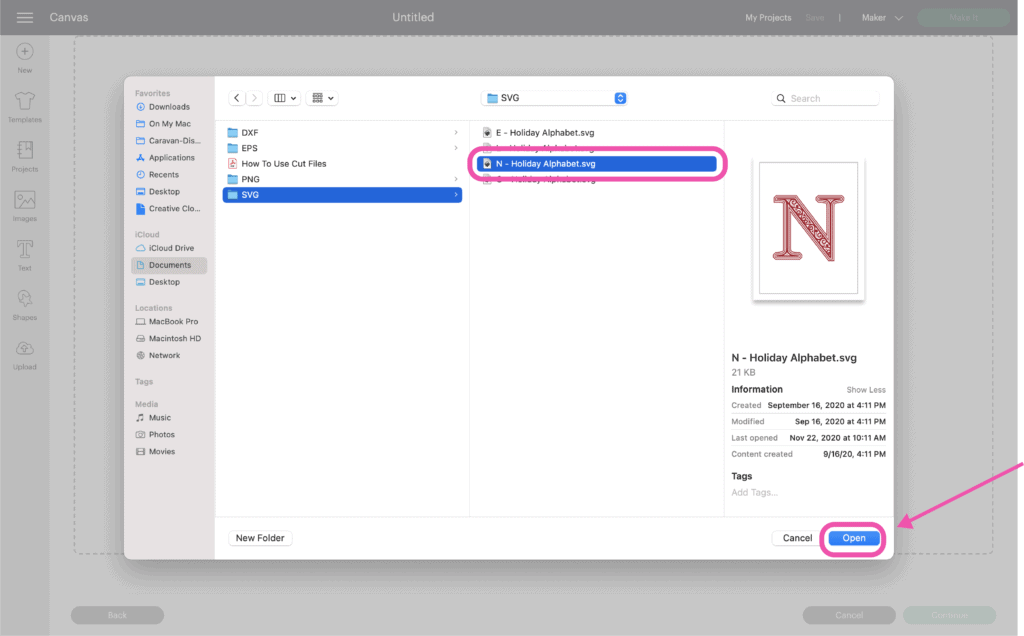
Navigate to the file on your device to upload it to Cricut Design Space.
Under Image Name you can update the name of the file and add any tags you want to include. Click Upload.
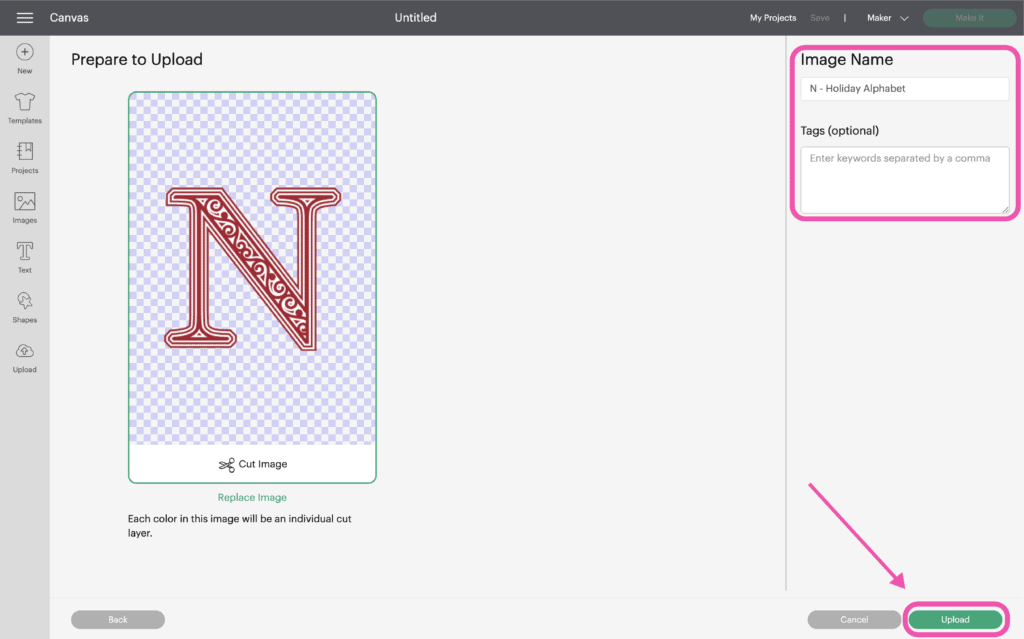
Once you have the file uploaded, select it and click "Insert Images" to bring it onto your canvas.
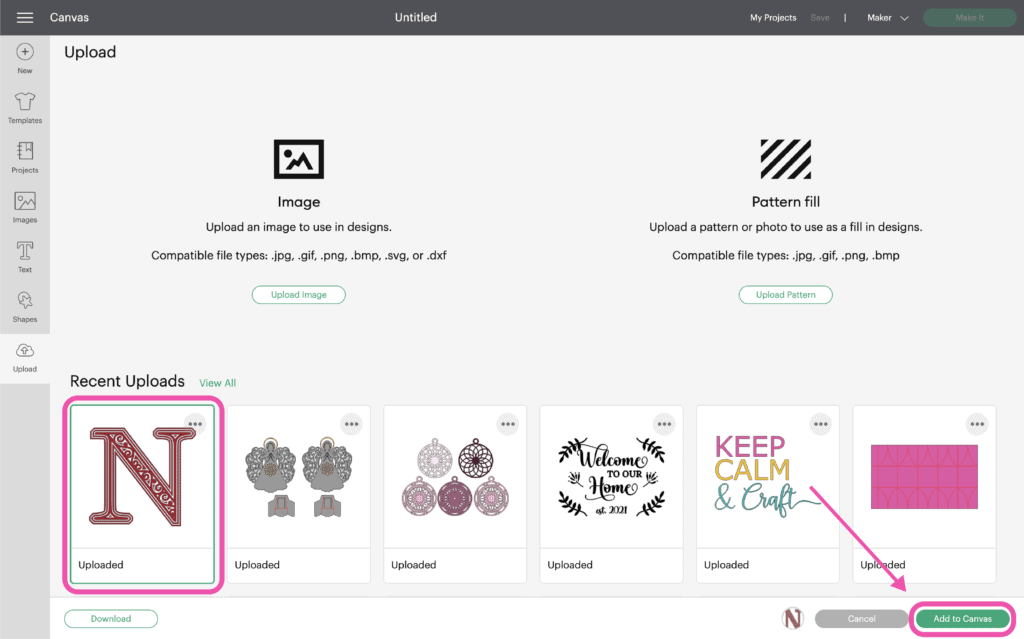
You can add all of the letters at one time on your canvas if you prefer to cut them all at once.
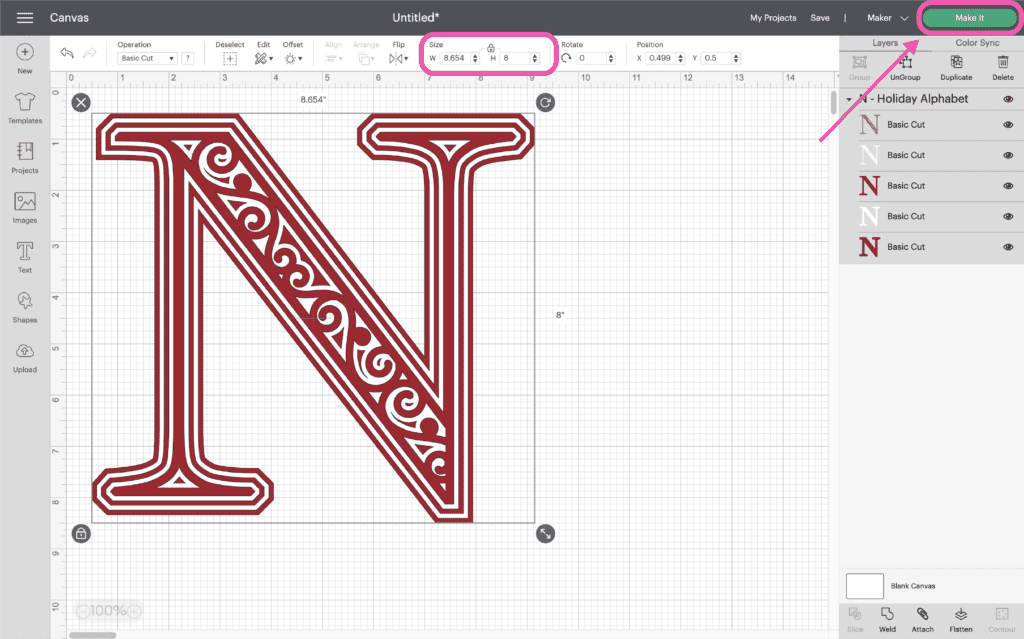
STEP 2: Resize the Letter
Resize the Holiday Layered Letter to your desired size using the Edit Toolbar at the top.
Once you have the size finalized, you're ready to cut the design! Click “Make It” in the upper right-hand corner of the screen.
This brings you to the preview screen. Select your paper size for each mat and click “Continue.”
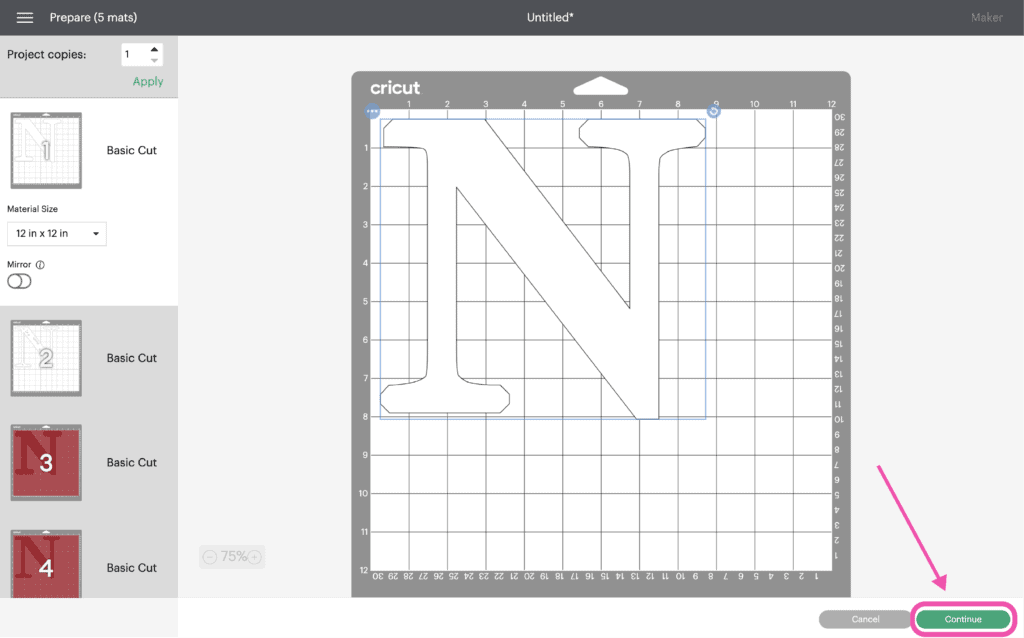
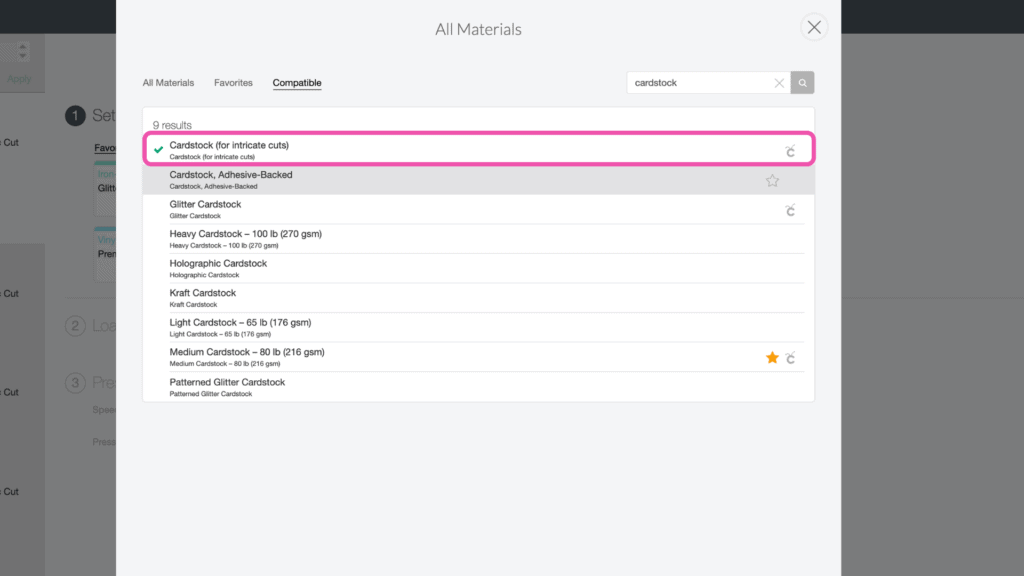
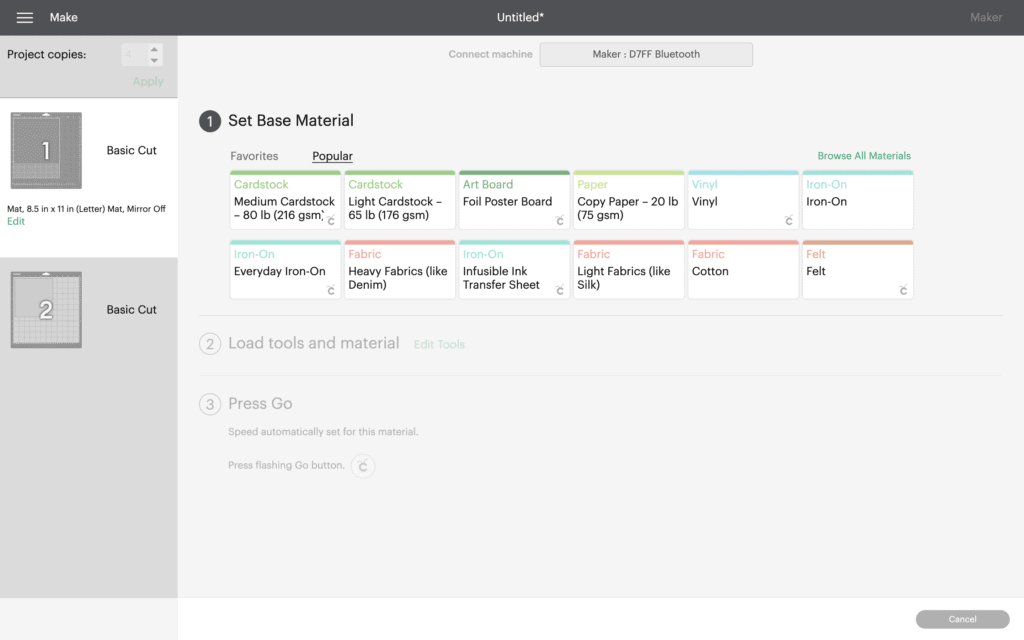
Now it’s time to connect to your machine and select your material. For all of my layered designs, I use the Cardstock (for intricate cuts) setting.
This setting cuts with slightly less pressure but cuts the design twice to ensure a clean cut.
STEP 3: Cut the Letters
Ensure your Fine-Point Blade is loaded into your machine. Peel the clear liner away from your mat. Following Design Space’s prompts, place your first color of cardstock on your mat.
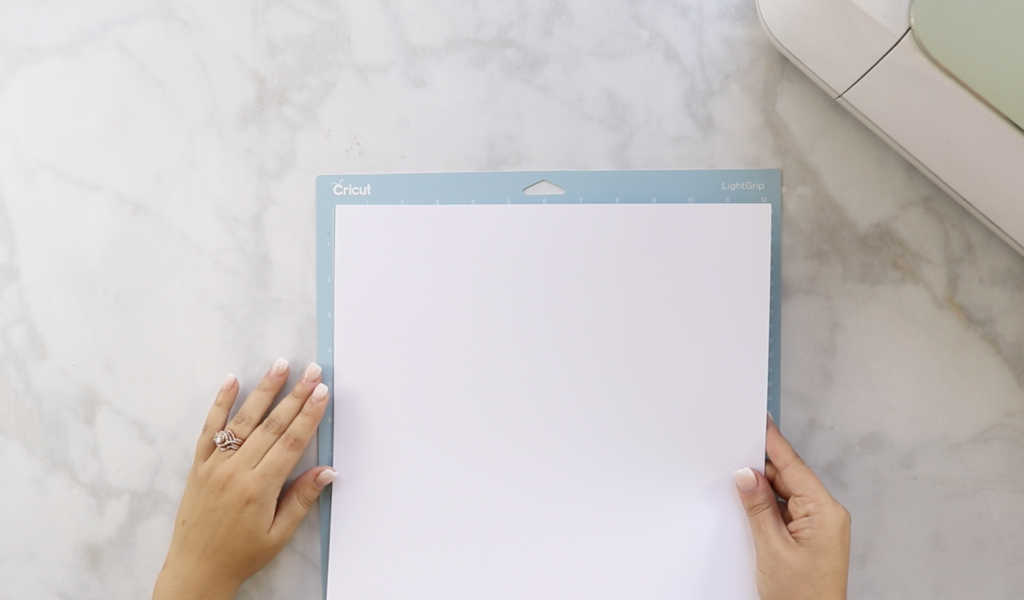
Press the load button to load the mat into your machine. Begin the cut.
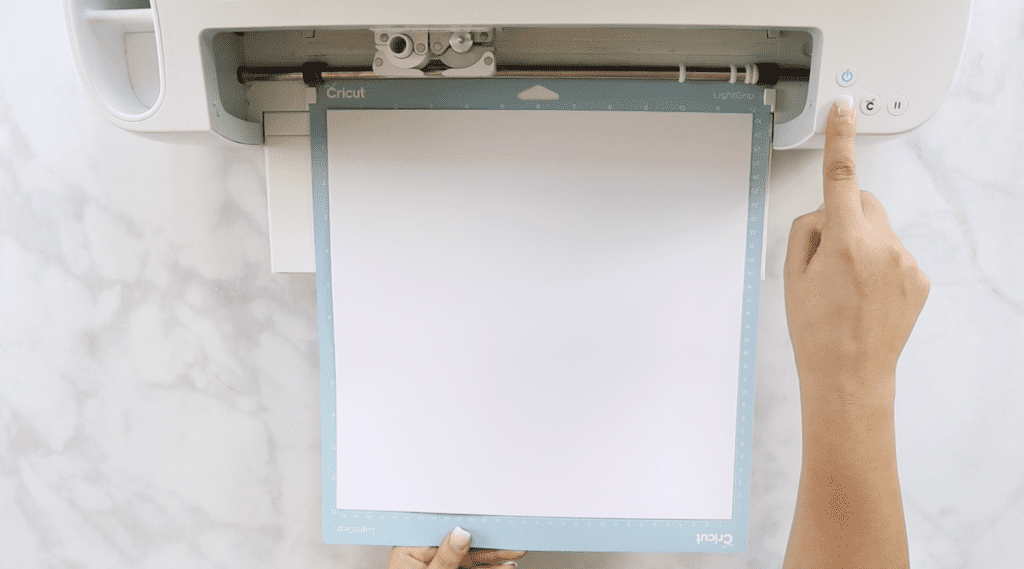
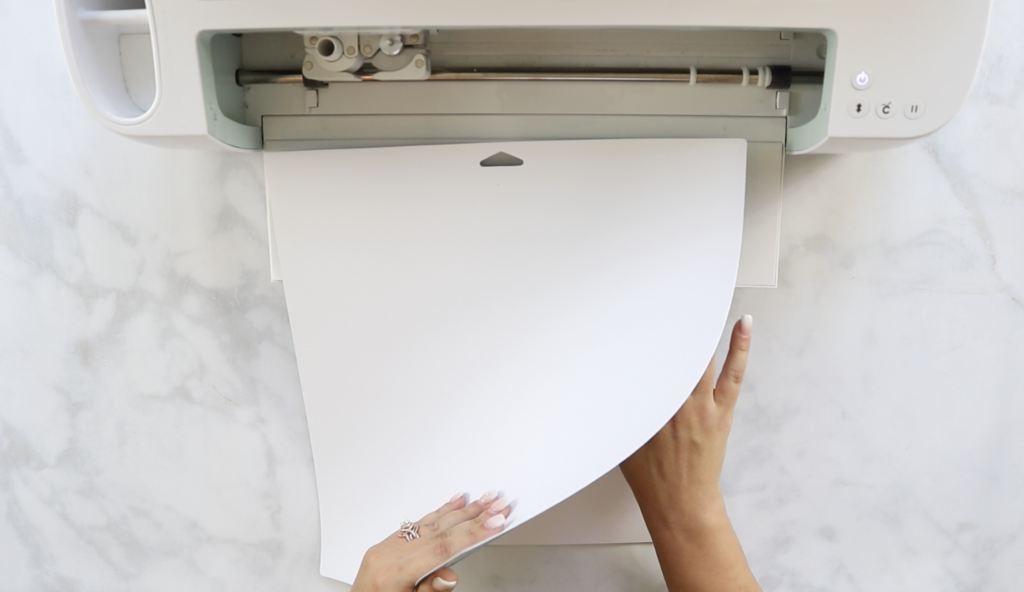
Continue to load, cut, and unload the rest of the cuts until you have all of the elements cut out. Follow the same process for the remaining letters.
Pro Tip - Peel your mat away from the cardstock to avoid tearing or rolling your cardstock.
STEP 4: Create and Cut the Frames
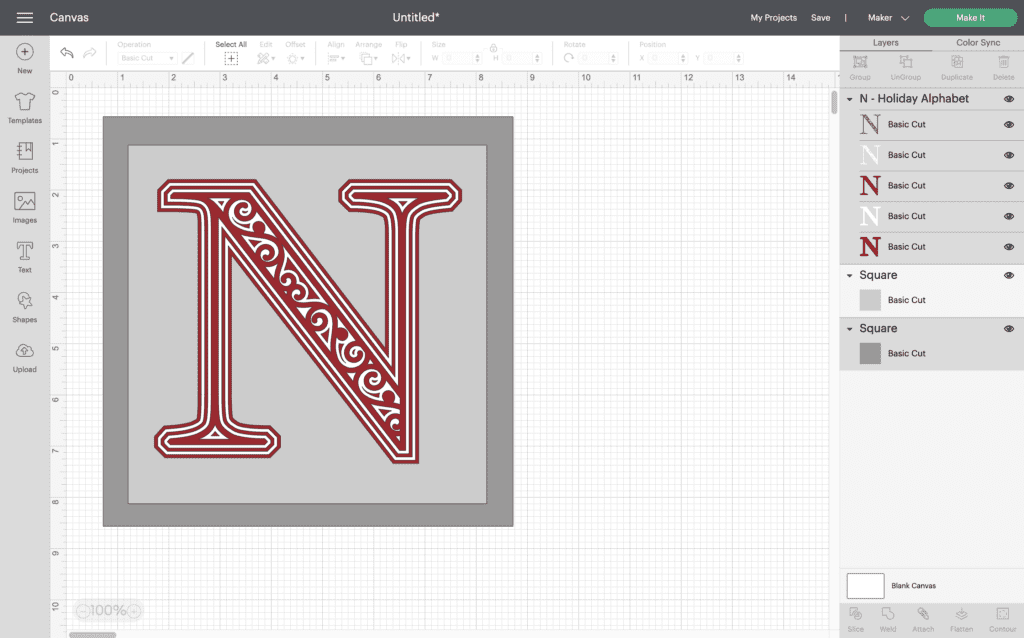
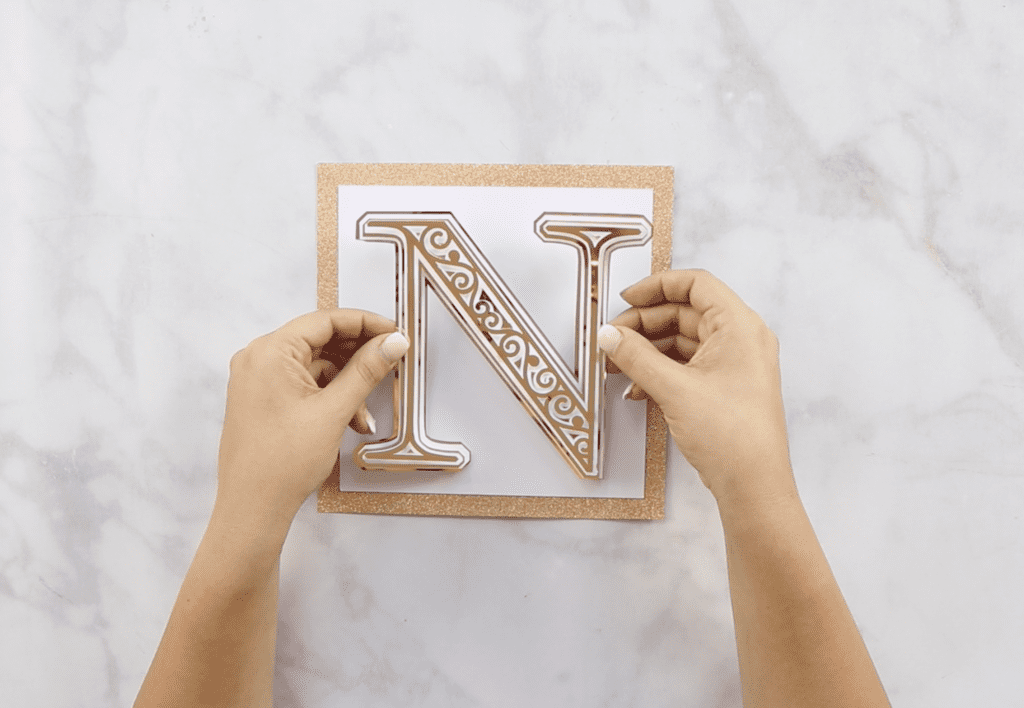
Back in Cricut Design Space, use the Square shape to create your framed background.
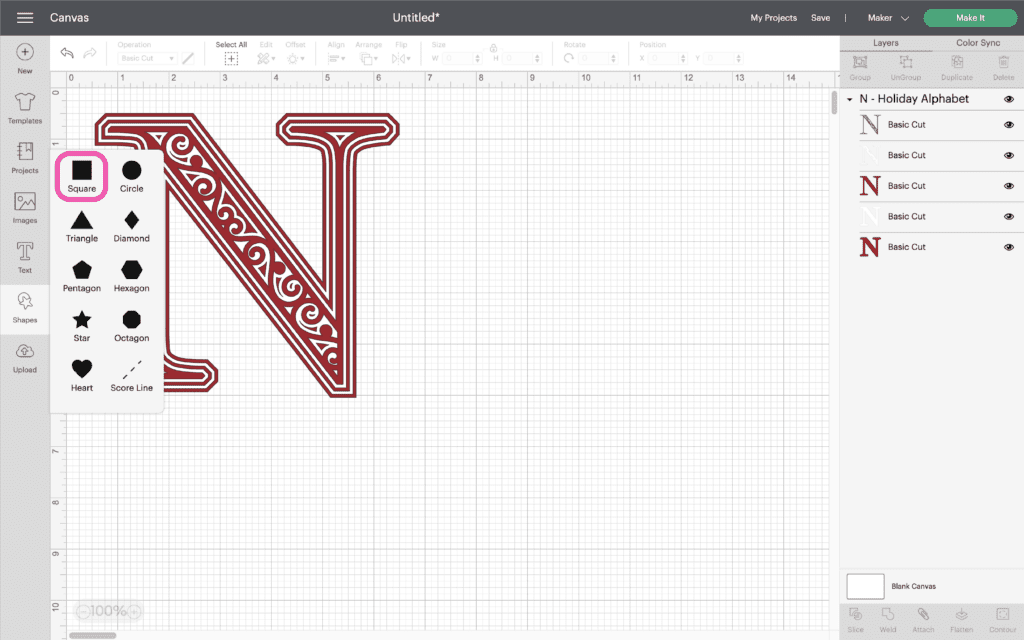
I created two different sizes of the background to create a faux frame behind each letter.
The first square is 7x7 and the second square is 8x8.
Use one of your letters as a guide to determine the size of the frames.
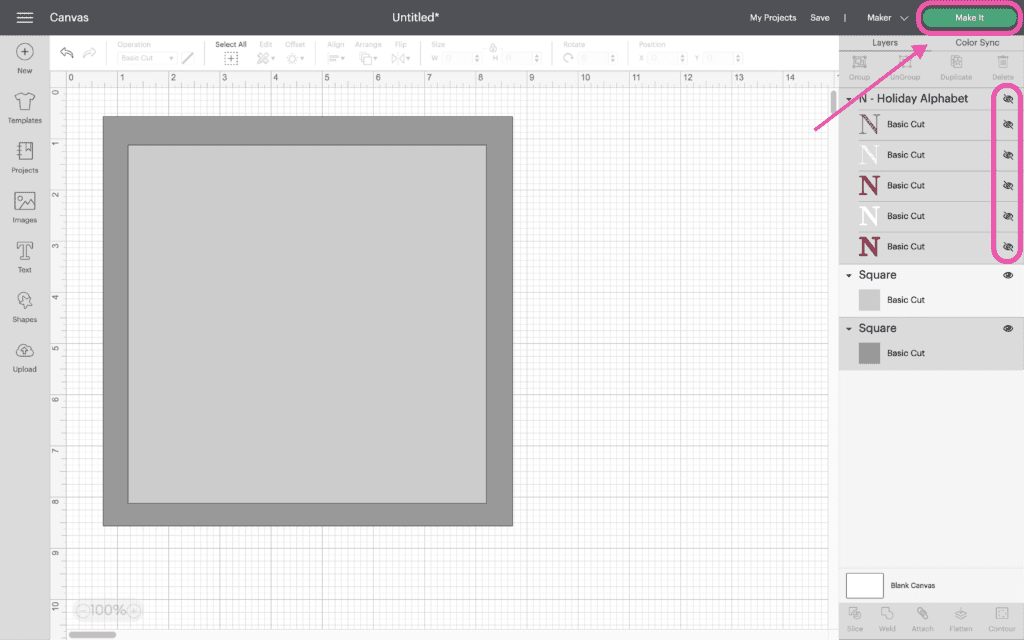
Since we've already cut the letters, hide any letters in the Layers Panel using the 'Eye' icon. Then click 'Make It'.
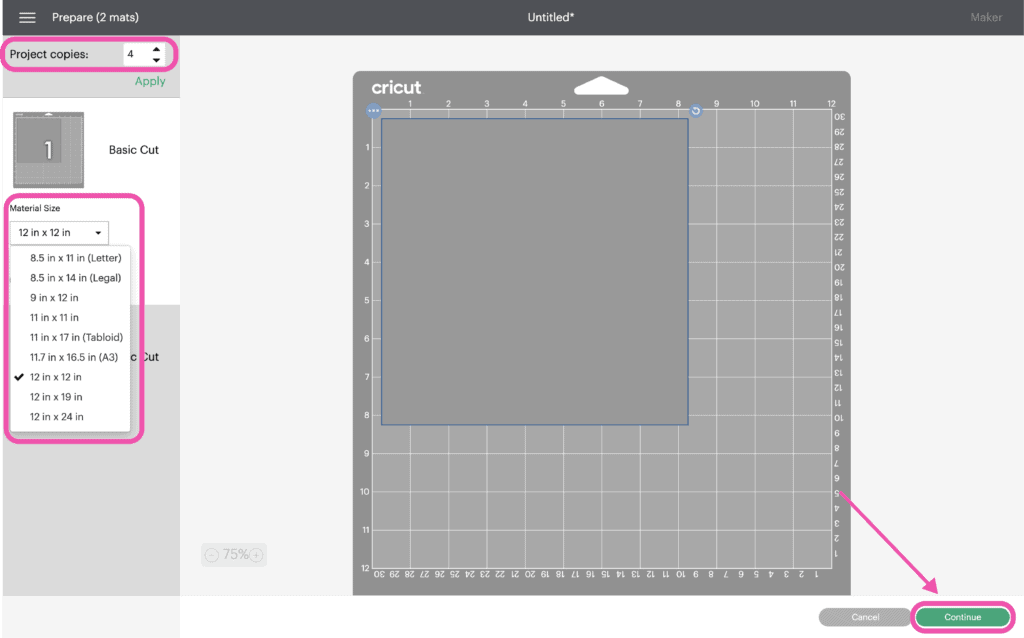
On the Preview Screen, select the number of copies, in this case we want 4 copies of the frames, one for each letter.
Select the material size you are using. Then click 'Continue'.
Connect to your machine and select the material you're using. The frames are simple enough to use Medium Cardstock but if you're using a speciality paper like Glitter make sure you select the correct Material.
STEP 5: Assemble the Letters
Cricut Design Space doesn’t cut out the layers in order so it can get confusing to piece together. Head back to Design Space to see the layers as a reference for how to put them together.
The image below shows you from bottom to top how the layers should be placed.

Begin by placing your layers out in front of you in order.

Using craft glue or foam adhesive to attach the layers together from back to front. The foam adhesive will give it the 3D effect.
Begin by placing foam adhesive or craft glue on the back of the 4th layer. Line it up with the base layer and press it in place.

Next, place foam adhesive or craft glue on the back of the 3rd layer. Line it up with your base layer and press it in place.

Then, place foam adhesive or craft glue on the back of the 2nd layer. Line it up with your base layer and press it in place.
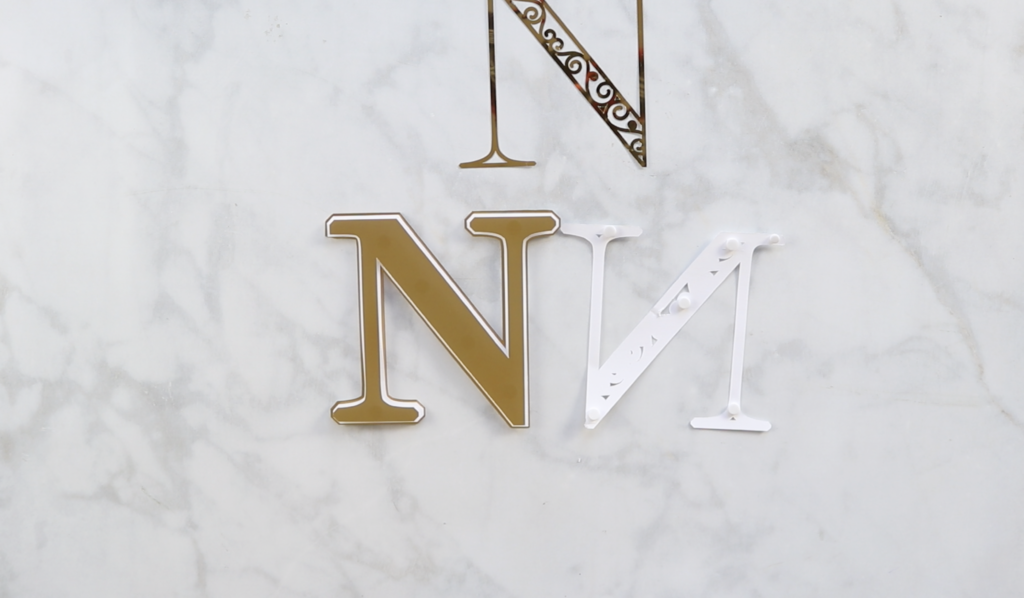
Finally, place foam adhesive or craft glue on the back of your top layer. Line it up with your base and press it in place.

Follow the same process for each letter.
STEP 5: Assemble the Frames and Letters
Assemble the top frame to the bottom frame using Glue Dots or craft glue.

Place Glue Dots or craft glue on the back of the base layer of the letter. Line it up in the center of the frame and press it in place.
STEP 6: Attach the Letters to the Ribbon
With your glue gun, attach the framed letter onto the ribbon.
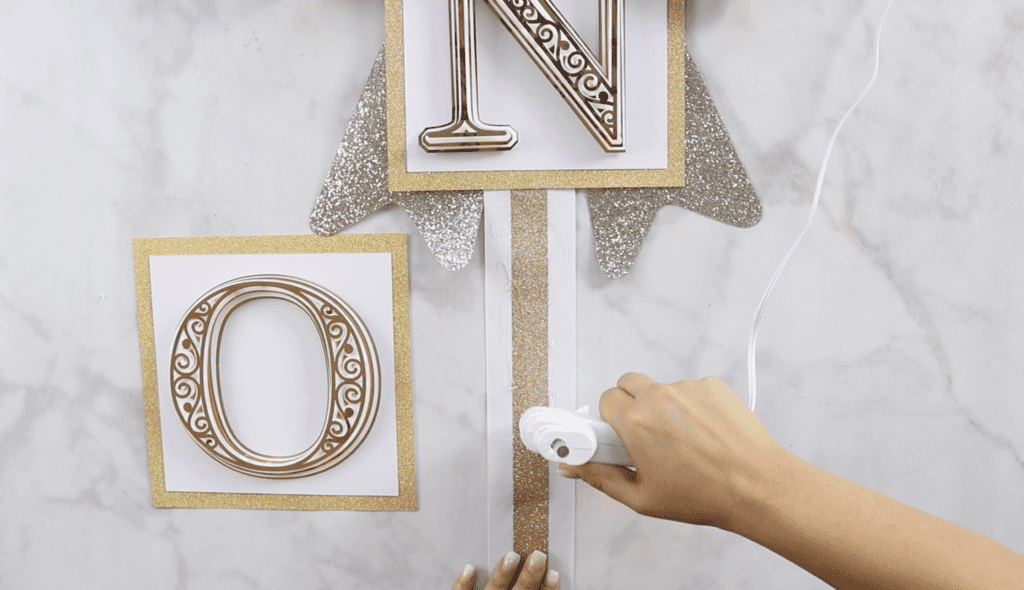
Hang your finished sign on your door!
Purchase the entire alphabet letter set here.
Join my crafting and sewing Facebook group where you can show us what you’re making, ask questions, and learn from others!
Don’t want to forget about this free template? Save this project for later! Click here to save this project on Pinterest.
Cute door decoration.
The Noel door hanging would be beautiful on my door.
ty so much
Thanks for all the great ideas! This "Noel" front door decoration is beautiful and will be my next craft project . . after I finish making my Christmas cards.