Create a Layered Mandala Holiday Paper Ornaments With a Cricut Machine and This Step by Step Tutorial, Video, and Free SVG Cut Files.
There's nothing I love quite as much as creating handmade ornaments! Each year I challenge myself to make unique handmade ornaments to add to my collection. This year, I decided to make them out of paper with my Cricut Joy.
Layered paper designs have gained a lot of popularity in the last year and I can't seem to get enough of these Mandala-style projects. You can view more Mandala projects here.

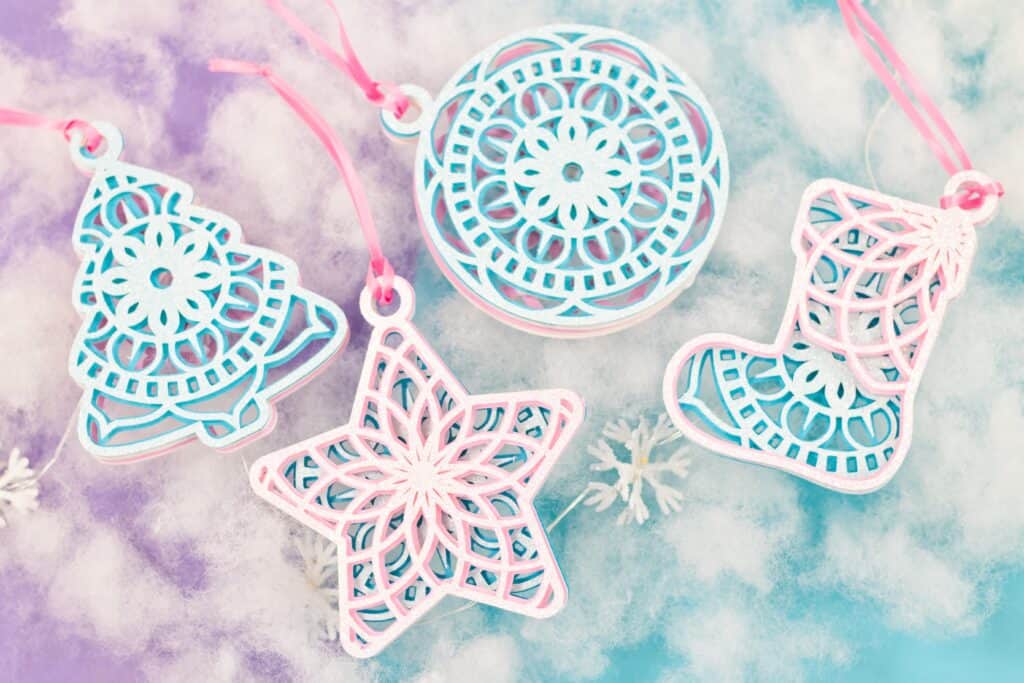
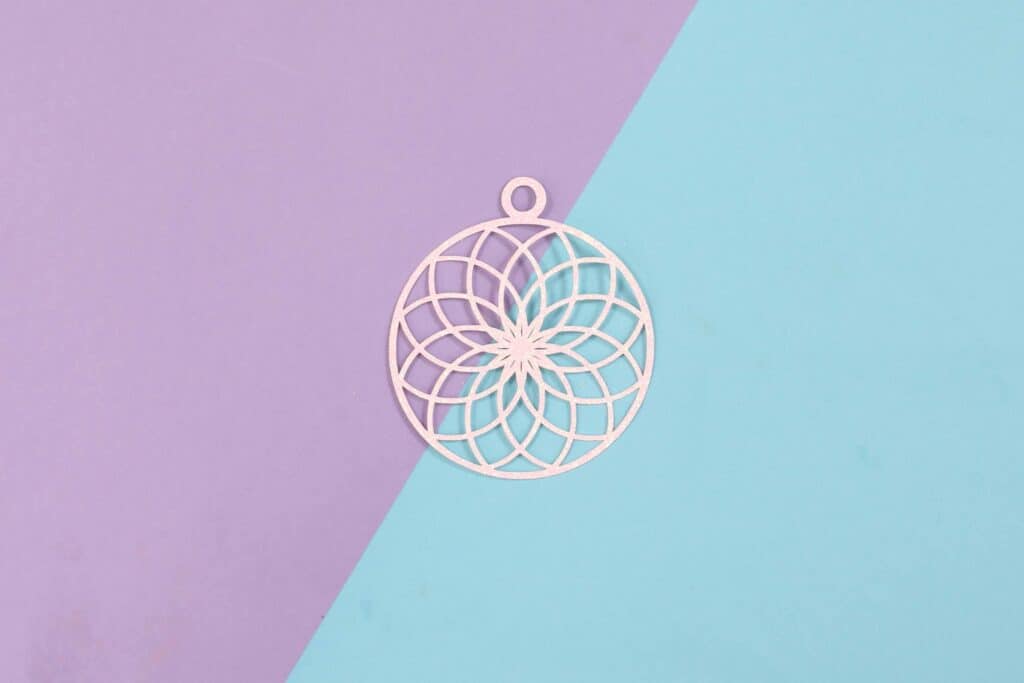
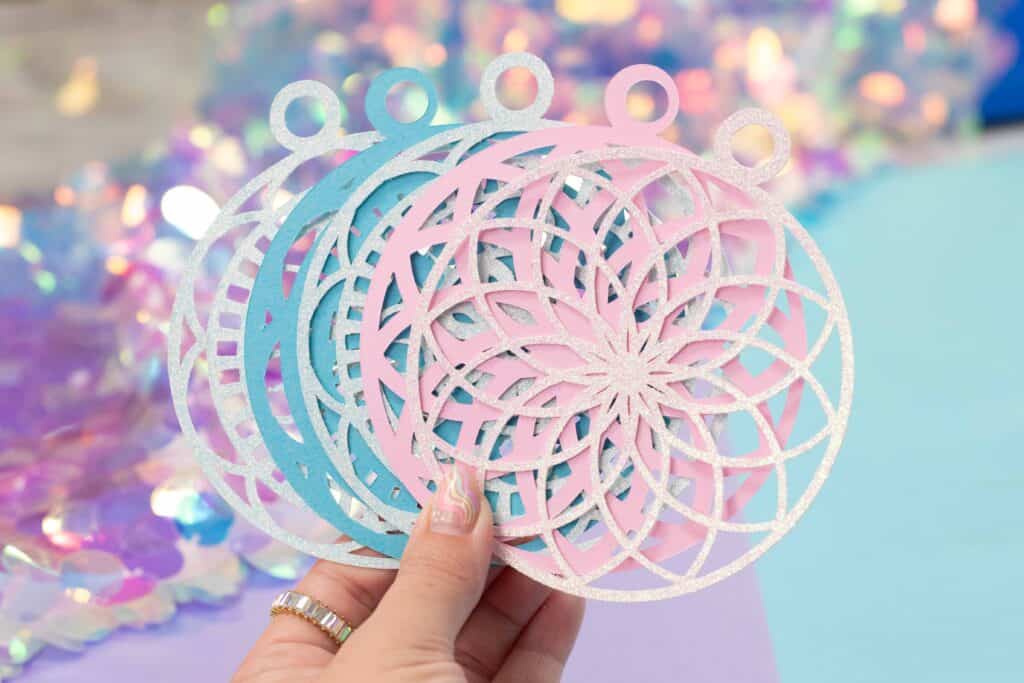
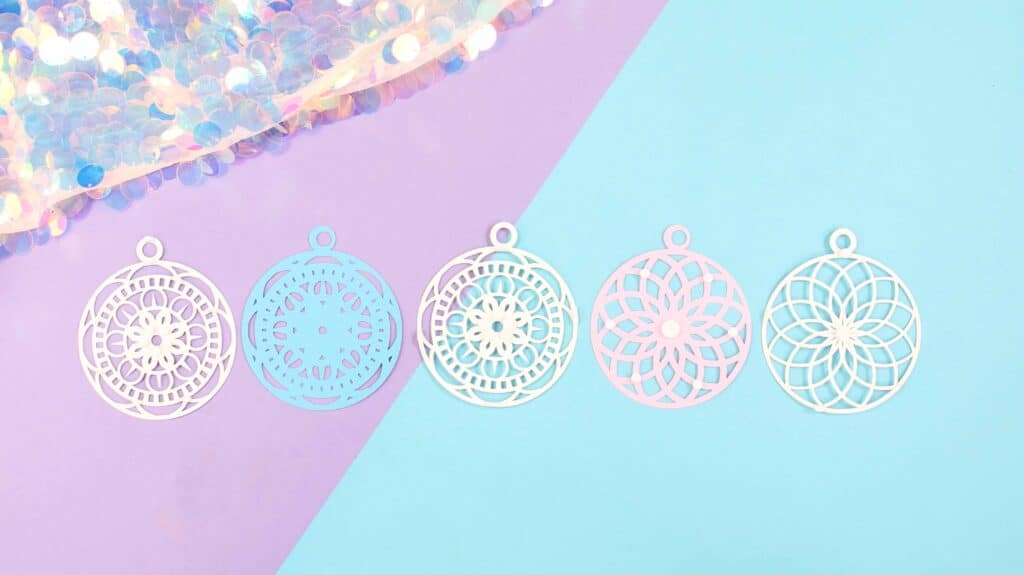
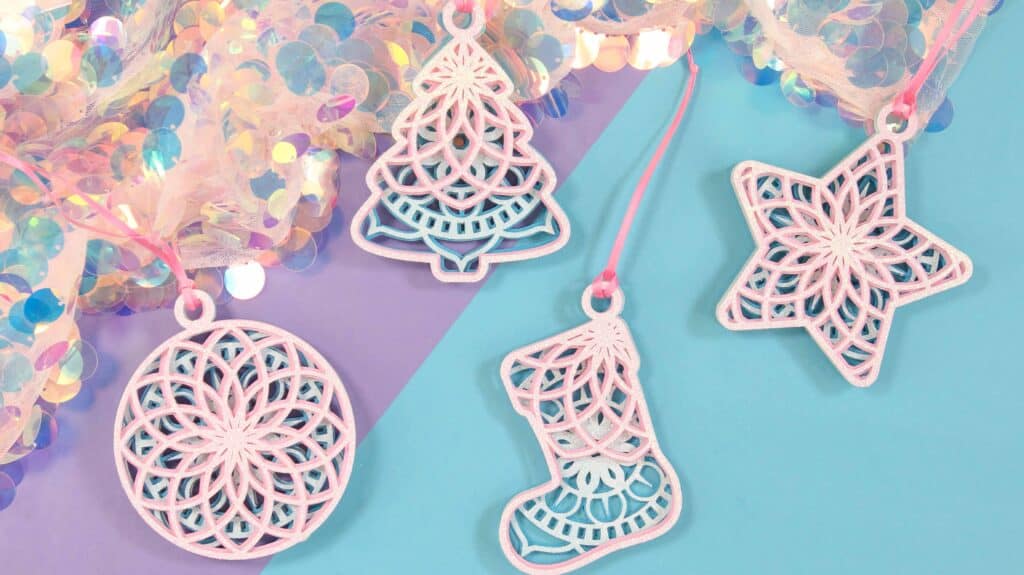
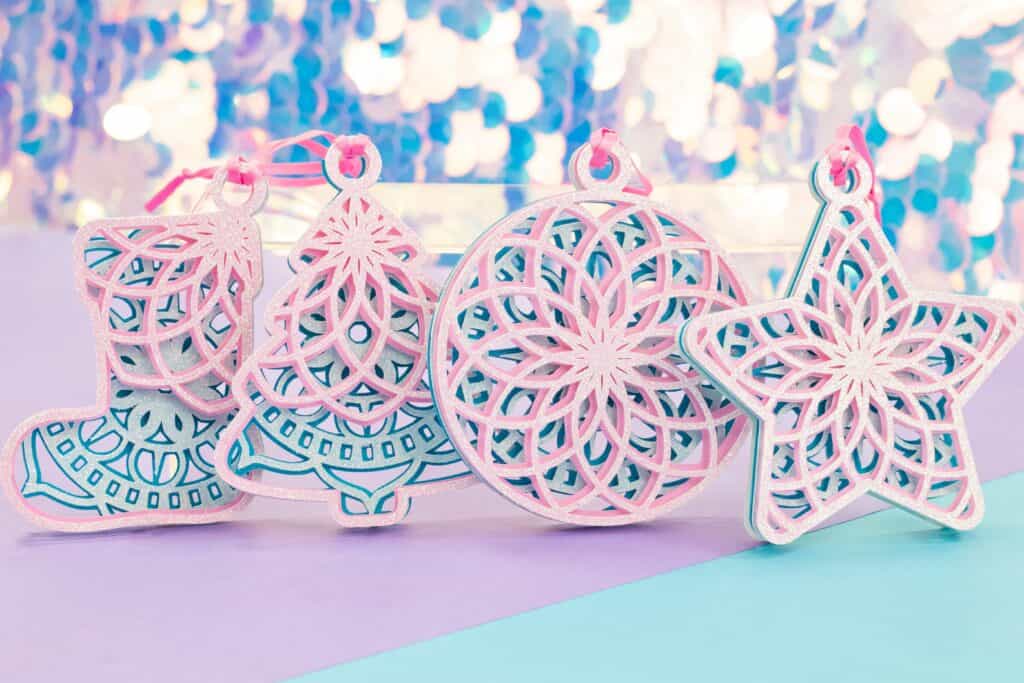
These layered Christmas ornaments were made using my ornament SVG bundle with four different styles of ornaments.
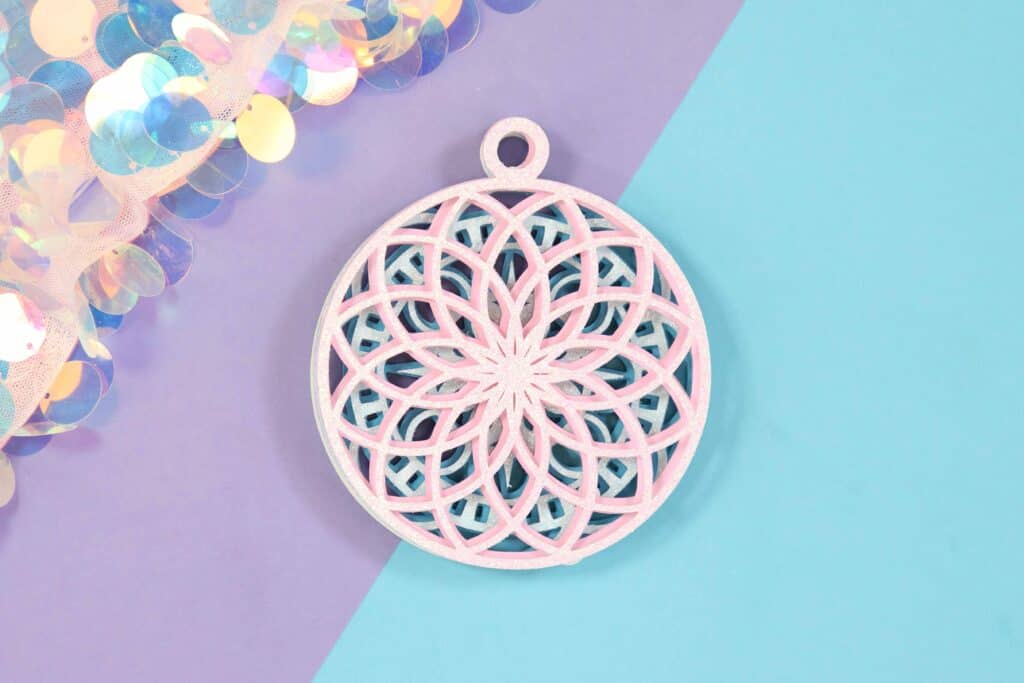
Each ornament comes with five layers. Having multiple layers means you can add a pop of color or glitter to match your style and it creates dimension and character in each ornament.

To top it off, embellish the ornaments with pearl or glitter stickers and a shiny ribbon to hang the ornament.
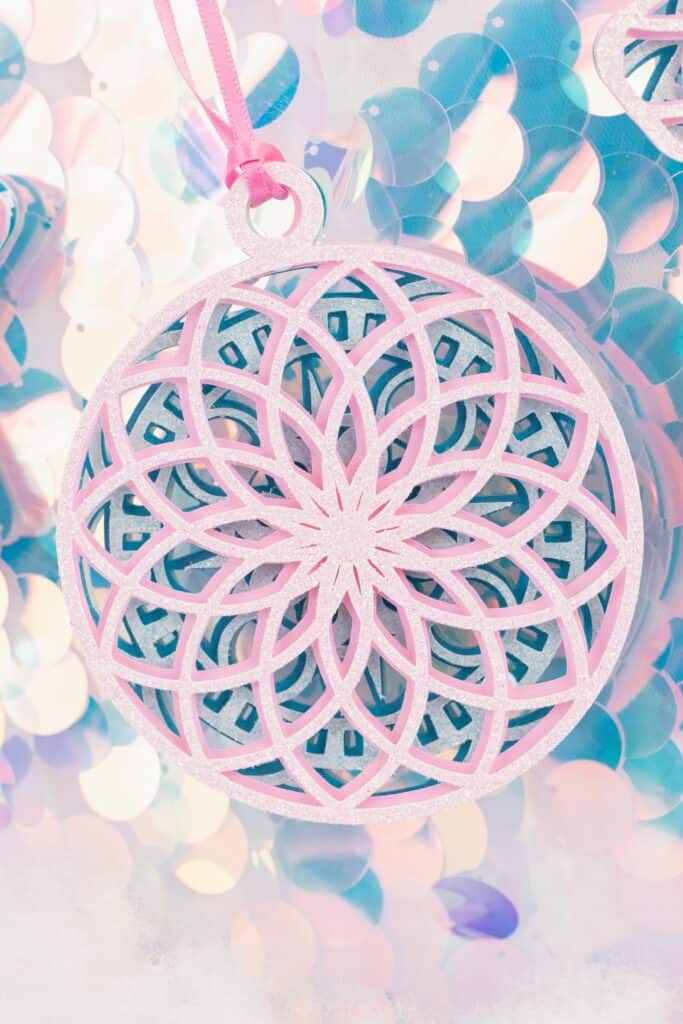

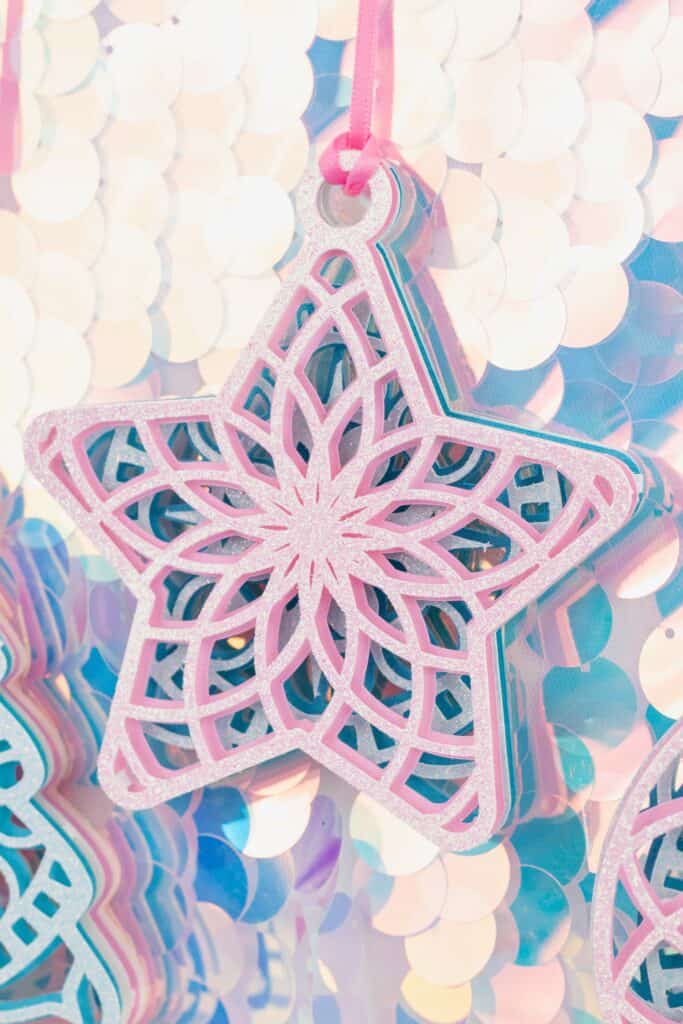
You can choose from four different layered ornaments. Each ornament features five layers. Four for the front and one on the back so that it looks beautiful even if it gets turned around.
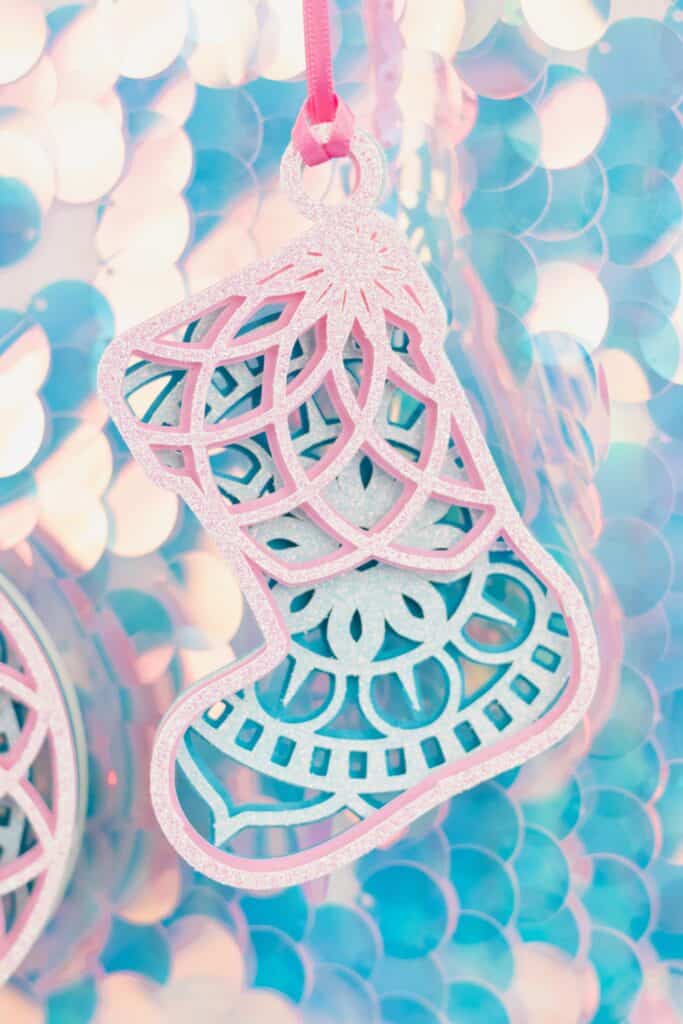
Table of Contents
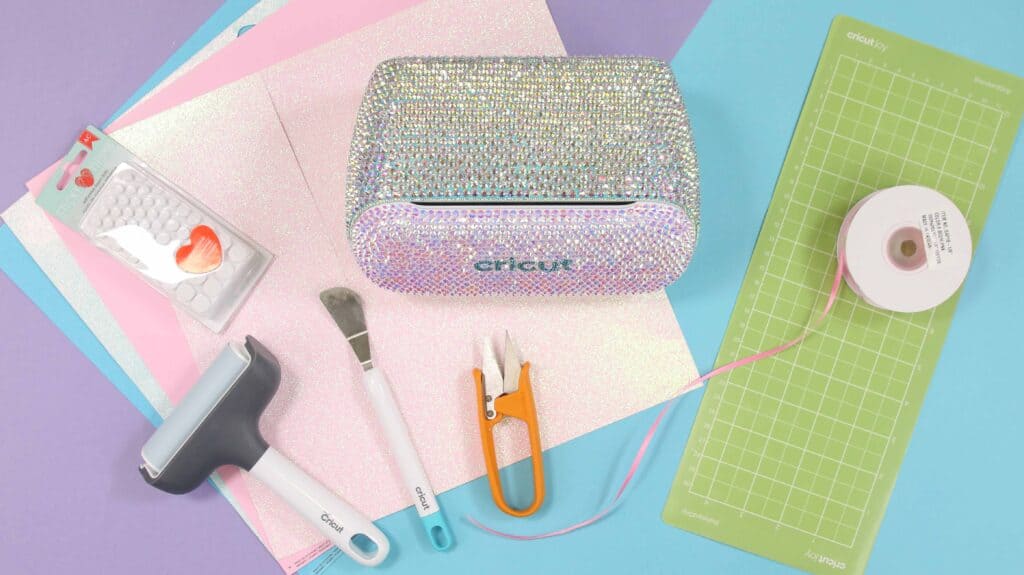
SUPPLIES
- Cricut Joy
- Standard Grip Cutting Mat
- Cricut Spatula
- Tweezers
- Fine-Point Blade
- Cardstock
- Foam Adhesive
- Ribbon
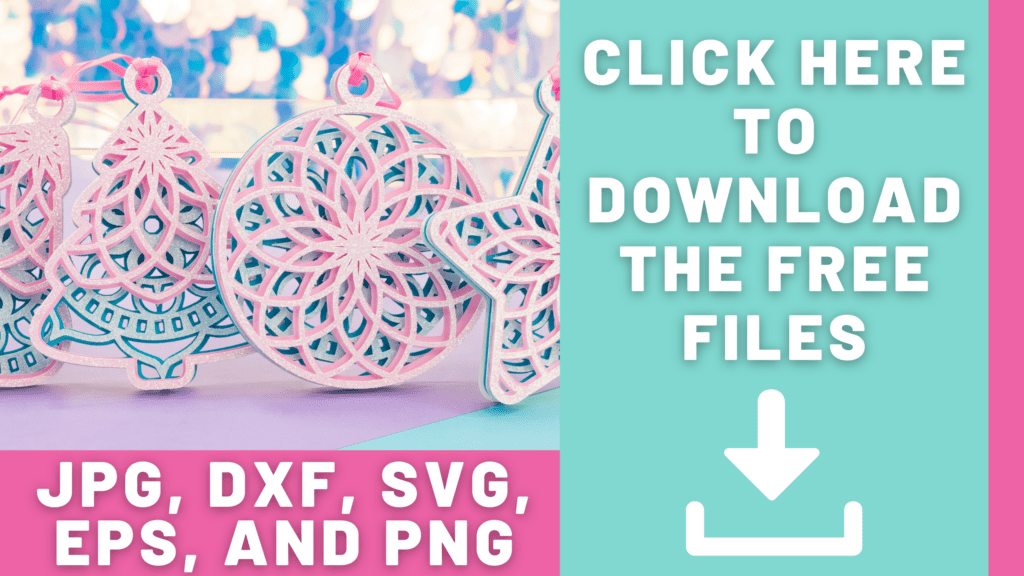
Click Here to Download the FREE Ornament SVG Cut File Bundle Here!
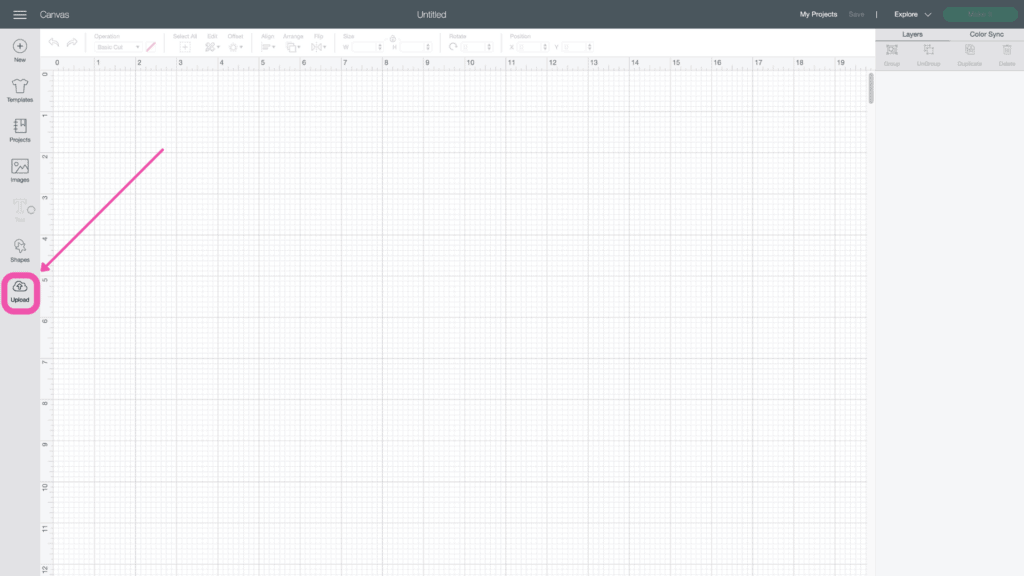
STEP 1: Upload the Ornament Bundle SVG to Cricut Design Space
Open Cricut Design Space and click the + to create a new project.
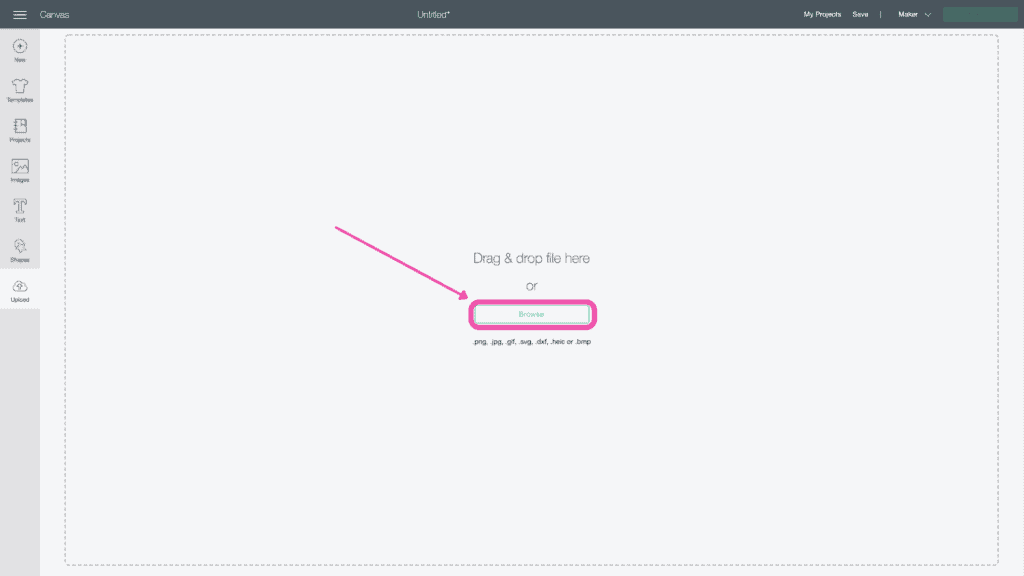
In the Design Panel on the left, select 'Upload.'
Click 'Upload Image'.
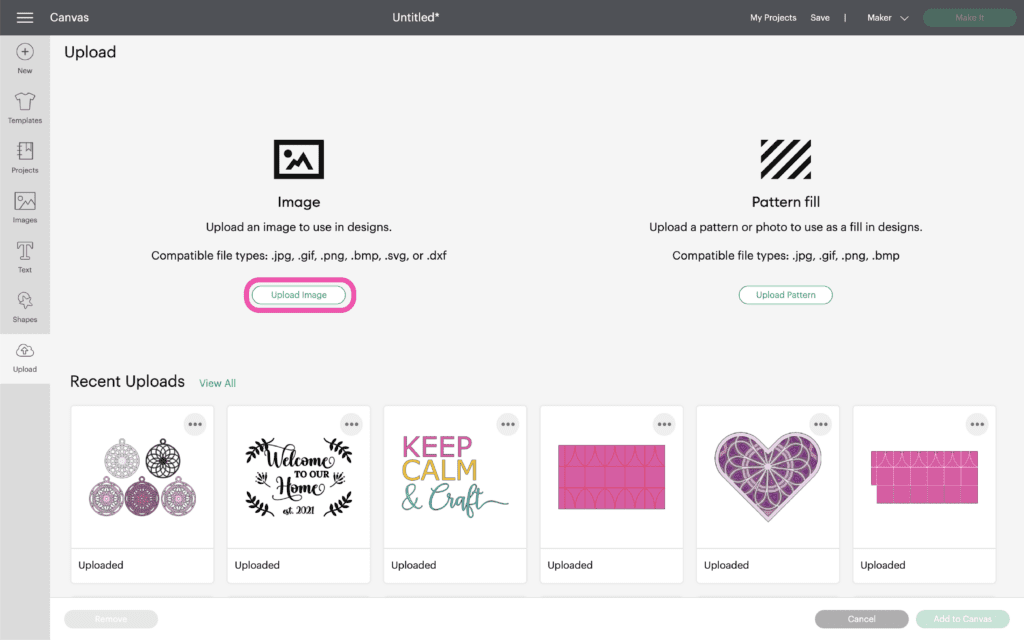
Click 'Browse' or drag and drop the file.
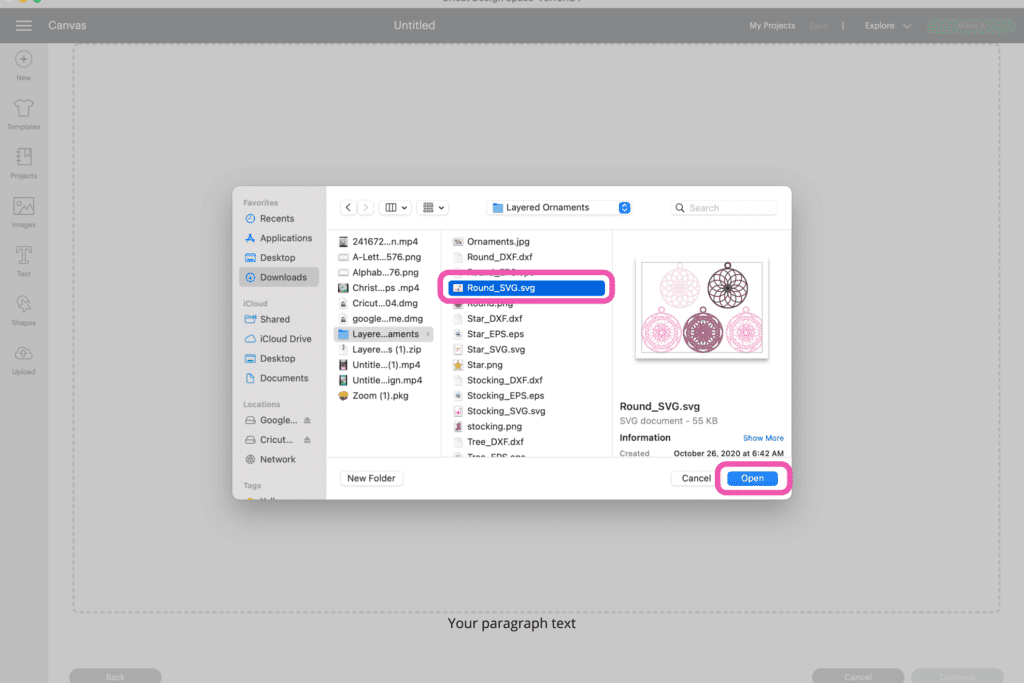
Navigate to the file on your device to click 'Open' it to Cricut Design Space.
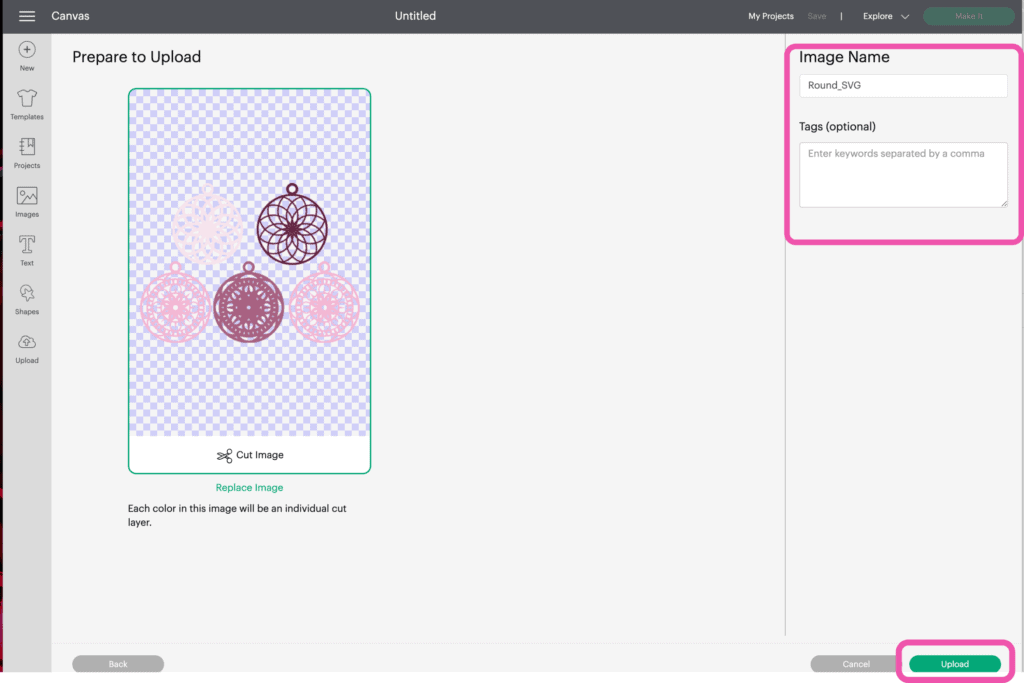
On the Prepare Screen you can change the name of the project and add tags. Click "Upload."
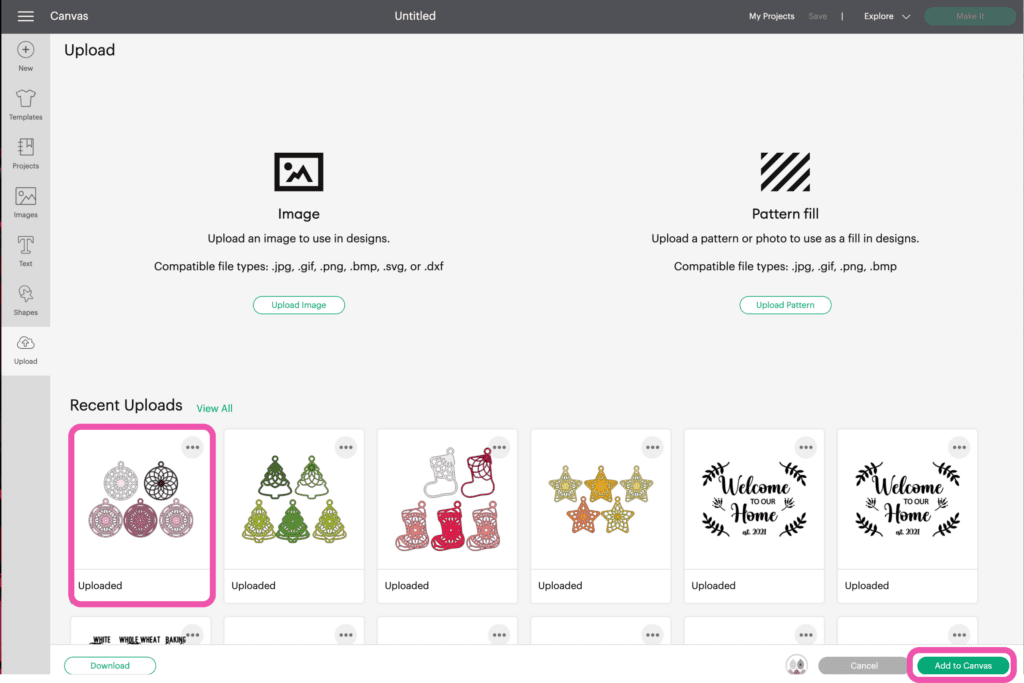
Once you have the file uploaded, select it and click "Insert Images" to bring it onto your canvas.
STEP 2: Prepare the Ornament in Cricut Design Space
First, make sure you have the colors the way you want them. For my ornaments, I'm going to make the 1st and 2nd layers (pictured on the top row) pink and the back three layers blue.
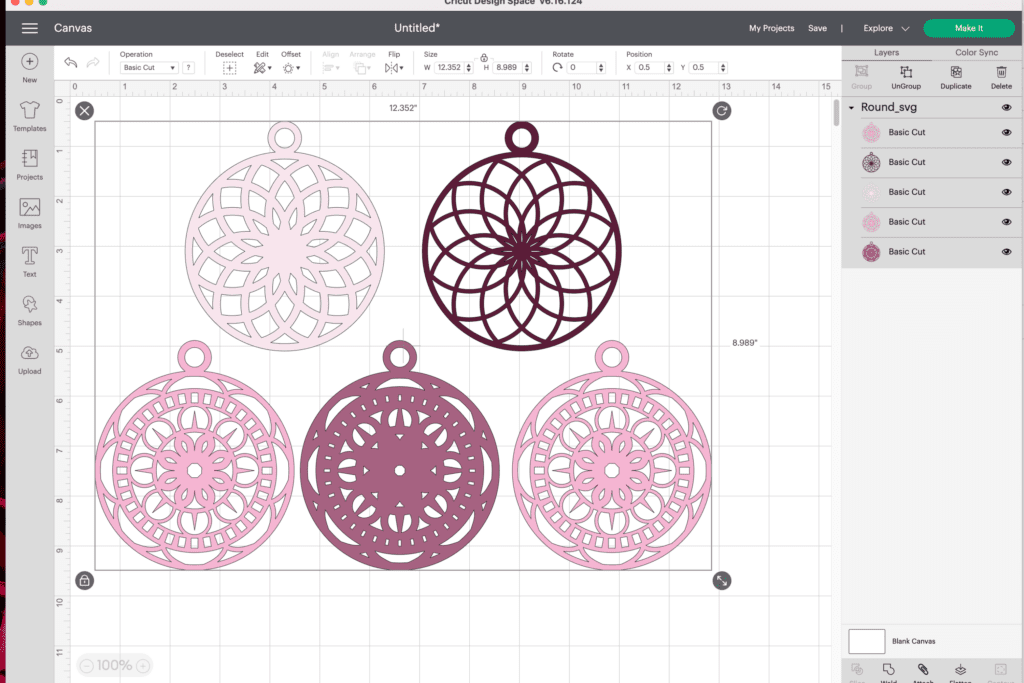

You'll notice there are two of the light blue ornaments. This is because one of them will be placed on the back of the ornament to make it reversible.
STEP 3: Cut the Ornaments
Once you are happy with the color of the ornaments, it's time to turn on your Cricut machine and start cutting everything out.
I will be using the Cricut Joy in this tutorial, but this project can be cut out on any Cricut machine.
Begin by connecting your device to your machine via bluetooth or a cable.
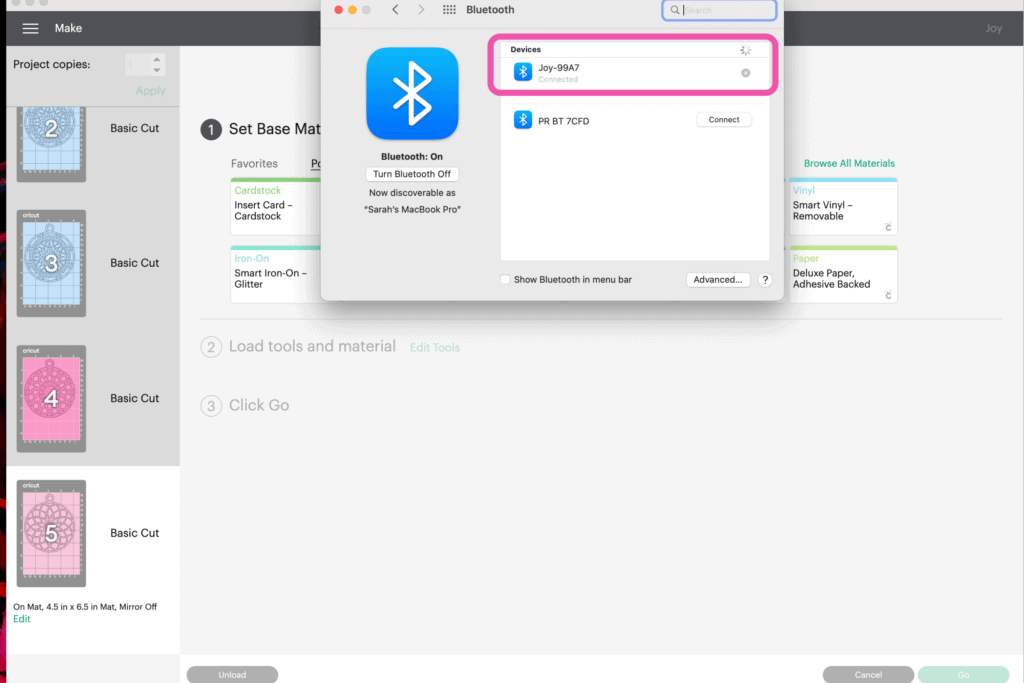
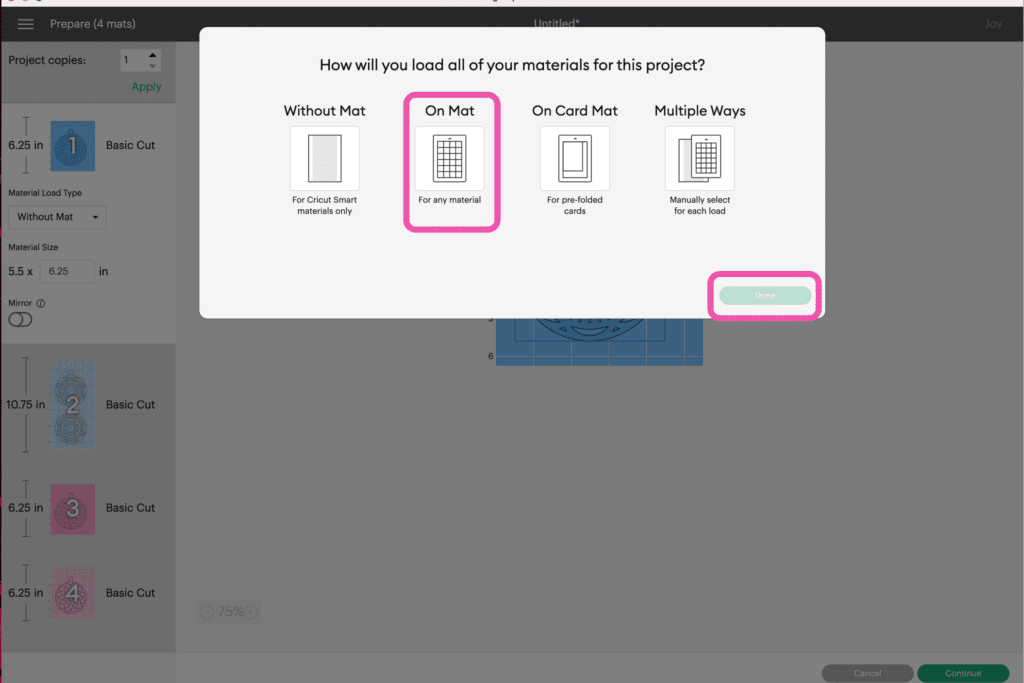
Select how you will be cutting your materials and then select 'done.'
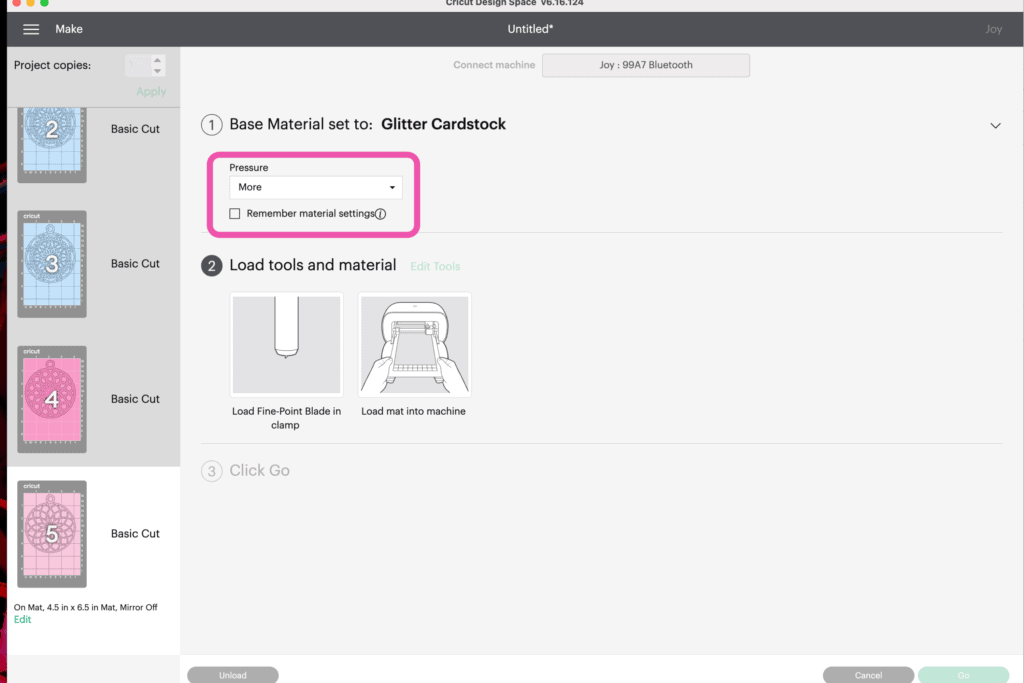
Set the Base Material. For my ornament, I'll be using Glitter Cardstock.
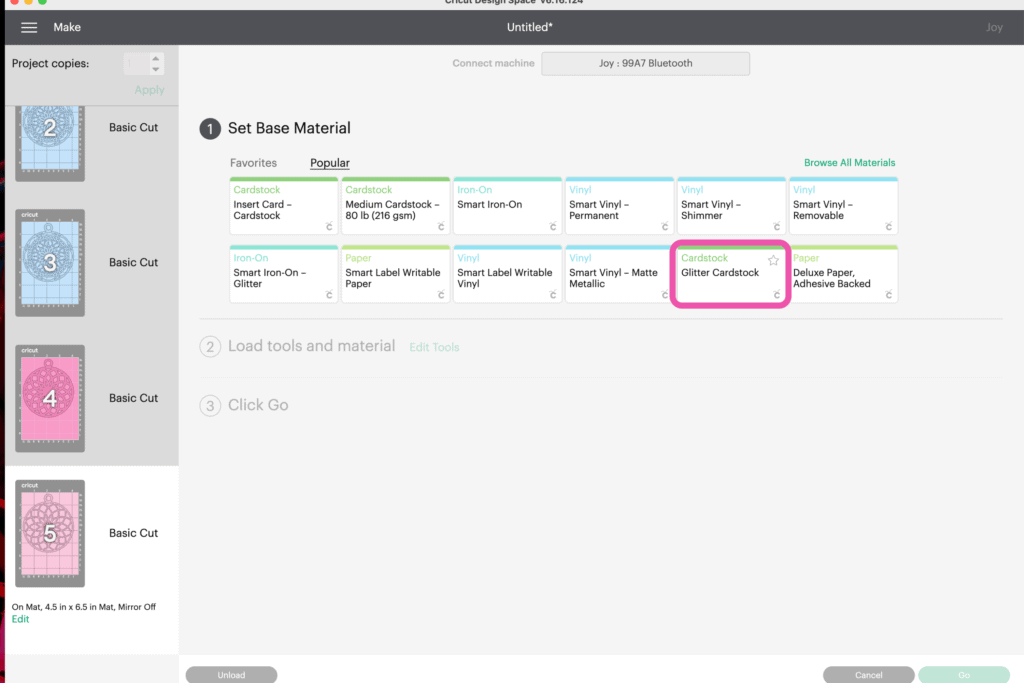
If you are using Glitter Cardstock, select 'More Pressure' to make sure the blade cuts through the material.
Remove the clear mat protector and set it aside.
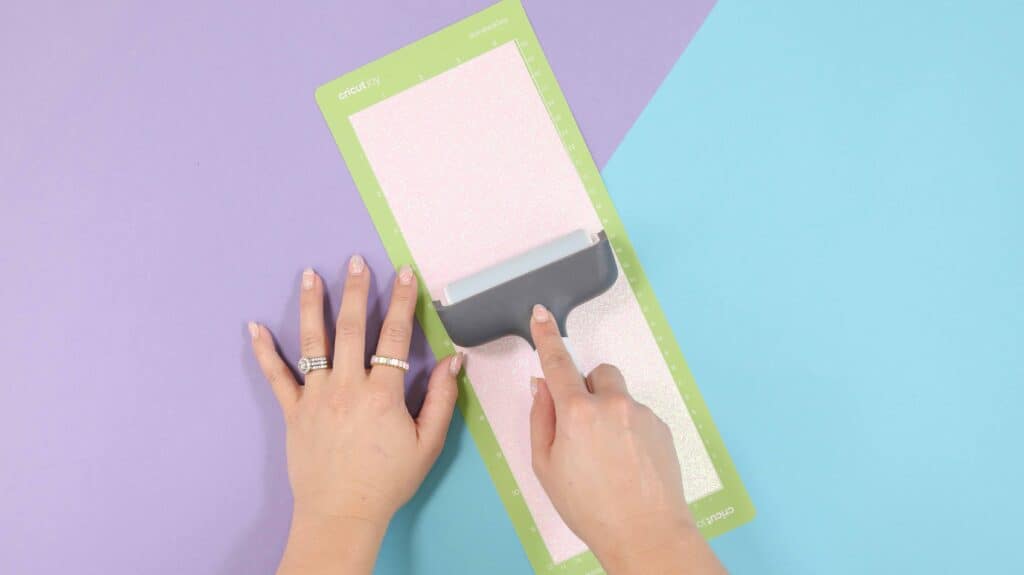
Next, place the cardstock right side up on the sticky side of the mat. If you are using Cricut Joy, cut your material down to size.

Use a brayer or your hands to press down firmly on the cardstock. It's important to make sure that it's fully adhered to the mat for the best results.
Insert a blade into your Cricut machine.
*PRO TIP - I always check my Cricut blade before cutting cardstock to make sure that it's free of debris to ensure the best results.
Load the materials into the machine and begin cutting.
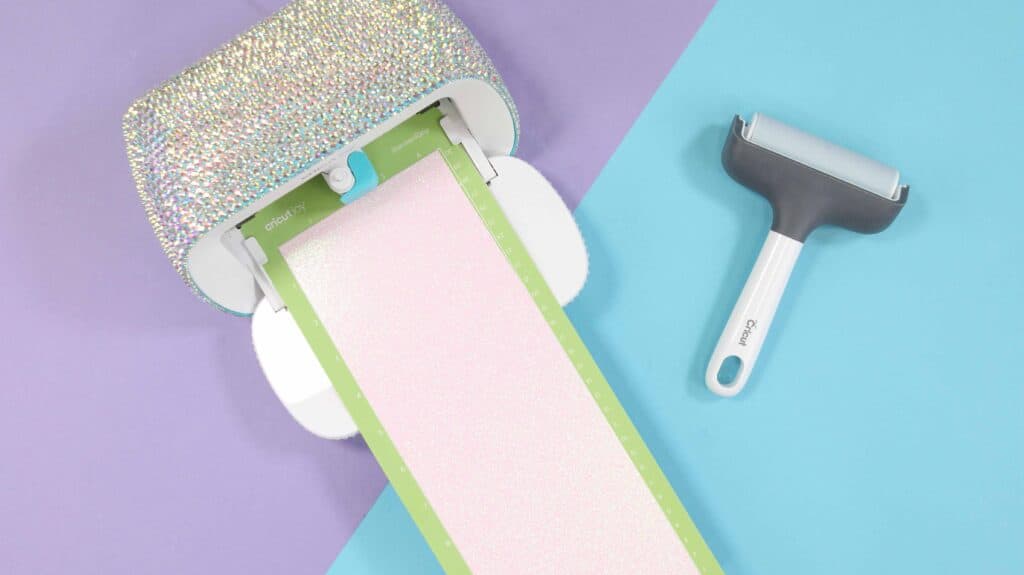
Once the machine has finished cutting out your design, flip the mat over and peel the mat away from the design. This will prevent your design from getting bent or rolling.
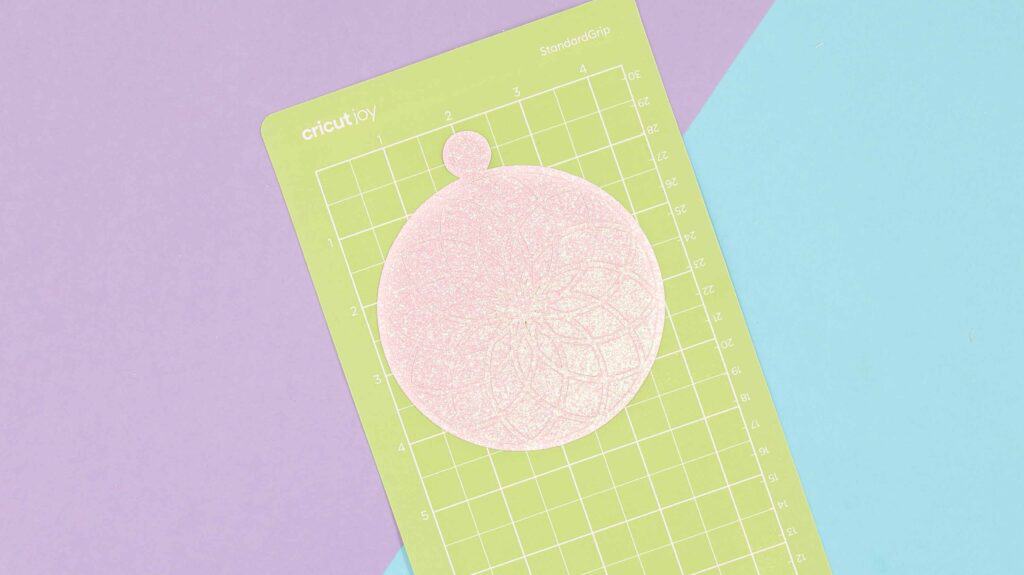
Repeat this process until you're left with all five layers needed for your ornament.
STEP 4: Assemble the Layered Ornaments
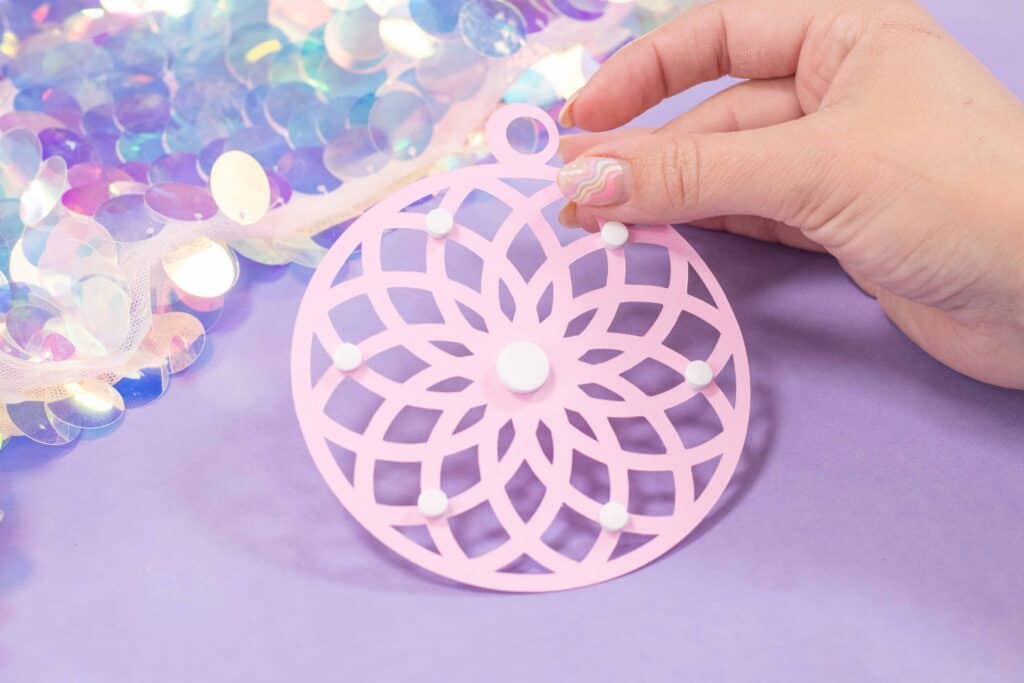
To assemble your ornament, lay out your ornament pieces in order of how they will go together. Flip them over so the right side is facing downward.
Apply dots of foam adhesive on the back of each ornament. It’s best to use the adhesive in the same spot on each layer to get an even rise.
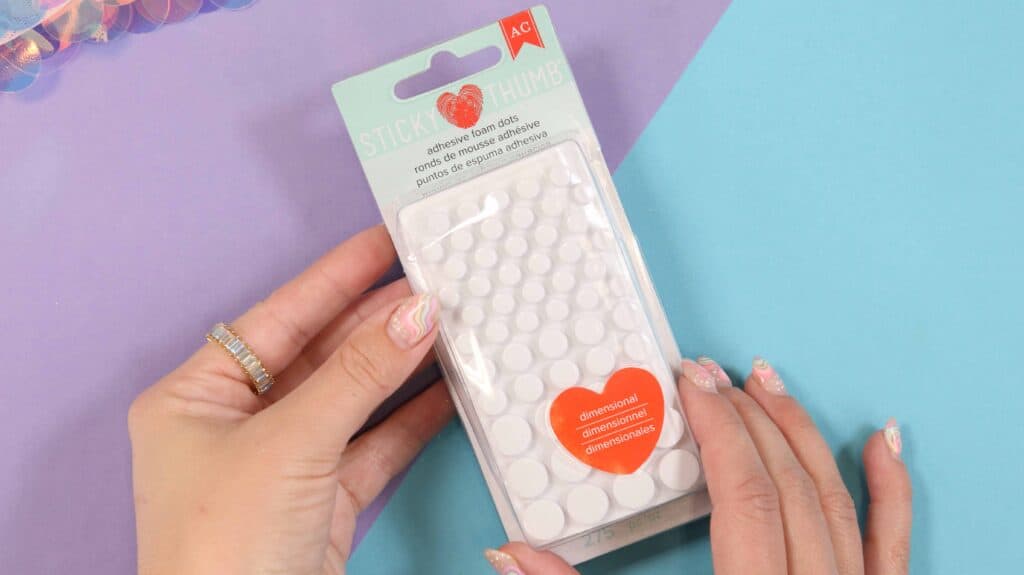
If your foam adhesive is too large for a certain area, you can always cut it in half or even in fourths.
Begin by stacking the layers from the back to the front. Gently pinch the paper where the foam dots are located to secure them to the paper.
STEP 5: Add the Ribbon
The final step is to tie a piece or ribbon around the hole at the top of the ornament.
Now you have a finished layered Christmas ornament.
Feel free to make these ornaments in any color palette.
You could increase the size and place it inside of a shadowbox, cut it out of a thicker material like chipboard or wood, really the possibilities are endless!
Don’t want to forget about this free template? Save this project for later! Click here to save this project on Pinterest.
Join my crafting and sewing Facebook group where you can show us what you’re making, ask questions, and learn from others!
Looking for more Mandala SVG files? Click here!
These are adorable. Thank you
Thanks for these beautiful ornaments.
So pleased with your free svg files. The ornaments are EXACTLY what I was looking for to use as my one-of-a-kind gift tags this year. I'll start making them today after deciding our holiday color scheme. Thank You!
Thank you so much for these adorable files. Will be such a nice addition to Christmas packages.
My Joy is tearing the card stock instead of cutting. I have it on 'more' pressure and cleaned the blade. What did I do wrong?
What type of cardstock have you set it to.
If its tearing it, you can always try washi tape setting as its low pressure.
These are so pretty, thank you for sharing these. I love the way you blinged out your Joy, that would bring me even more Joy. Happy Holidays!
These are beautiful ! I am about to start them, but am not sure in what order the cuts should be put together.
These are beautiful! Would you happen to have these in a cross pattern? Thank you!
Thank you so much! I am old and just learning about Cricut at my library. I hope to be able to print these out and I am sure everyone will be amazed. The library is so helpful when I try to use their Cricut. But there is lots to remember. Your detailed descriptions will help me along the way. A beautiful design and a beautiful tutorial!