Learn how to make a beautiful winter snowflake wreath using an embroidery hoop and multi-layer paper snowflakes to create dimension.
Christmas is my favorite time of year, I love decorating my home and reminiscing on memories of past Christmases.
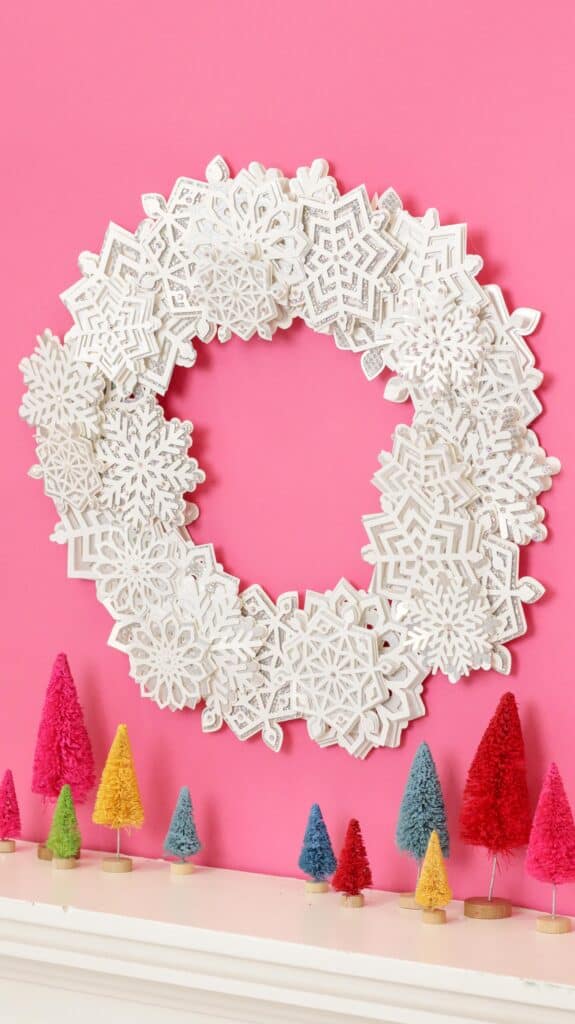
Once Christmas has come and gone I'm always a bit sad when the Christmas decorations finally come down. This is why I wanted to design a winter wreath that could stay up for the entire winter season.

This layered wreath can be enjoyed throughout the entire winter season.
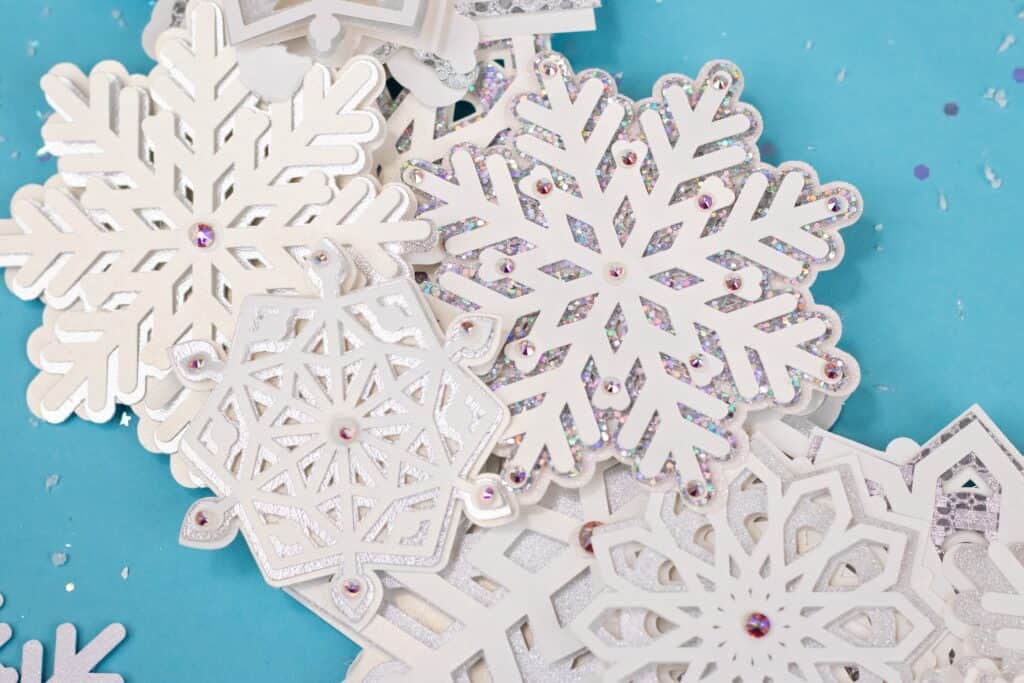
This winter snowflake wreath was made using my layered snowflake SVG bundle with four different styles of snowflakes.

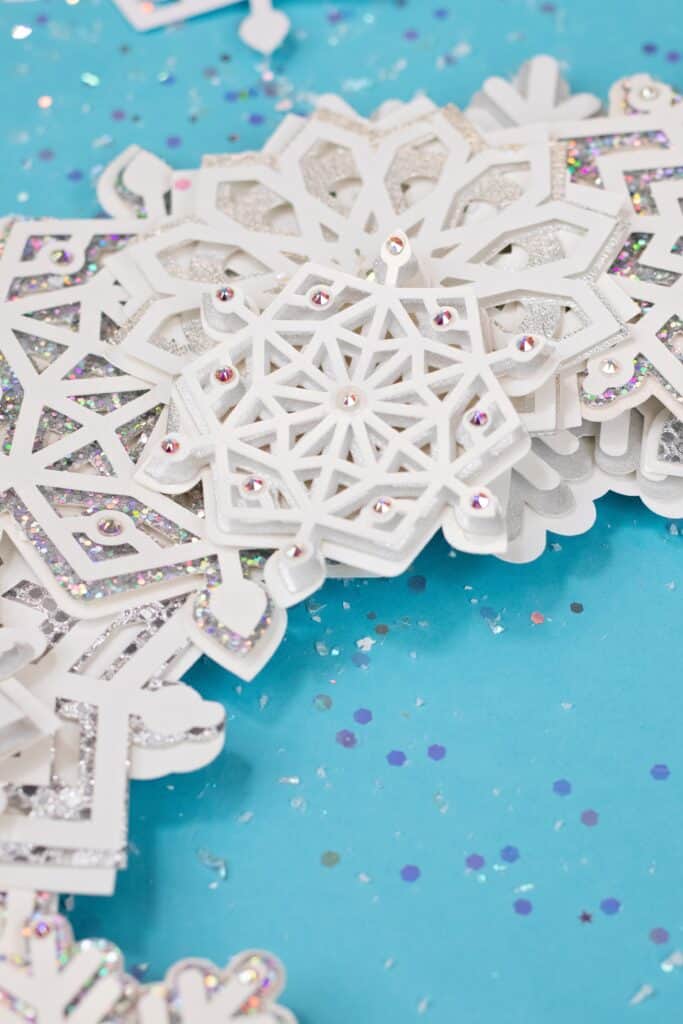
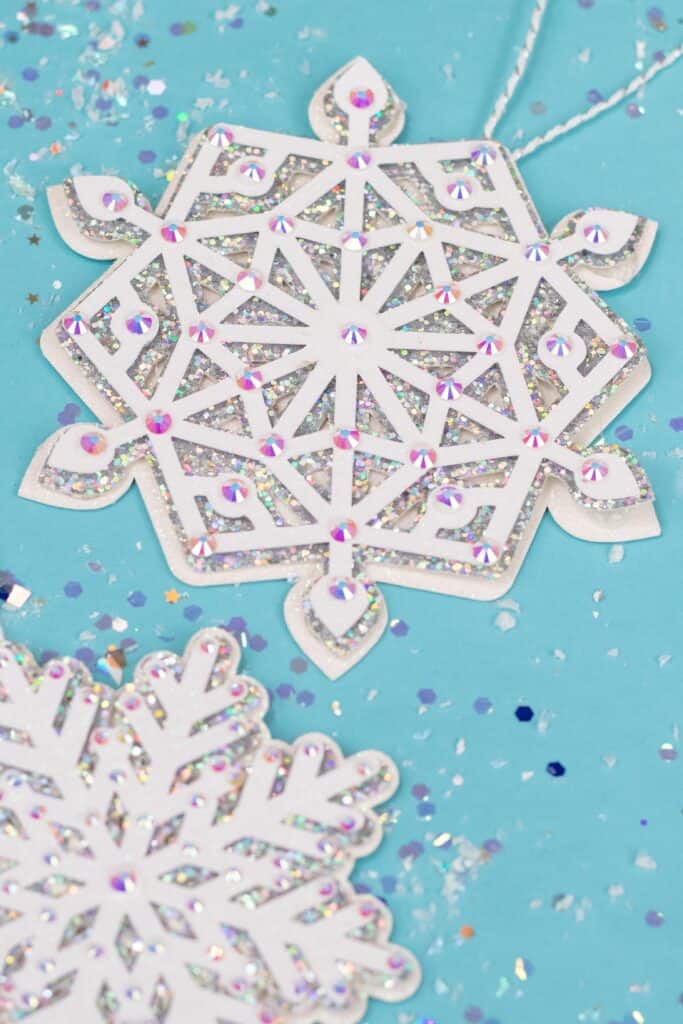
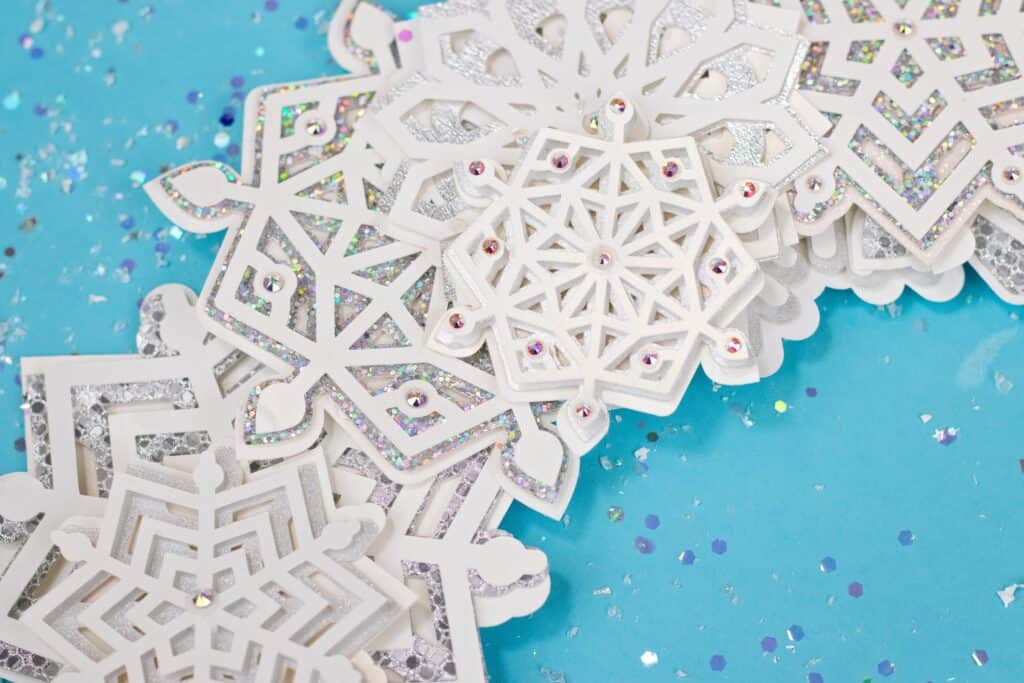
Each snowflake comes with three layers. Having multiple layers means you can add a pop of color or glitter to match your style and it creates dimension and character in the wreath.

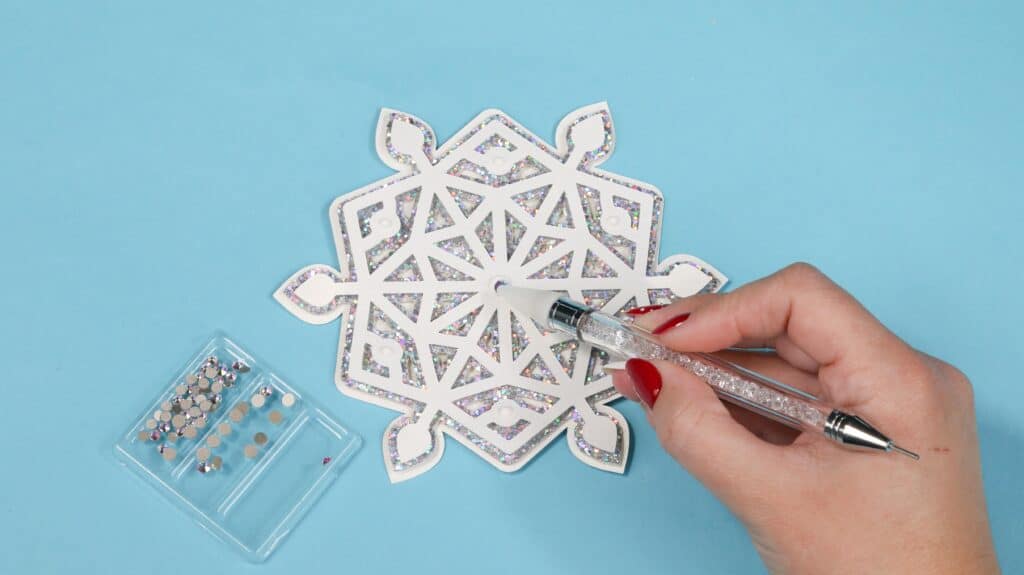
To top it off, embellish the wreath with Swarovski crystals in the center of each snowflake. This gives the wreath an extra bit of sparkle and really elevates the entire look.
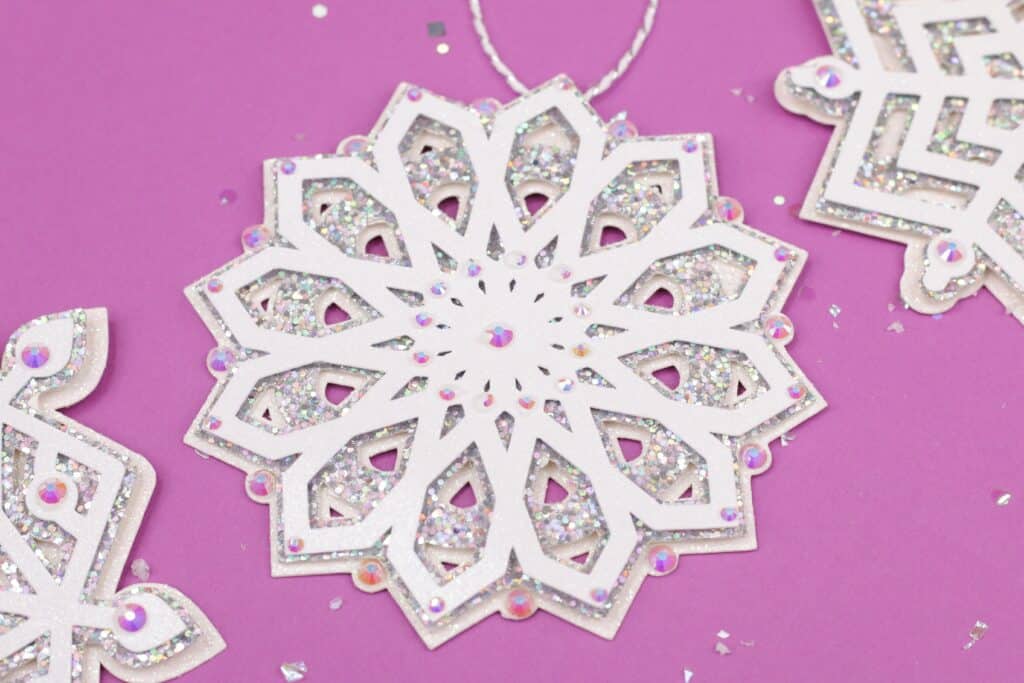
You can also use these files to create stunning Christmas ornaments.
Simply add a bit of ribbon to the back of the snowflake and you have a stunning Christmas ornament.
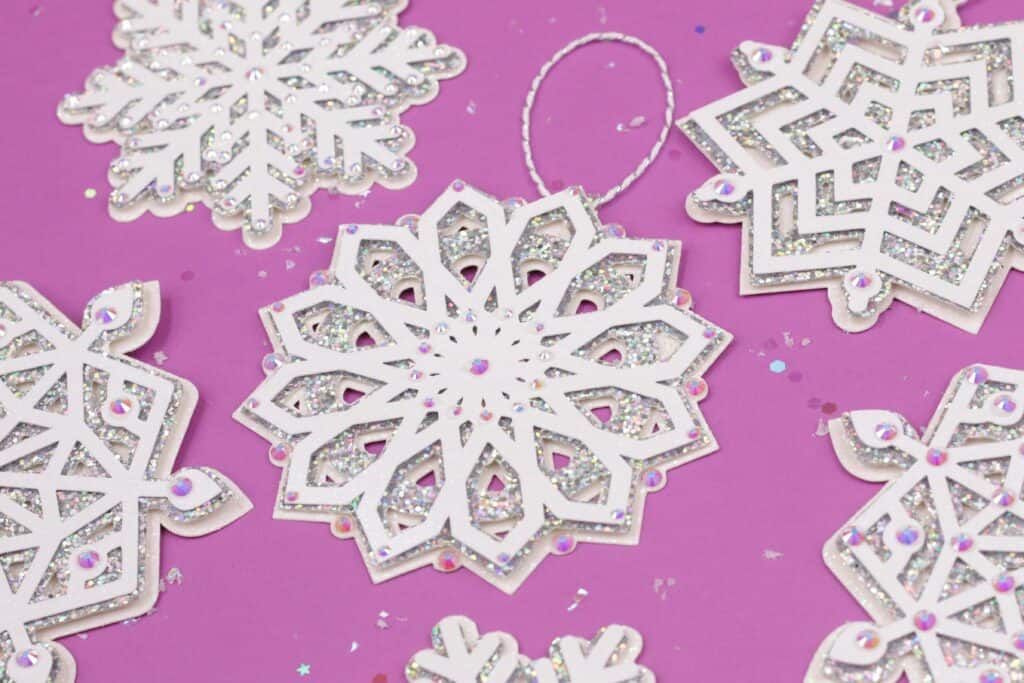

I love the way these snowflakes look as ornaments! If you want four more layered ornament files, click here.
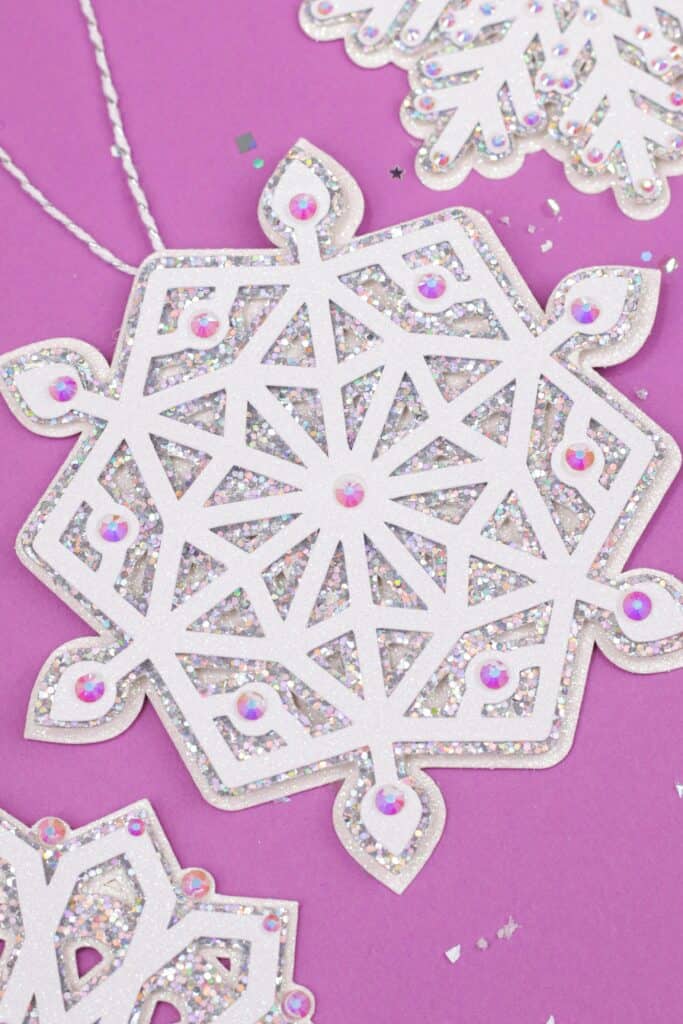
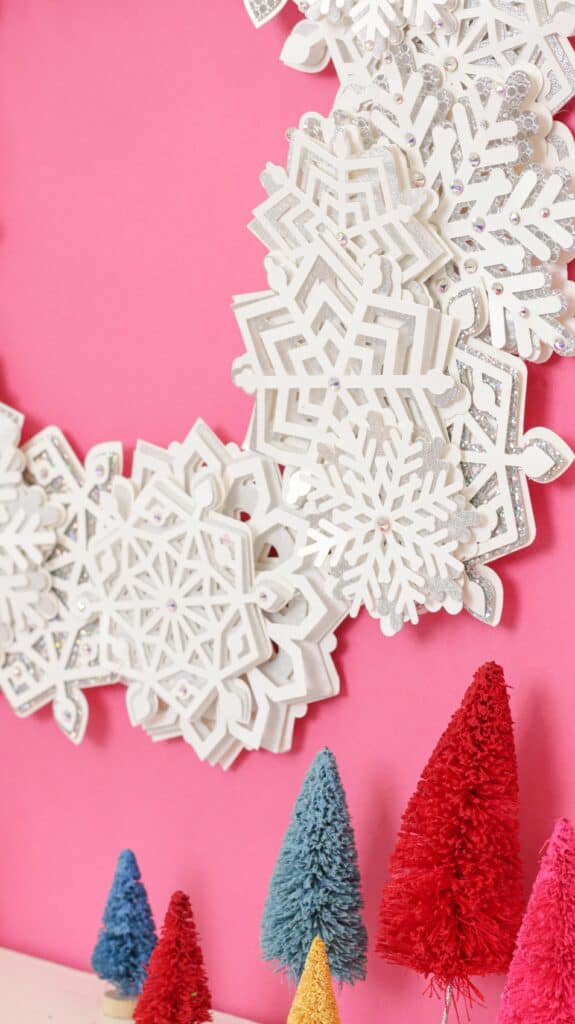
Table of Contents
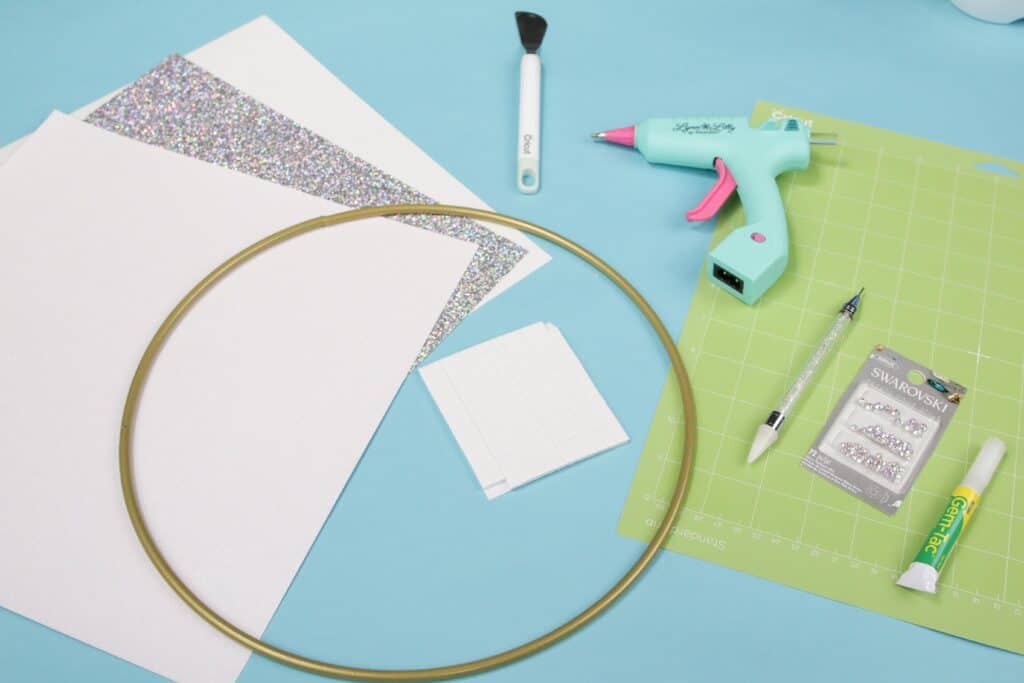
SUPPLIES
- Cricut Cutting Machine- Michaels, Cricut, Amazon
- StandardGrip Cutting Mat
- Fine-Point Blade
- Cardstock
- Foam Adhesive
- Embroidery Hoop or Metal Hoop
- Hot Glue Gun
- Hot Glue Sticks
- Pearl or Crystal Embellishments
- Crystal Pick-Up Stick
Download the FREE Snowflake Bundle Cut Files Here!
STEP 1: Upload the Snowflake Bundle SVG to Cricut Design Space
Open Cricut Design Space and click the + to create a new project.
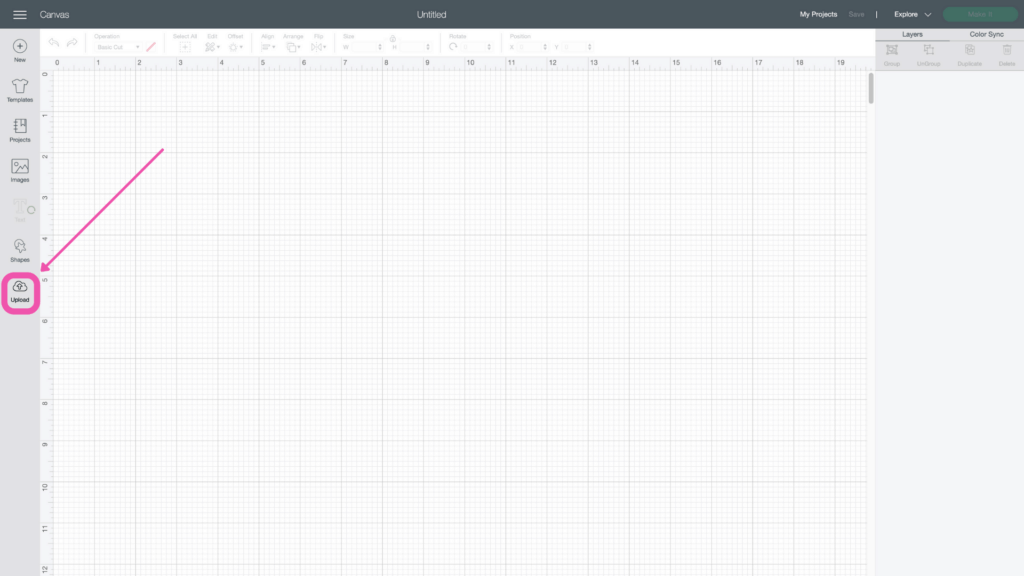
In the Design Panel on the left, select 'Upload.'
Click 'Upload Image'.

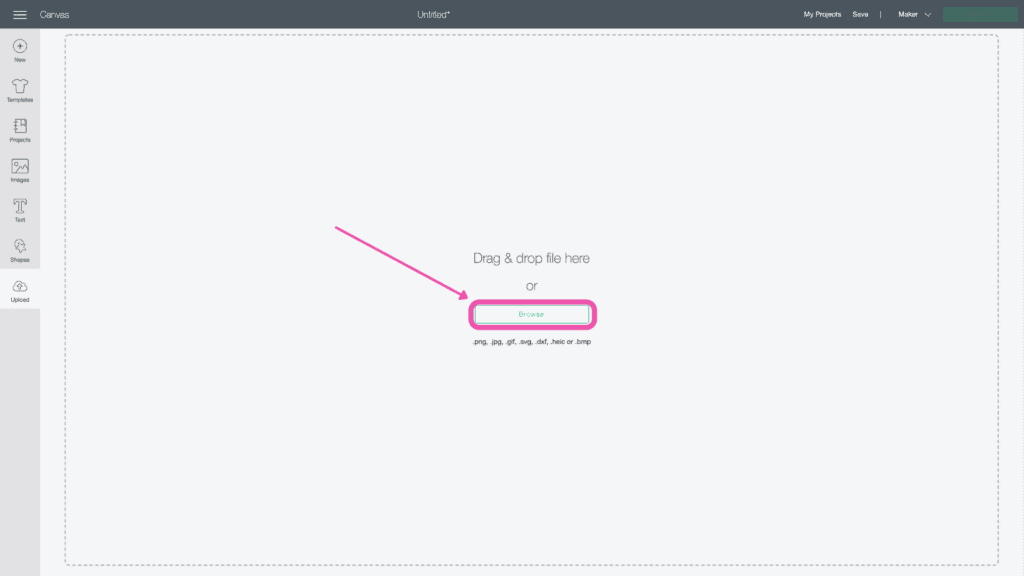
Click 'Browse' or drag and drop the file.
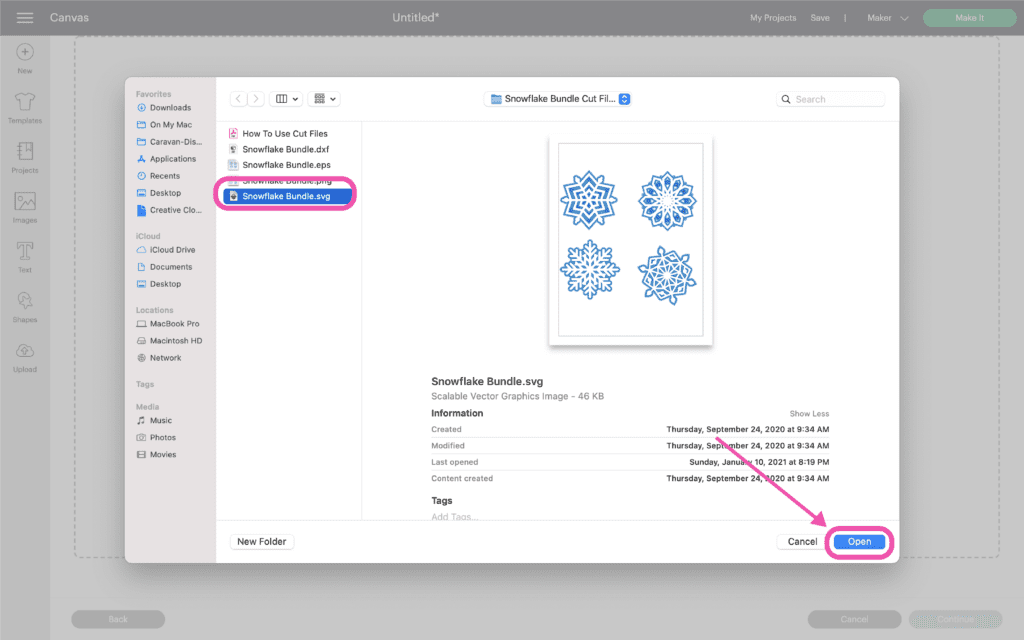
Navigate to the file on your device to click 'Open' it to Cricut Design Space.
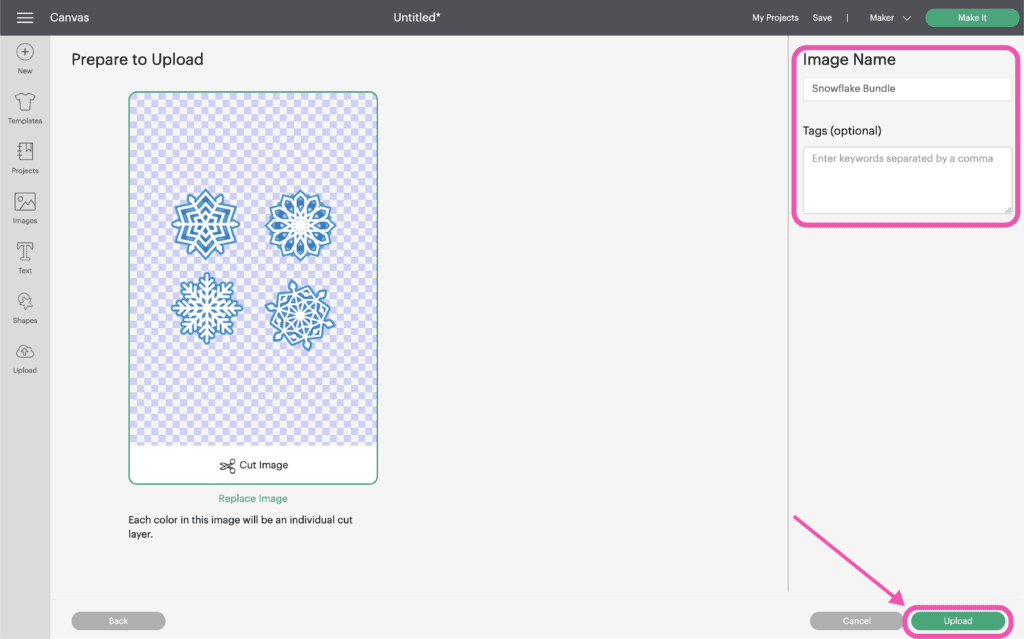
On the Prepare Screen you can change the name of the project and add tags. Click "Upload."
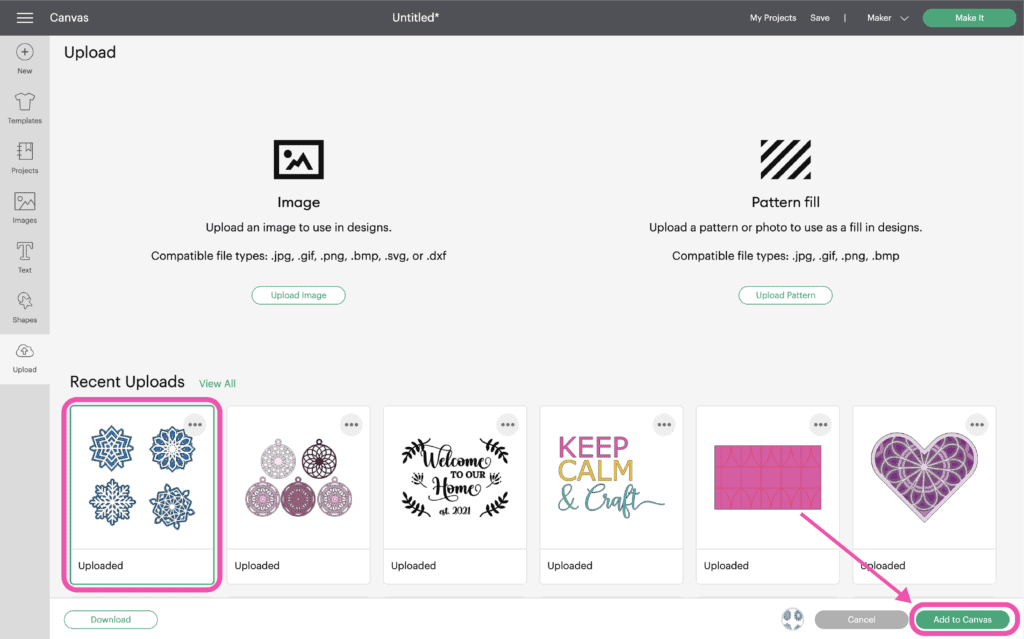
Once you have the file uploaded, select it and click "Insert Images" to bring it onto your canvas.
STEP 2: Prepare the Snowflake Bundle in Cricut Design Space
First, make sure you have the colors the way you want them. Each snowflake has three different colors. For my wreath, I'm going to make the 1st and 3rd layers the same color (white gold), and the middle layer a second color (silver).
To easily change the colors, select Color Sync at the top of the Layers Panel.

To make the 3rd layer the same as the 1st layer, simply drag and drop the row to the row of the desired color.
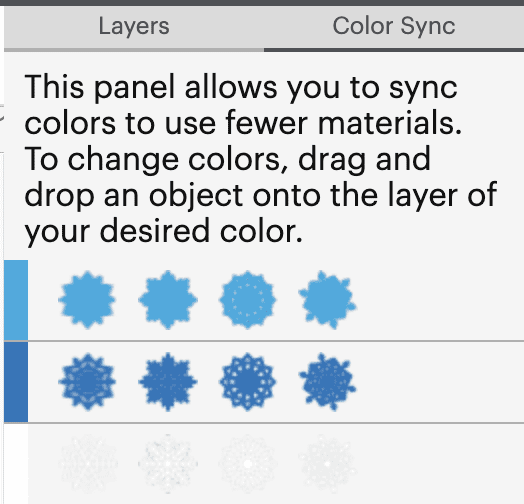
Now the 1st and 3rd snowflake layers are the same color and the middle layer will be the accent color.
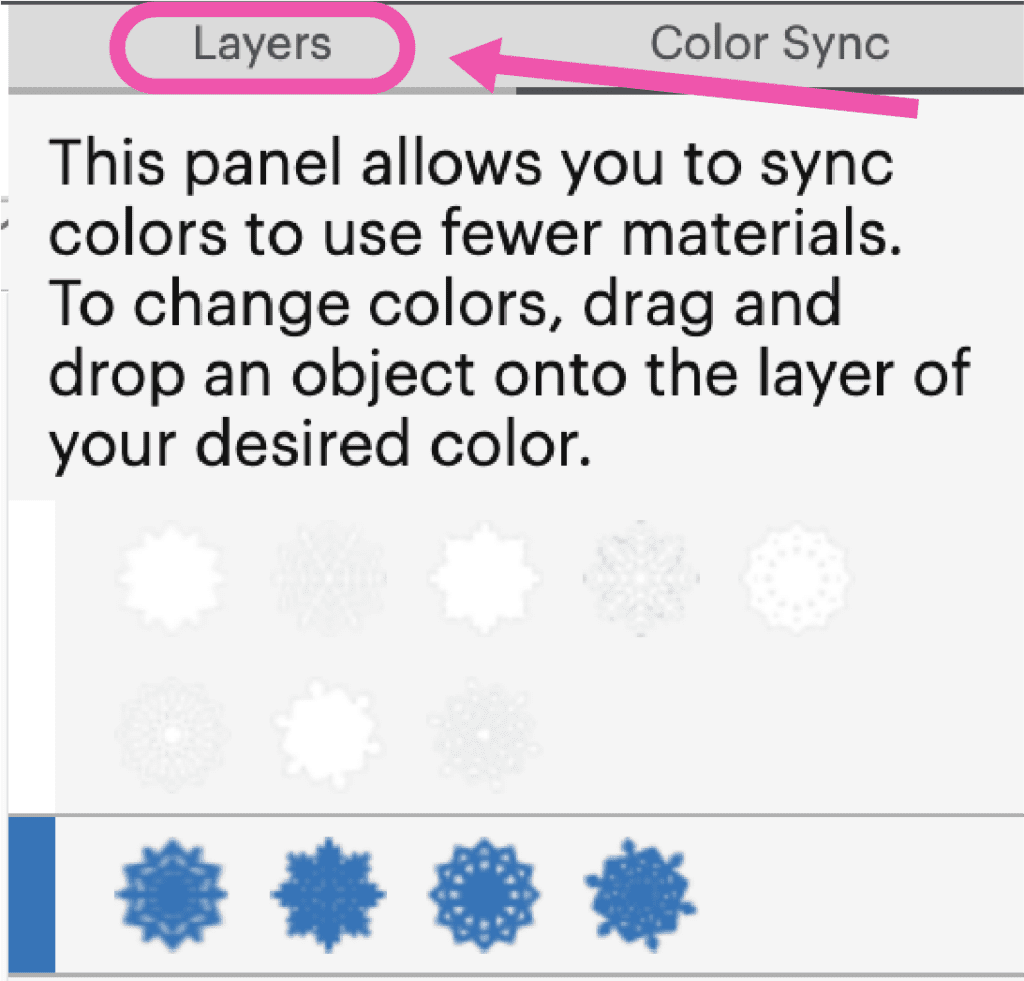
You can, of course, use any color combination you'd like. Click 'Layers' at the top of the Layers Panel to get back.
For the Snowflake Wreath using a 14" embroidery hoop, we'll need 24 snowflakes ranging in different sizes. I used 5", 4" and 3" high snowflakes.
Each snowflake in the bundle is 5" tall.

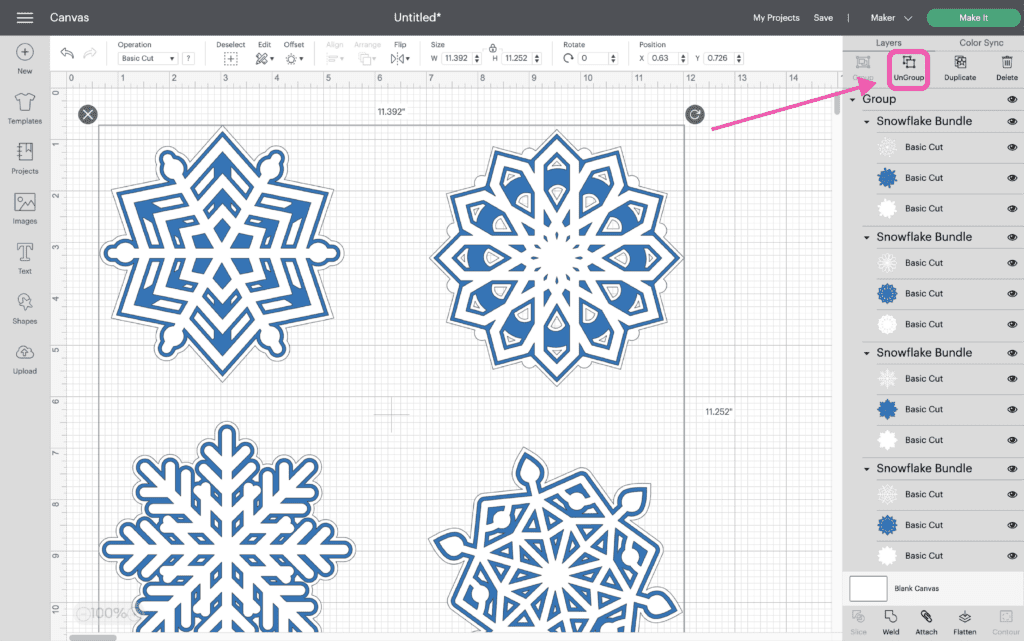
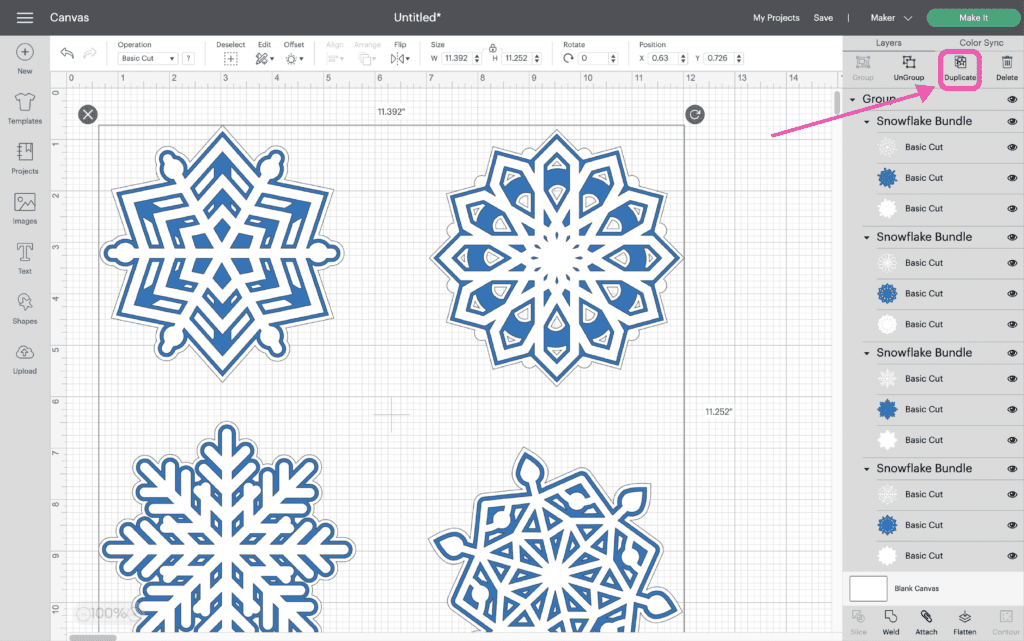
We first need to ungroup the snowflakes by clicking Ungroup at the top of the Layers Panel.
Select the first snowflake and duplicate it by clicking Duplicate in the Layers Panel.
Using the Edit Toolbar at the top, resize the duplicated snowflake to 4" tall.
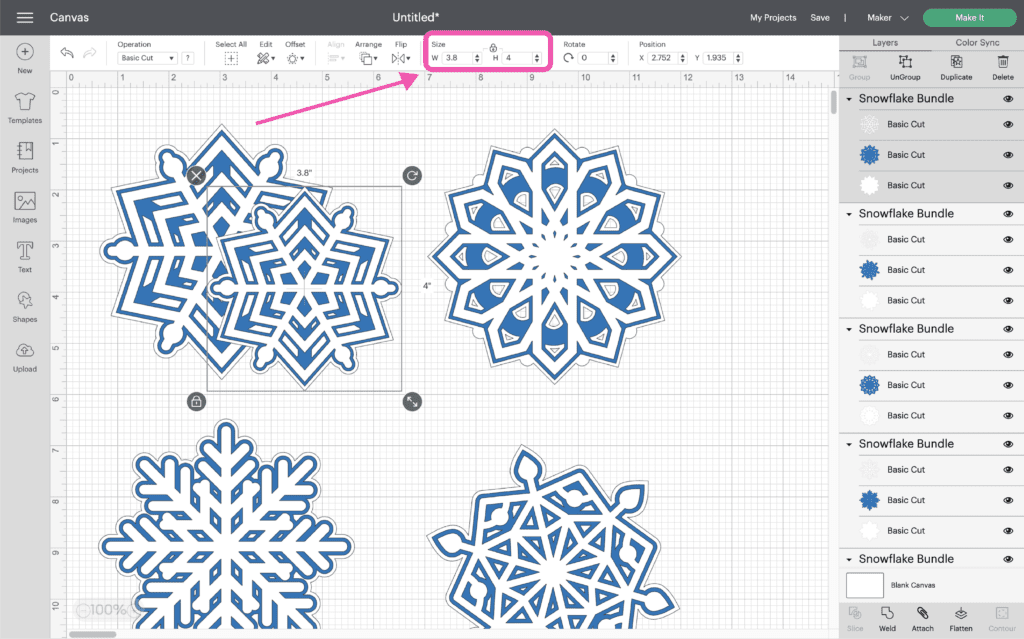
With the 4" snowflake still selected, click Duplicate again and resize the new snowflake 3" high.
You'll now have three different size snowflakes for that one snowflake design.
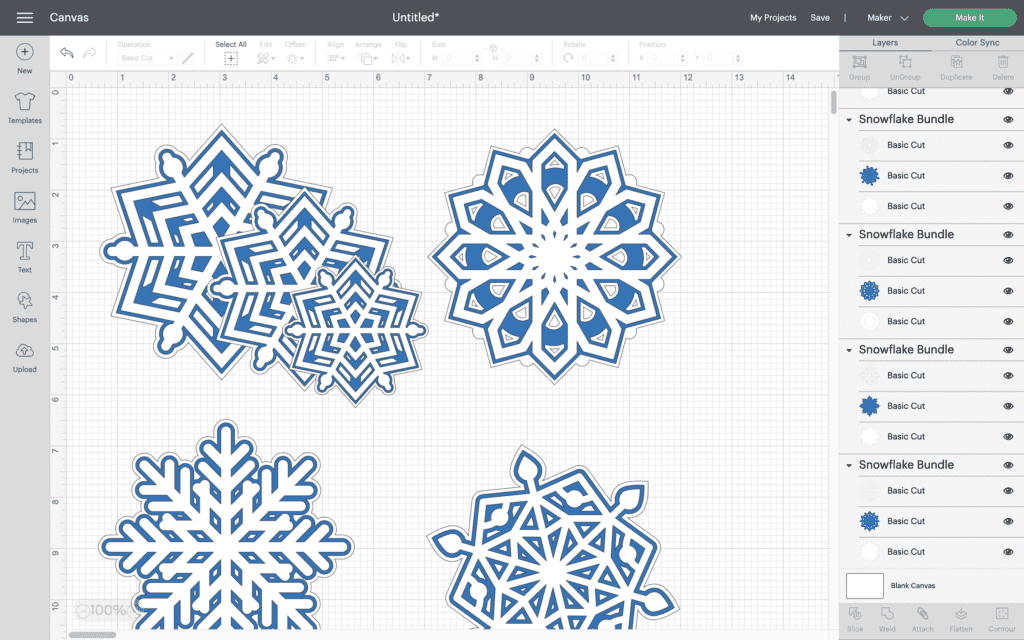
Using the same process of duplicating and resizing, create copies of the other snowflake designs and resize them to 4" and 3" tall.

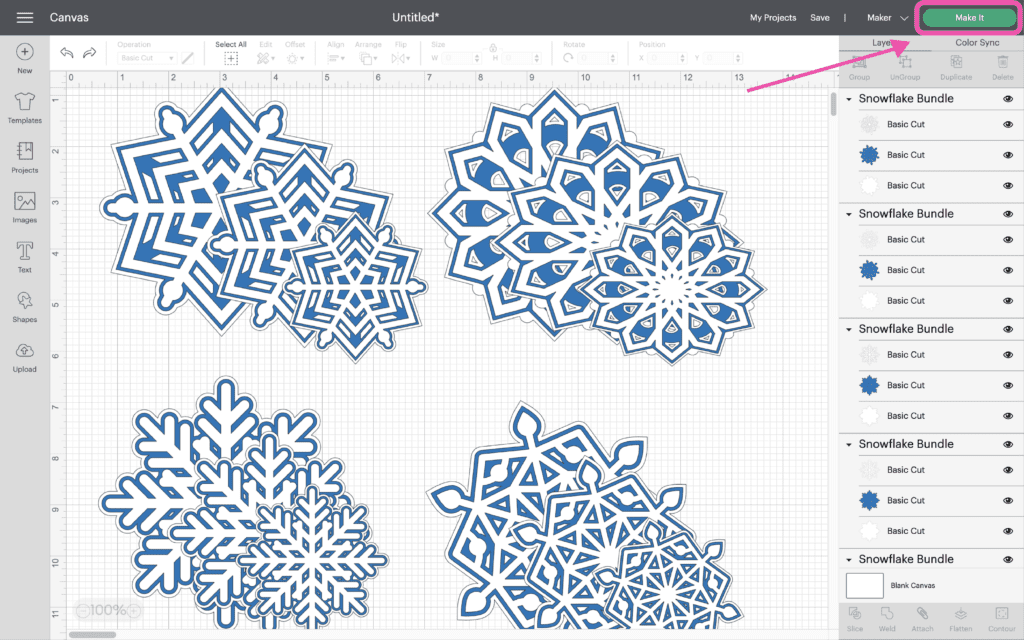
Now we have 12 of our 24 snowflakes. On the next screen, we'll create two copies of these snowflakes to make 24.
Click 'Make It' in the upper-right hand corner.
On the Prepare screen, increase the number of copies to 2 so you have a total of 14 snowflakes.
Make sure you click 'Apply' or the number of copies won't be increased. It should say 12 mats at the top of the screen.
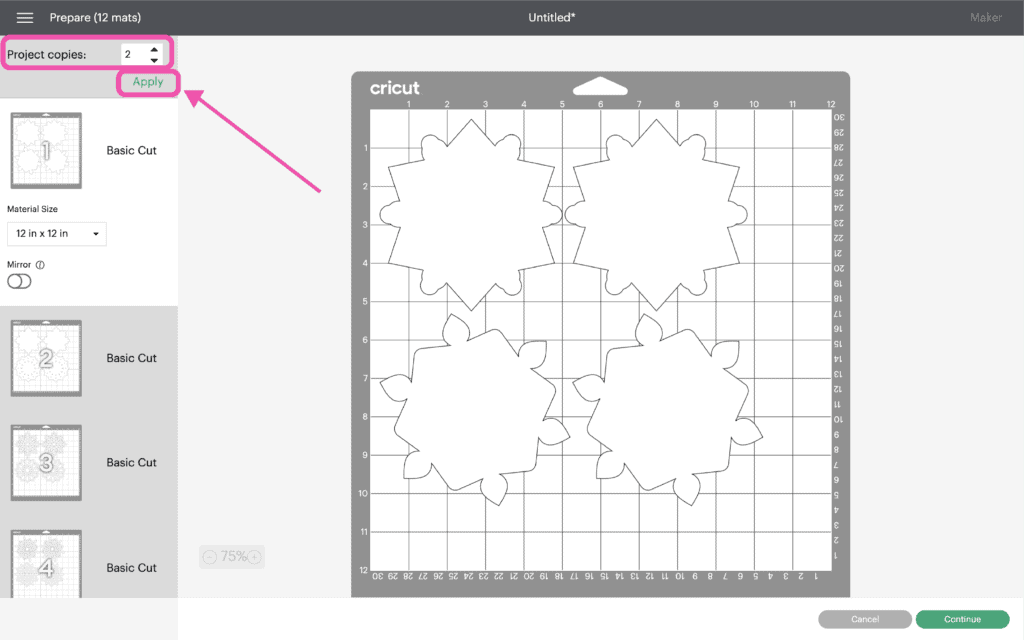
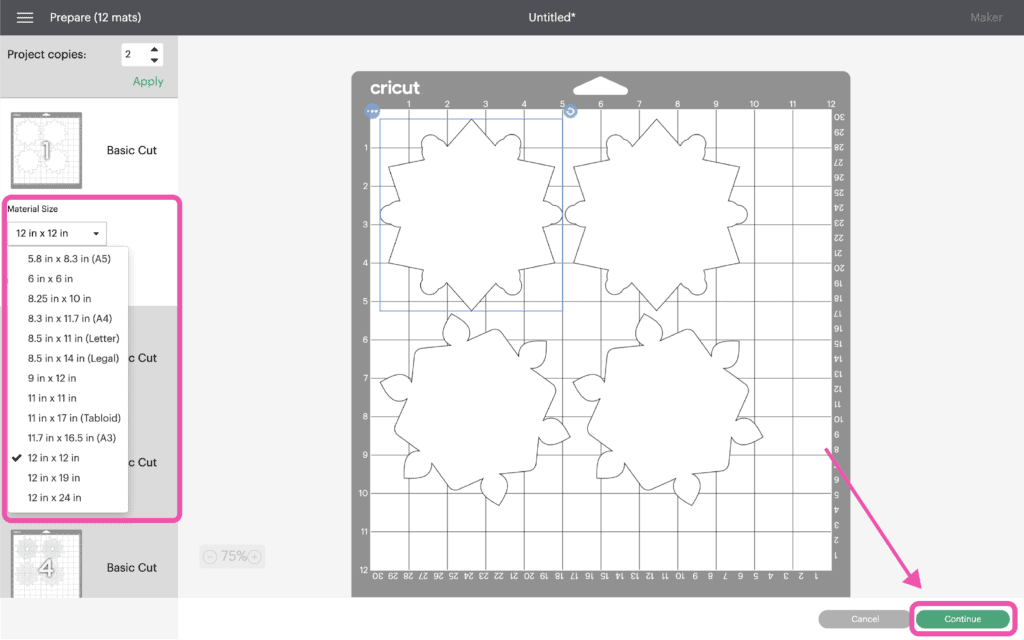
Then select the material size you'll be using and click 'Continue'.
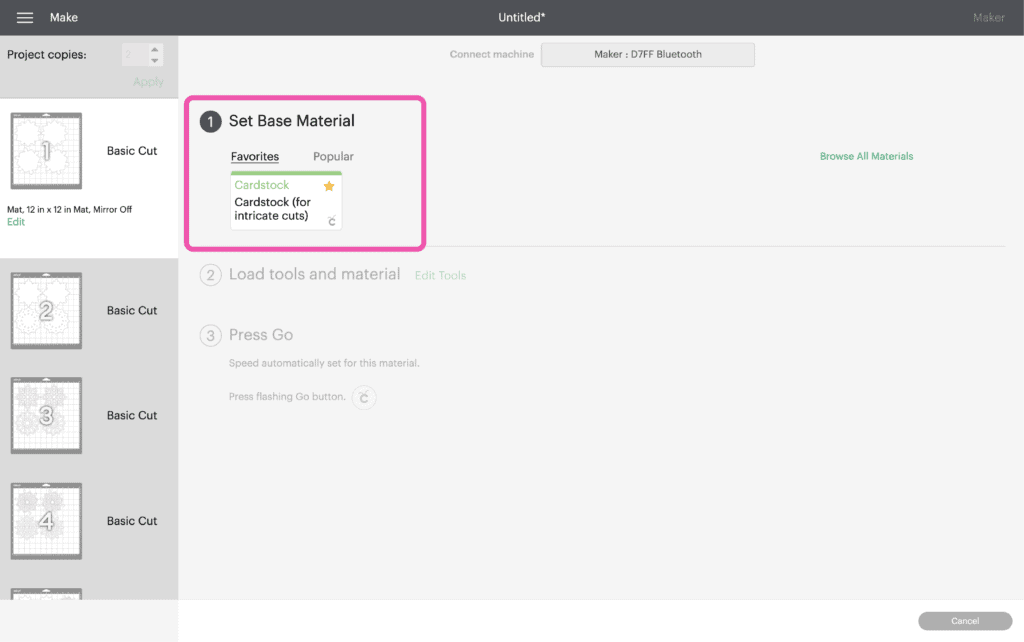
Connect to your cutting machine and select the material you're using. For regular cardstock I use the Cardstock for Intricate Cuts setting for detailed designs like this one.
It applies less pressure to reduce any tears and cuts the design twice to ensure a nice clean cut.
If you're using other types of cardstock like Glitter, use the material setting appropriate for that material.
I also like to update my pressure to More.
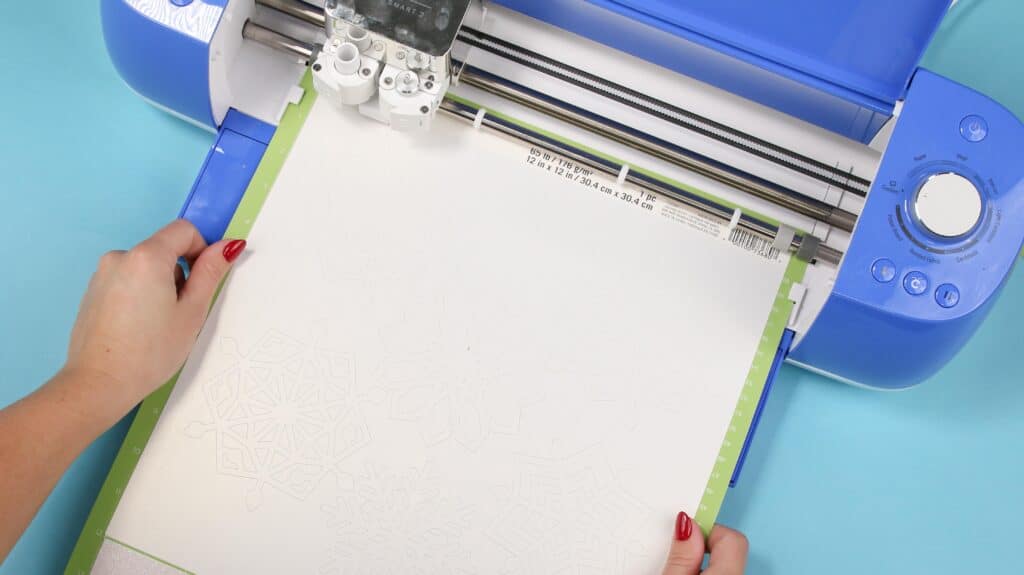
STEP 3: Cut the Snowflakes
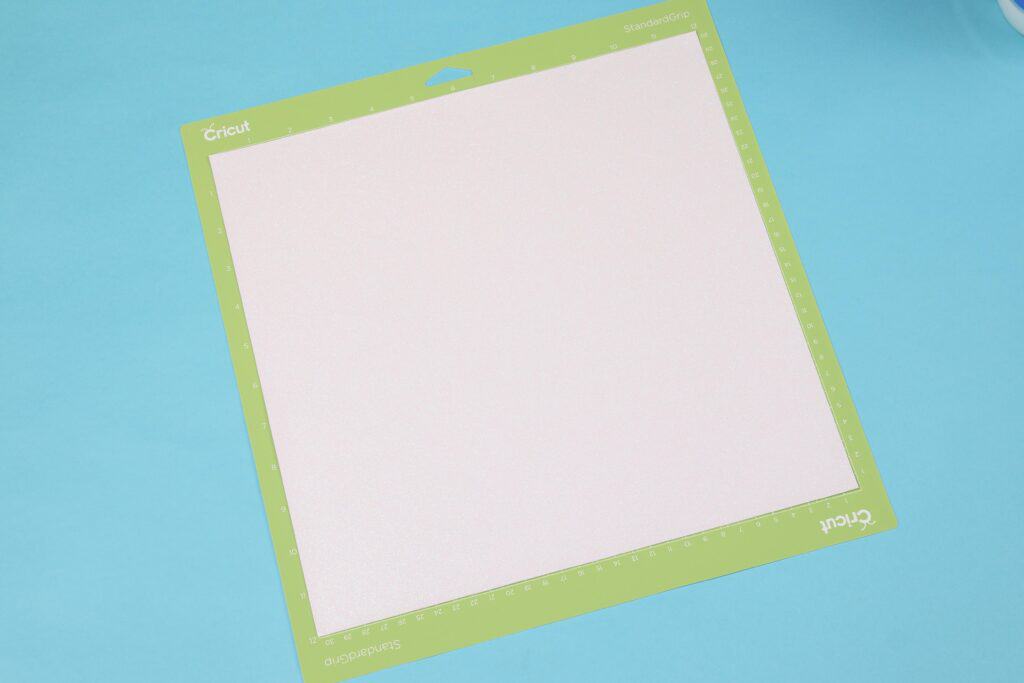
Remove the clear liner from your Cricut mat and set it aside.
Place the cardstock paper onto the mat and press down firmly on the paper to adhere it to the mat. This step is really important when cutting out intricate designs.
I typically use the Standard grip mat when I'm cutting out intricate paper designs to ensure that the paper doesn't shift around while being cut.
Insert the mat into the cutting machine and press "Go."
Once the machine has finished cutting the snowflakes, remove the mat. Repeat this process until you've cut out all three layers of your snowflakes.
Flip the mat right side down and gently peel it away from the paper. This will keep the snowflakes from getting bent or torn.
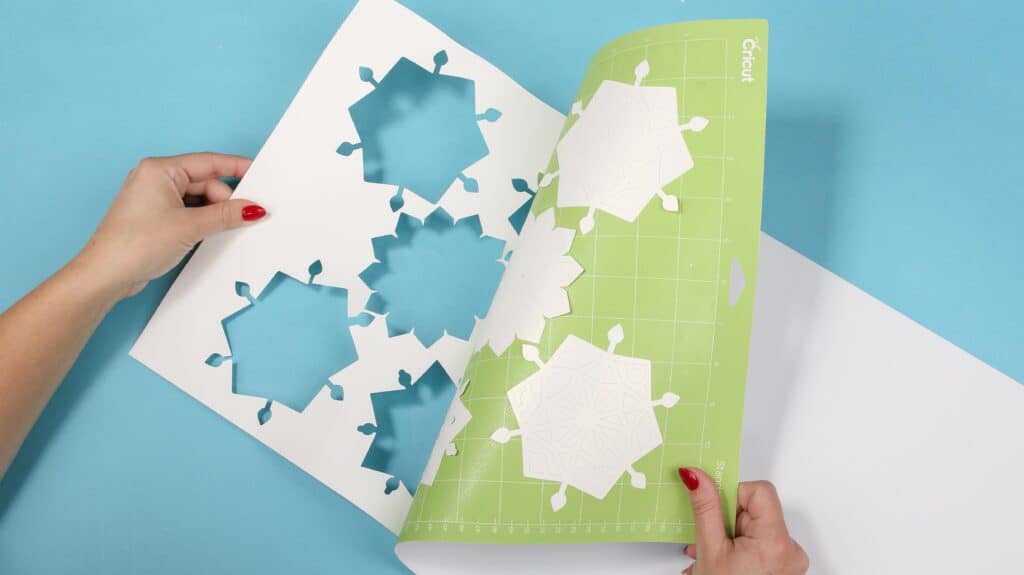
Peel the mat away from the snowflakes or use a Cricut spatula to remove the snowflakes. You'll want to be extra careful when removing the snowflakes because they rip easily.

STEP 4: Assemble the Snowflakes
After you cut the design, arrange all of the snowflakes in piles of their various sizes.

The image below shows you from bottom to top how the layers should be placed.

Use foam adhesive or hot glue to put the snowflakes together.
If you are using foam adhesive, it’s best to use the adhesive in the same spot on each layer to get an even rise. Or you can adhere the layers together with hot glue.
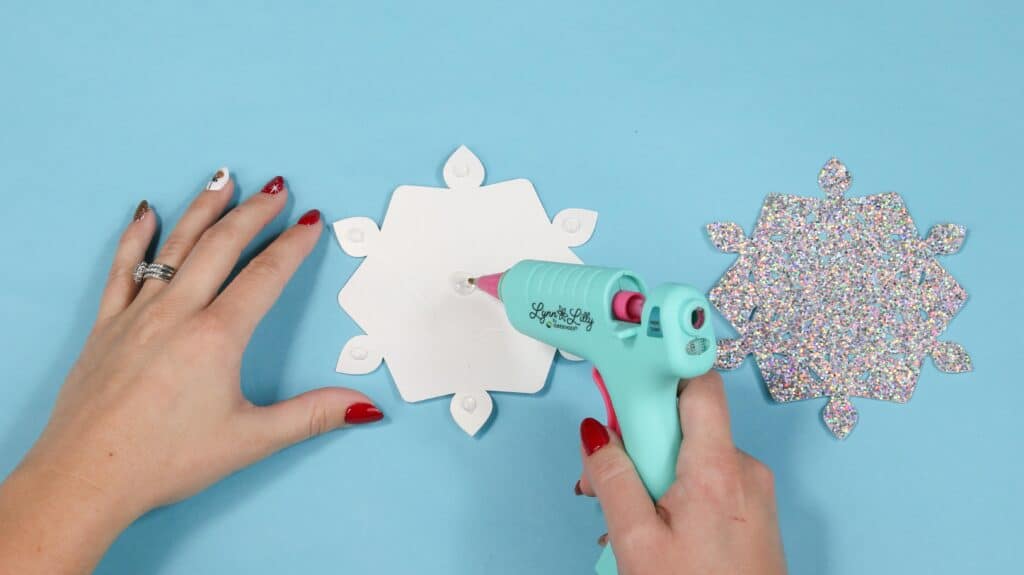
For this project, I would recommend using 0.25-inch adhesive foam circles for the larger snowflakes and 0.12-inch adhesive foam circles for the smaller snowflakes.
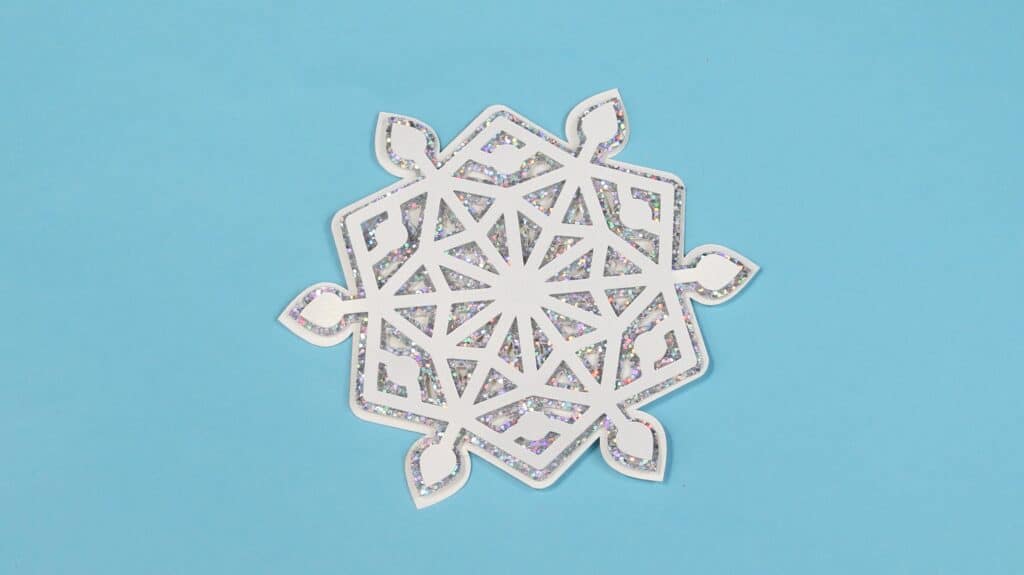
Add a pearl sticker or Svarovski crystals to give it some extra elegance.
If you want to use the snowflakes as ornaments, you can add a piece of ribbon to the back.
STEP 5: Assemble the Winter Snowflake Wreath
Once you have all of the snowflakes layered together it's time to assemble the snowflake wreath.
This is the easy part. I'm using a metal hoop from JOANN, but you can also use an embroidery hoop and a hot glue gun.
Now, take the layered snowflakes and glue them onto the embroidery hoop using a hot glue gun.
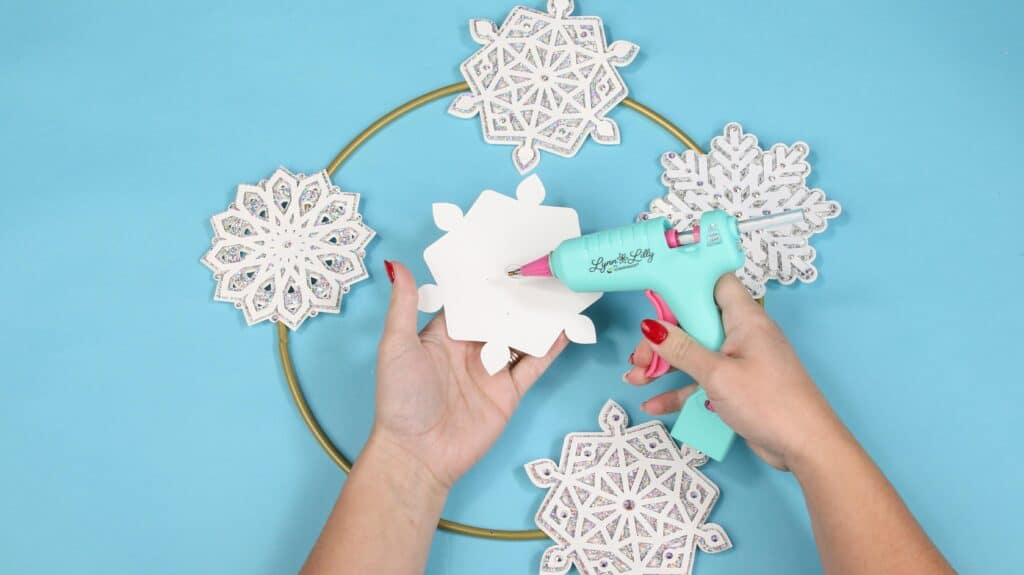
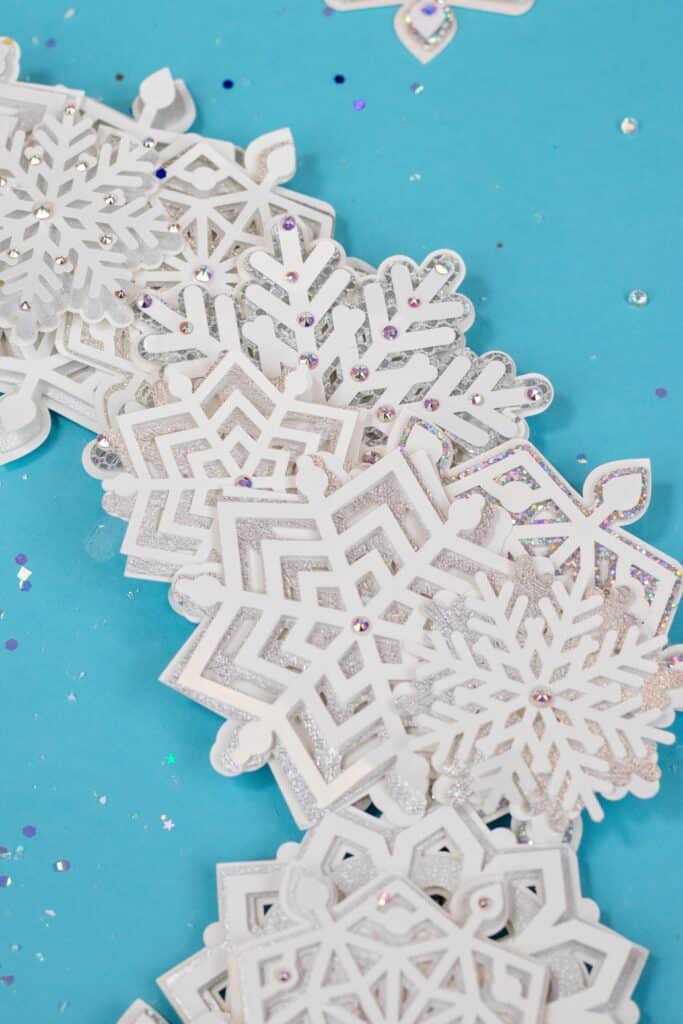
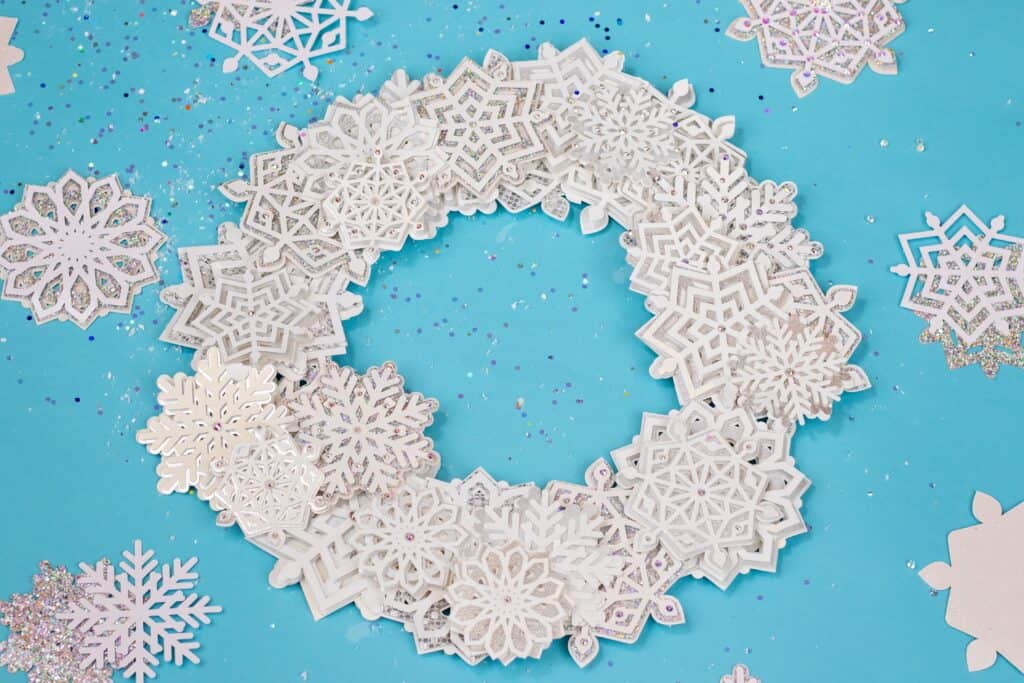
The snowflakes should overlap each other and various sizes should be used throughout.
I start by covering the base with the largest sizes and then add in the medium sizes on top and finally the smallest sizes.
Continue placing the snowflakes around the hoop until you're finished.
This Winter Snowflake Wreath can be placed indoors at your entryway for a warm and happy welcome to your family and guests.
It would be an absolute eye-catching statement piece above your fireplace for you to enjoy while relaxing by the fire.
You can also enjoy your layered snowflakes as ornaments. Just imagine how beautiful they would look on a Christmas tree when the crystals sparkle as they catch the light.
Don't forget to post your finished Snowflakes on Instagram and use the hashtag #sweetredpoppy to be featured in our Instagram stories.
Follow Sweet Red Poppy on Instagram to get a look behind the scenes, find out about new patterns and enter our giveaways.
Join my crafting and sewing Facebook group where you can show us what you’re making, ask questions, and learn from others!
Don’t want to forget about this free template? Save this project for later! Click here to save this project on Pinterest.
Can’t get the link to work to add this to my Pinterest board. 🙁
There is a link at the very top of the page for Pinterest. If you just click it, it should work .
Beautiful wreath! Thanks for sharing! How big was your wreath and approximately how many snowflakes of each size did you make?
The wreath is approximately 17" wide and there is a 10 large 8 Medium and 6 small. You can make as many as you like and the wreath any size you wish.
Thank you, Barb! The metal hoop I used for the frame is 18-inches wide, so it ended up being approximately 22 inches wide. We made 2 snowflakes of each size. So 24 snowflakes total. Hope that helps!
I've loved this wreath since last year, and got my snowflakes cut and assembled the past 2 days. I did notice that the link to the foam dots brings up half inch dots with 150 per pack. The directions call for quarter inch and eighth inch dots, and I can confirm that even though I flat glued the back layer to the middle layer, it took me 150 quarter inch dots and over 700 eighth inch dots to assemble the top 2 layers of 29 snowflakes. I also think it will be easier to glue to a flat half inch wide fake-wood wreath form than the metal hoop. Thanks, Maggie, for the beautiful design.
Having trouble getting the download to work. Have downloaded several other projects without any problems. This one just isn’t working.
What weight card stock did you use?
I made this last year, and wrapped battery powered fairy lights among the snowflakes. The lights have a built in timer so they only stay on for six hours. I shared on my blog last year. I need to put it up now!