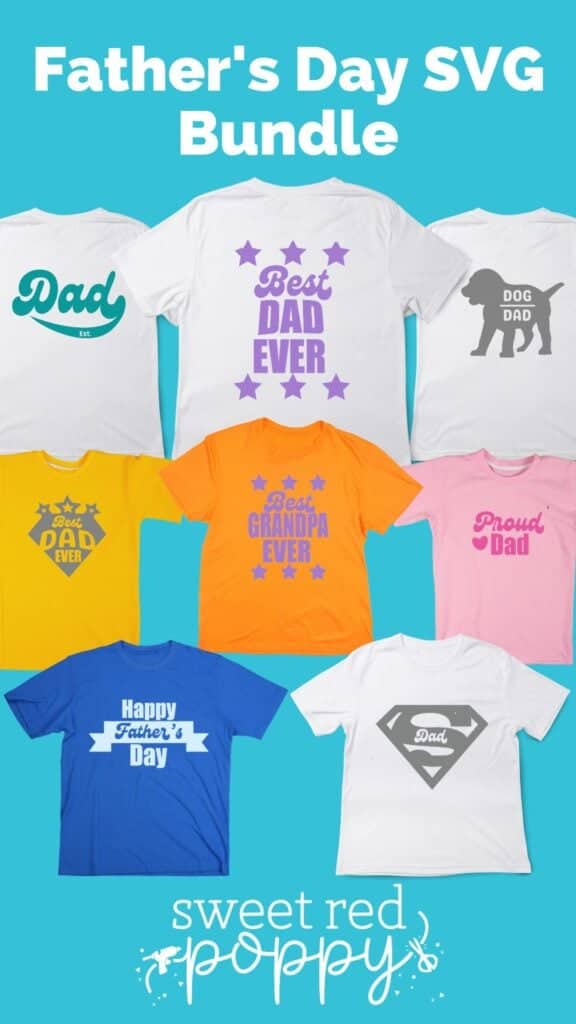
Download this Father's Day SVG Bundle to Create Custom Gifts like T-shirts, Mugs, Tumblers, etc. Check Out What's Included Down Below!
Father's Day is coming up, so I wanted to share these SVG designs you could use to make thoughtful gifts! You can make these designs out of Iron-On or Vinyl and put the designs on t-shirts, mugs, shadowboxes, tumblers, etc.
Looking for even more Father's Day gift ideas? Click the links below!
- 3D Baseball Hat Gift Box
- #1 Dad Father's Day Layered Mandala Card
- We Love You This Much - DIY Father's Day Card (Kid-Friendly)
- 3D Cardstock Father's Day Tool Box Gift Box
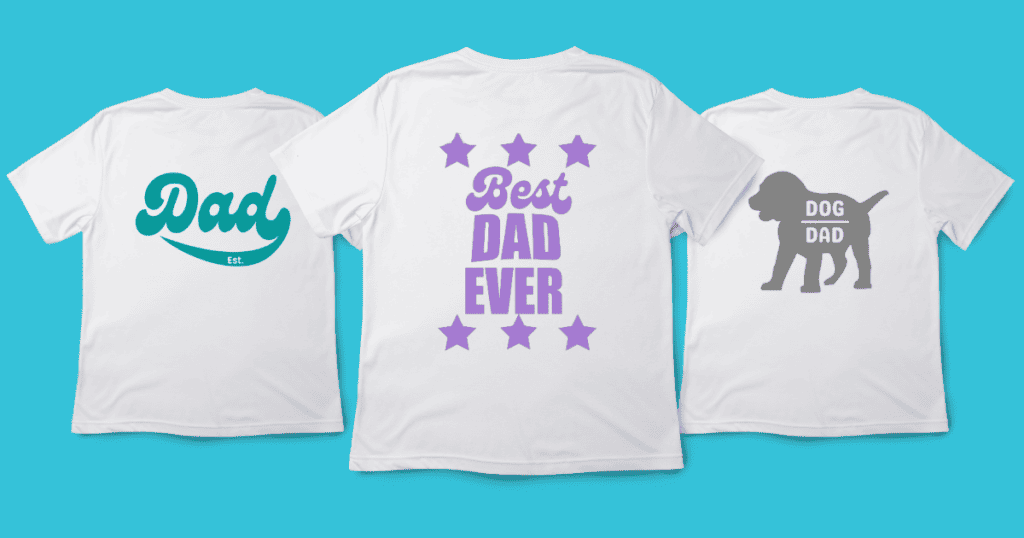
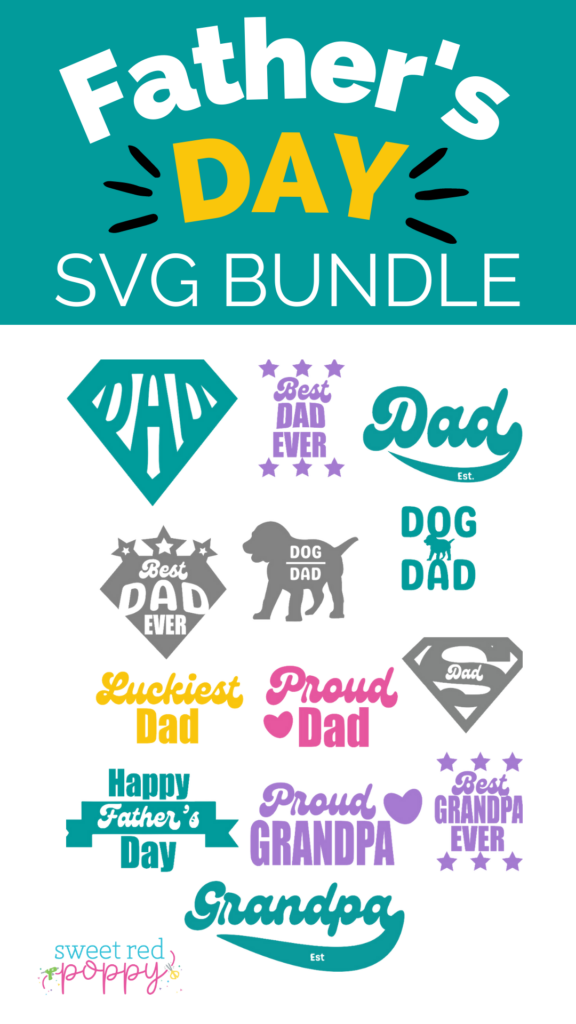
The Father's Day SVG bundle includes 13 SVG designs:
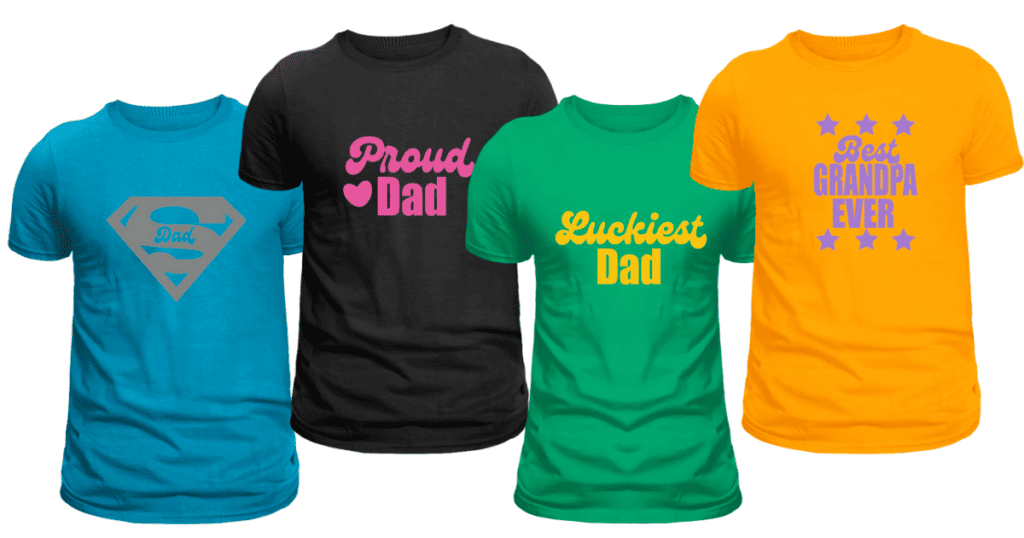
- 2 Super Dad designs
- 2 Best Dad Ever designs
- 2 Dog Dad
- 1 Best Grandpa Ever
- 1 Dad Est.
- 1 Grandpa Est.
- 1 Proud Dad
- 1 Proud Grandpa
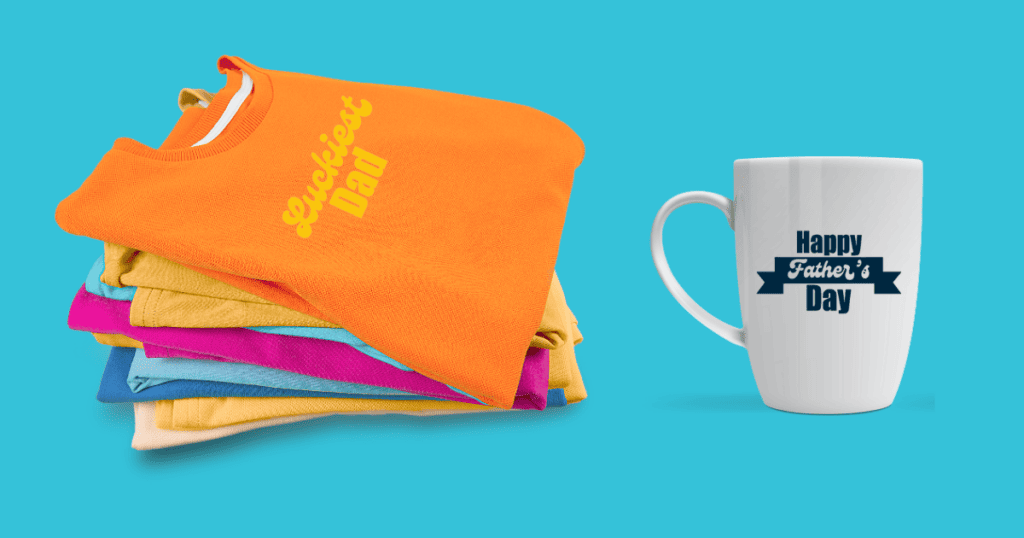
- 1 Luckiest Dad
- Happy Father's Day design

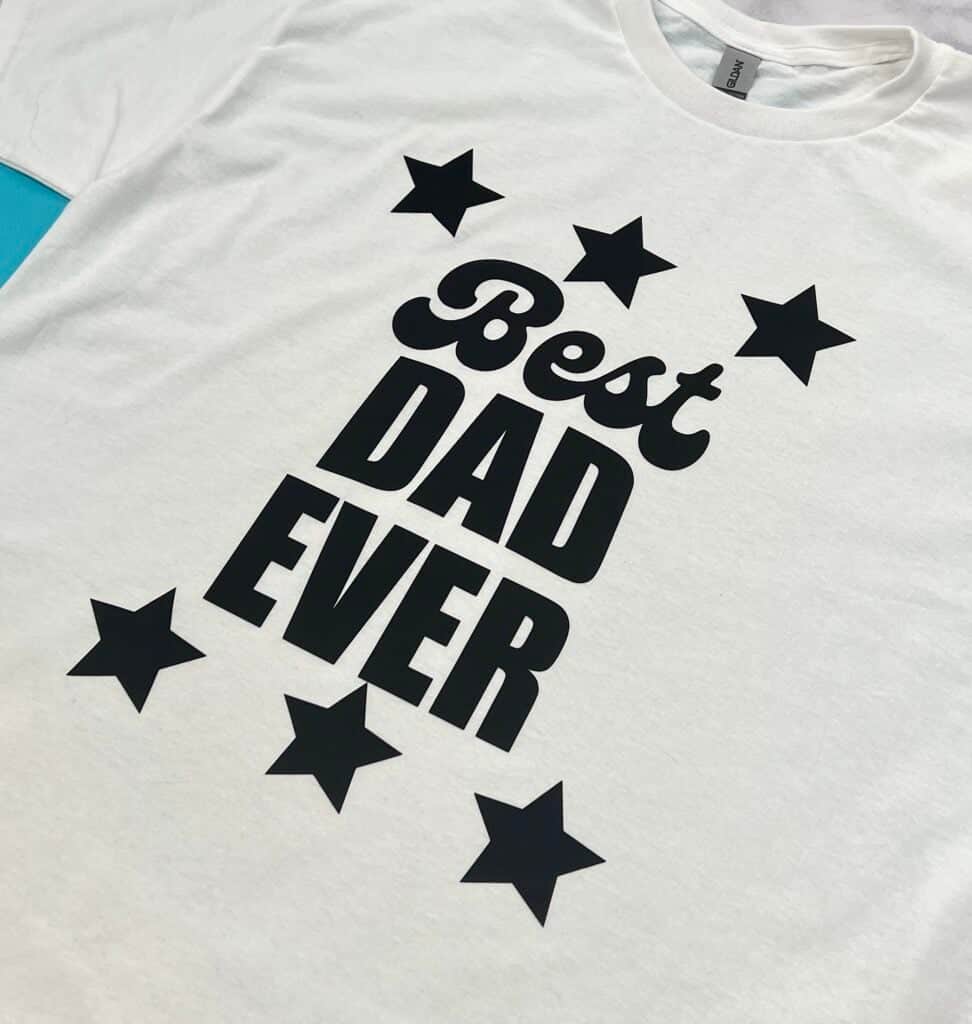
I used Everyday Iron-On Vinyl from Cricut and ironed one of the designs onto a t-shirt, and it turned out great!
Download The Father's Day SVG Bundle Here!
One of my favorite things to make each year is a customized t-shirt for my husband on Father’s Day. It’s a great project to involve the kids with too!
Find out how to use Iron-On HERE.
Maybe Iron-On isn’t your jam? That’s okay!
Learn how to apply Vinyl with this tutorial to get perfect results!
How to Upload Designs to Cricut Design Space
Let's go over how to upload these designs to Cricut Design Space.
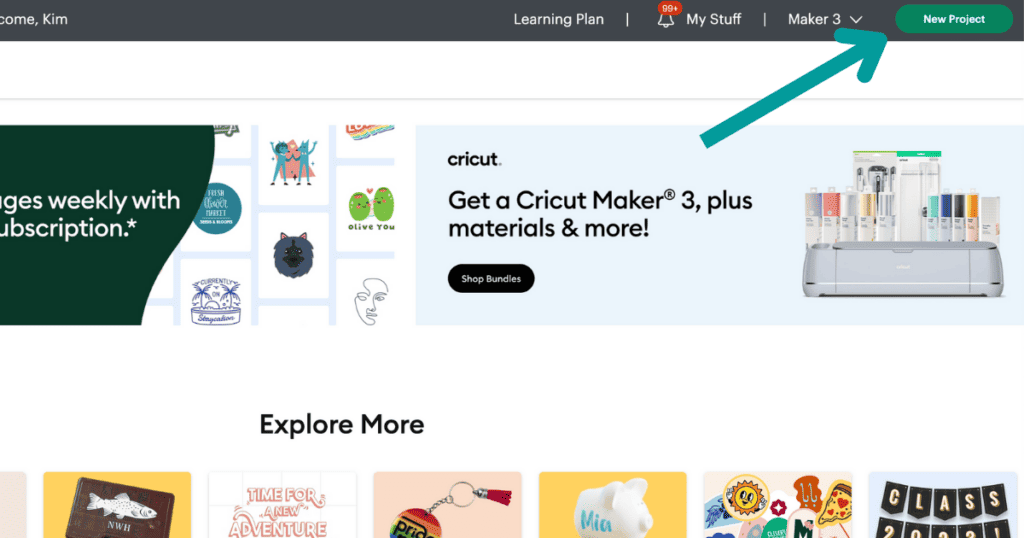
To upload the Father's Day SVG Bundle, create a New Project in Cricut Design Space.
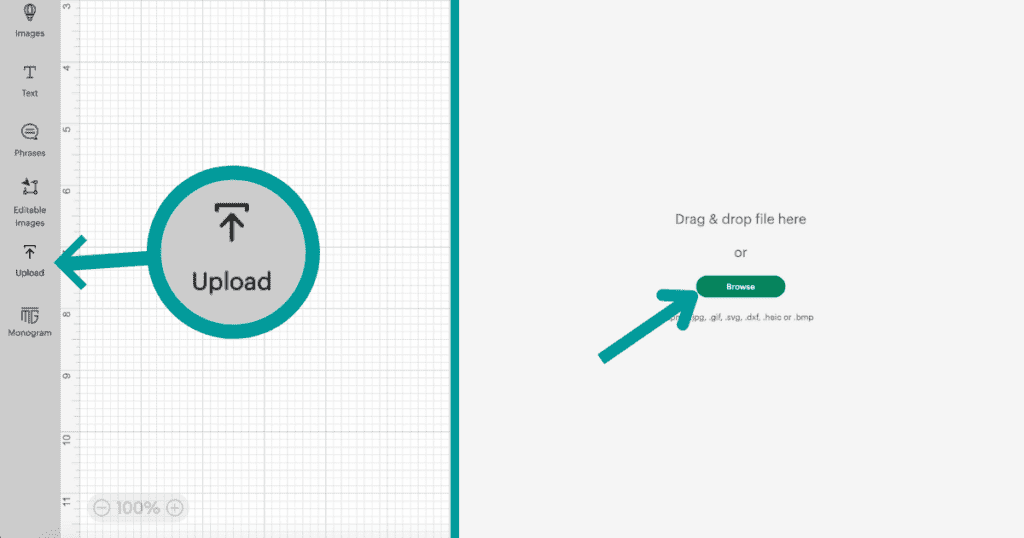
Click on Upload to the left of the canvas and drag and drop the SVG file or click Browse to select the file from your desktop.
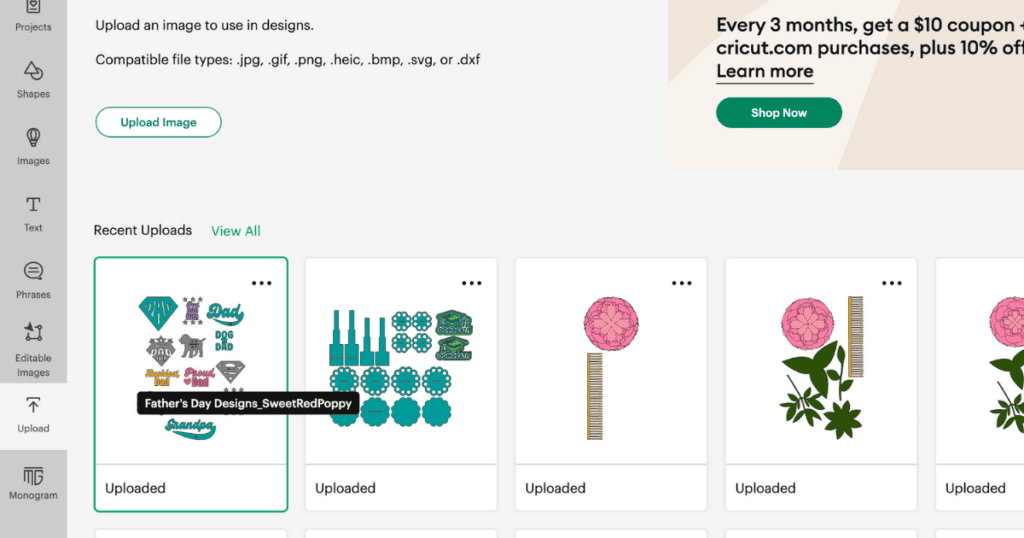
Next, select the file from your recent uploads and upload it to your canvas.
Once the bundle has been uploaded to your canvas, select the group of designs and Ungroup them in the layers panel or press Command+Shift+G (Mac) or Ctrl+Shift+G (Windows).
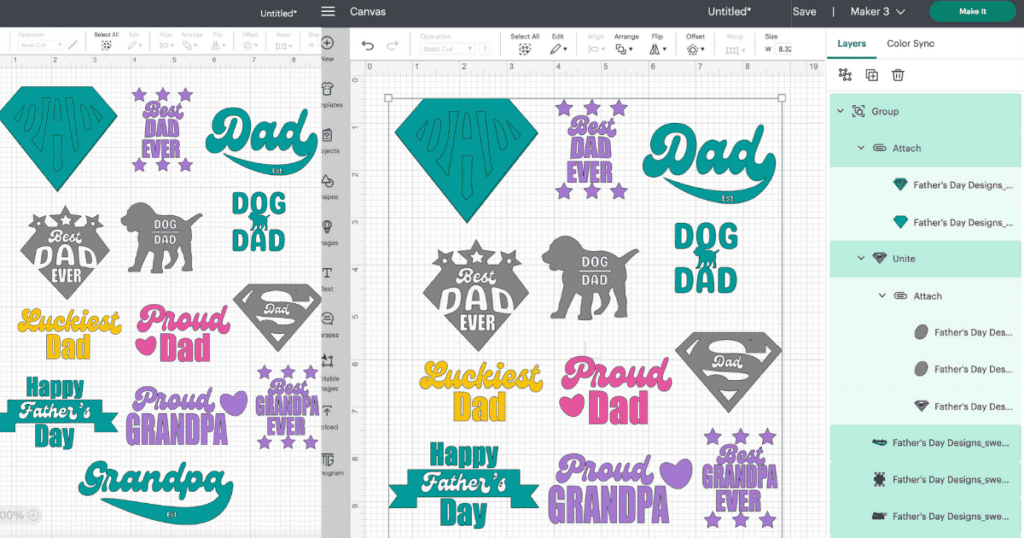
Then, select the designs you don't want to cut in the layers panel (hold down shift while clicking to select multiple designs at a time), group them, and hide them by hovering over the grouped layer in the layers panel and clicking on the eye icon.
When the designs you don't want to cut have been hidden, select your design, and resize it to the measurements suitable for your surface. I'm resizing mine to 10 inches in width to fit on a Large cotton t-shirt.

Not sure what size to cut your Iron-On? Use this FREE printable to get the right size every time for perfect Iron-On results!
Click here to get my FREE Iron-On T-Shirt Sizing Guide.
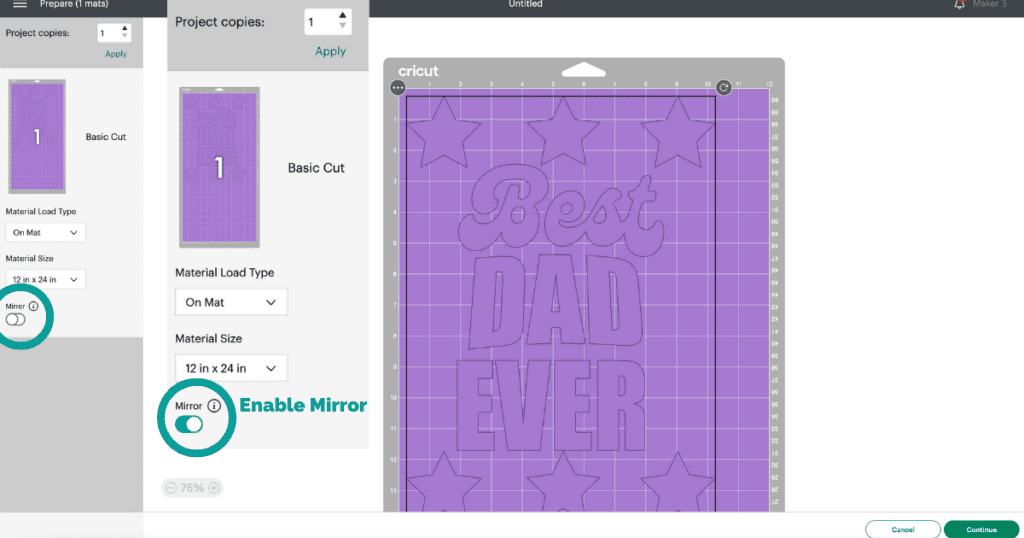
Click Make It in the top right corner of the canvas. It will then take you to the Prepare screen. From here, select your Material Load Type, Material Size, and be sure to Mirror your design. Clicking this will mirror the image so that the design will not be backward once placed on your surface.
Finally, connect to your machine, select the material you will be using (I'm using Cricut's Everyday Iron-On), load the material into your machine, follow the prompts, and begin the cut.
How to Change the Color of the Designs
To change the color of a design, simply select the image, click on the color swatch in the operations panel above the canvas, and select the color you want.
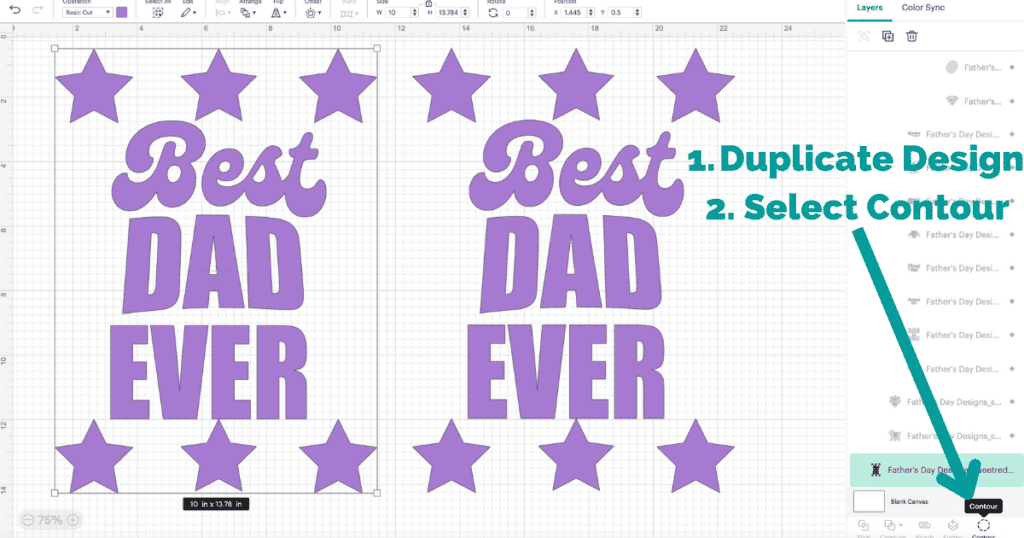
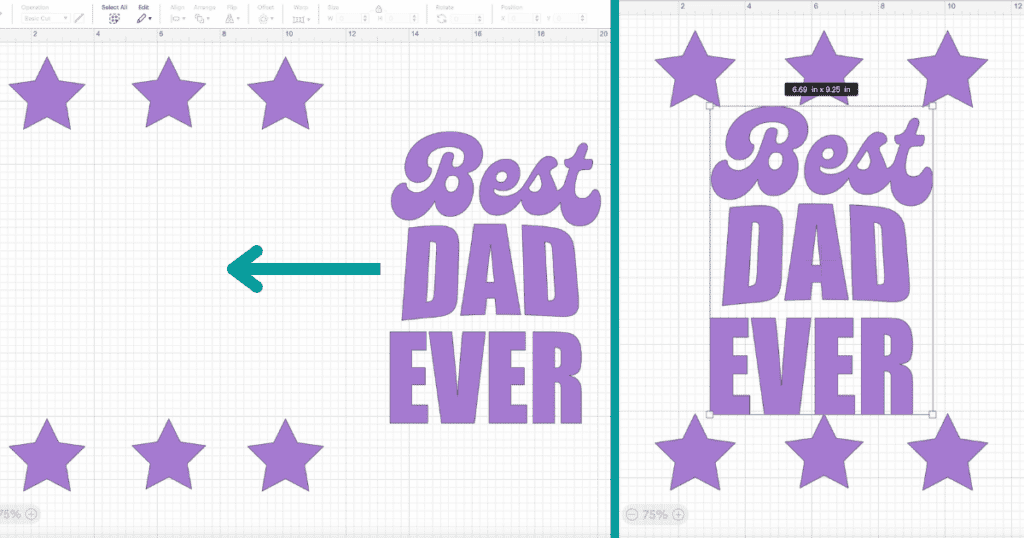
If you're wanting to change the color of, for example, the stars of one of the designs, all you have to do is duplicate the design. Then, select one of the duplicates and click Contour in the bottom right corner of the layers panel.
Once the Contour window pops up, select the portions you don't want. I'm going to select "Best Dad Ever". This will hide the "Best Dad Ever" and leave the stars still showing.
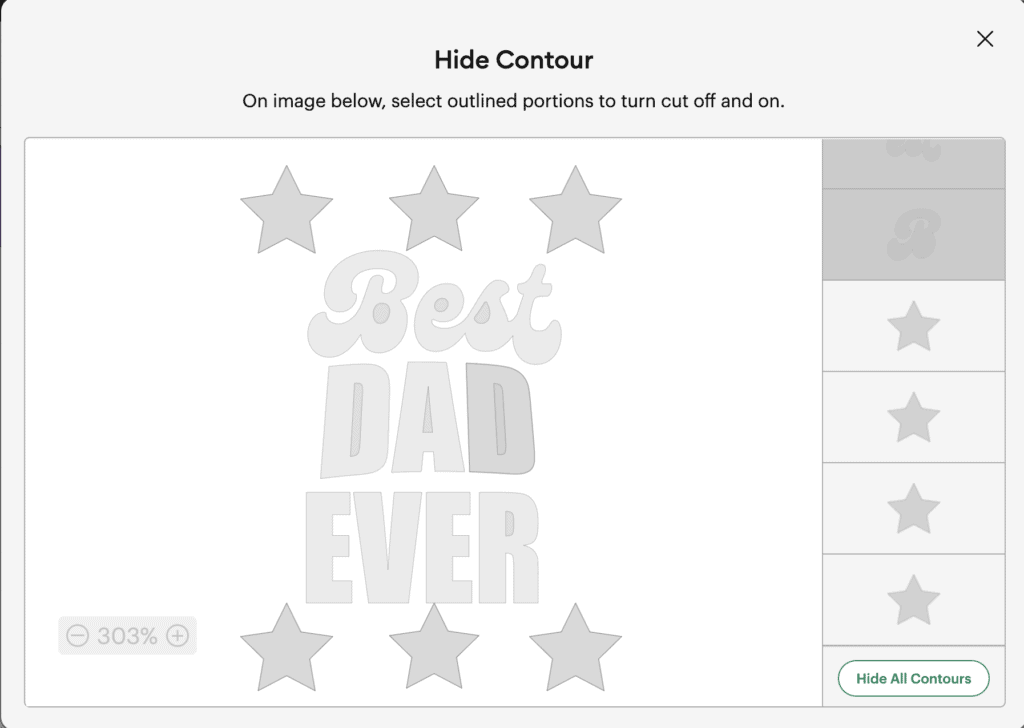
Exit out of the window, and repeat this process to the other duplicate of the design, but this time, I'm going to select the stars in the contour window.
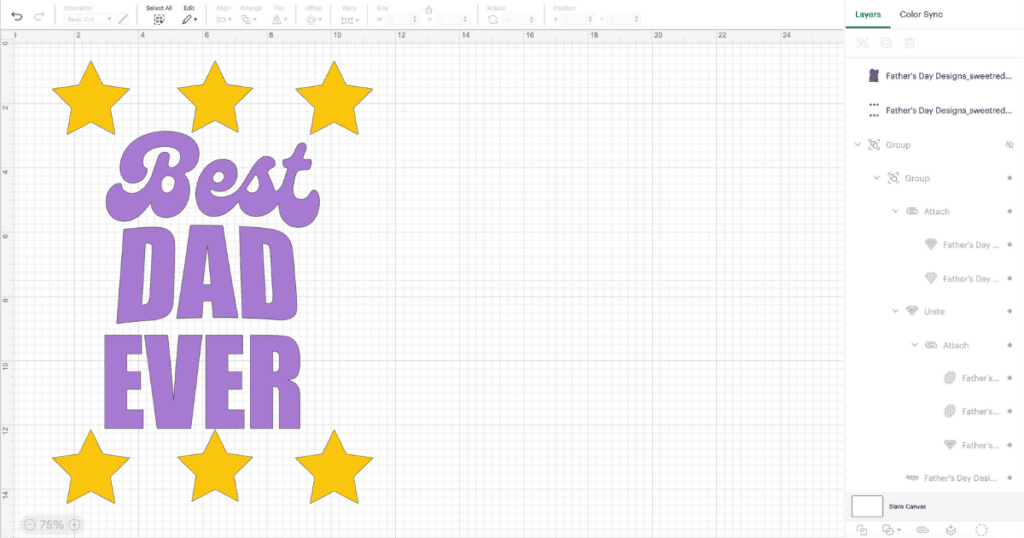
Bring the designs together and now you can change the color of the stars by selecting them and clicking on the color swatch in the operations panel above the canvas.
That's how you change the colors of a design!
I hope you have lots of fun with these designs! Happy Father's Day!
Don't want to forget about this template? Click here to save it on Pinterest!
Do you love your Father’s Day SVG files? Share your project with us in the Sweet Red Poppy Crafting & Sewing Group!
Leave a Reply