Learn How to Easily Cut Vinyl on a Cricut Machine, Weed It, and Apply It to Any Surface.
Today, we are talking all about Vinyl. If you’ve ever wanted to use Vinyl but you’ve been intimidated by the process or had less than ideal results then this post is for you! Let's talk all about how to cut Vinyl on a Cricut!
This post is sponsored by JOANN, my one-stop shop for all of my craft needs!


Table of Contents
What is Vinyl?
First off, Vinyl consists of two different parts. The top layer is the actual vinyl and it has a sticky adhesive backing. This is the material you will be cutting and applying to create your project. The second layer is a paper liner. You can think of vinyl as a sticker. On top, you have the sticker and on the back, you have a paper liner that prevents it from accidentally sticking to things.
Vinyl can be applied to the majority of flat surfaces. It works best on non-porous items like walls, glass, and plastic.
There are many different types of vinyl and your surface will determine the type of vinyl that you want to use for your specific project.
Don't confuse Vinyl with Iron-On. Iron-On or Heat Transfer Vinyl is a heat-activated vinyl that is primarily used on clothing. It requires an iron or heat press to activate the adhesive backing. A simple way to tell the difference between the two is to look at the back of the vinyl. Heat Transfer Vinyl has a clear liner on top and the actual vinyl layered underneath. Normal vinyl (removable and permanent) has a paper liner with a grid.
Which Vinyl Should I Use? Permanent or Removable
JOANN carries both removable and permanent Cricut vinyl. Removable Vinyl is ideal for temporary decor. It does not leave a residue behind and can easily be changed out from season to season. It’s great for temporary wall decals or seasonal projects. Permanent Vinyl has a long-lasting adhesive bond and it is ideal for projects that will undergo more wear and tear. So think of projects like mugs, cups and even windshields.
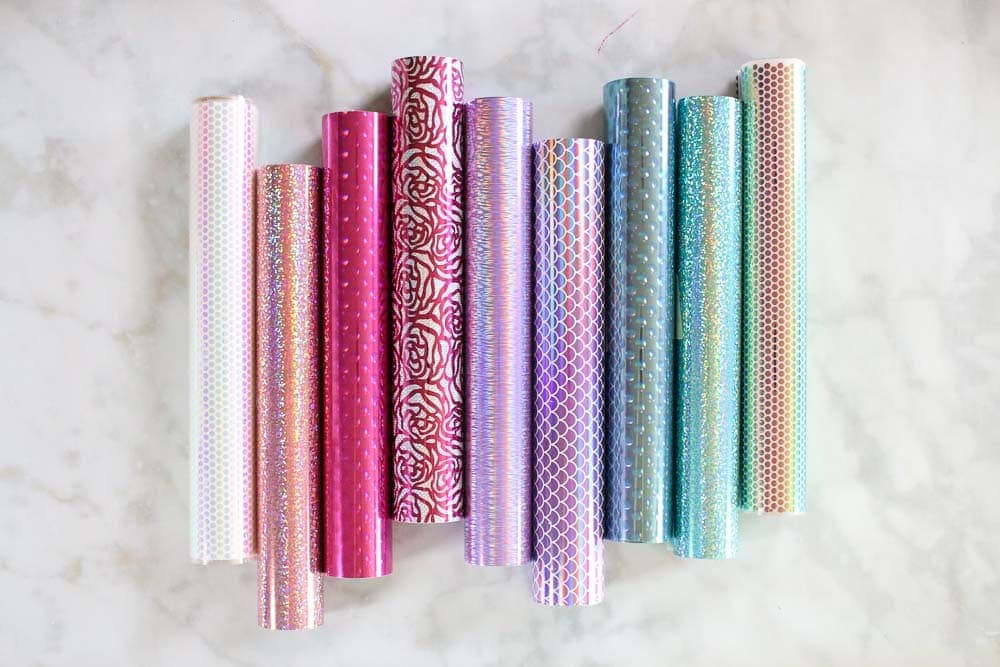
In addition to different strengths, vinyl also comes in a wide variety of finishes. Everything from holographic and shimmer vinyl to matte and foil.
How Do I Cut Vinyl on a Cricut?
To cut Vinyl on a Cricut you’ll need a few different supplies.
First off you’ll need a cutting machine, I love using my Cricut Explore Air 2 for all of my vinyl projects.
A green Standard Grip mat works best with Vinyl.
You’ll also need a weeding tool. This is used to remove the negative pieces of Vinyl from the cut image. If you don’t love using a weeding tool you can also use a sewing needle or ballpoint pen.
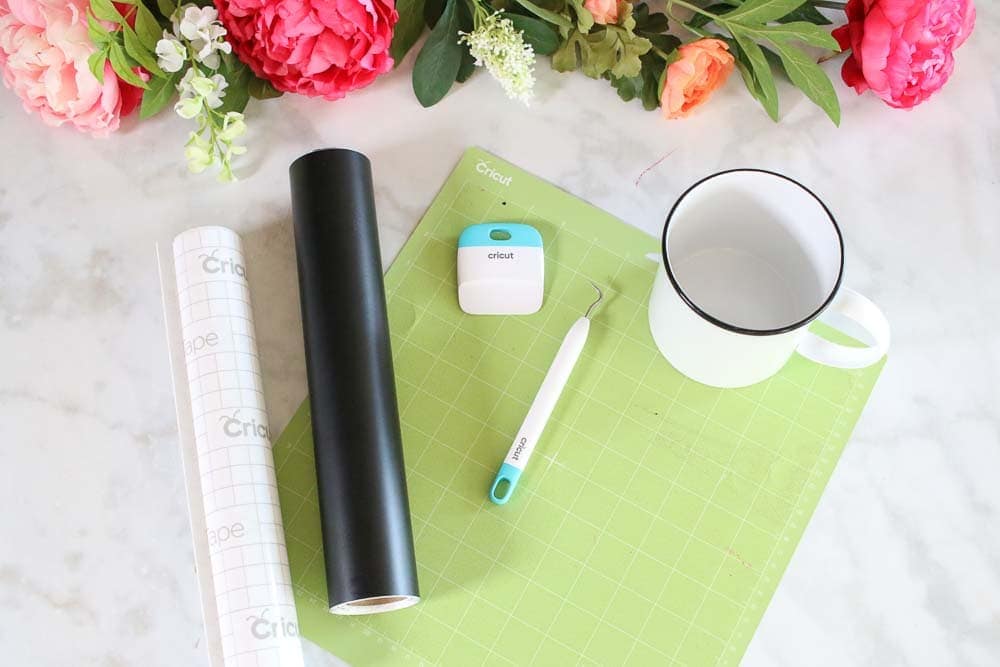
Transfer Tape is also needed when using Vinyl. The type of transfer tape that you need depends on the type of Vinyl that you are using. For the majority of Vinyl, you will want to use regular transfer tape. For glitter or shimmer Vinyl, use strong grip transfer tape.
Now let's go ahead and create a vinyl project. I’m going to walk you through every single step and explain the entire process!
Save yourself a trip to the store and shop for your supplies on JOANN.com with the links below, or try out JOANN's in-store pickup.
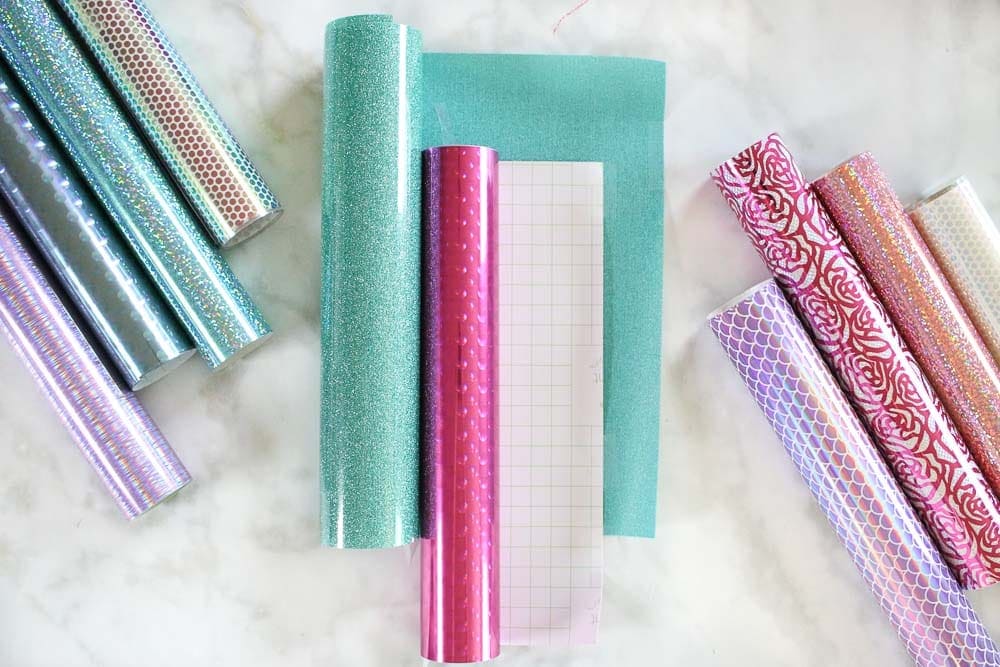
Supplies
How to Create a Vinyl Project
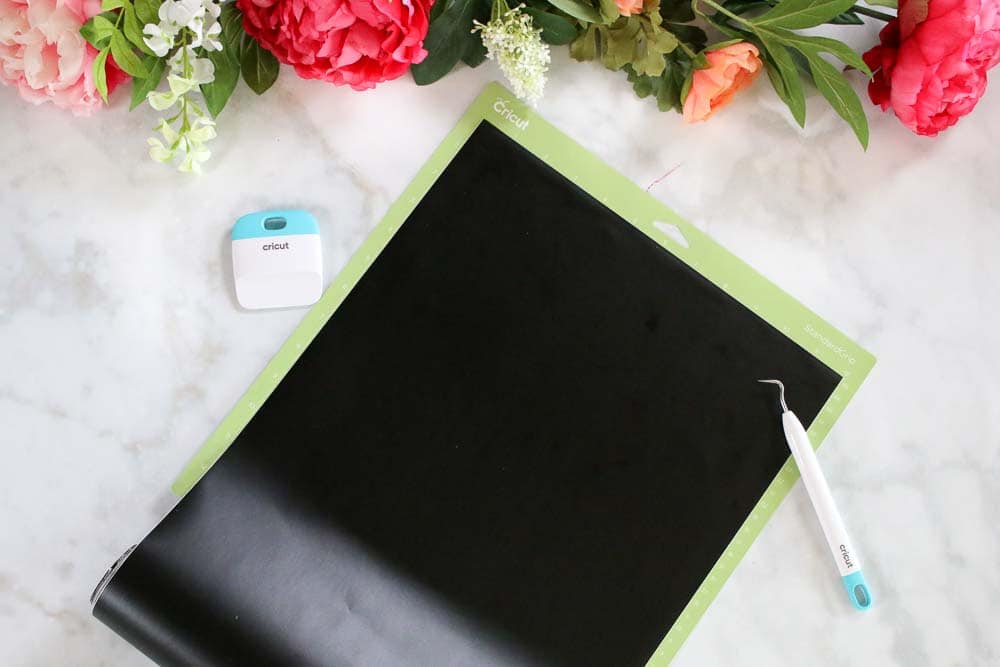
Once you’ve designed your project within Design Space, place a Green Cricut Standard Grip mat out in front of you on a flat surface. Make sure to remove the clear liner and set it aside.
Unroll your Vinyl, the paper liner side should be facing downwards. Align the corners of the Vinyl with the corners of the grid along the top of the Standard grip mat. Smooth the vinyl out across the entire mat making sure it’s securely adhered to the mat.
Within Design Space select the specific type of vinyl that you are working with. There are many different types of vinyl and the cut settings are slightly different for each type of vinyl.
*For this Rae Dunn inspired project I'm using the font The Skinny from dafont.com
Insert your mat into your Cricut machine. Vinyl should be cut using a fine-point blade.
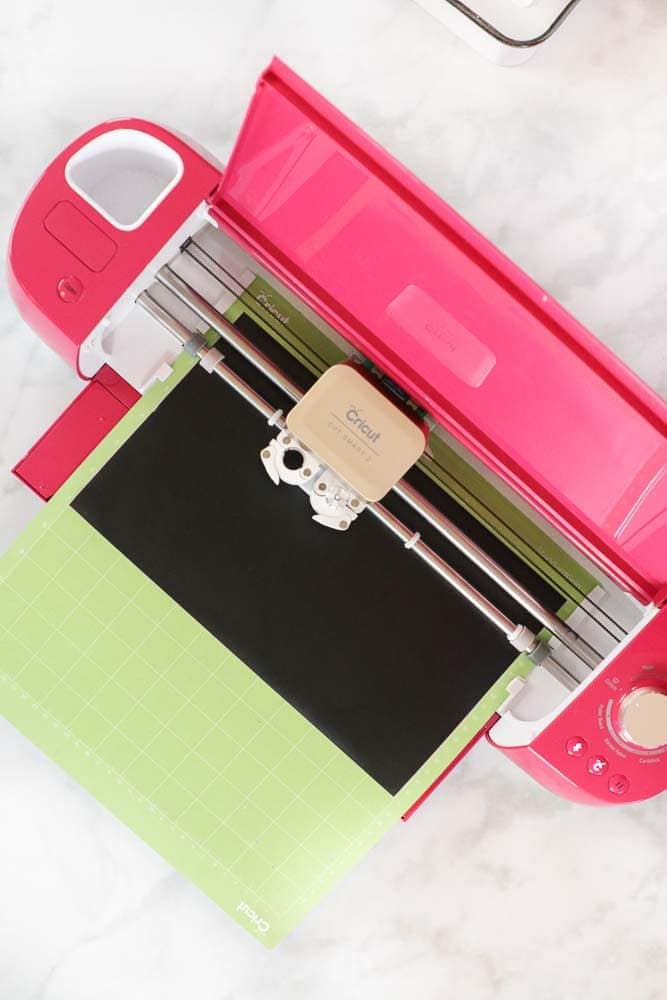
Once your machine has finished cutting your vinyl, unload the mat.
At this point, I like to keep my vinyl attached to my mat and begin the process of weeding.
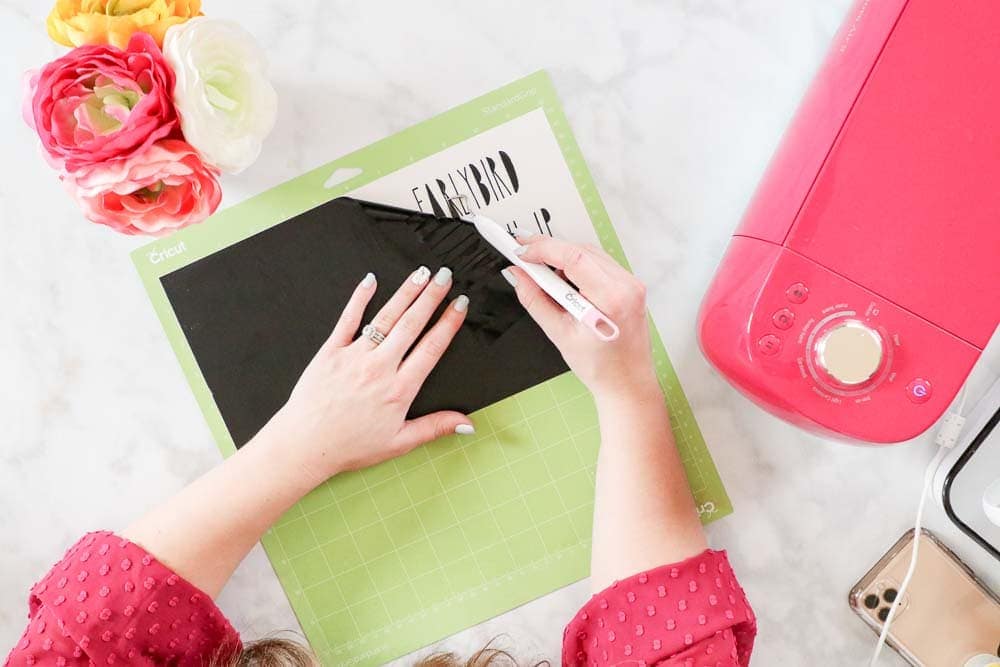
To weed your vinyl, you’ll want to use a weeding tool. This is a tool with a sharp end that helps you to remove the negative pieces of vinyl from your design.
I find it’s easiest to do this while your vinyl is still on the mat because it keeps it from moving around.
Cut a piece of transfer tape about the same size as your image. Remove the paper liner from the back of your transfer tape and lay the tape on top of the image. Make sure to use the grid lines as a guide for lining everything up.
Flip the Cricut Mat upside down and pull the mat away from the vinyl. This will protect the vinyl from bubbling or becoming damaged.
Using a scraper tool burnish your image onto the transfer tape. Gently peel the transfer tape from the paper backing at a 45-degree angle. If the vinyl does not transfer to the tape lay it back down and burnish it again.
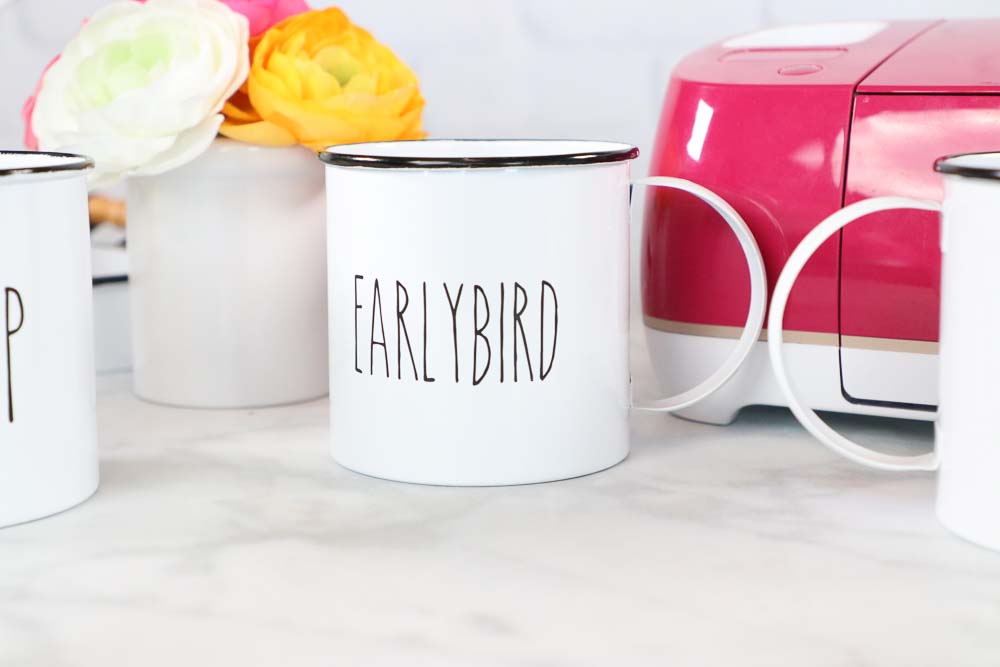
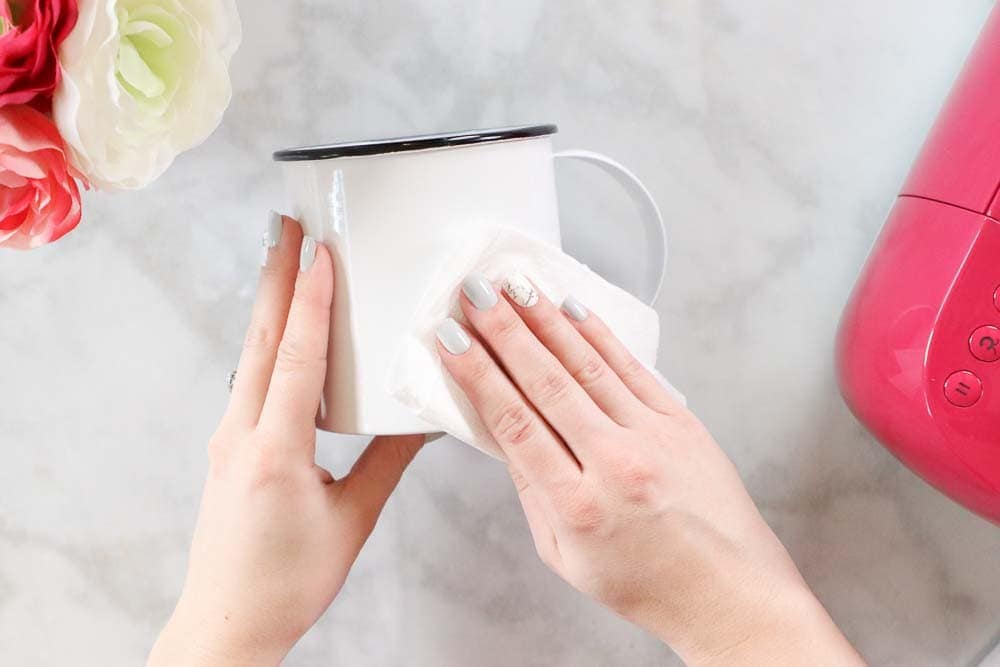
Now, it’s time to clean the surface that you’ll be applying the vinyl to. I found these cute white and black enamel pieces from JOANN. You can find them online or in stores under the name Jillibean Soup.
It’s important that the surface is free of debris or any oils that could compromise the adhesion of the vinyl.
I like to use rubbing alcohol for this along with a paper towel to thoroughly dry my base material.
Place the transfer tape onto the item you are transferring it to. Take extra care to make sure that the transfer is straight and aligned exactly where you want it to be. Using your scraper tool to burnish the design to the base. This helps the sticky backing to fully adhere to the surface.
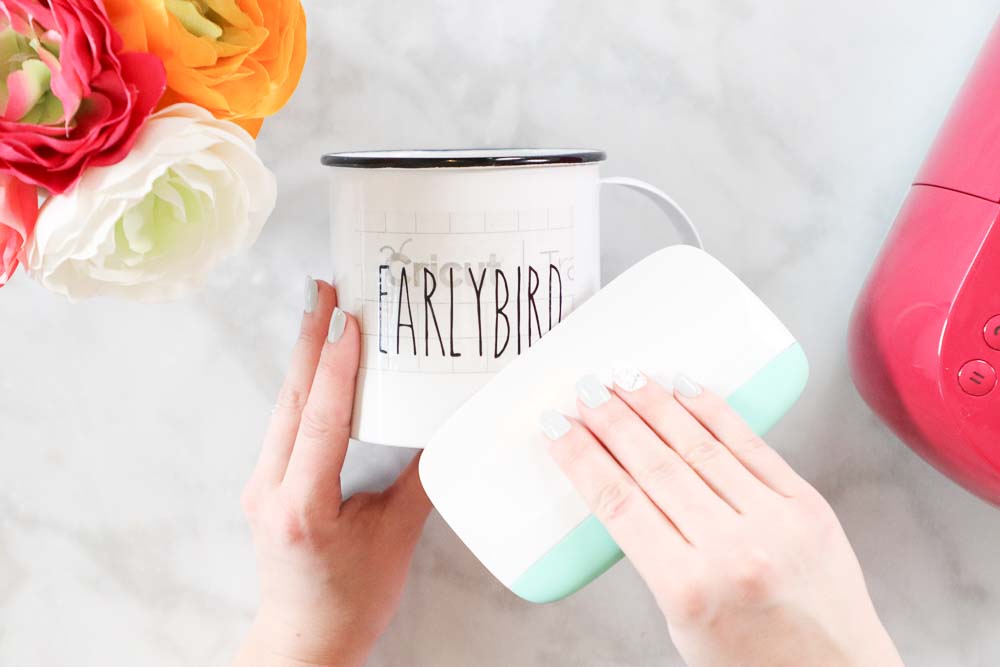
Carefully pull the transfer tape away from the image at a 45-degree angle to reveal your finished design!
Allow your vinyl to fully cure for 24 hours before washing it or exposing it to water. This will help the backing to fully adhere to the material it’s been placed on and create a long-lasting result.

I hope you enjoyed learning how to cut vinyl on a Cricut machine in this tutorial! I can't wait to see what you make.

If you have any questions about using vinyl make sure to leave them in the comments below!
Don't want to forget How to Cut Vinyl on Cricut? Click here to save this post for later on Pinterest!
Hi,
The Cricut is all new to me and I'm slowly learning.
After you've placed the vinyl on the mug, etc... what do you use to set it so it won't rub/wash off at all?
Also, can you wash the mug in hot water or does it need to be cold water?
Thank you for all your help!
Hi, What can you use in place of a scraper tool? I'm sending a design to a friend and they don't have a scraper tool. Thanks!
SHOULD PLACE GLITTER VINYL FACING UP WHILE CUTTING OR GLITTER SIDE DOWN
How do i use this to make transfers?
Do I need to have my lettering the same color in design space for the vinyl that it’s coming out on?
What font did you use in your tutorial? Thanks!
Hi Do I Remove the top layer of the holographic permanent vinyl?
The cricut keeps cutting my paper.
Thanks
AJ
I have a Cricut Create (the first cricut machine to come out, a few years ago) and use the cartridges for it I need to make some vinyl decals for work and I can't find anywhere what settings I need to use to cut the vinyl with the Cricut Create machine, can u help me with that, thanks !
are there any additional steps when trying permanent vinyl