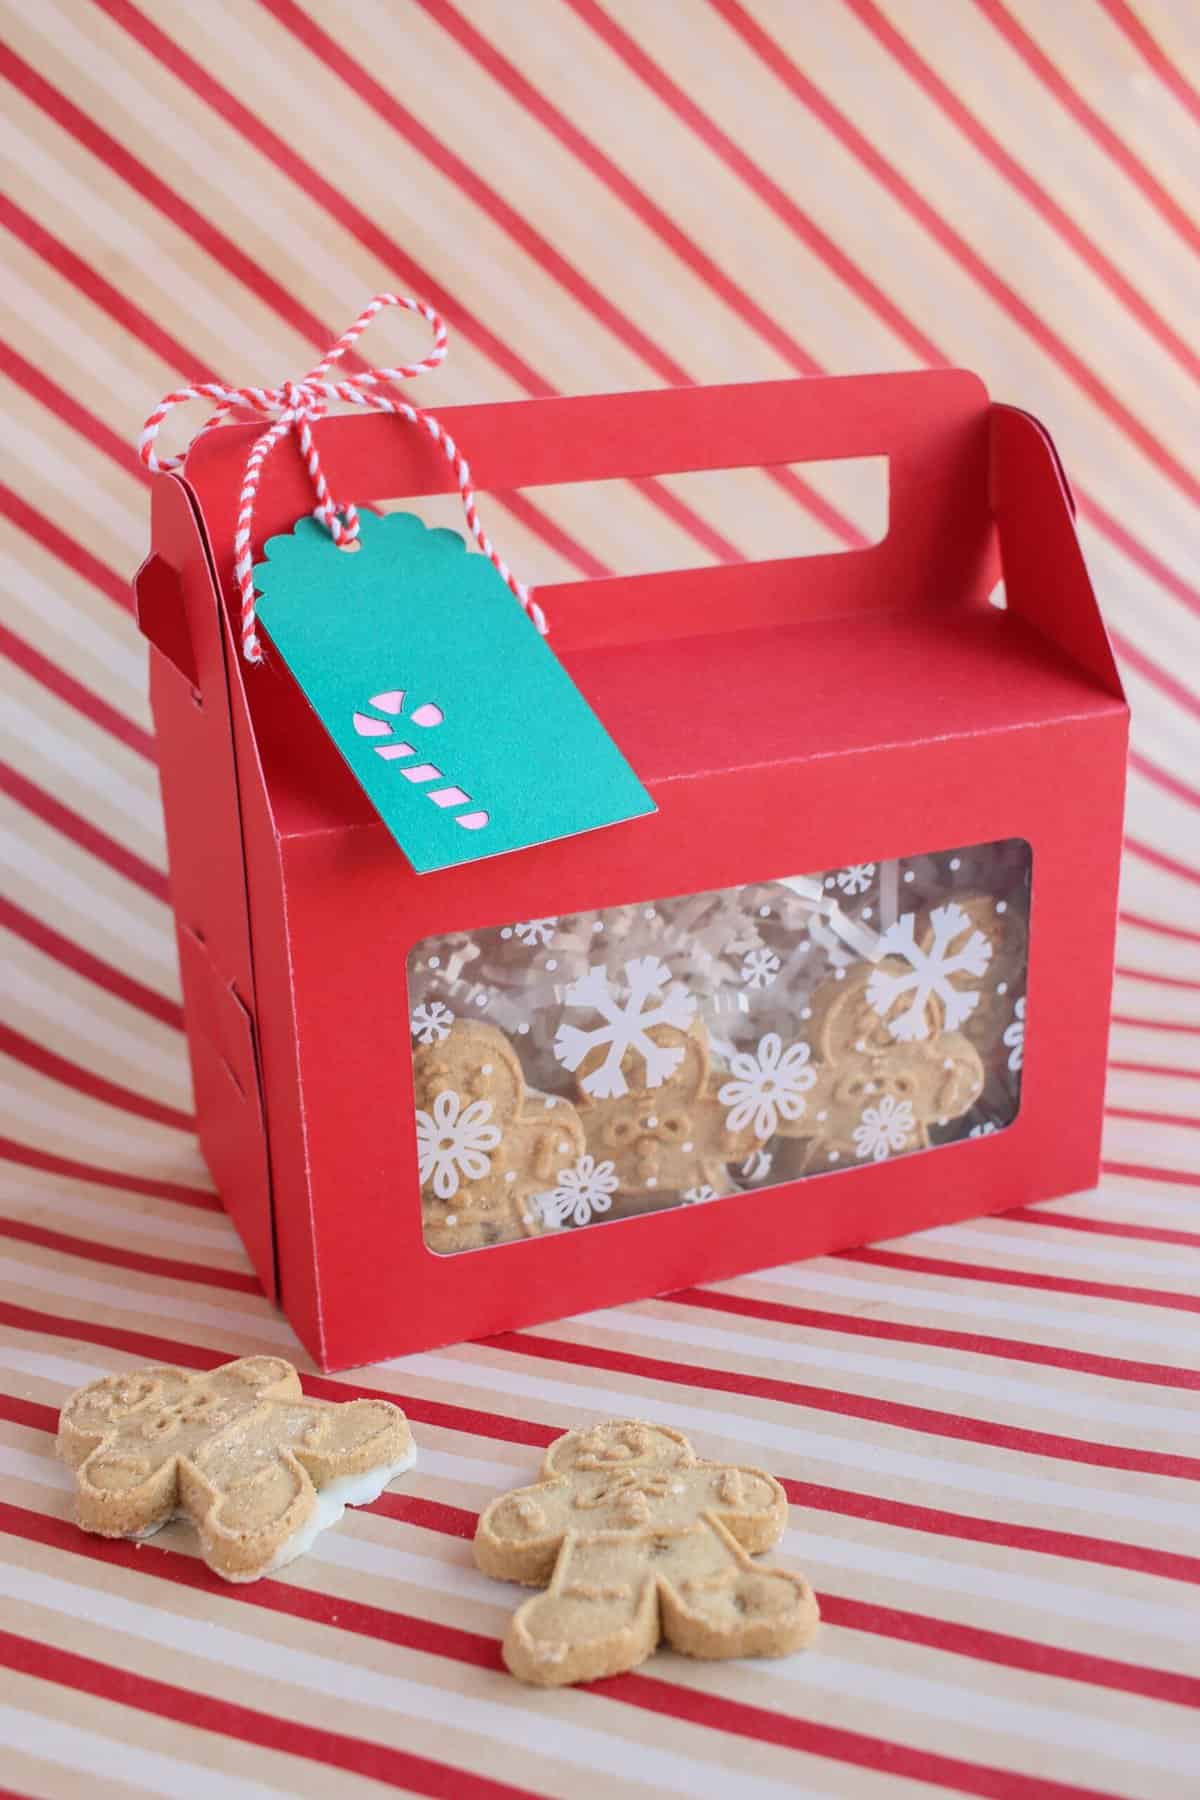
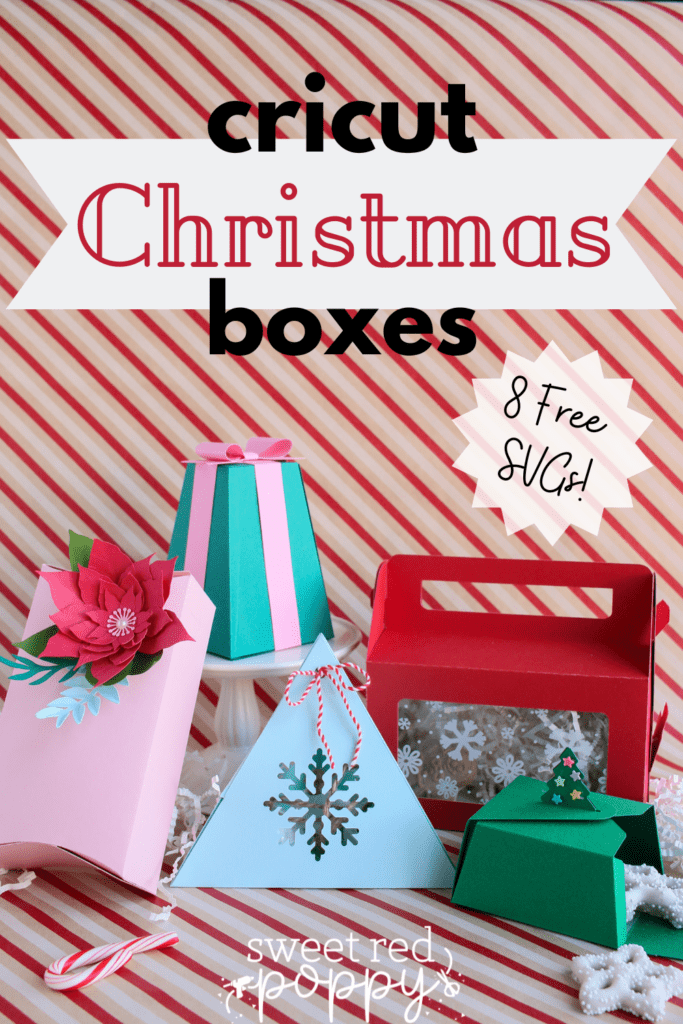
Make simple and adorable paper Christmas Boxes with your Cricut Machine for all your gifting needs. Think neighbor gifts, Christmas cookies, and holiday party favors; there is a box for every occasion!
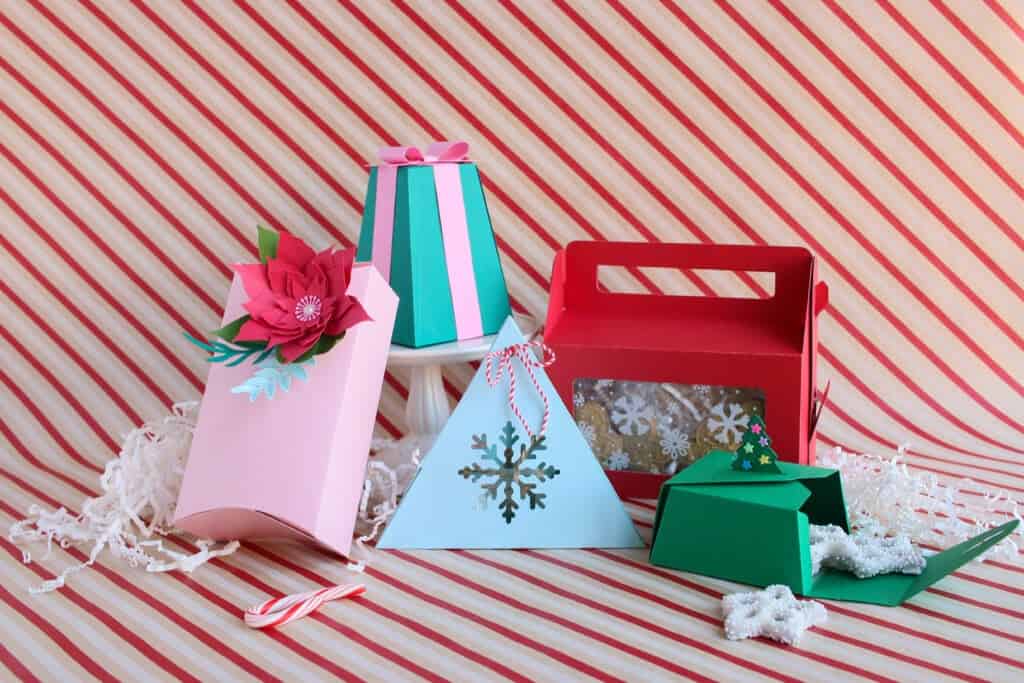
Each of these boxes requires only 1 to 2 pieces of 12 by 12-inch cardstock and comes together so quickly. When wrapped in a sweet box, a simple gift card or treat instantly becomes festive!
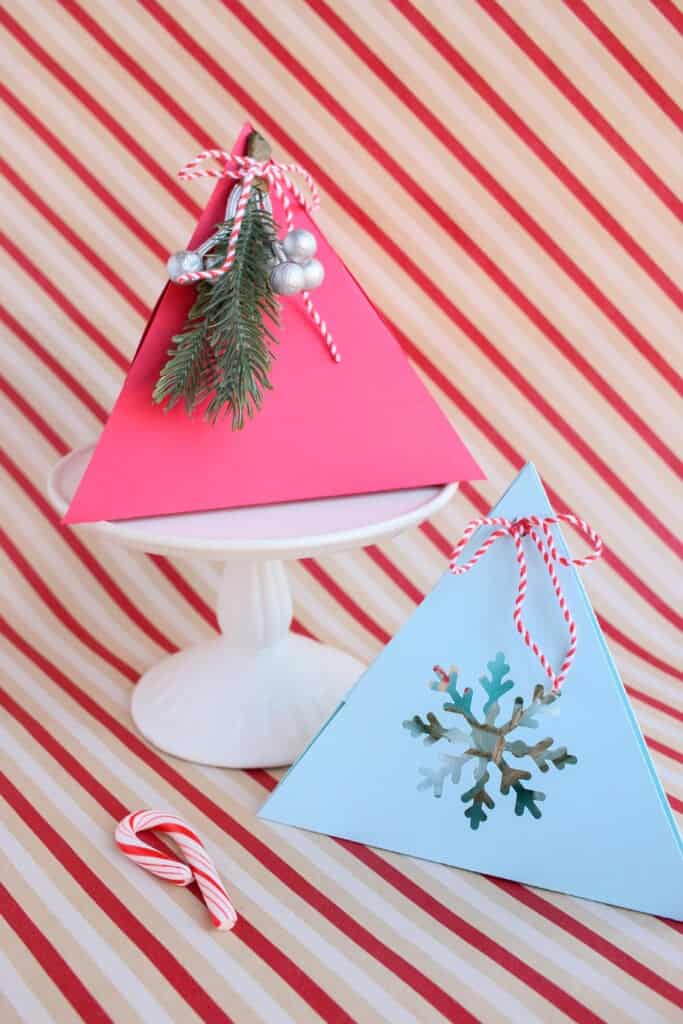
Table of Contents
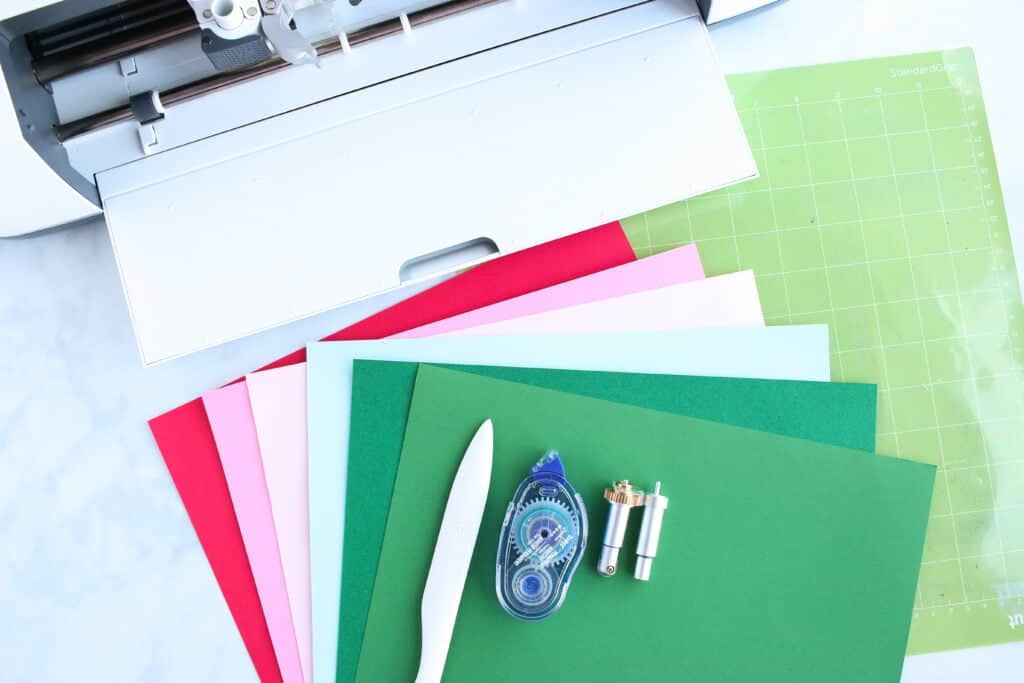
Cricut Christmas Box Supplies
- 12 by 12-inch Cardstock, the number of pages is specified below.
- Cricut Machine: Explore, or Maker.
- These designs are currently formatted to be too large to be cut with the Cricut joy. However, you could decrease the size if you wanted to create smaller boxes with the Joy.
- Standard Grip Cutting Mat
- Fine Point Blade
- Scoring Wheel and Housing
- Adhesive Roller
- Hot glue gun *Only for Trapezoid Gift Box
- Cellophane sheets, acetate, or vellum. I used some snowflake cellophane treat bags I had on hand for a festive look. You can use whatever you have handy! *Only for Gable Box
Shop all of the supplies on Amazon by clicking HERE.
Additional Supplies
- Bone Folder, for crisp folds
- Twine or ribbon
- Mini pom poms or star confetti
- Acrylic Glue
In need of gift tags? Make sure to check out our free Christmas Gift Tags for all your presents this holiday season!
How Much and What Kind of Paper do I Need?
For these treat boxes I would recommend using at least 65lb paper. Depending on what you're filling your box with, you may want to use 80-100lb paper so have a stiffer and stronger box.
The paper requirements listed below are for the original size of the files when you upload them to Design Space. You can of course adjust the dimensions of these boxes by increasing or decreasing the size within Cricut Design Space, you may just need to adjust the amount of paper you'll need.
- Small Gable Treat Box: 2, 12x12-inch pieces of paper
- Large Gable Treat Box (not pictured): 1, 12x24-inch piece of paper
- The gable boxes feature a cutout window that I line with cellophane, so you will need cellophane, acetate, or vellum sheets as well.
- Snowflake or Solid Triangle Box: 1, 12x12-inch paper
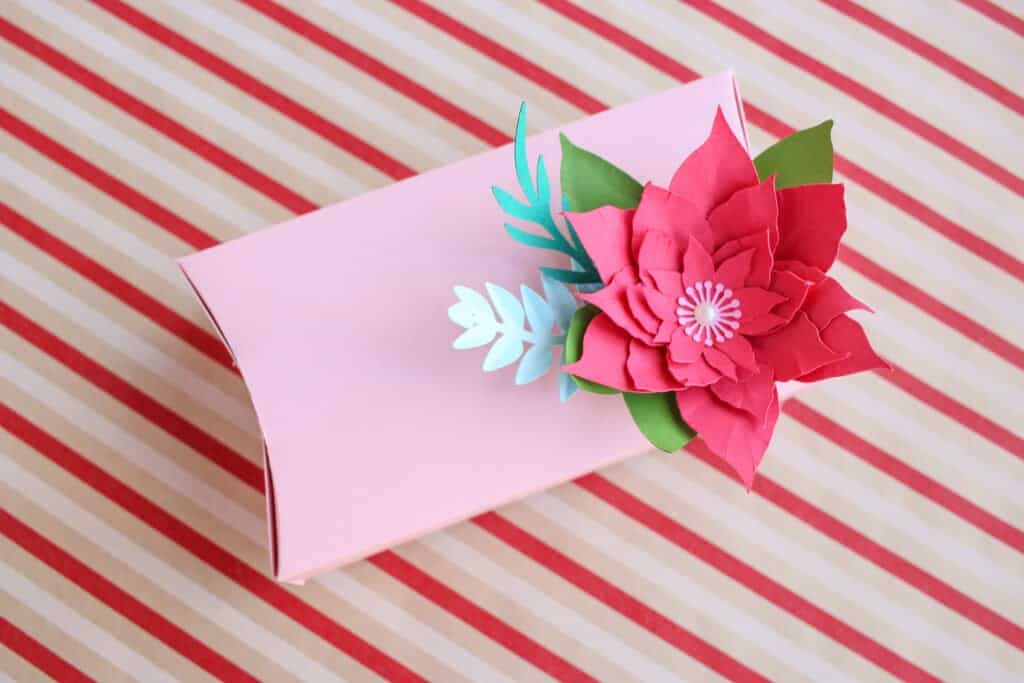
- Pillow Box: 1, 12x12-inch piece of paper
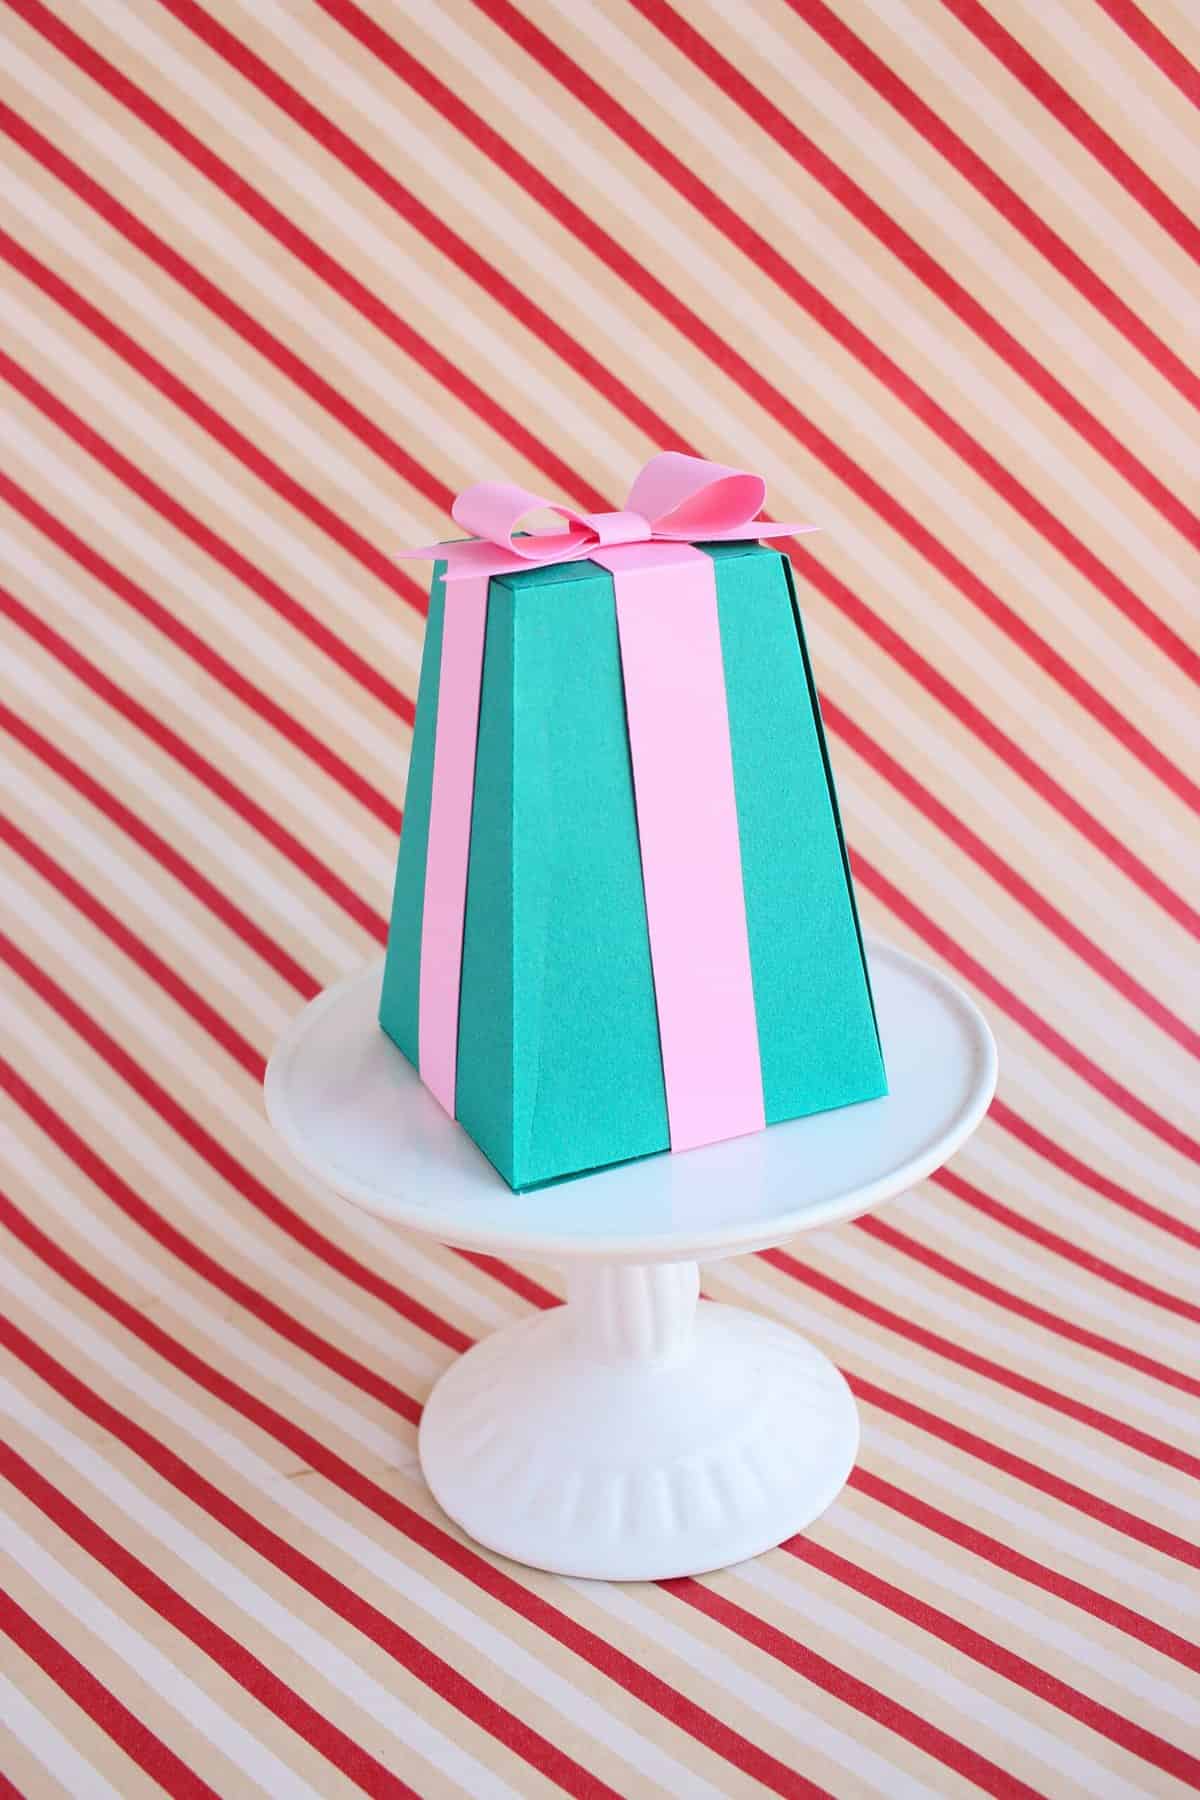
- Trapezoid Gift Box: 2 different colored pieces of 12x12-inch paper
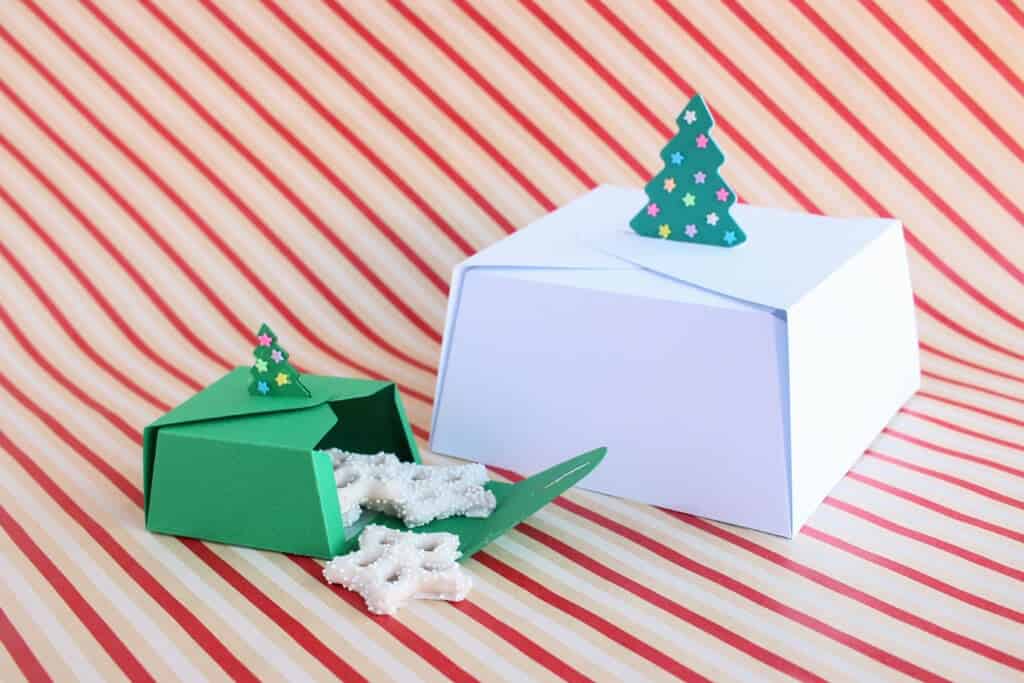
- Small Tree Box: 1, 12x12-inch piece of paper
- Large Tree Box: 5, 12x12-inch pieces of paper
Download the Free SVG File Templates Here.
Step One: Upload Cut Files
First, download the free Cricut Christmas Box cut files.
Upload the files to Cricut Design Space.
Add your design to your canvas.
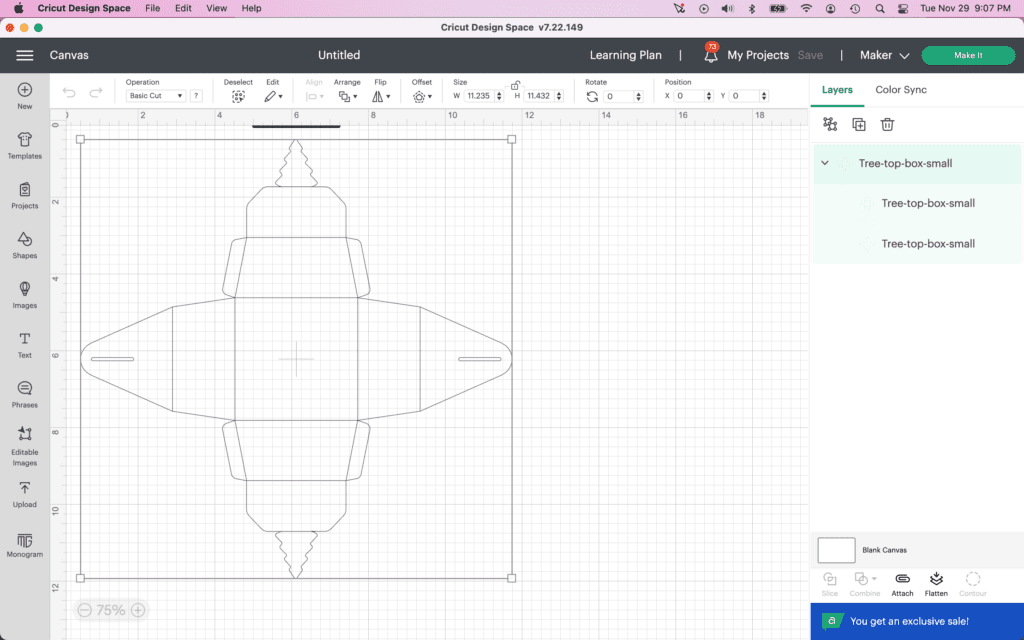
Select the design and select "Ungroup"
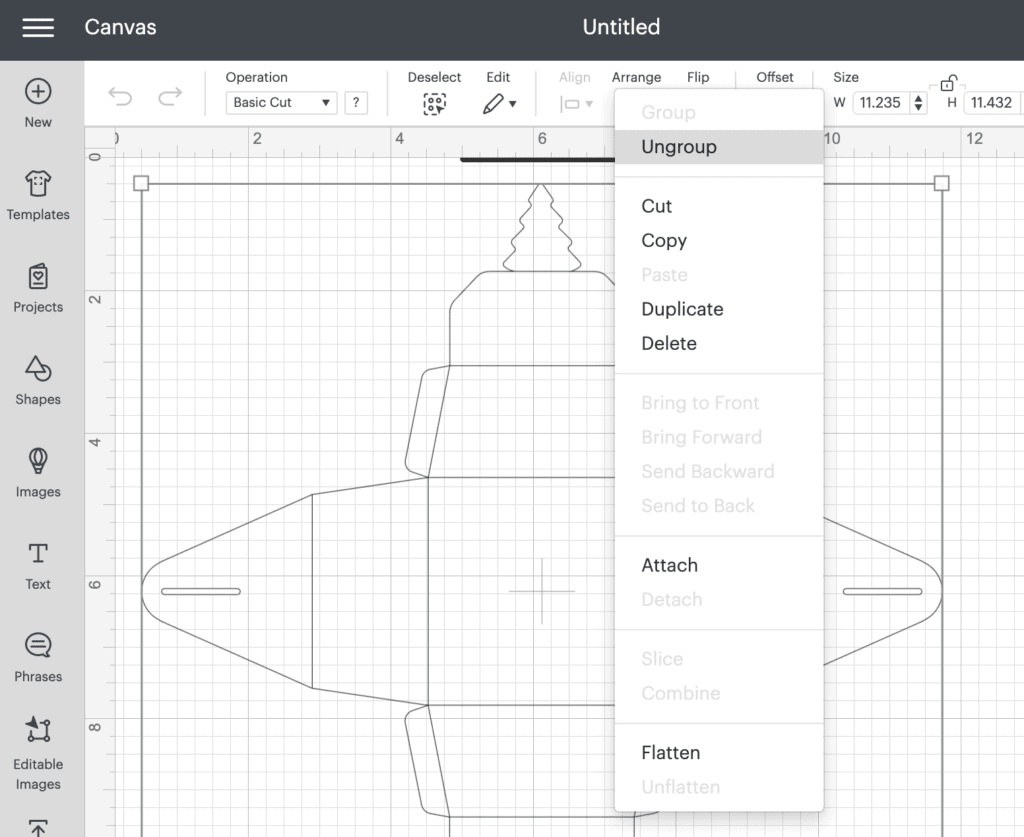
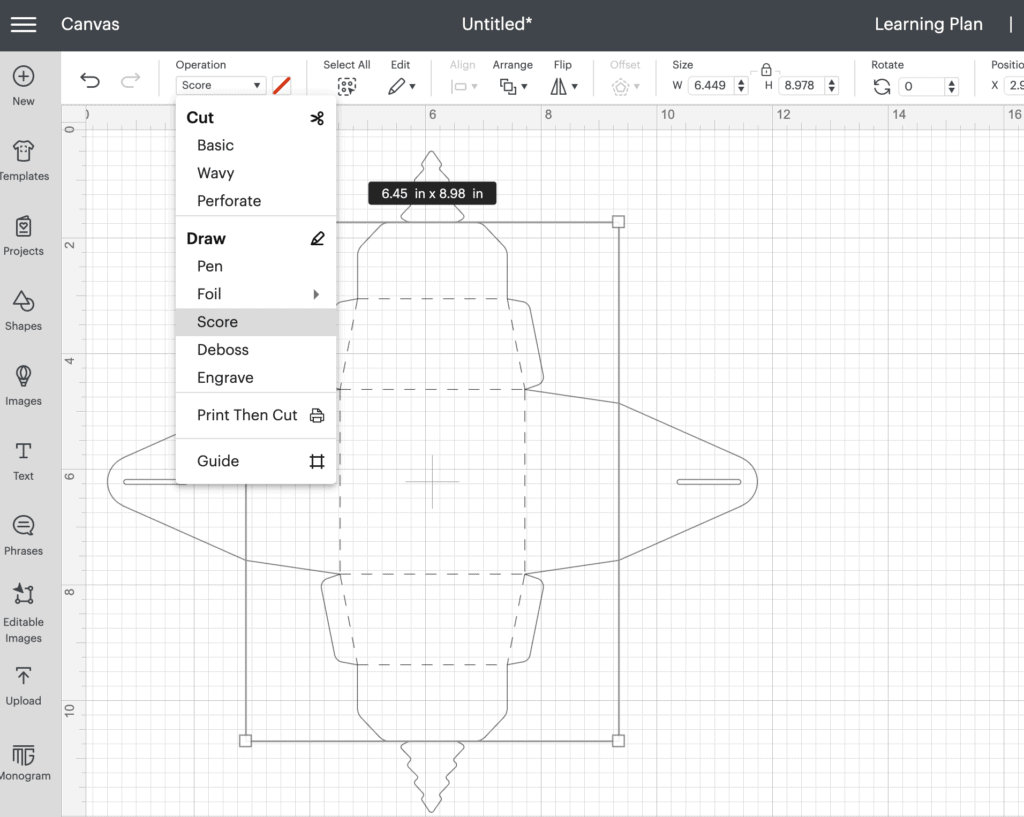
Now select the portion of the design that you want to be scored rather than cut.
Change the "Operation" to "Score" instead of "Basic Cut."
Then select all portions of the design and group them together.
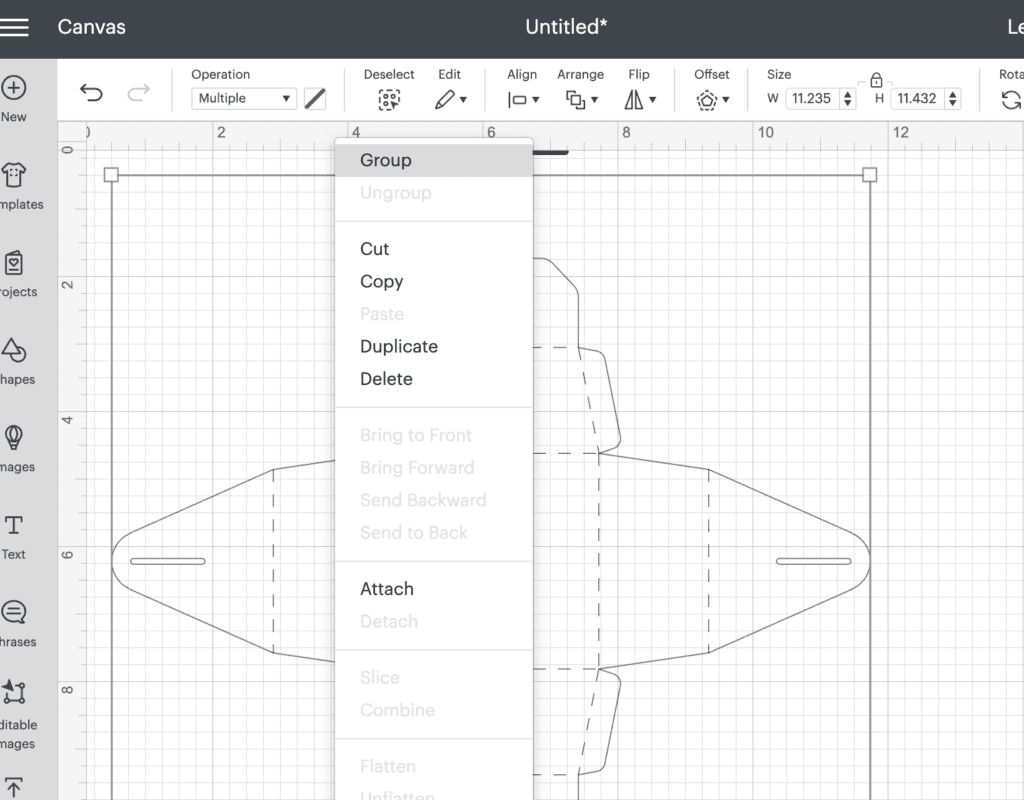
Then "Attach" them together so your Cricut Machine treats each scored and cut portion of the box as one piece.
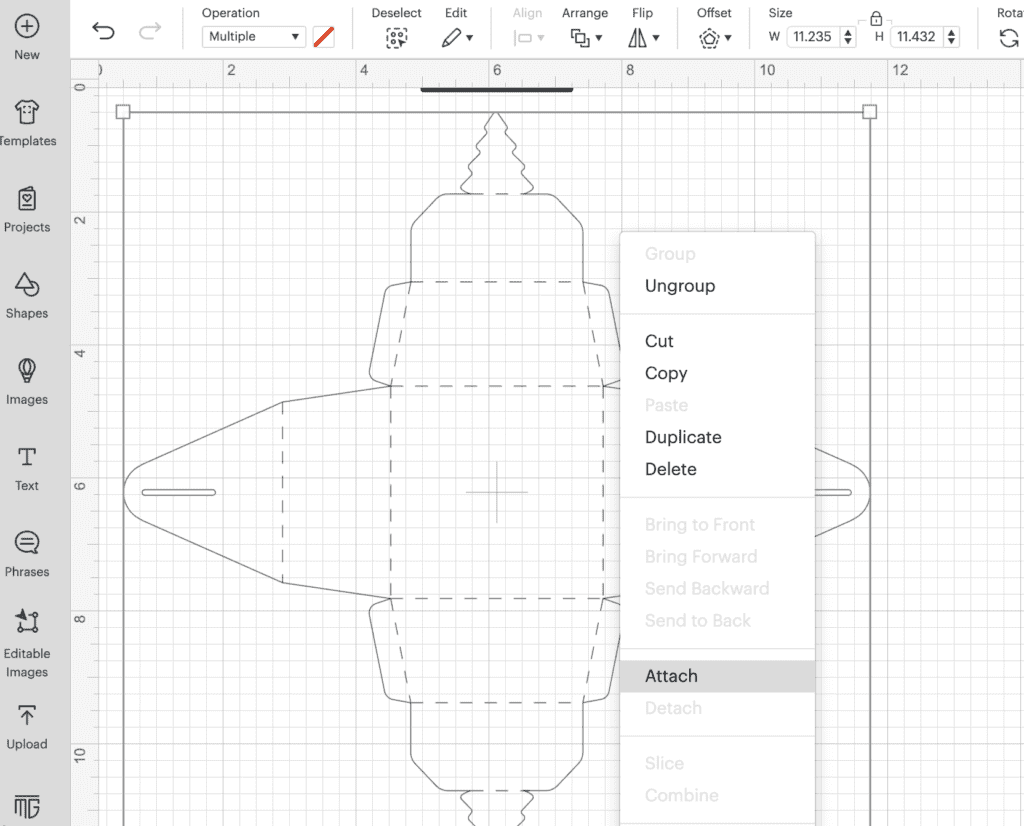
Repeat this process for every part of the design.
Now make it!
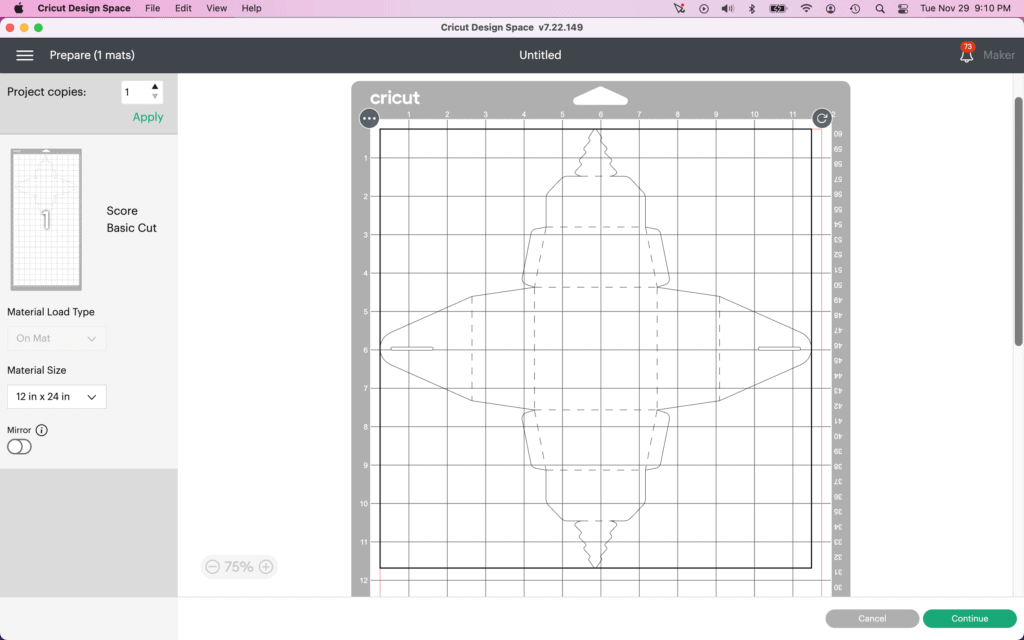
Step Two: Cut out the Designs
Place your cardstock on a Standard Grip cutting mat.
Load the cut mat into your machine.
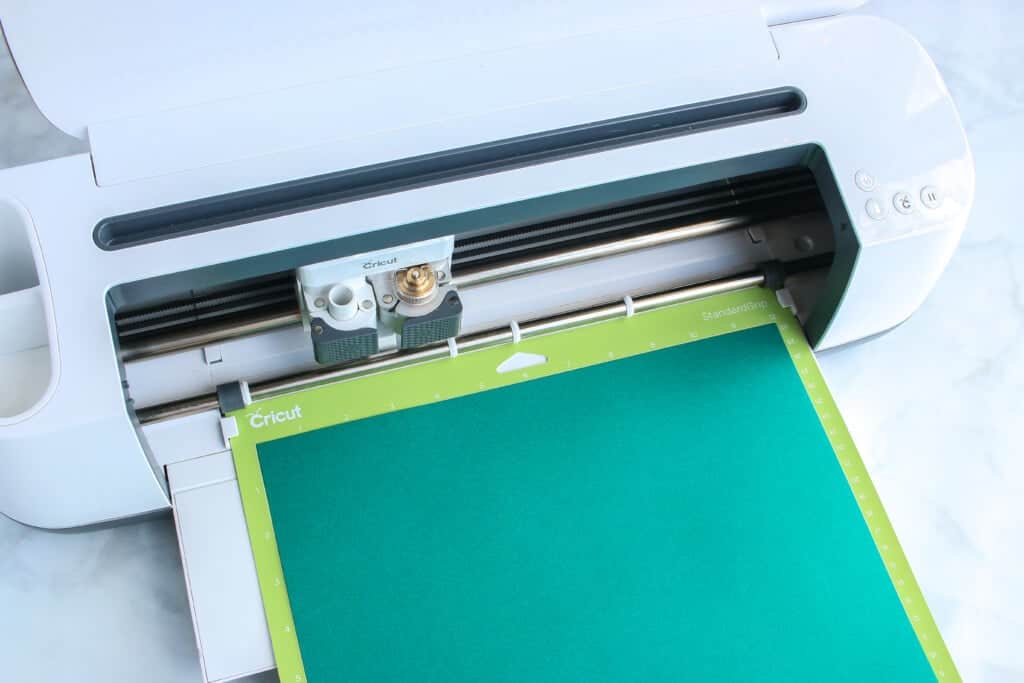
Your Cricut machine will prompt you to load your scoring wheel or scoring stylus first.
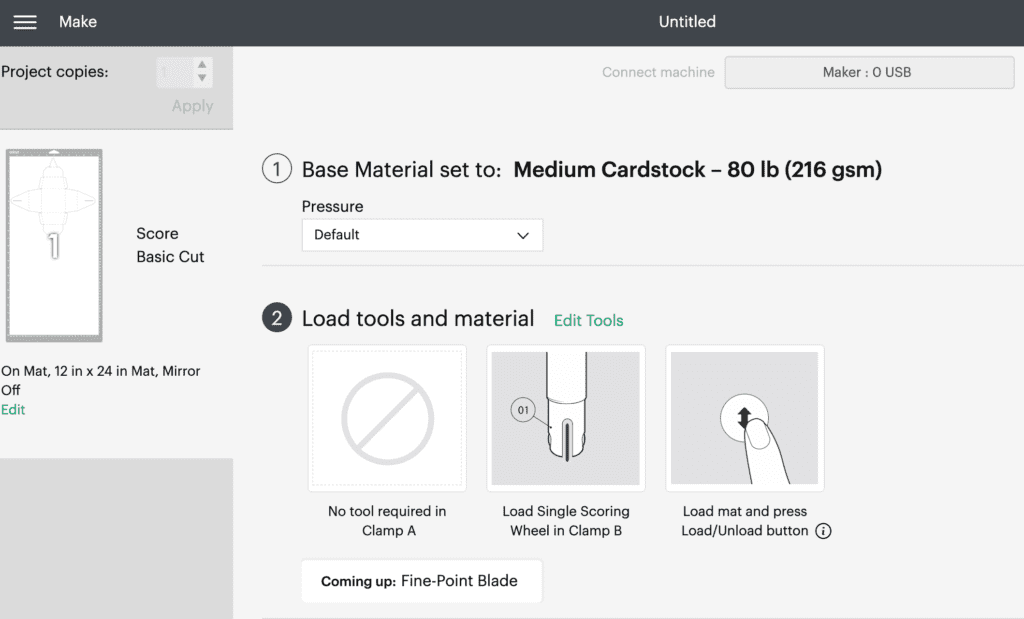
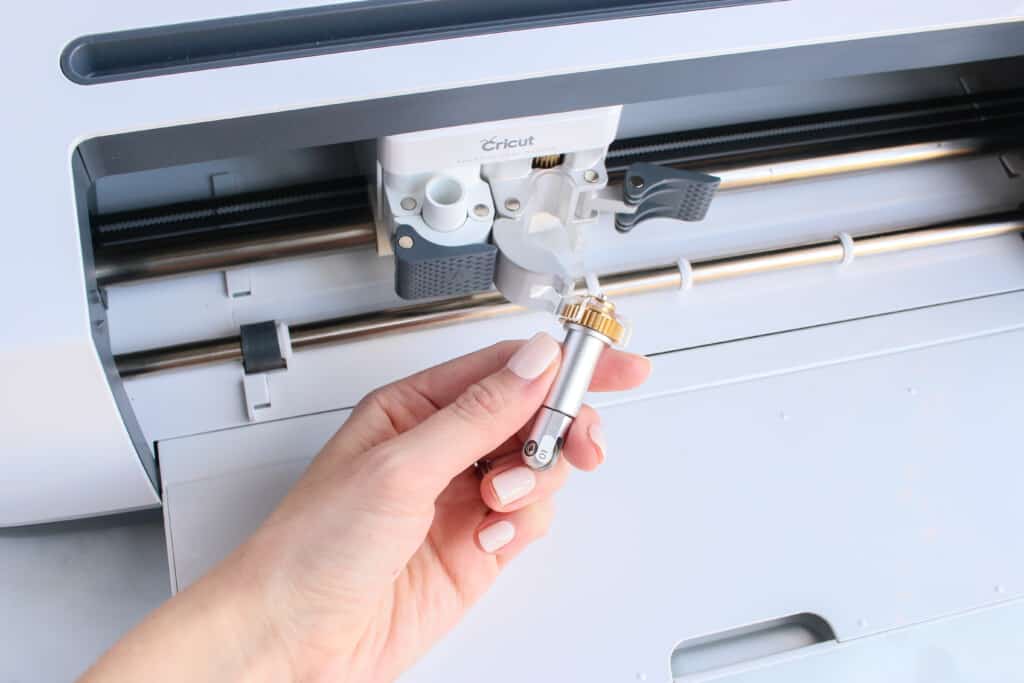
Once the scoring portion of the design is complete, the machine will stop and Design Space will prompt you to replace the scoring tool with the fine point blade. Then you'll press the blinking light and the cutting portion will begin.
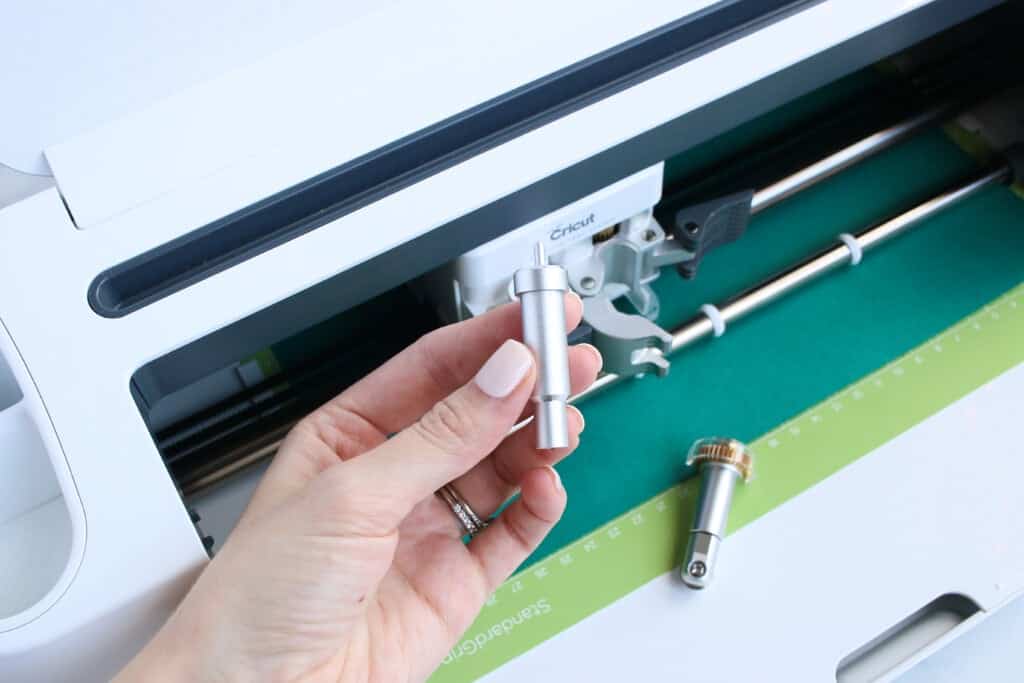
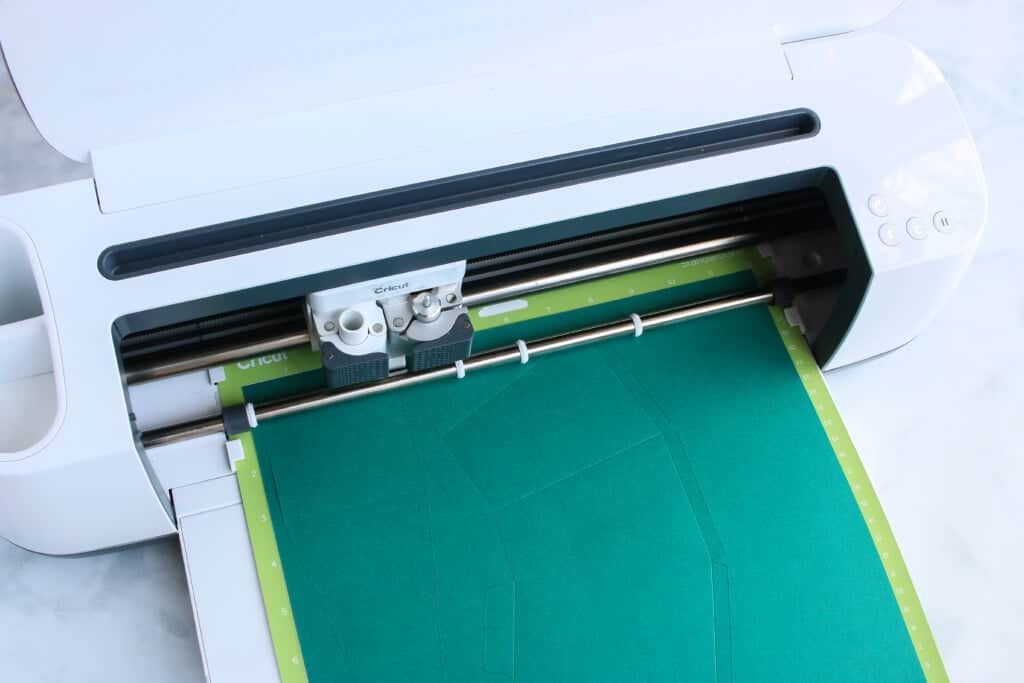
Once the cut is complete, unload your machine.
Peel the mat away from the paper to avoid bending your paper.
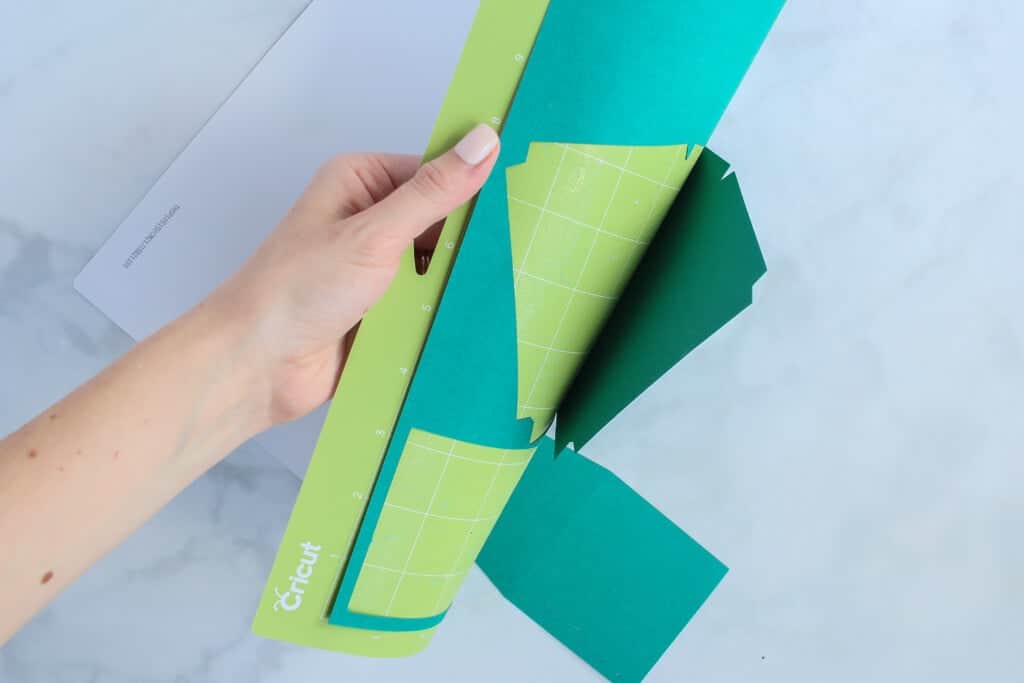
Continue this process until you have cut out all portions of your box.
Step Three: Assemble your Box
Now that you've cut out your cardstock, it's time to move on to assembling your gift box. I've broken down the following step for each style of gift box. Scroll down until you find the gift box that you are making.
Triangle Box
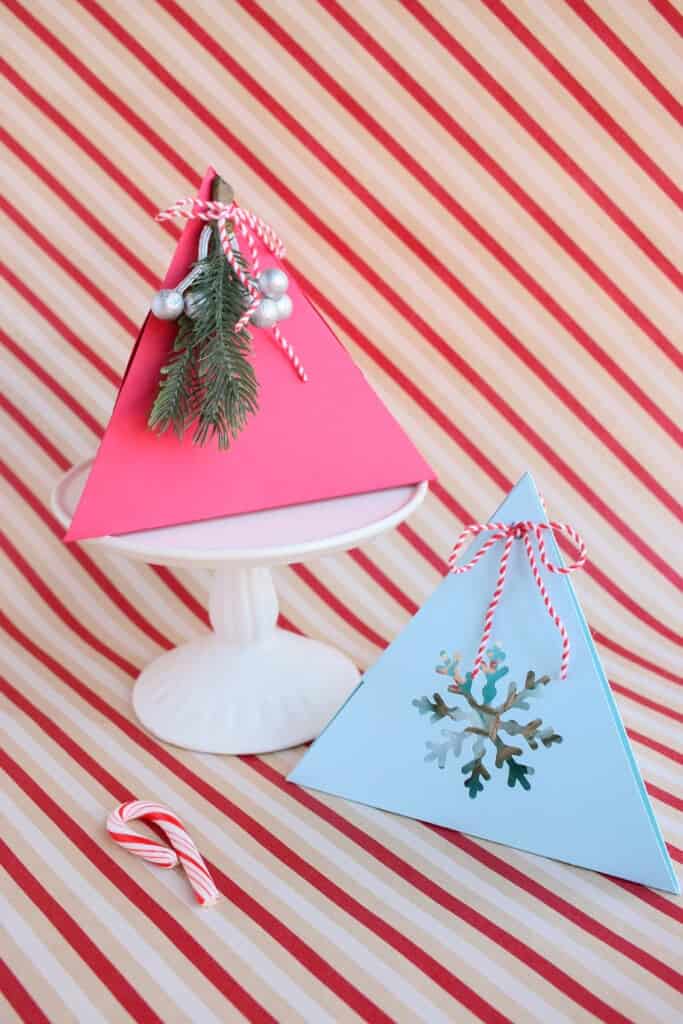
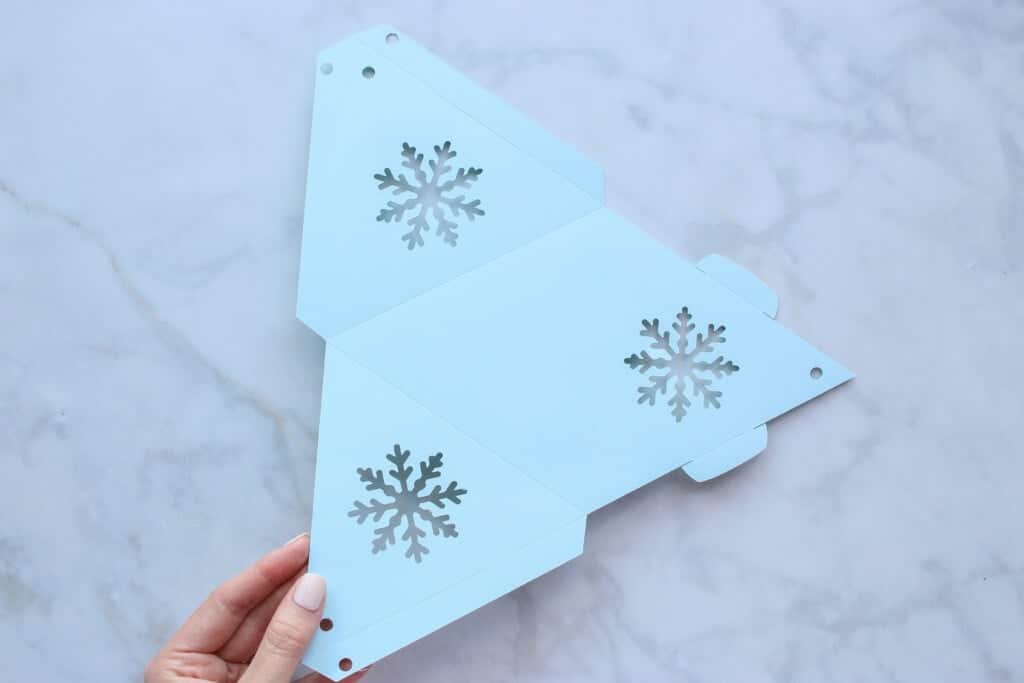
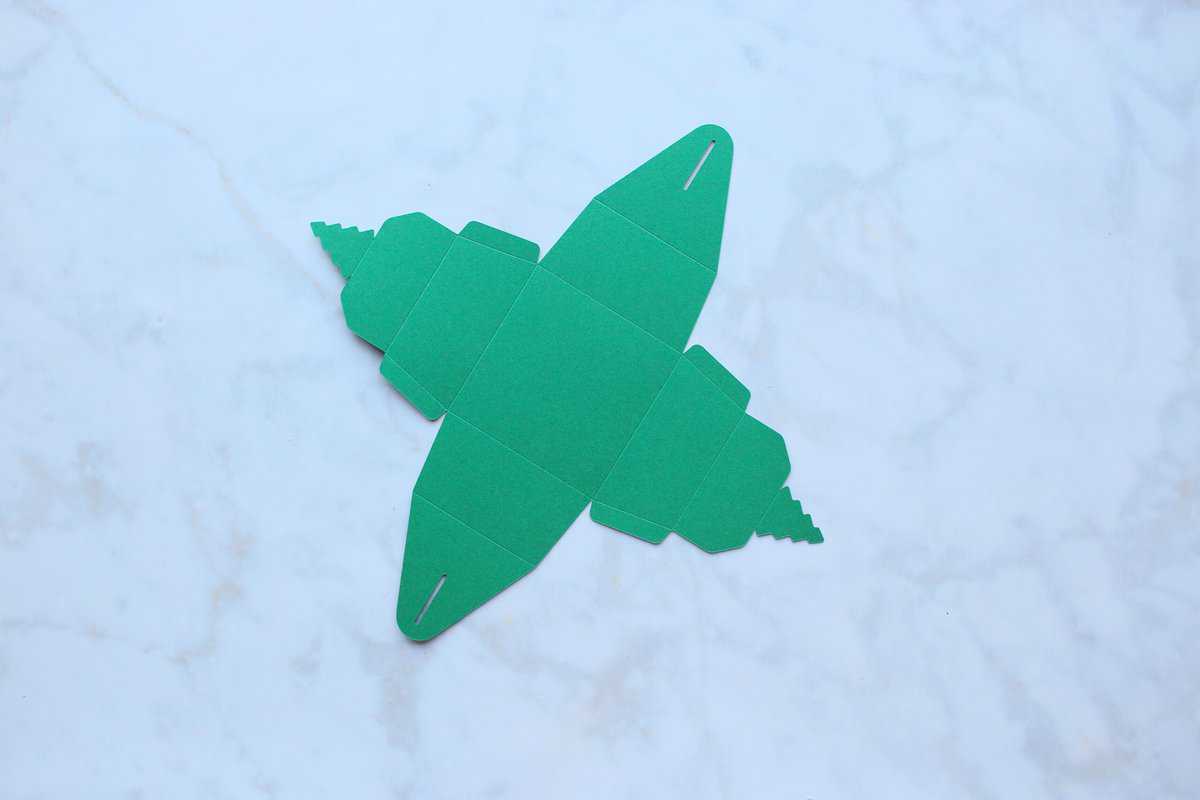
Fold along all the score lines using a bone folder or a Cricut scraper to give you nice, crisp fold lines.
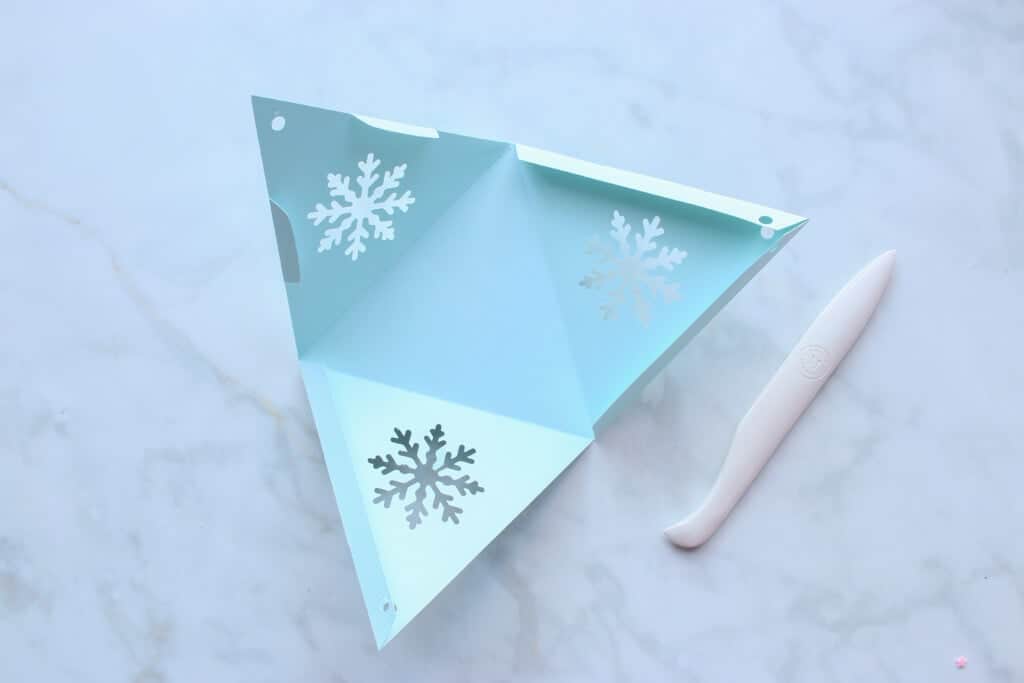
Apply adhesive to the tabs. I like to use a tape runner for this step, but you can also use a bottled adhesive.
Press the glued sections together to secure them.
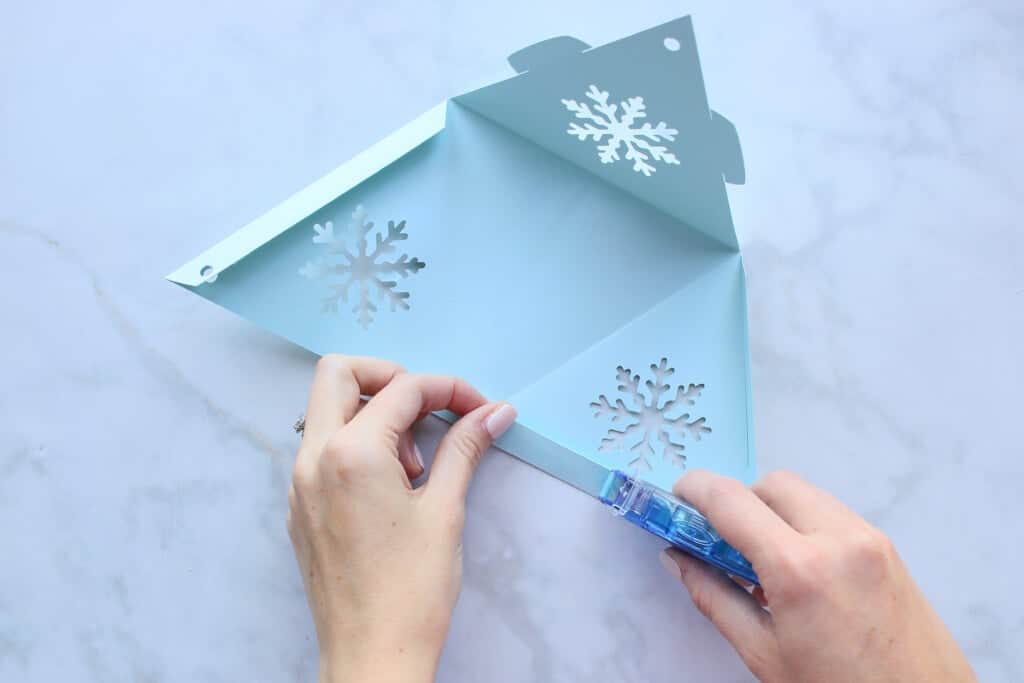
Place your contents within your box, and fold up the sides of the box, placing the tabs within the slots.
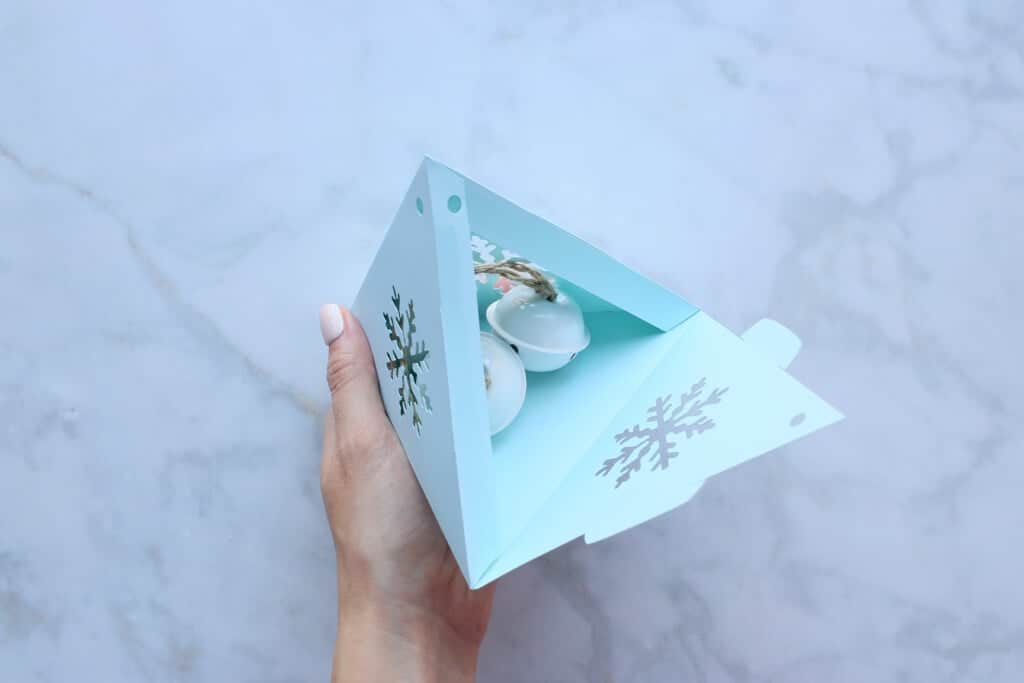
Use twine or ribbon to thread through the holes and tie a bow.
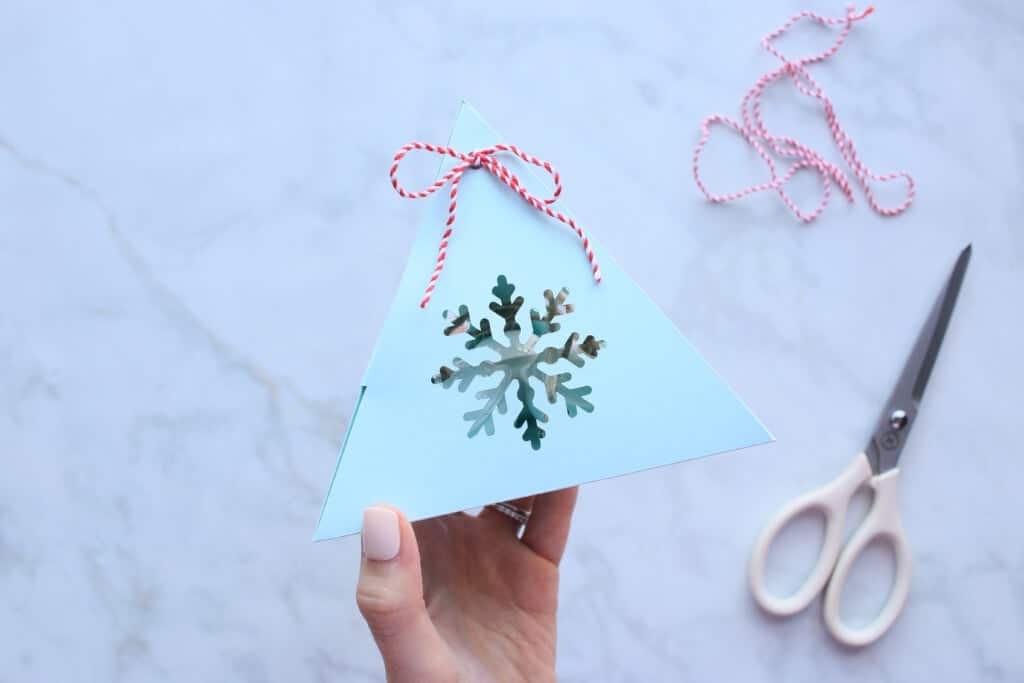
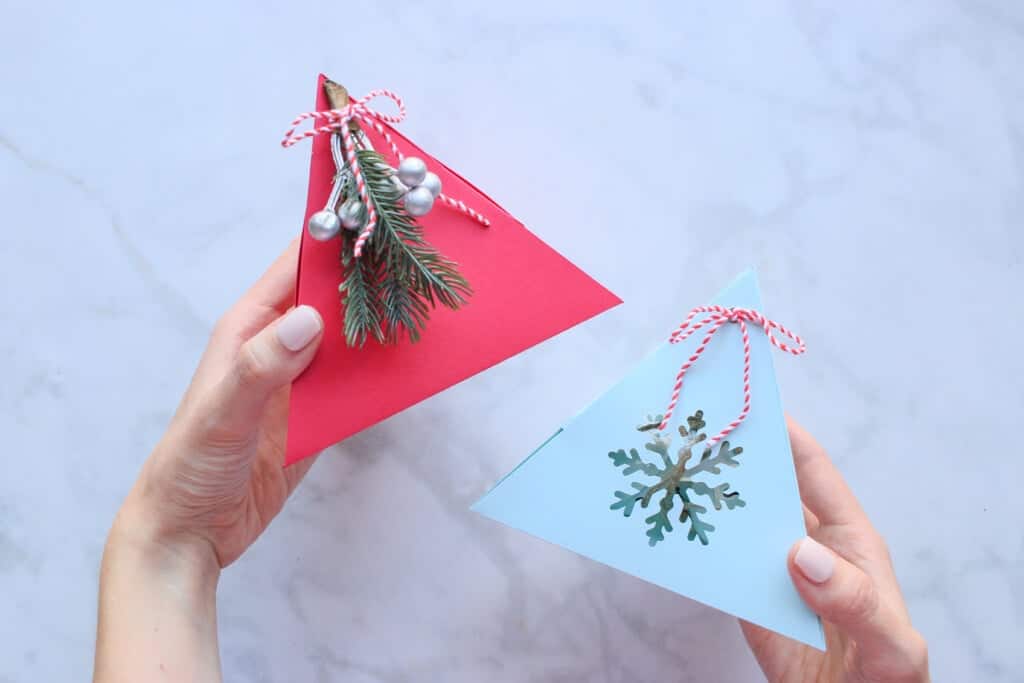
You can choose a snowflake or a plain triangle design.
Pillow Box
Fold along all the score lines using a bone folder or a Cricut scraper to give you nice, crisp fold lines.
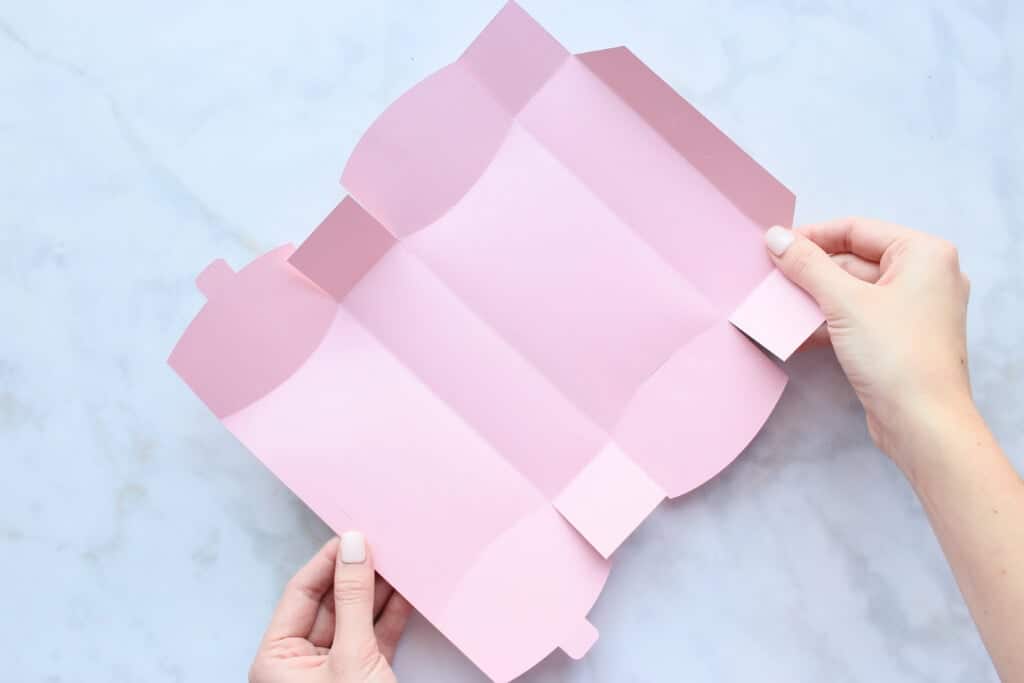
Put together the tabs, applying adhesive as needed.
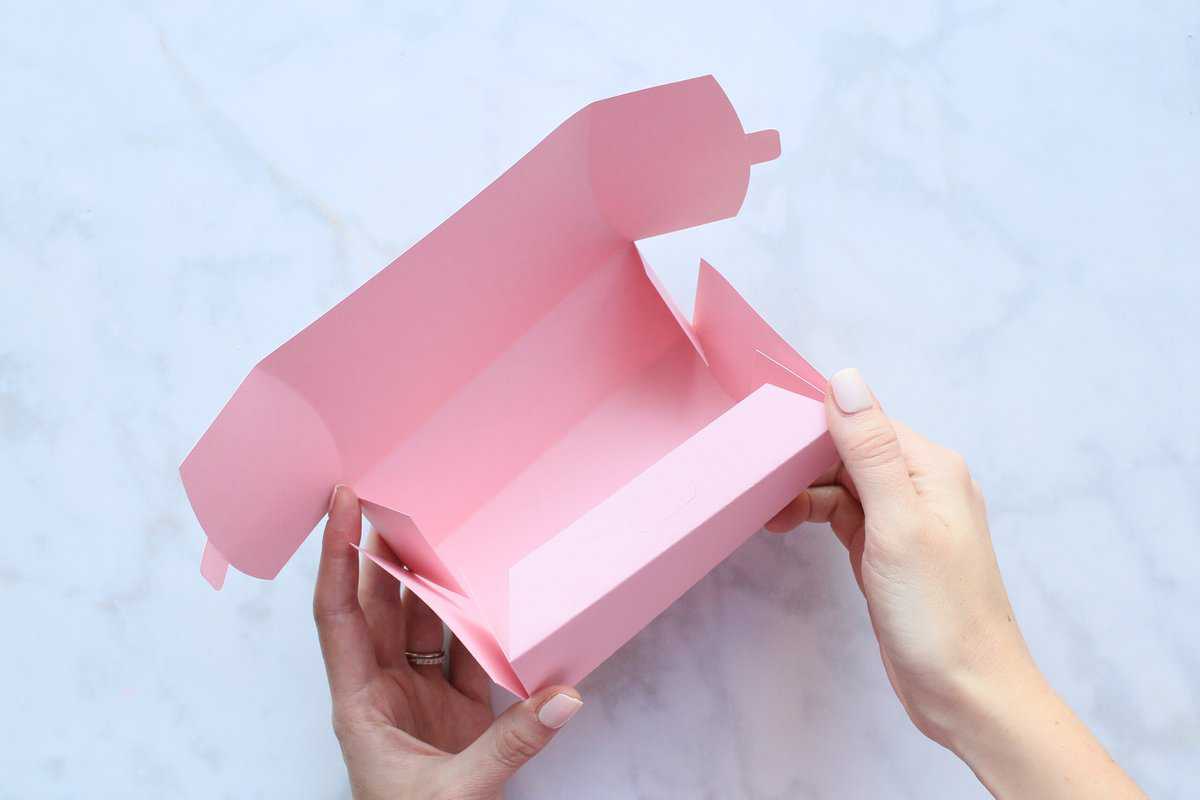
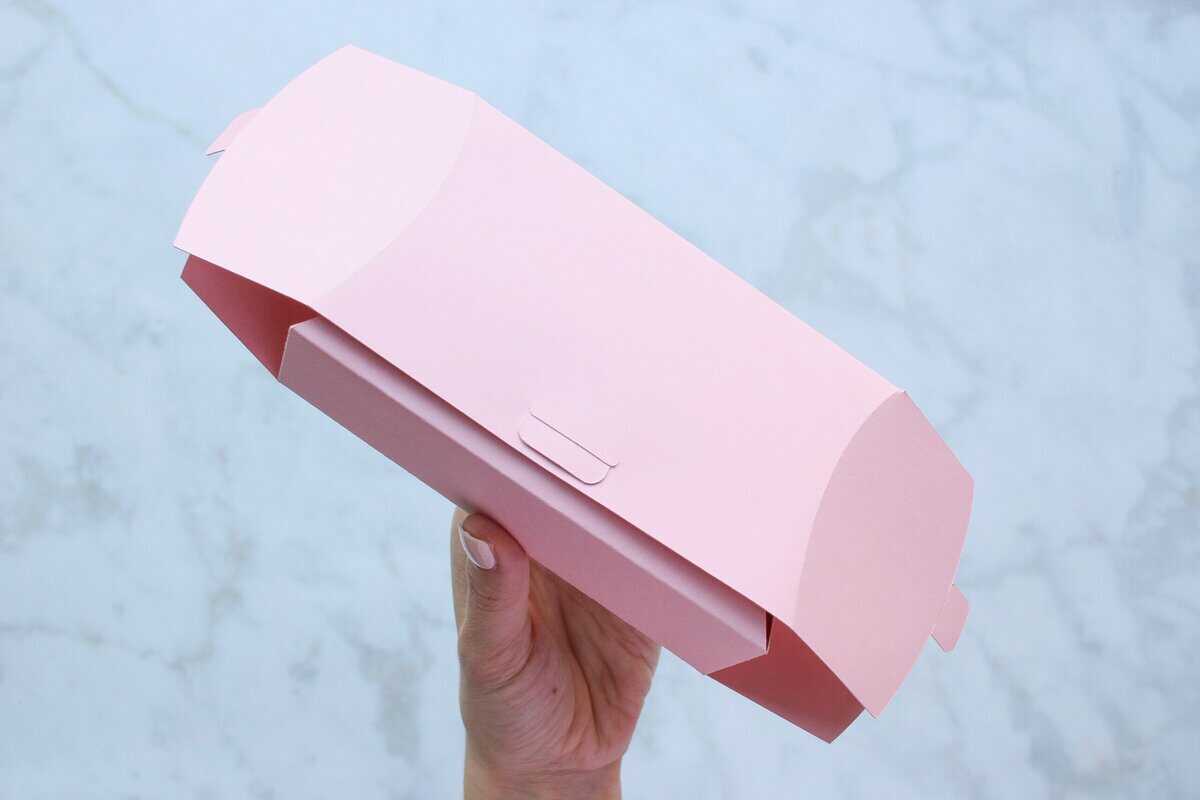
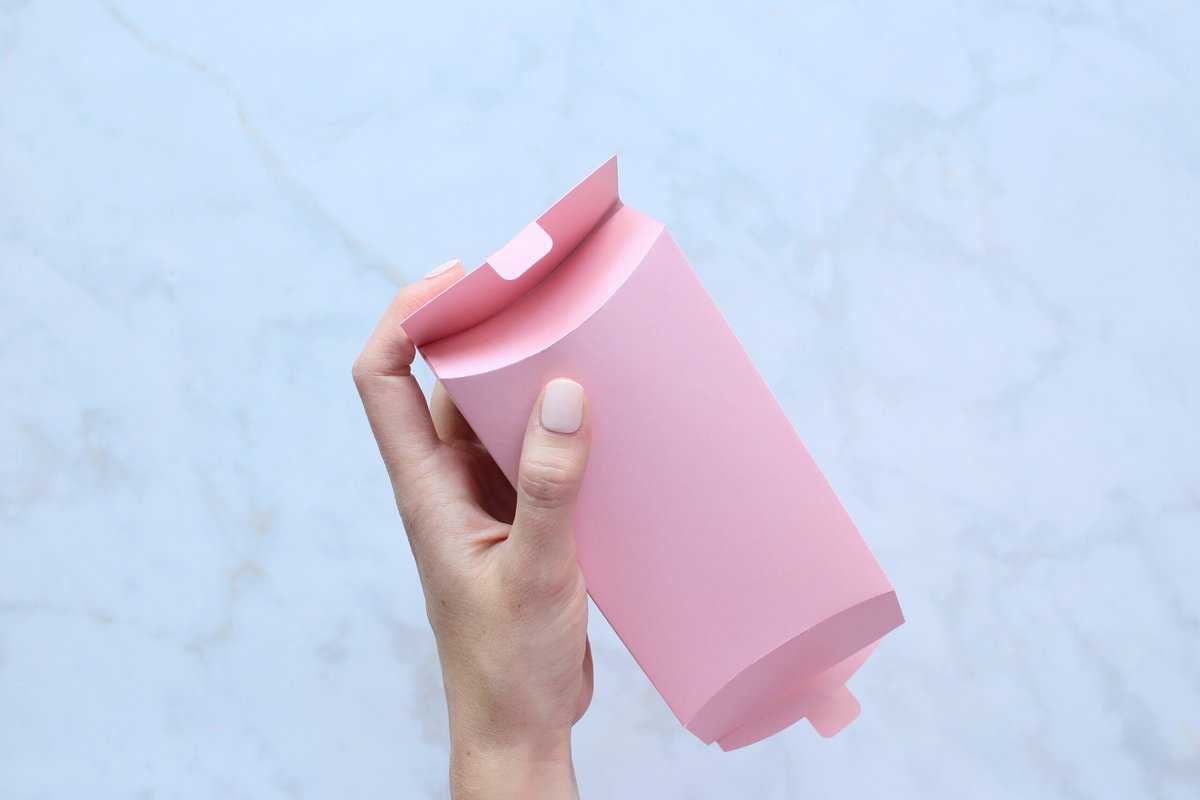
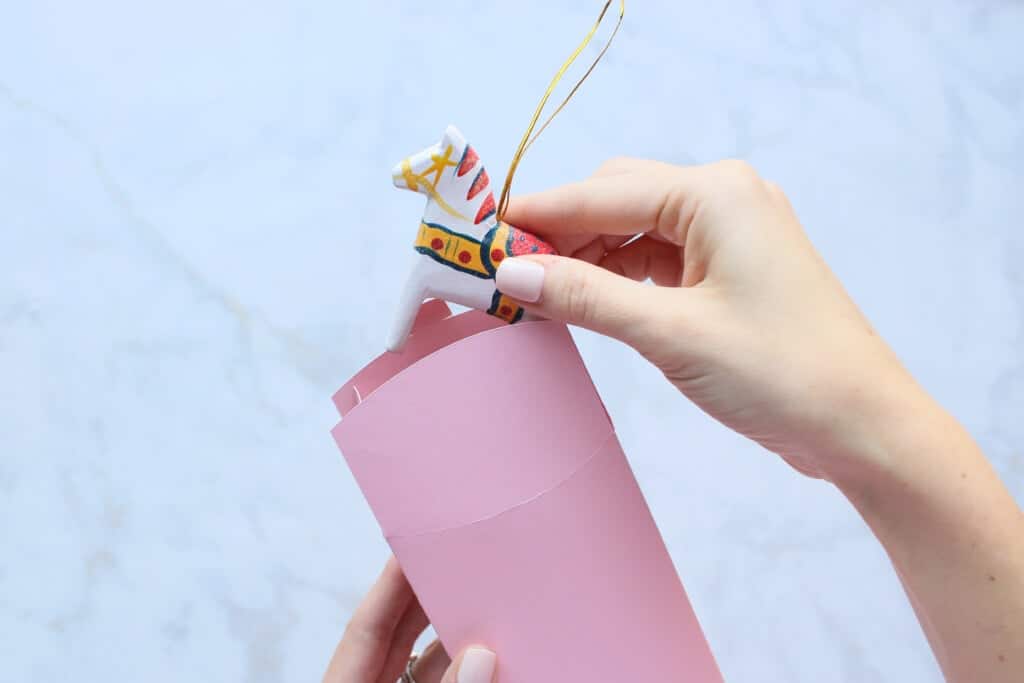
Fill the box with your contents.
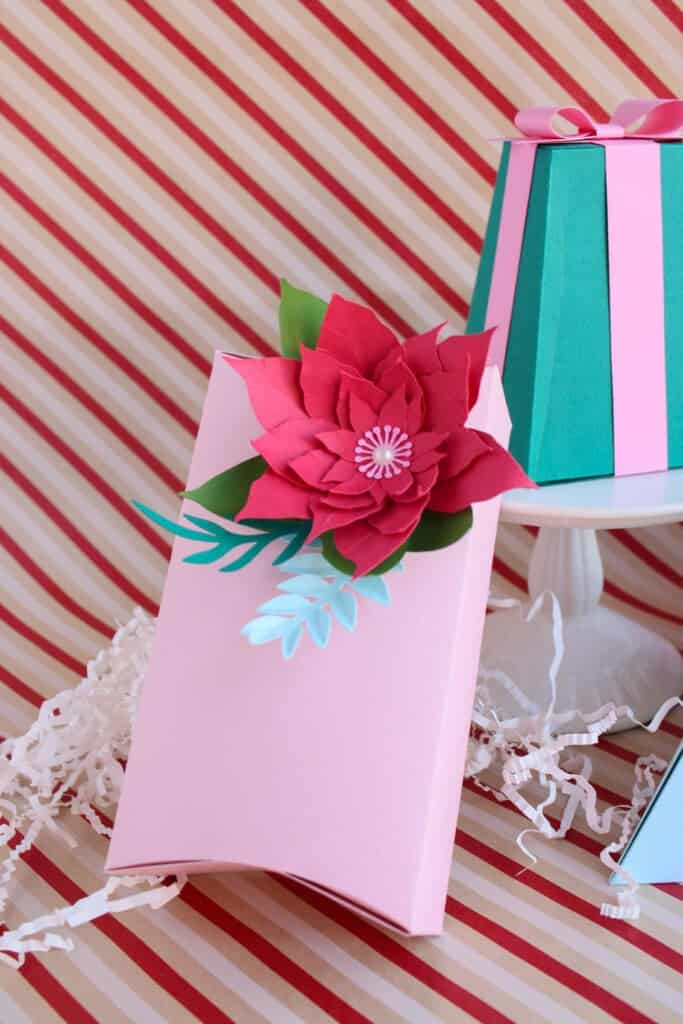
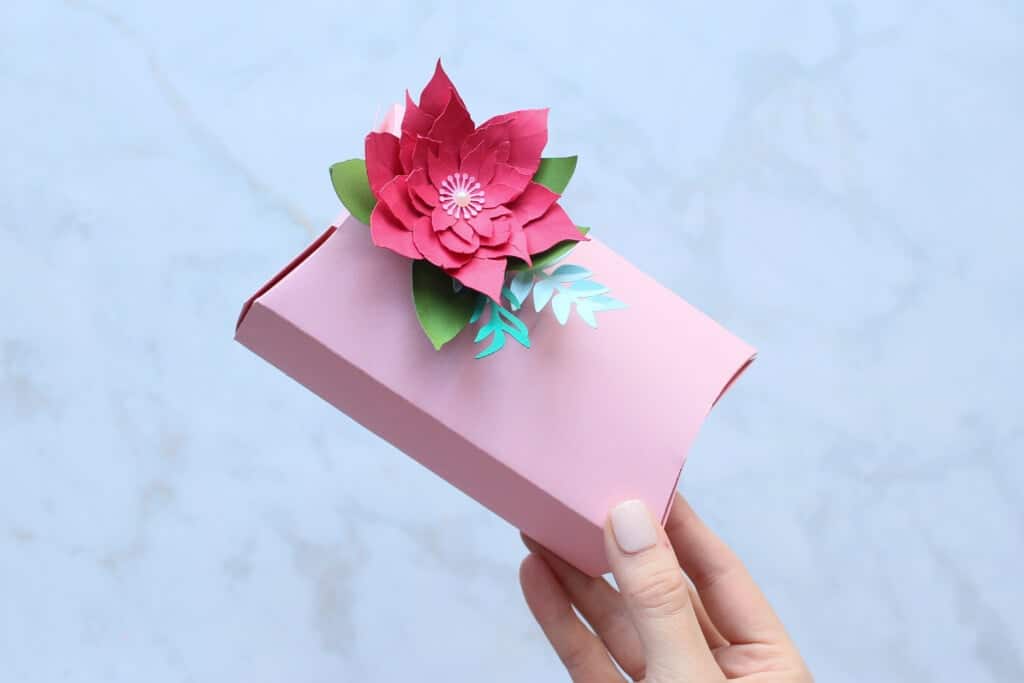
Tie the box with twine or ribbon or you can make and add a small paper poinsettia with my free tutorial!
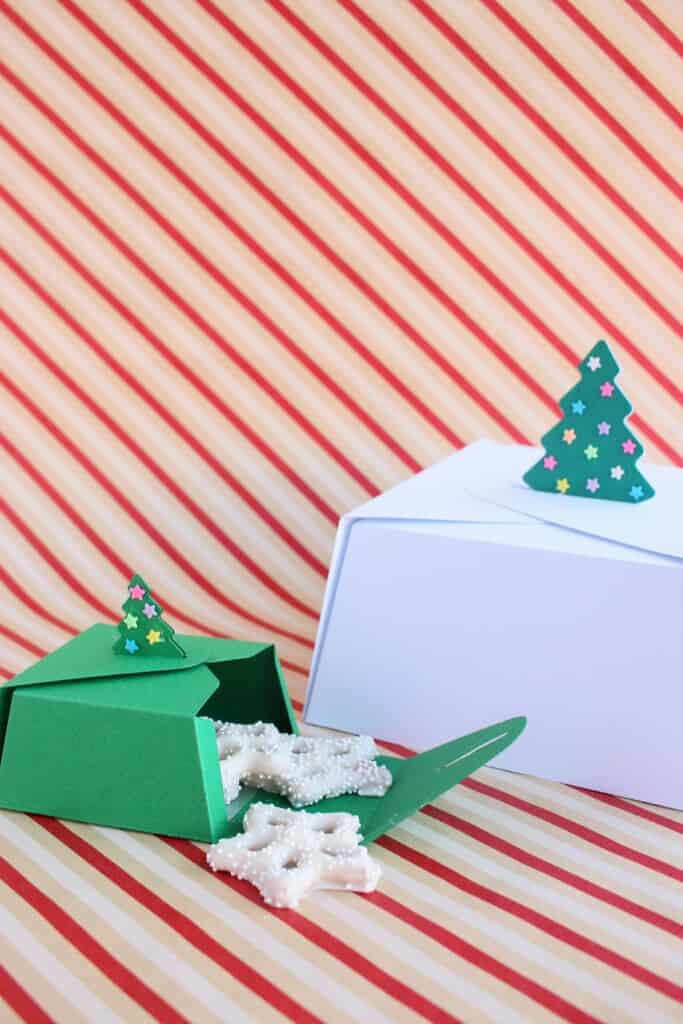
Tree Topper Box
Fold along all the score lines using a bone folder or a Cricut scraper to give you nice, crisp fold lines.
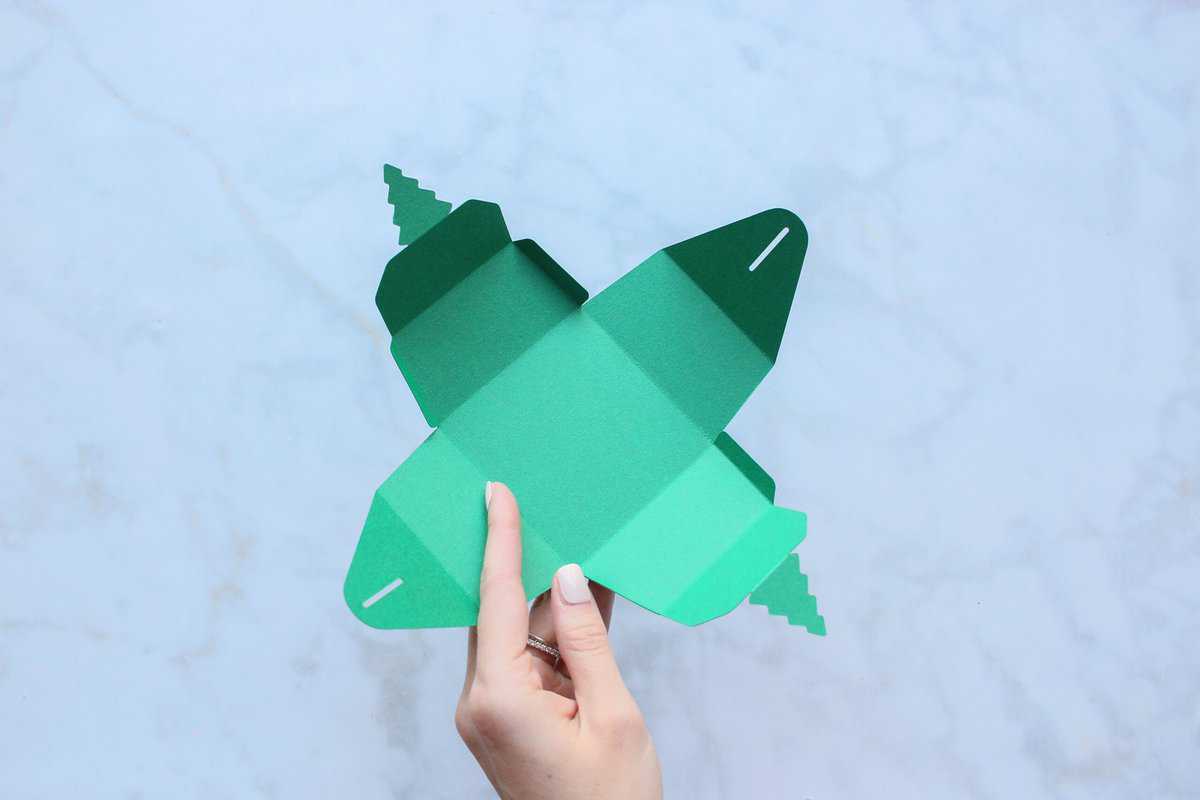
Place contents in the center of the box.
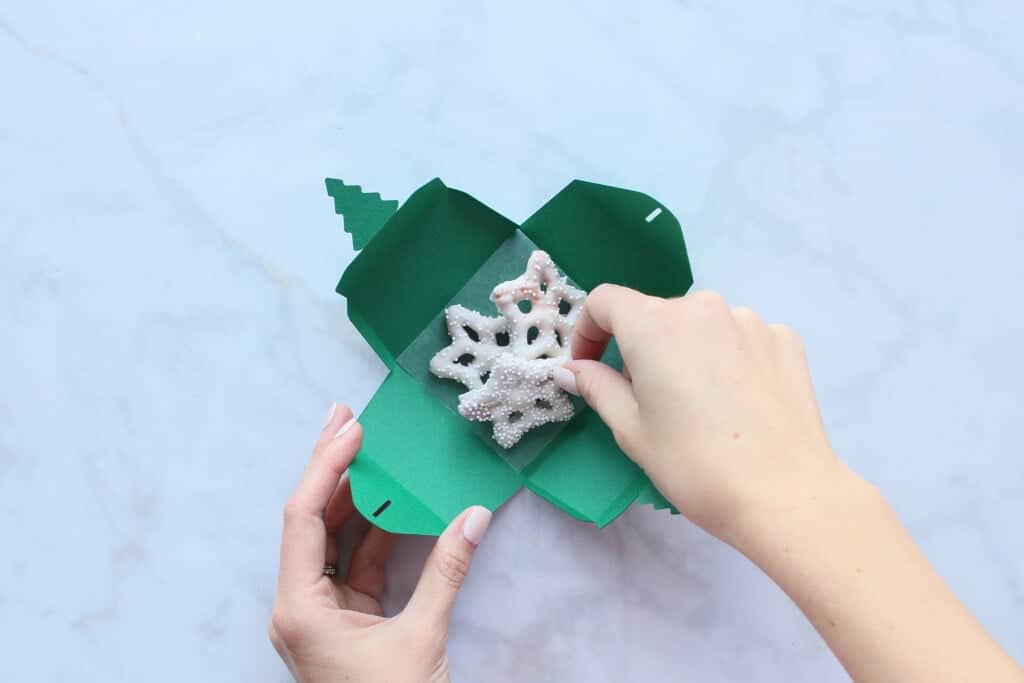
Fold up the box.
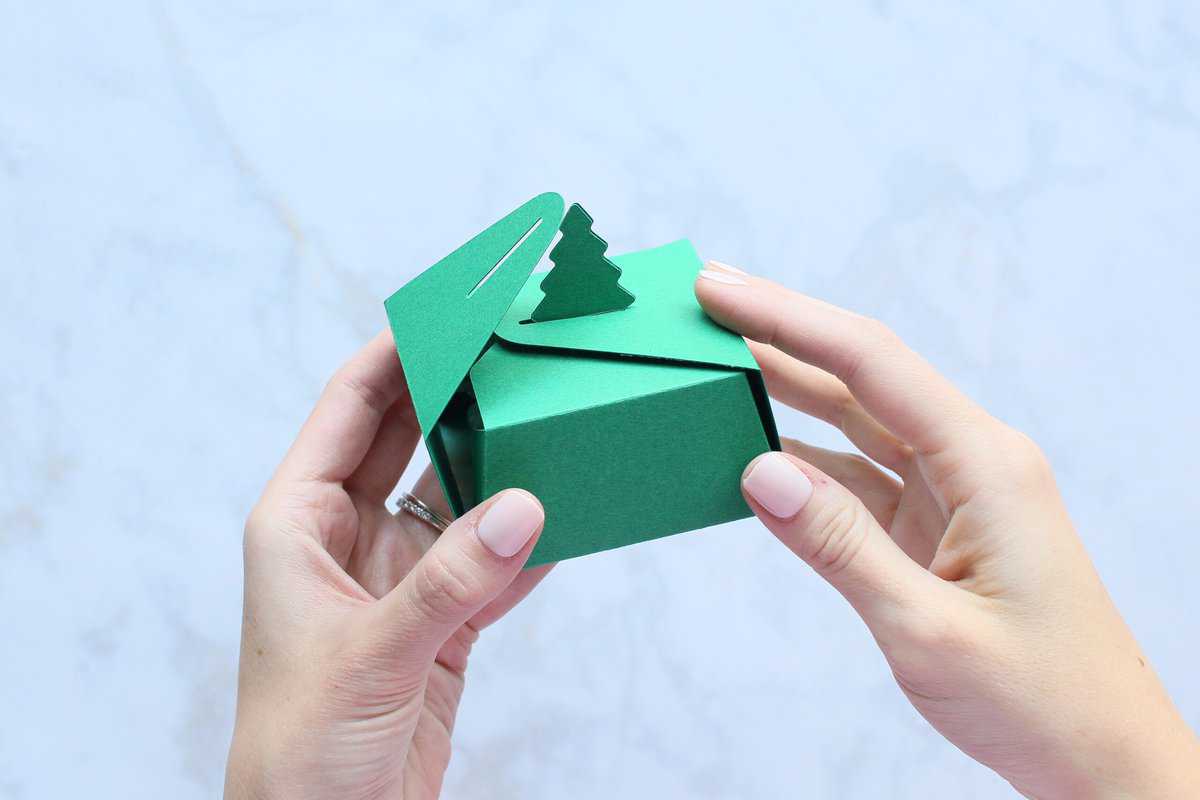
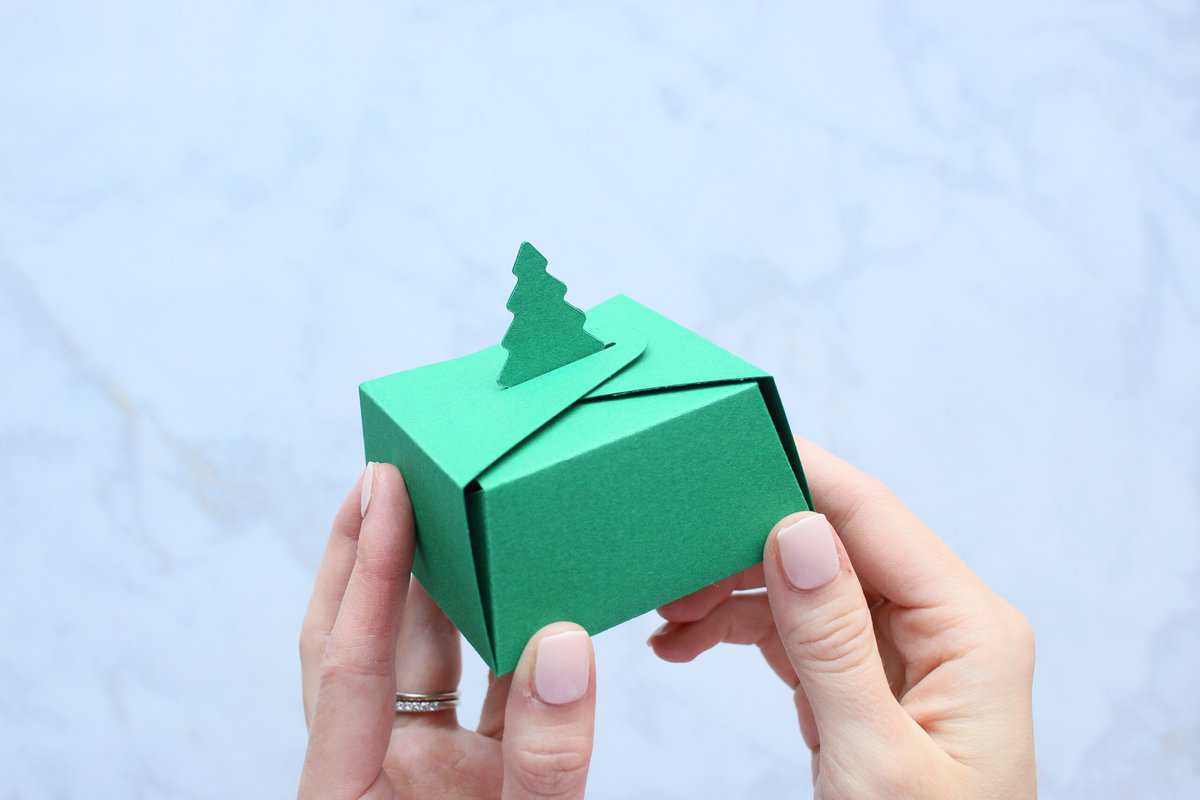
Glue on mini pom poms or sequins to the tree, if desired.
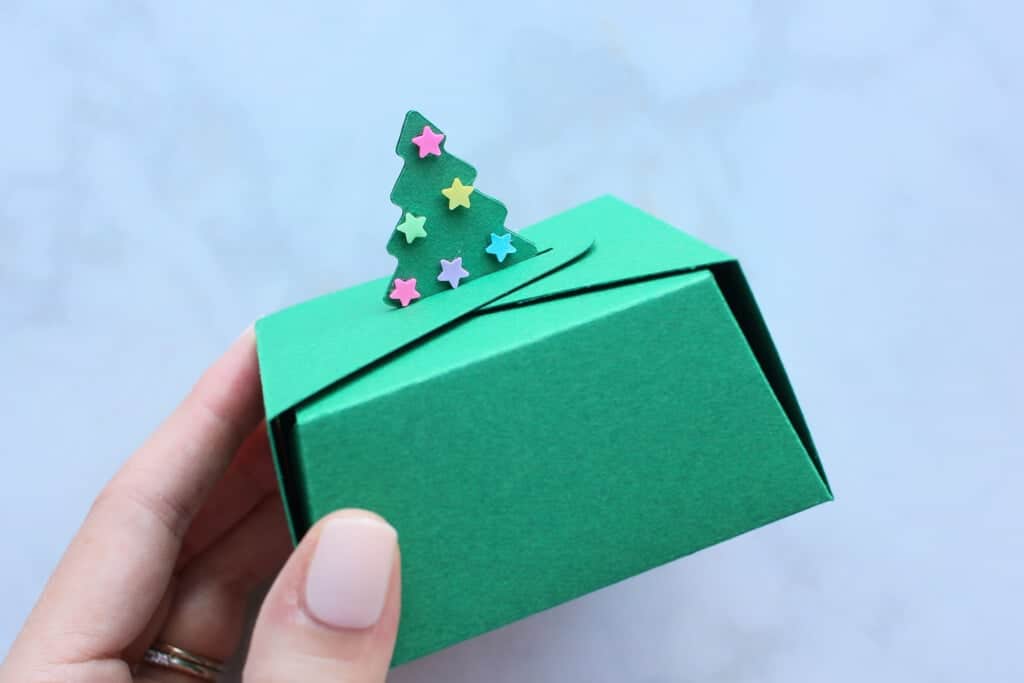
*For the larger size, glue all the side pieces to the base piece first, then continue following the directions above.
Trapezoid Gift Box
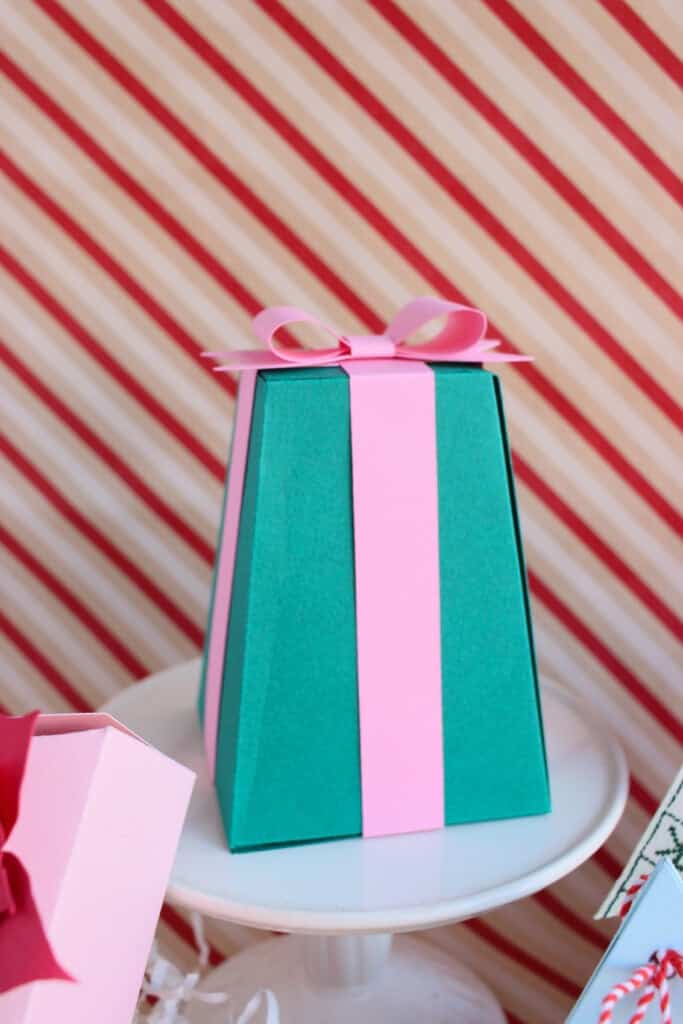
Lay out all your cut pieces.
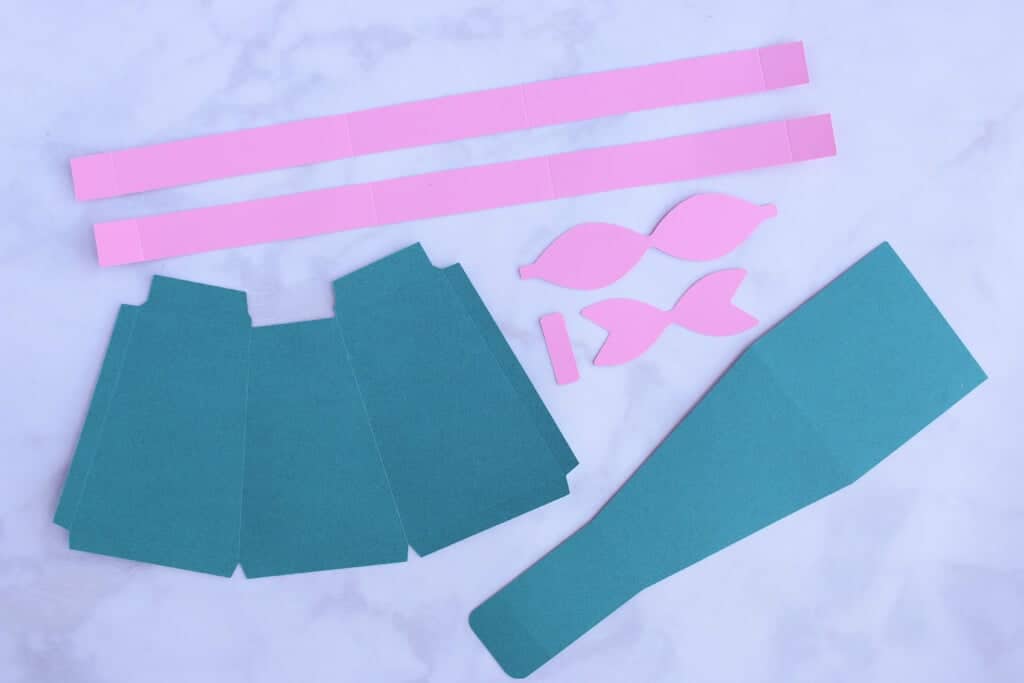
Fold along all the score lines using a bone folder or a Cricut scraper to give you nice, crisp fold lines.
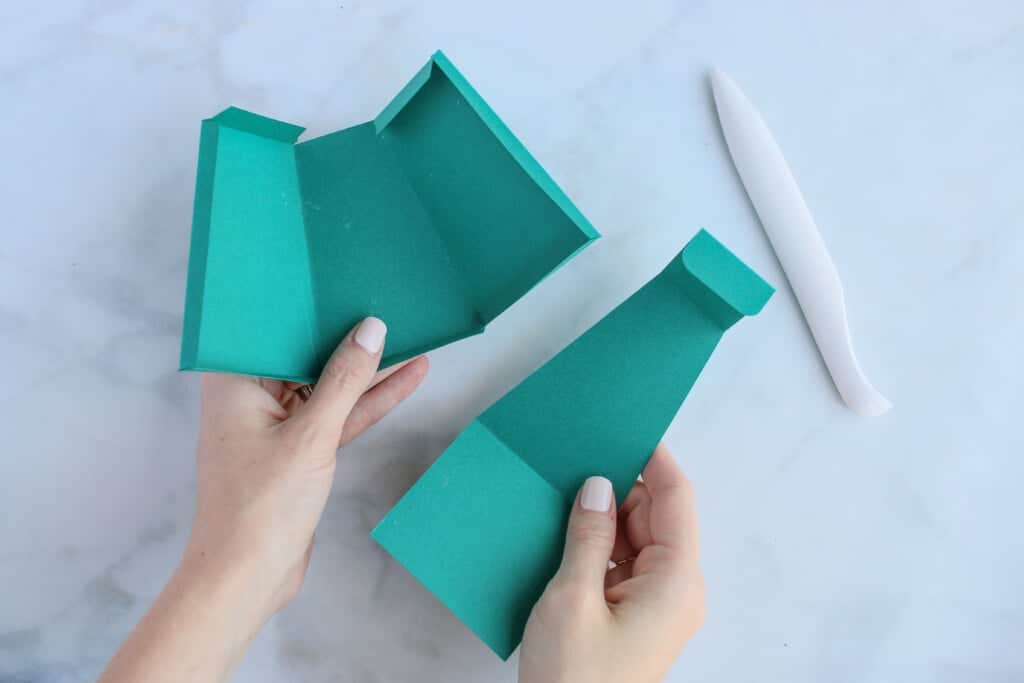
Glue the two box pieces together along the tab.
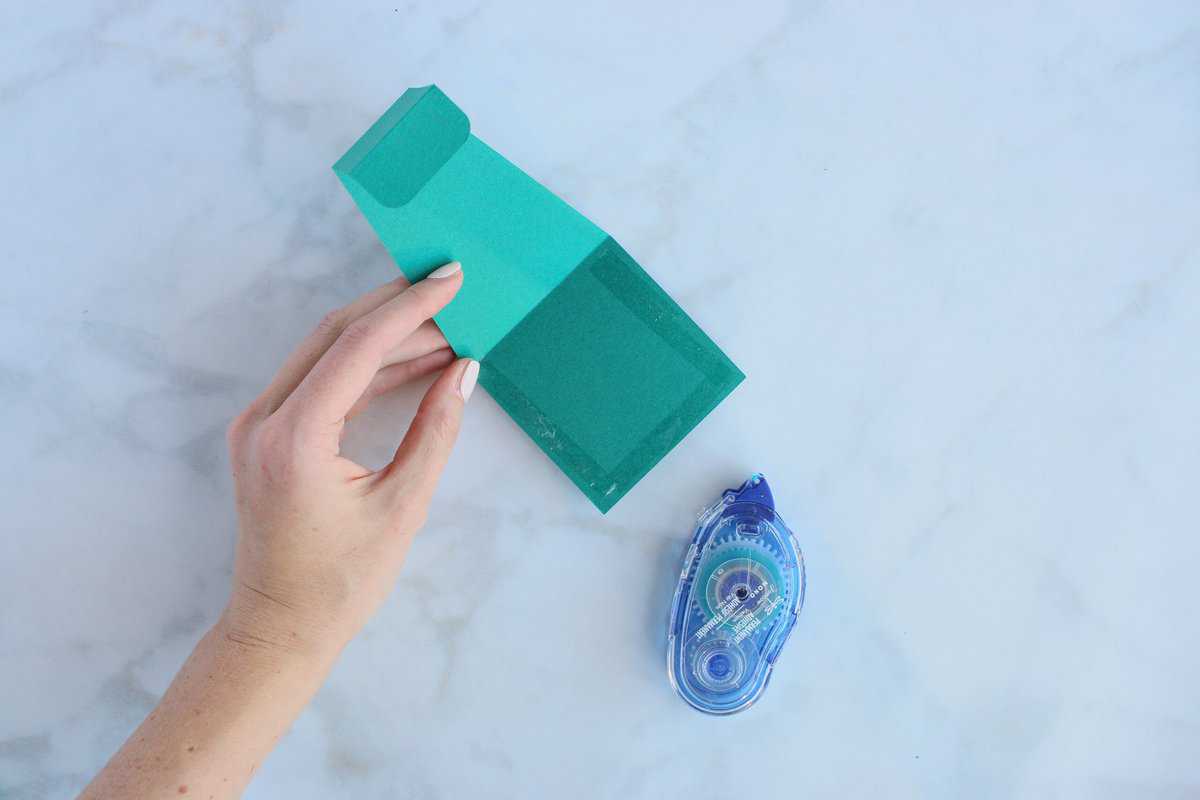
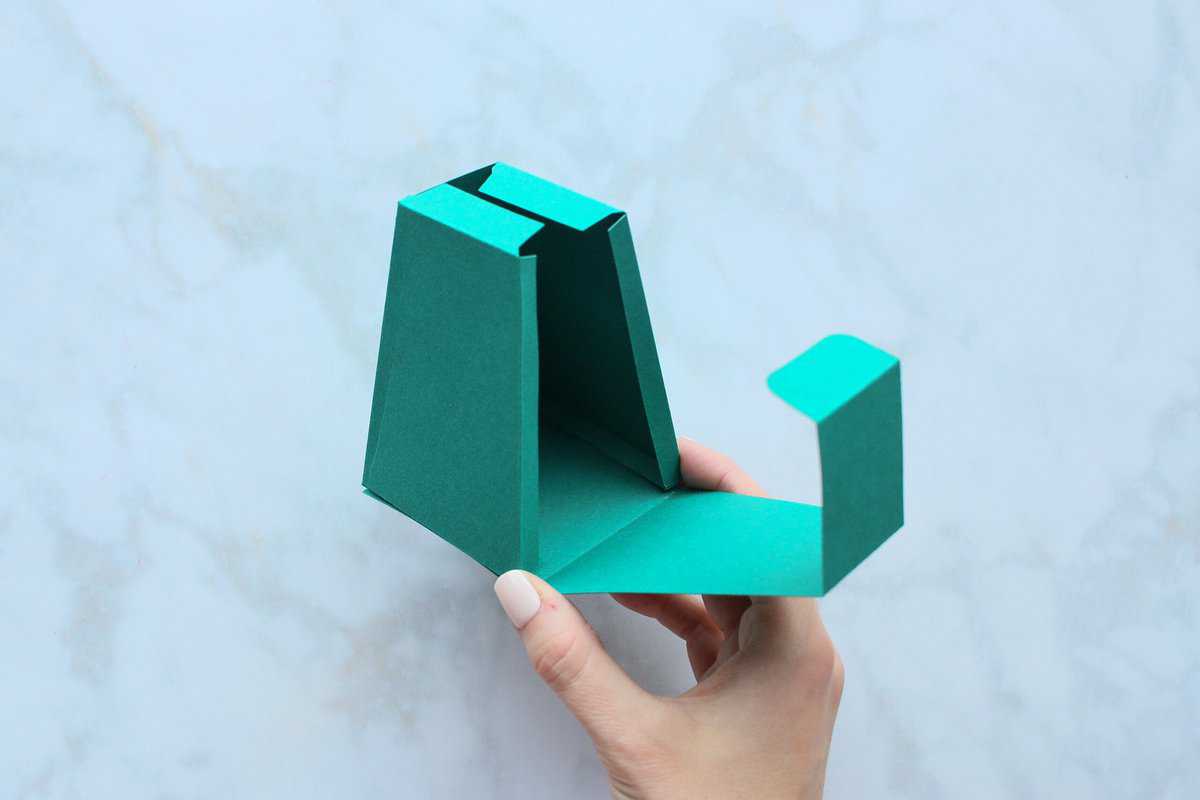
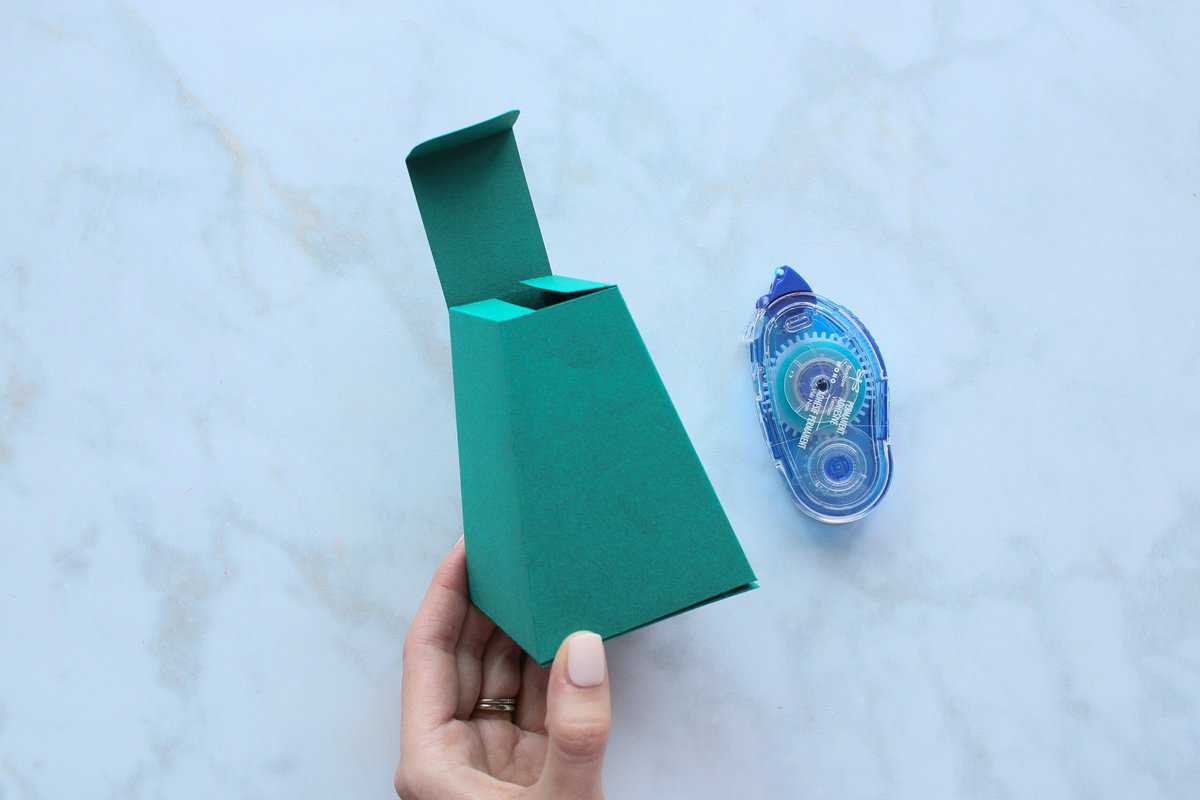
Place the contents of your box in the center of the box and fold up all the sides and tabs.
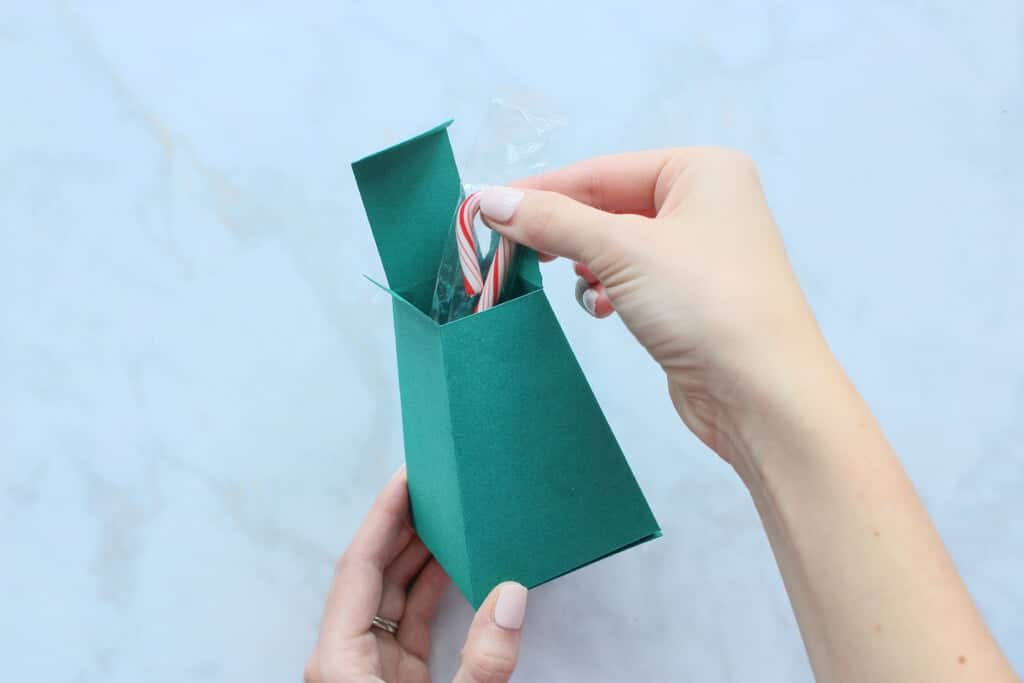
Fold along the score lines of the two long strips.
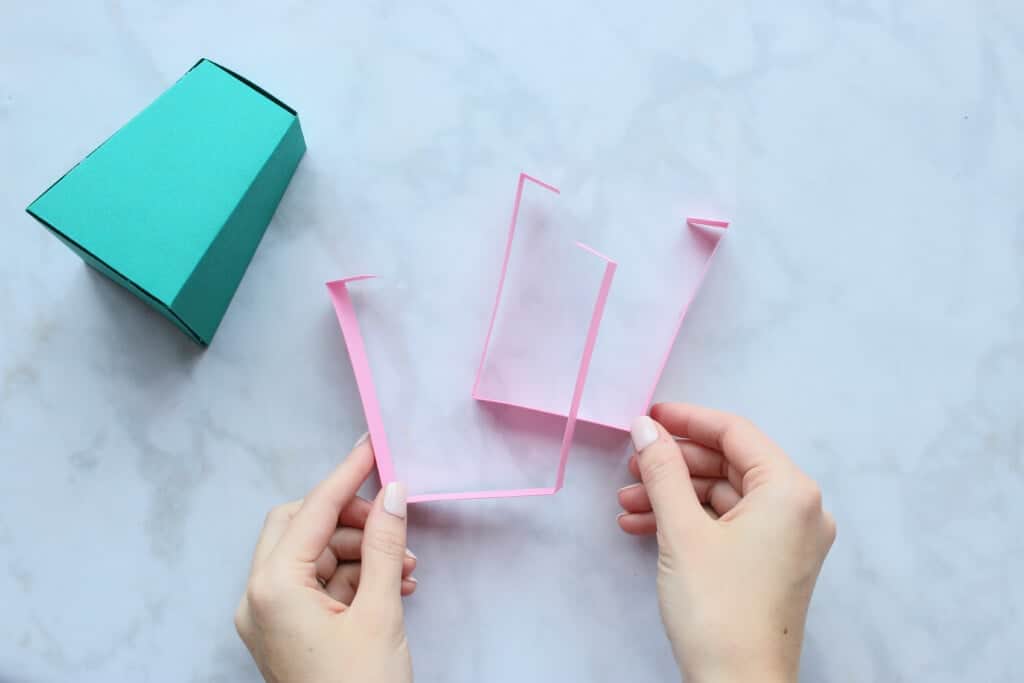
Place the paper "ribbons" around the box and secure with glue.
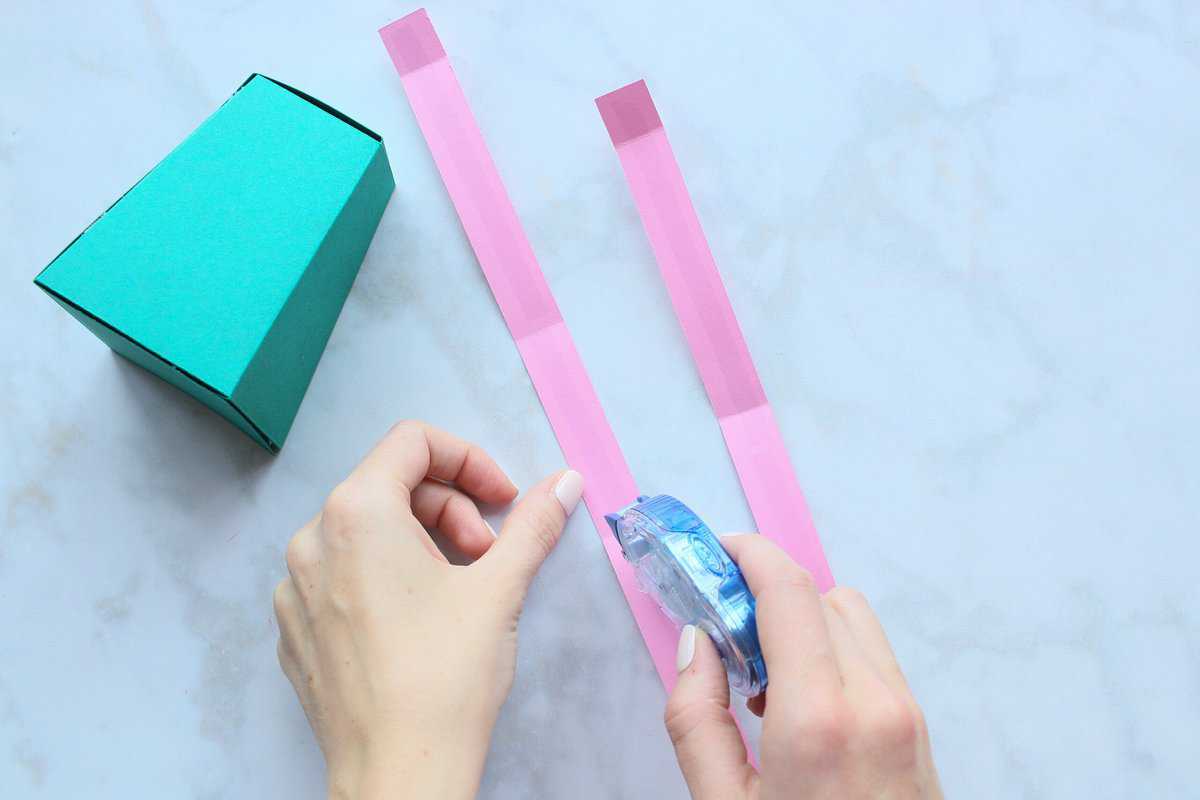
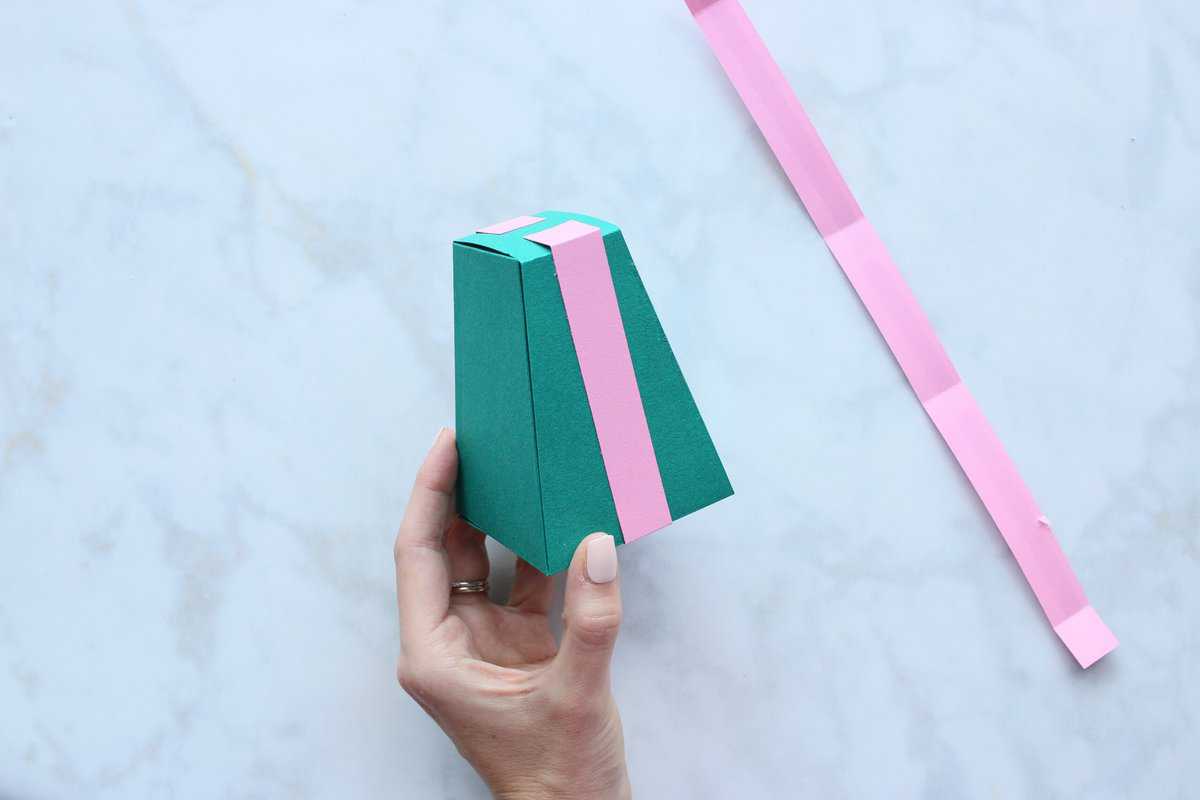
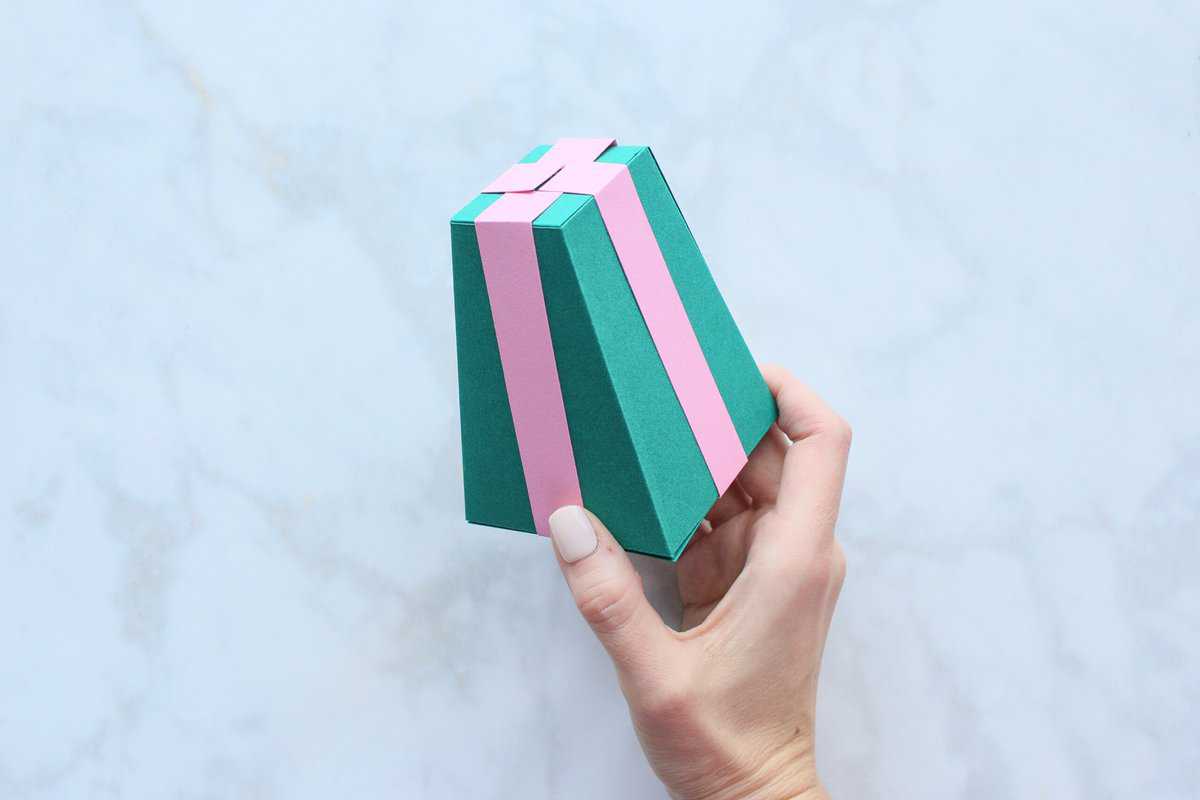
Create the paper bow by folding the ends of the bow piece towards the center to create two bow loops. Then layer the loop piece on top of the tails and glue together.
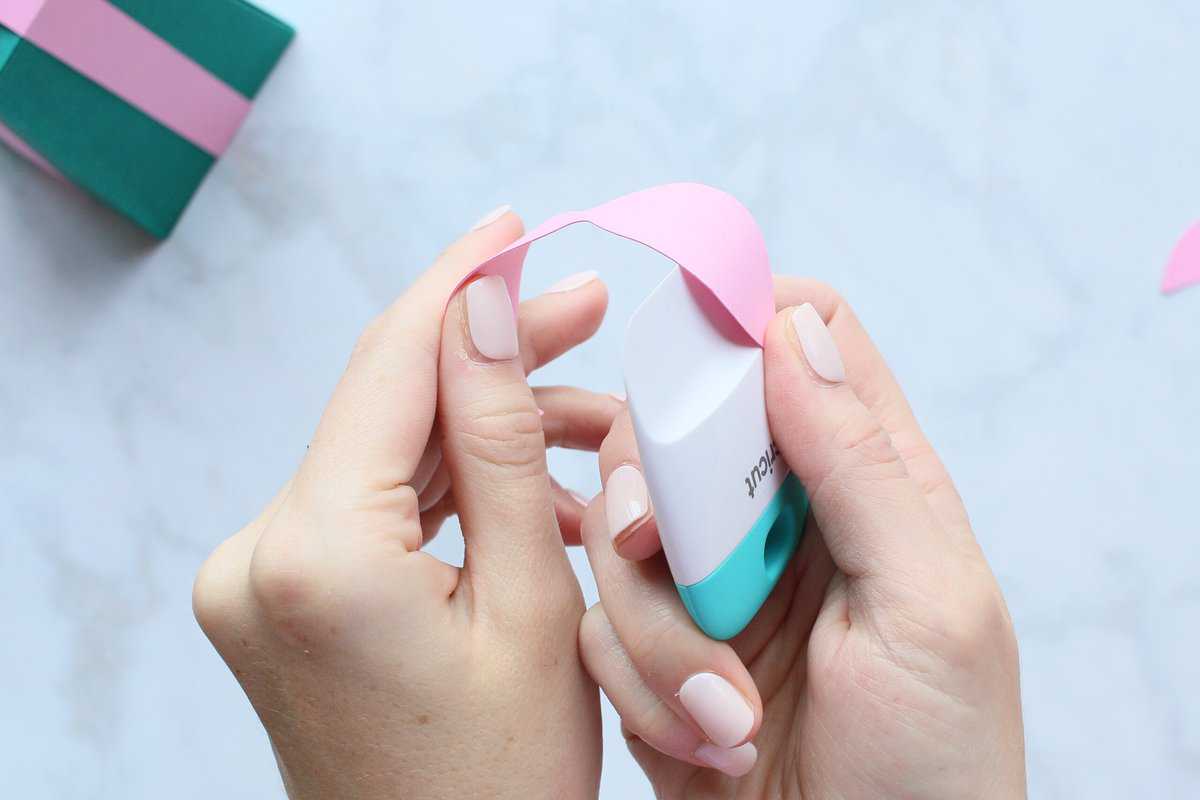
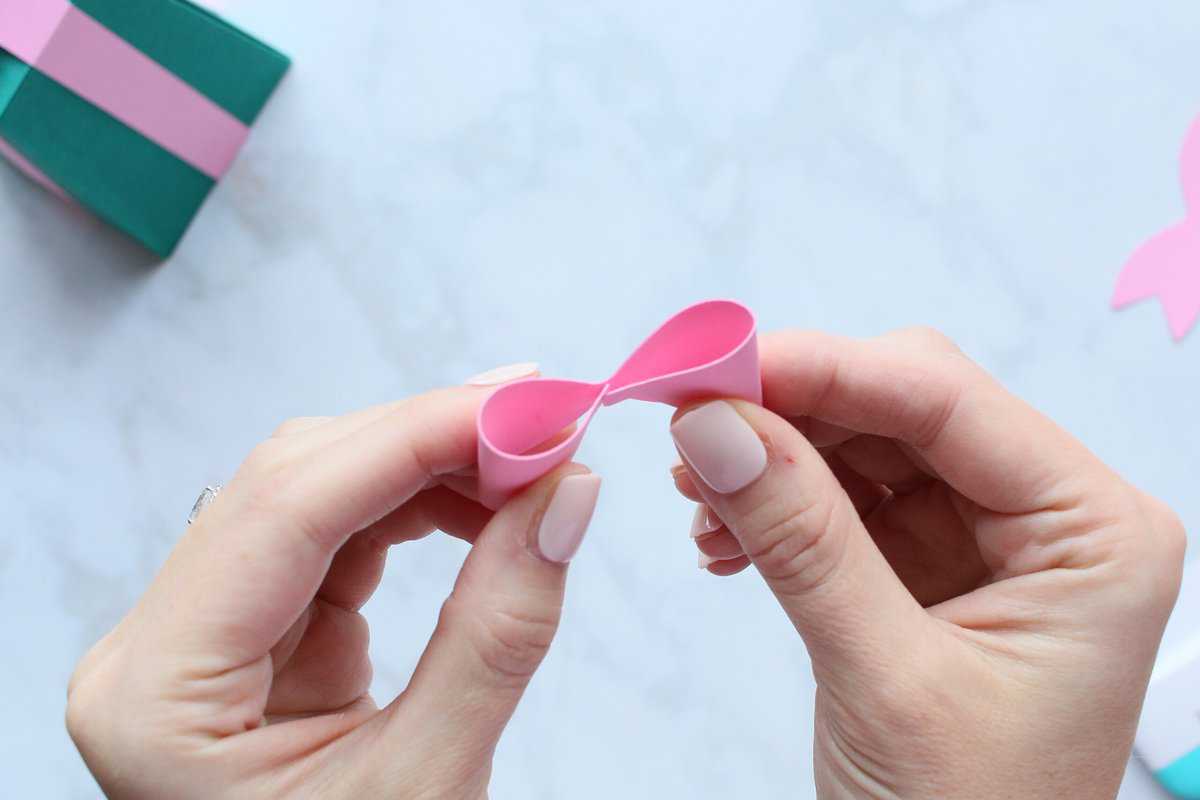
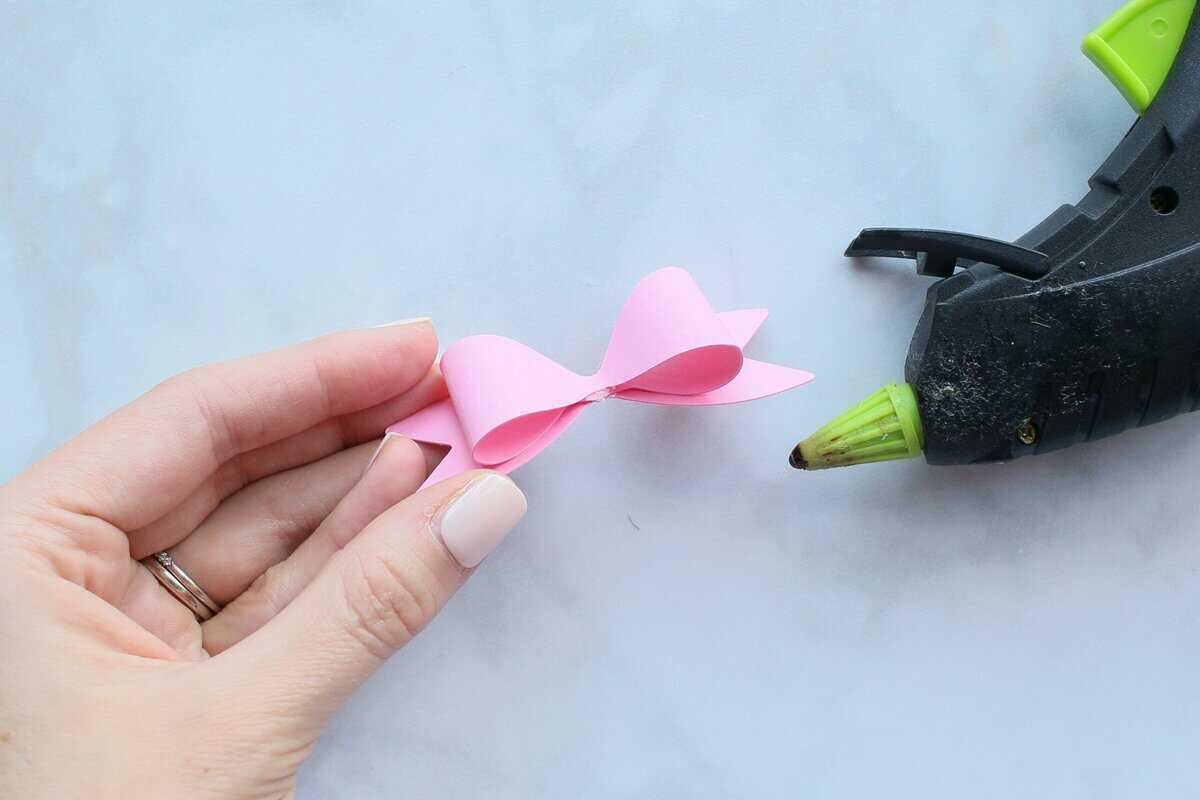
Wrap the centerpiece around the center of the bow.
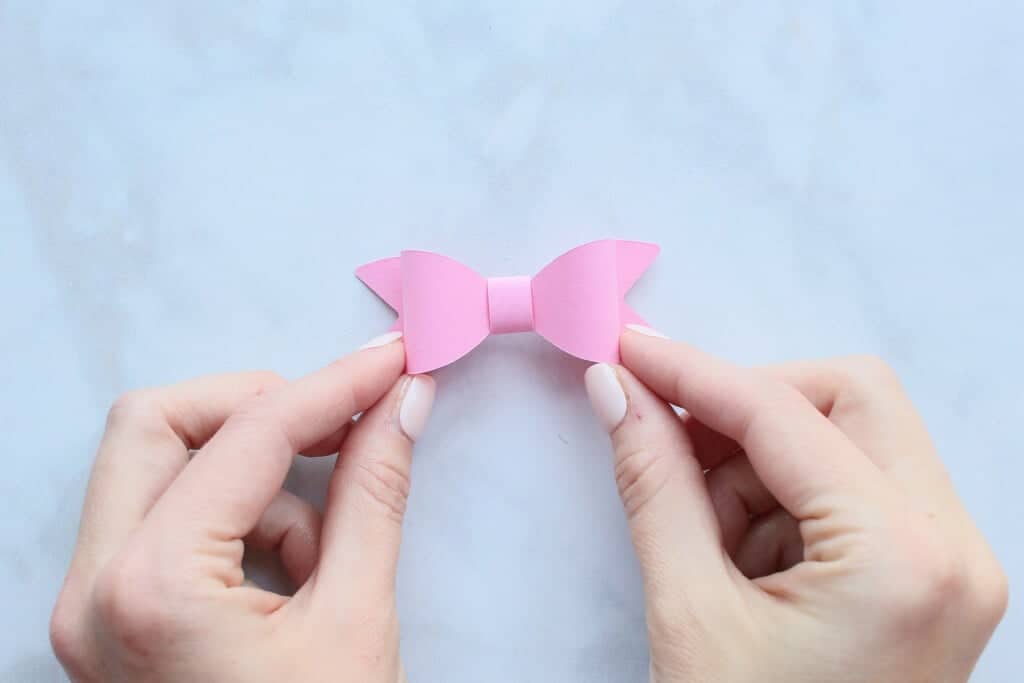
Glue the bow on top.

Treat Gable Box
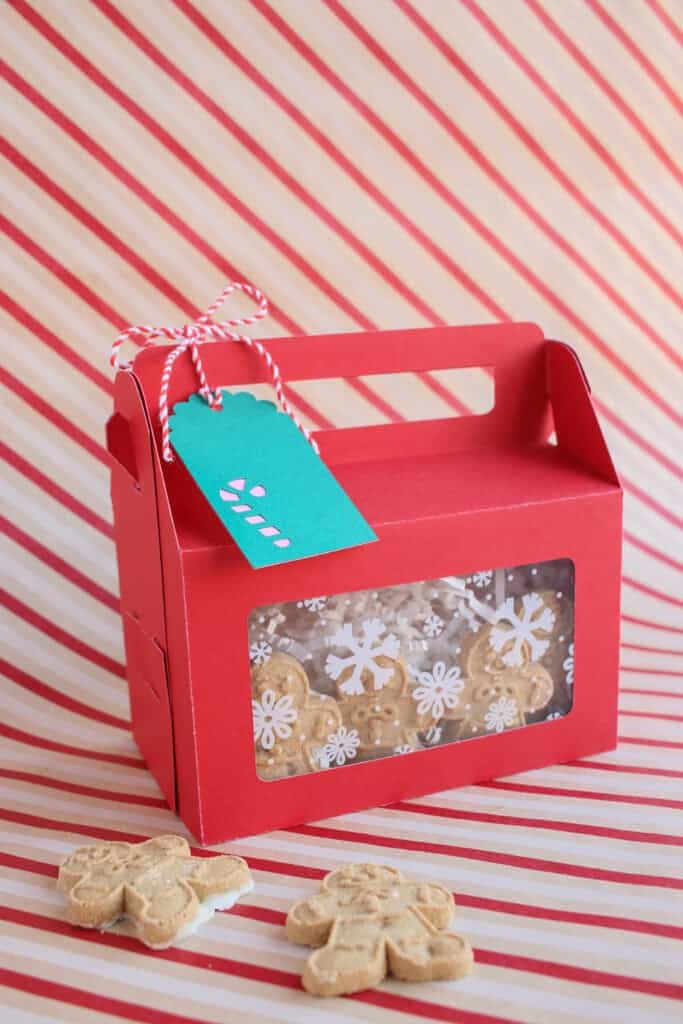
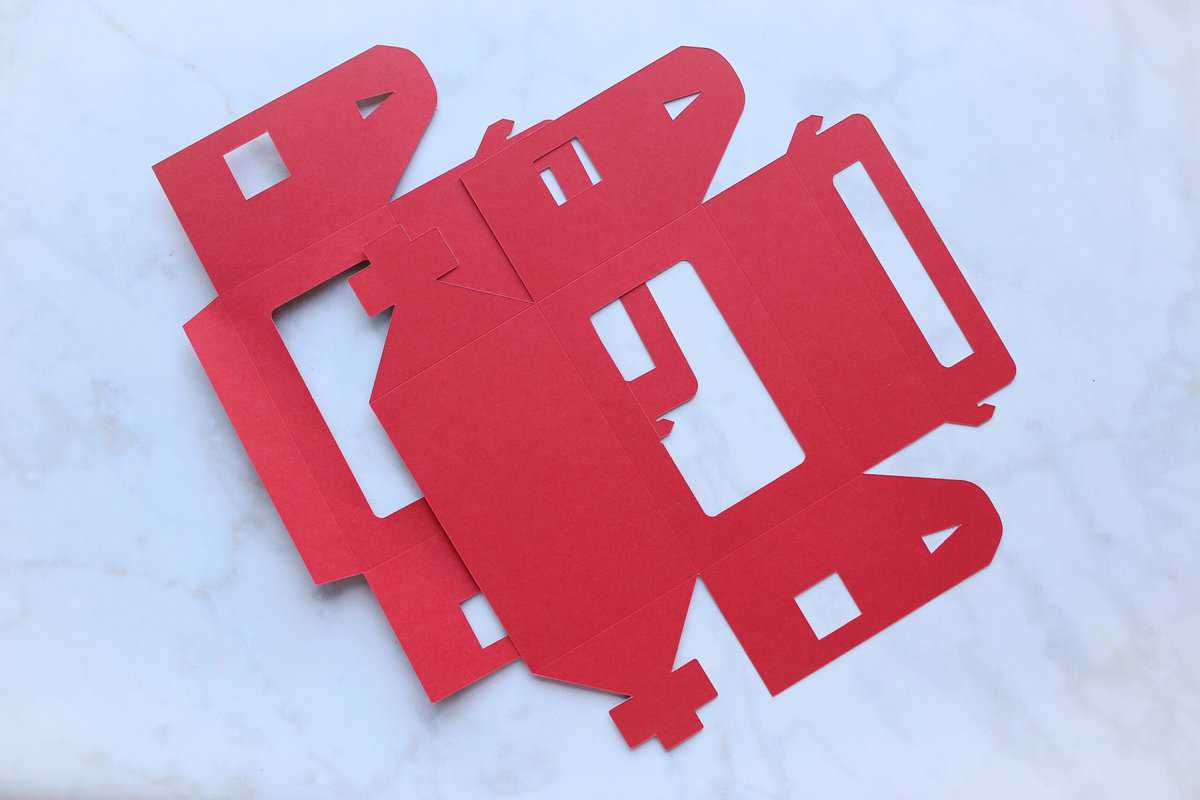
Fold along all the scored edges.
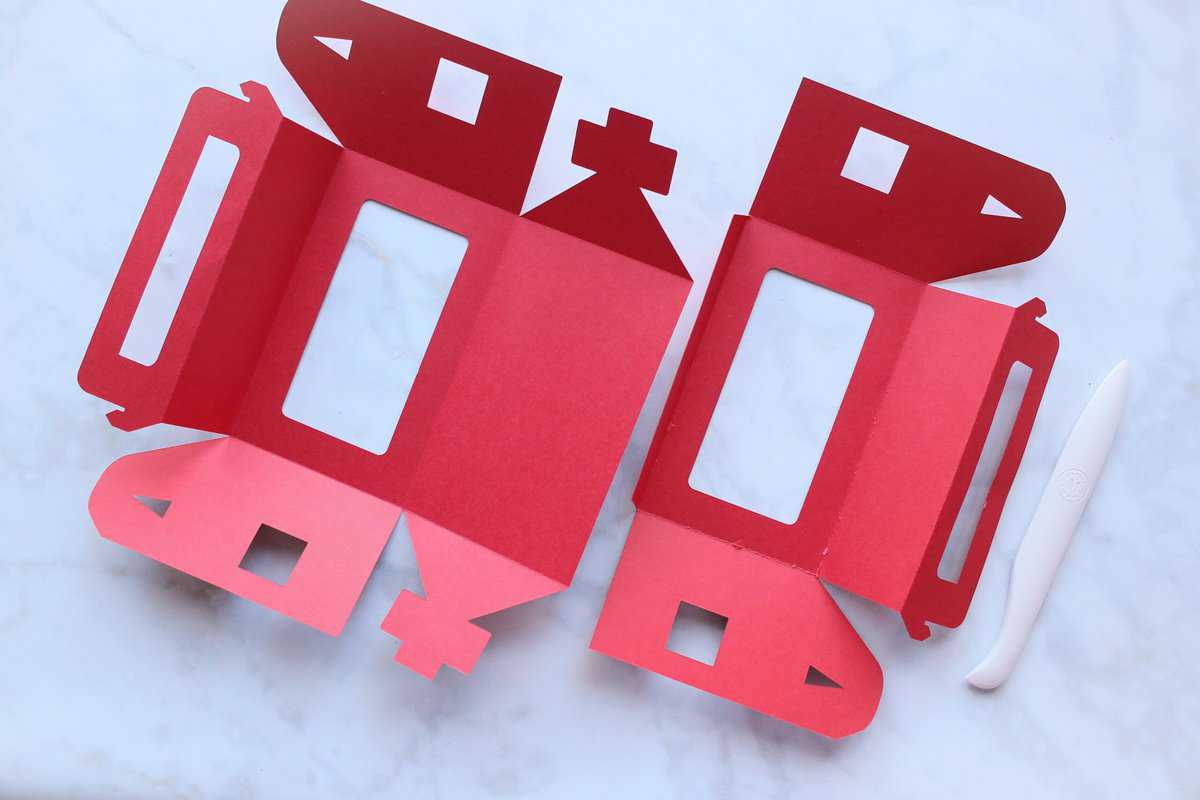
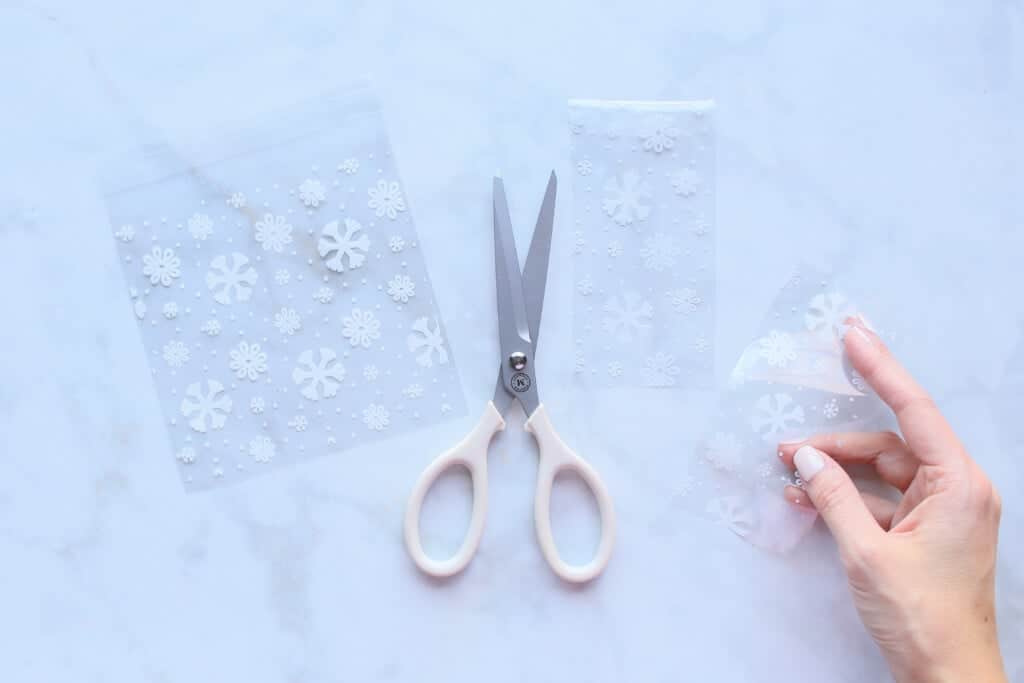
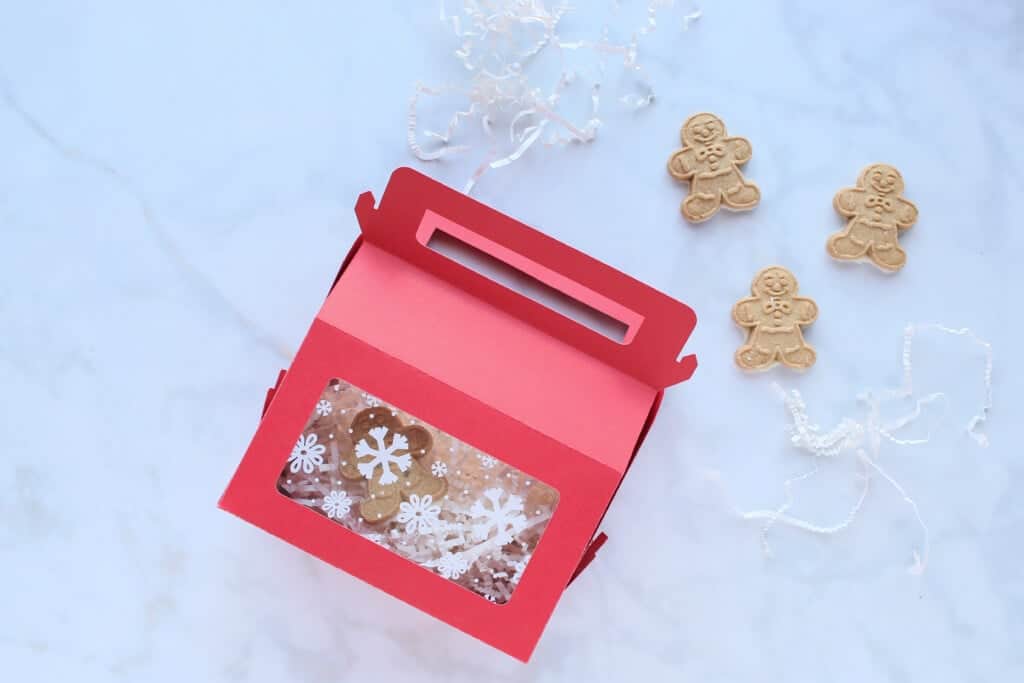
Cut two pieces of cellophane to about a half inch longer and wider than the window of your gable box.
You can use a roll of cellophane, acrylic sheets for a thicker option, or vellum for a less transparent choice. Whatever you have on hand will work!
PRO TIP: If you have cellophane treat bags lying around, simply cut one in half and use that to cut out your cellophane pieces to cover the windows of your box. I used some seasonal snowflake ones!
Use an adhesive roller to secure all four edges of the cellophane to the insides of the box.
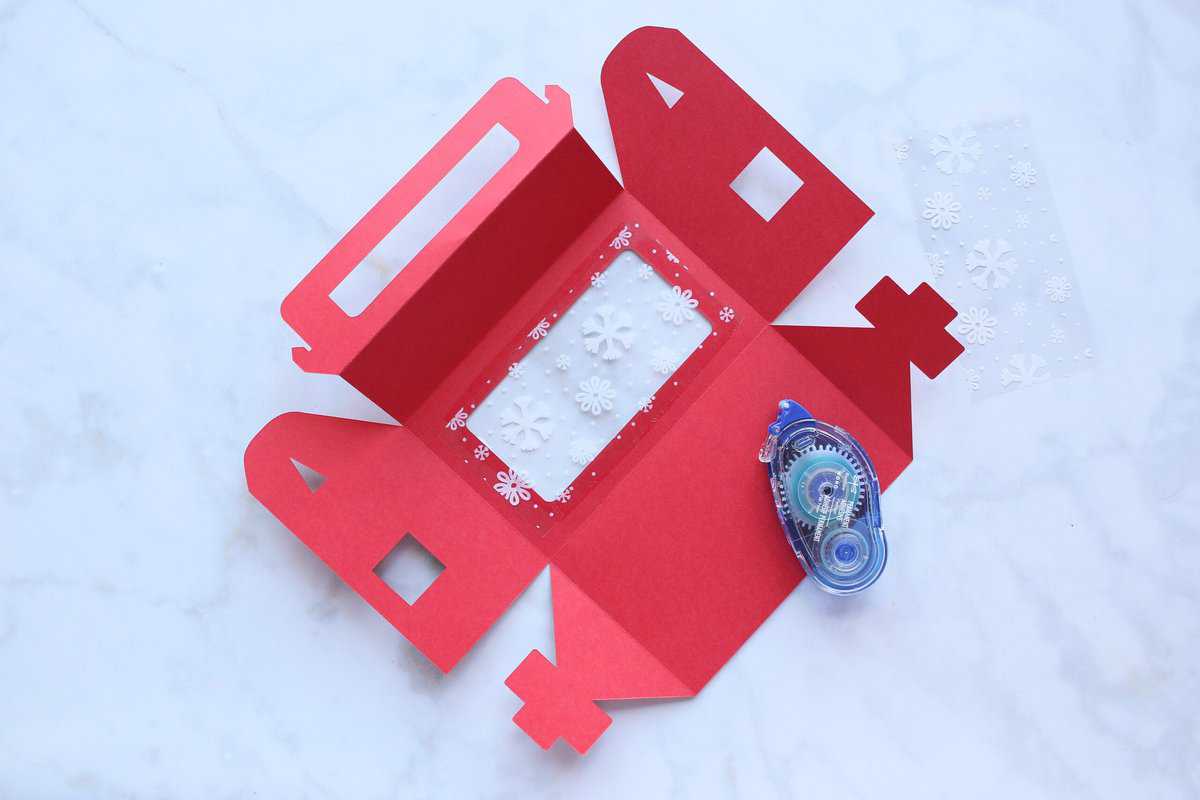
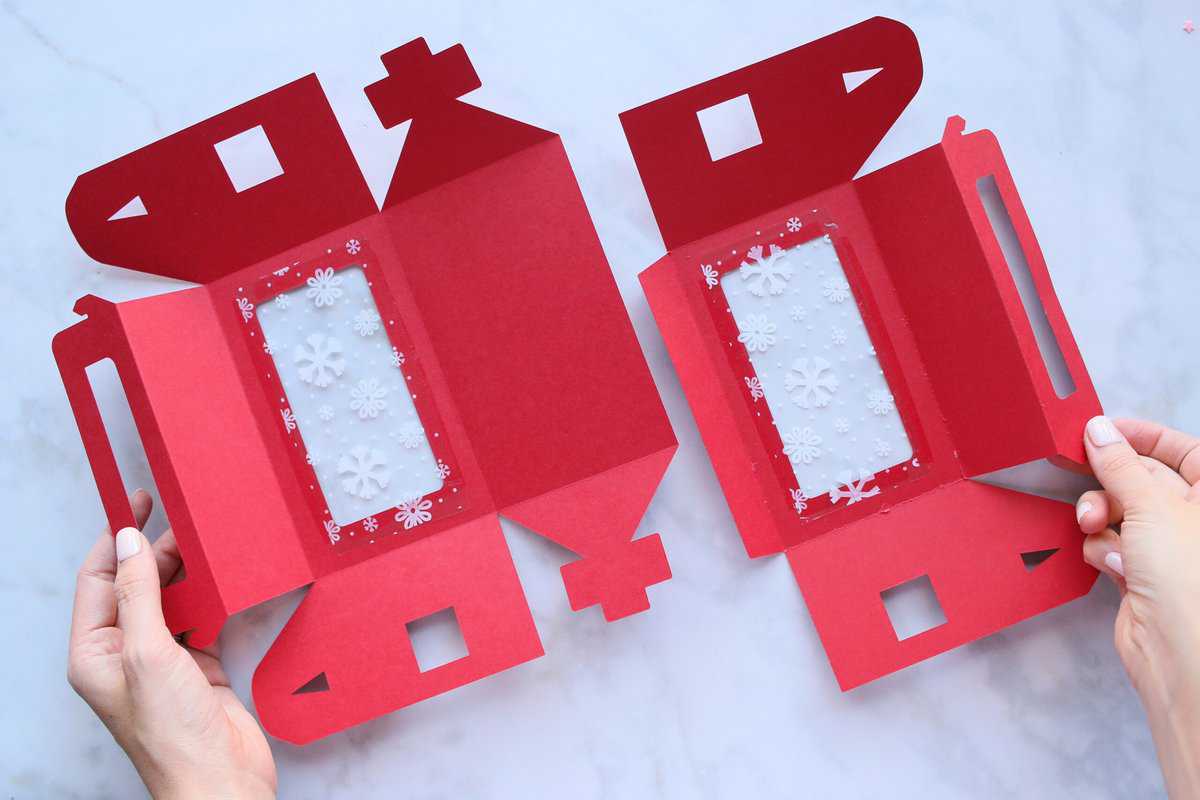
Use an adhesive roller to glue the two boxes together on the base.
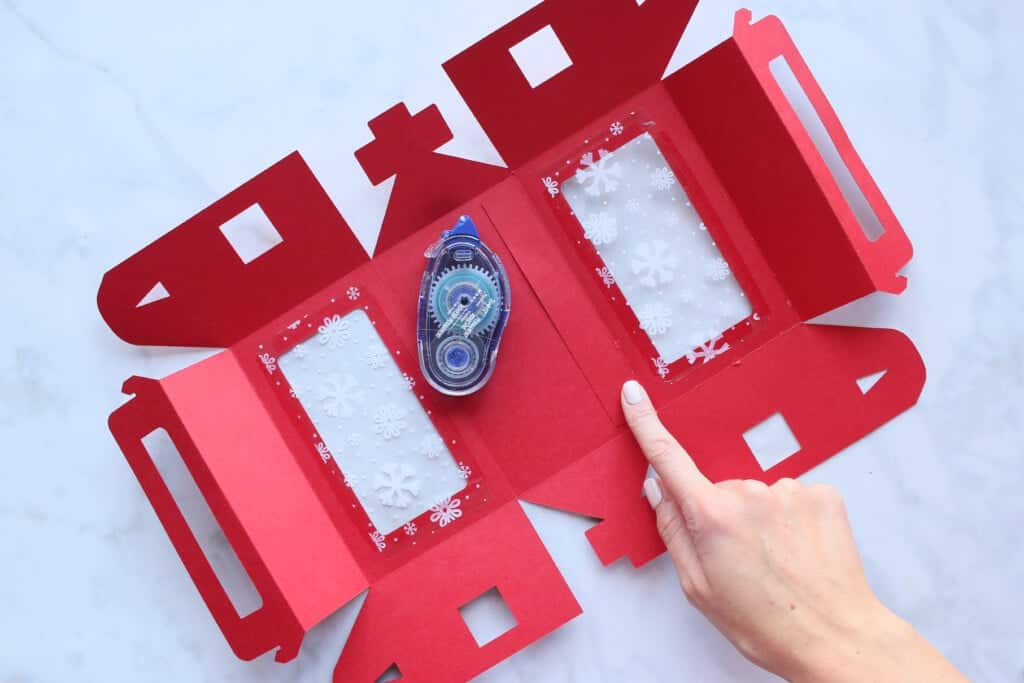
Insert the tabs on either side through both slots of the box on each side.
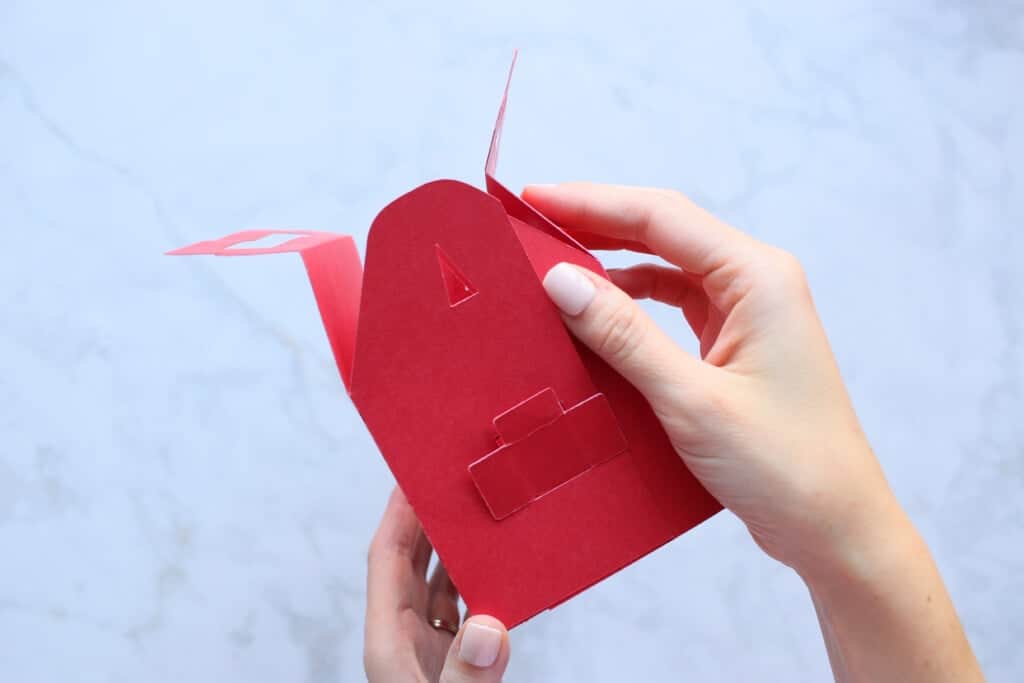
Fill the box with your contents.
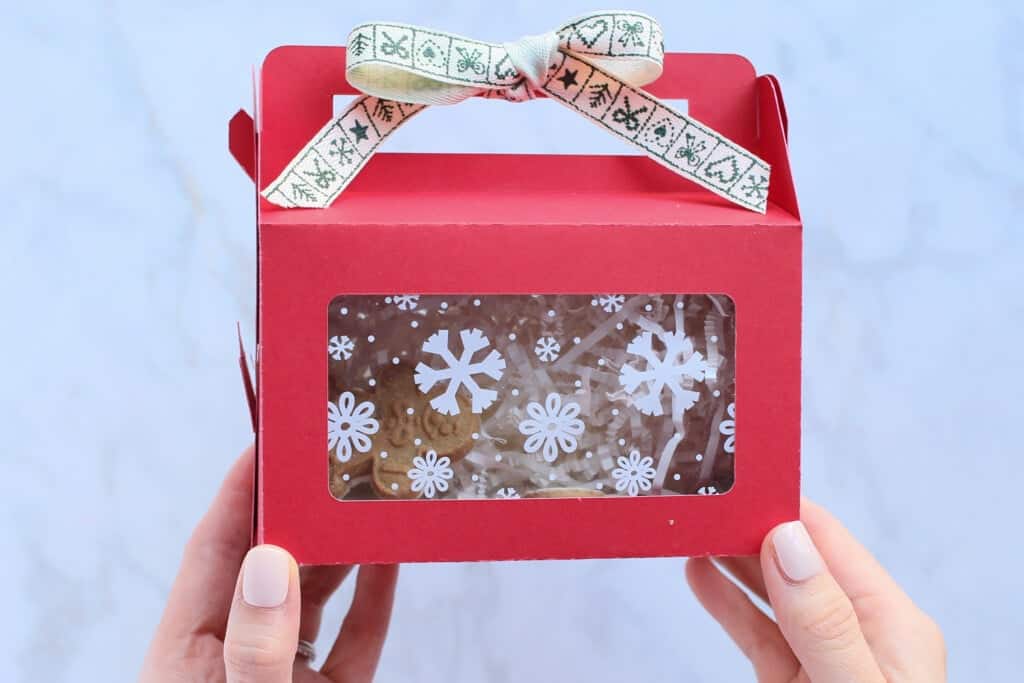
Close the top tabs and tie on the ribbon.
Which of these boxes is your favorite? How would you use these designs? Let me know in the comments!
Post a picture on Instagram with the hashtag #sweetredpoppy - I would love to see how your boxes turned out!
Looking for more awesome (and free!) Cricut Christmas projects? Try one of the projects below!
Don't forget to join my Facebook group where you can show us what you're making, ask questions, and learn from others.

These are amazing. Exactly what I need for Christmas.
I would like to download the SVG/ gift box templates that you featured in a recent e-mail. However, when I click on download and type in my first name and e-mail address, I always get the message "unable to fetch" I don't know if I am doing something wrong or if I need to try a different way. Could you please help me? Thanks. I love your e-mails and projects but would like to be able to download different files.
If it is these boxes, you can download from here also...The link is working, I just checked there. There is a box that says download here, around half way down the page. You will be prompted to put in your name and email address and the files will be sent to you. When you go to your email, the file will say click here for your gift. If you cant see the email, check your spam folder. You need to make sure when its downloaded that you unzip the file and then you will be able to unload it to design space. Hope this helps.
I did it on my first try...yah....the only issue is that when I put it in Cricut design it did not show me where the score marks supposed to be, so I just printed it out and looked at the picture and bent them accordingly. This will work out for my cookies. Thank you.
These are delightful!!! Very creative design! Thank you!