Learn How to Make Christmas Gift Tags With Your Cricut Machine and Nine Free SVG Files!
I love personalizing each gift I make, so I’m excited to share these gift tags SVG files with you. They're easy to make and are quite popular during the holiday season.
If you forgot to pick up gift tags while you were holiday shopping, you can easily make these DIY tags with a Cricut machine from the comfort of your own home!

Not only can you use them for your gifts, but they can also be stocking tags for your family members and pets. Additionally, they can be ornaments for your tree or simple Christmas decor!
These tags pair perfectly with my Cricut 3D Gift Boxes. Don't forget to read my other Christmas gift posts; How to Tie a Ribbon Bow 7 Ways and How to Wrap a Gift 4 Different Ways.
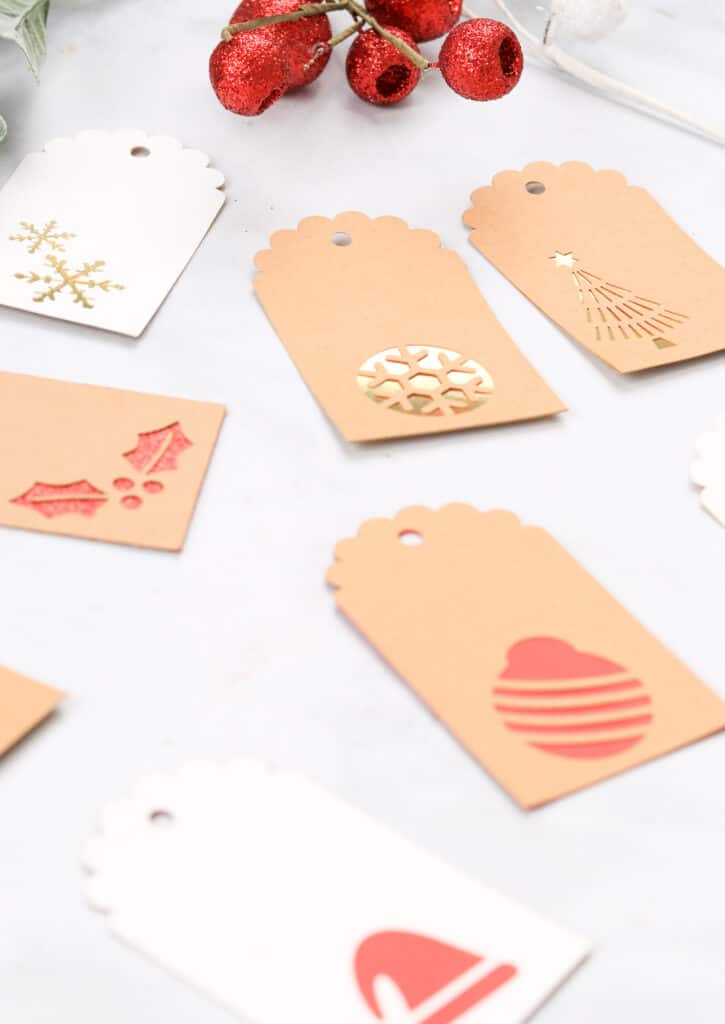
You can quickly make these ready-to-cut gift tag SVG files with a couple of pieces of paper, a cutting machine, and some glue.
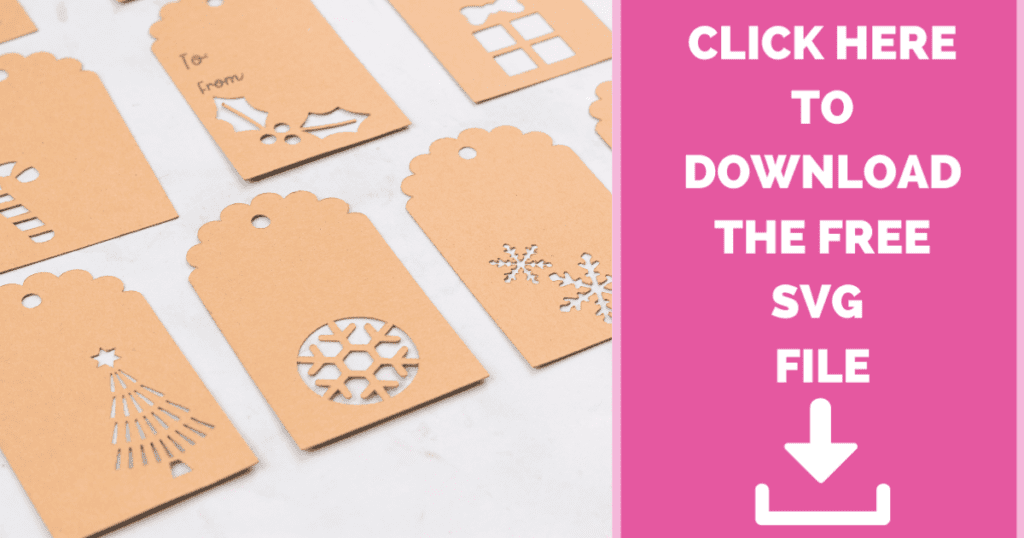
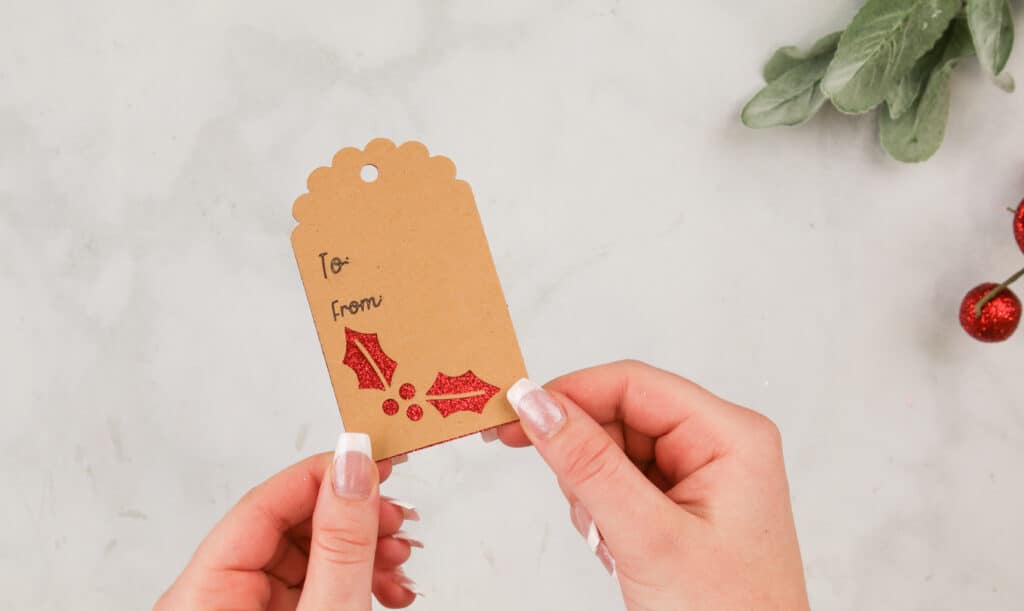
The SVG file includes nine gift tag designs to choose from, and each gift tag has two layers; one has detailed design cutouts, and one does not.
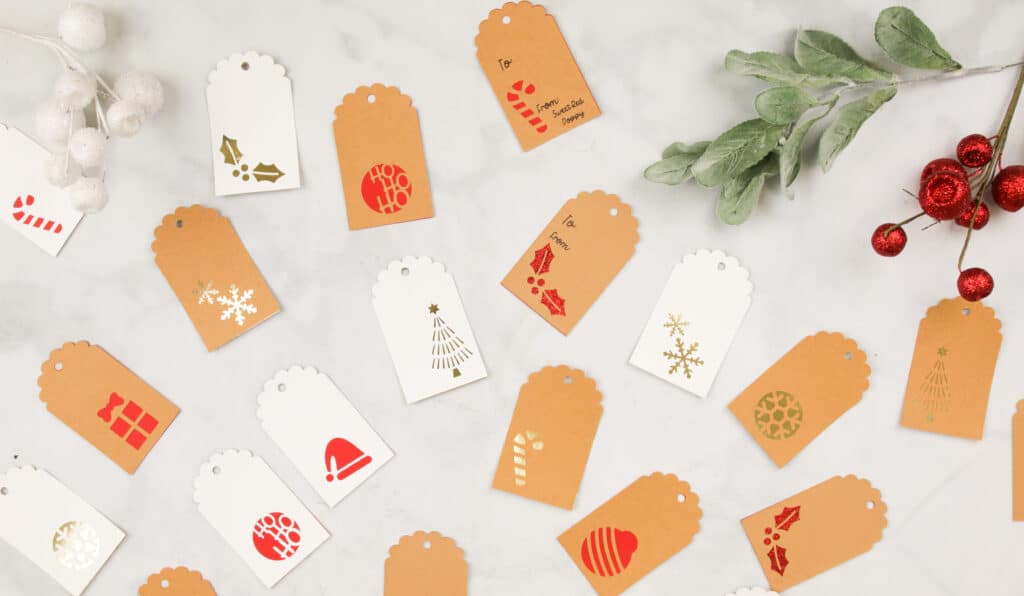
Materials I used for this Craft
I used Kraft paper and 80lb white cardstock for the first layer. Gold foil paper and red glitter cardstock for the backing.
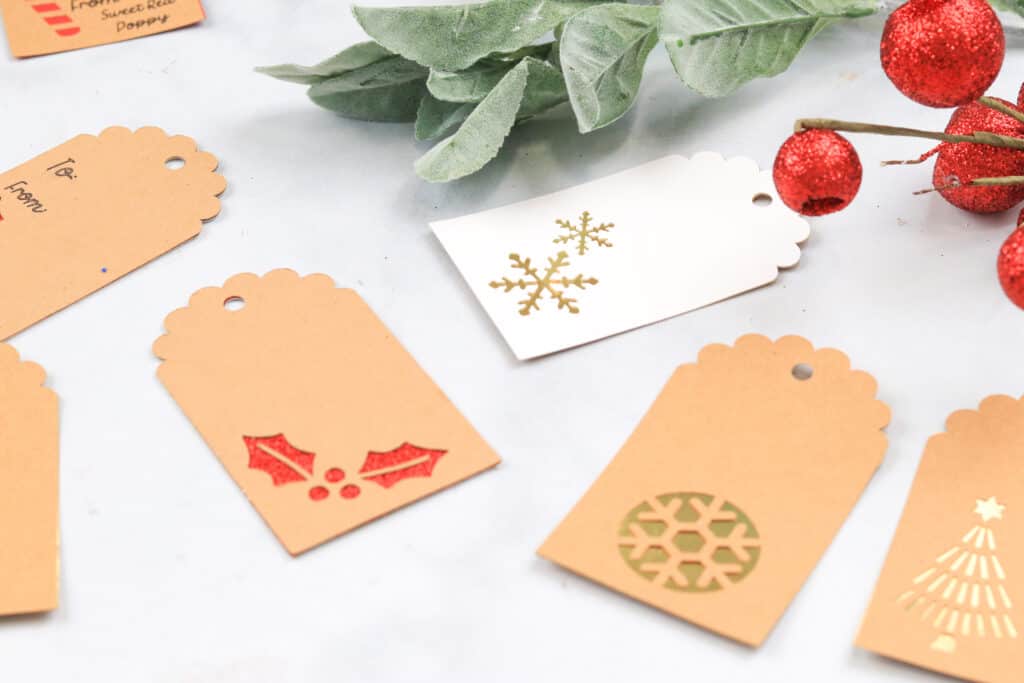
The Kraft and gold paper has been a popular combo because it goes well with any wrapping, but feel free to use any color of cardstock you’d like.
You can pick from an assortment of colors that match your gift wrapping.
Some creative ideas would be to cut these out of old greeting cards or brown paper bags. Decorating them with gems and glitter is also a great way to personalize them further.
Table of Contents
Supplies Needed:
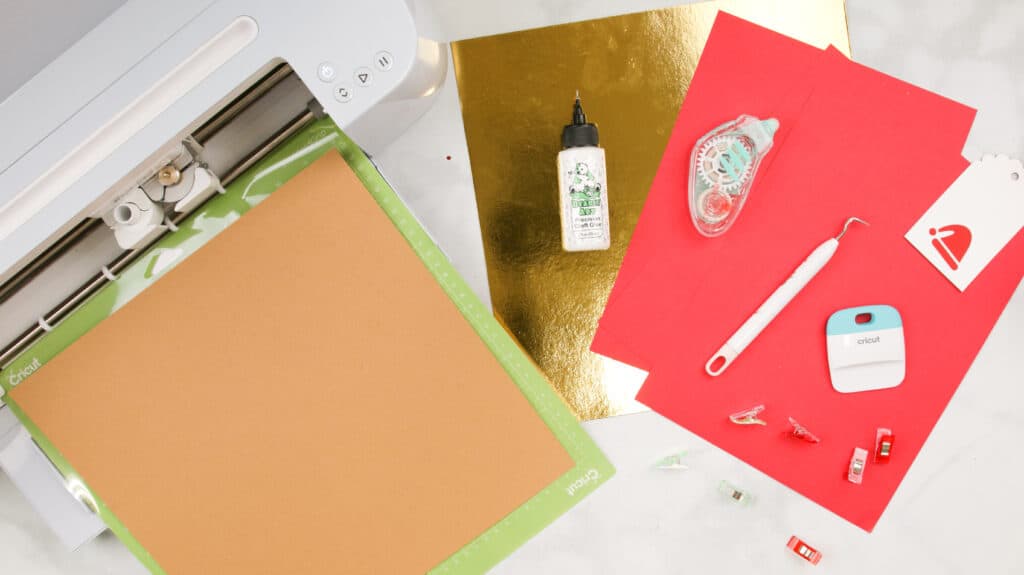
- Cricut Maker, Cricut Explore, or Other Cutting Machine
- StandardGrip Mat
- Craft Glue- Bearly Arts Craft Glue (This is my favorite tacky adhesive)
- Use the code SRP10 to save 10%
- 65-80lb Cardstock- I used Recollections Kraft Cardstock Paper and gold foil paper
- Satin Ribbon by Celebrate It

Optional Supplies:
- Black Cricut Pen 0.4 Tip
- Washi Tape
- Craft Clips
- Red Glitter Cardstock
Download the FREE SVG Files Here
Step One: Upload Design
Once you’ve downloaded the design, it’s time to upload it to Cricut Design Space. Do this by creating a new project and clicking “Upload” in the left bar. Then, select the gift tags and “Ungroup” the Gift Tags in the layers panel.
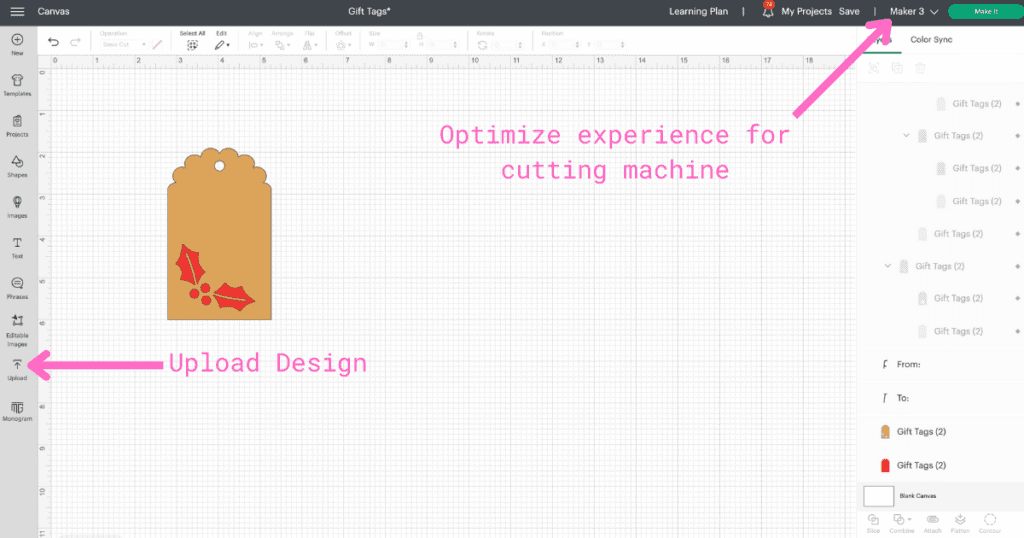
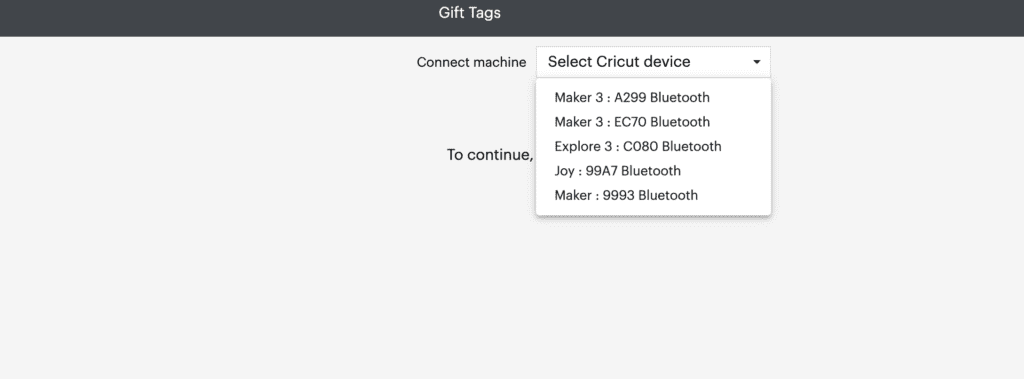
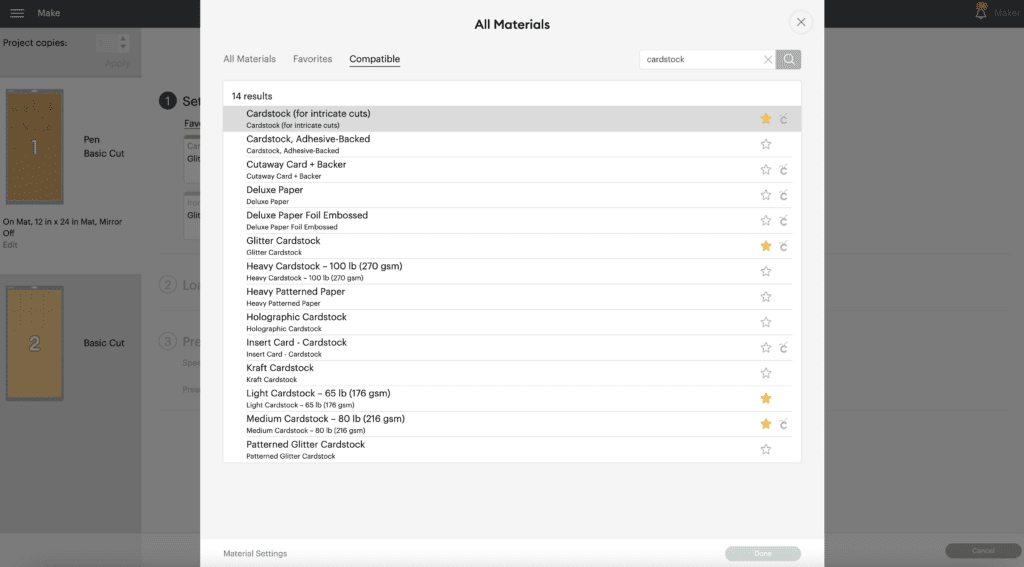
Before cutting, optimize the experience for the cutting machine you are using. Finally, click make it and set your base material. I recommend setting the material to “Cardstock (for intricate cuts).”
How to Personalize Gift Tags
To personalize your gift tags, you can add a little note to your recipient or add “To” and “From” to your gift tags by clicking the “Text” in the left bar of the canvas.
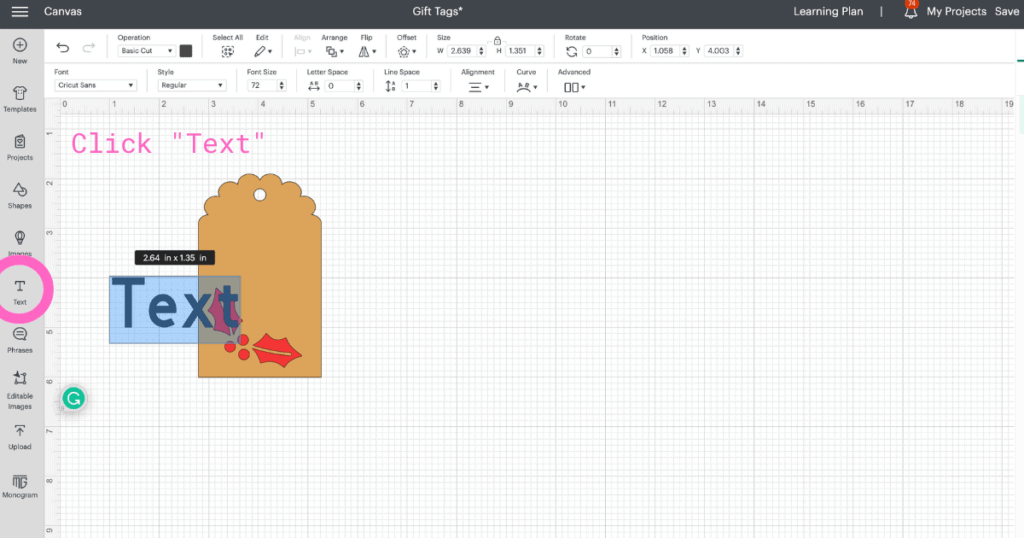
(You can change the font and size of your text below the operations panel.)
I used the font “BFC Thankful Season” in Cricut Design Space.
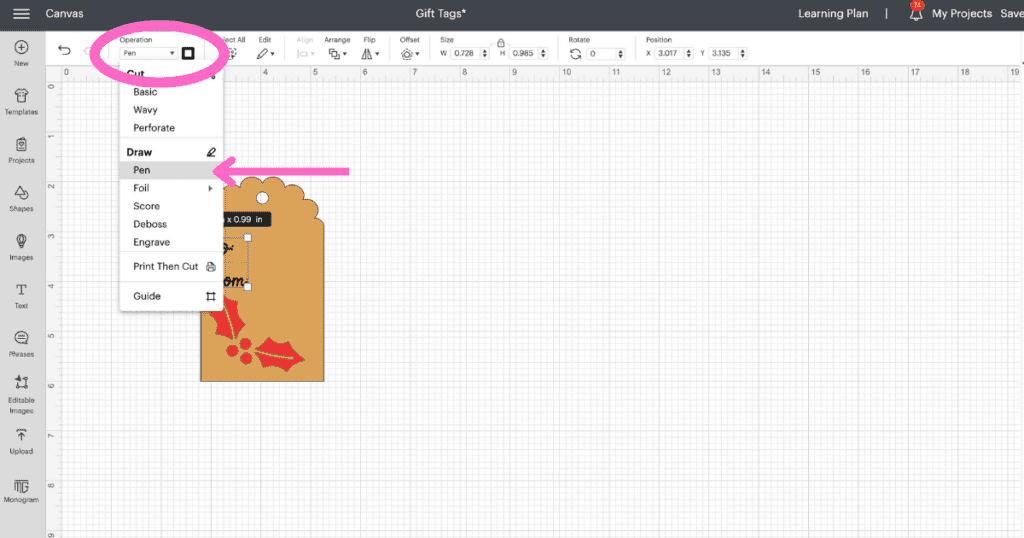
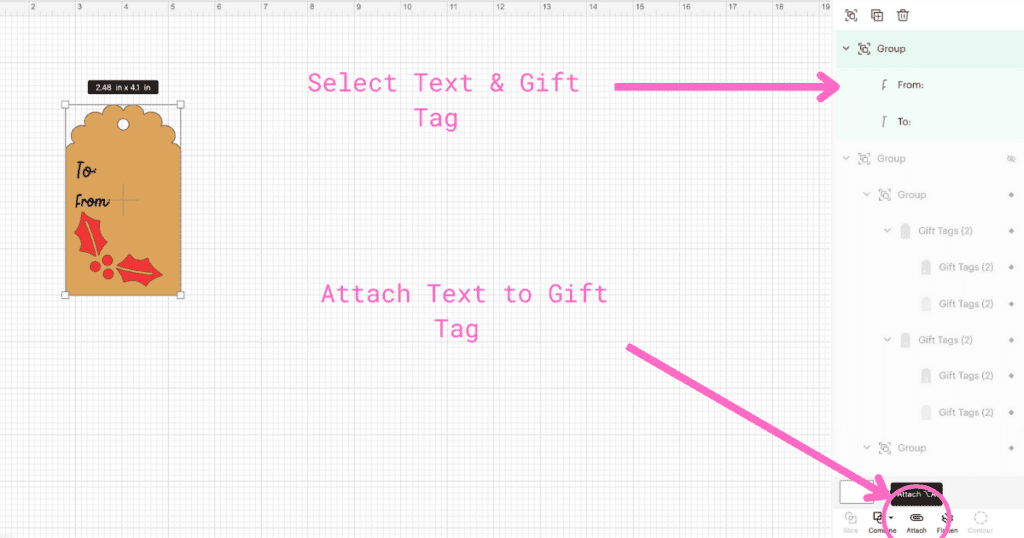
Next, attach the text to your design. First, select your text and change the Operation from “Basic Cut” to “Pen.” Then, select both the gift tag and the text and click “Attach” in the bottom right corner of Design Space.
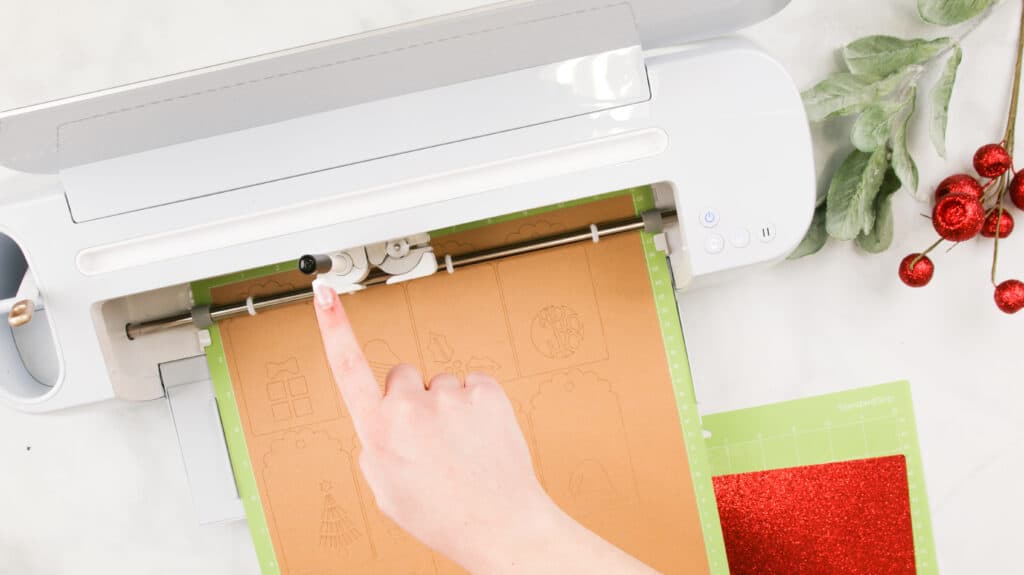
Finally, load your pen into your cutting machine (I used a black Cricut 0.4 tip pen) and click Make It.
Step Two: Cut Out Gift Tags
To cut out your gift tags load your mat with cardstock into your cutting machine, Press Go, and let it do all the cutting for you.
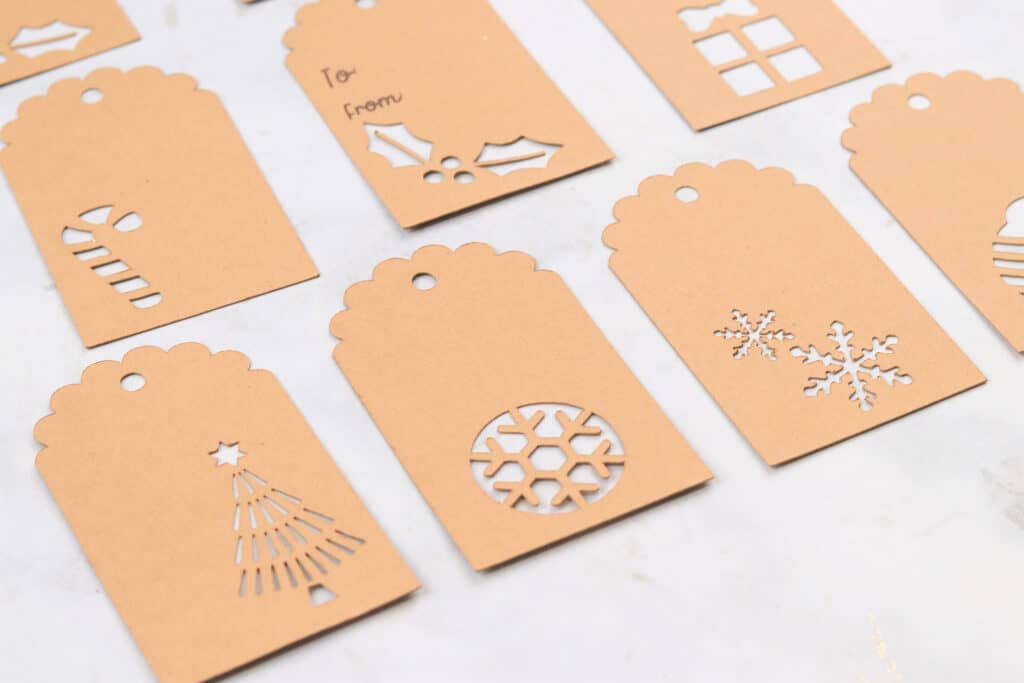
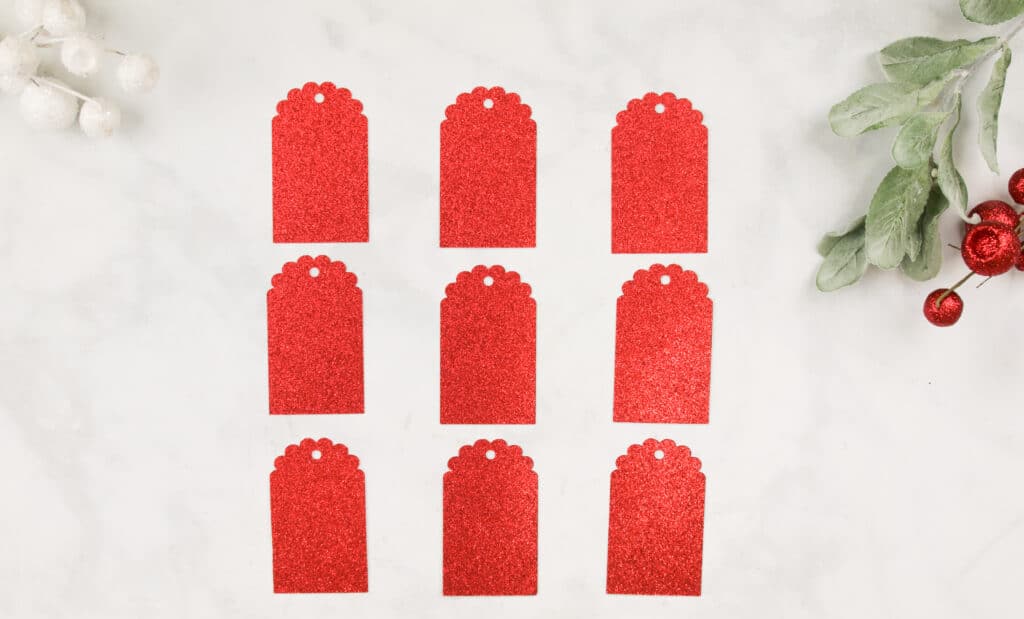
I used glitter cardstock as the backing for some of my tags to add a bit of sparkle. If you're wanting to do the same, be sure to flip your cardstock glitter side down on a StandardGrip or Lightweight Cricut mat before cutting.
Tip: Placing some washi tape along the sides of the cardstock will keep it in place.
Step Three: Assemble Gift Tags
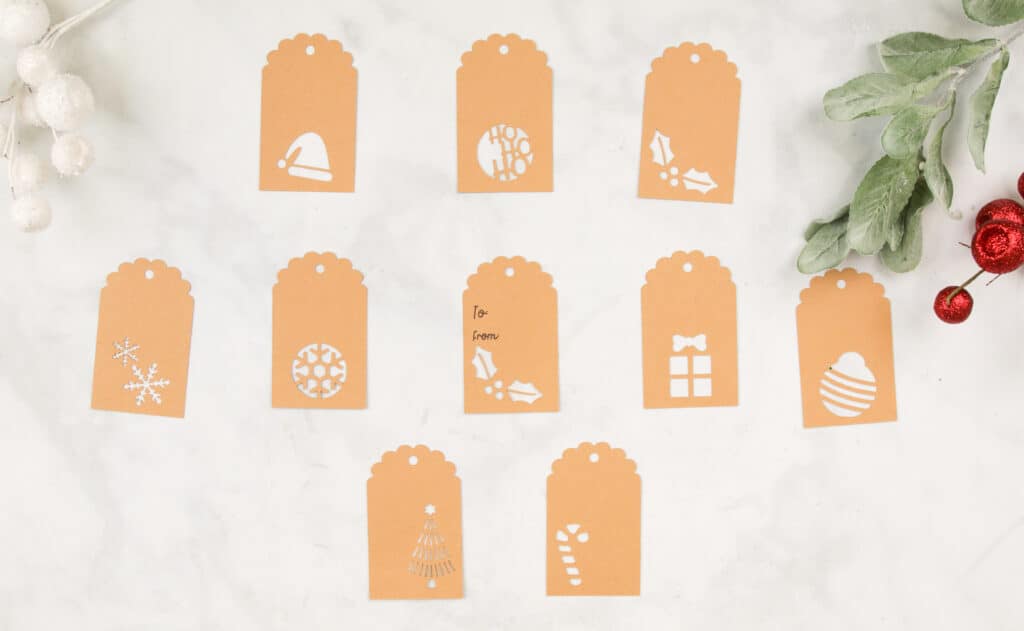
Assembling the gift tags is easy! Once you've cut out all the gift tags, separate the tags with detailed cutouts from the others.
Grab a tag with cutouts and one without them. Then, apply glue to the back of the gift tag and glue it to the base.
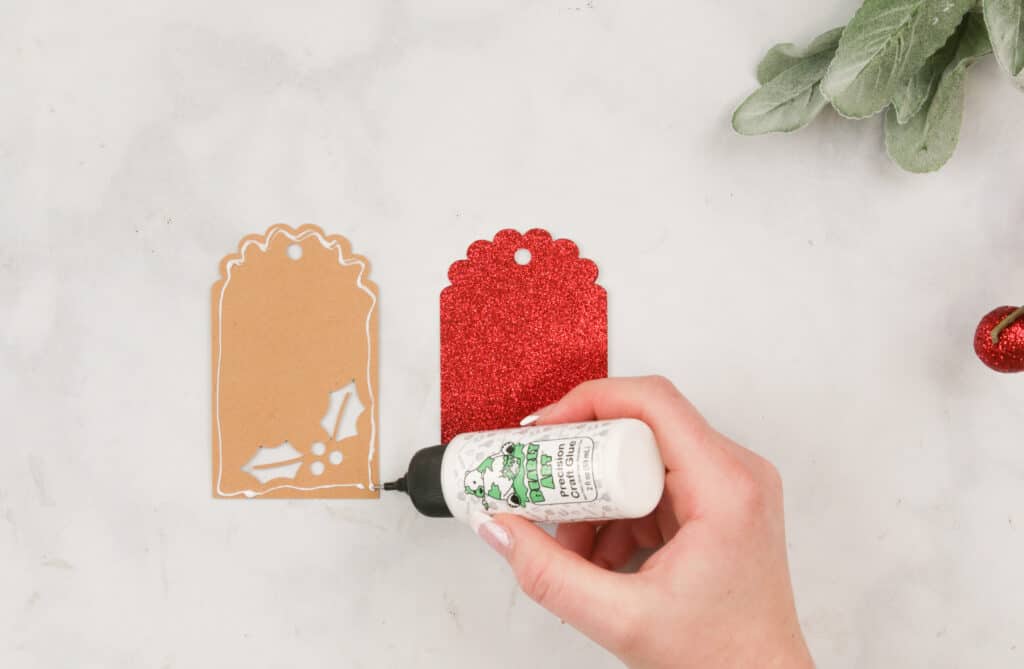
Repeat this step with the rest of the gift tags.
Step Four: Add ribbon
Cut a 6” piece of ribbon, slip it through the hole at the top of the gift tag, attach it to your gift, and top it with a bow.

Finished Gift Tag

Want a bow to go with your gift tag? Click here to choose a variety of bows to make for your gifts this Christmas!

Don’t want to forget about this free template? Save this project for later! Click here to save this project on Pinterest.
Join my crafting Facebook group where you can show us what you’re making, ask questions, and learn from others!

I didn't have a template for the tag without any cutouts. Can you send it to me?
This svg doesn’t have two layers, it only has the cut out tags, not the non-cut out tags, which is a shame.
Did you get a reply from this comment please?
Does anyone have the SVG for the non-cut out tags?