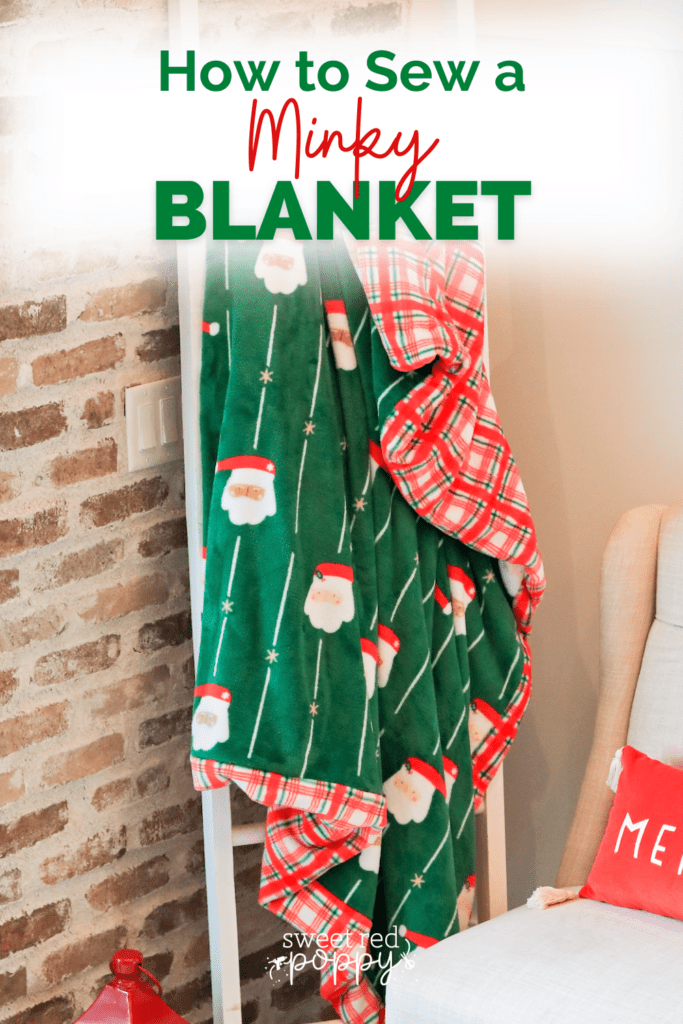
Learn How to Make a Minky Blanket With This Easy Step-By-Step Tutorial. You Can Have a New Cozy Blanket In Less Than One Hour!
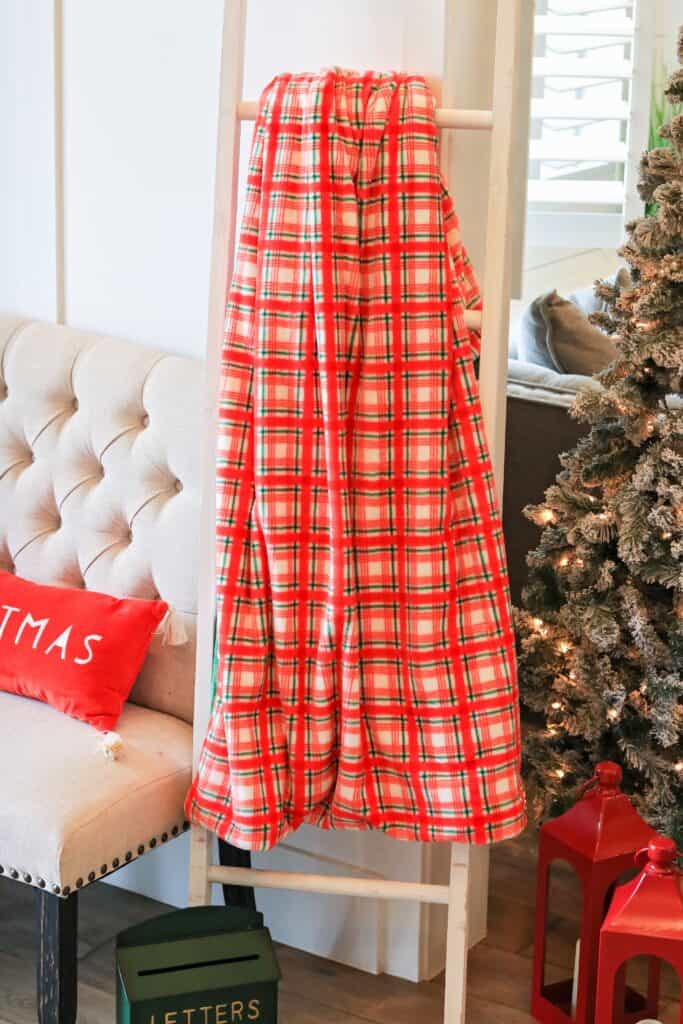
Looking for the perfect handmade gift to make for the holidays? A cozy minky blanket will wow your friends and family - but you don't have to tell them just how easy it is to make one!
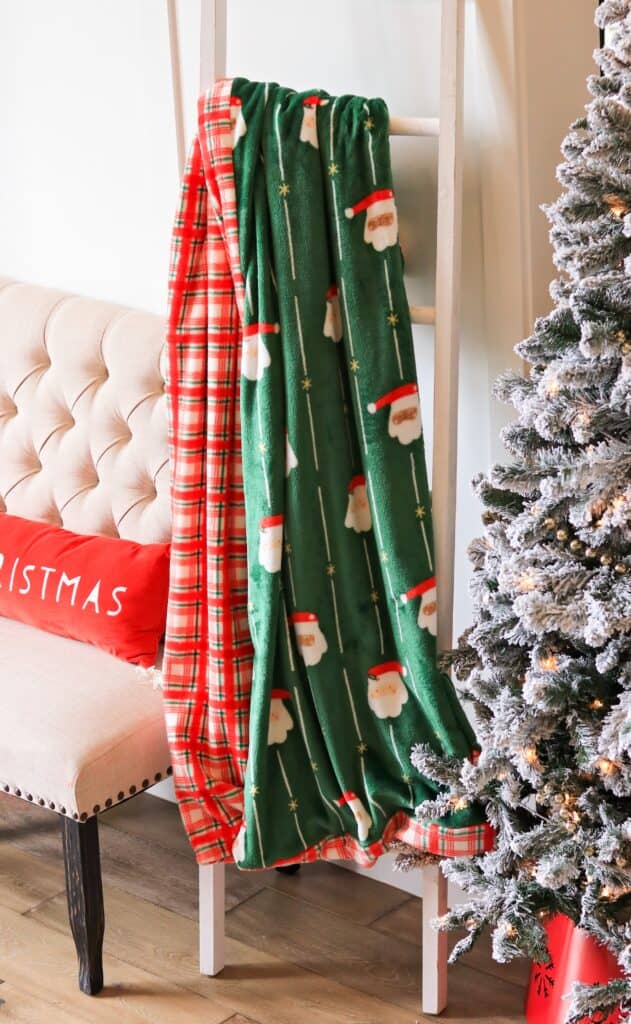
Sewing a minky blanket is simple and fast. It only requires two rectangles of fabric and some basic sewing supplies. Plus, you can complete a blanket in an hour or less!
Let's get into the tutorial so you can get to snuggling up in your new minky blanket with some delicious hot cocoa!
Looking for more holiday sewing projects?
- Free Half Apron Sewing Pattern
- Reusable Gift Baskets
- Flannel & Fur Blanket Tutorial
- How to Sew an Advent Calendar
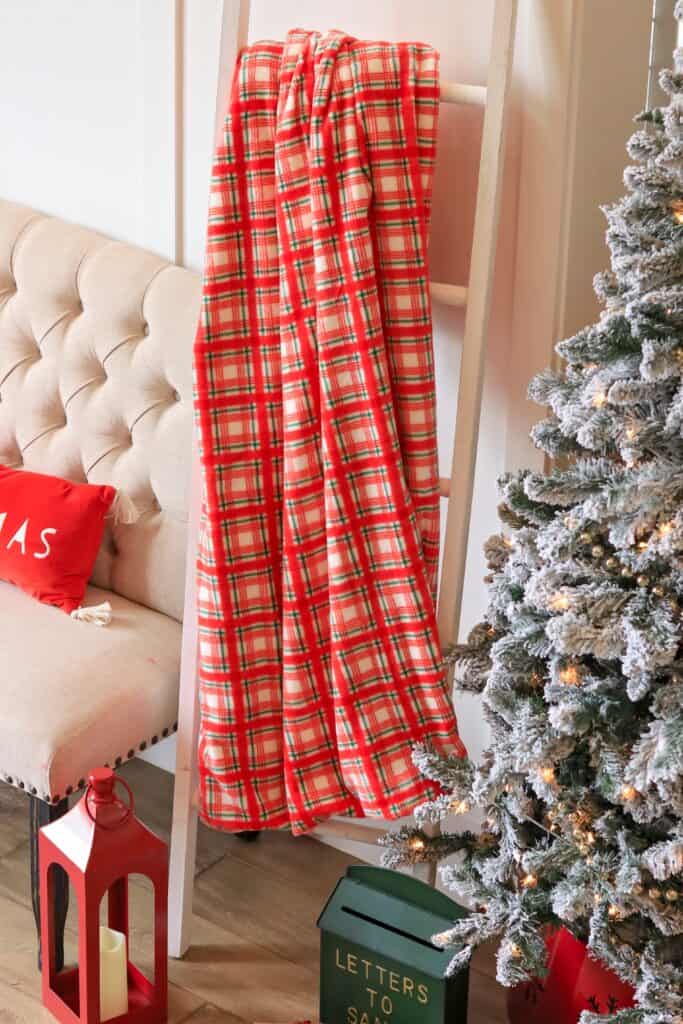
Table of Contents
What is Minky Fabric?
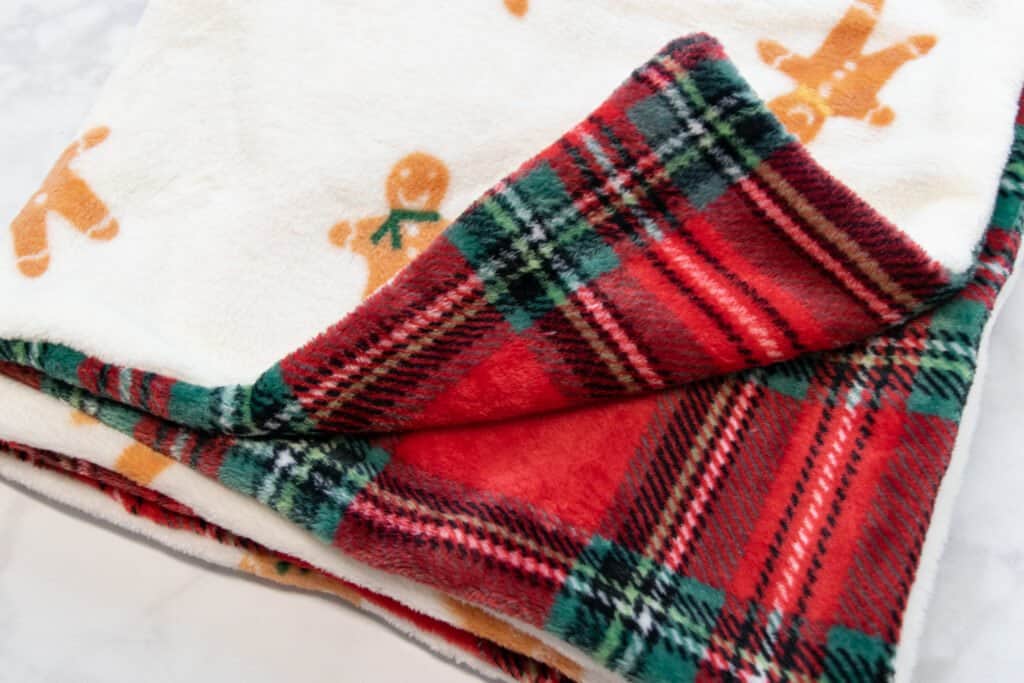
Minky fabric is a fluffy plush fabric that is made from 100% polyester. It's somewhat similar in feel to long-pile fleece, but is even softer.
The cozy feel of this fabric makes it perfect for blankets - for babies, kids, and adults. It's also a wonderful option for throw pillows, hats, and shawls.
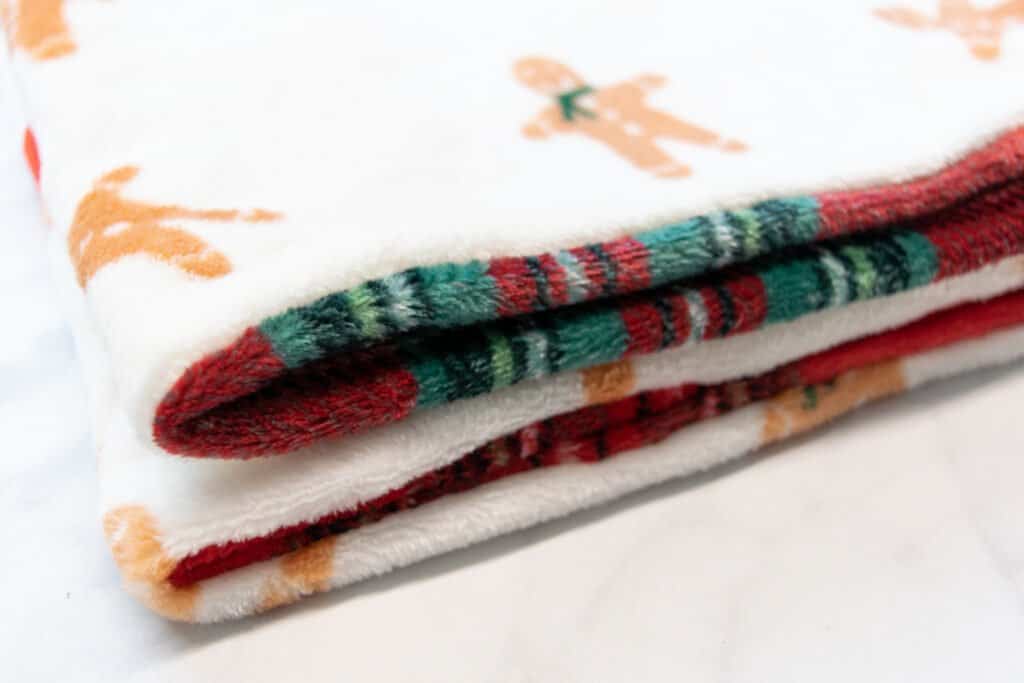
Minky fabric is a knit fabric that has quite a bit of stretch. It also comes in a few different pile lengths, from very short to long and fur-like. In addition, you can find minky fabrics in a range of different colors and prints.
Minky Blanket Sizes
Before starting your minky blanket, you'll need to decide what size you'd like to make. Below, I have included suggested blanket dimensions for several different types of blankets.
The width of minky fabric is usually 60 inches - meaning you can't get a full-size twin, queen, or king blanket out of one cut of fabric. However, a minky blanket is perfect as a throw at the foot of a bed. I've included measurements for a twin, queen, or king throw blanket.
Here are some popular finished blanket sizes you can make with this tutorial as well as the yardage you will need for each size.
| Blanket Type | Blanket Size | Yardage |
| (get this amount of EACH of your 2 fabrics) | ||
| Baby Blanket | 30" x 30" | 1 yard |
| Crib/Lap Blanket | 36" x 50" | 1.25 yard |
| Twin Throw | 50" x 59" | 1.5 yard |
| Queen Throw | 59" x 70" | 2 yards |
| King Throw | 59" x 85" | 2.5 yards |
Tips for Sewing Minky Fabric
Minky fabric can be challenging to sew. It's stretchy and just loves to shift around as you pin and sew.
To help you avoid frustration while sewing your minky blanket, I'm bringing you my top tips for sewing this difficult (but awesome) fabric.
- Keep everything on grain: Try to cut and pin your two pieces of fabric on the same grain as each other. Also, make sure that the grain is running straight either vertically or horizontally across your fabric. Not matching the grainlines, or cutting your fabric crooked, will make it difficult to feed the fabric through your machine straight.
- Use a walking foot: Minky loves to get stretched out. A walking foot helps prevent this by feeding the fabric from above, ensuring the upper layer of fabric moves through at the same rate as the lower layer. If you don't have a walking foot, you can try lowering the presser foot pressure to help the upper layer to glide under the foot more easily.
- Use lots of pins (or clips): This fabric is shifty, especially as it's feeding through the machine. Using a lot of sewing pins or clips to hold the edges together can help you keep the fabric lined up correctly. If you're having trouble with the fabric moving around - add more pins!
- Use a stretch needle: If you're getting skipped stitches, try a stretch needle. It will perform a lot better on stretchy minky fabric than a universal needle.
- Lengthen your stitch: A slightly longer stitch length, around 3 to 3.5mm, works best for minky fabric. Plus, it's easier to unpick those stitches through the fluffy fabric if you end up needing to!
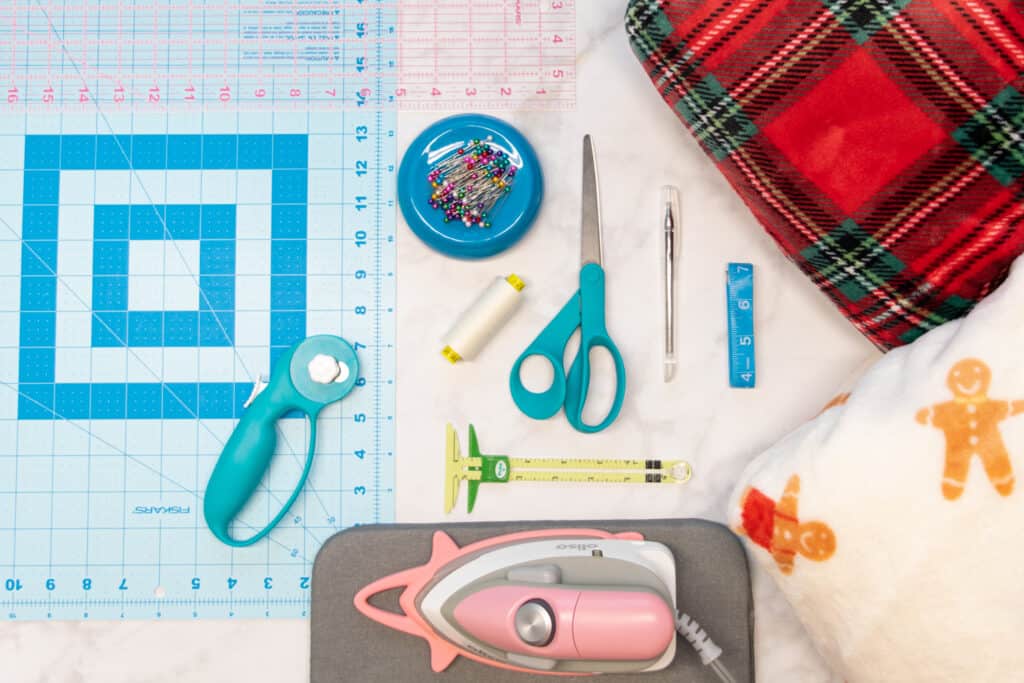
Supplies to Make a Minky Blanket
Here are the supplies you'll need to make your new Minky blanket.
- 2 Colors of Minky Fabric (check yardage chart above)
- Scissors
- Rotary Cutter
- Rotary Cutting Mat
- Thread
- Sewing Pins or Clips
- Measuring Tape
- Sewing Machine
- Sewing Machine Needle
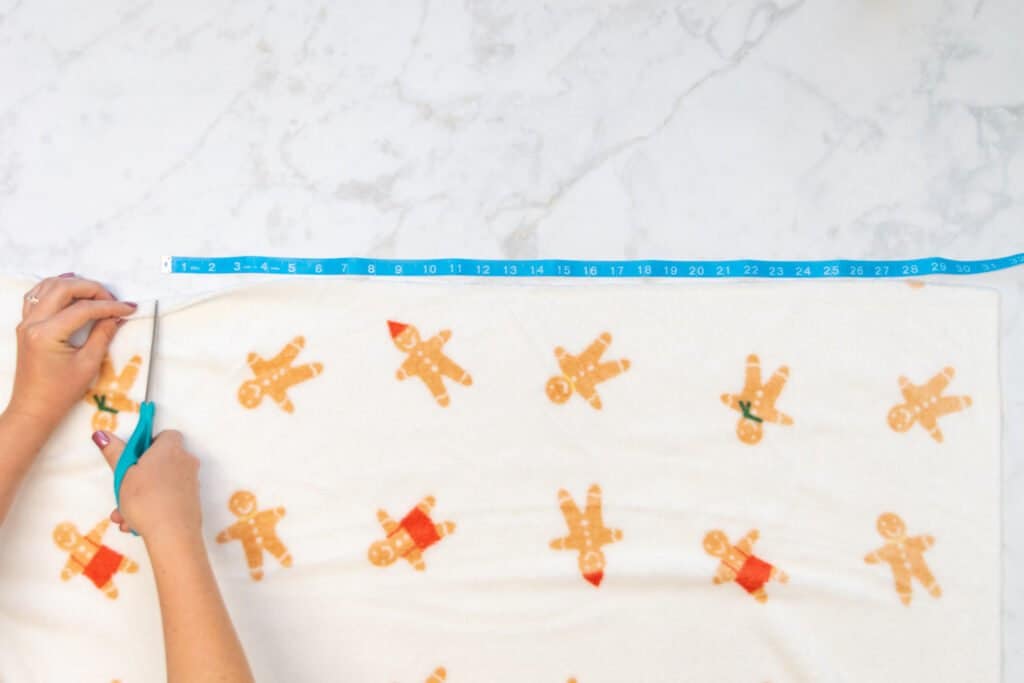
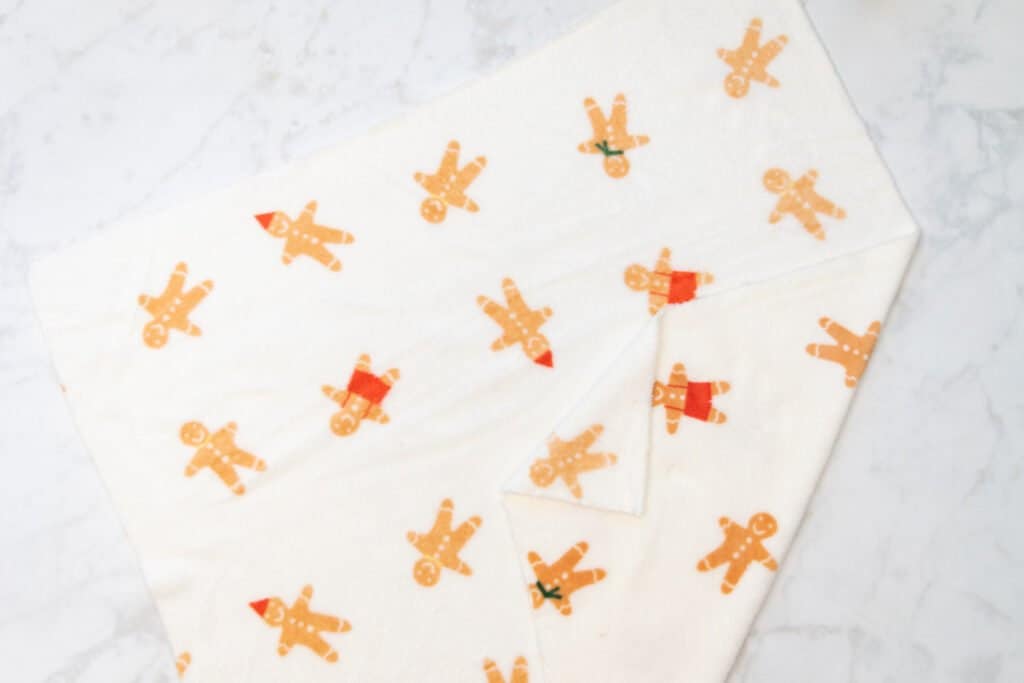
Step 1: Cut Your Fabric
Before you can start sewing the blanket, you'll need to cut your fabric. First, decide what size you want your finished blanket to be. I've listed a few suggested sizes below in case you're unsure what size to make your blanket!
| Blanket Type | Blanket Size |
| Baby Blanket | 30" x 30" |
| Crib/Lap Blanket | 36" x 50" |
| Twin Throw | 50" x 59" (cut at width of fabric) |
| Queen Throw | 59" (cut at width of fabric) x 70" |
| King Throw | 59" (cut at width of fabric) x 85" |
Once you've selected your finished blanket size, cut a rectangle from each fabric that is 1 inch taller and 1 inch wider than your intended finished blanket size.
For example, I made the baby blanket size, which is 30" x 30". So I cut my fabric pieces to 31" x 31".
To make cutting the fabric rectangles easier, I like to find and lay out a corner of my fabric. Then, measure down from the corner to the desired fabric height along one of the two fabric edges. Clip into the fabric at this point.
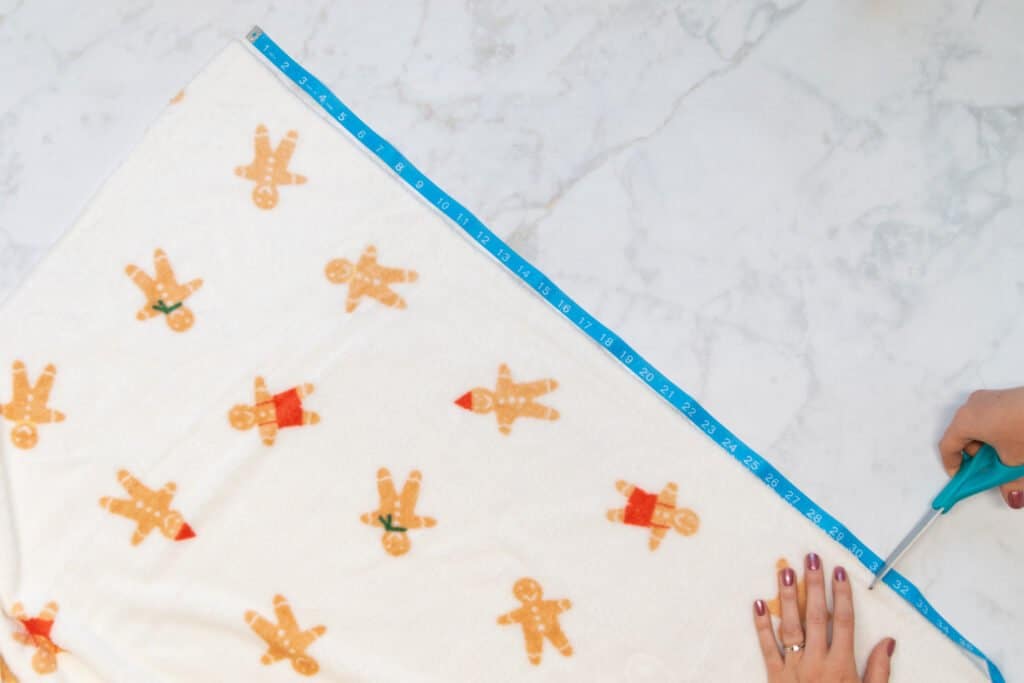
Next, measure over from the corner along the other edge to the desired fabric width. Clip into the fabric at this point.
Then, fold the fabric down so that the edge matches up with your first notch.
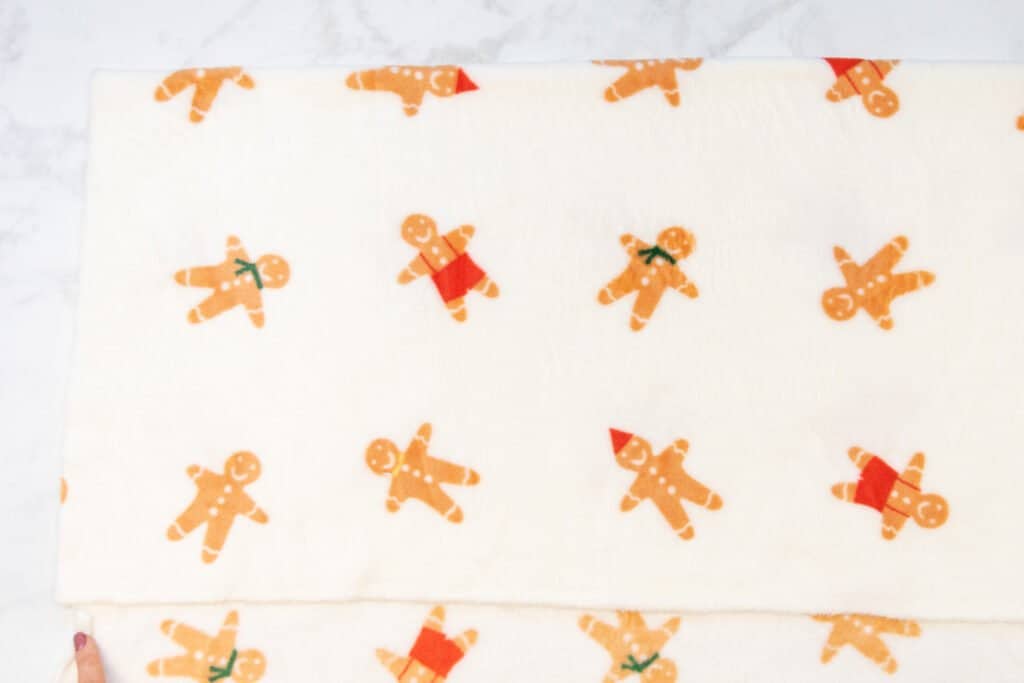
Next, fold the side edge over so that it meets the notch along the folded-down edge. Carefully make sure all the fabric edges are aligned.
Finally, cut along the two interior folded edges to free the folded-up corner from the rest of the fabric.
Once unfolded, you'll have a square or rectangle of fabric in your desired dimensions!
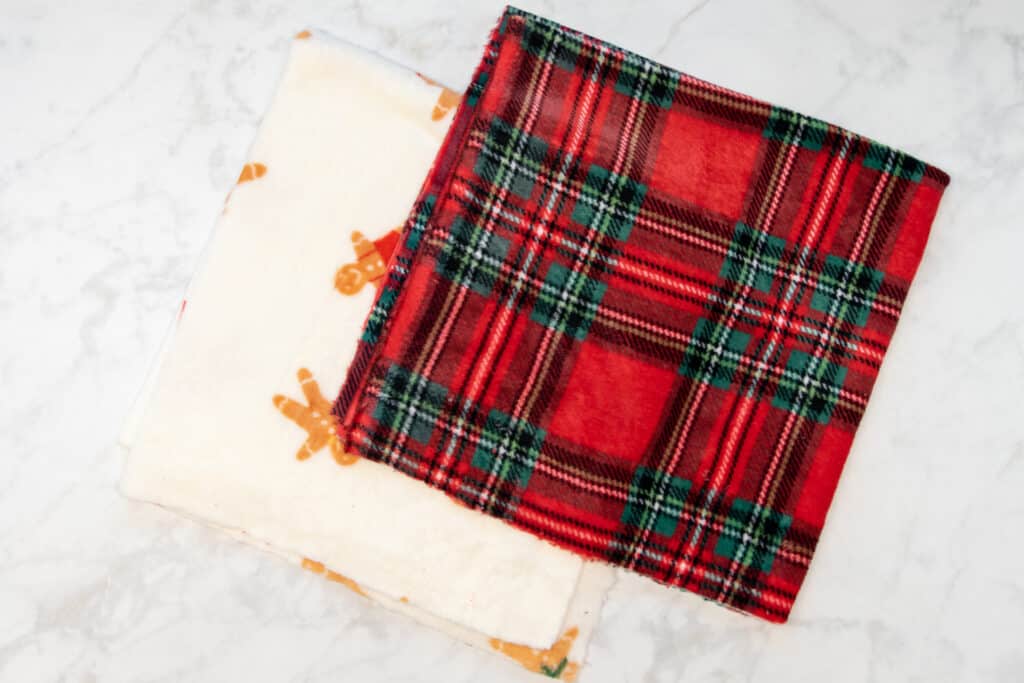
Repeat this process to cut a matching rectangle from your other color of fabric.
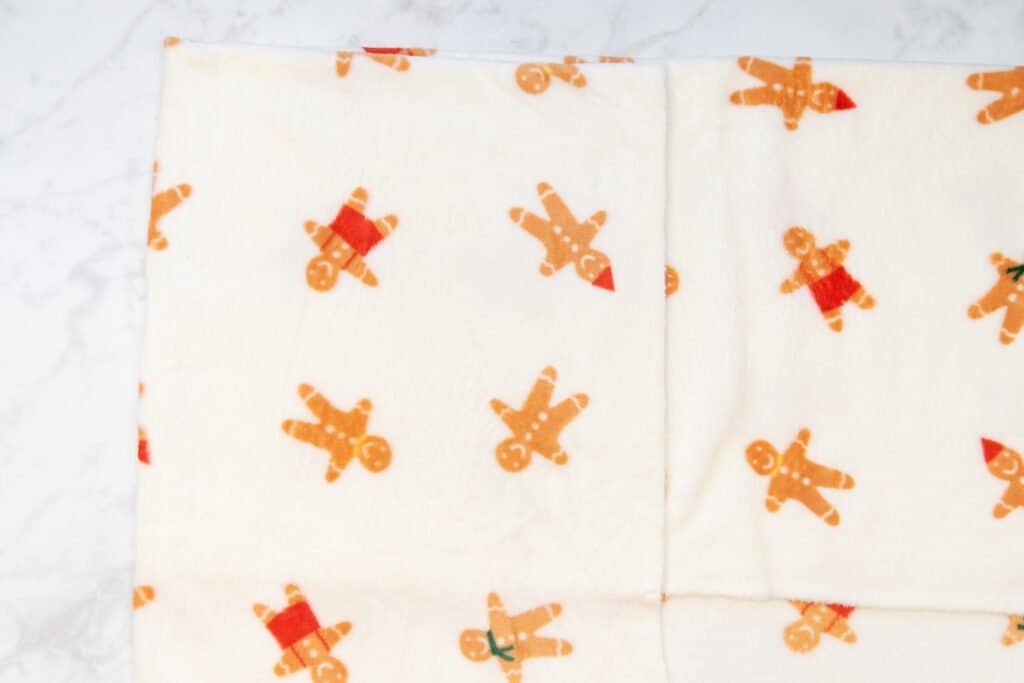
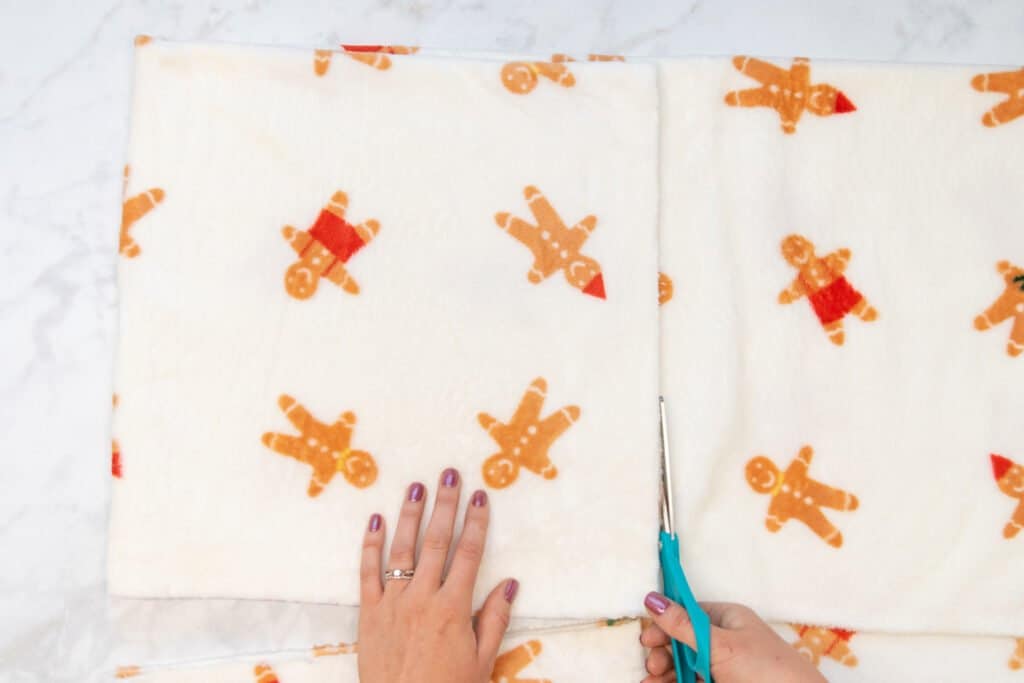
Step 2: Pin the Layers Together
Once your pieces are cut out, it's time to pin them together.
First, lay one of your fabric rectangles out with the right side facing up.

Then, place the other piece on top of it with the right side facing down. Smooth out the two pieces of fabric and align the edges as best you can. Cutting minky accurately is very difficult, so don't worry if not all the edges line up perfectly. Just get the fabric flat!
*PRO TIP: Make sure that your two pieces of fabric are aligned with the grainlines running in the same direction! This will help the fabric to move through your sewing machine more evenly.
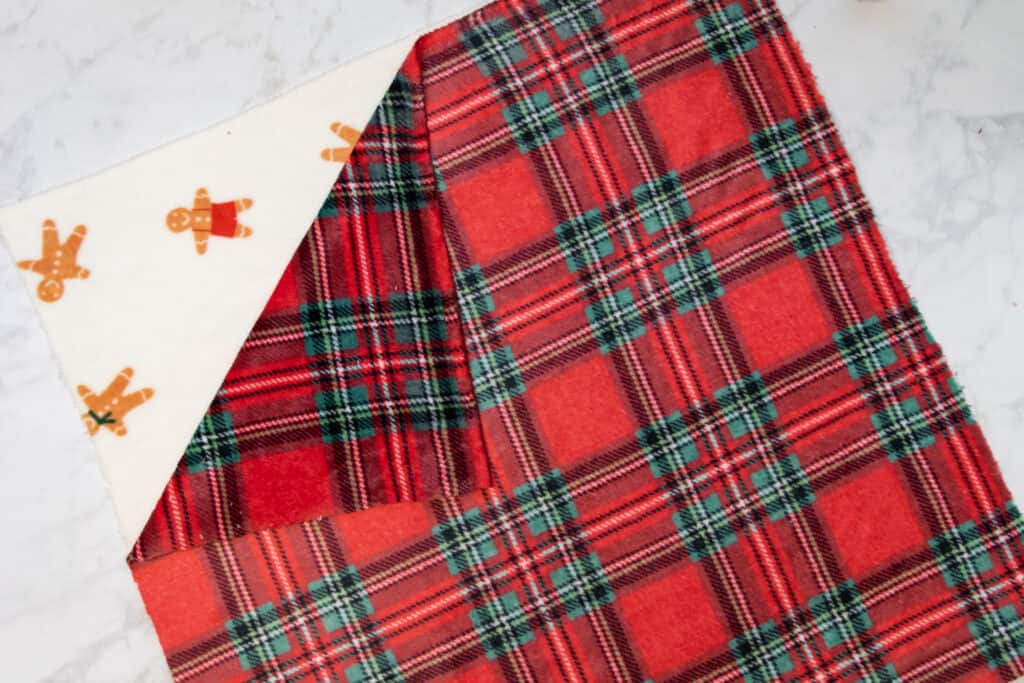
Next, pin the two pieces of fabric together around all 4 edges. Make sure to use lots of pins to keep the fabric from shifting around on you!
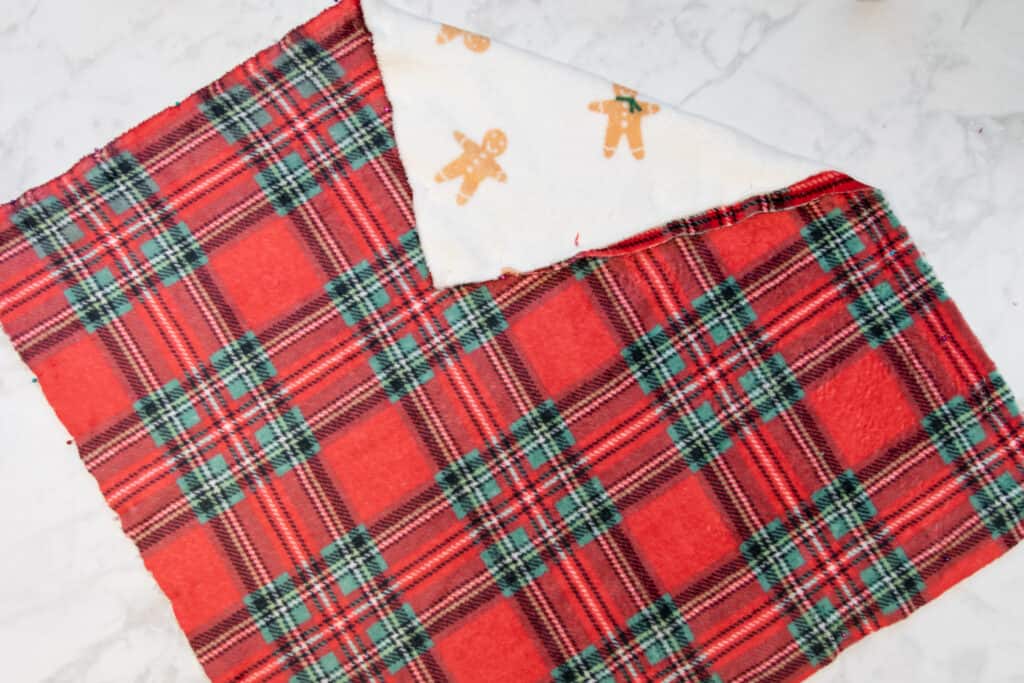
Once pinned, you'll probably find that some of the edges don't exactly line up. And that's OK! Simply trim down the edges of your two fabrics so that they match.
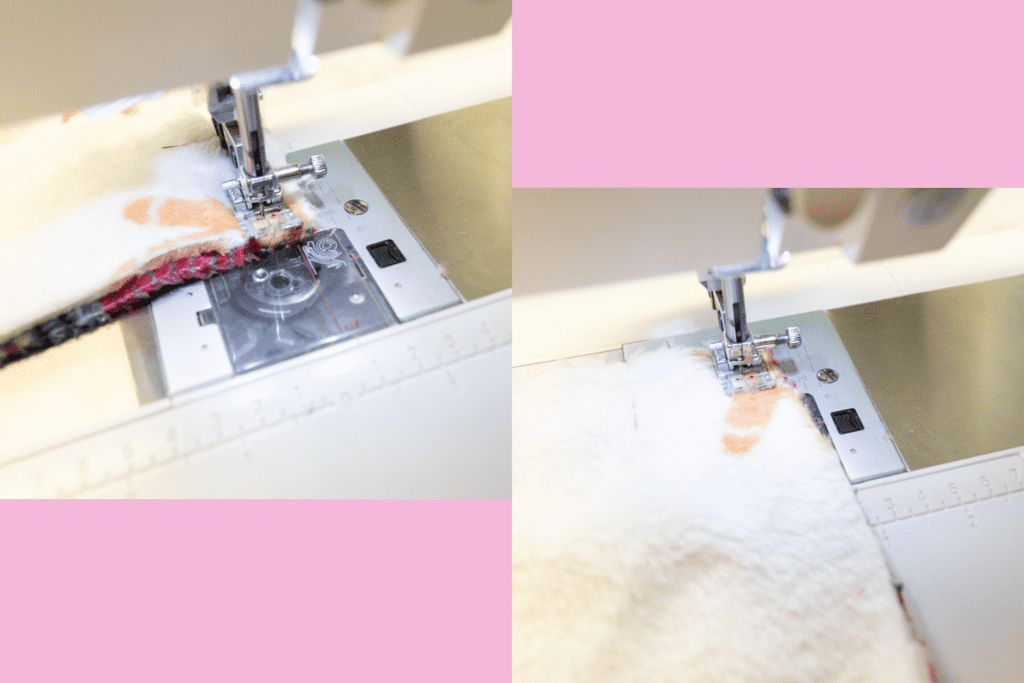
Step 3: Stitch the Blanket
With your fabric pinned, you can pull out that sewing machine and start sewing!
Stitch around all 4 edges with a 1/2 inch seam allowance, leaving a 4 to 5 inch opening in one of the edges. Don't forget to backstitch at the beginning and end!
Rotating around the corners as you sew will help you get nice, sharp corners. To do this, stop sewing when you reach 1/2 inch from the edge of the first corner.
Then, lift the presser foot and rotate the fabric 90 degrees so that the next straight edge is in front of the presser foot. Put the presser foot back down and continue sewing the next edge. Repeat at each of the remaining 3 corners.
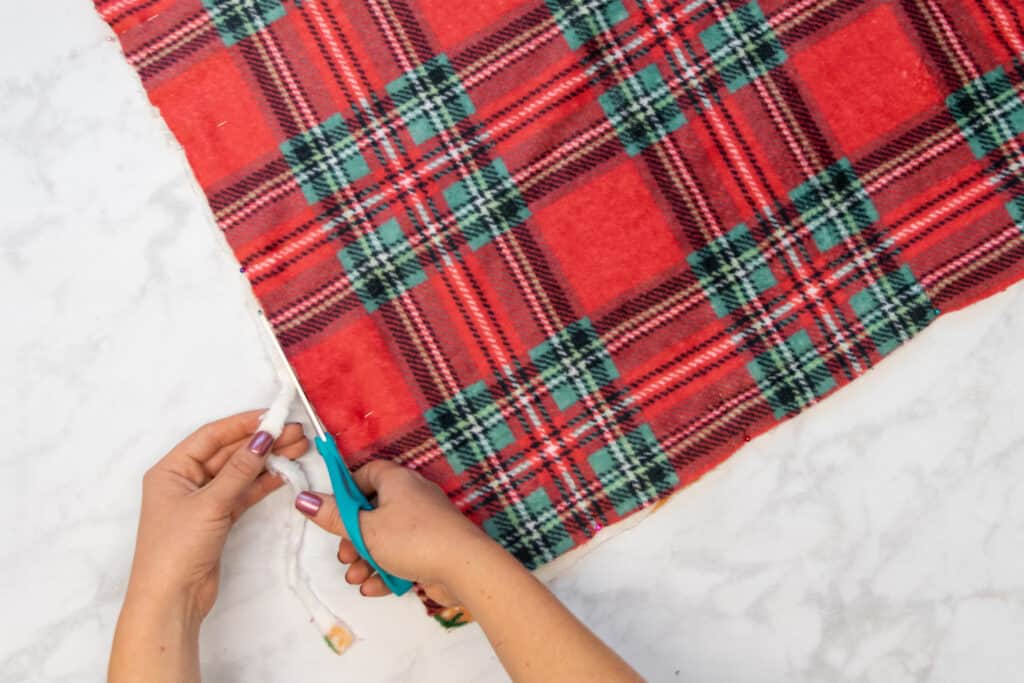
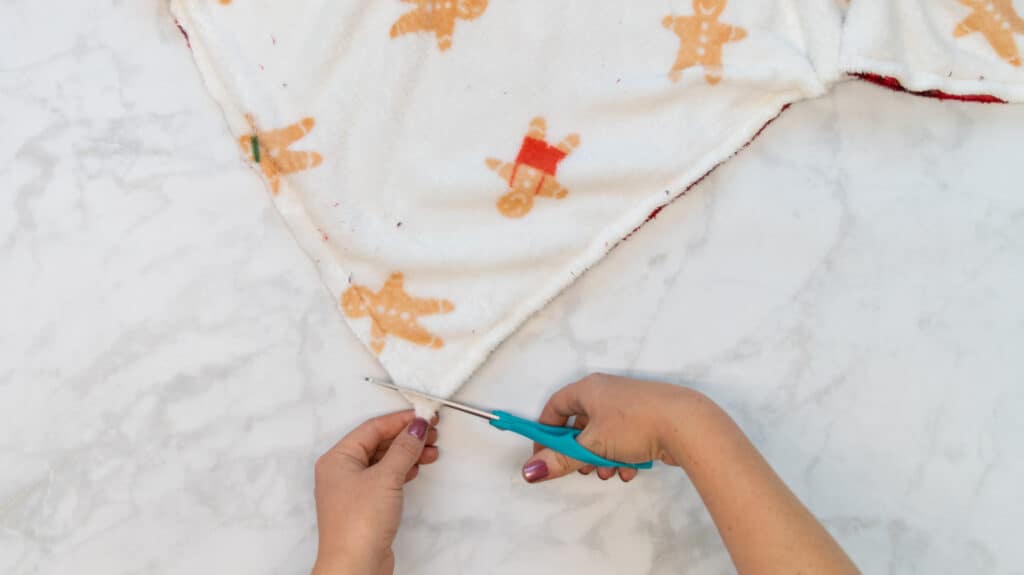
Once the blanket has been stitched, trim away each of the 4 corners from the seam allowance. This will help you to get 90-degree corners once the blanket is turned right sides out. Just be careful not to cut into your stitching!
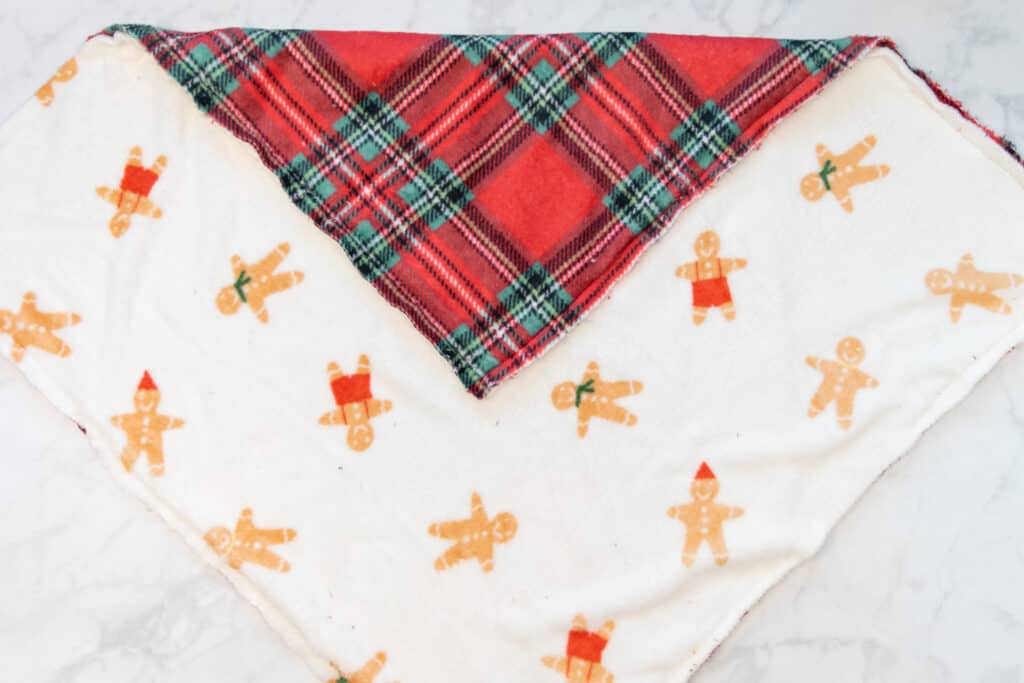
Step 4: Turn and Finish Your Minky Blanket
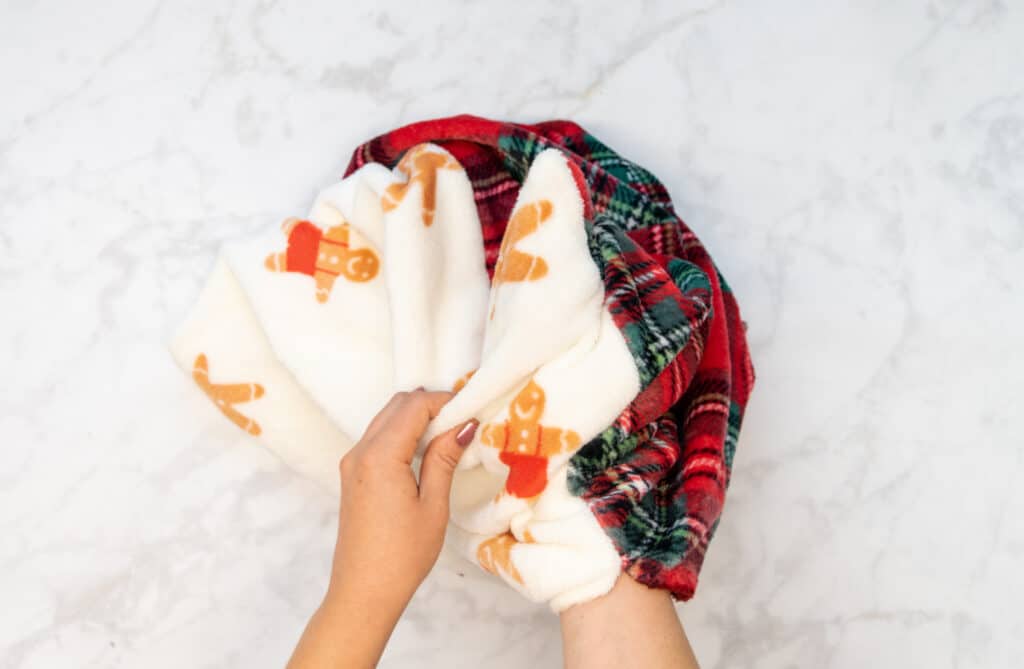
Next, turn the blanket right sides out through the opening you left in the seam.
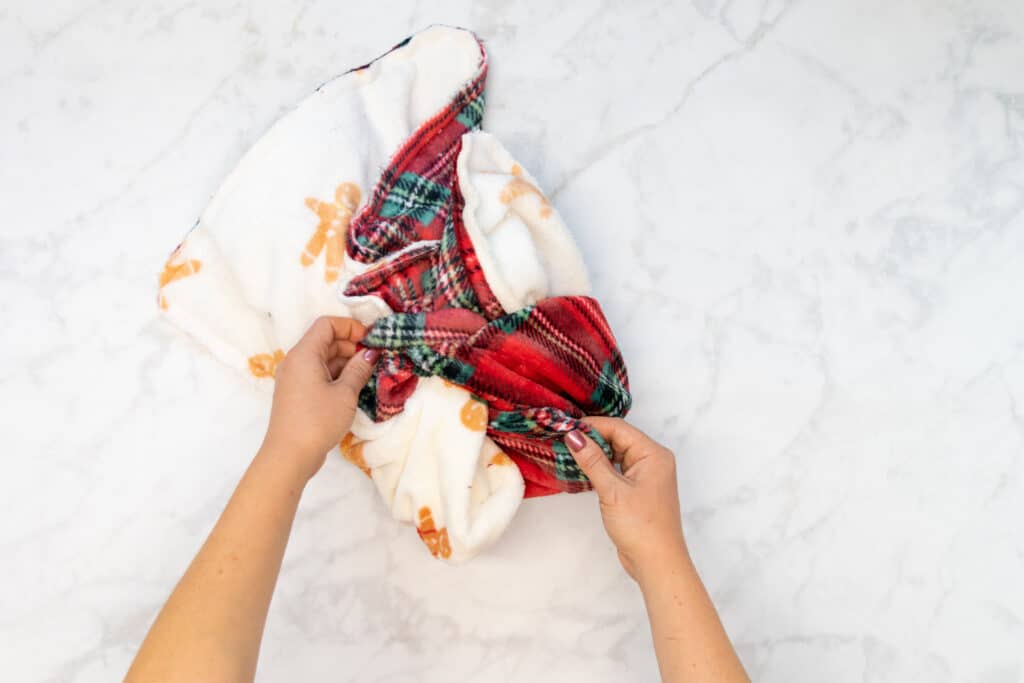
Push each corner out with your fingers to get square corners.
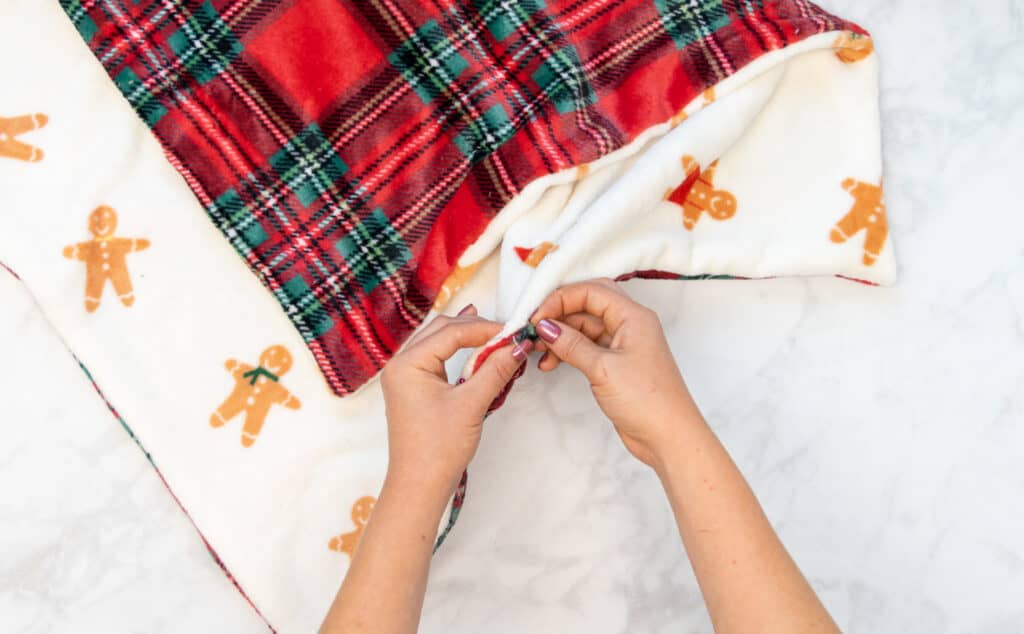
Once turned, pin the opening closed, pushing the raw edges to the inside of the blanket.
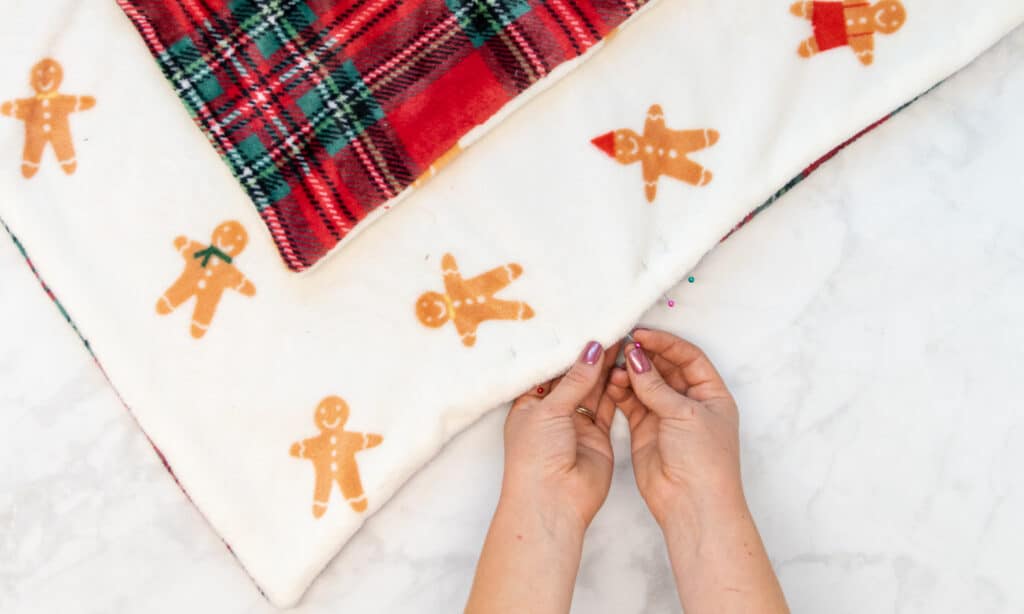
Finally, use a ladder stitch to hand sew the opening closed. If you're unsure how to sew a ladder stitch, check out this tutorial: How to Sew an Invisible Stitch.
Congrats! Your new cuddly minky blanket is finished. Grab that mug of hot cocoa and cozy up with your handmade blanket!
Did you sew up your own minky blanket? Share a photo on Instagram with the hashtag #sweetredpoppy. I would love to see how yours turned out!
Looking for more holiday sewing projects?
- Free Half Apron Sewing Pattern
- Reusable Gift Baskets
- Flannel & Fur Blanket Tutorial
- How to Sew an Advent Calendar
Don't forget to join my Facebook group where you can show us what you're making, ask questions, and learn from others.
Pin this project to Pinterest so you can come back to it later by clicking HERE!
These are some super cute blankets
I like how you made these blanket they are nice thanks for sharing
You keep referring to "keeping your grainlines straight/together" but I think sometimes you mean "nap" instead? Grainlines are the lengthwise or widthwise threads of your fabric. Nap is the directionality of the pile; when you run your hand down, does it smooth down flat or does it try to stand up under your hand? When you pin napped fabrics together, you want the fuzzy part of both sides to run the same direction. That will help keep one side from creeping against the other!
I always go into Joanns and feel the minky while I am in there but never felt confident enough to try it. Watching you video and instructions makes me want to give it a try. Thanks for the instructions.
After sewing the front and back together, wouldn't they shift, making the blanket all wonky, when you're using it? If the Minky is so soft and stretchy, it seems that the two pieces would then shift against each other when using the blanket, or when you wash it, it would come out of the washer/dryer all contorted. I would add in ties to hold the two pieces together, to prevent shifting... And with the fabric choice that you used, ties on the Gingerbread men would be really cute!
I agree with you. I have a minky/flannel blanket sewn together and I can't decide how to hold the two pieces together so it doesn't get all wonky when it is washed and dried. I thought about ties, but I wonder if it will be hard to get a needle through both fabrics. I love the softness of the minky!
I love making blankets for gifts!
Wow.. I'll have to try this! Very cute!
These blankets look soft! I want one!
Thanks, I have pieces of fleece from project. Good way to clear my fabric pile.
It’s been fun! GLTA,
This fabric looks like flannel not minky.
I have found using 501 spray helps a lot to hold the two fabrics together when I’m stitching them together. Just spray the wrong side of the top fabric and lay it down onto the other piece of fabric before stitching the two together.
Also when you wash your blanket never use fabric softeners in the washer or dryer and wash and dry on cold.