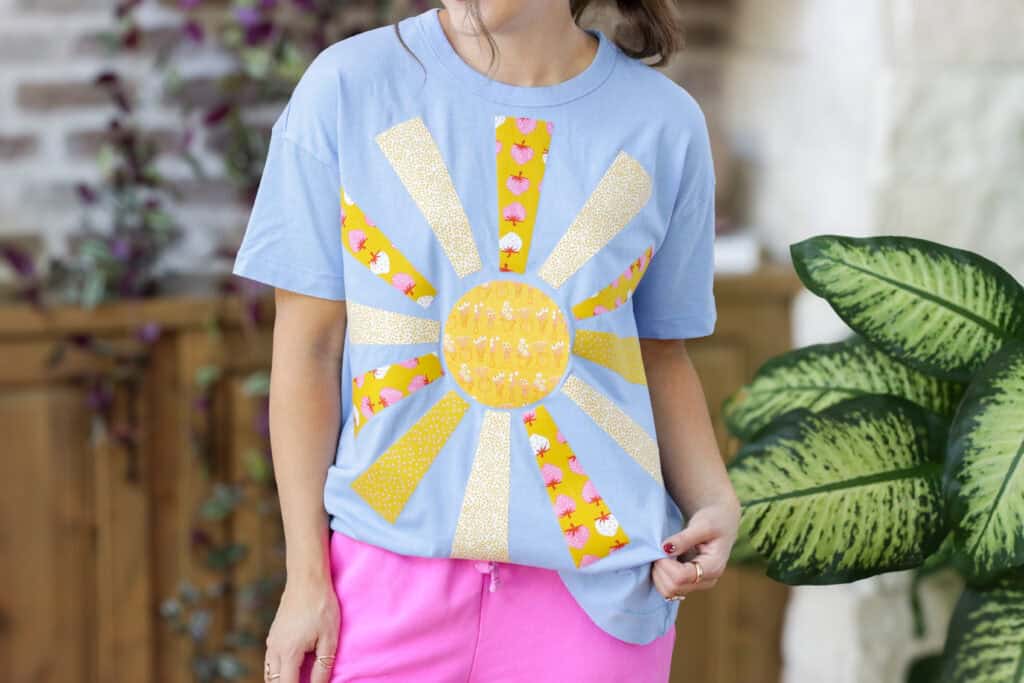
Learn How to Create No-Sew Appliqués to Easily Dress Up Your DIY Wardrobe with a Cricut Machine.
When it comes to fashion, appliqué is everywhere right now! Big brands are selling sweatshirts, totes, and even denim with patchwork-style designs. Instead of paying $80 for one piece, you can make your own at home with fabric scraps and your Cricut machine.
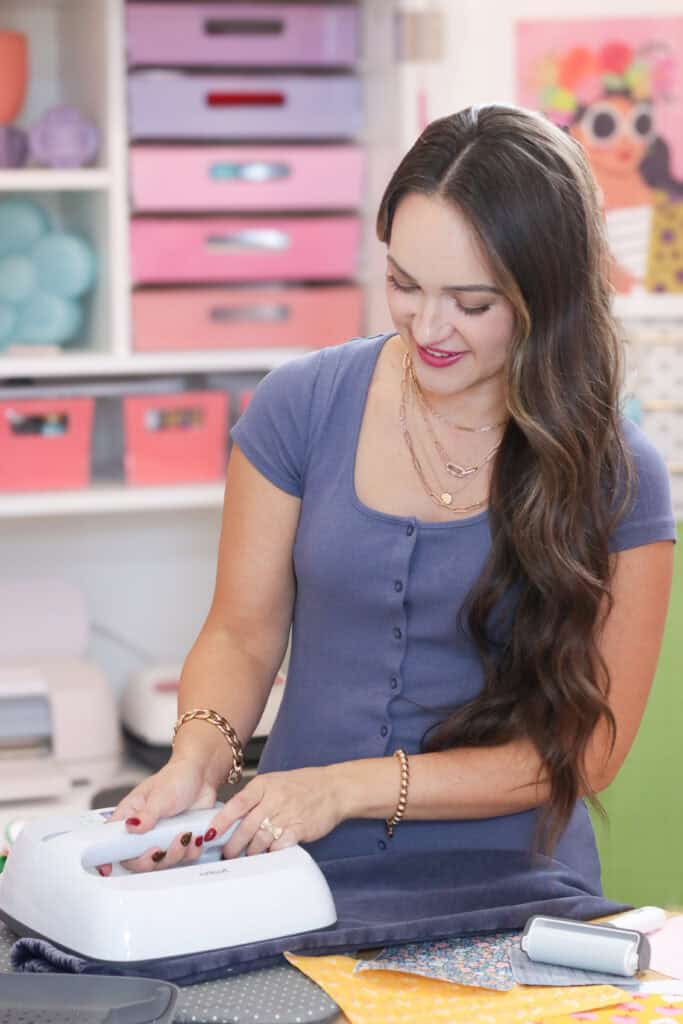
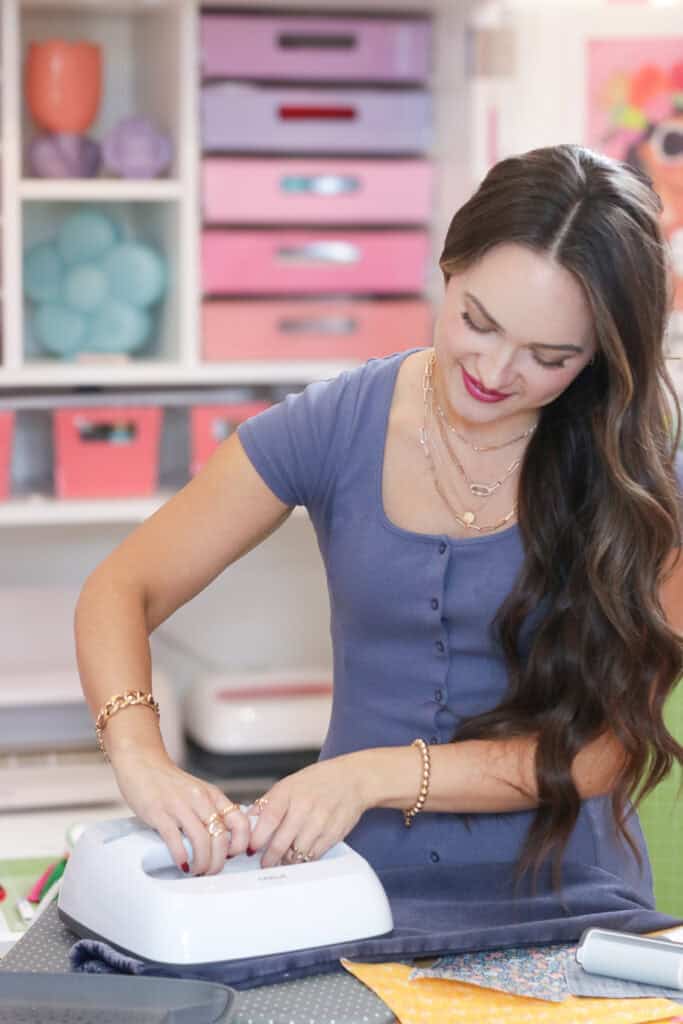
I’m going to show you how to DIY it using my Cricut Explore 4 and the Cricut EasyPress 3. It’s so simple, and you can create custom looks for under $5!

There are countless methods to create appliquéd designs. You can stitch the fabric directly to your clothing, or if you don’t have access to a sewing machine you can easily turn this into a no-sew project instead. In today’s tutorial I’ll be demonstrating the no-sew method. And here’s the best part, you can make a no-sew appliqué with your Cricut (or an iron) for under $5!
I will be creating a project using a no-sew appliqué technique with Heat n Bond Ultra Hold, scraps of fabric, a Cricut machine, and my favorite Cricut Heat Press to make the cutting and applying process extra easy.

Throughout this post, I'll also share what appliqué is, how to bond fabric, helpful techniques and methods for the best results, and how to cut by hand or with a Cricut cutting machine.
This is such a great project to make if you love the patchwork look or if you have scraps of fabric lying around that you’ve been wanting to use. So, without further ado, let's get started!
Don't want to forget about this project and save it for later? Save it here!
What is Appliqué?
Appliqué is just a fun way of adding smaller fabric pieces onto a bigger piece of fabric to make shapes, patterns, or unique designs. Think of it kind of like decorating with fabric! You’ll often see this used on quilts, but it’s a great technique for all sorts of creative projects.
What is Bonded Fabric?
Bonded fabric is created when an adhesive backing is added to a piece of fabric using fusible adhesive sheets. This not only stiffens the fabric (making it easier to cut) but also allows it to be ironed/adhered to another piece of fabric.
Think of it like creating a sticker. When the bonded fabric has been ironed to another, there's no need for pins or stiches; it's stuck onto your fabric just like a sticker! You can choose to sew the piece of fabric into place or leave it be, depending on the adhesive you have chosen. Bonded fabric makes sewing projects, such as quilting, embroidery, and appliqué, so much easier!

Heat n Bond Iron-On Adhesive Sheets
There are two types of Heat n Bond adhesive sheets: Sewable and No-Sew. If you plan to adhere the fabric to another fabric without worrying about sewing, the No-Sew Heat 'n Bond Ultra Hold is for you. However, if you plan to sew while keeping the fabric in place, Heat n Bond Lite will do the trick! It's also a great option if you want to add hand embroidery to your design.
Table of Contents
How to Bond Fabric
You can bond fabric by applying iron-on adhesive sheets to the back of your fabric piece. I used HeatnBond Lite Sewable and Ultra Hold No-Sew adhesive sheets, which I bought from my local craft store.
First, cut the adhesive sheet a little smaller than the piece of fabric you're bonding. This is to prevent the adhesive from melting onto your work surface. Next, apply the sheet to the wrong side of your fabric, rough side facing down.
Now, it's time to iron. Set your EasyPress to 315 degrees or your iron to medium heat. While it's preheating, grab some freezer paper and place it on top of the fabric to prevent adhesive from getting on your iron.
Finally, iron the adhesive to your fabric. It only takes a couple of seconds.
**Heating and application directions may vary depending on the adhesive sheets or interfacing you have. Be sure to follow the directions provided on the back of the product.**
Recommended Fusible Interfacing
- Heat & Bond Lite Sewable
- Heat & Bond Ultra Hold No-Sew
- Pellon Wonderweb
Tip: If you want to make fabric stiffer, use fusible interfacing; If you just want to appliqué, use Heat & Bond Iron-on adhesive sheets.
How to Cut Bonded Fabric
Bonded fabric can be cut by hand or with a Cricut cutting machine. If you're cutting by hand, you can print out any image you would like to use as a template and draw it onto your bonded piece of fabric using a washable fabric pen. Then, cut the shapes out with a pair of fabric scissors.
I cover how to cut bonded fabric with your Cricut machine in step four below.
Which Cricut Machines Can Cut Bonded Fabric?
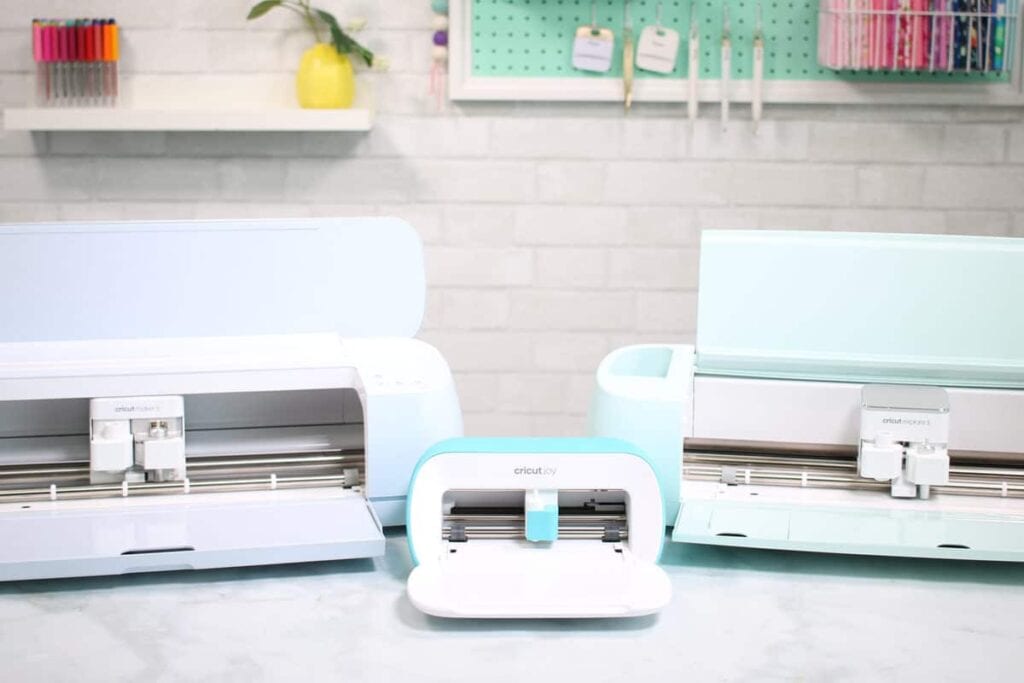
The Explore series, Makers, and even the Cricut Joy can cut bonded fabric with any interfacing applied! However, they still have their differences. Let’s go over the differences down below!
Cricut Maker VS Explore Series Cutting Fabric
Cricut Maker can cut fabric without bonding with the rotary blade inserted. However, the Cricut Explore series can only cut bonded fabric.
The Cricut Maker series has the ability to cut a variety of fabrics with a rotary blade. To name a few popular materials is cotton, chiffon, denim, knit, leather, and even silk. But keep in mind that the rotary blade is best when paired with larger, less intricate designs. If you're planning to cut smaller, more detailed designs, the fine-point blade is ideal.
All Cricut machines can cut bonded fabric with a fine-point blade installed, but to differentiate the fine-point blade you use to cut fabric, Cricut makes a “Bonded Fabric Blade” that is a fine-point blade, but with a pink housing. This is to prevent you from accidentally using your "fabric" blade on paper, which will dull your blade.
If using a rotary blade with your Cricut Maker, it's recommended to use the pink Cricut Fabric Mat when cutting.
What Projects Can Be Made with Bonded Fabric?
There are endless possibilities when it comes to making projects with bonded fabric. Here’s a list of project ideas you can use to get inspired:

- Appliqué Embroidery on Fabric Bases
- Travel Bags
- Patchwork T-Shirts
- Patchwork Denim Pants
- Patchwork Sweaters
- Wall Decor
- Hand-Cut Iron-On Designs
- Quilts
Design Ideas
If you’re not sure what you want your appliqué to look like, try searching your favorite clothing brand for 'embroidered' or 'Y2K appliqué' to see what comes up and use it as inspiration.
Pinterest also has a lot of inspo when it comes to patchwork clothing designs. You can search for trending outfits with patchwork elements or scroll through to see what piques your interest.
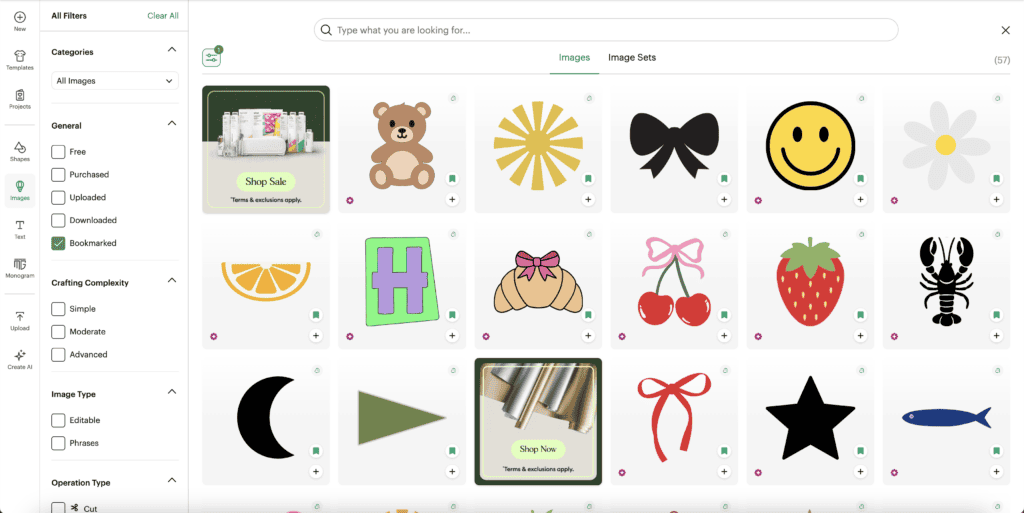
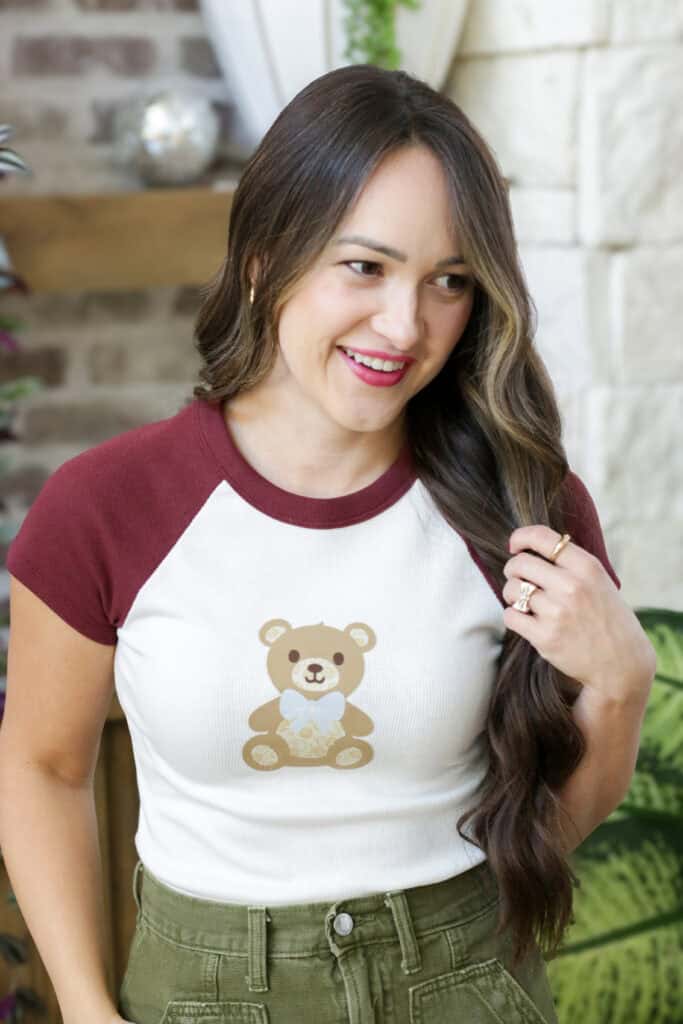
For example, I’m seeing a lot of summer-inspired designs like lobsters, fruits, beach landscapes, teddy bears, and cute bows and stars.
A fun idea is to try mixing and matching bonded fabric designs like these with embroidered accents to make your appliqué pop!
Also, you can use quilting textiles like the ones I've made in the past here, here, and here, and incorporate them into your designs.
Supplies Used
This is a list of all the supplies I used to make my appliqué designs.
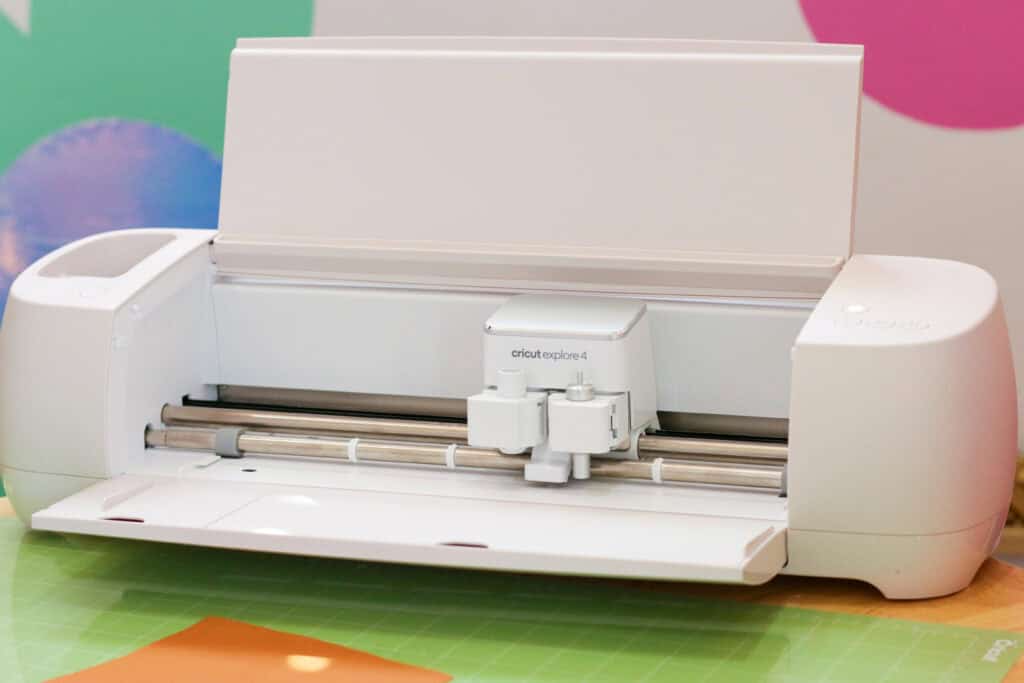
- Cricut Maker, Explore, Xtra, or Joy- I'm using the Cricut Explore 4
- Cricut EasyPress or Iron
- Rotary Blade or Fine-Point Blade (I prefer the Fine-Point blade)
- Heat n Bond No-Sew Ultra Hold Adhesive Sheets or other Fusible Interfacing
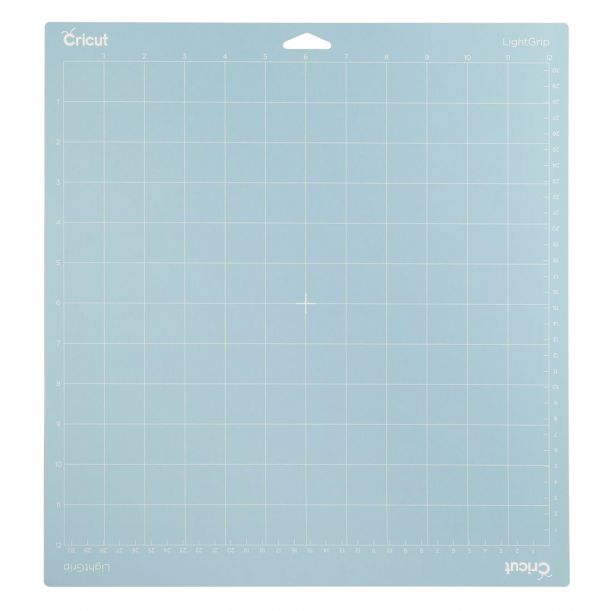
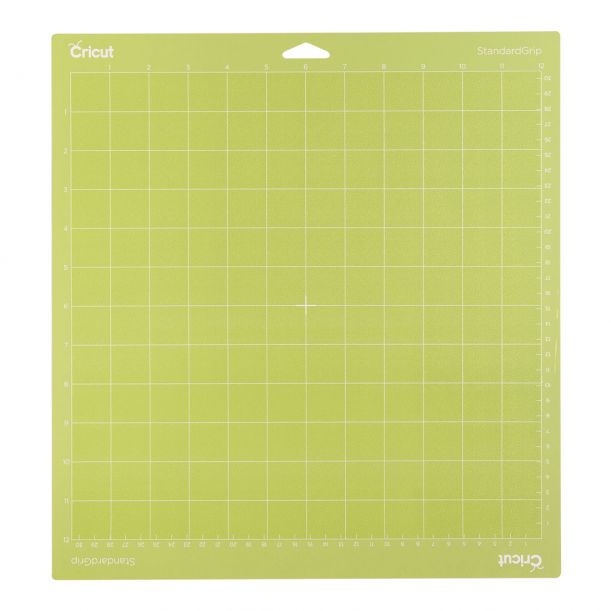
- 12 x 24-Inch Cricut Mat- StandardGrip, LightGrip, or a Fabric Mat (if using a rotary blade)
- Brayer
- Tweezers
- Fabric Scissors or Rotary Cutter
- Thread Snips
(Optional) If Embroidering:
- Tropical Collection DMC Yarn (I used this extra thick yarn for a fun pop of color and extra weight)
- No.1-5 DMC Embroidery Needles
- No.14-18 Needles
- Loops & Threads 10-Inch Bamboo Hoop
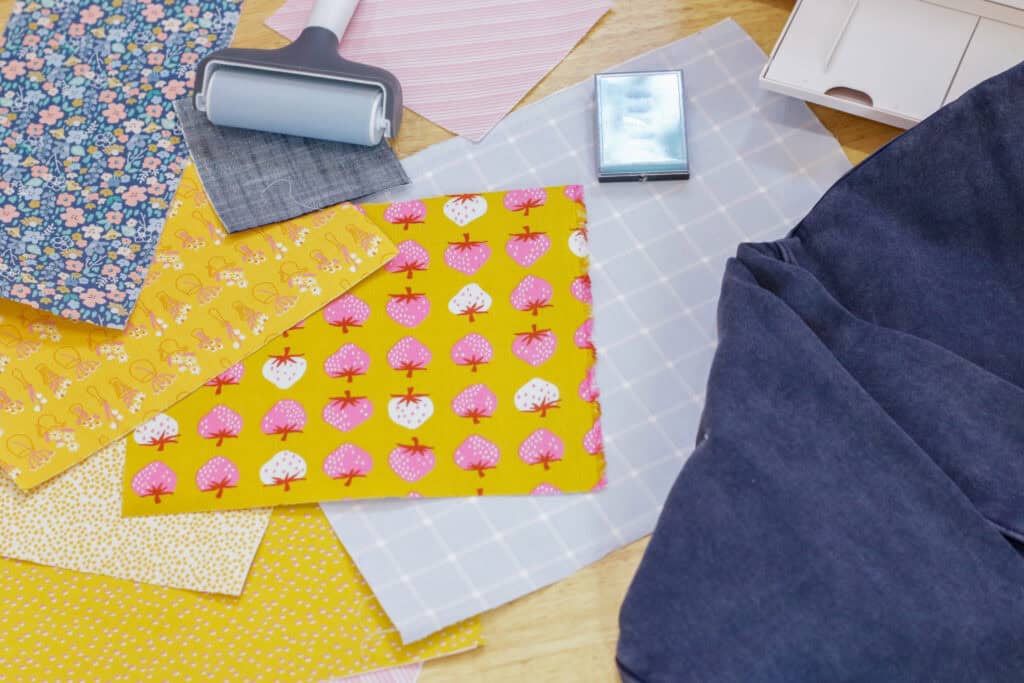
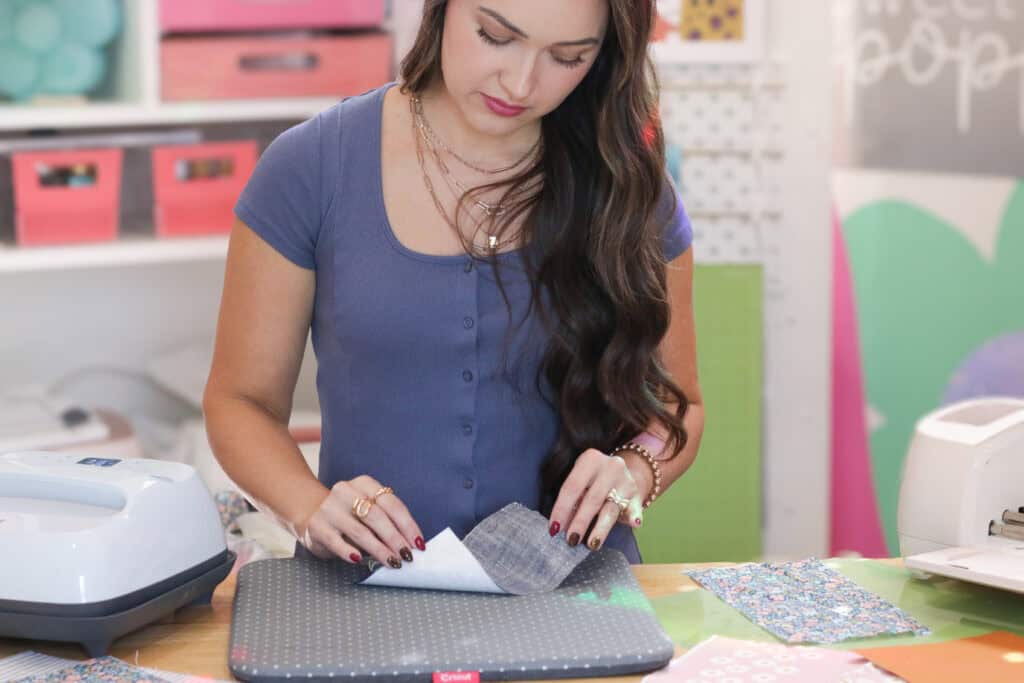
Step One: Iron Fabric
Lay the fabric face down in front of you on top of a pressing mat and press the fabric to remove any creases.
PRO TIP: Fold your base in half vertically and horizontally and press with your iron. You can use the guidelines to help you center your design on your base later on.
Step Two: Cut Adhesive Sheets
The next step is to cut the interfacing just slightly smaller than your piece of fabric. Place the adhesive on the back of your fabric (paper liner face-up). The rough side is the adhesive that's heat-activated, and it should be facing towards the wrong side of the fabric.
Step Three: Iron Interfacing
I'm using my Cricut Easy Press to iron my pieces because of how it covers most of the surface that needs to be ironed, making it fast and efficient.
Set your iron to medium heat and iron the adhesive sheet to the wrong side of your fabric for 2 seconds in each area until the entire surface has been ironed. Allow it to completely cool. Make sure to leave the paper backing in place! This helps to stabilize the fabric and makes it easier for the Cricut machine to cut through it in the next step.
When applying my smaller appliqués around the bigger designs, I used my Cricut mini to iron them.
Tip: You can use freezer paper to protect your iron from getting any residue by placing it shiny side down on the back of the fabric.
Step Four: Cut Bonded Fabric
After ironing, cut away the excess fabric around the adhesive with some fabric scissors.
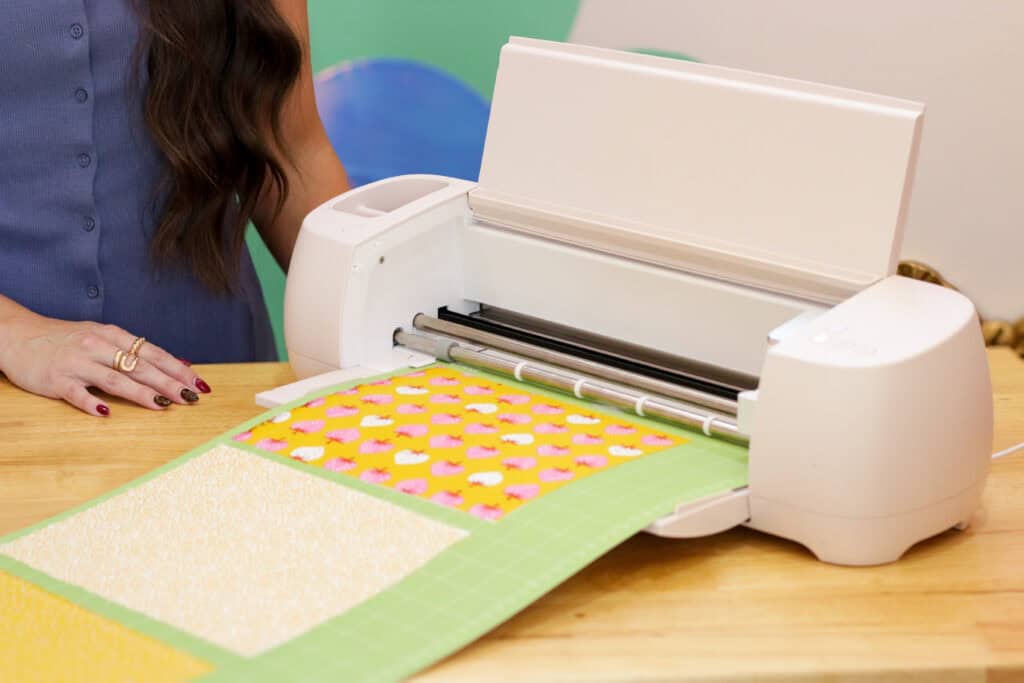
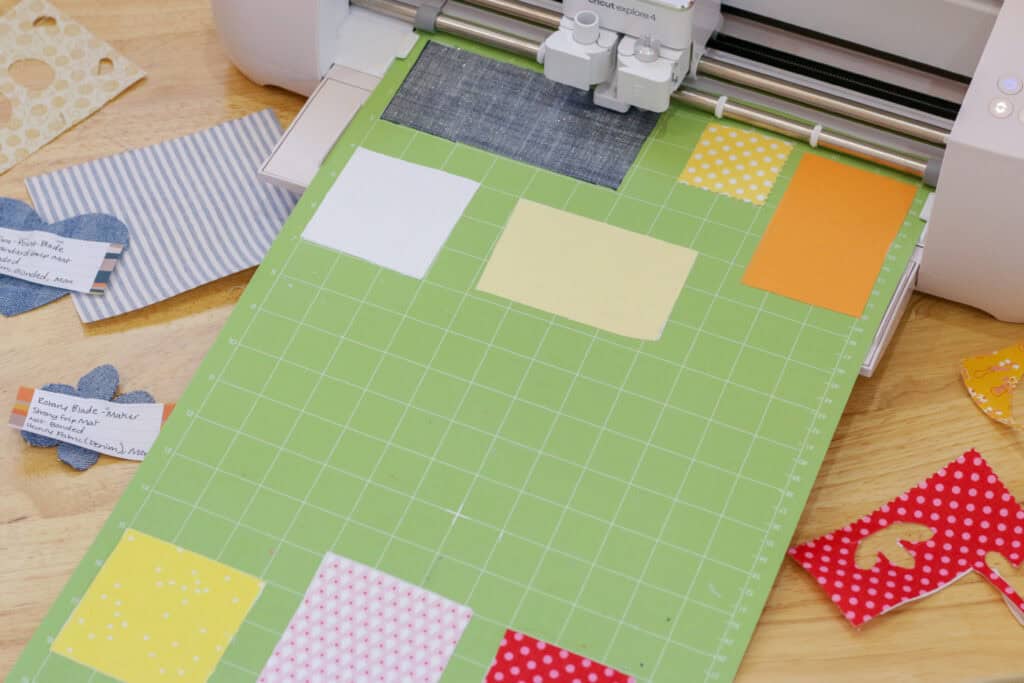
To cut with your Cricut machine, you'll need a Cricut mat, a Fine-Point Blade, and Cricut Design Space installed on your device. In Cricut Design Space, select a shape you want to cut, click "Make," select your mat size, and the machine you're using.

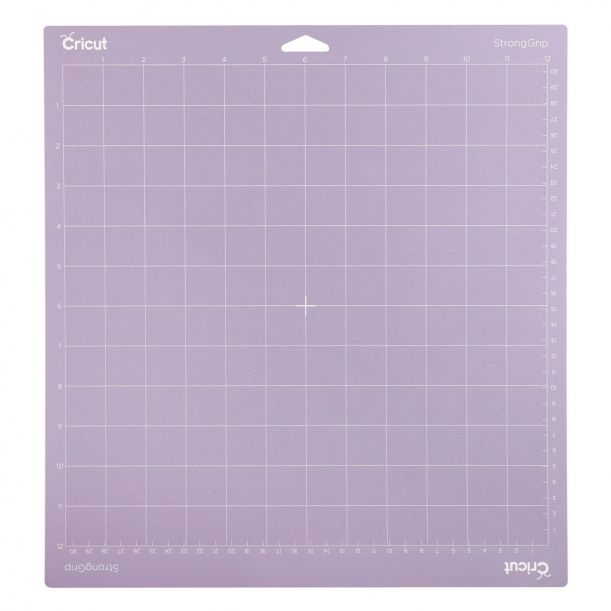
The Cricut StandardGrip mat, LightGrip mat, and Fabric mat all work great with bonded fabric. If you're using a heavier fabric like denim, use the StrongGrip mat.
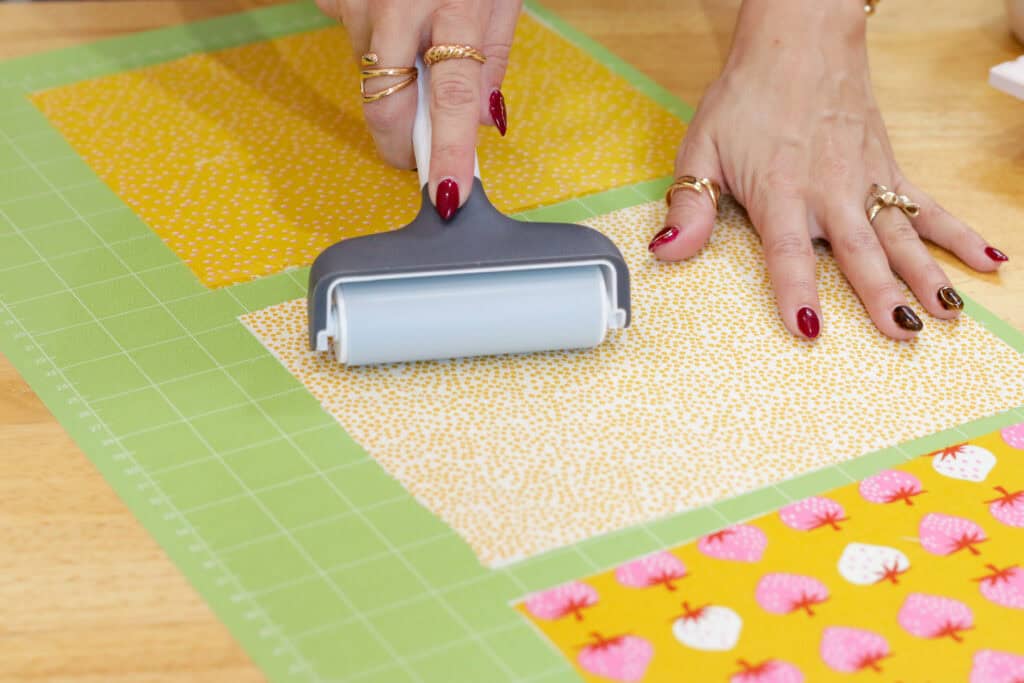
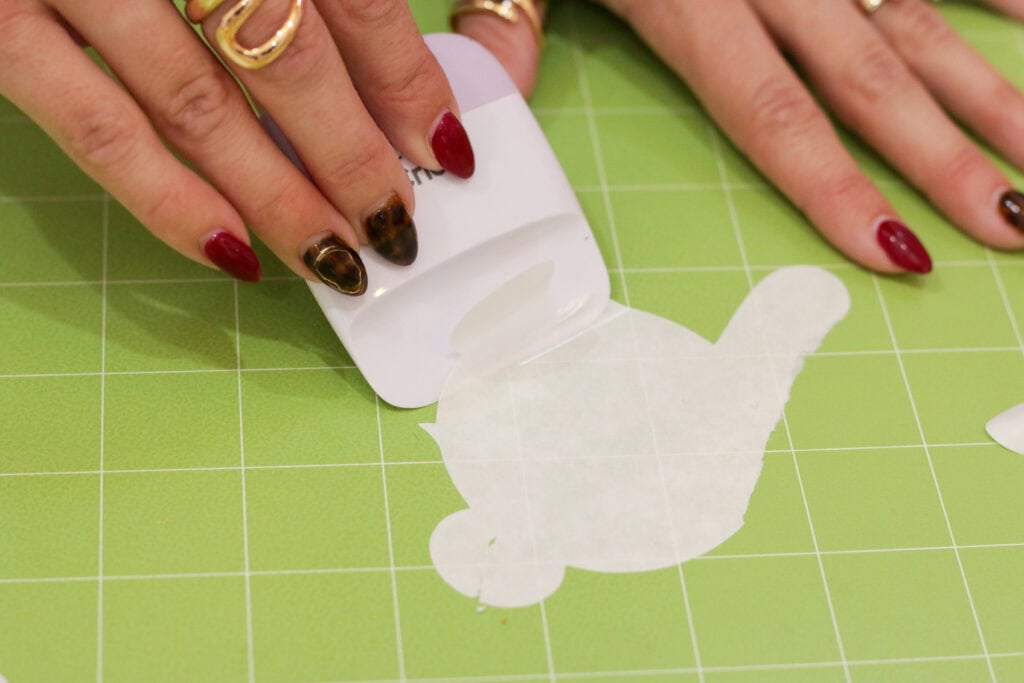
Place the bonded fabric onto a Cricut mat, bonded side down, using a Brayer tool with or without the paper liner.
If you're placing your fabric bonded side up, make sure to mirror your design in Design Space. Since I'm placing mine bonded side down, I'll turn Mirror off.

Tip: Placing it bonded side down had cleaner cuts compared to placing it bonded side up. Placing it bonded side lead to more frayed cuts, which may be the technique to use if you want a fringed look down the line.
Set your material to "Cotton, Bonded" and under "Pressure," select "More" from the drop-down menu. Load the mat into your machine, and start cutting. If you're using an Explore Air 2, you can set the dial to Bonded Fabric.
There are also many other options if you search "Bonded" in the All Materials window. If you're using a fabric that's heavier than cotton, be sure to select the fabric option that's most similar in weight to your fabric.

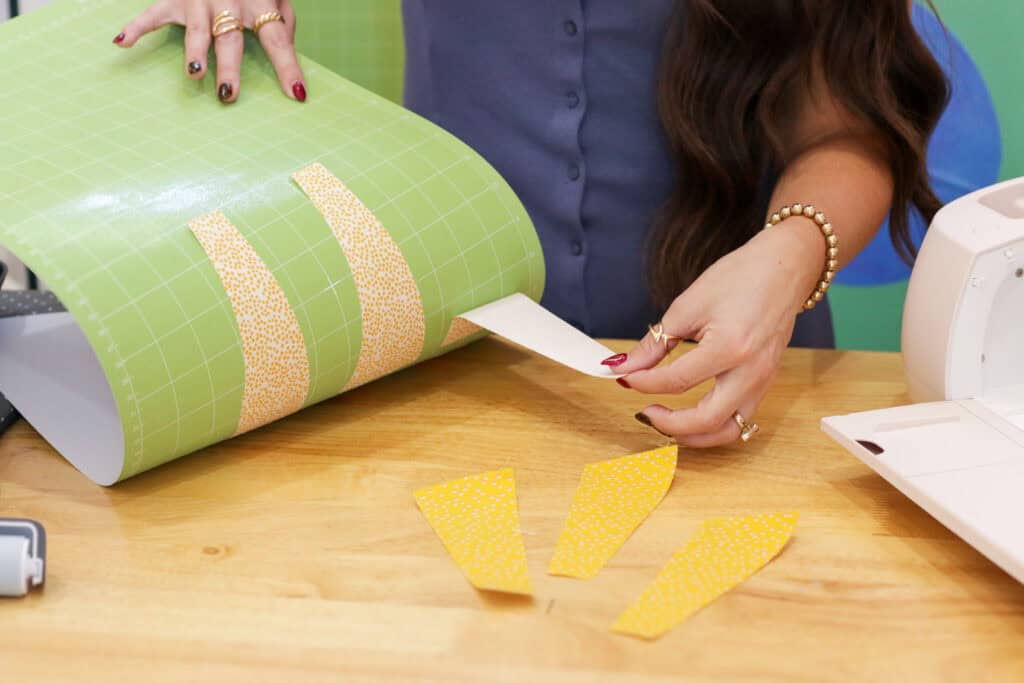
Press the play button and cut out your design, then make sure the material is cut all the way through be peeling up an edge of the design, and press the unload button.
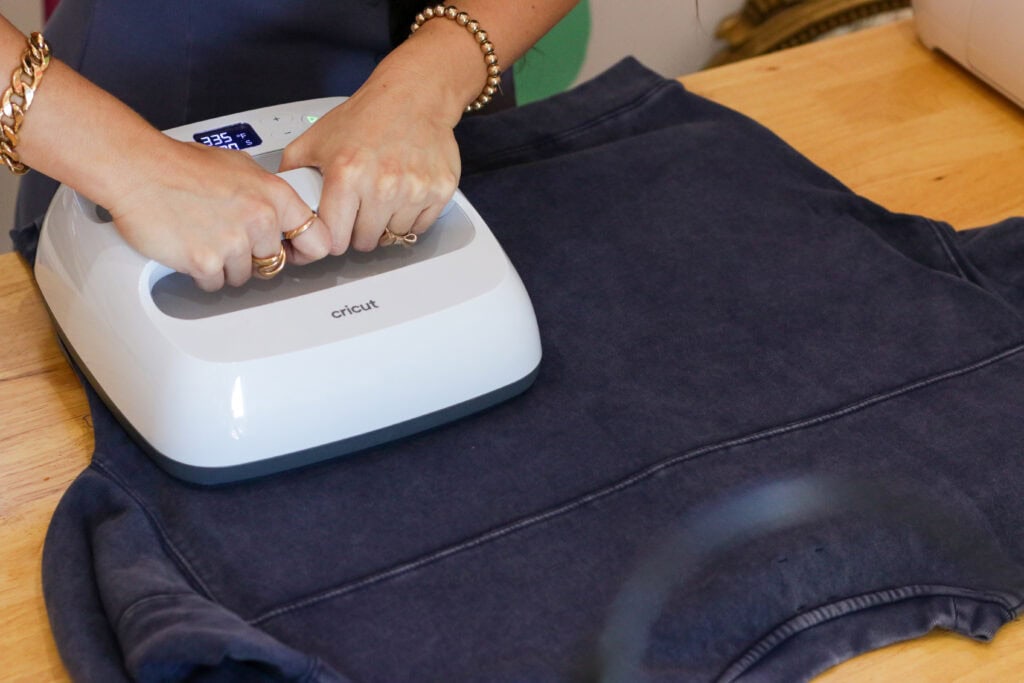
Step Five: Press Bonded Fabric
Once you have cut out your design, carefully peel your cut fabric from the mat, and use a scraper tool or a pair of tweezers to remove any excess paper liner.

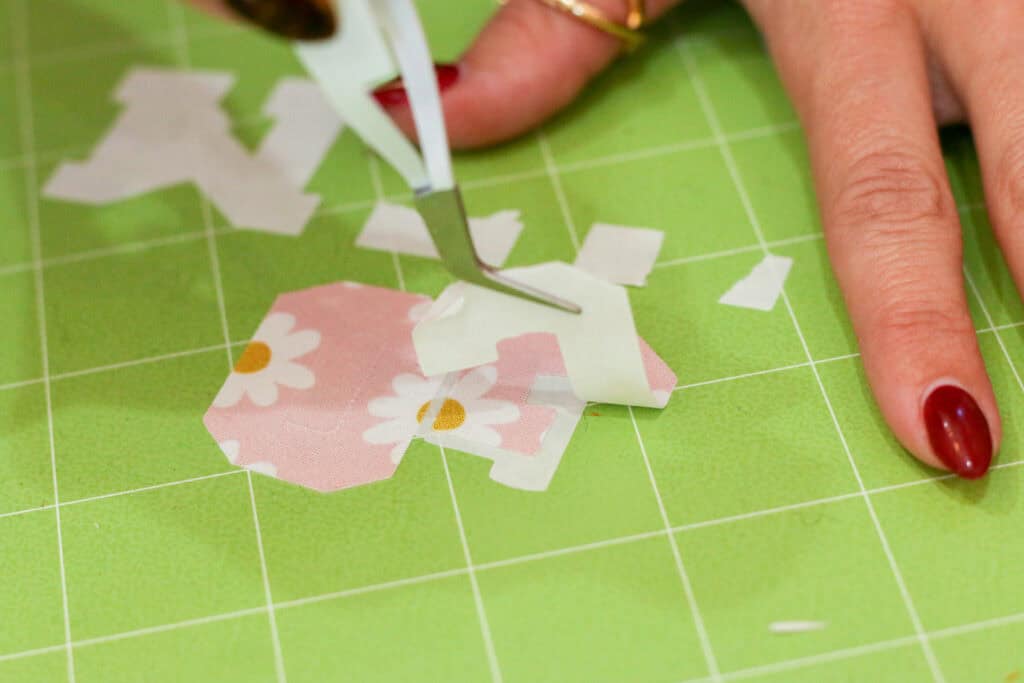
Next, peel the paper liner away from the iron-on adhesive if it’s still intact and place the bonded fabric onto the surface you’re ironing.
Set your iron to medium heat and press it lightly. Depending on the iron and adhesive you’re using, the press instructions may slightly differ from mine.

I’m going to press mine until the appliqué fully adheres to my surface, then let it cool. Be careful not to overpress your appliqué, as this can cause the adhesive to lose its effectiveness.
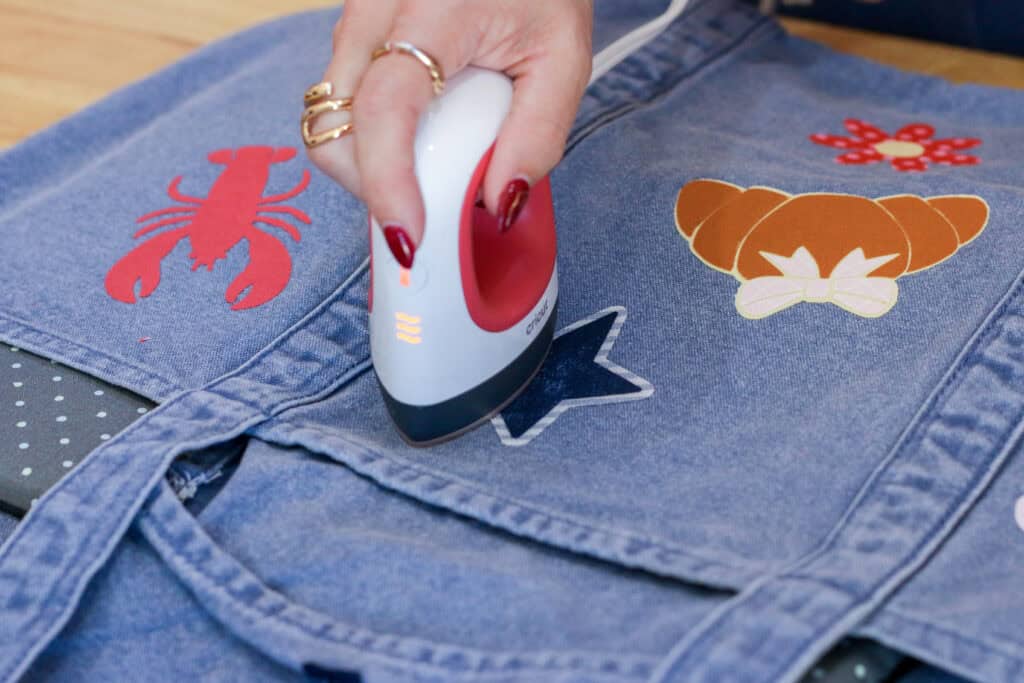
And this is how it's looking! You can be done here, or you can add embellishments like buttons, hand stitching, or incorporate embroidered designs.
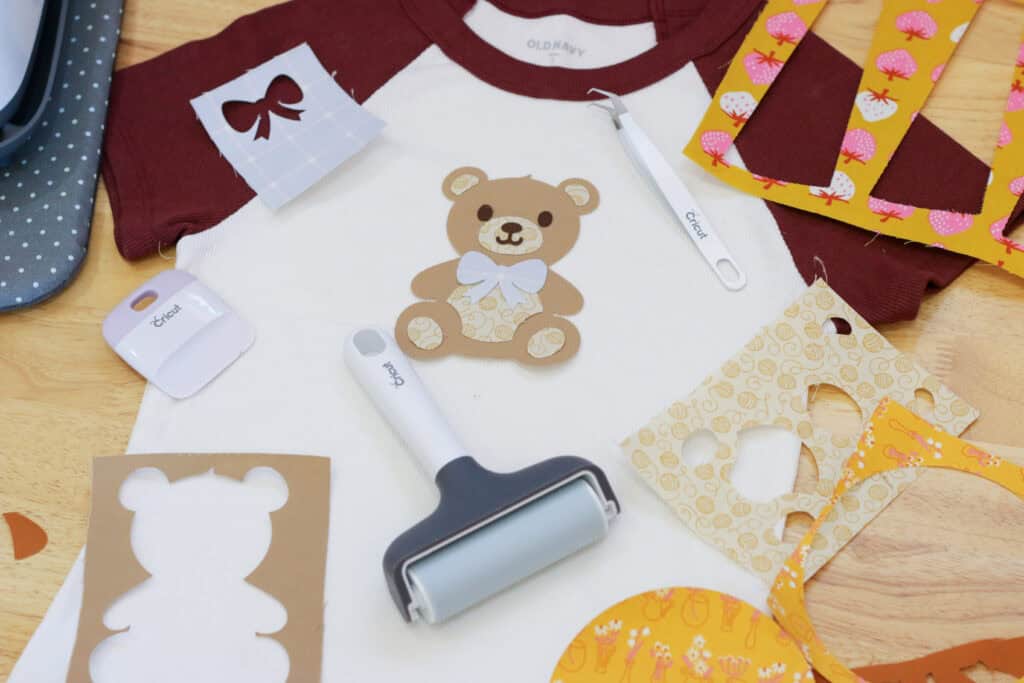
PRO TIP: Keep your bonded scraps as fabric to use as a template to line everything up with previous cuts.
For example, to line up my teddy bear design, I placed the base of my teddy bear on my fabric, aligned my detailed piece of fabric with the negative space on top, and positioned the small cutouts in their corresponding places.
Then, I removed the scrap piece of fabric to reveal my perfectly aligned teddy bear pieces.

How to Achieve a Fringed Edge
The trick to getting a fringed edge is to select a fabric that frays well, like denim, cotton, or linen. This won't work as well on synthetic materials.
Apply an adhesive sheet to the back of your material, leaving a quarter-inch of raw fabric around the edges- this will keep the section that's been bonded from fraying.

Then, take a wire brush like a pet slicker brush and run the brush along the edge of the fabric until it starts to fringe, or give it a good wash, and over time, the edges will start to fray.
Different Types of Hand Stitches
There are many beginner-friendly hand stitches to help prevent fraying edges of the appliqué. Though this is optional, it adds color and texture to the overall design and really highlights the patchwork look I’m going for.

Types of stitches you can try (Reference image above):
- Running stitch: This is a great beginner-friendly stitch. All you have to do is start at the back of the project, sew your needle in and out repeatedly, then pull the needle through.
- Overstitch or Overcast Stitch: This stitch wraps around the edges of fabric.
- Backstitch: Use this stitch if you don’t want seams to show.
- Blanket Stitch: Seen most in the appliqué designs because it's great for decorative edges.
- French Knot: If you want your project to have texture, this is the stitch to use to create a textured knot. Wrap the thread around the needle a couple of times, then re-insert it into the same hole you came out of, holding and pulling it taut to create the French Knot.
Machine wash instructions
**Directions vary depending on which type of interfacing you’re using.**
When washing, wash on a delicate cycle and avoid using fabric softeners. To dry, set to tumble dry or do a delicate cycle on a low heat setting.


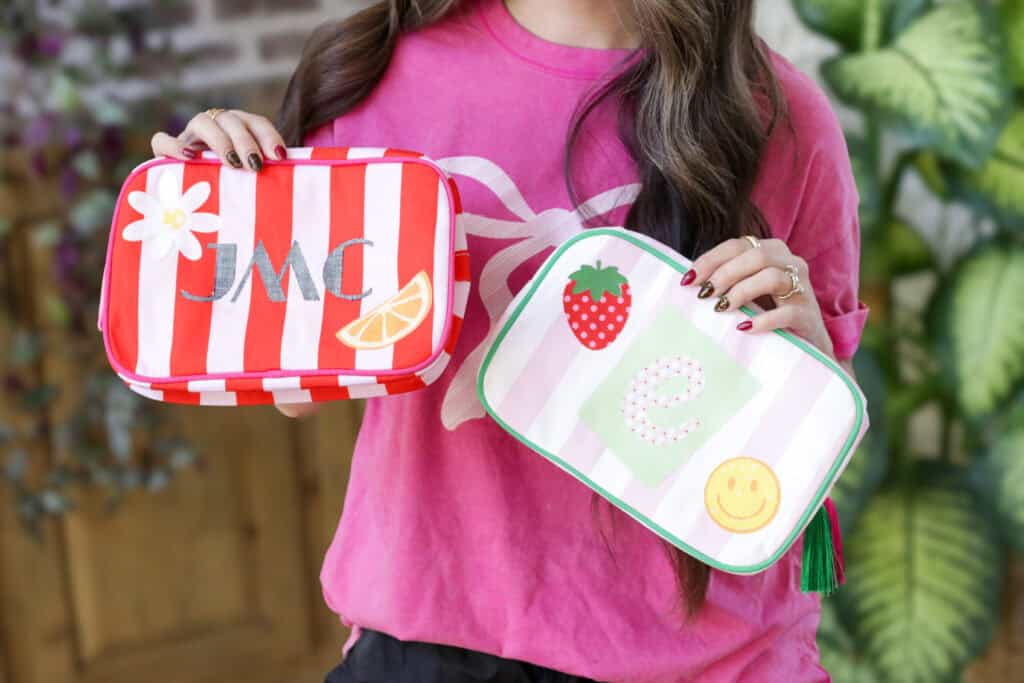
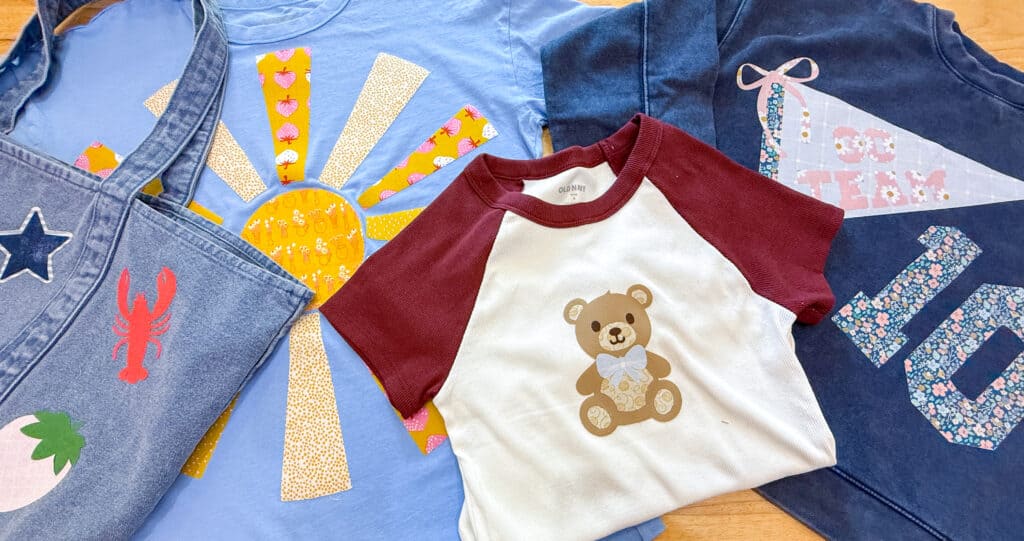
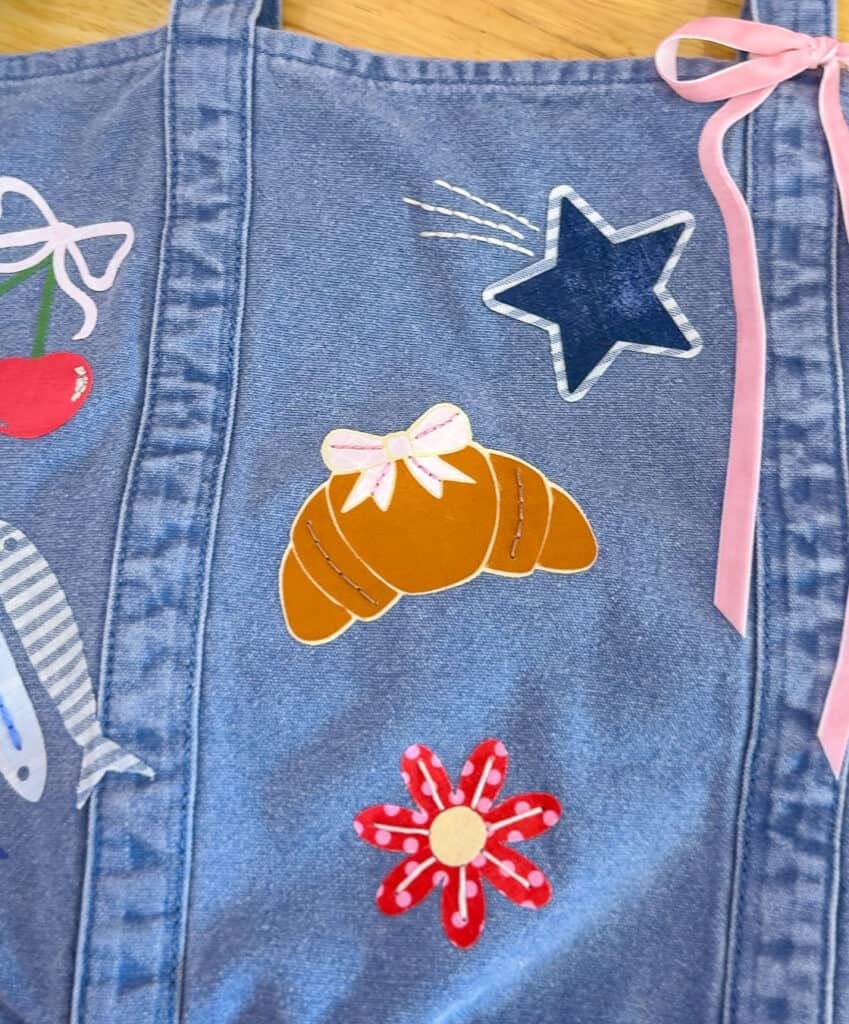
Finished Appliqué Projects
I hope you enjoyed this tutorial and had a lot of fun learning how to appliqué, and that it inspires you to make some of your own designs. I think it's such a great way to express yourself and showcase your interests.
Don't forget to tag me on social media so I can see your finished appliquéd projects!
Save this project to your favorite DIY board on Pinterest here!

Leave a Reply