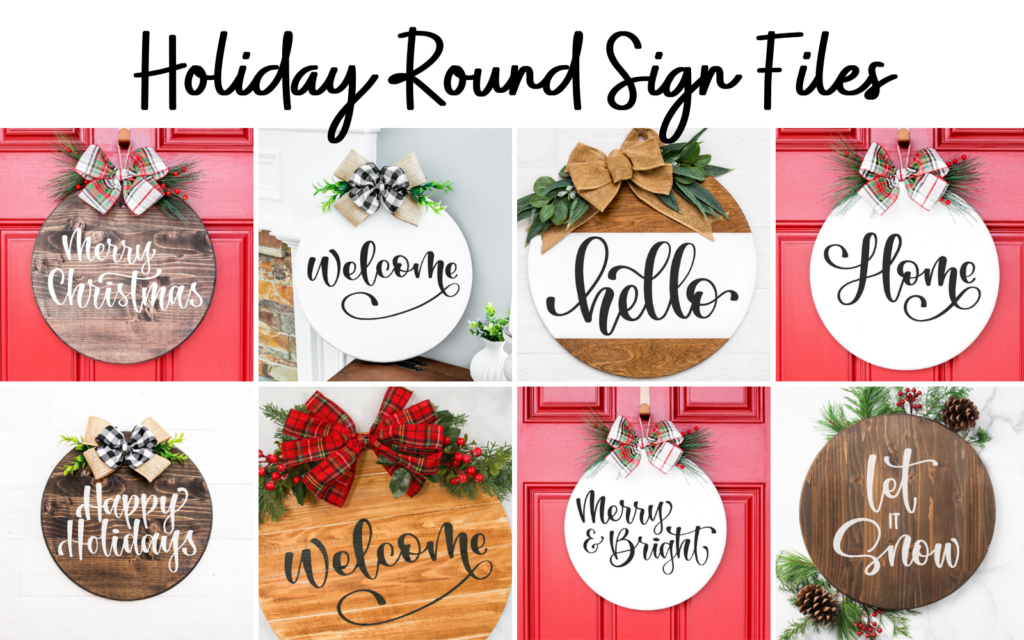
Learn My Secrets to Making Perfectly Painted Wooden Signs Without Paint Bleeding Using Cricut Made Vinyl Stencils.
Painted wooden signs add the perfect home-spun touch to your decor.
Chances are you’ve seen endless variations of these signs at craft and home goods stores. It’s easier than ever to make your own custom sign with a Cricut machine! With my tips and tricks, you’ll be able to create professional-looking painted wooden signs for any occasion.
Christmas is quickly approaching, and that means it's time to make some heartfelt gifts to celebrate the holiday season!
Find even more Cricut Christmas tutorials by clicking HERE.
If you've been eyeing a new Cricut machine, I'm sharing a simple way to shop Cricut machines and split your purchase into four interest-free payments with help from Klarna.

For example, I added a Cricut Maker 3 to my cart and went to check out.
When you check out on Klarna on a website, Klarna automatically splits your purchase into four interest-free payments.
I qualified for a $50 off Klarna Deal (you can save up to $50 off a purchase depending on the price) and qualified for four $89.13 payments over the course of the next 6 weeks.
Once you've checked out, Klarna will send you confirmation of your purchase and notify you once it's time to pay.
*Applying for Klarna does not impact your credit score

If the idea of painting makes you nervous, don’t worry! I'll show you how to create fool proof stencils. If you’re using a different model of Cricut machine, you can still follow along with this tutorial! I’ll be sharing my tried and true, tips and tricks to achieve perfect results every time.

This technique will instill confidence in both seasoned and novice crafters alike. No professional painting experience is required.


So let's get started!
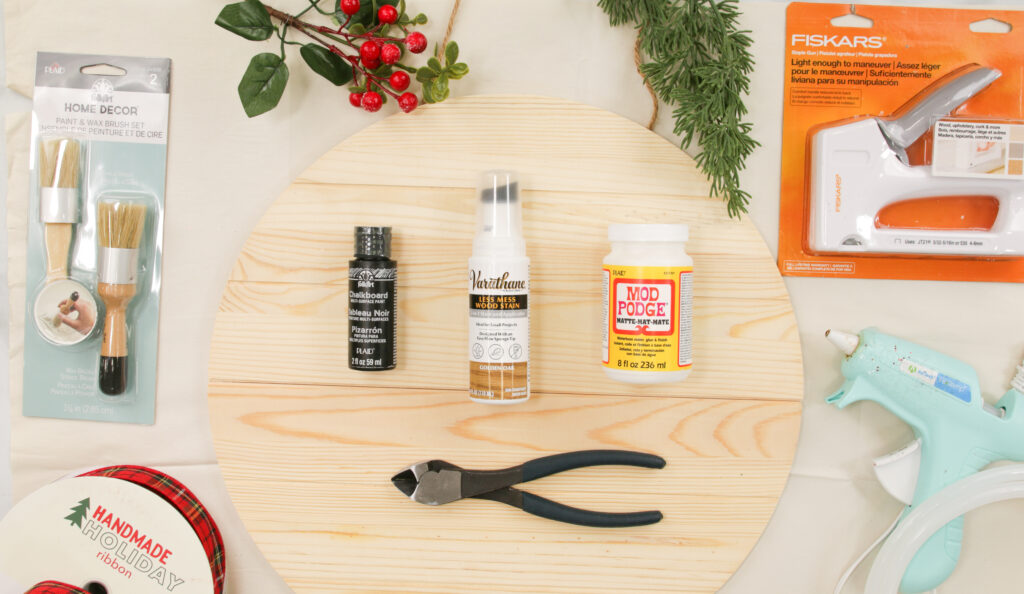
Supplies
For this project you’ll need the following supplies:
- Cricut Maker, Cricut Explore, or Other Cutting Machine
- StandardGrip Mat
- Fine-Point Blade
- Cricut Vinyl - Permanent
- Cricut Transfer Tape
- Scraper tool
- Weeding tool
- Wooden Sign
- Matte Mod Podge
Optional Supplies
- Sand paper, necessary only if your wood sign has a rough texture
- Flathead or stencil paint brush
- Cosmetic sponges
- Acrylic paint in the color of your choice
- Acrylic Spray Sealant
- Wire Cutters
- Ribbon
- Floral Stems, Bushes, & Picks
- Staple Gun
- Wood Stain
Download 13 FREE SVG Files Here

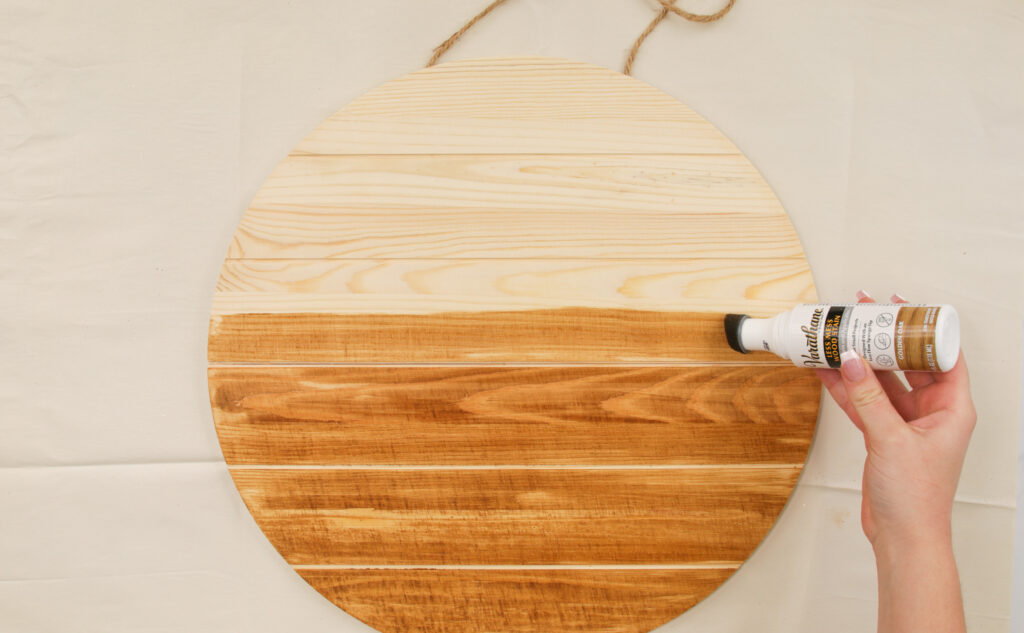
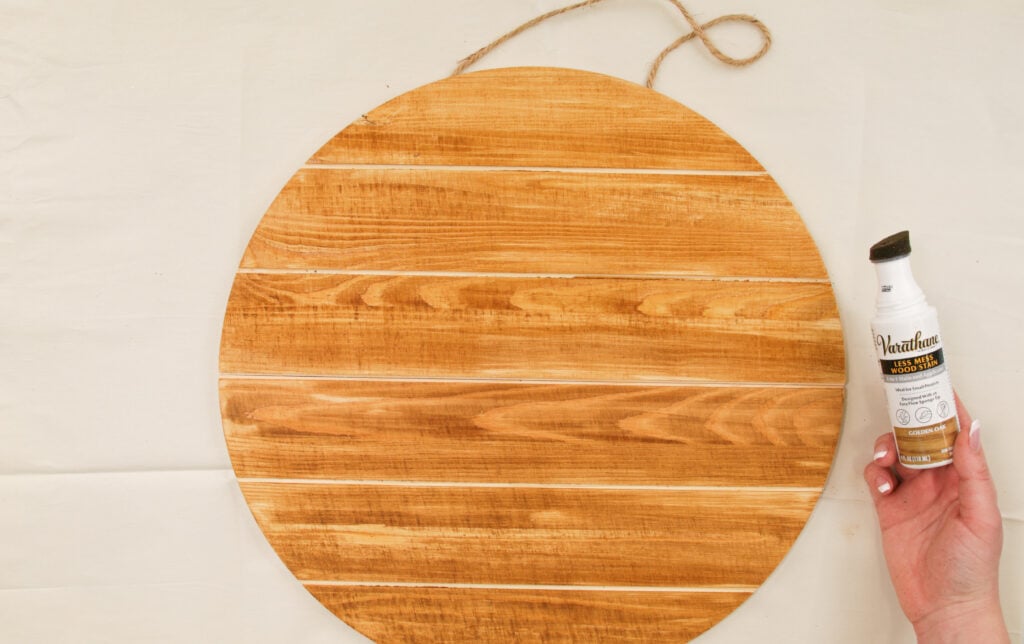
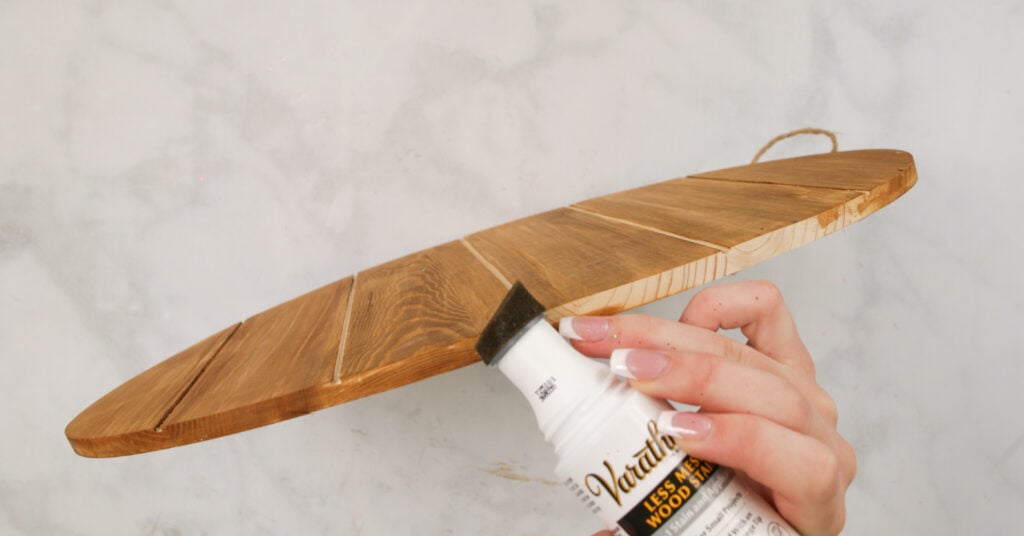
Step One: Finish Sign
To begin this project, make sure you've finished your wooden sign. You can spray paint it, paint it with acrylic paint and a brush or stain the wood.
Whichever finish you choose, be sure to allow the sign adequate time (I recommend 12-24 hours) to dry completely before applying any vinyl.
Step Two: Create the Design in Cricut Design Space
I’m going to create my stencil within Cricut Design Space. This design software is free to access when you have a Cricut machine.
To get started on your project, go ahead and open up Cricut Design Space. This can be accessed from your phone, tablet, or computer.
I’m going to be working on Design Space from my laptop computer. If you’re using a tablet or phone it may look slightly different, but you’ll have the same functionality and the steps will still be applicable.
Click on the + sign to create a new project.
In the top right-hand corner make sure that your experience is being optimized for your specific machine. This will change the options Design Space gives you based on your machine's capabilities.
I’m going to begin by creating a shape that's roughly the size of the shape of the wood sign I’ll be using. This will allow me to create a stencil sized perfectly for my project. I’m using a circle-shaped sign with a diameter of 18 inches. I’ll use the shape tool on the left-hand side toolbar to do this.
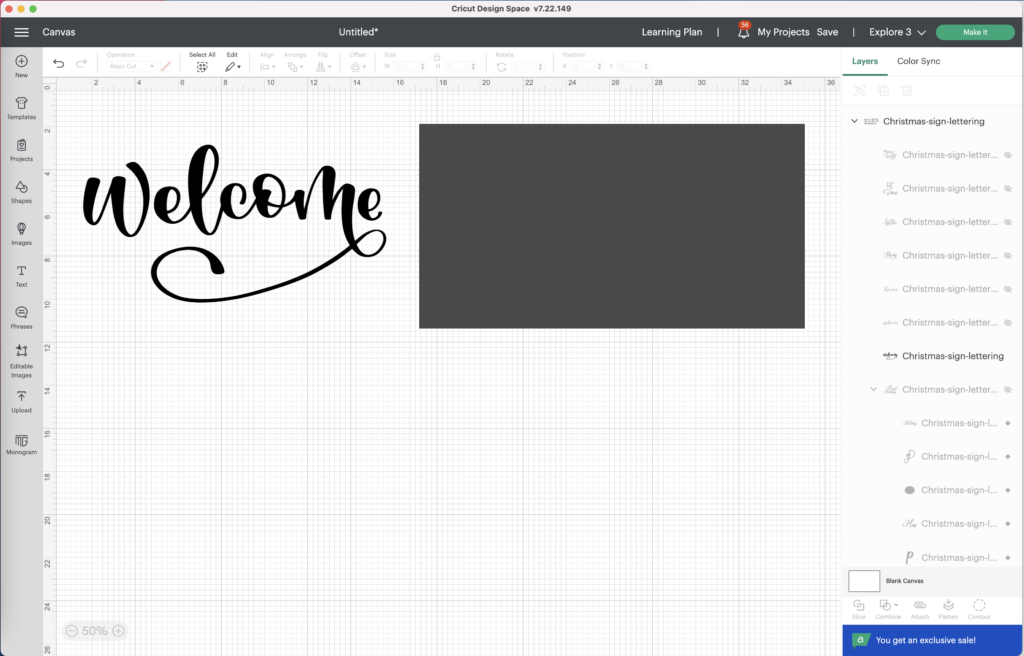
While I’ll be creating a rectangular design, feel free to use any style of wooden base for this tutorial to customize your sign to your own personal style.
Upload and insert the “Welcome” file from Design Space. Size and center your design within your shape’s parameters using the alignment tool.
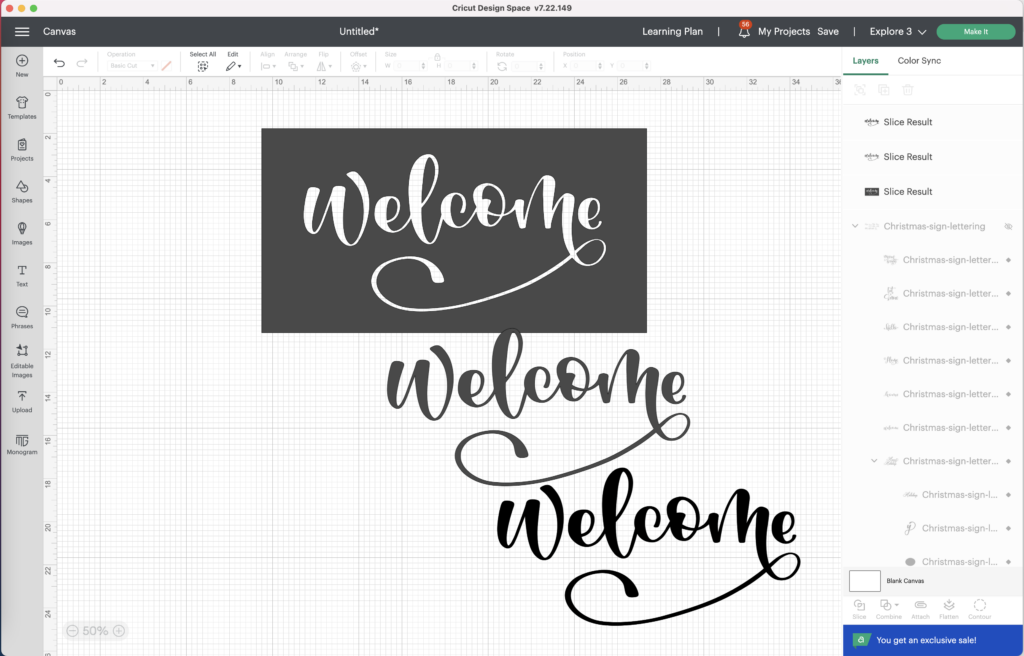
Highlight both the shape and the phrase and select “Slice” to remove the lettering from the rectangle. Delete the excess Welcome's that are left behind.
Once you have your design ready, click “MAKE IT” in the top right-hand corner to view the preview screen.
After clicking continue, the screen is going to prompt you to connect your machine. Make sure that your cutting machine is turned on and either connected to your device via Bluetooth or a USB cable.
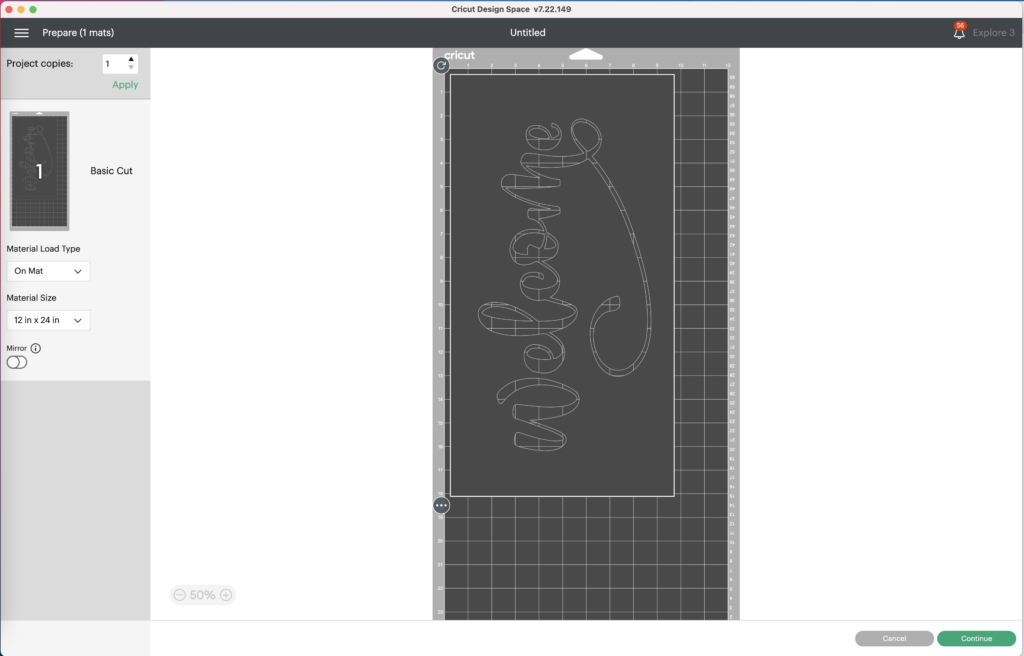
Next, you’ll be able to select the material you are using.
I’m using Permanent, Vinyl. Although this is said to be permanent vinyl, you’ll still be able to remove it from your wooded sign. I prefer using the permanent vinyl because the adhesive is stronger which helps to prevent bleeding and I tend to get better results than with removable or even stencil vinyl.
You might remember my glass etching video where I also used permanent vinyl as my stencil because it works really well in this application.
Set your machine material settings according to the vinyl that you’ll be using.
Step Three: Load the Mat and Cut the Design
Make sure that your Cricut is loaded with the fine point blade. I like to double-check that my blade is clean by pushing down on the plunger and gently blowing away any debris that may have collected on the tip.
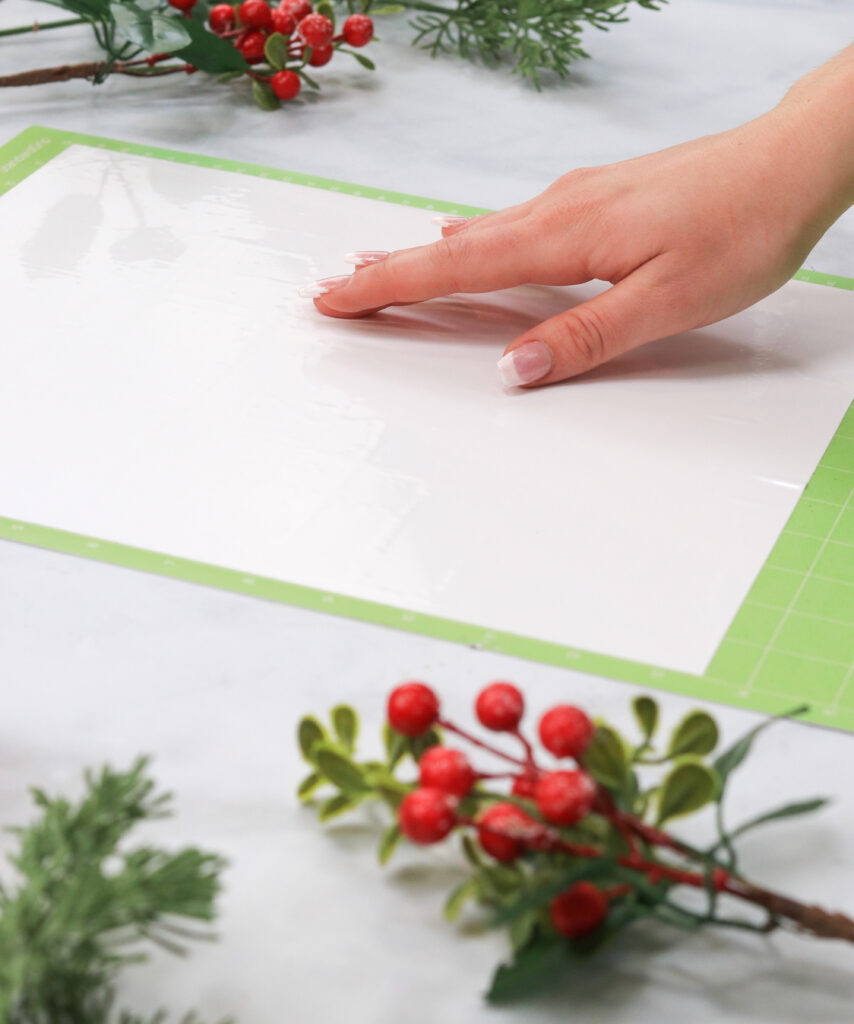
Take a moment to remove the clear plastic liner from the Cricut mat and apply your vinyl to your mat.
Next, insert your mat or your smart material into your machine by sliding it under the white guides and pressing the “LOAD” arrow button.
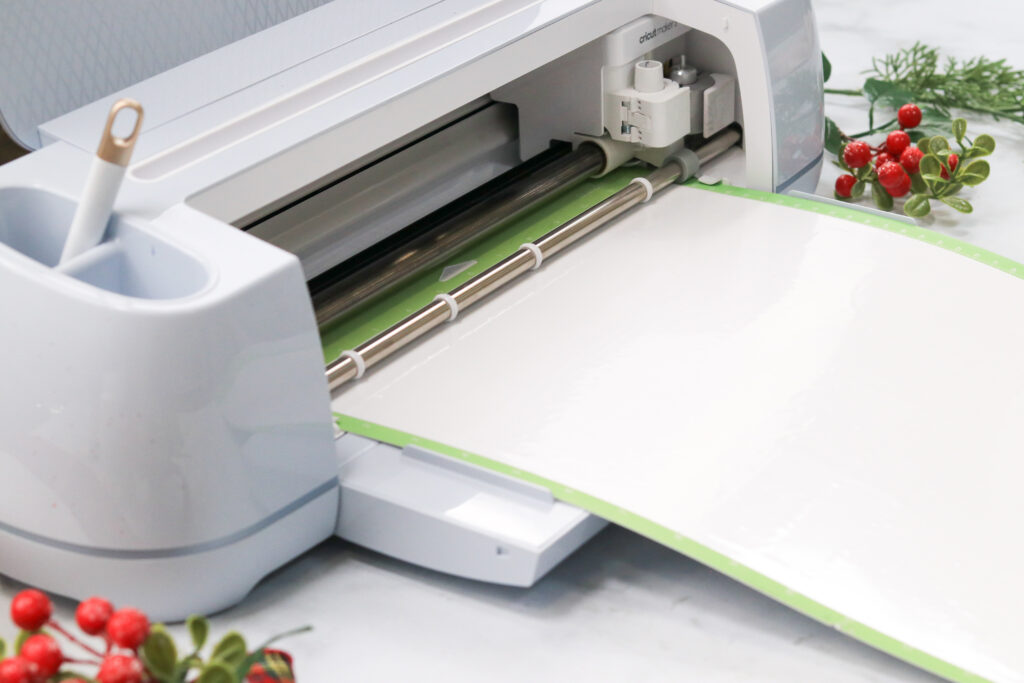
Press the blinking “PLAY” button (if you’re using an older model this will be a “C”) and your Cricut will begin its cut. Design Space will count from 0 - 100% to let you know how far along you are in the cutting process.
Before you unload your mat, double-check that the material has been cut all the way through.
Are you ready for PRO Cricut Tip? If it hasn’t cut all the way through you can always send your material back through for a second pass by clicking the “C” or “PLAY” button. Unfortunately, you won’t be able to do this if you’ve already unloaded your material because the cut will be slightly off-centered after reloading it.
Once it’s finished cutting and you’re happy with the result, press the “ARROW” button to release your material.
Step Four: Apply the Design
The next step is weeding your design. Because this is a stencil, you want to weed away the ‘positive’ space. This is opposite of most vinyl projects where you would want to weed the negative space. Think of it like you’re removing any portion where you would like to apply paint! In this case, we are going to weed the letters and the space outside of the circle.

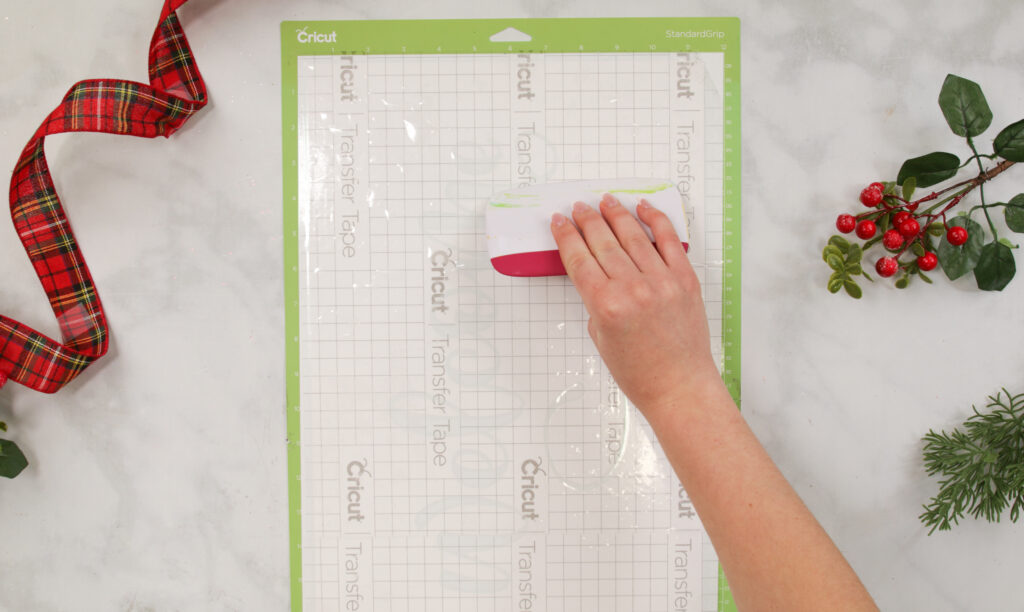
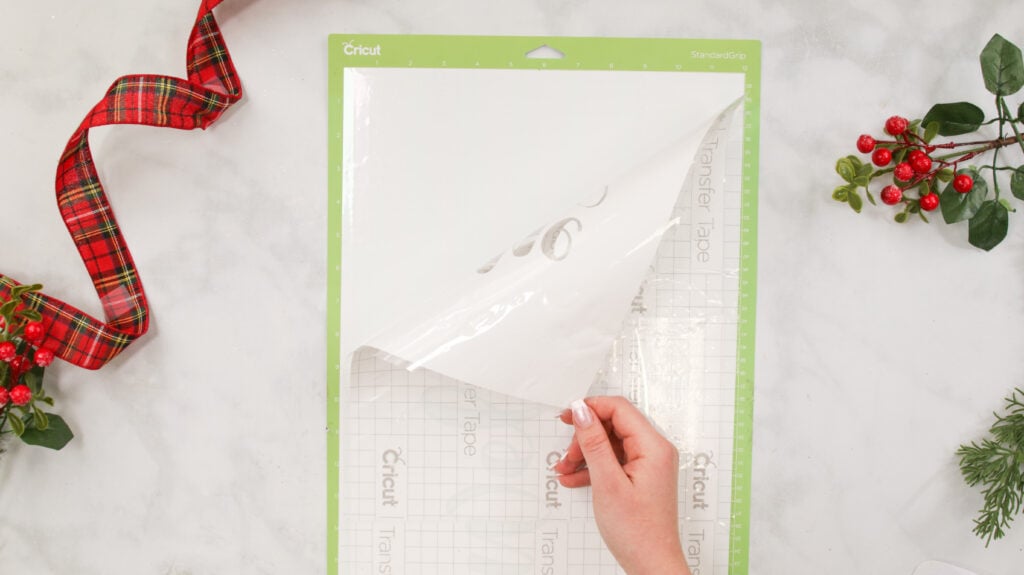
After you have finished weeding your design, place a piece of transfer tape, large enough to cover your design, over the vinyl. Burnish down lightly with the scraper tool to transfer the vinyl from its backing to the transfer tape. Then you can carefully remove the backing of the vinyl.
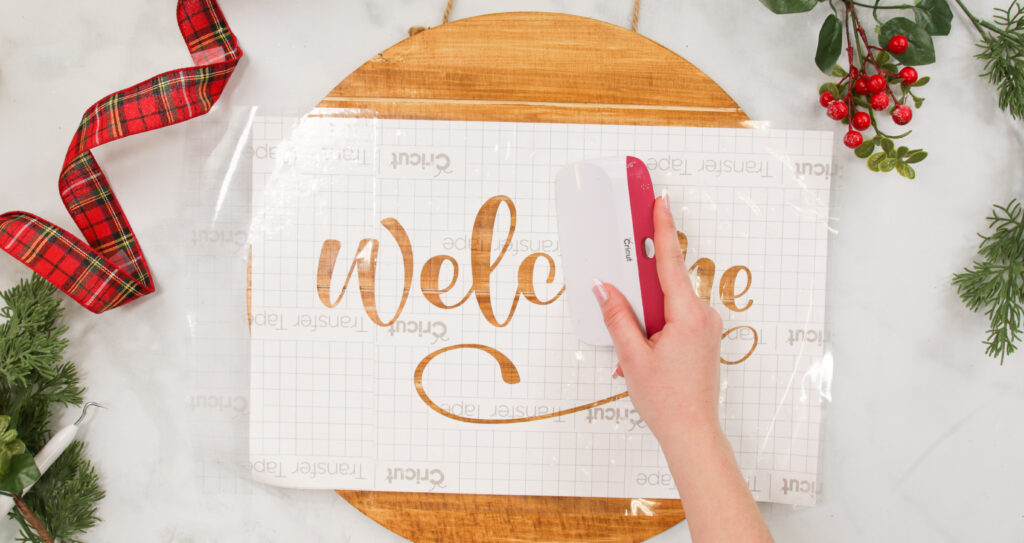
Next, position your vinyl onto your wooden sign. You’ll want to do this carefully ensuring that it’s centered on both sides.
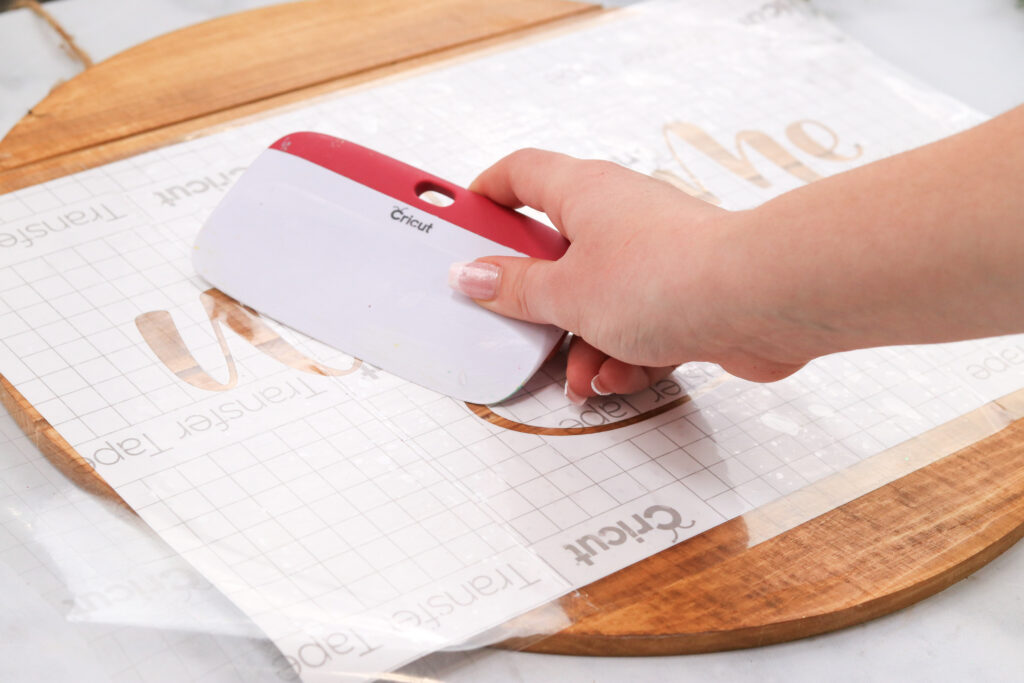
Burnish the Vinyl down with a scraper tool and gently remove the transfer tape, taking care to make sure all the vinyl sticks onto the sign.
If you’re making multiple signs, you can save your transfer tape for your next project!

Once the transfer tape is completely removed, go over the vinyl again with the scraper tool to remove any bubbles that might have surfaced.
If you happen to have any exposed wood on your sign that you don’t want paint to get on, use masking tape to protect those areas.
Step Five: Apply Mod Podge & Let Dry
Here is where we are going to use our secret weapon: Mod Podge! This is key to avoiding paint bleeds. The Mod Podge creates a clear seal between the vinyl and the wood to keep any paint from seeping underneath.
There are a few different varieties of Mod Podge. Make sure you’re using Matte Mod Podge for your wood sign. Wood has a matte finish, so if any mod podge seeps underneath, it will leave a clear, matte finish that’s hardly visible.
If by chance you were stenciling on a painted surface with a glossy finish, you would want to use normal Mod Podge to match the shinier finish.
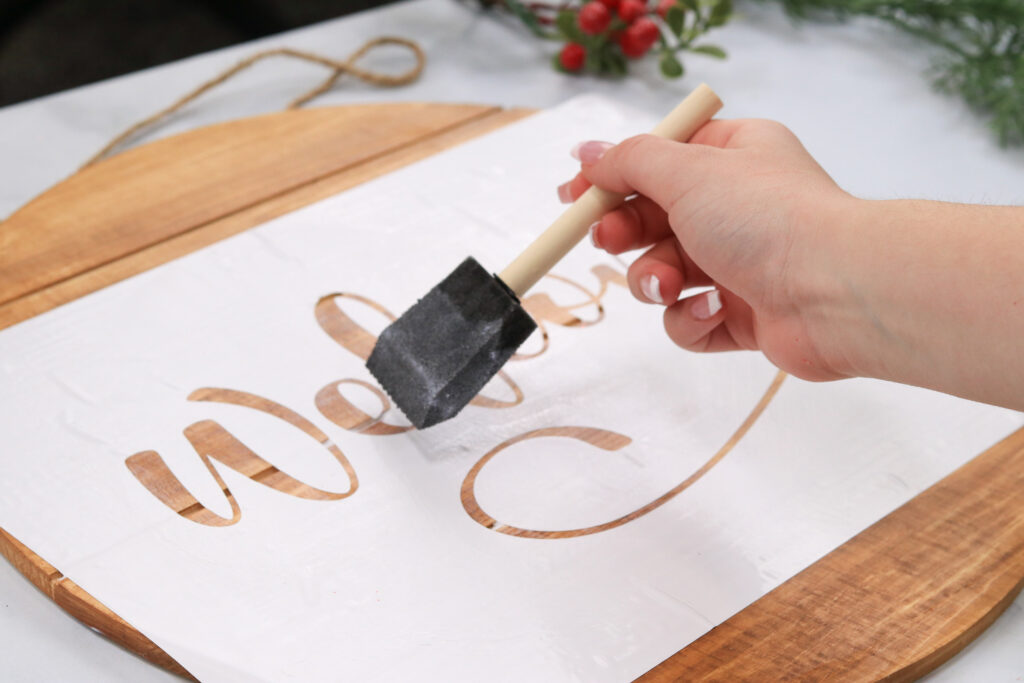
Using a paint brush, coat a thin layer of mod podge in the exposed areas of your stencil. Paint in both directions, but remember to keep your layer thin. If it’s too thick, it will make removing your vinyl stencil trickier in the end.

Let the mod podge dry completely. I’d recommend letting it dry for at least an hour.
Step Six: Paint your Sign
Now for the painting! I’m using a good quality flat-head paint brush for this. This brush is ideal for the “pouncing” technique we are going to use to paint!
Pouncing is a stencil painting term, used to describe painting in an up and down dabbing motion as opposed to longer vertical and horizontal swoops. It’s another method I’m using to reduce the chances of paint bleeding underneath the stencil. If you’ve watched my tutorial on custom door mats you might remember me using this same technique in that video to prevent bleeding.
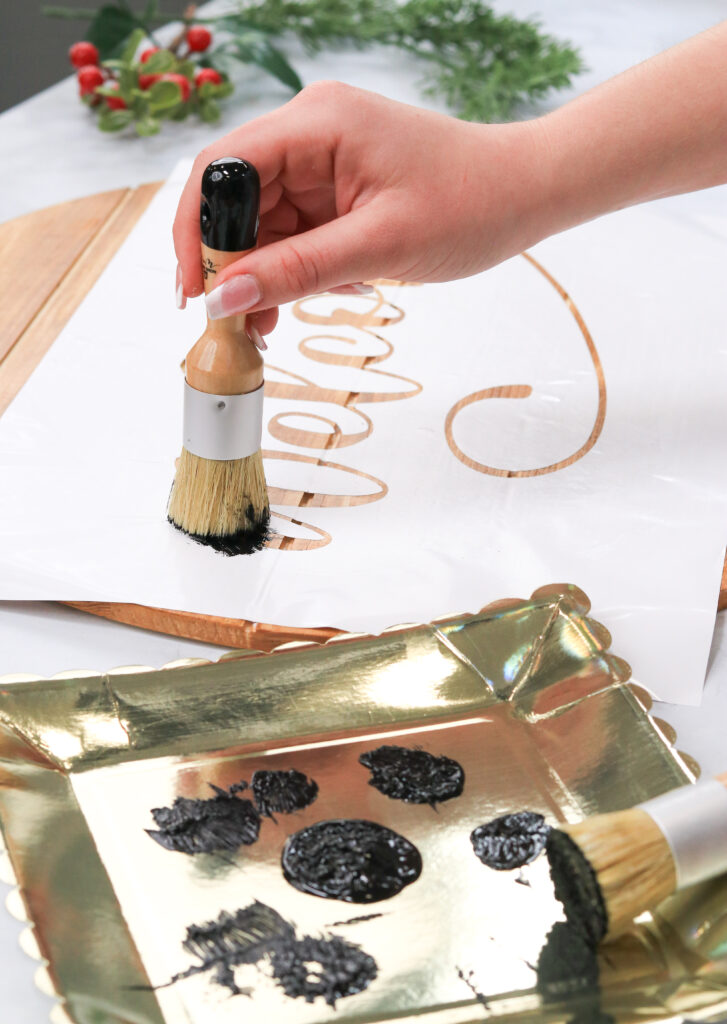
Apply some paint to your brush, but brush off the majority. This is called the dry brush technique. You want to avoid heavily saturating your paintbrush when you apply it to your board. It’s a much better idea to do multiple thin coats of paint as opposed to one really thick coat of paint. So dip your brush, and then pat off most of the excess paint.
Pounce over all the exposed areas of your stencil. The pouncing technique does tend to leave some extra texture. To smooth that out, use your cosmetic sponges to gently dab and smooth any unwanted paint.
The amount of layers you paint will depend on your desired finished look. If you want to achieve an opaque finish, repeat with another layer or two, once the prior layer is almost dry. For a more rustic or farmhouse appearance, you may only want to do one thin layer.
I want very sharp and clean lines for my sign, so I’m going to paint multiple layers.
Step Seven: Remove the Vinyl Stencil
When you’re satisfied with the paint coverage, wait until the paint is just barely dry to the touch, or even still tacky, to remove your stencil. If you wait until the paint is completely dry, there is a higher chance that the paint will peel off with the stencil.
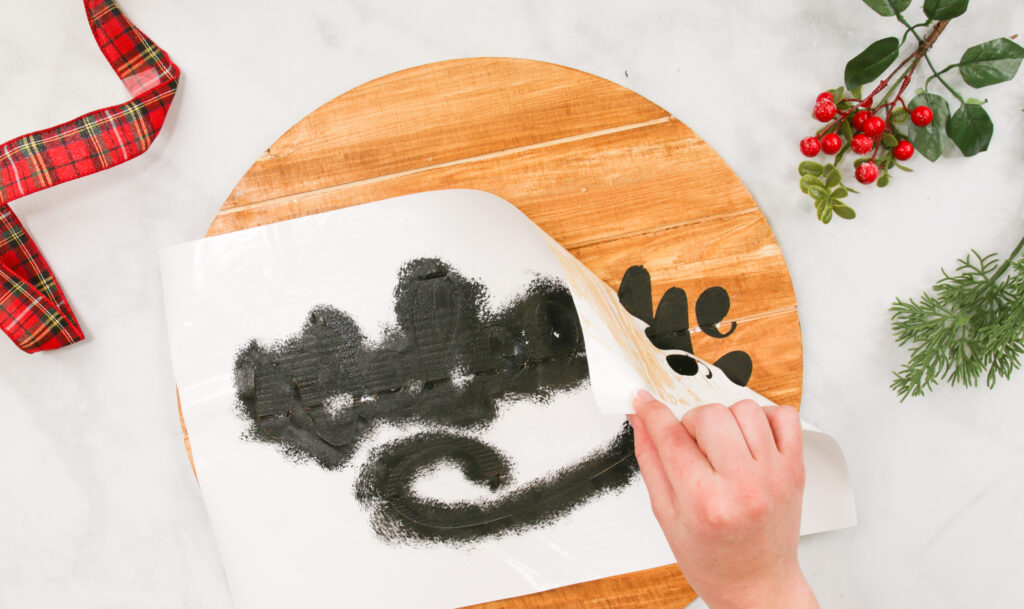
Peeling the stencil off in the opposite direction of the wood grain will further reduce the chance of peeling paint as well.
Don’t worry about ripping your stencil as you remove it, because again, we can’t reuse this type of stencil.
For small areas of your stencil that are tricky to remove by hand, use your weeding tool to carefully lift off those areas.
Step Eight: Touch Up Any Imperfections
If you do happen to get small areas where the paint peels up, use a toothpick or straight pin in replacement of a paintbrush to make tiny touch ups. These have a very small surface area for the paint and give you a lot of control to fix any mishaps.
Once you’ve removed your entire stencil and made any touch ups necessary, let your wood sign dry completely.
Step Nine: Seal the Wooden Sign
Finally, apply a thin coat of spray sealant in a well ventilated area to your finished sign. This will protect and seal your sign so it will hold up better against the elements which is really important if you plan on hanging your sign outside.
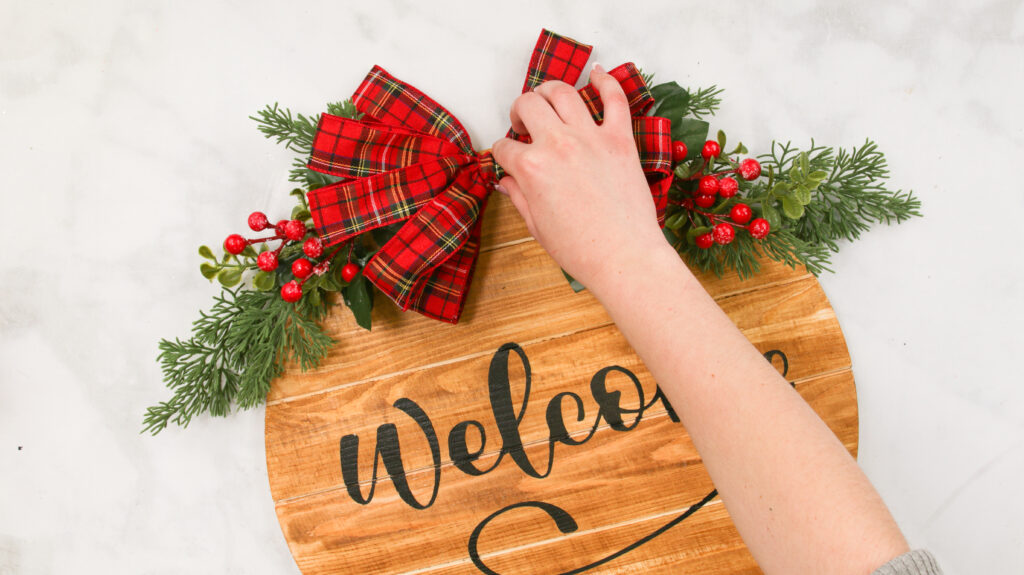
Step Ten: Add Finishing Touches
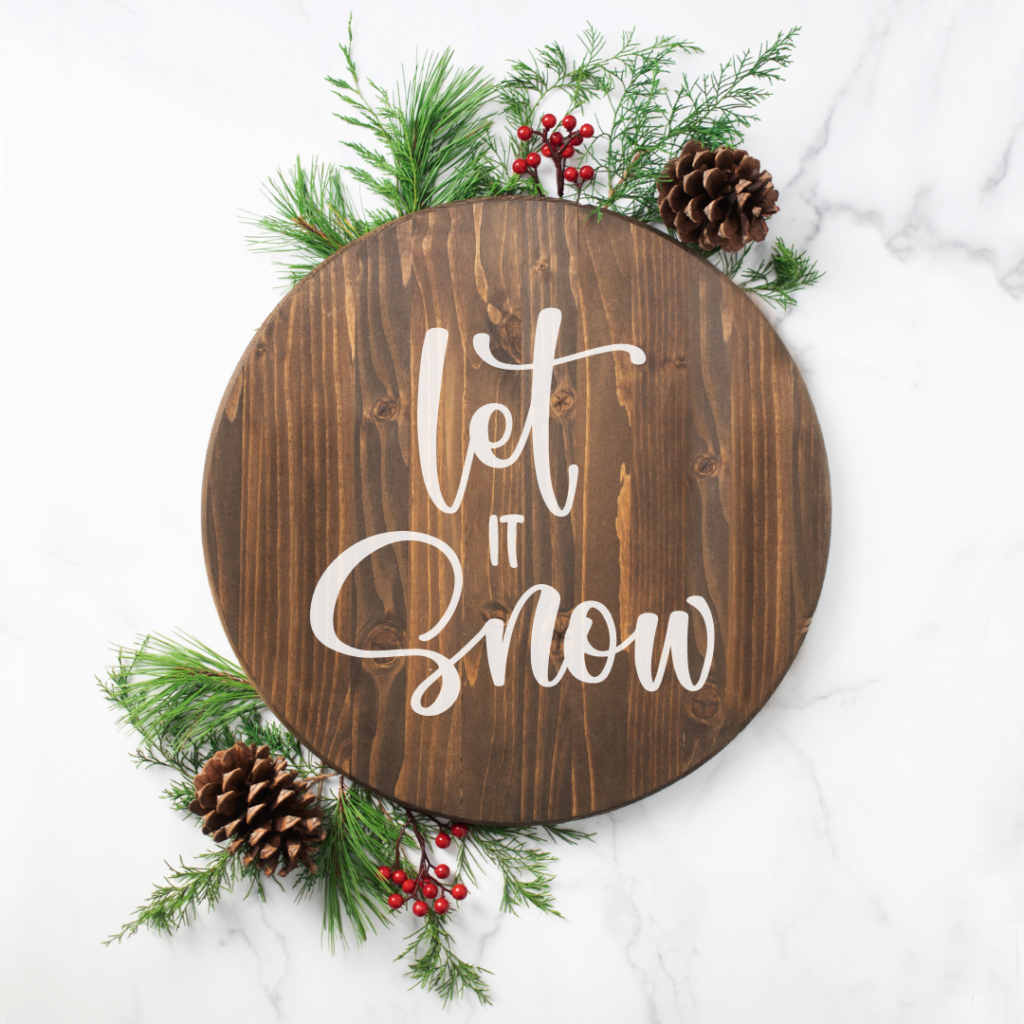
Once your sealant is dry, you can customize your sign even further by adding in a bow, some greenery along the top, or flowers. The possibilities for customization are endless!

I used a staple gun to secure my floral picks into place.

Finish off your sign with a handmade bow for a special touch!
Not sure how to make a bow? Check out my Ultimate Bow Guide blog post by clicking HERE.
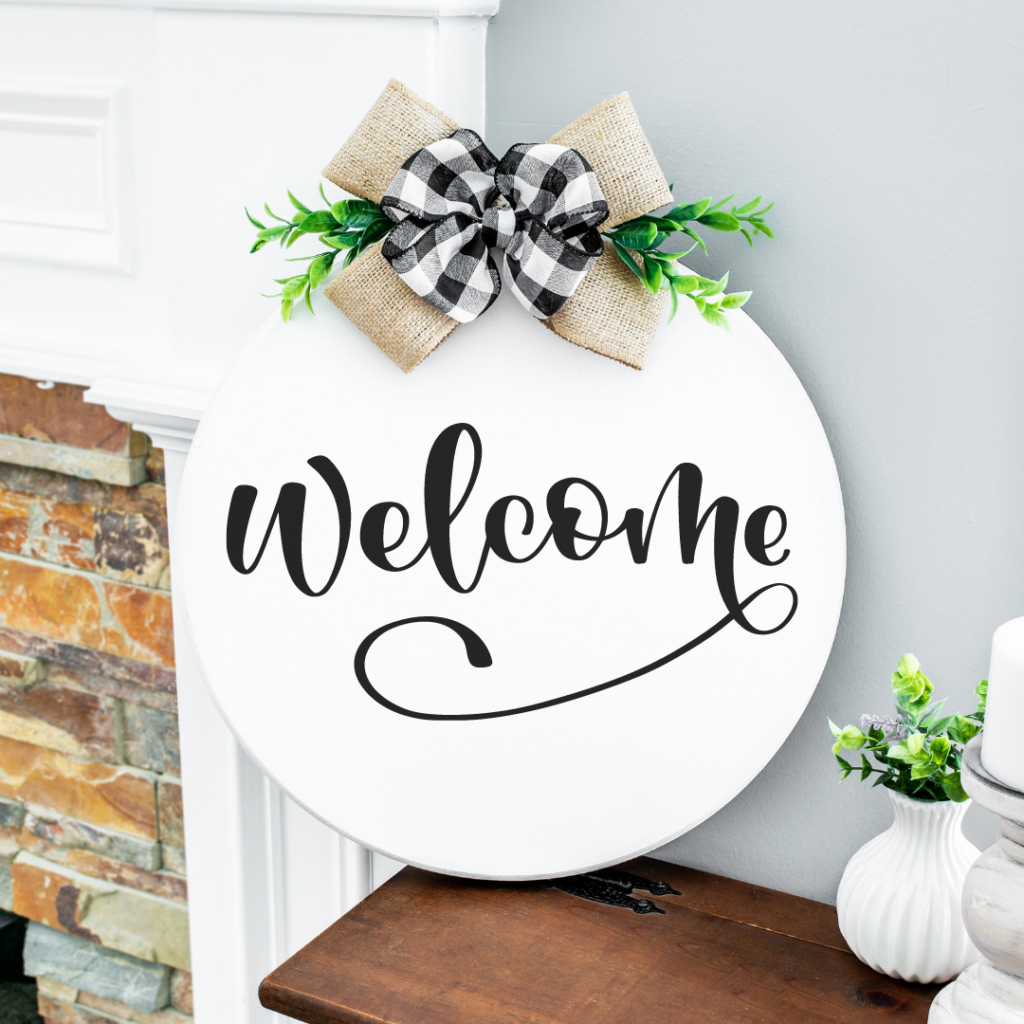
Your custom Cricut made sign is now complete, and no one would ever guess it’s handmade! Isn’t it beautiful?!
Now that you’ve mastered the art of creating custom stencils with your Cricut, the sky’s the limit!

I’d love to see the wooden sign you’re making with this technique. Let me know what questions you have in the comments below!


Join my crafting and sewing Facebook group where you can show us what you’re making, ask questions, and learn from others!
Don’t want to forget about this free template? Save this project for later! Click here to save this project on Pinterest.

Will this work with the rounds from Dollar Tree?
How did you make the bow shown in pictured on this wreath?