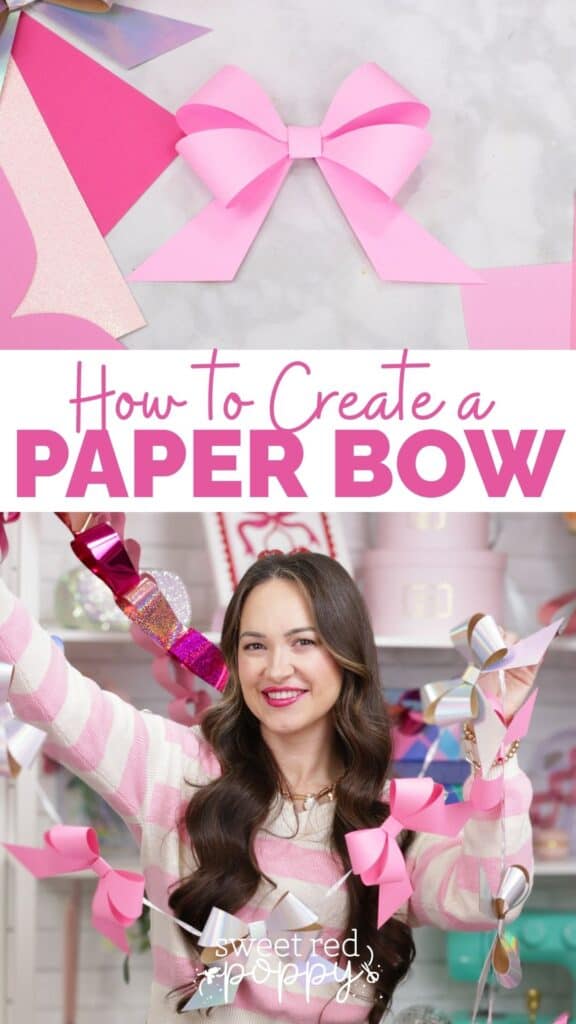
Create a paper bow garland in just two steps by downloading the FREE bow template that you can cut by hand or with a Cricut machine in this step-by-step tutorial.
Valentine's Day is just around the corner which means it's time for a new bow tutorial! In the past, I've made countless hair bows and even a Giant Fabric Wall Bow. This one's smaller, but just as fun and pretty to make.
If you love fast and easy-to-make paper projects, you'll enjoy making these bows. I'll share the materials I used, supplies needed, step-by-step instructions, and how to make a bow garland toward the end of this post. Let's get into it!
Table of Contents
DIY Paper Bow Template and Tutorial
To create this bow, you can cut the template out by hand or cut with a smart cutting machine. Don't worry, I'll go over the files that are included and share how to print, upload files to Cricut Design Space, and assemble the template below.
Recommended Materials
To create my bows, I used a variety of 12 x 12 65 lb pink cardstock, 8.5 x 11 pink cardstock, and Foil Cardstock Paper from Recollections. Recollections offers a wide variety of packs to choose from, with cohesive color that make it easier to pick a color scheme.
I recommend using 65lb-80lb cardstock, as it will help the bow to hold its structure while still looking nice and dainty.
To create my garland, I used silver metallic ribbon from Offray Galena and at least 12 sheets of cardstock to cut 12 bows.
When assembling the bows, I used a hot glue gun to keep everything together, but you can also use a tacky glue. My favorite glue to use for paper projects is Bearly Arts Glue.
Supplies Used
Shop the bow garland supplies here!
- 12 x 12-inch 65 lb Recollections Pink Palette Cardstock-
- 1 12" x 12" sheet of cardstock fits one bow. To create a garland, have at least 12 pieces of cardstock on hand.
- The printable bow template can fit on a 8.5" x 11" sheet of paper.
- Recollections Silver Foil Cardstock Paper- I used this to add shine to my bow garland.
- Hot Glue Gun
- Hot Glue Sticks
- Offray Galena Silver Metallic Ribbon- If making a garland
- Tape- If cutting by hand
- Scissors- If cutting by hand
- Copy Paper- If cutting by hand
- Pencil
Click Here to Download the FREE Bow Template!
Don't want to forget about this template, save it to Pinterest!
Step One: Download and Cut Bow Template
How to Cut Bow by Hand
If you're cutting by hand, I suggest printing the bow PDF file that includes 4 printable pages that fits a 12 x 12-inch bow. When assembled the bow measures 8-inches across.
If you want a smaller bow, print off the 8.5 x 11 inch template. This bow ends up measuring 6-inches across and is a cute size for a garland!
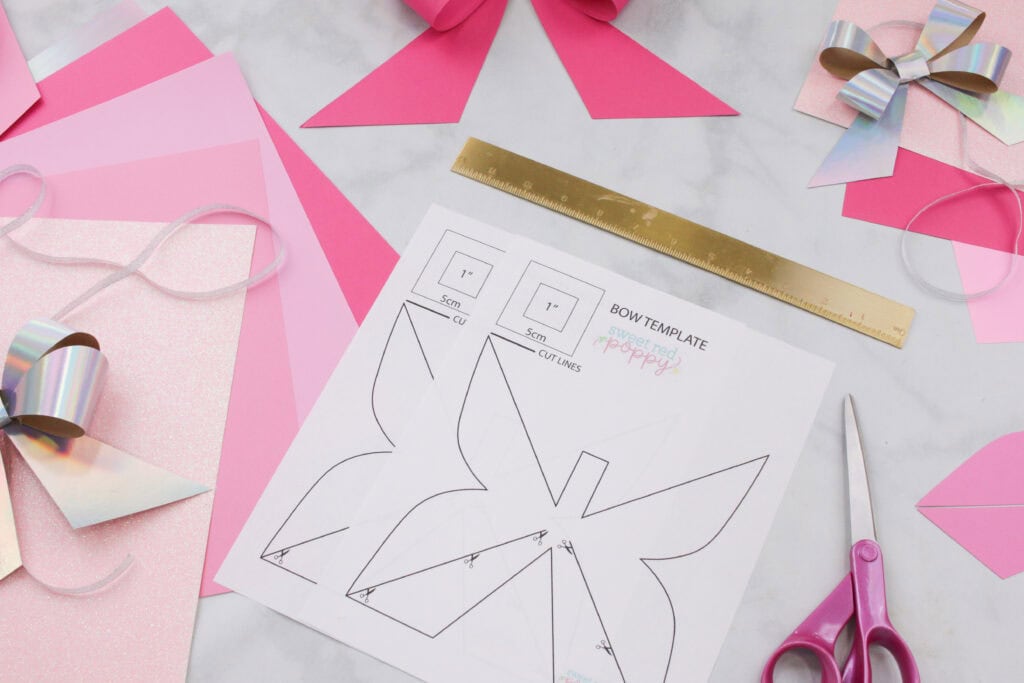
Print Settings
In the print settings dialog box, set the "Custom Scale" to 100% or select "Actual Size." Doing this will ensure the 1" test square measures exactly one inch when printed and the template is up to scale.

Pro Tip: When printing, I recommend using Adobe Acrobat or another printing software rather than printing directly from the browser, as measurements may be skewed.
Select "Print" to print off the template.
Assembling & Cutting Printable
After printing, make sure the test square measures 1 inch in the top left corner.
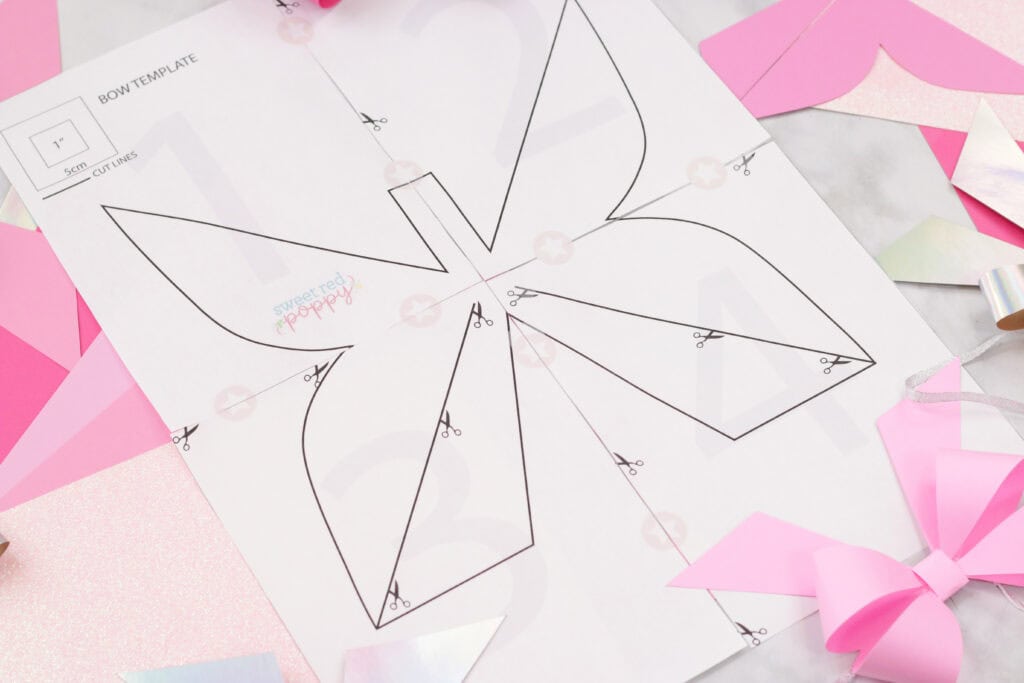
If you print off the 12 x 12-inch bow, you'll need to tape the template together before cutting out the bow. Included with the PDF is Pattern Assembly Layout Chart that you can reference as you assemble the template.
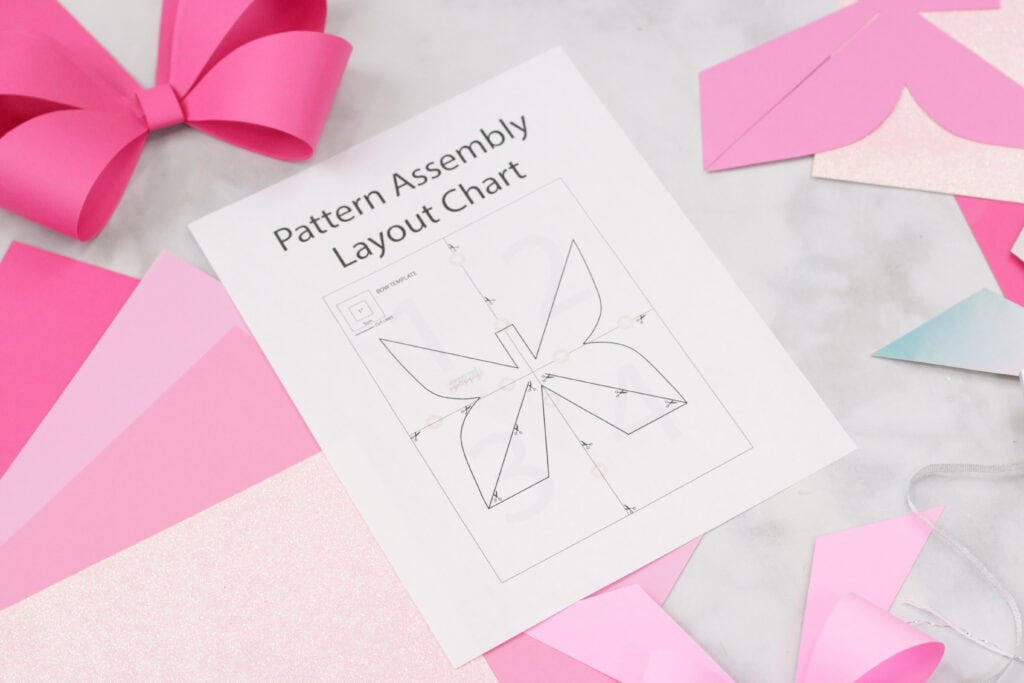
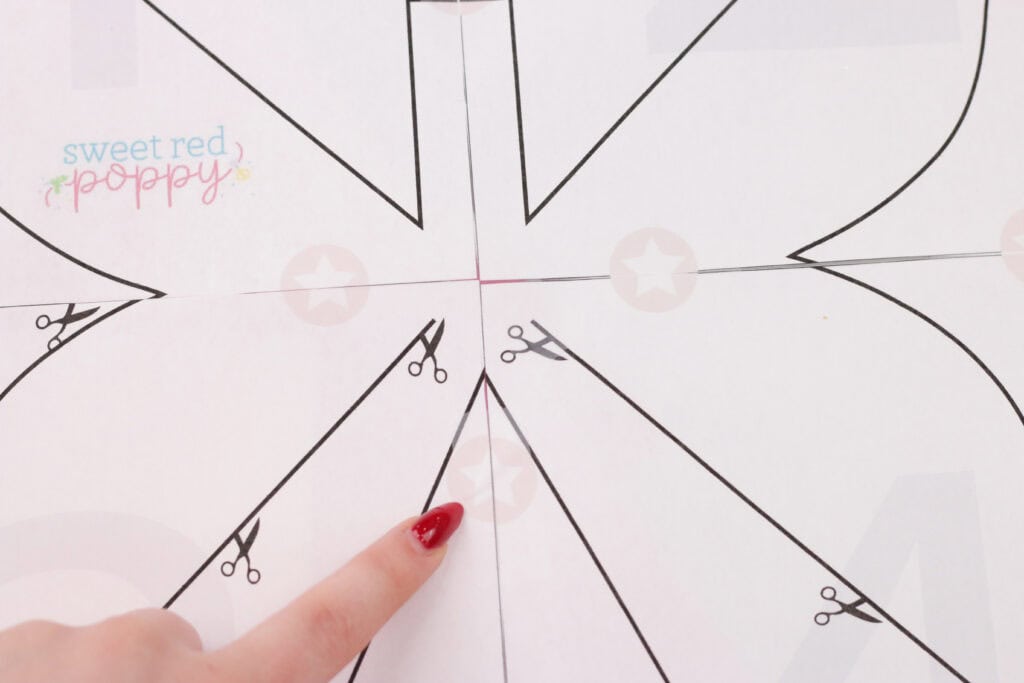
Cut along the margins and line up the pink stars as you tape the template together with the pages in order. The pages are numbered 1-4 and should be laid out in a 2x2 grid.
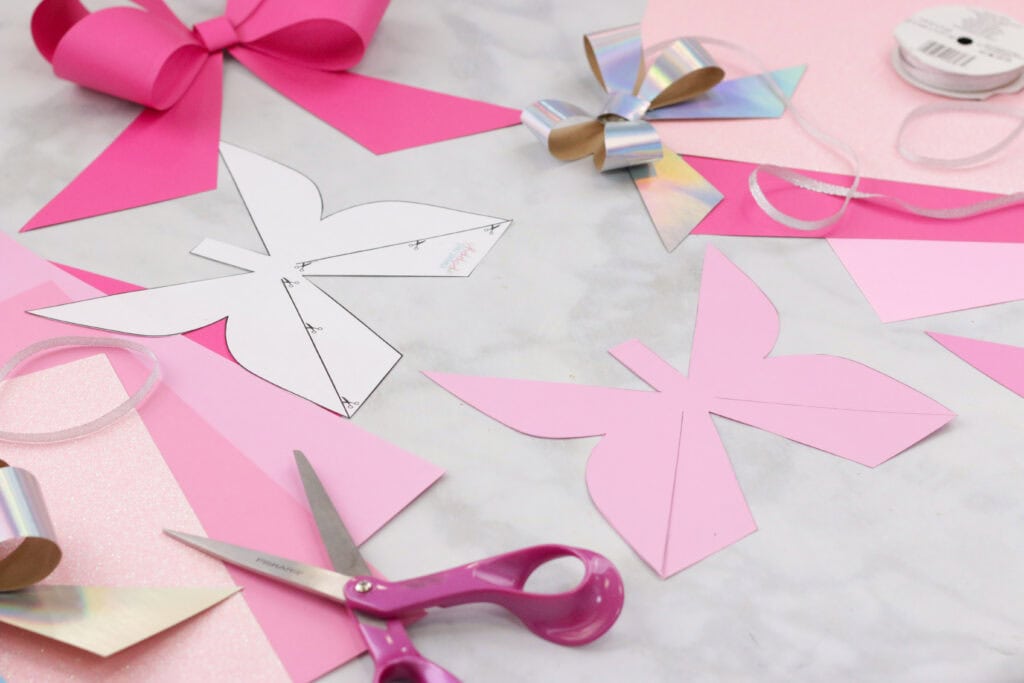
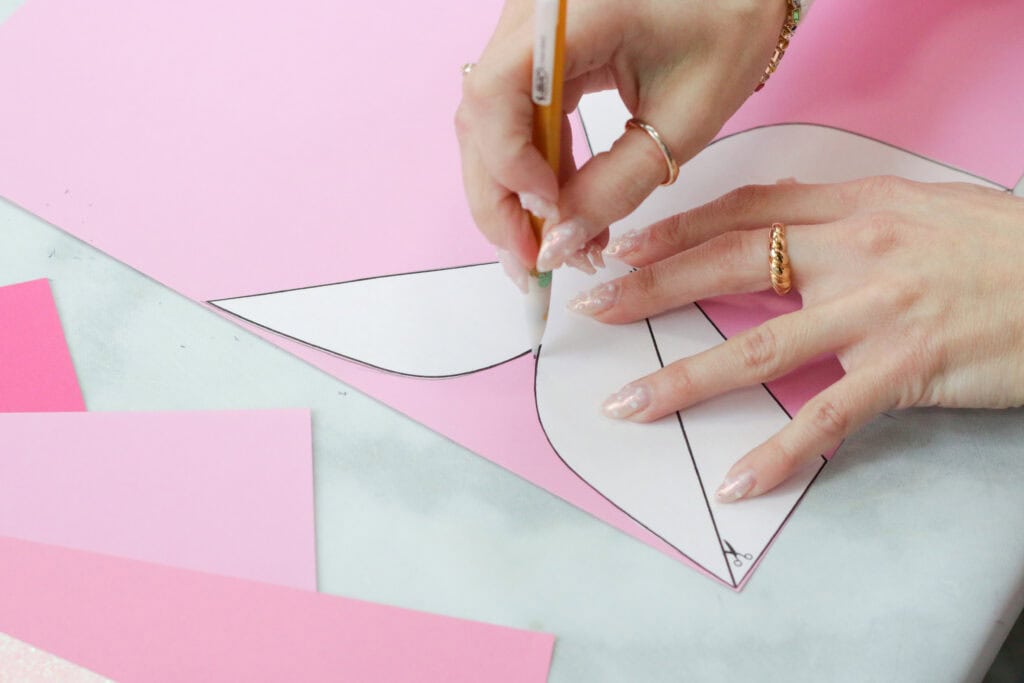
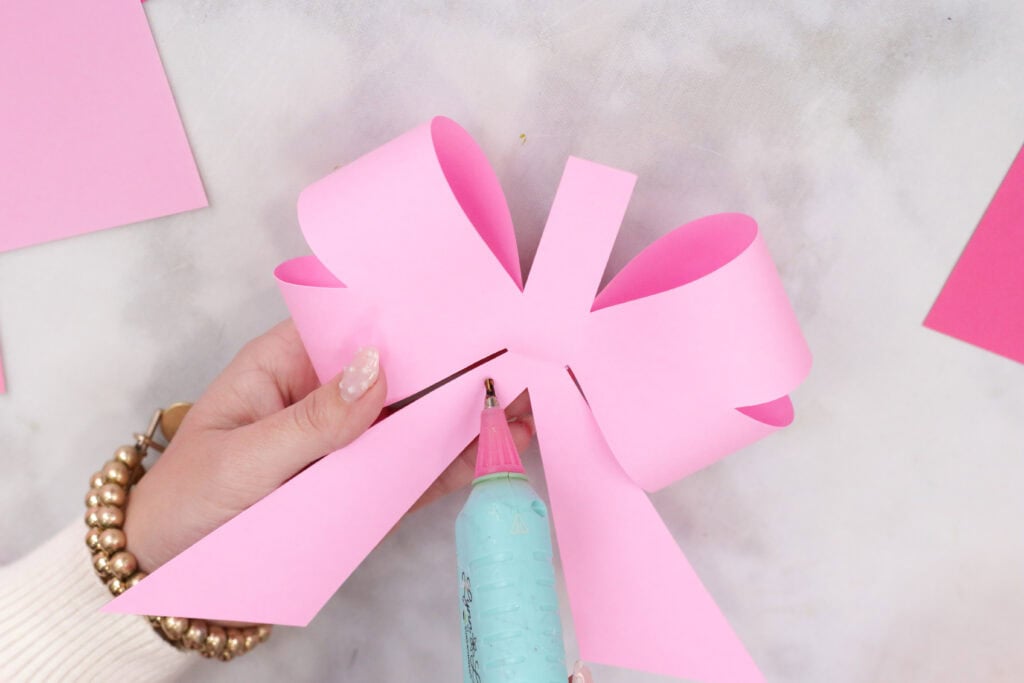
Next, cut out the bow template and cut along the diagonal cut lines that are on the bow. You can fasten the template to the cardstock with a small piece of tape or a paper clip.
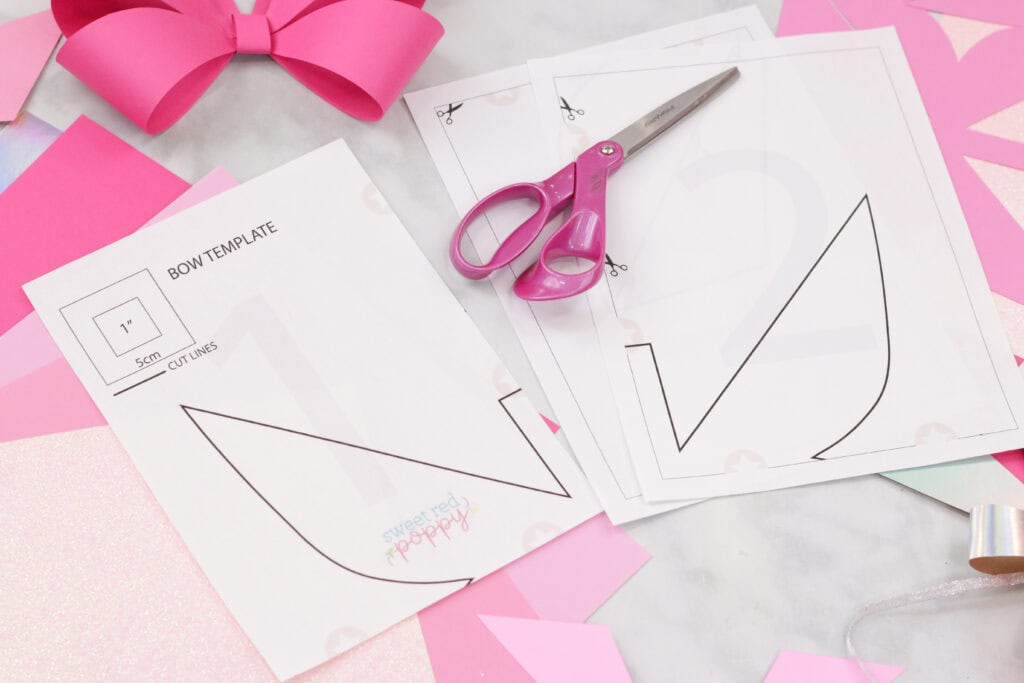
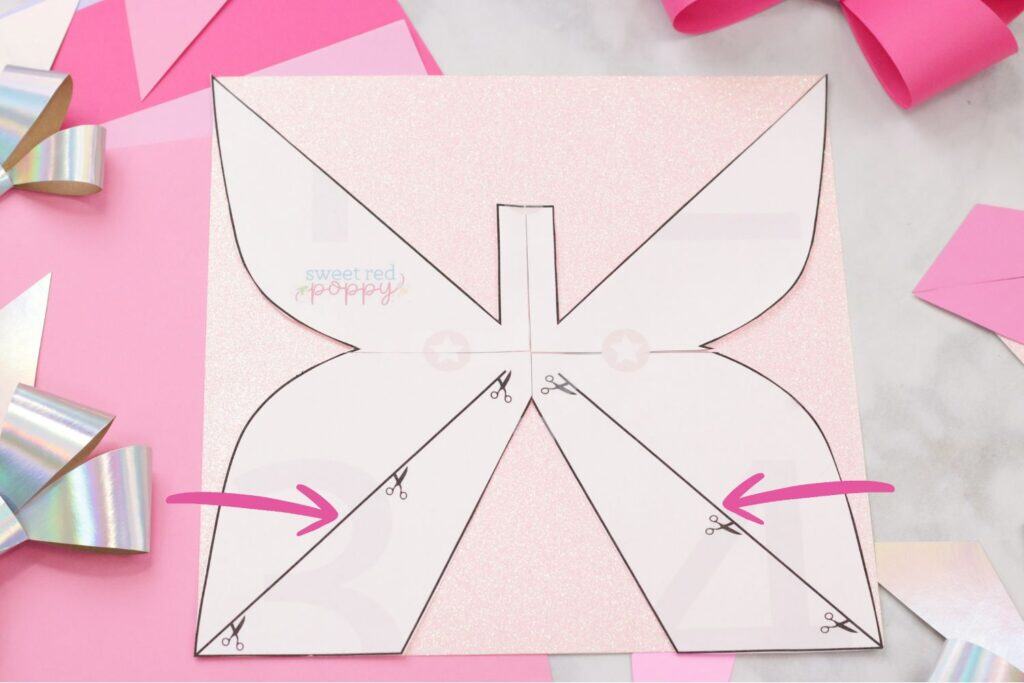
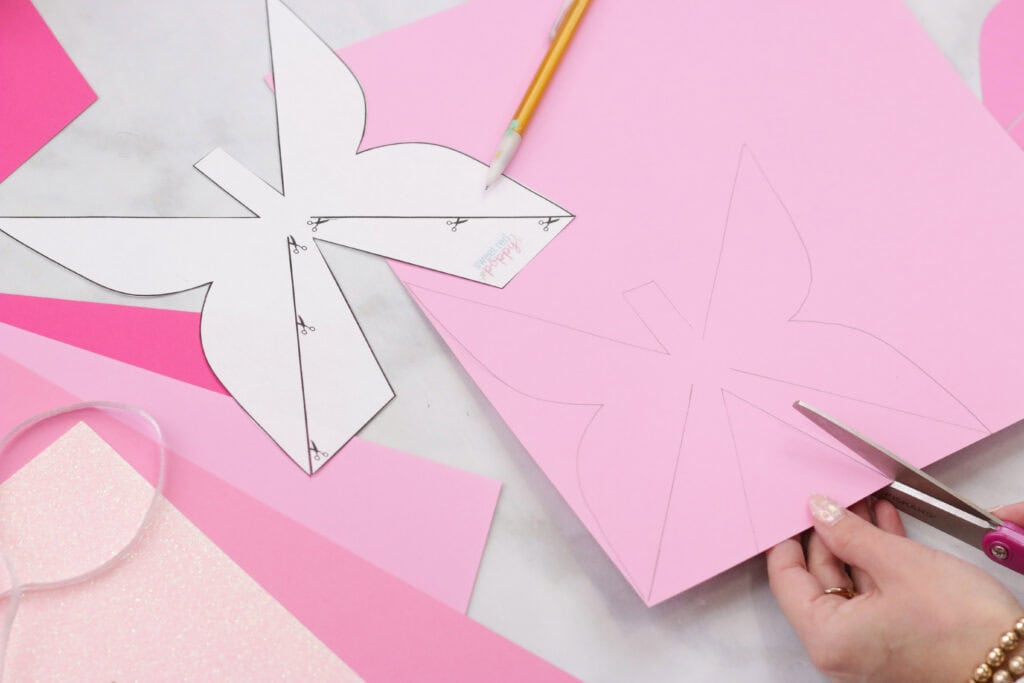
Place the template on top of a 12 x 12-inch cardstock and trace the design with a pencil onto the cardstock.
Cut out the bow from the cardstock and now it's ready to be assembled! Stack two pieces of paper together to cut out more bows at once.
Skip to Step 2 to learn how to assemble your bow.
How to Cut Bow Template with Smart Cutting Machine
If you're cutting your bows using a cutting machine, upload the SVG file to your cutting software. I'm using my Cricut Maker 4 and Cricut Design Space to cut out my bows. But the files are compatible with any cutting machine.
Learn how to upload SVG files to Cricut Design Space here!
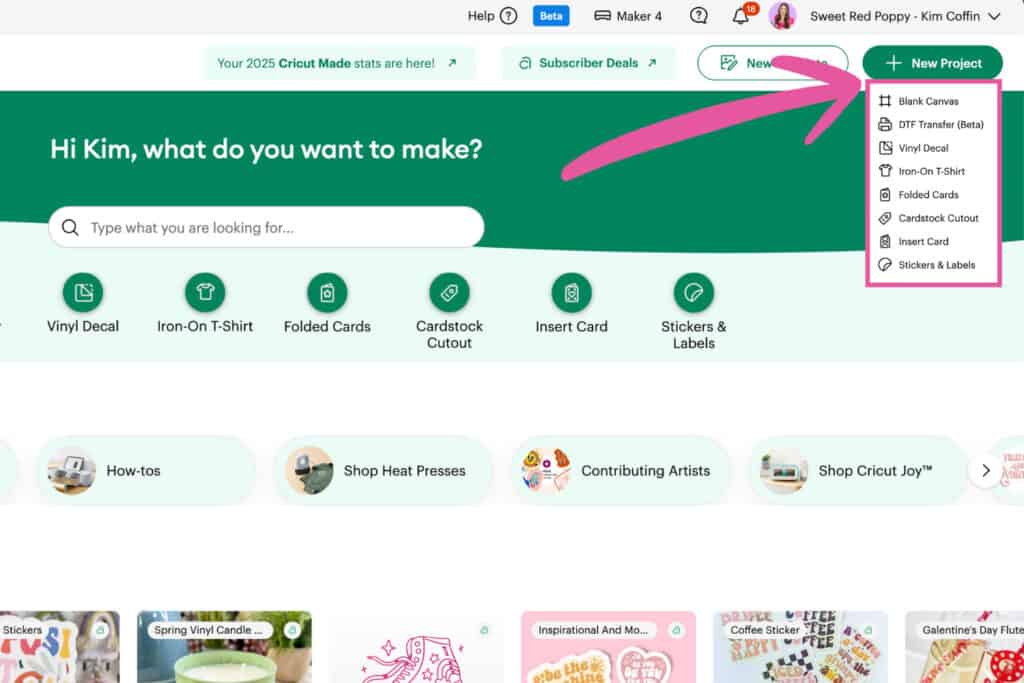
In Cricut Design Space, click "New Project" and select "Blank Canvas" from the dropdown menu.
On canvas, click "Upload" in the side panel, then "Upload Image," and either drag and drop the SVG file or click "Browse" to select it from your desktop.
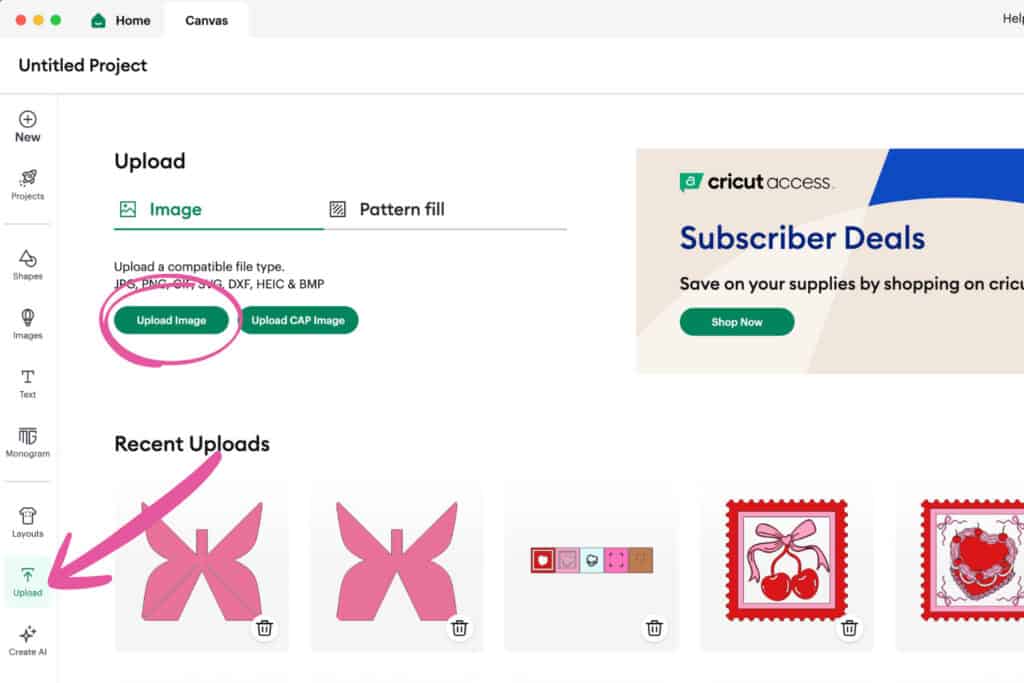
In your Recent Uploads, select the bow file you just uploaded, then click "Add to Canvas."
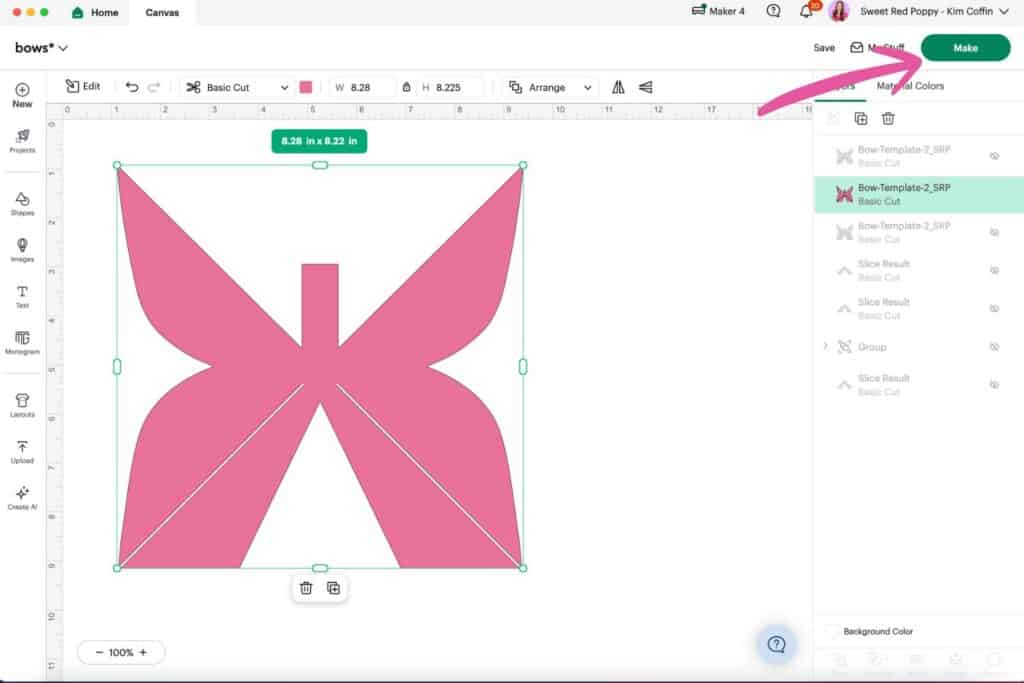
Once you've uploaded the template to your cutting software, the bow measures 12 x 12 inches. In Cricut Design Space, adjust the width to measure 11.75 inches to fit on a sheet of 12 x 12-inch cardstock.

Tip: For two bows to fit on a sheet of 12 x 12-inch cardstock, shrink the width of the bows to 6.8-inches to create a cute bow garland. Feel free to cut multiple that vary in size and color.
Once you're happy with the size click "Make" in the top right corner of the screen, load your material into your machine, select your material, follow Cricut's prompts, and cut out the bow template.
Step Two: Assemble Bow
The process of assembling the bow is the same whether you've cut by hand or with a cutting machine. Use the reference below to know which parts are which.
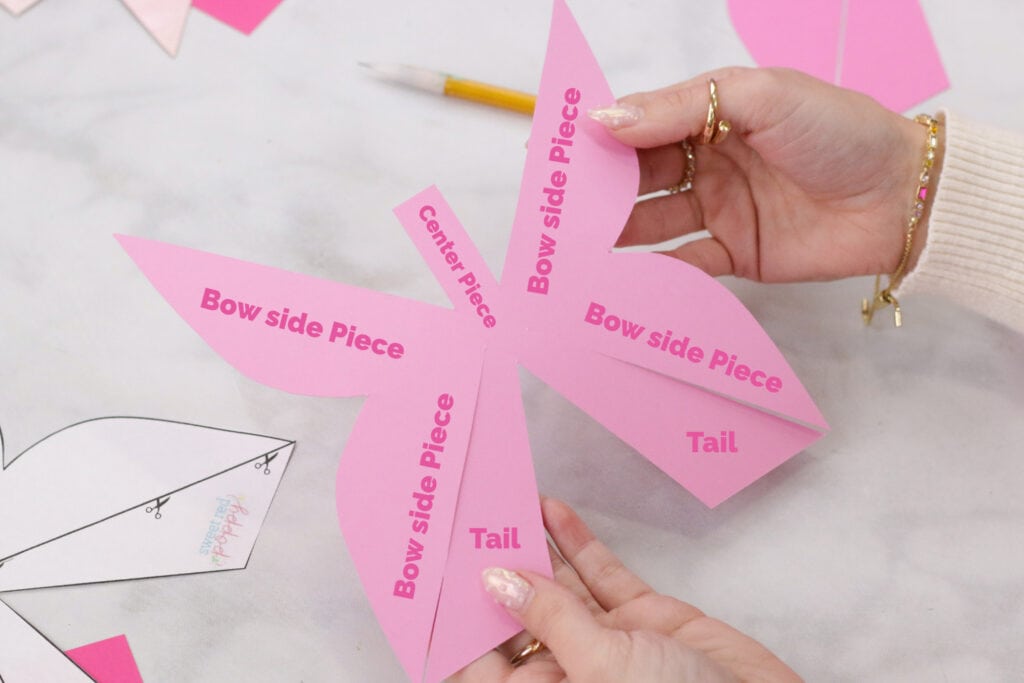
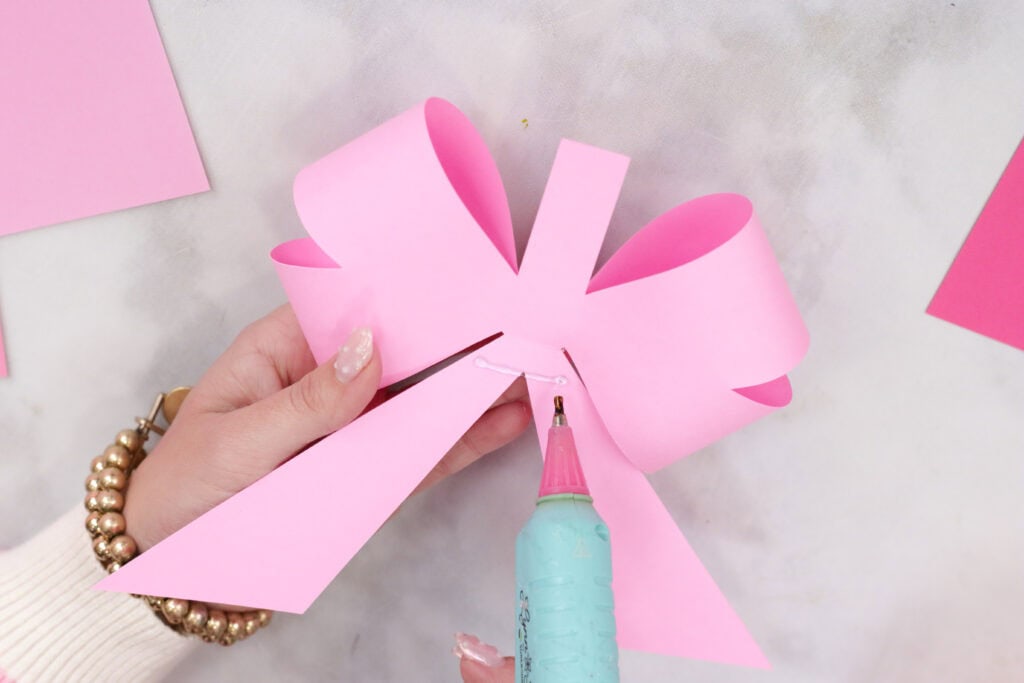
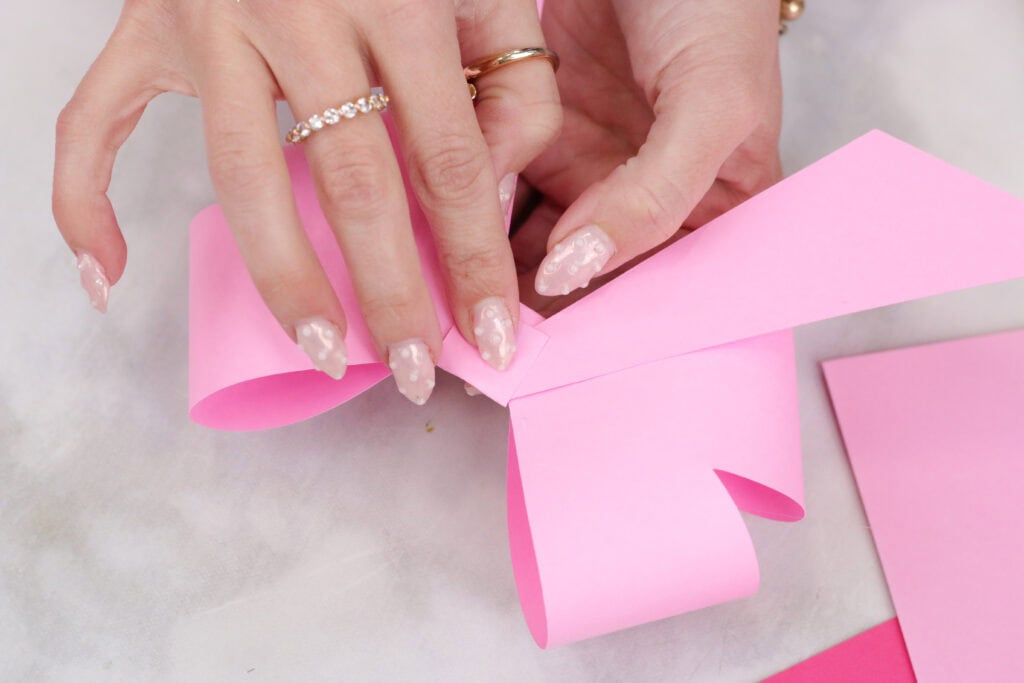
With a hot glue gun, add 4 dots of glue just below the center piece of the bow.

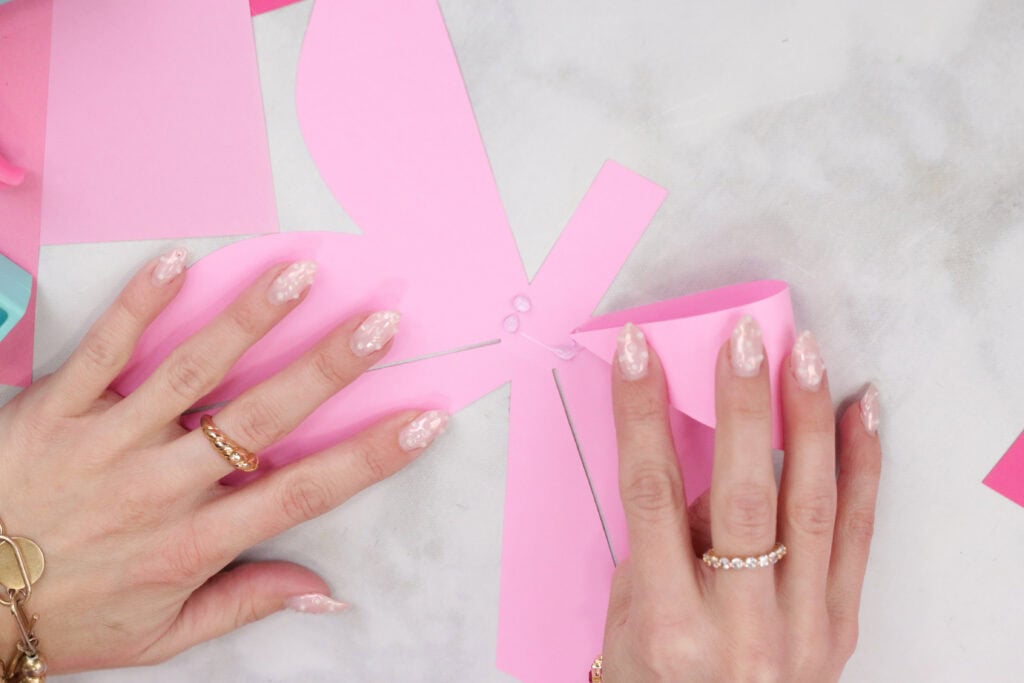
Bend one of the side pieces of the bow inward toward the center, adhering it to a glue dot.

Repeat this to the other 3 side pieces.
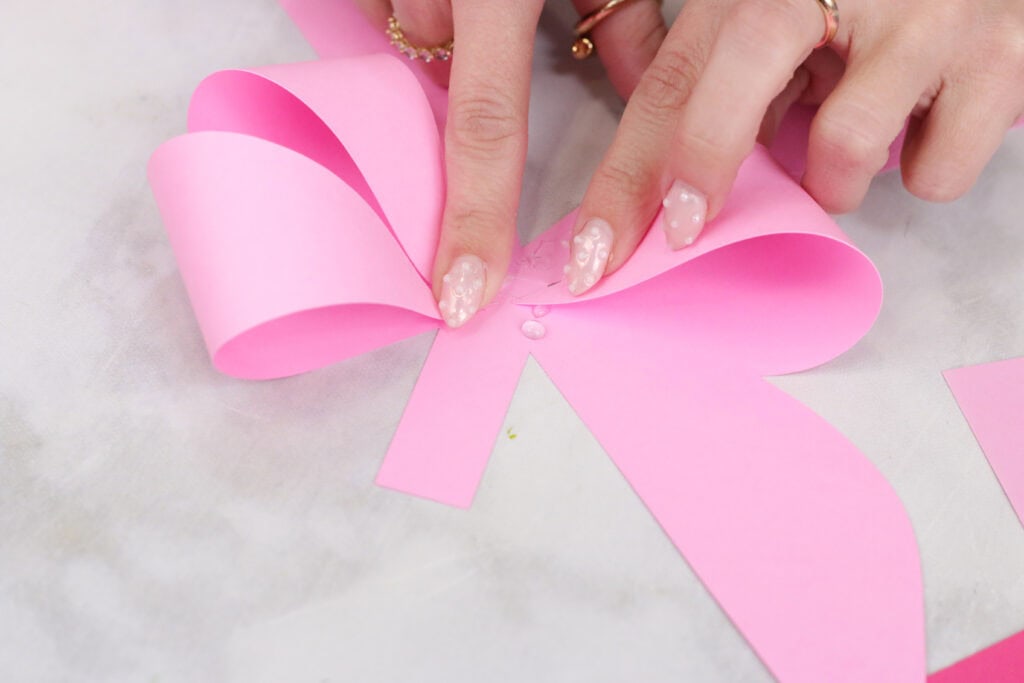
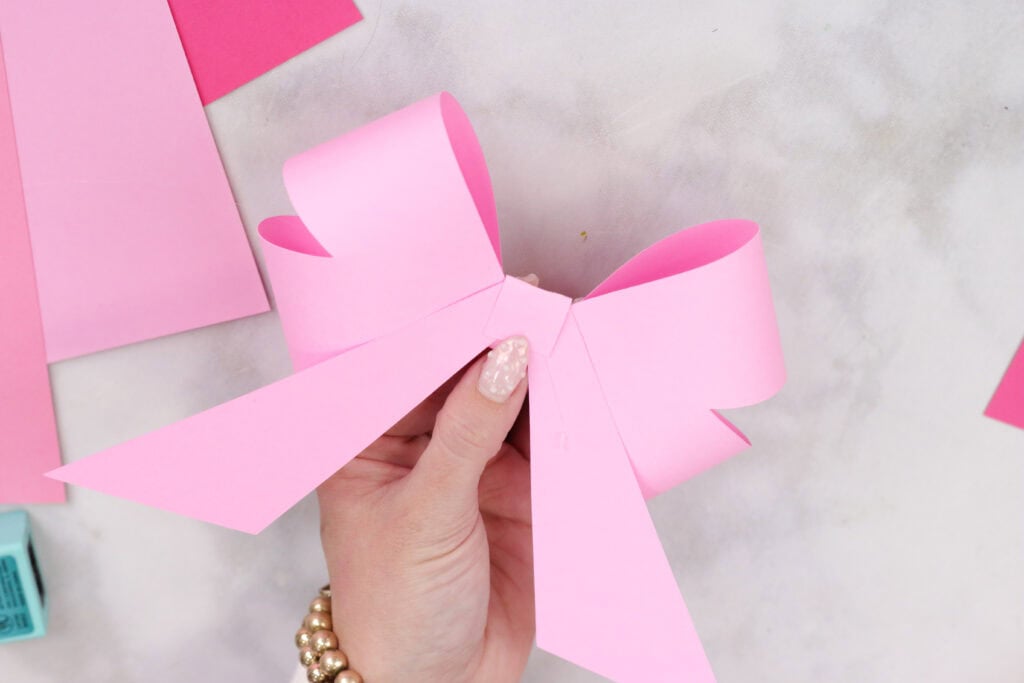
Next, turn your bow over to the back, and draw a line of glue just above the tails. Then, fold the tails upward toward the center piece and press into place. Once dried, flip the bow right-side up.

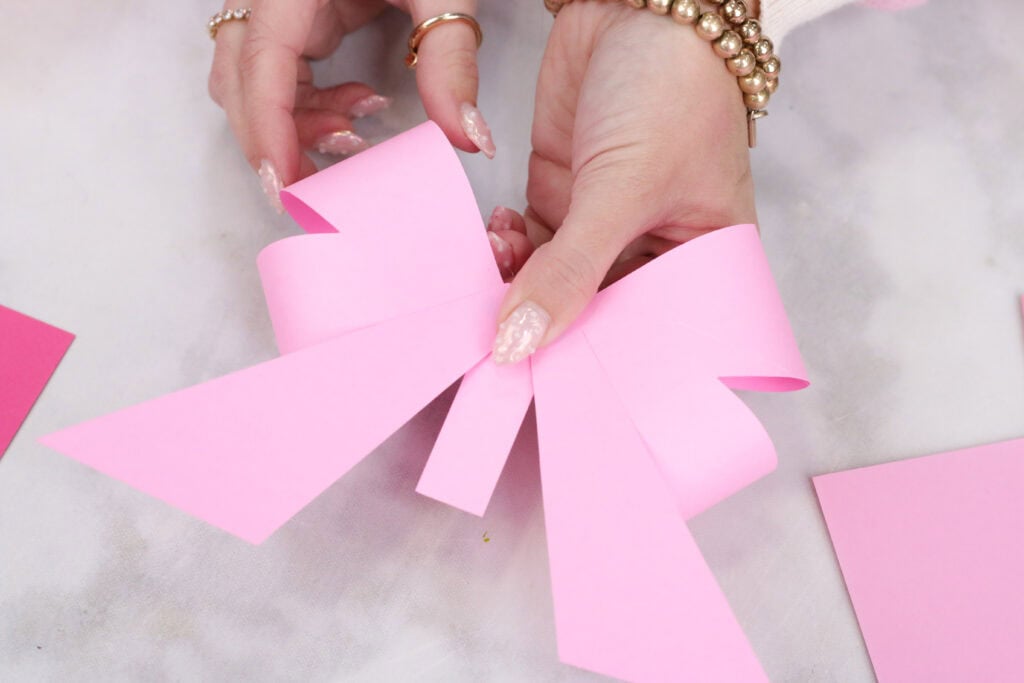
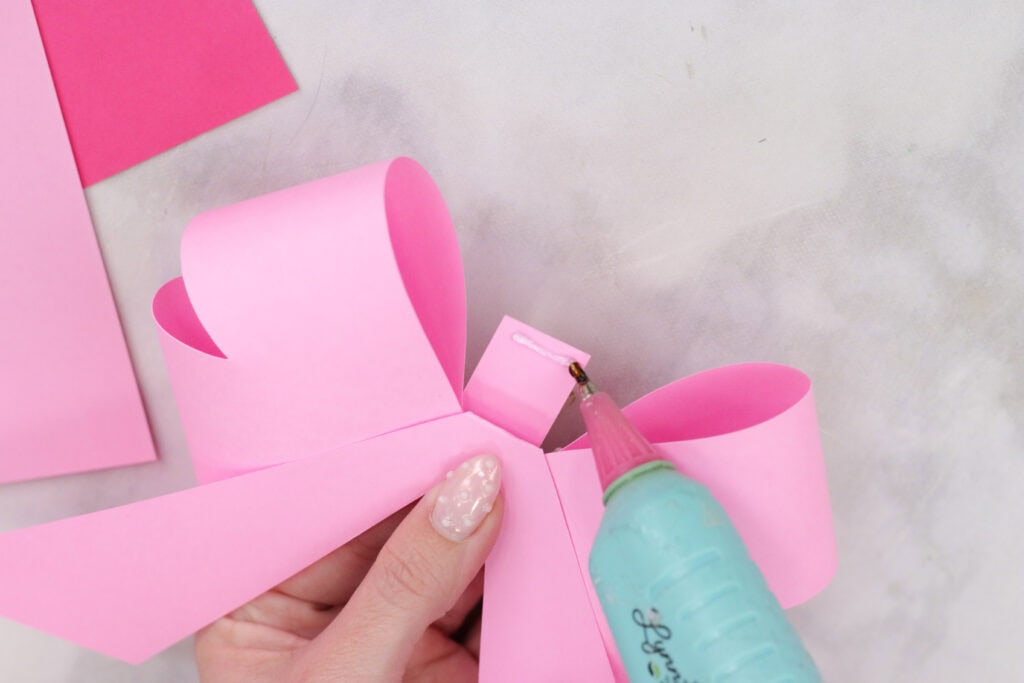
Finally, grab the center piece and wrap it around the center, adhering it to the back.
Make sure not to smash the loop flat; it should be curved to create a nice, rounded bow loop.
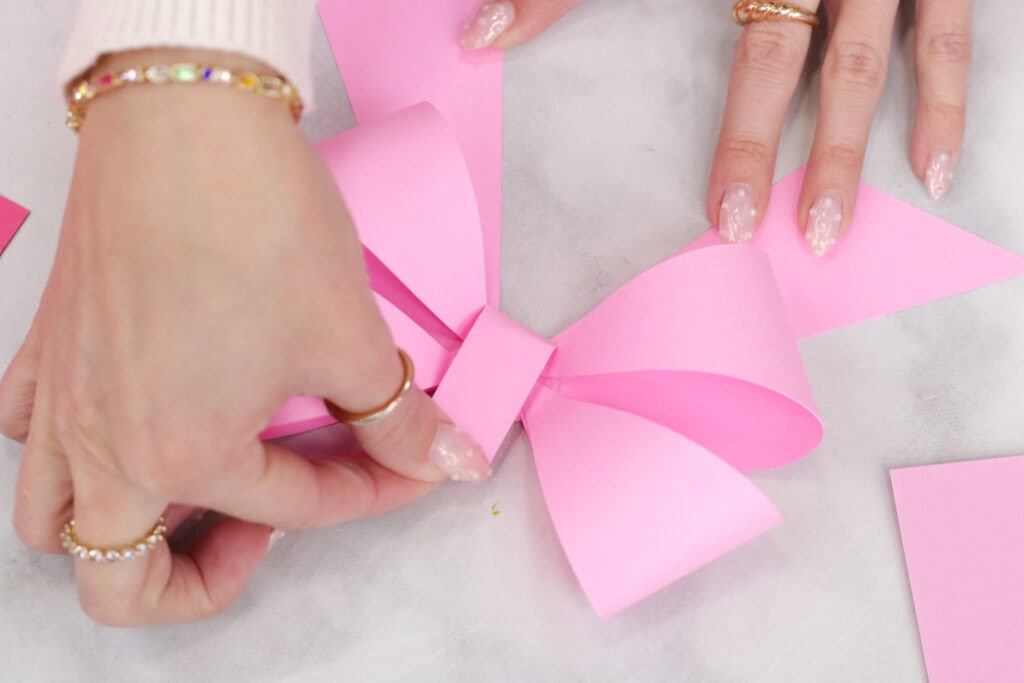
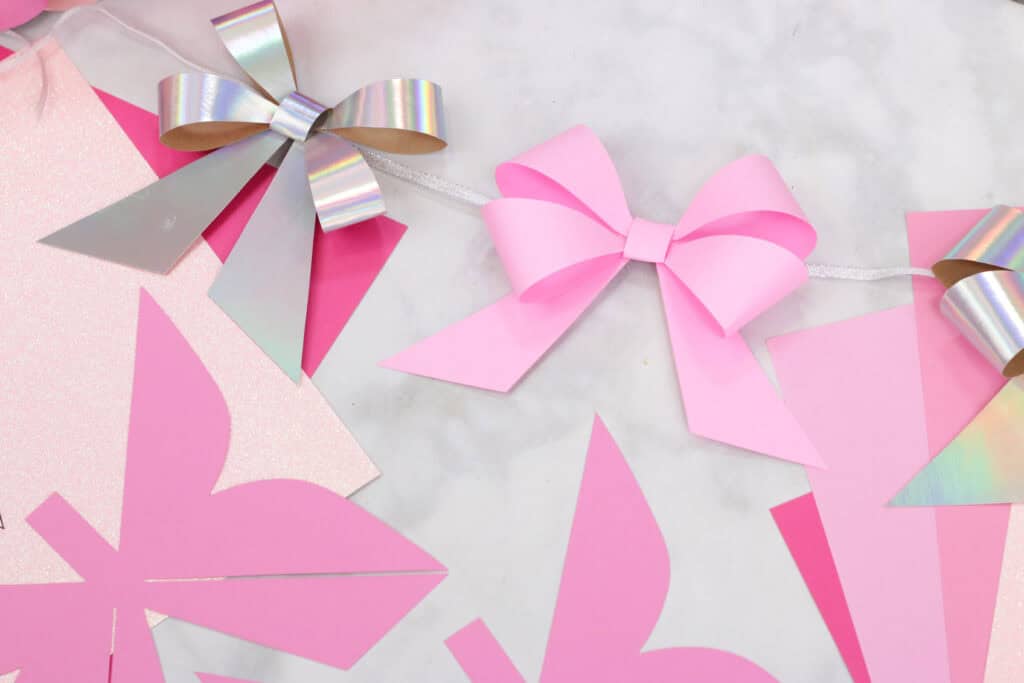
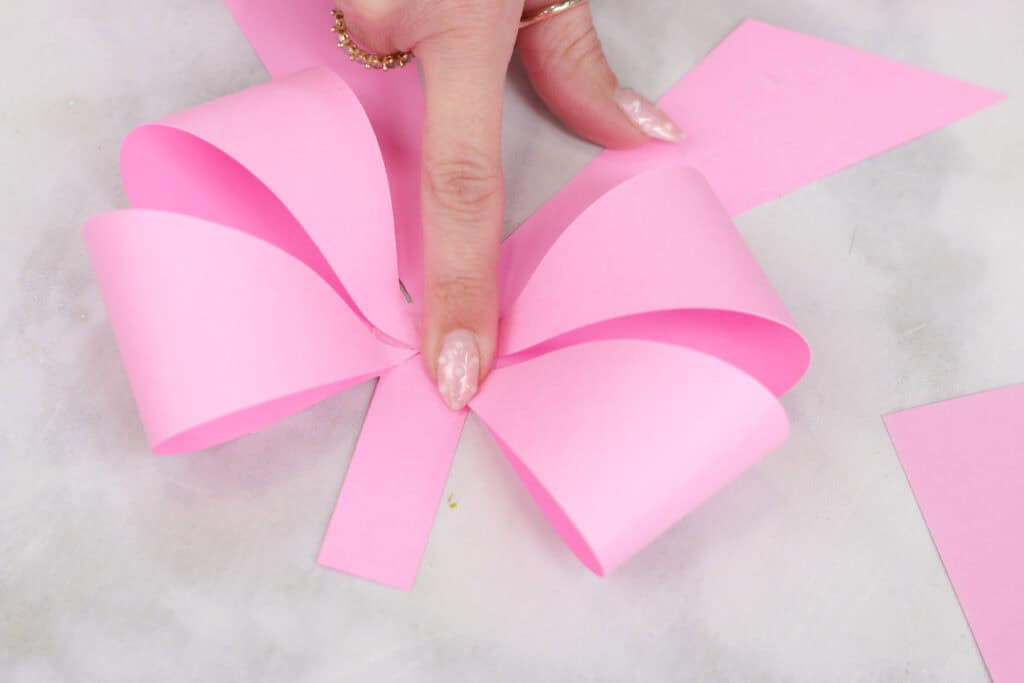
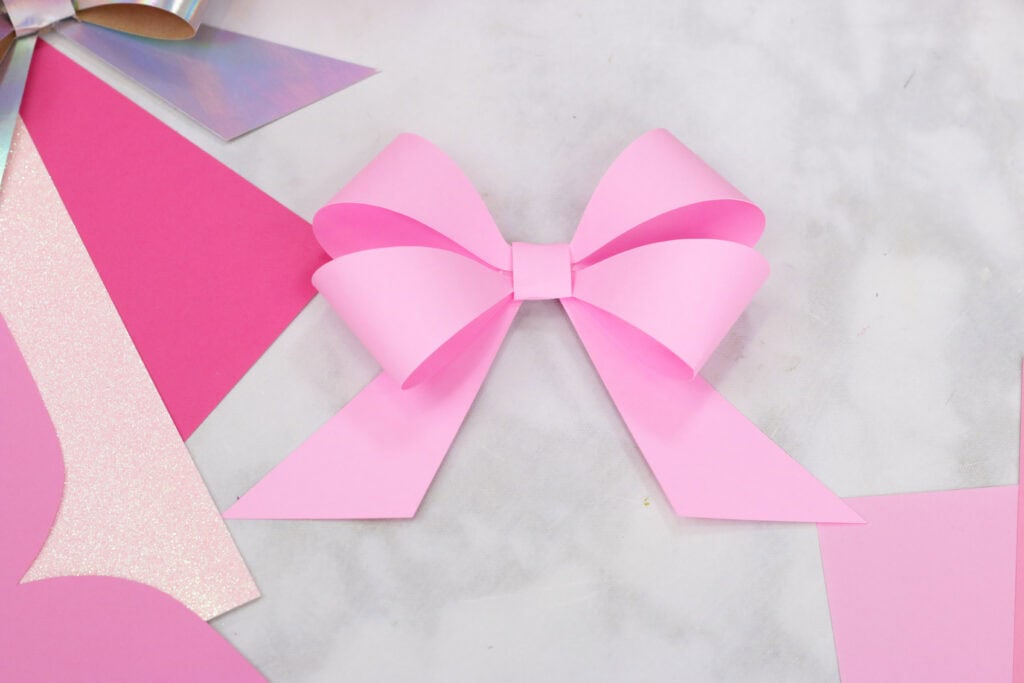
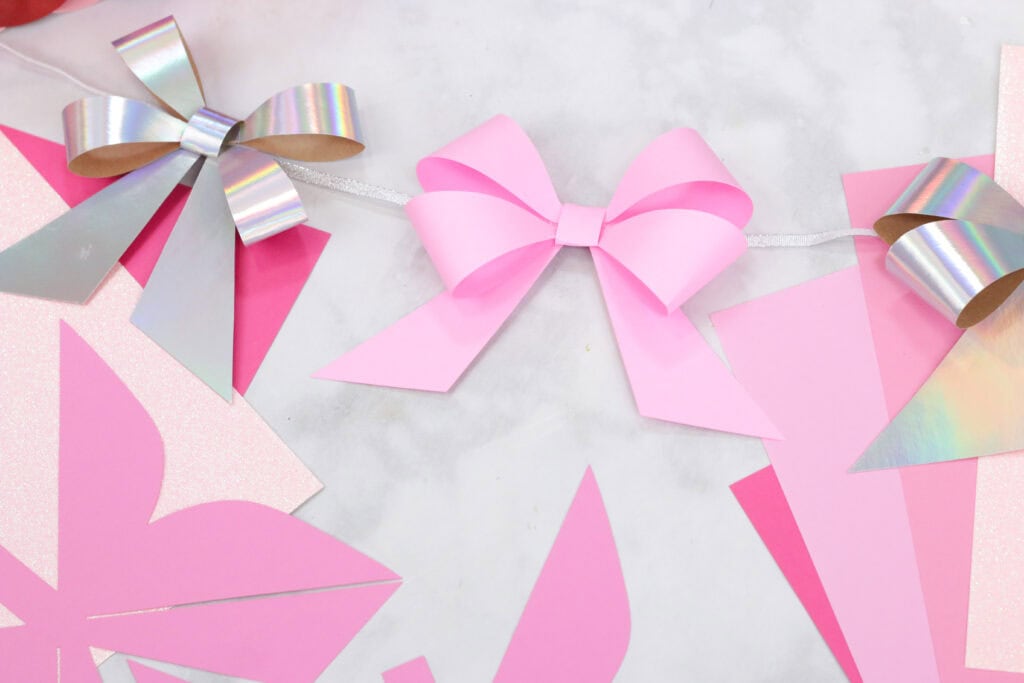
Finished Bow
And just like that, you have a bow! Your bow should look like 4 rounded pieces with two tails.
How to Make a Bow Garland
To create a bow garland, cut a piece of ribbon to the length you want and cut at least 10 bows to fill the length.
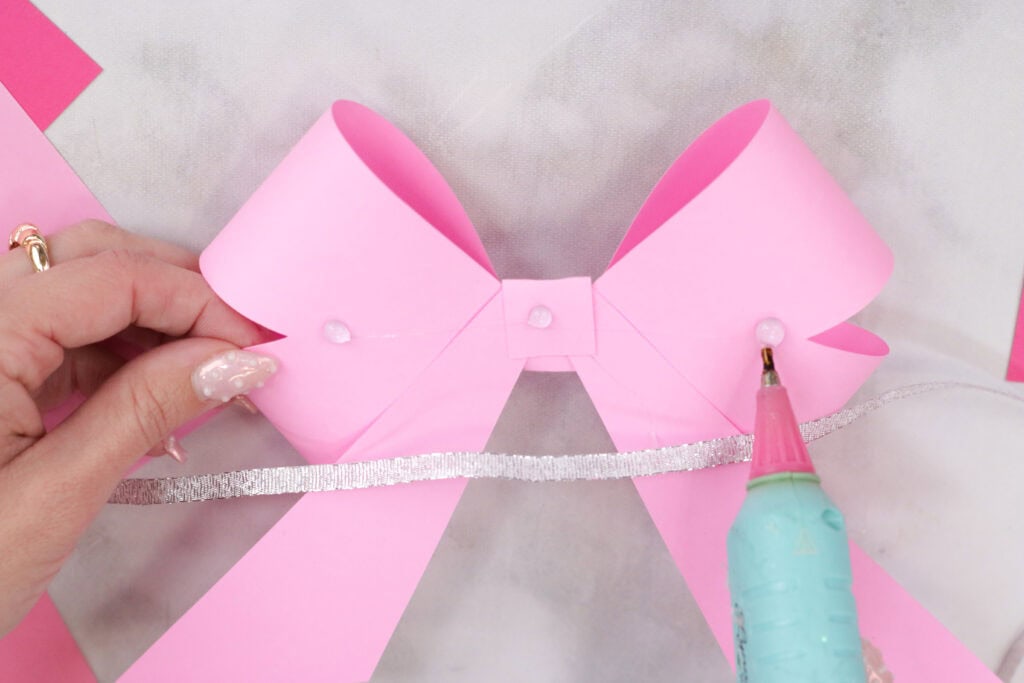
Add 3 dots of glue to the back of the bow and stick the ribbon in place. Repeat this to the rest of you bows.
Your garland is ready to be displayed for the holidays! I hope this tutorial was helpful and you had a lot of fun creating your bows.
Don't want to forget about this template save it to Pinterest!
Want more bows? Check out these blog post tutorials below!
Love these bows. super cute.
Thank you for sharing!