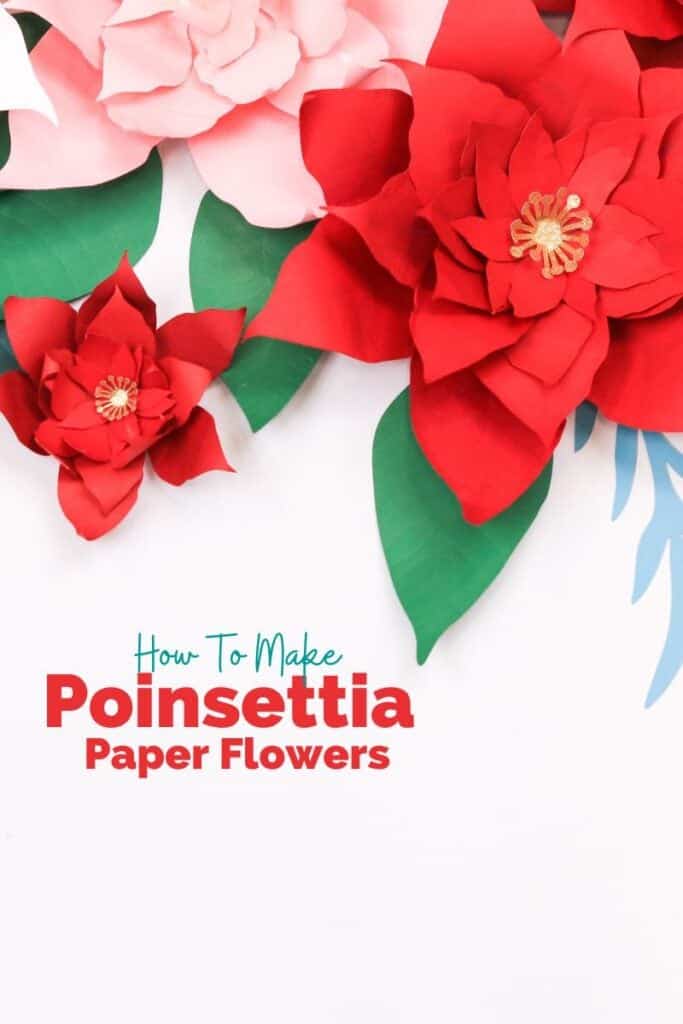
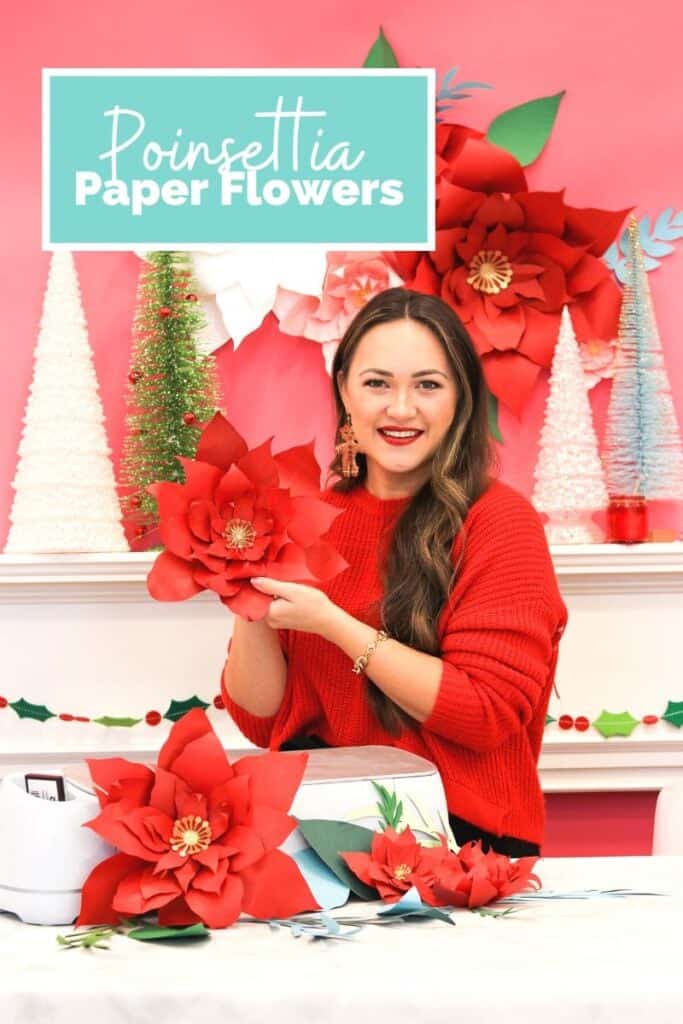
Learn How to Create a Poinsettia Flower Out of Cardstock with This Free Template and Tutorial
It has been a little since we made a paper flower, so I am excited to show you how to make this poinsettia paper flower design! This ornamental flower occurs during the holiday season, making it the perfect holiday craft.
If you've read my paper flower blog posts from the past, you know I like to research flowers while making them.
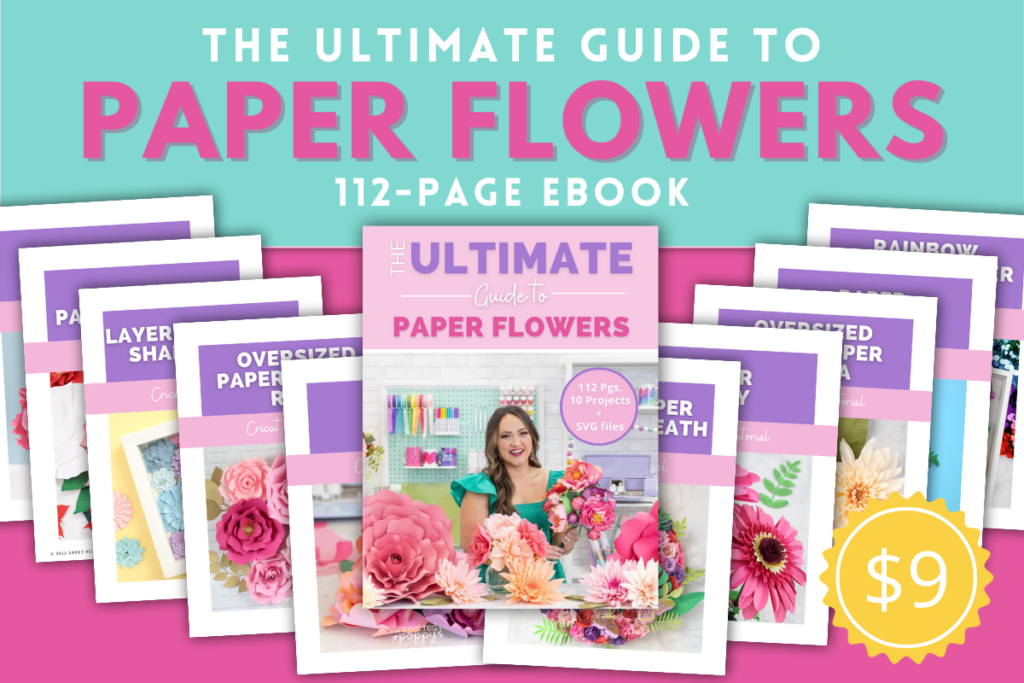
Looking for even more paper flowers??? Get access to ALL of my printable paper flower tutorials and flower SVG files in myUltimate Guide to Paper Flowers Ebook by clicking here!
During the process, I learned the flower is not poisonous but is known to cause side effects, so If you have pets but still want a poinsettia in the house this holiday, making a realistic paper flower is a great alternative.
I also looked at the characteristics and details of a poinsettia flower. It grows leaflike petals called bracts. The bracts have primary and secondary, symmetrical veins. The actual flowers are found in the center of the leaves and do not look like traditional flowers - the flower is a neat structure of tiny clusters.
A poinsettia flower comes in many colors in different shades other than red: pink, light pink, white, blue, and pale yellow.
Dimensions of Poinsettia Flower
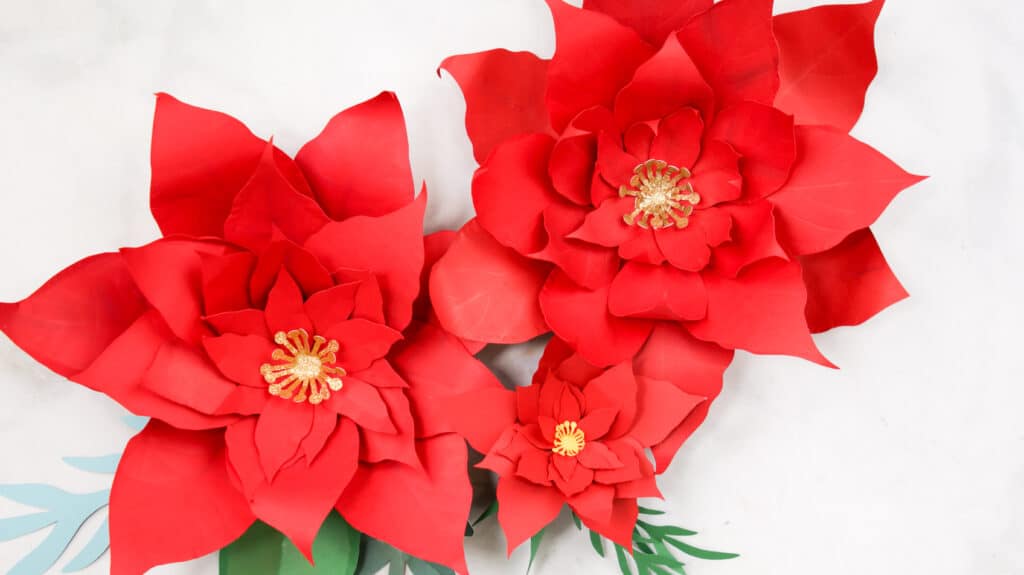
This design comes in three sizes to showcase this holiday season: small (5”), regular (10"), and jumbo (14").
What Type of Paper Should I Use?
For the center of the poinsettia flower, I used a glitter cardstock to give the flower some sparkle for the holidays and 65 lb red paper for the petals.
I recommend using a Solid Core Cardstock between 65-80lbs. This cardstock is easier to manipulate but strong enough to hold the shape of the flower. The solid core paper is best because it's dyed from the inside out and will not show white edges when cut, and the project will look more professional overall.
I don't recommend white core for this project because it's printed with color on each side of a white piece of paper, and the inside stays white. So if cut or torn, you will see white edges.
How Much Paper Do I Need?
One regular poinsettia requires three pieces of 12" x 12" paper, plus one piece of 8.5" x 11" for the cyathia (center) and three to four pieces of 12" x 12" cardstock for the greenery.
A small poinsettia flower requires one 12" x 12" or 8.5" x 11" piece of paper, One 8.5" x 11" for the center, and one 12" x 12" or 8.5" x 11" for the greenery.
The jumbo poinsettia requires six to eight 12" x 12" pieces of paper for the petals, one 8.5" x 11" or 12" x 12" piece of paper for the center. The greenery requires four to five 12"x 24" pieces of paper. If you don't have 12" x 24" on hand- tilt the simple leaves around forty-five degrees, then it will fit onto one 12" x 12" piece of cardstock.
Why Use Pan Pastels?
I recommend trying this out at least once when making your paper flowers. A pan pastel is a soft pastel compacted into a pan-like container. I love applying pastel because it adds depth to any project, gives a flower a more realistic look, and adds an extra fun step.
You could also use dry pastel sticks, but they can get your hands dirty because they produce more dust. When using this technique, I suggest wearing some gloves.
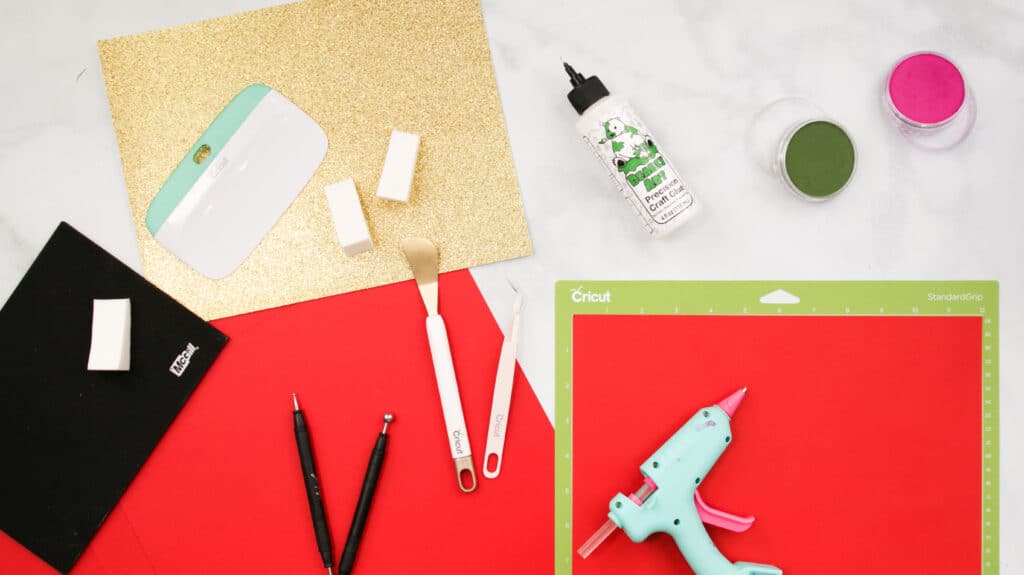
Supplies Needed:
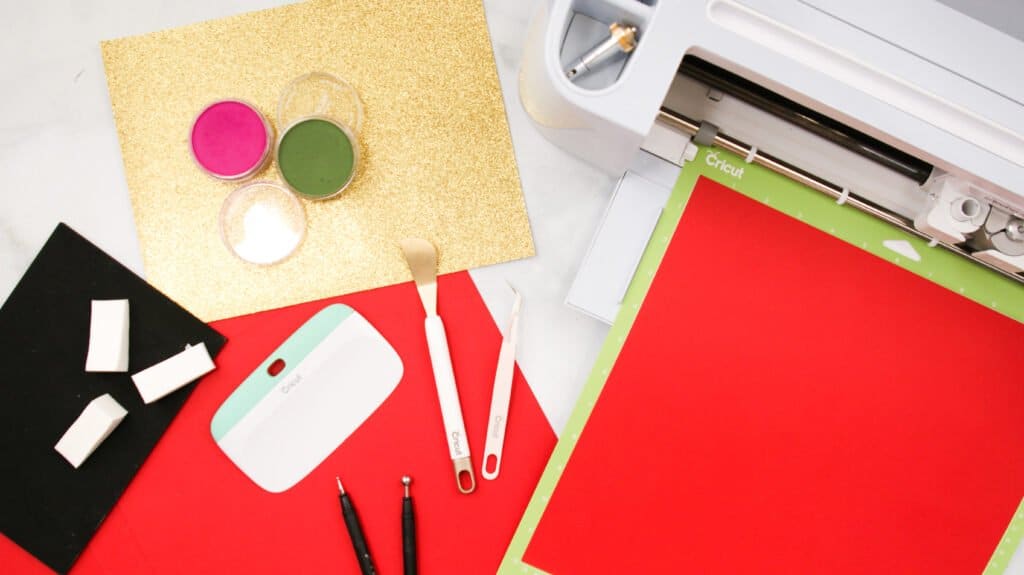
- Cricut Maker, Cricut Explore, or Other Cutting Machine
- StandardGrip Mat
- Cardstock 65 lbs
- Fine-Point Blade
- Scraper Tool
- Hot Glue or Bearly Arts Craft Glue (This is my favorite tacky adhesive)
- Use the code SRP10 to save 10%
- Flower Shaping Mat
- Pan Pastel Kit, or Individual Pan Pastels
- Sponges
Table of Contents
Download the FREE SVG File Here
OR scroll down to purchase an ad-free printable tutorial & SVG file bundle.
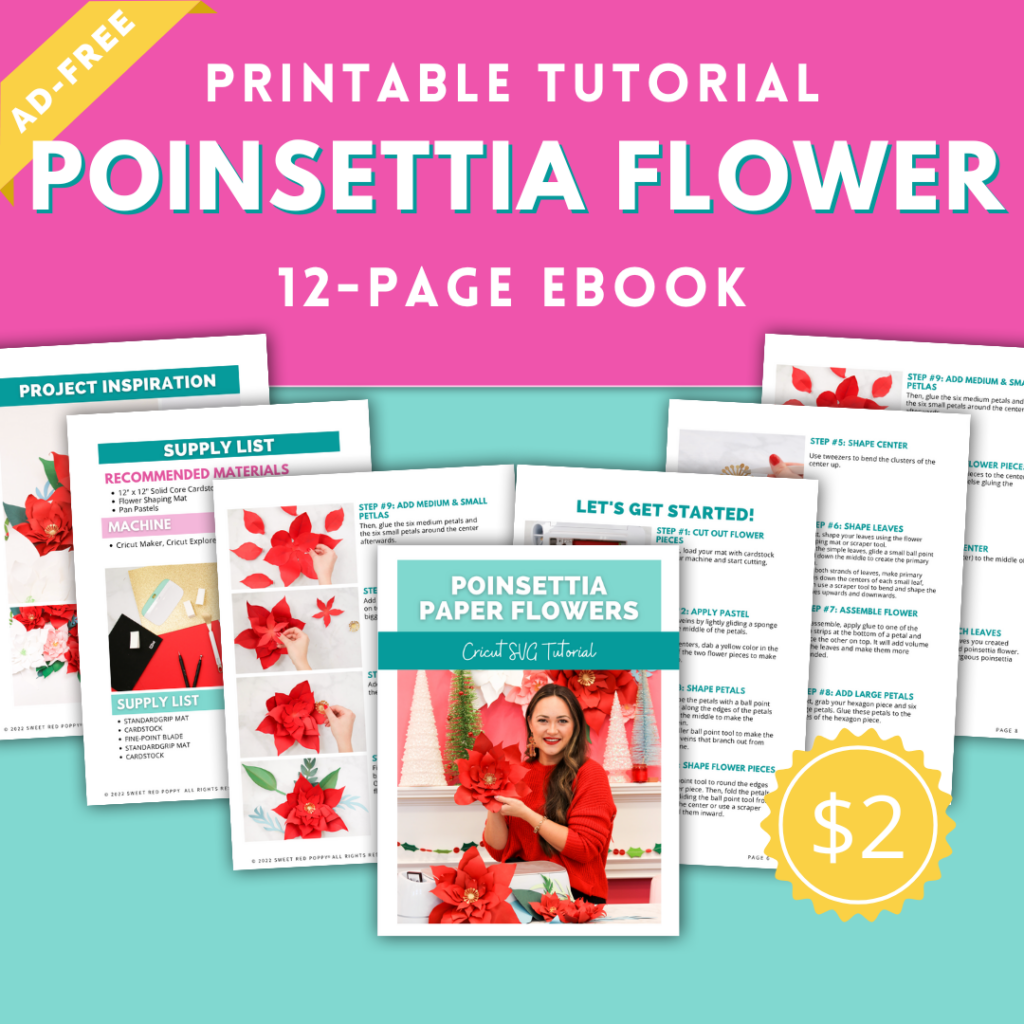
Purchase an Ad-Free Printable Tutorial Here
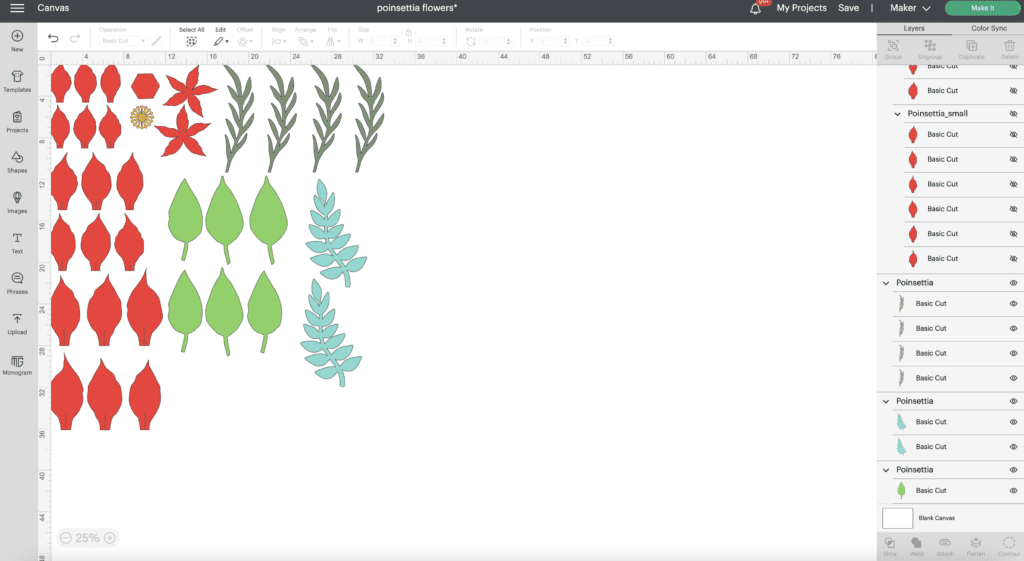
Upload Design to Design Space
To cut out the design, go to Design Space, click "Upload" in the bottom left panel, and upload the Poinsettia flower design to your canvas. Feel free to "Ungroup" the design in the layers panel and change the colors in the operation section. Then, click "Make It" in the top right corner.
Step One: Cut Out Poinsettia Flower
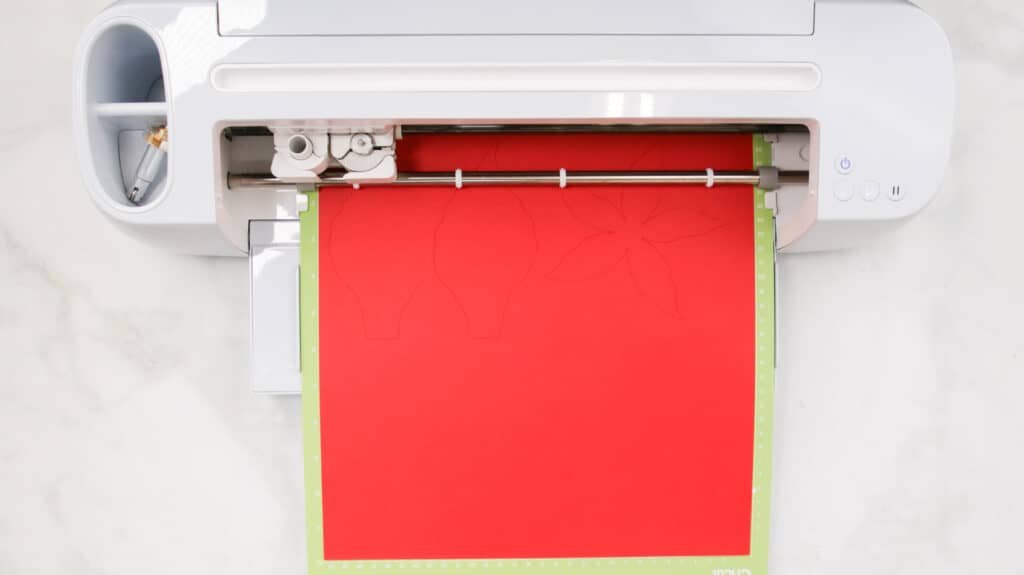
Before making this flower, we need to cut all of the flower pieces.
Load your mat with paper into your machine and start cutting.
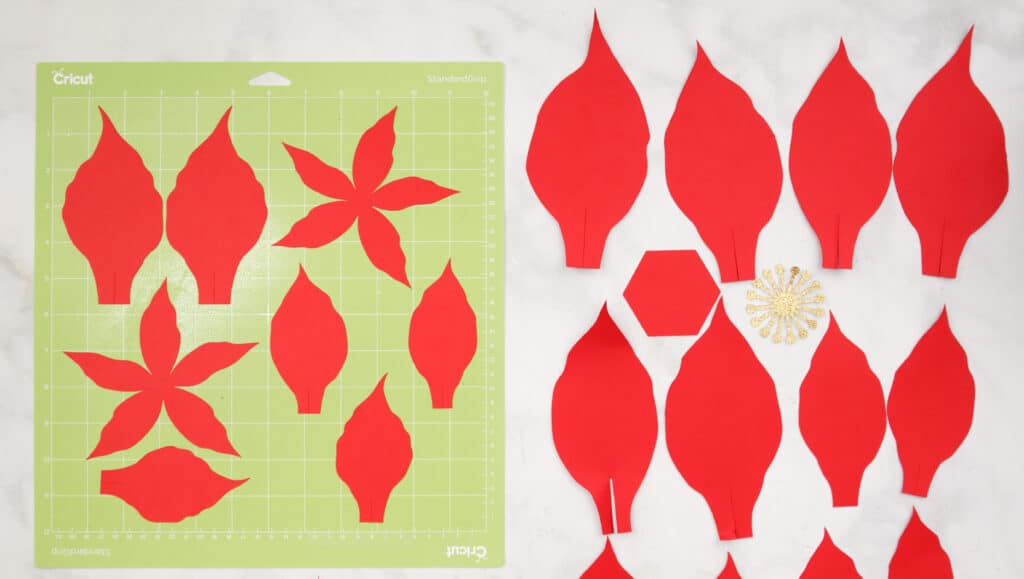
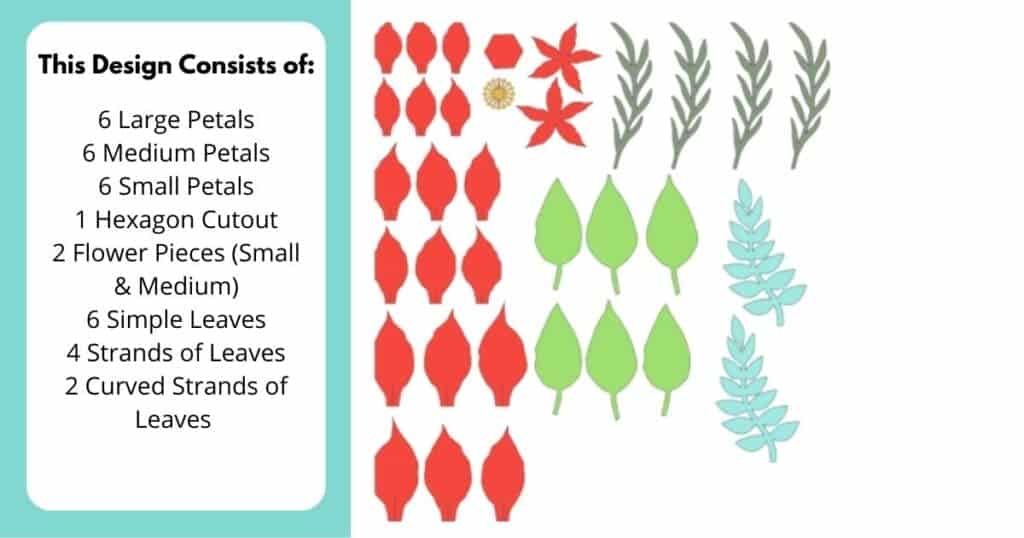
Poinsettia Paper Flower Design Consists of:
(Optional) Apply Pastel:
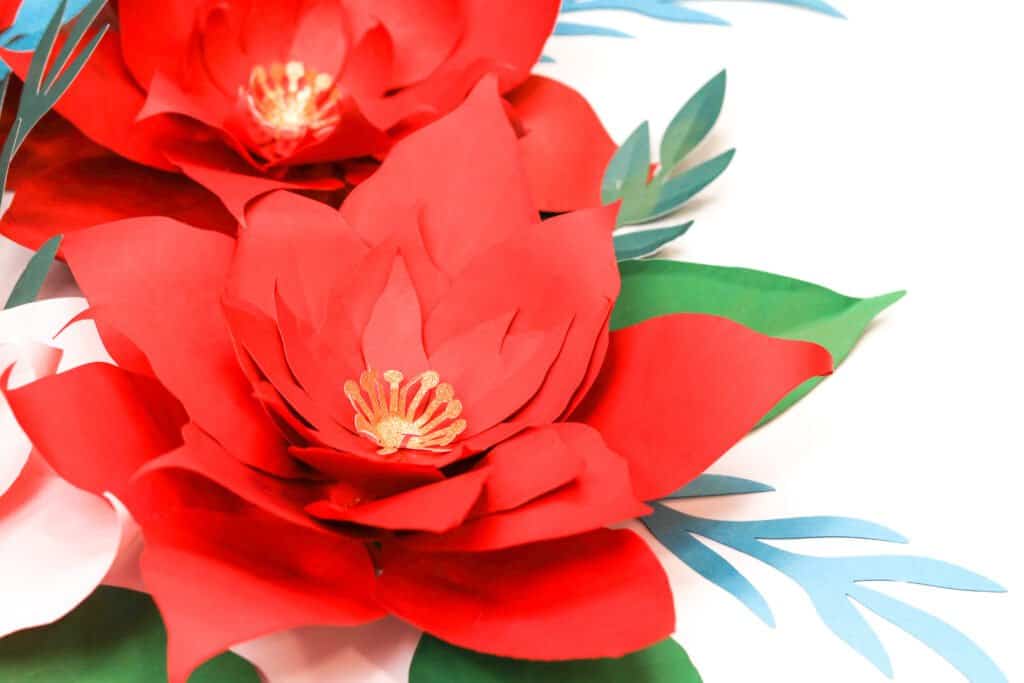
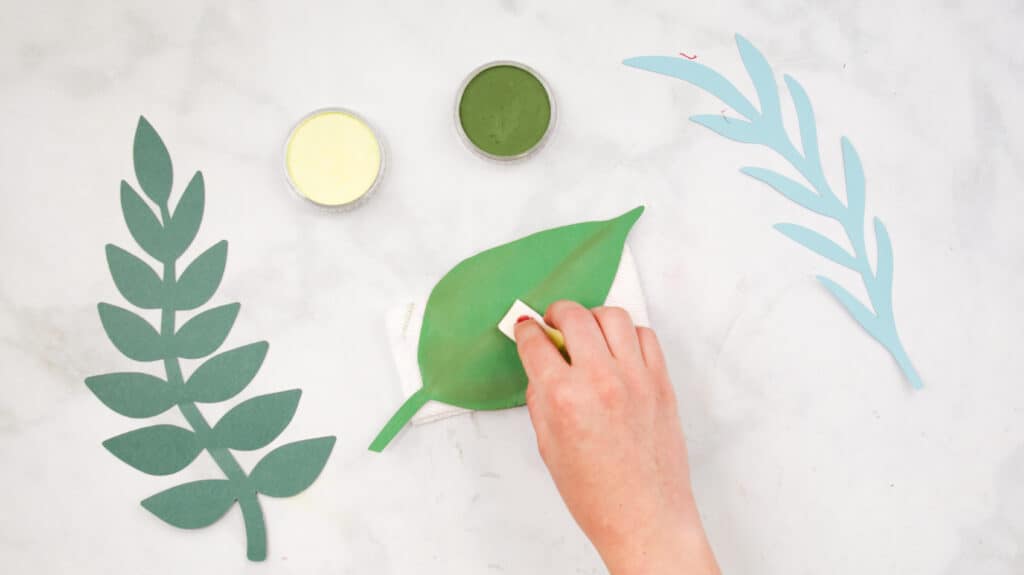
When you look at a poinsettia flower, notice it has a darker color around the edges or a gradient starting from the center and moving outwards depending on the color of the flower.
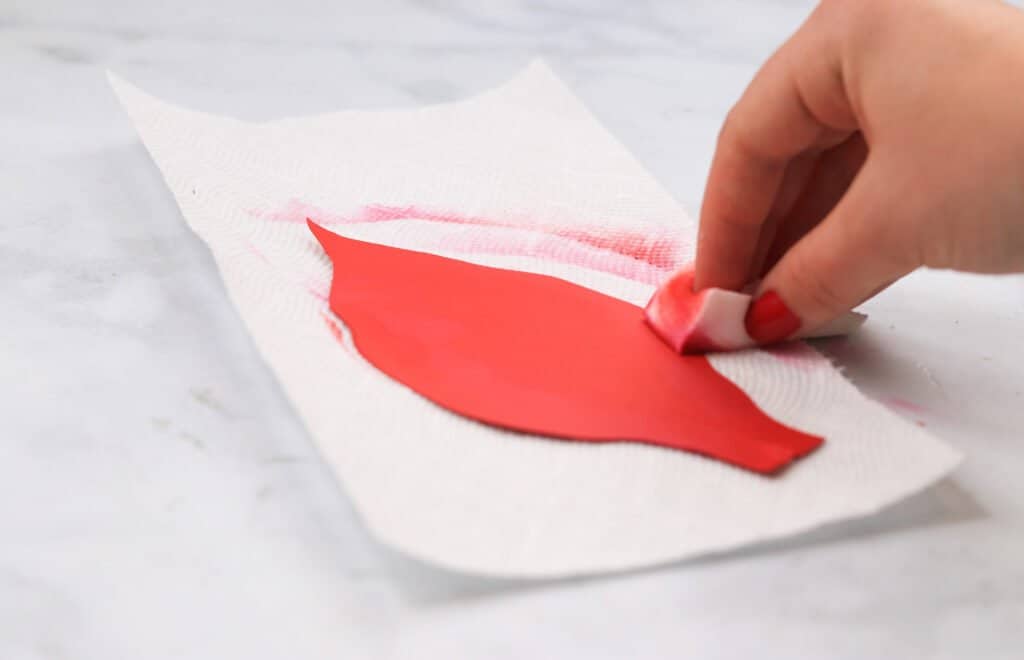
To achieve this look, I dabbed a darker color around the blades of the flower pieces and a lighter color towards the tip with a sponge. Then, I added the veins by lightly gliding the sponge down the middle of the petals. (I found that using a shimmery gold pan pastel on top of the veins elegantly highlights them).
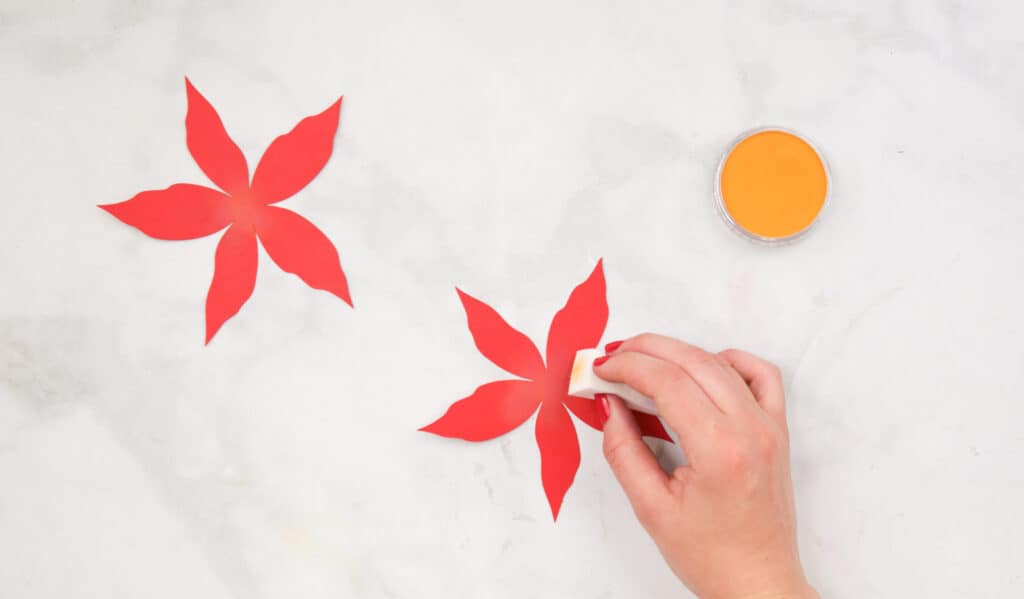
For the centers, I dabbed a yellow color in the middle of the two flower pieces to make them pop.
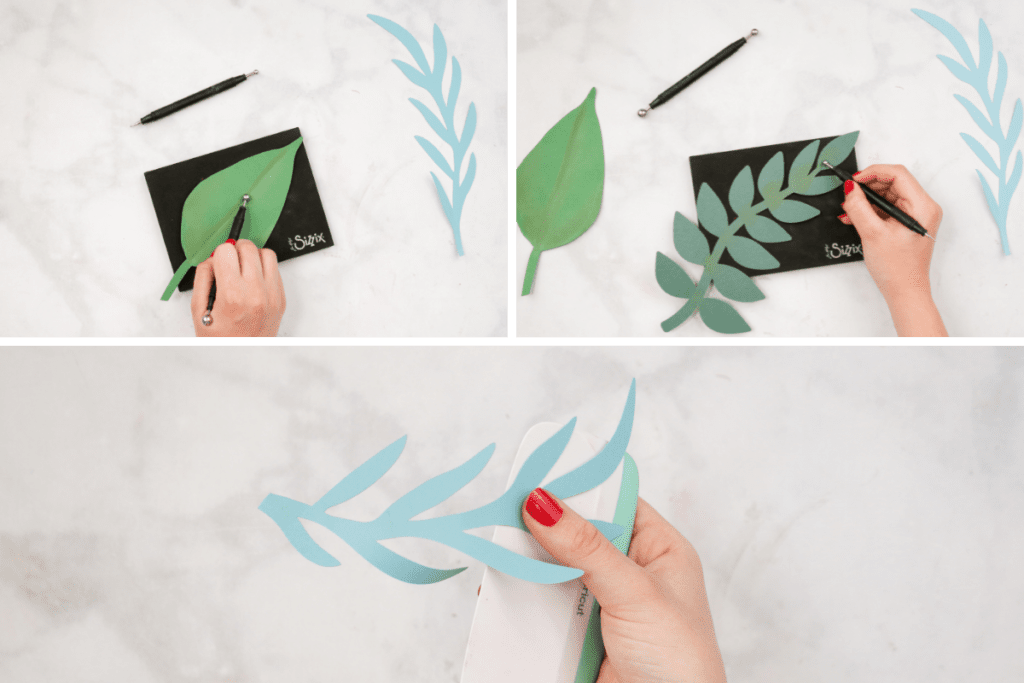
Step Two: Shape Flower Pieces
The next step is to shape your flower. There are many techniques you can use to shape this flower. Using a flower shaping mat with a ballpoint tool to round the edges of the pedals is the technique I will be using to shape this flower.
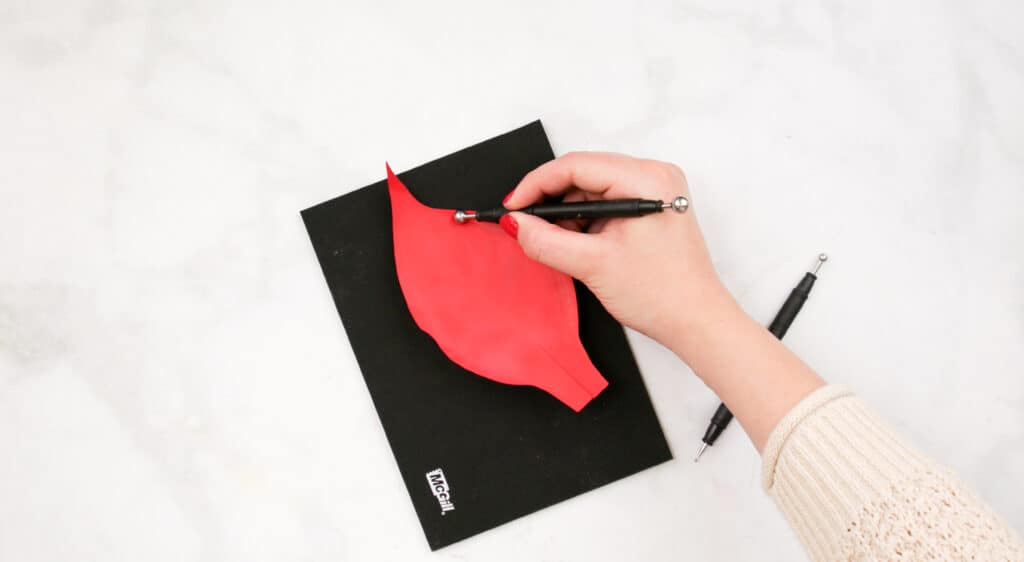
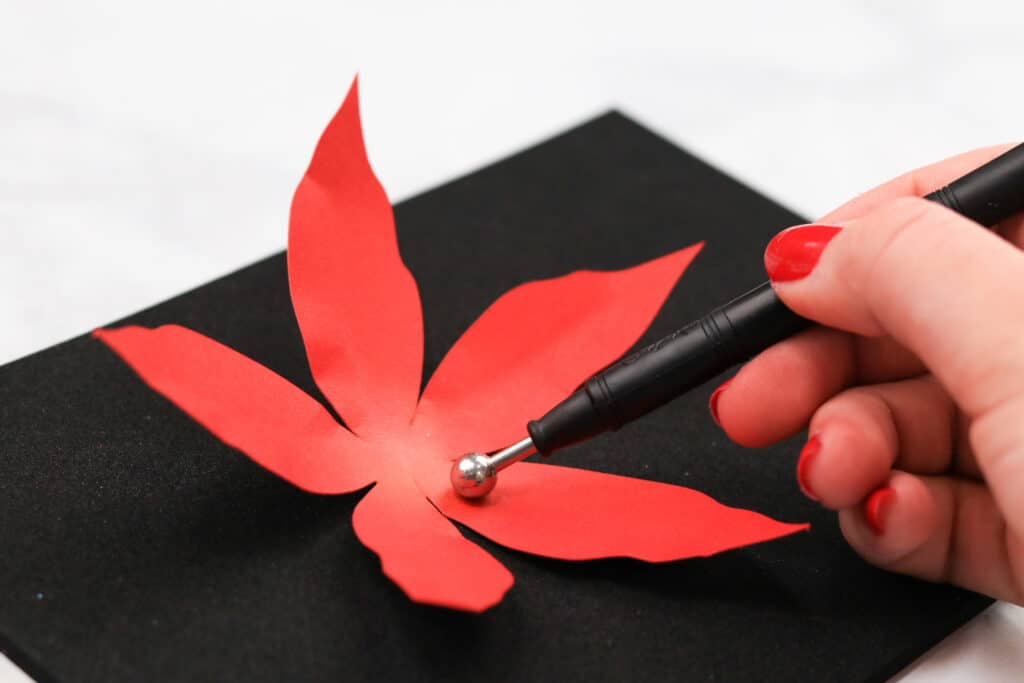
Apply pressure with a ball point tool and glide it along the edges of the petals and down the middle to make the primary vein. Use a smaller ball point tool to make the secondary veins that branch out from the main one.
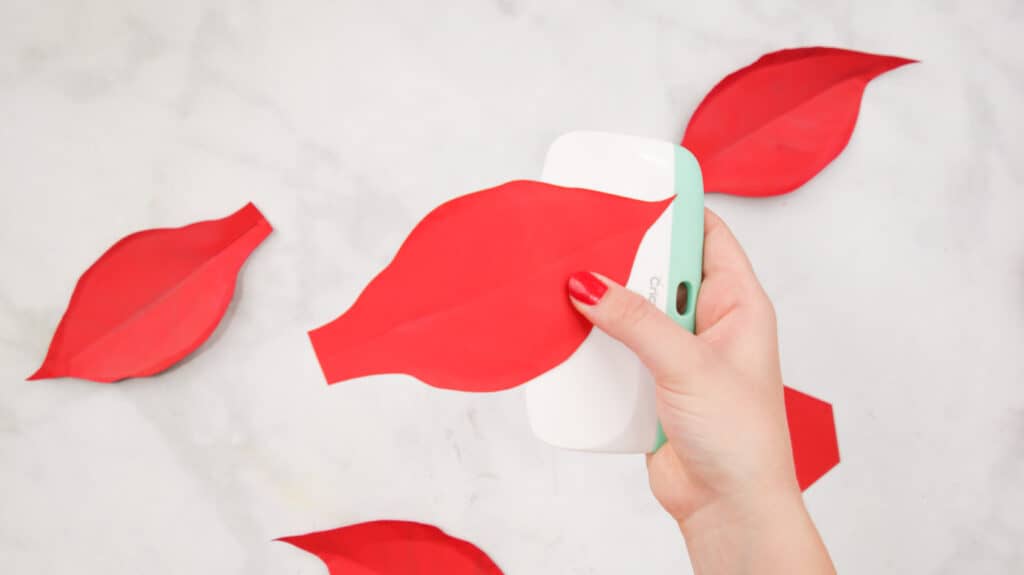
Another technique would be to use the scraper tool to give it the organic shape by scraping the tool against the pieces and bending it downwards or upwards to give it more volume.
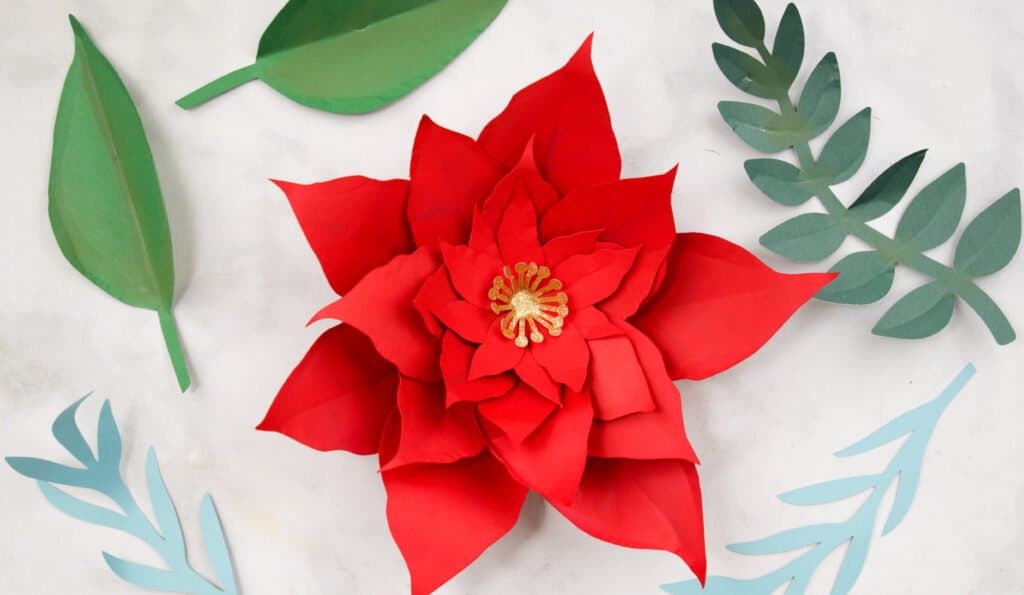
Step Three: Assemble Poinsettia Flower
To assemble, apply glue to one of the two strips at the bottom and place the other on top. It will add volume to the leaves and make them more rounded.

Next, grab your hexagon piece and six large leaves/petals. Glue these petals to the sides of the hexagon piece. Then, glue the six medium petals around the center and glue the six small petals to the center afterwards. Add the two flower pieces to the center on top of everything else.

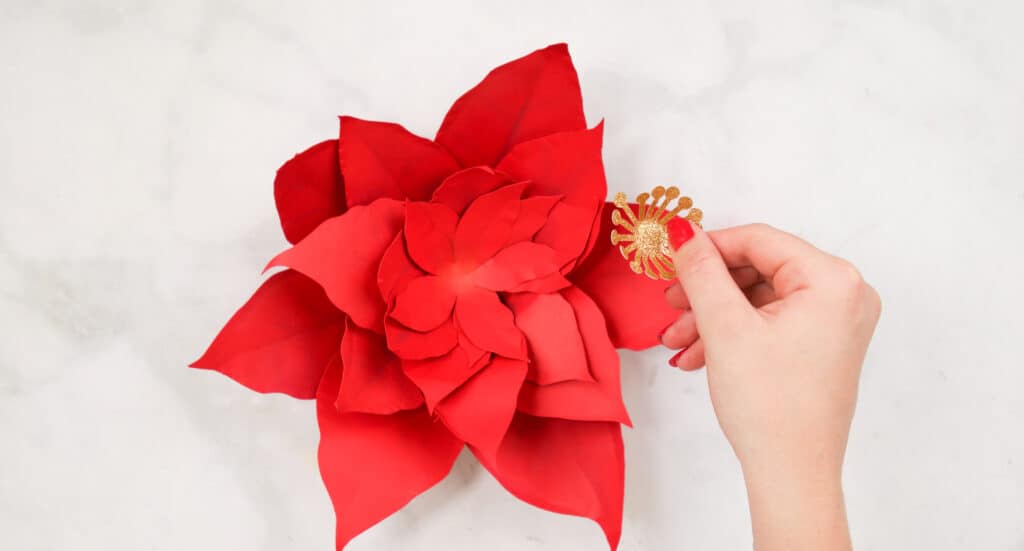
The final step to assembling the poinsettia flower piece is to add the Cyathia (center) to the middle of the flower pieces.
Create Leaves
After assembling the poinsettia flower, it's time to assemble the leaves.
To make the leaves, glide pastel down the middle to create the primary vein.
Next, shape your leaves using the flower shaping mat or scraper tool. The techniques I used to make the leaves are similar to how I shaped the poinsettia flower.
For the simple leaf, glide a small ball point tool down the middle to create the primary vein.
For both strand of leaves, make primary veins down the centers of each small leaf, then use a scraper tool to bend and shape the leaves upwards and downwards.
The final step is to add the shaped leaves behind the poinsettia paper flower.
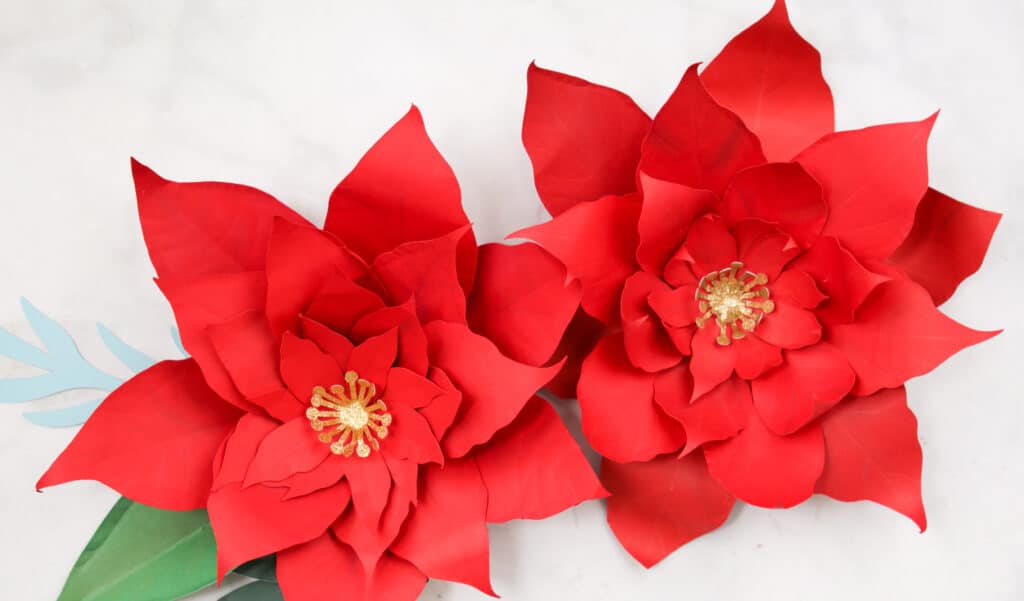
A Finished Poinsettia Paper Flower
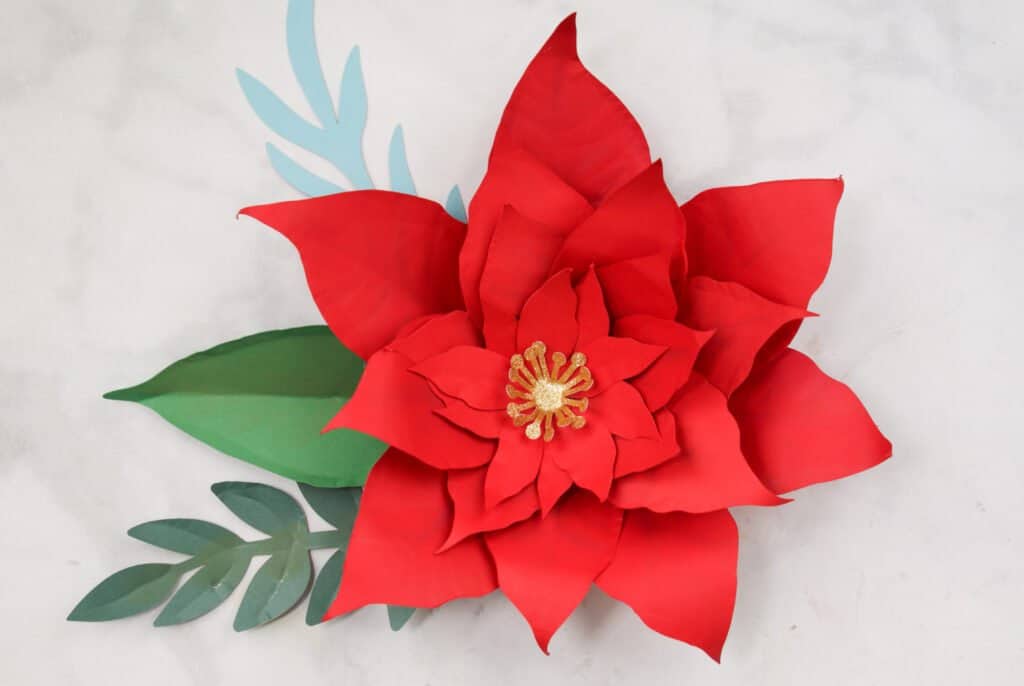
Once the leaves have been attached, you've finished this gorgeous poinsettia flower!
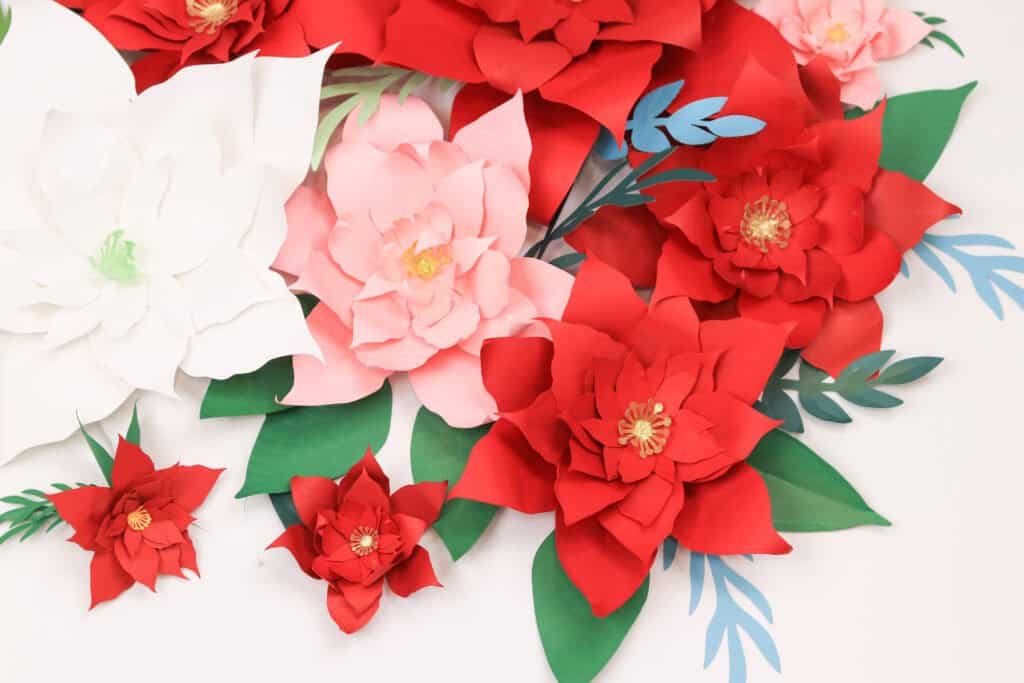
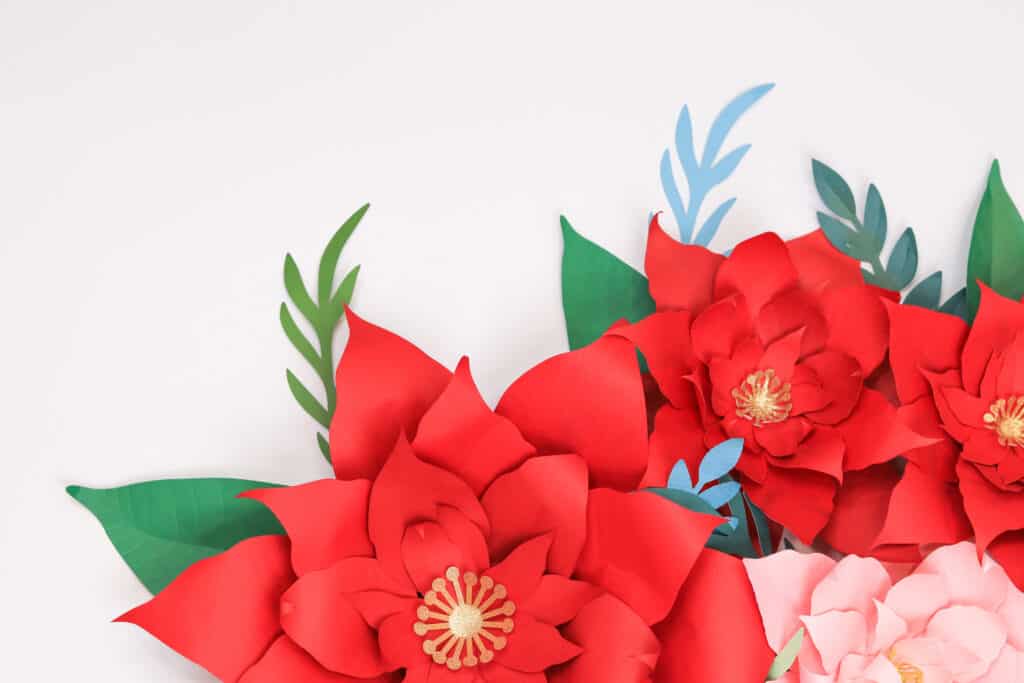
Show this flower off by hanging it on your wall accompanied by a variety of sizes and colors. I decided to add a couple light pink poinsettia flowers and frosty blue leaves because it adds contrast and is too pretty.
Save this Poinsettia Paper Flower template to your crafting board on Pinterest here!
Join my crafting Facebook group where you can show us what you’re making, ask questions, and learn from others!
These are so beautiful. I just made them and shared them to your group.
https://www.facebook.com/groups/2128534807407840/
The Cricut is a die-cutting machine for creating crafts of all sorts. Go to cricut.com/setup and check out the materials you can cut with your Cricut machine. For such a big investment, you cannot afford to lose your way while setting up Cricut. And that is why we have gathered the steps for you. From setting up the machine, setting up the cutting mat, cleaning the mat to downloading the design software, cricut.com/setup is the only answer.
https://cricutsetjoy.com/