The ladder stitch, or invisible stitch, is one of the most versatile hand sewing stitches. Learn how easy it is to sew with my step-by-step ladder stitch tutorial.
The ladder stitch, which is also known as the invisible stitch, blind stitch, and slip stitch, is my most-used hand sewing stitch. This stitch comes in handy for a lot of different projects, even if you don't do much hand sewing.
Today, I'll show you how to sew this versatile hand stitch so that you can add another useful technique to your sewing skill toolbox.
Table of Contents
What is a Ladder Stitch
So, what is a ladder stitch? This hand sewing stitch is unique because it can be sewn from the right side of a project, creating an invisible seam. This makes it very useful for areas of a project that can't be sewn from the wrong side of the fabric.

The name "ladder stitch" comes from the shape the stitches form when sewn. The pattern of the stitch makes the thread create a "ladder" between the two pieces of fabric that are being sewn together.
How to Use a Ladder Stitch (5 Project Ideas)
The ladder stitch is useful for a variety of different projects. I use it most often for closing the small opening left in a seam when a project is turned right sides out.
This type of stitch is also great for mending ripped clothing or home decor items. Also, if you're binding a project with bias tape and want a really clean, couture finish, you can use the ladder stitch to invisibly attach the second edge of the tape to your project.
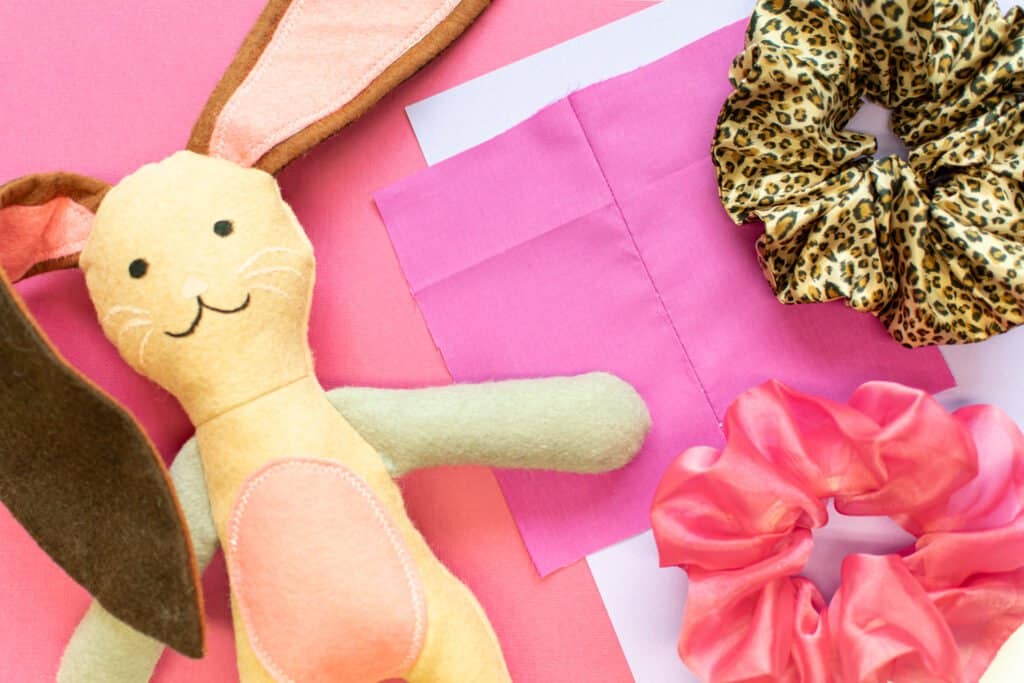
Here are a few of my favorite projects that utilize the ladder stitch!
- DIY Scrunchies! (or try the Oversized Scrunchie variation)
- Handmade Animal Plushy
- Sew Up a Dog (or Cat) Bed
- Make a Cute Ruffled Baby Blanket
- Sew a Simple Neck Tie
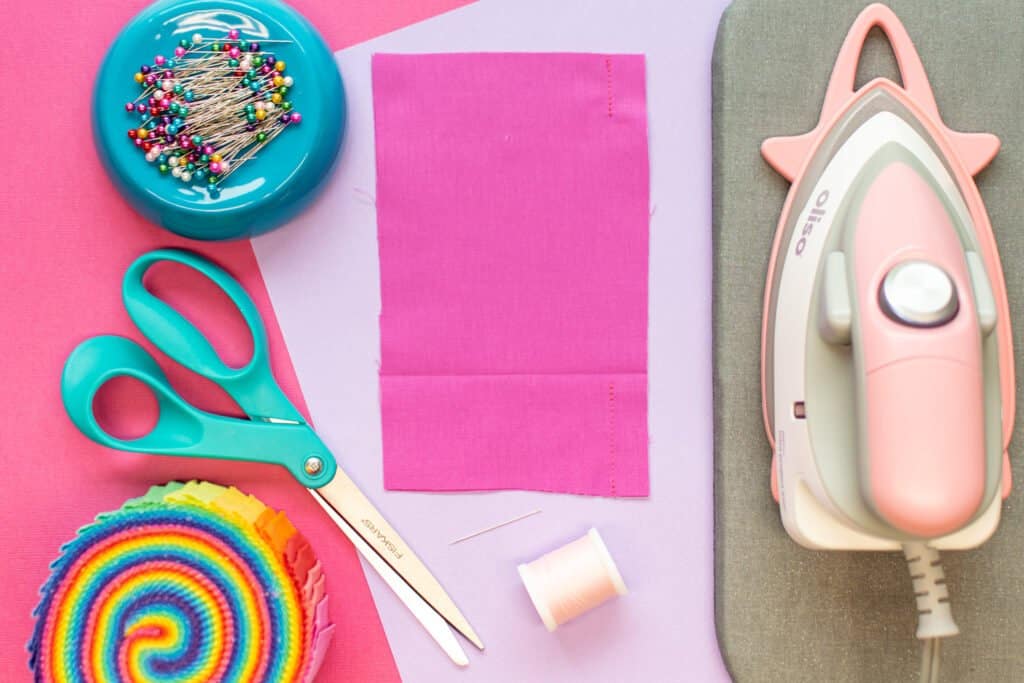
Supplies to Sew a Ladder Stitch
These are the supplies you'll need to sew a beautifully invisible ladder stitch.
- Project that Needs an Invisible Seam
- Iron
- Ironing Board
- Sewing Pins
- Scissors or Thread Snips
- Hand Sewing Needle
- Matching Thread
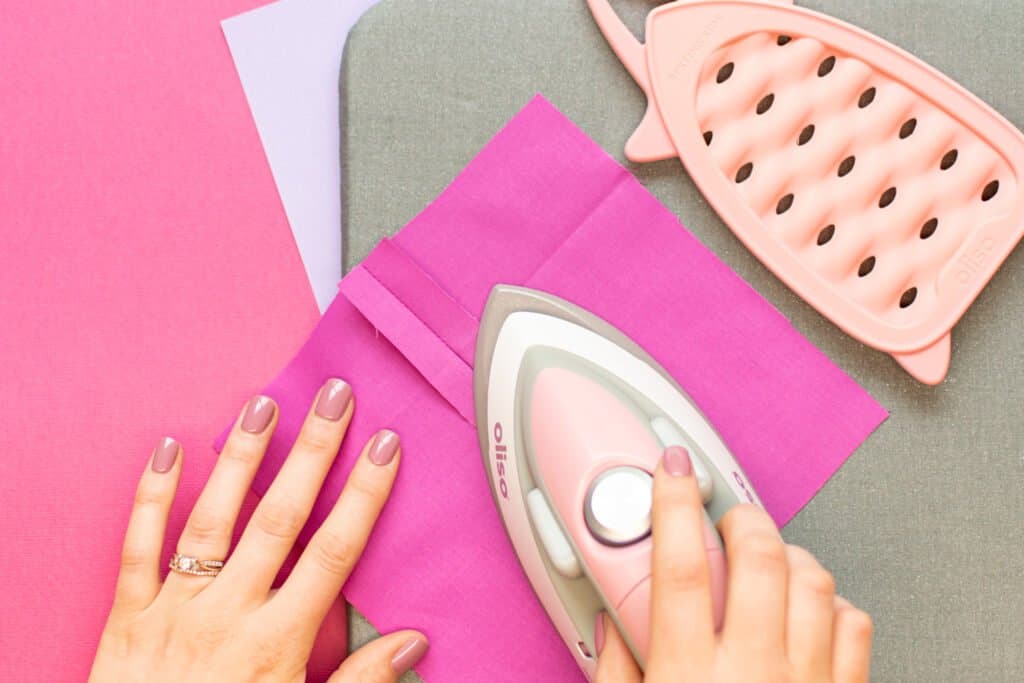
Step 1: Knot and Start the Seam
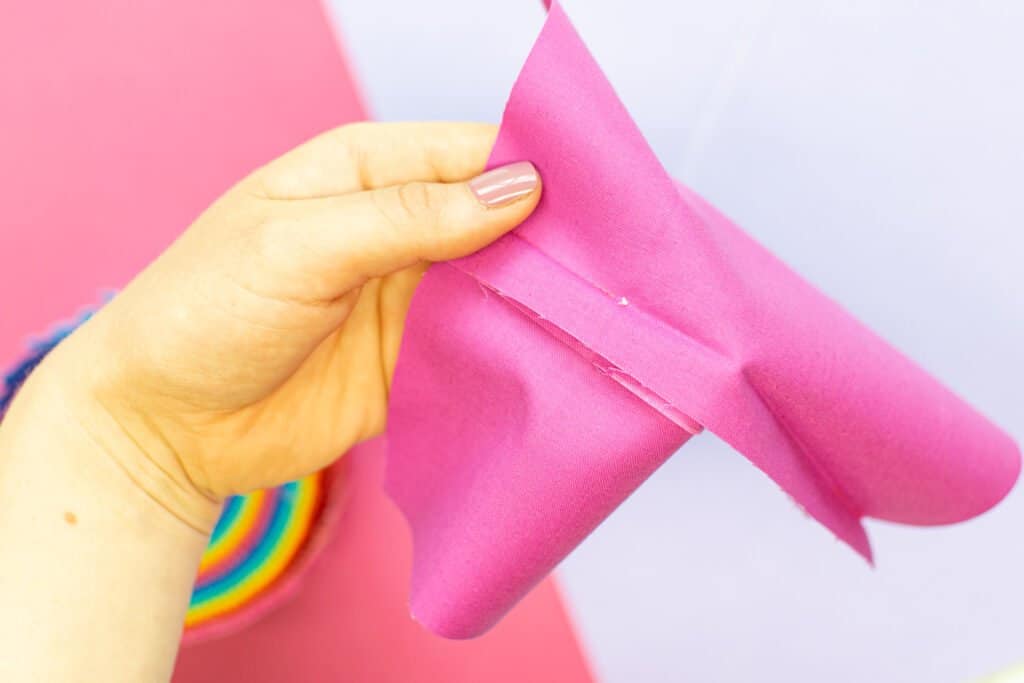
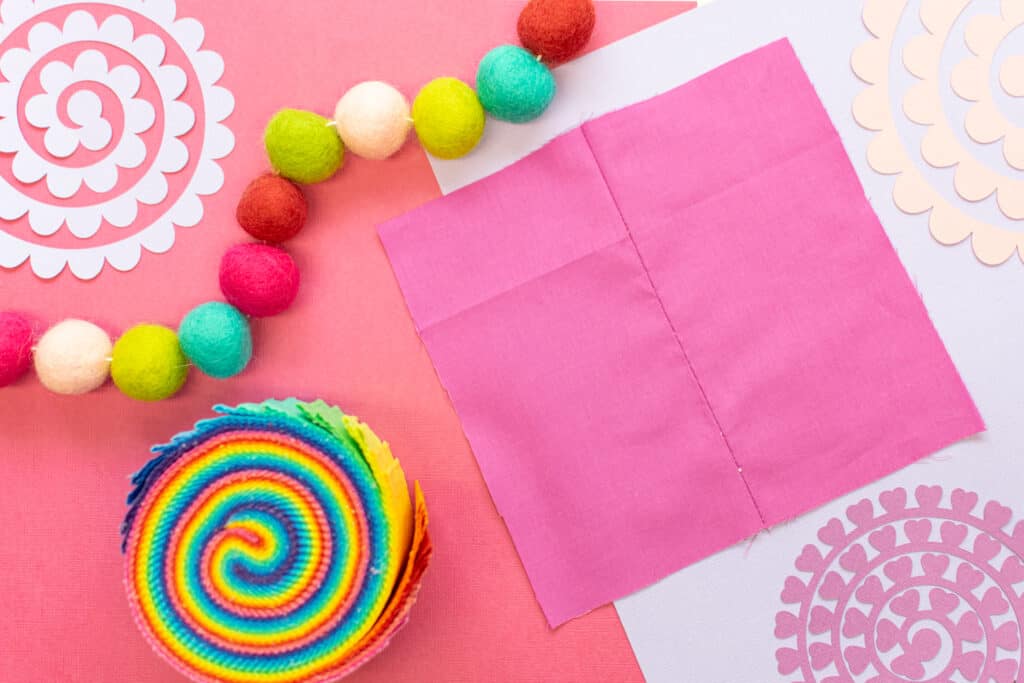
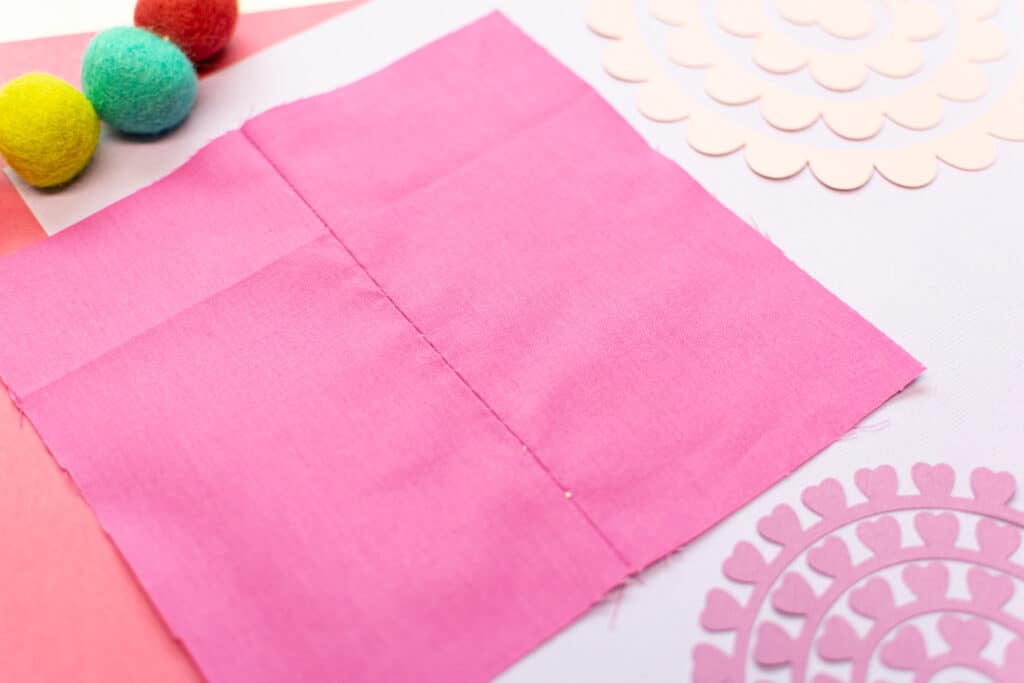
Before starting, make sure to fully press your seam, pressing the raw edges to the wrong side along the seam allowance. If your seam is long, it helps to also pin it together before sewing.
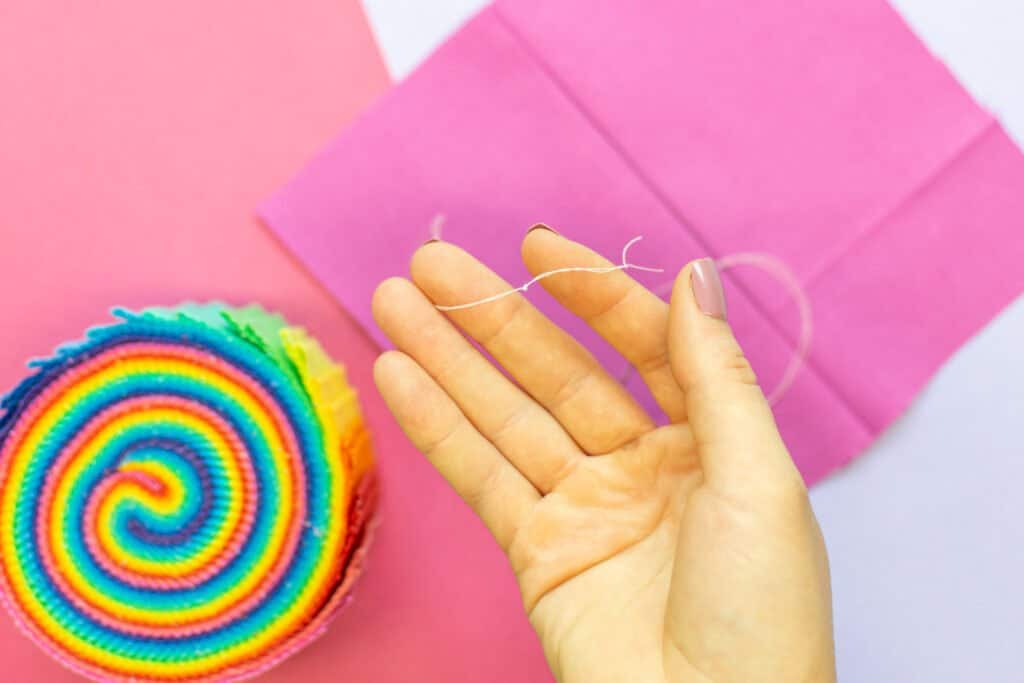
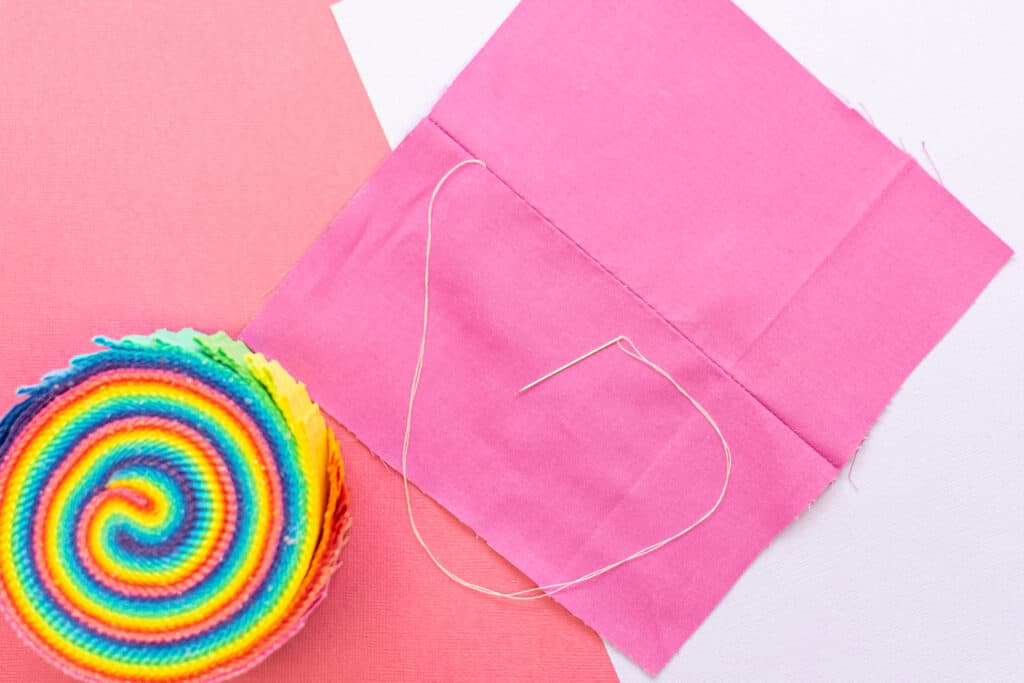
Then, thread a hand sewing needle with a double layer of thread several inches longer than the area you need to sew.
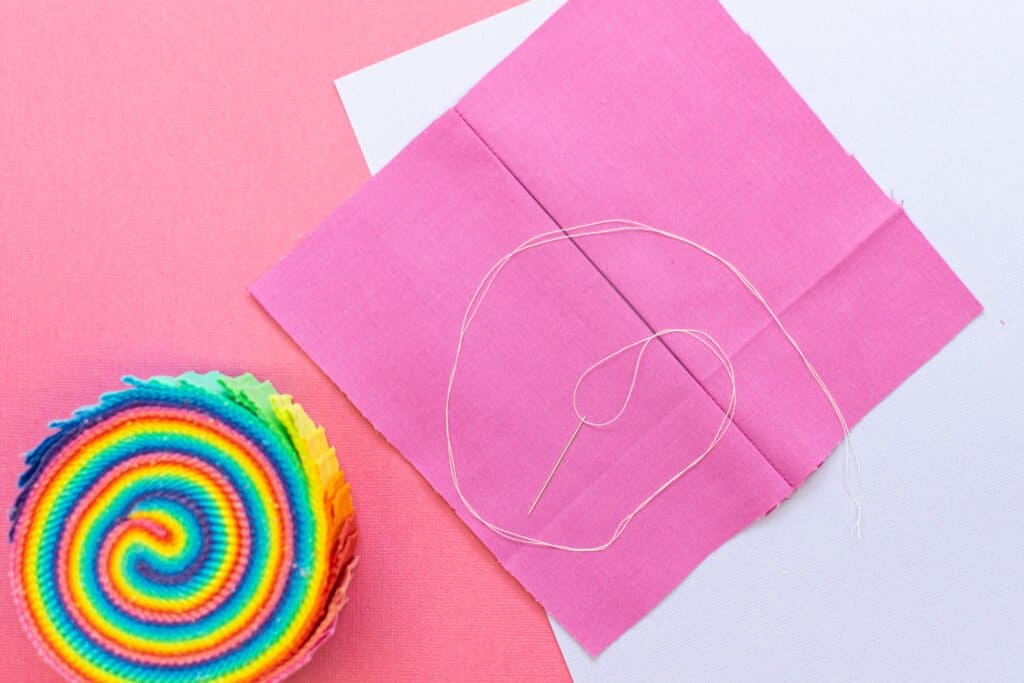
Knot the two thread tails together with a double or triple knot.
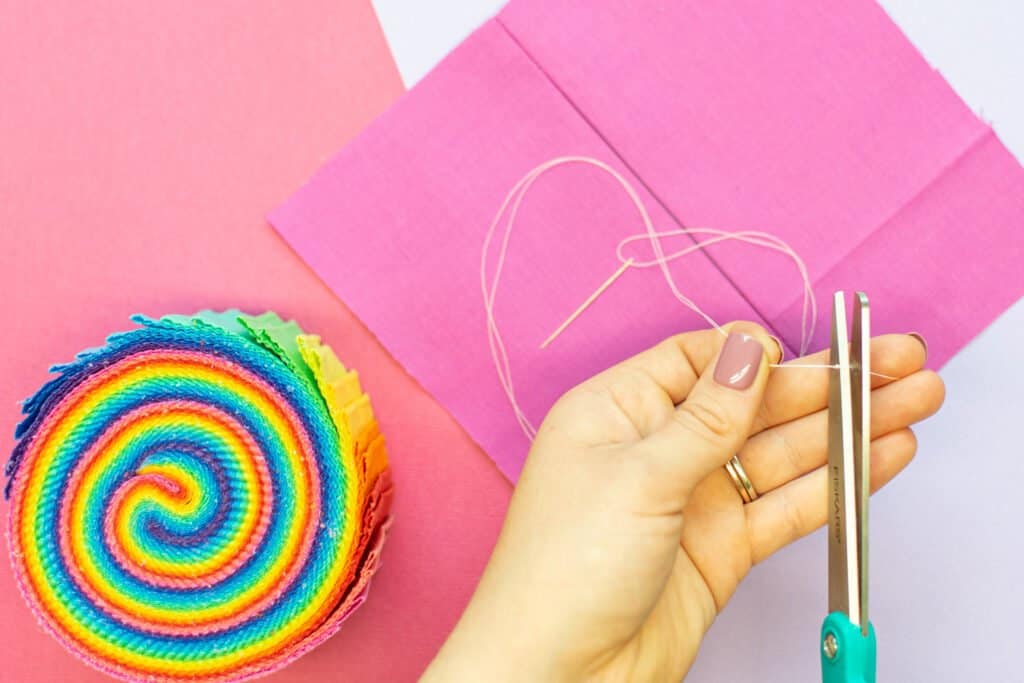
Trim the excess thread away below the knot.
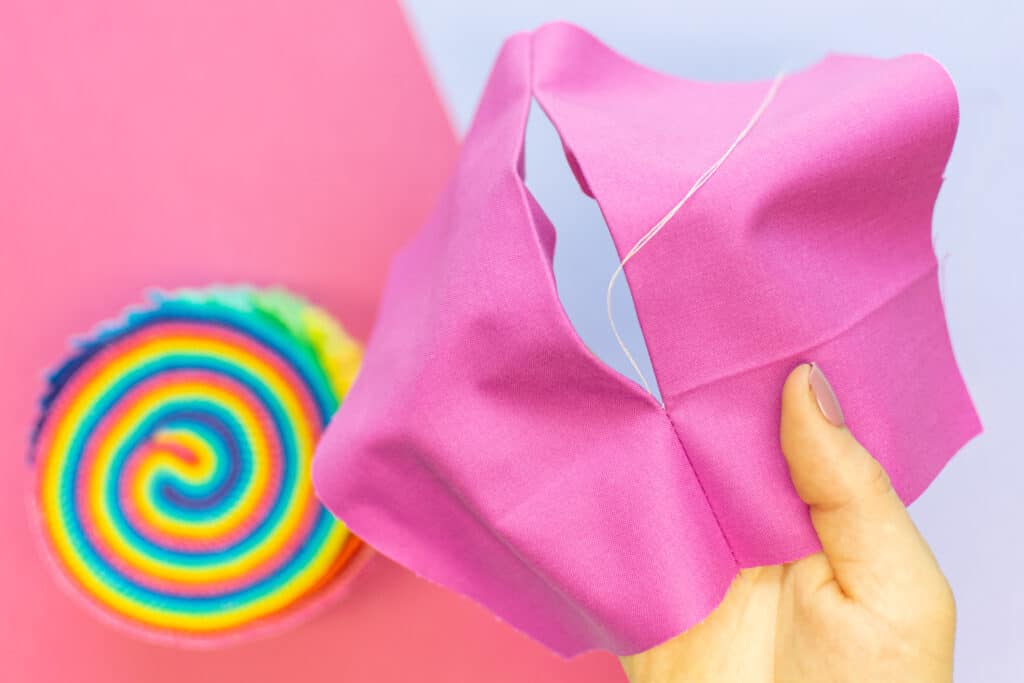
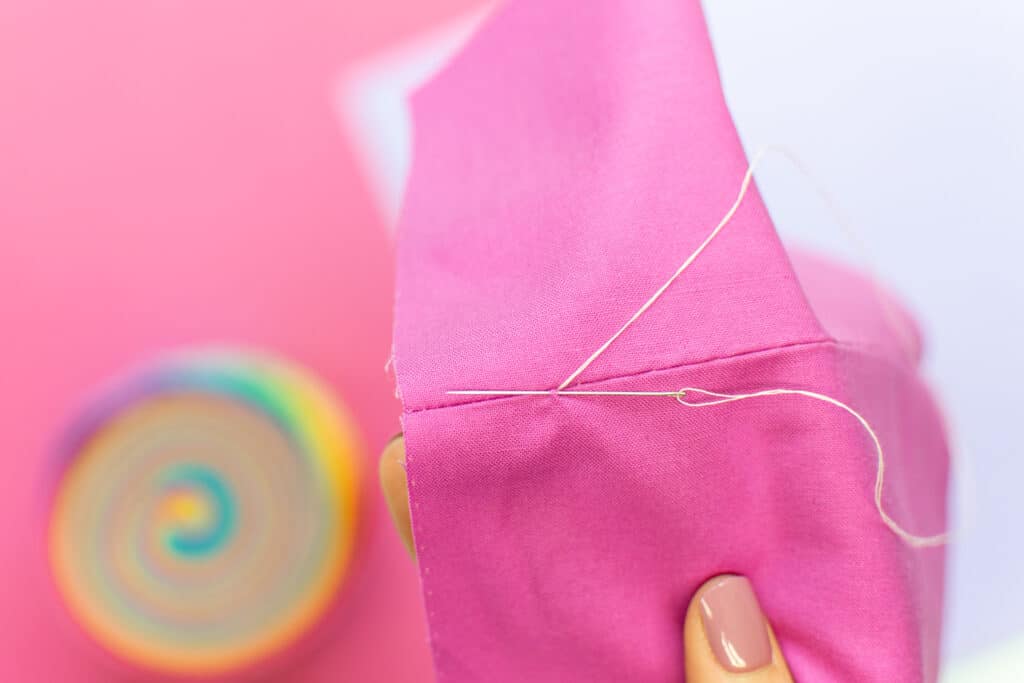
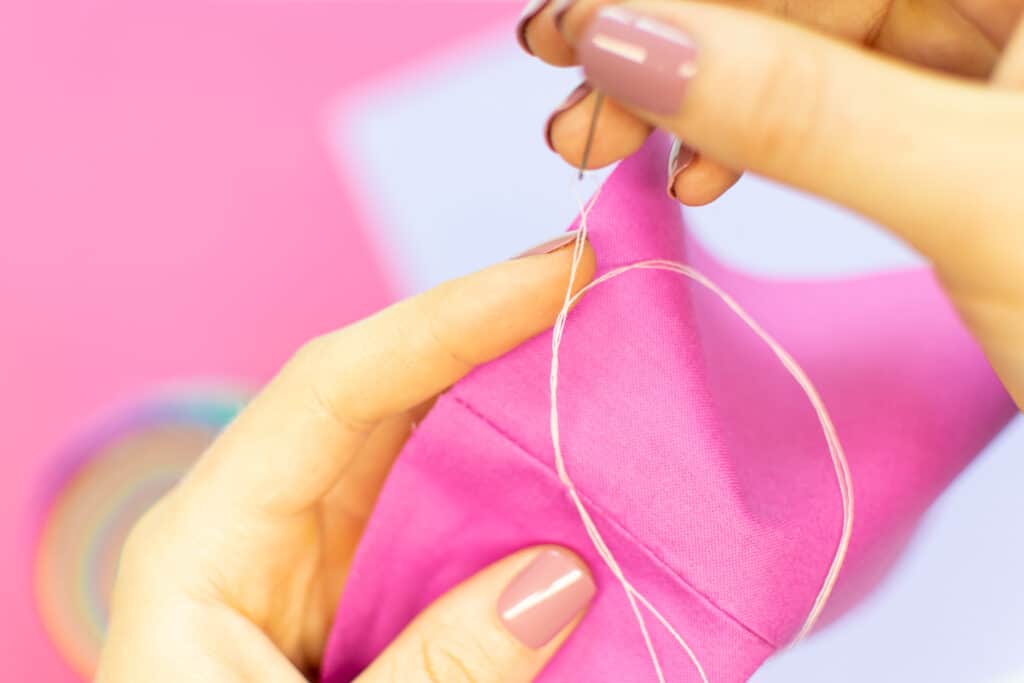
Beginning on one side at the start of the seam you plan to sew, push the needle up through the fabric from under the fold. The needle should come out just below the top of the folded edge of the fabric so it will be hidden in the finished seam.
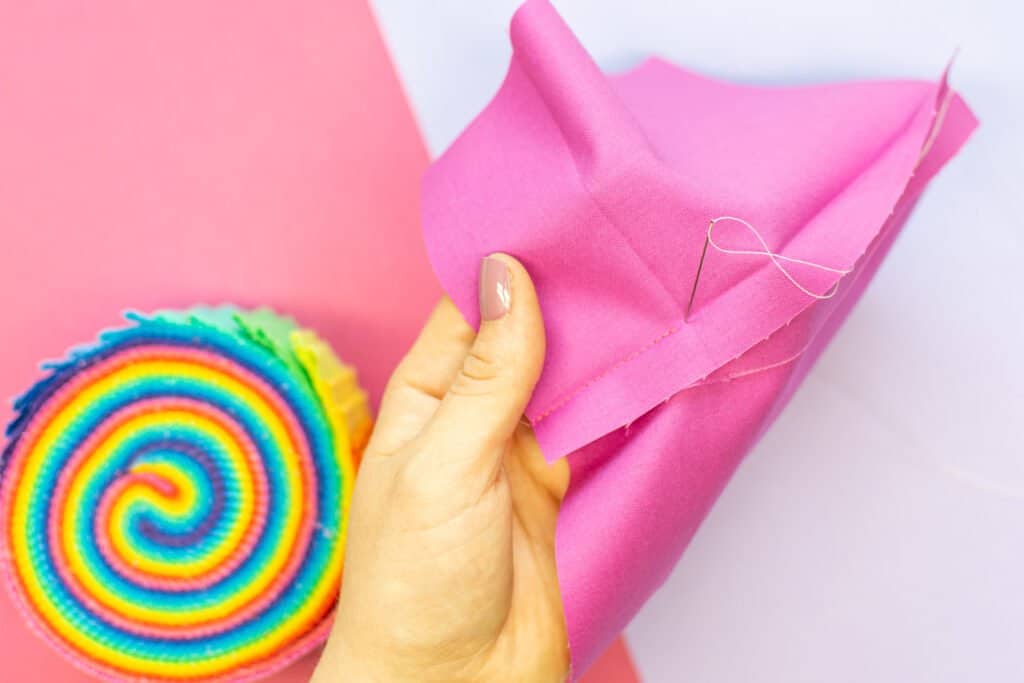
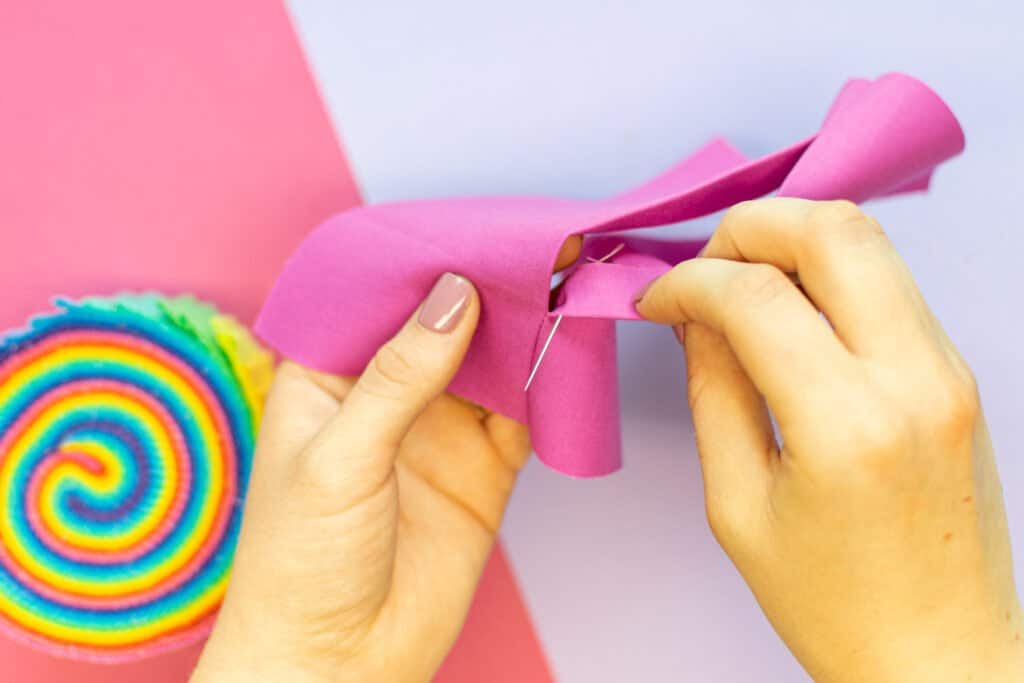
Pull the thread through, making sure the knot is pulled taut against the wrong side of the fabric. Placing it underneath the fold will keep the knot fully hidden from view in the finished seam.
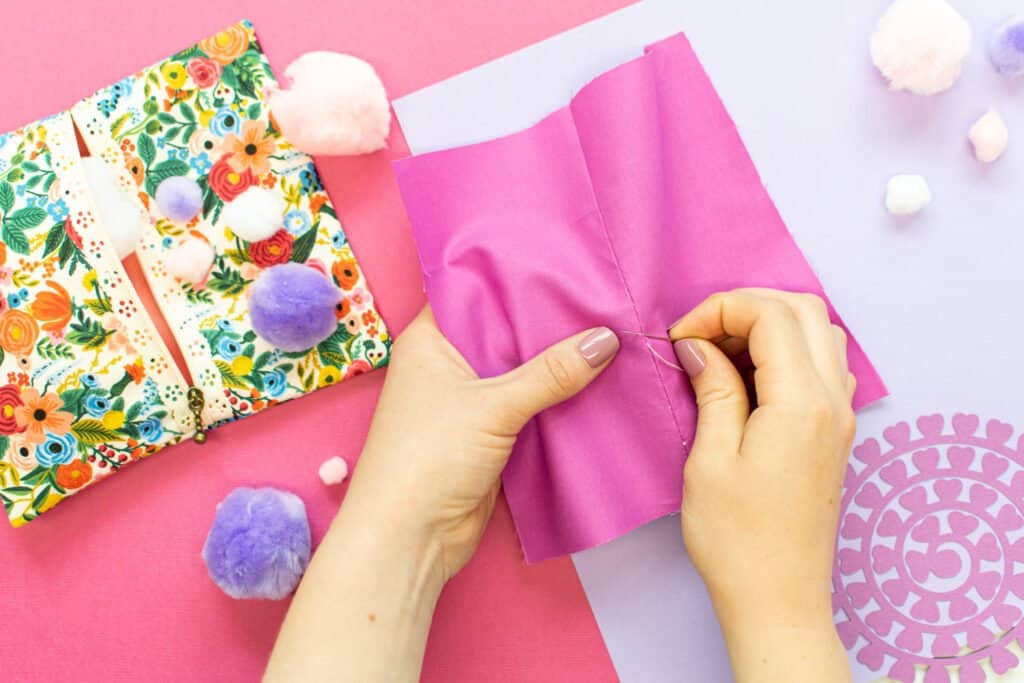
Step 2: Sew the Ladder Stitch Seam
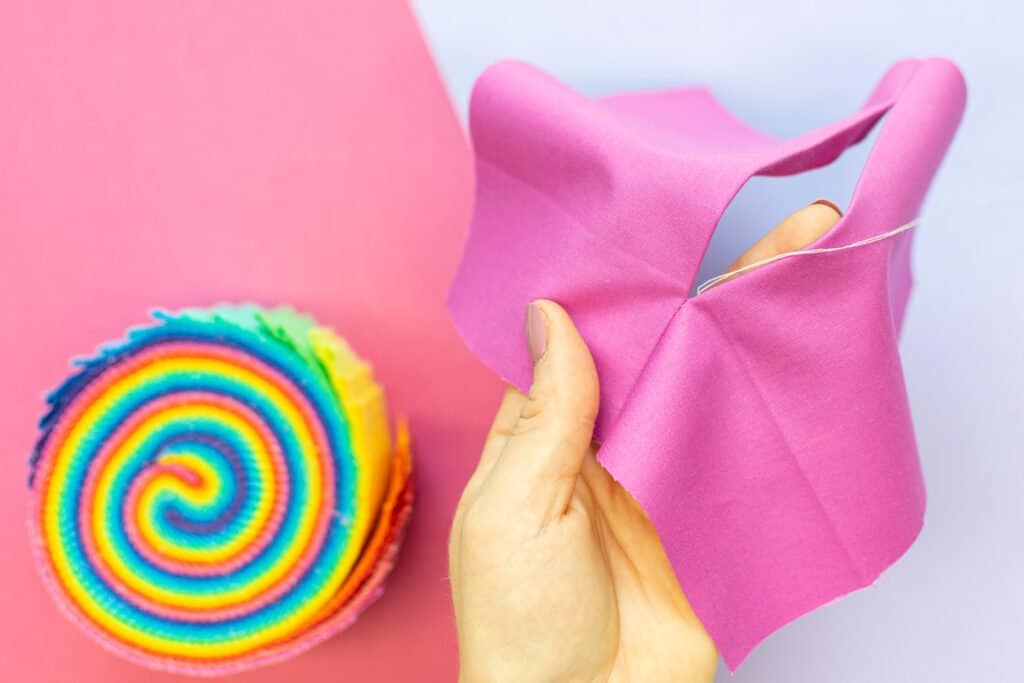
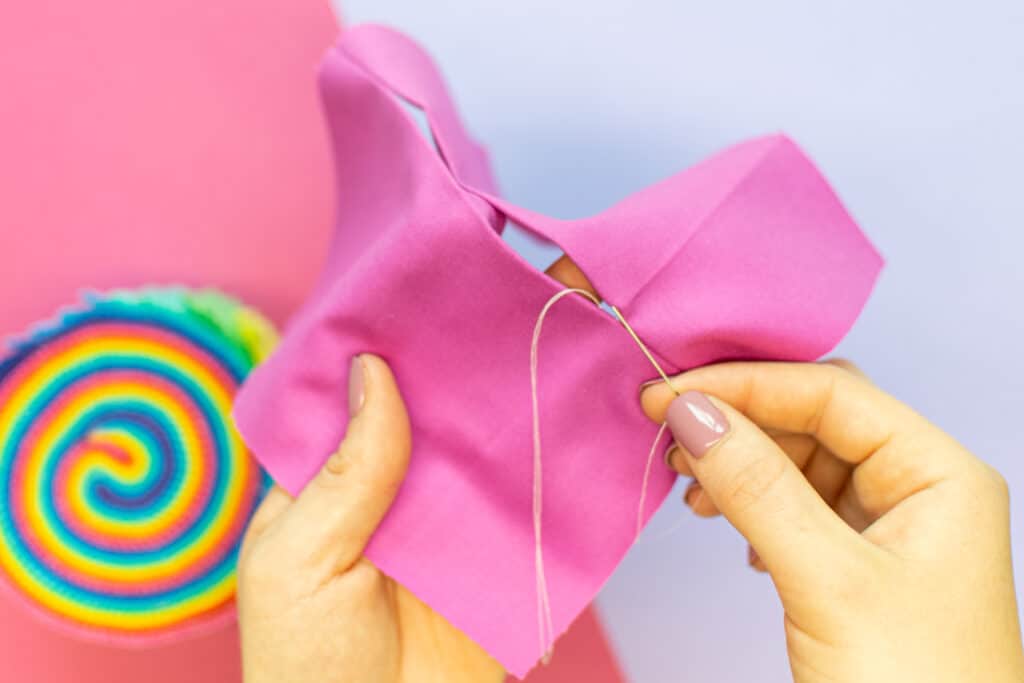
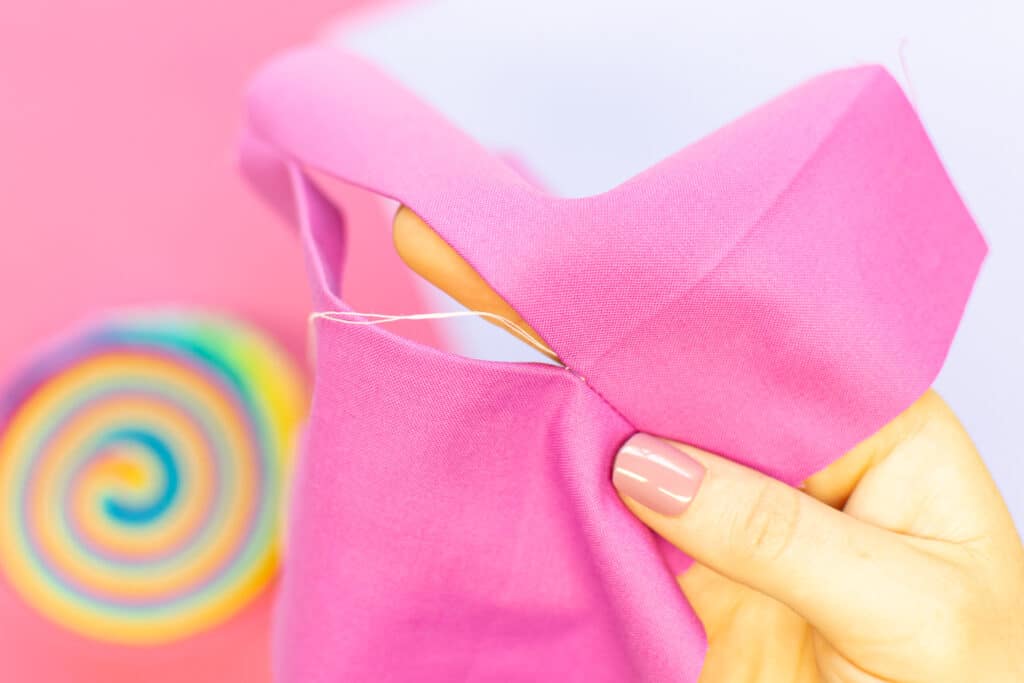
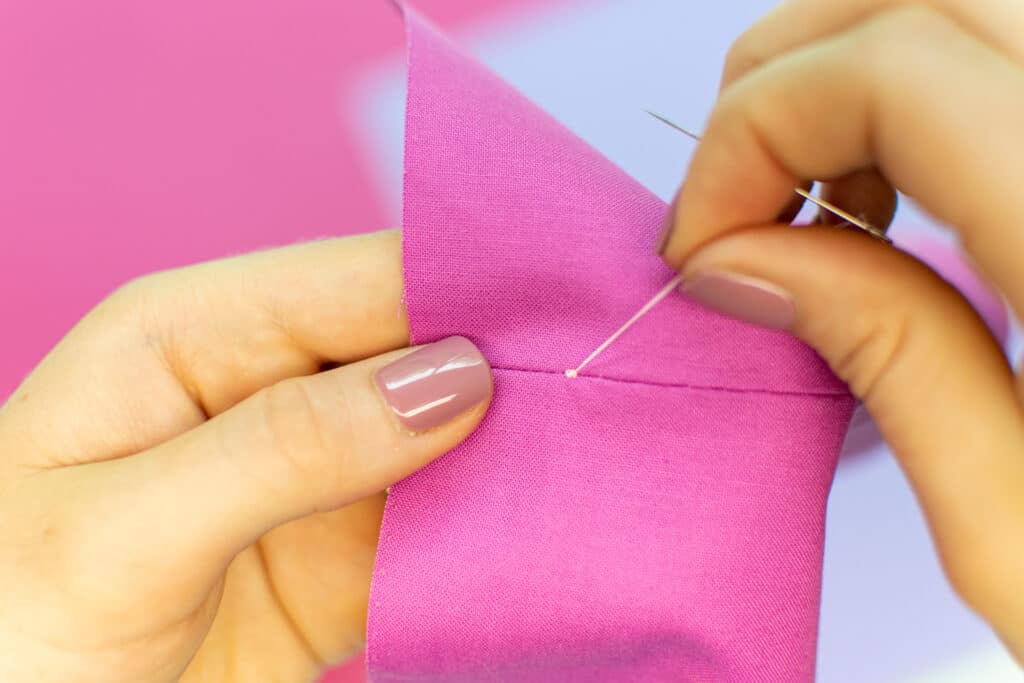
Next, insert the end of the needle into the fabric just below the fold directly opposite where the thread is coming out. Make sure not to push the needle all the way through to the outside of the project.

Slide the needle about 1/8 inch further down the seam, under the fold, then push it back out from the fabric towards the inside of the seam.

Pull the thread taut.
Push the needle into the fabric directly across from where the thread is coming out, just below the fold.
Again, slide the needle 1/8 inch down the seam, under the fold, then push it out towards the center of the seam again.
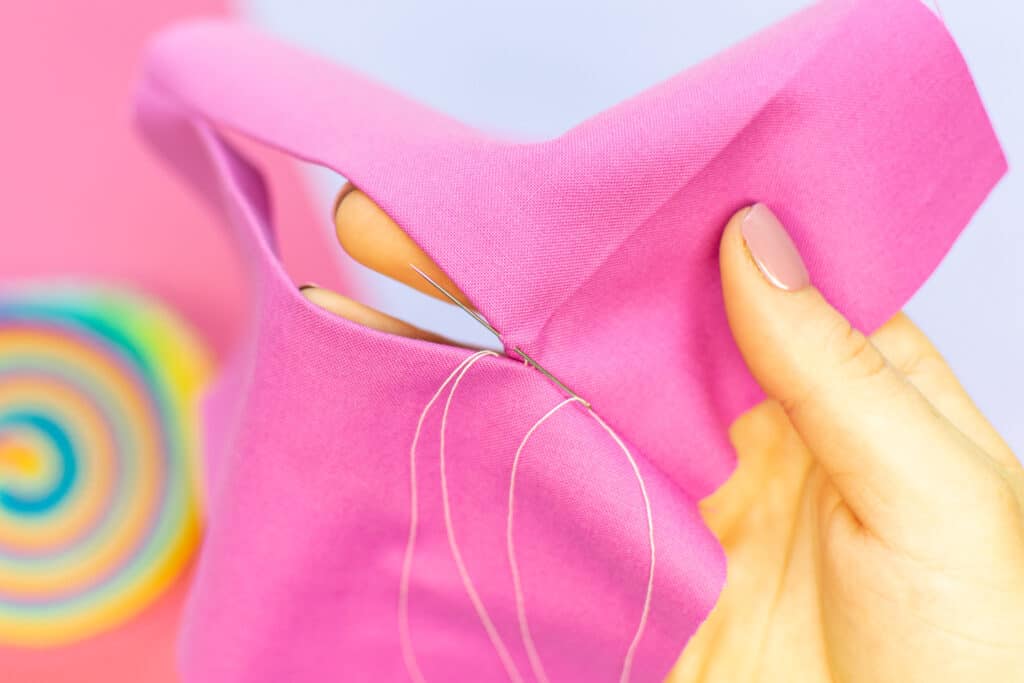
Pull the thread taut, but not tight enough to create bunching.
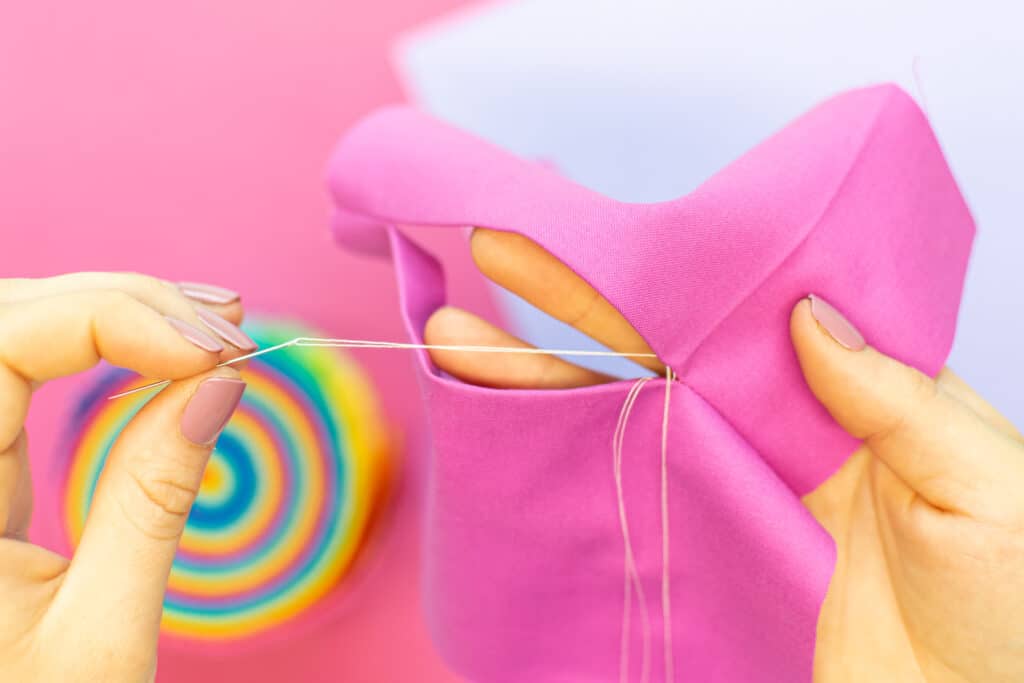
Repeat this pattern to stitch the rest of the seam. Essentially, you will be sewing back and forth across the seam, creating a "ladder" with the thread to pull the two pieces of fabric together.

Make sure to carefully tighten the thread after each stitch, but don't pull it too tight - that can create puckers.
Step 3: Knot and Finish the Ladder Stitch
Once you've reached the end of the seam, it's time to finish this stitch off!
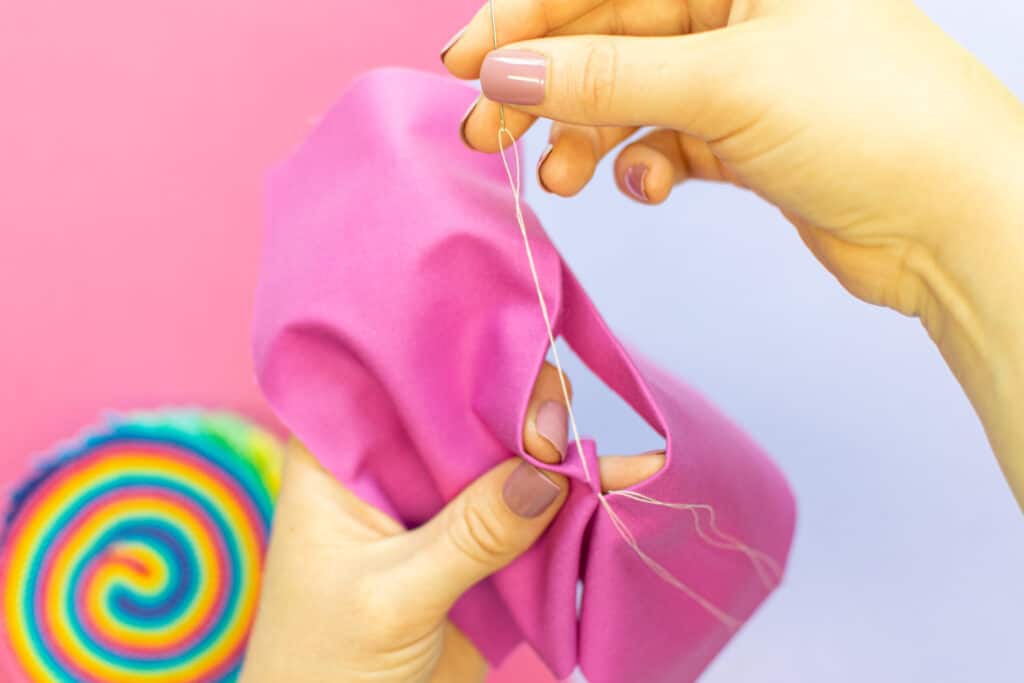
To knot the thread, start by pushing the needle through the fabric next to where the thread is coming out from. Make sure you're catching a small amount of fabric.
Leave the needle in the fabric, then wrap the thread around the end of the needle twice.
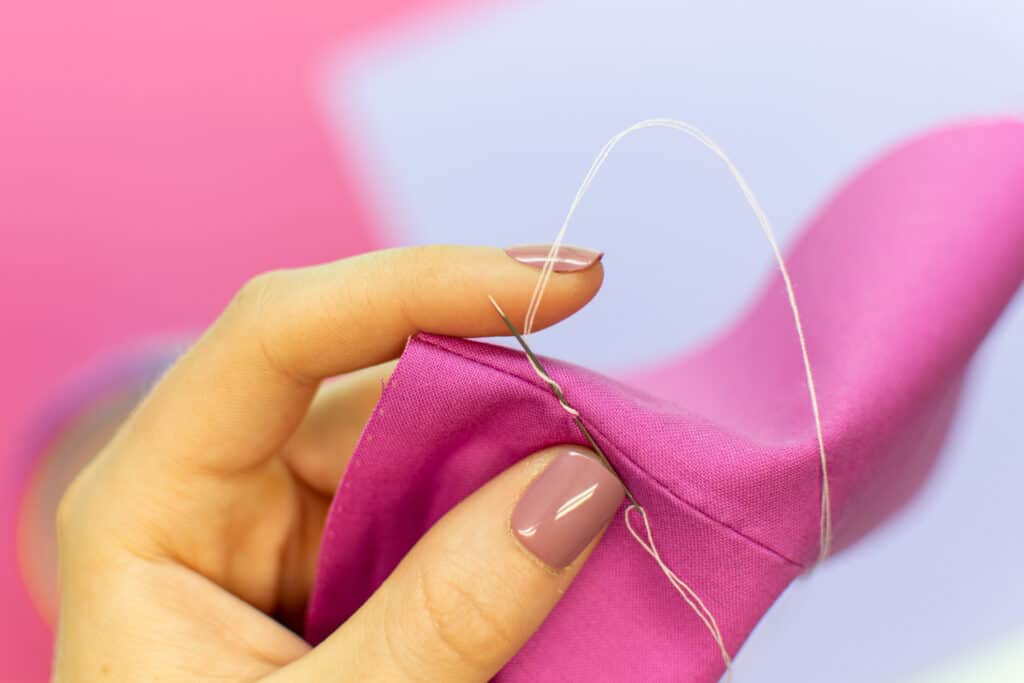
Pull the needle out of the fabric, pulling it through the looped thread.
Then pull the knot taut against the fabric.
Next, to finish it off, push the needle back down into the top of the seam next to the knot. Slide the needle back through the seam 1/4 to 1/2 inch, then push it out the top of the fold.
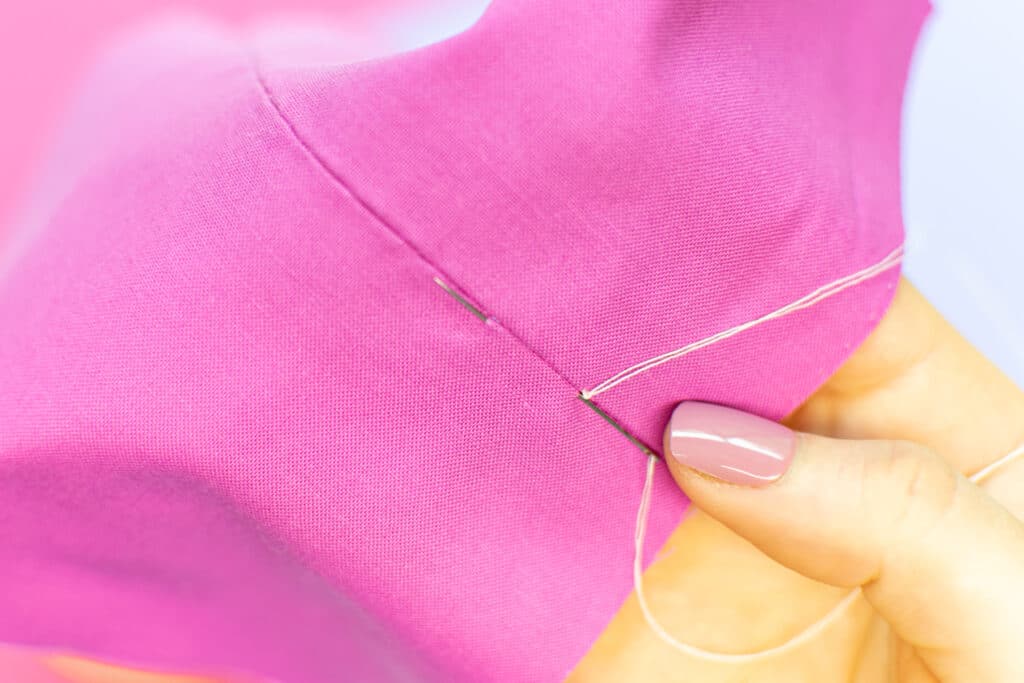
Pull the thread through the seam.

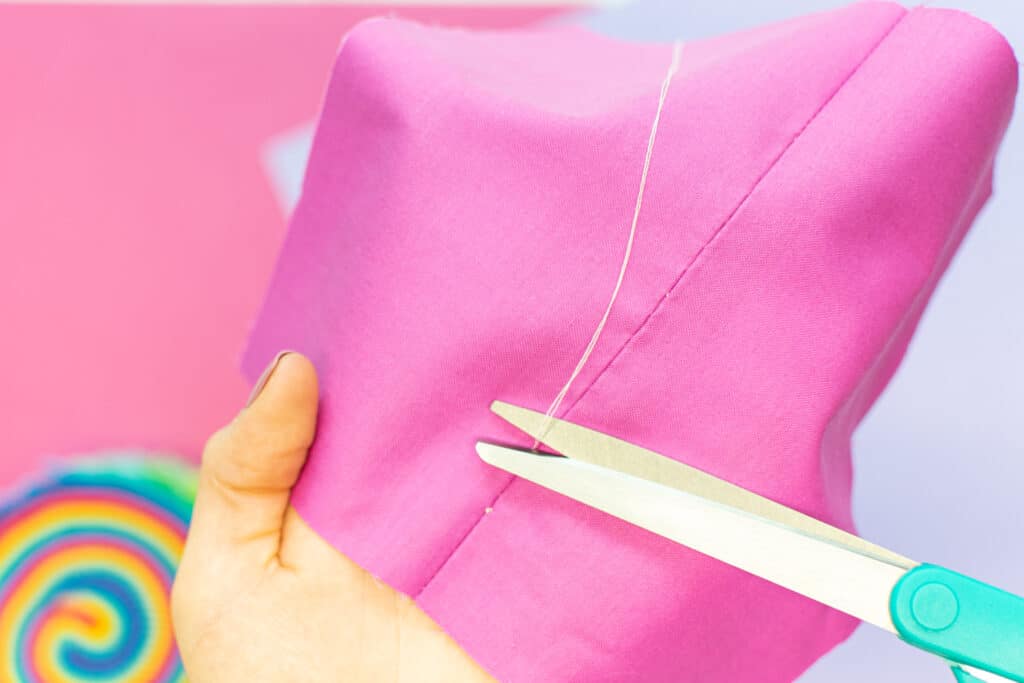
Trim the thread tails close to the fabric. This final step of pulling the thread tails through the seam helps to give the finished project a more professional appearance and secure finish.
Your ladder stitch is now done!
Tips For Sewing a Professional Invisible Stitch
Now that you know how to sew a beautiful ladder stitch, I wanted to share a few of my best tips for getting professional-looking results.
- Choose thread in a color that matches your project as closely as possible.
- Pull the thread taut after each stitch to fully hide your stitches from view. But be careful not to pull it too tight - that can create puckering!
- Make sure to keep your stitches just below the folded edges at the top of the seam. This will help ensure that your stitches will stay fully hidden within the seam.
- Keep your stitches as evenly spaced as possible.
Have any questions on sewing an invisible ladder stitch? Leave them below so I can help you out!

Don't forget to join my Facebook group where you can show us what you're making, ask questions, and learn from others.
Thank you for a great tutorial.
I've a novice and this is my go to stitch for stuffed animals, but wondering can you use a ladder (invisible) stitch in quilting to fix square patch when it has come apart / loose or should a whip stitch be used I believe it is stronger?
Thanks
Hello Kimberly, I have a baggy pair of 2-way stretch jersey fabric and I wanted to use the ladder stitch to “take in” excess fabric without cutting the garment. I placed the inside seams together, found the center of that “flap” leaving me with 3 1/2 inches of fabric on both sides of the center. Is this something that can be done and would you be willing to “talk” me through the process?