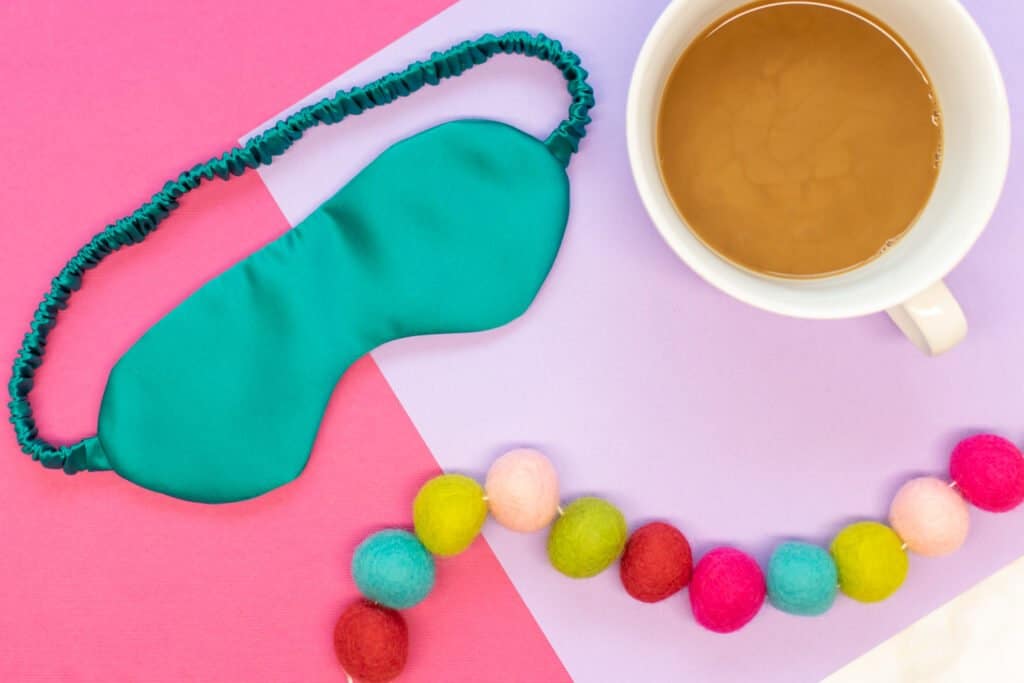
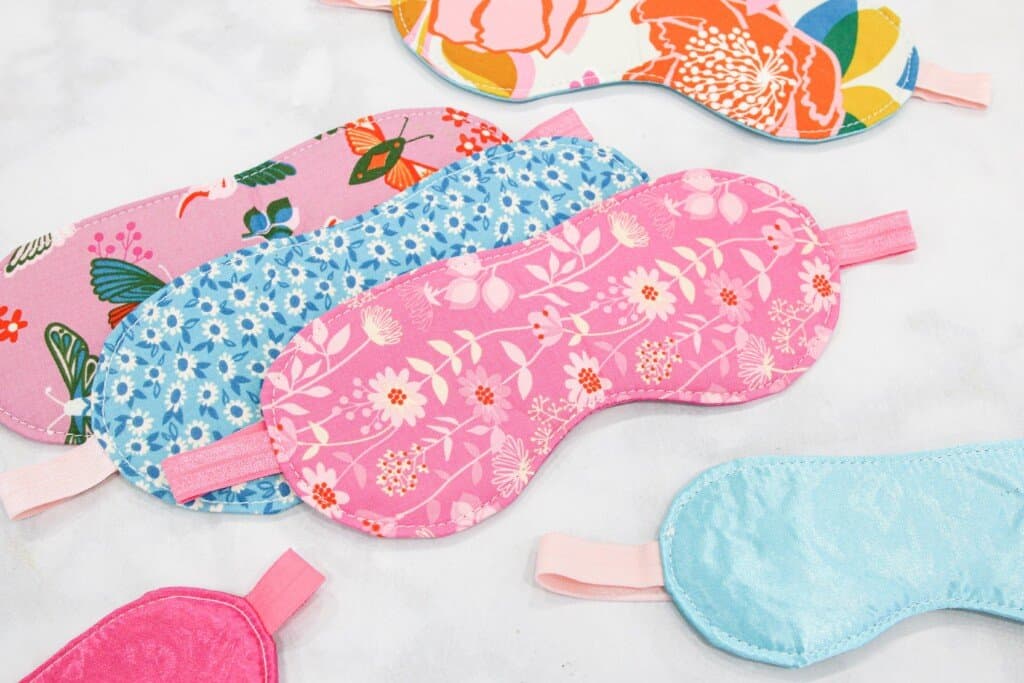
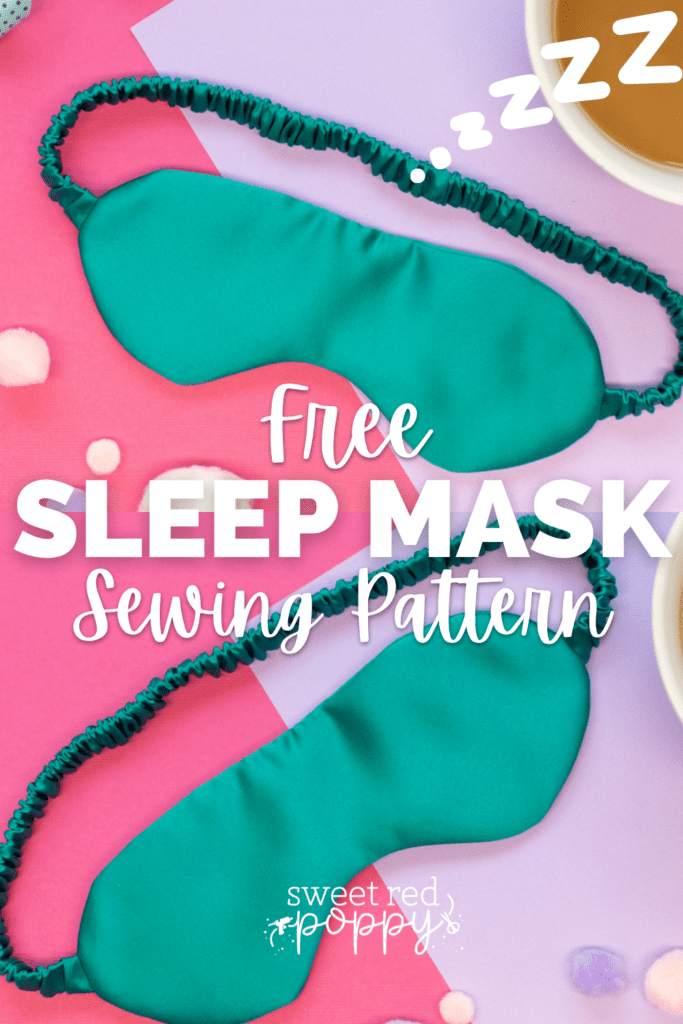
Get more restful sleep with your very own beautifully handmade sleep mask using my free sleep mask pattern and step-by-step sewing instructions!
There are a lot of reasons to try wearing a sleep mask to bed! For one, they block out light, making it easier to get deep, restful sleep, especially if you live somewhere that doesn't get very dark at night.
Also, sleep masks act as a cozy barrier between the skin around your eyes and the rest of the world, including your pillow, pet hair, and dust. This helps to prevent getting lines across your face from your pillowcase as well as drying skin from dust and pet hair in the air and sheets.
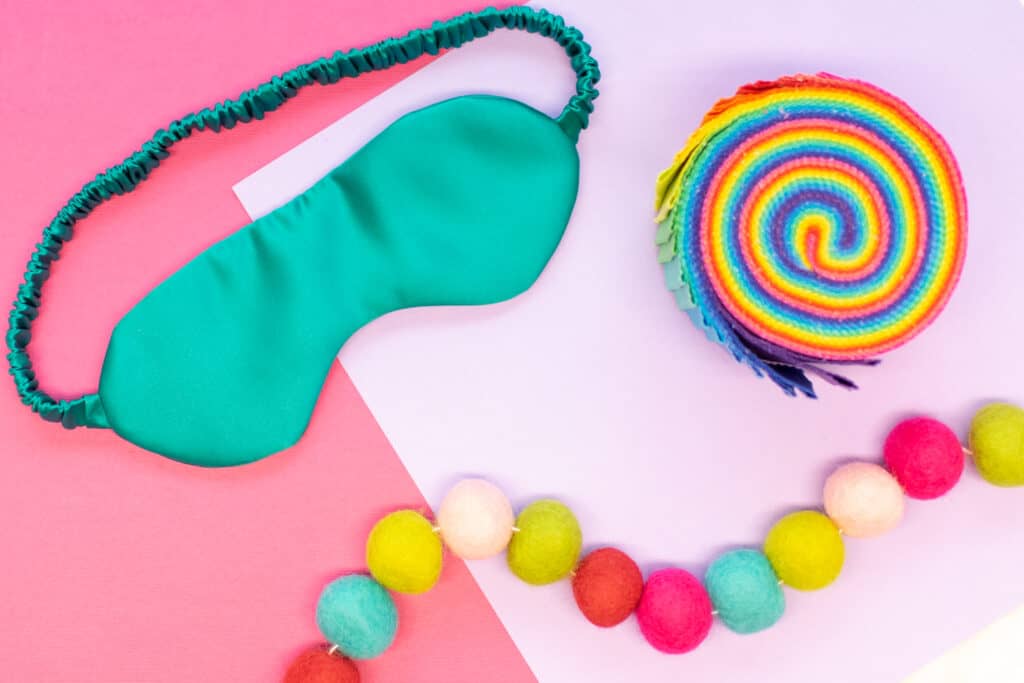
And of course, they're cute and fun to wear! Plus, sleep masks are super easy and quick to sew. In one evening, you can make several stylish sleep masks to match all your pajamas!
Today, I'm sharing my free sleep mask sewing pattern with you! I've also put together a detailed tutorial to take you step-by-step through sewing your very own sleep mask.
Table of Contents
About the Sleep Mask Sewing Pattern
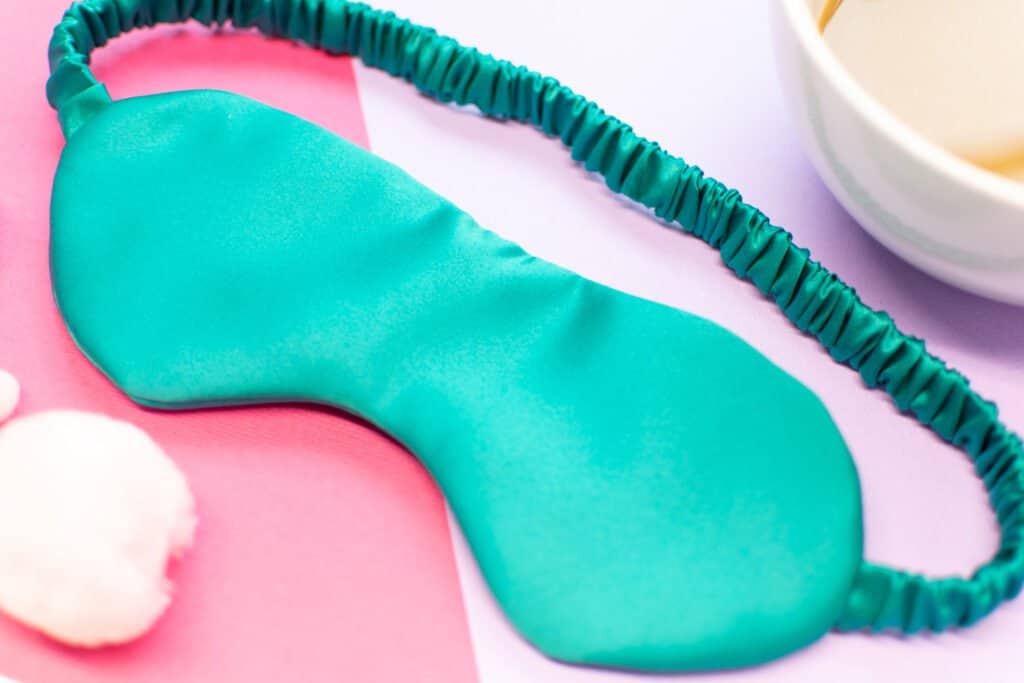
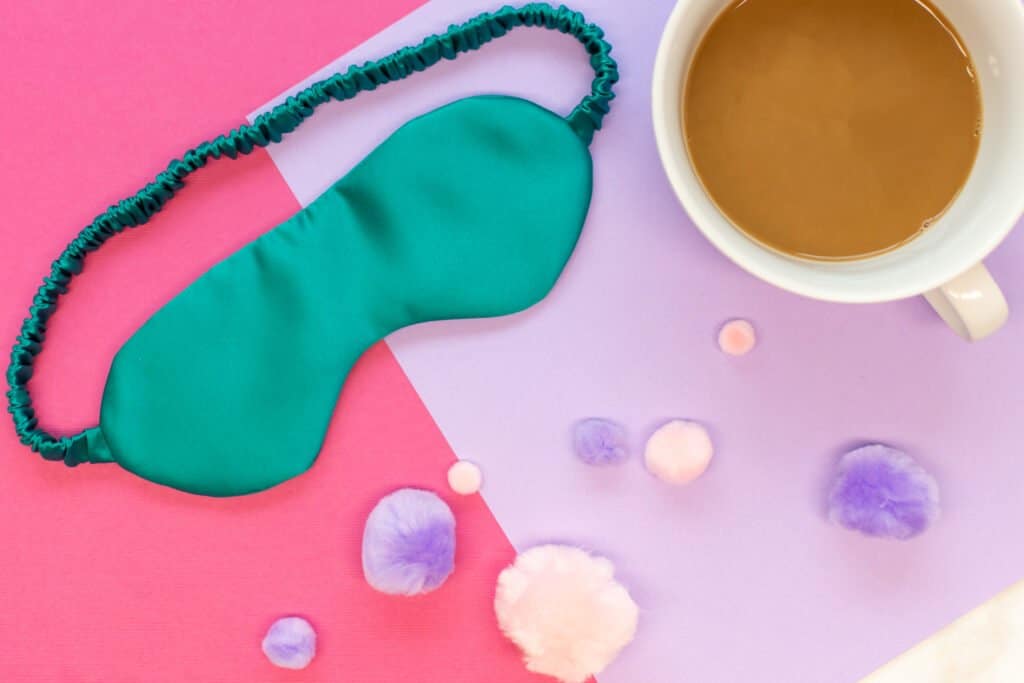
My free sleep mask pattern is a comfortable way to block out light and get better sleep. The mask has a fabric-covered elastic strap and is filled with cushiony batting.
This sleep mask sewing pattern download includes 2 different sizes - small and large. Most adults will fit the large best. However, if you have a smaller head, you may prefer the small size.
What Fabric to Use for Sewing a Sleep Mask
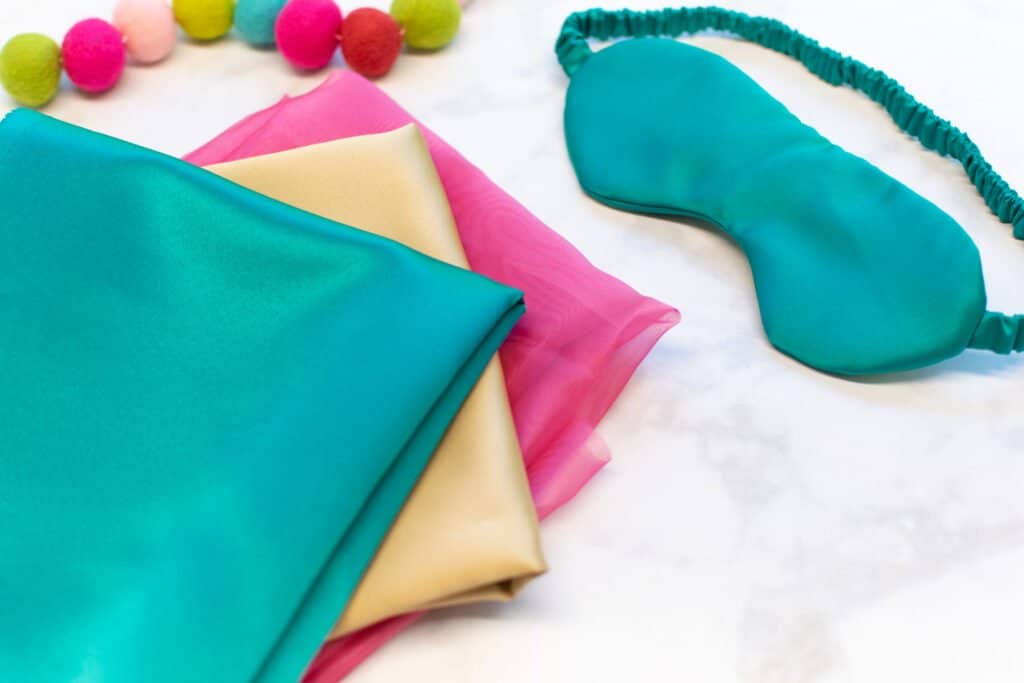
Any light to medium weight fabric will work for this sleep mask pattern. The most important thing to keep in mind while choosing your fabric is the softness of the material against your skin.

Your sleep mask will be against the sensitive skin of your face for potentially hours at a time, so it's very important to use a fabric that will be comfortable. I highly recommend touching the fabric you want to use to your face before purchasing to make sure it is soft enough.
Some great fabric options for a sleep mask are velvet, satin, silk, or flannel. If you find a fabric you love but isn't soft enough, you can use it on one side of your mask and place a softer fabric on the other side. This way you can wear the softer side against your skin.
Don't forget to prewash your fabric before sewing with it! Fabrics can be treated with a variety of different chemicals and dyes. I always recommend washing them before placing them against your skin, especially something as sensitive as your face!
When it comes to the filling for your sleep mask, I recommend 1/8-inch thick quilt batting. This will give your mask a wonderfully soft, cushiony feel. However, you can use fusible interfacing if you prefer, just keep in mind that it won't be as soft and pillowy.
*PRO TIP: To block out even more light, try using black-colored batting instead of white.
Sleep Mask Variation
Opt for Fold Over Elastic instead of an elastic casing for a fully finished band in your favorite color. This cuts out a step and makes this mask even easier to sew!
Why Shop Through My Links?
Just click on the links below and purchase whatever you need for this project! I’ll earn a small commission at no extra cost to you.
Your support helps me continue creating and sharing free content with you.
It's a simple way to show your support and keep our community thriving. Thanks for your support of my small business—it means the world to me and my family! 💕
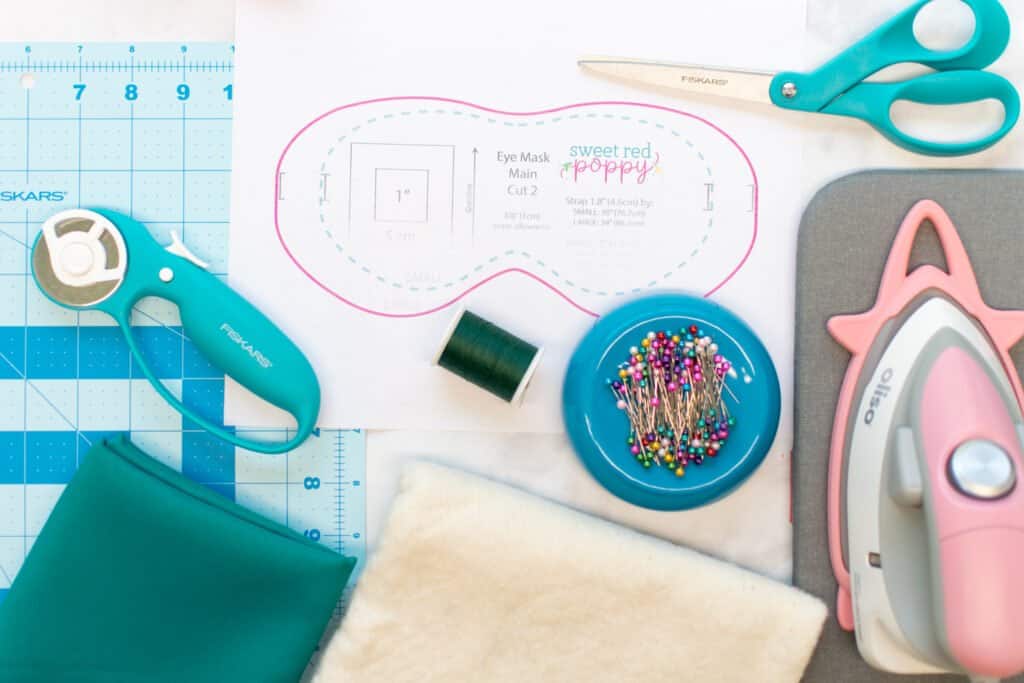
Supplies to Sew a Sleep Mask
Shop my favorite sewing supplies here!
These are the supplies you'll need to have on hand to sew your sleep mask.
- 1/2 Yard Light to Medium Weight Fabric
- 1/2 Yard Quilt Batting (or Fusible Interfacing)
- 1 Yard 1/2-Inch Elastic
- Sewing Machine
- Rotary Cutter
- Rotary Cutting Mat
- Scissors
- Thread
- Pins
- Iron
- Ironing Board
- Sewing Machine Needle
- Printer
- Printing Paper
- *Optional 1 Yard Fold Over Elastic (use this instead of regular elastic)
Click Here to Download the Free Sleep Mask Sewing Pattern

Step 1: Download and Prepare the Sleep Mask Pattern
First, download the free sleep mask sewing pattern to your computer.
Then, open the file in Adobe Acrobat. If you try to print the pattern from the browser, the scaling is sometimes incorrect, resulting in your sleep mask not printing in the right size!
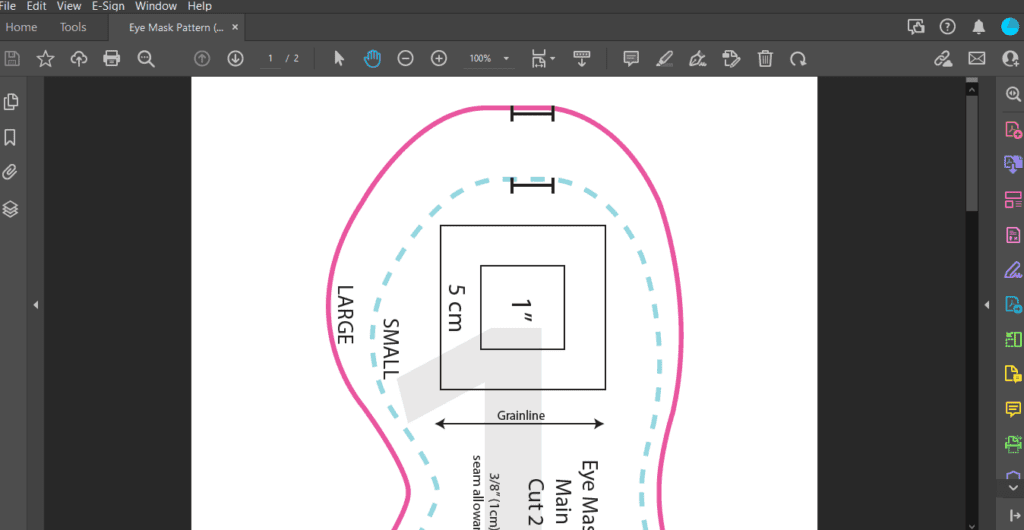
Next, click on "Print." This will open a dialog box with the print settings. Change the scaling to "Actual Size" or "Custom Scale: 100%".
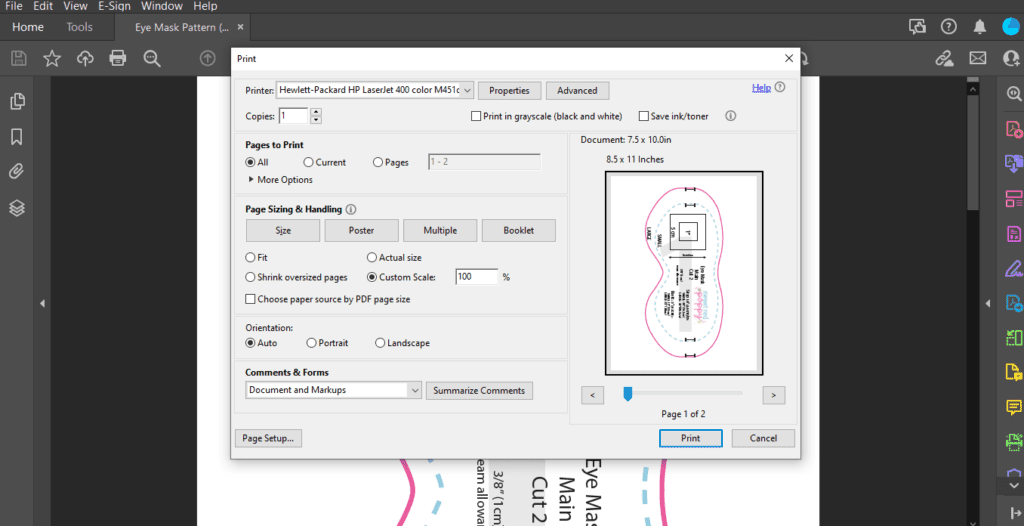
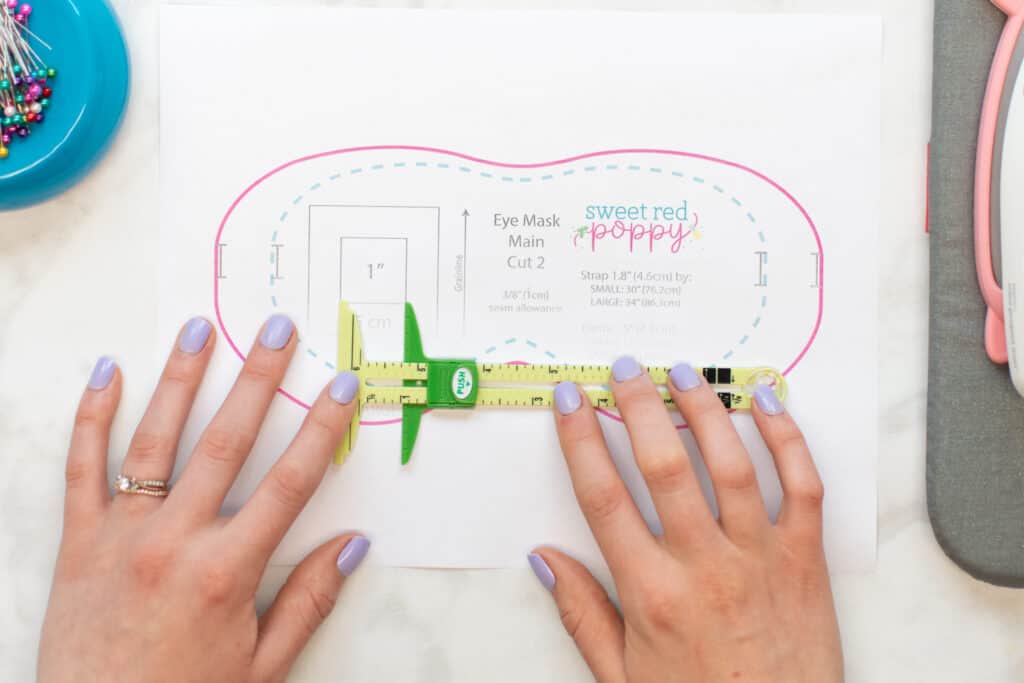
Print the pattern, then check that the test square measures 1" x 1". If it does, great! Your scaling was set correctly. If it does not measure 1" x 1", you'll need to recheck your print settings and print the pattern out again.
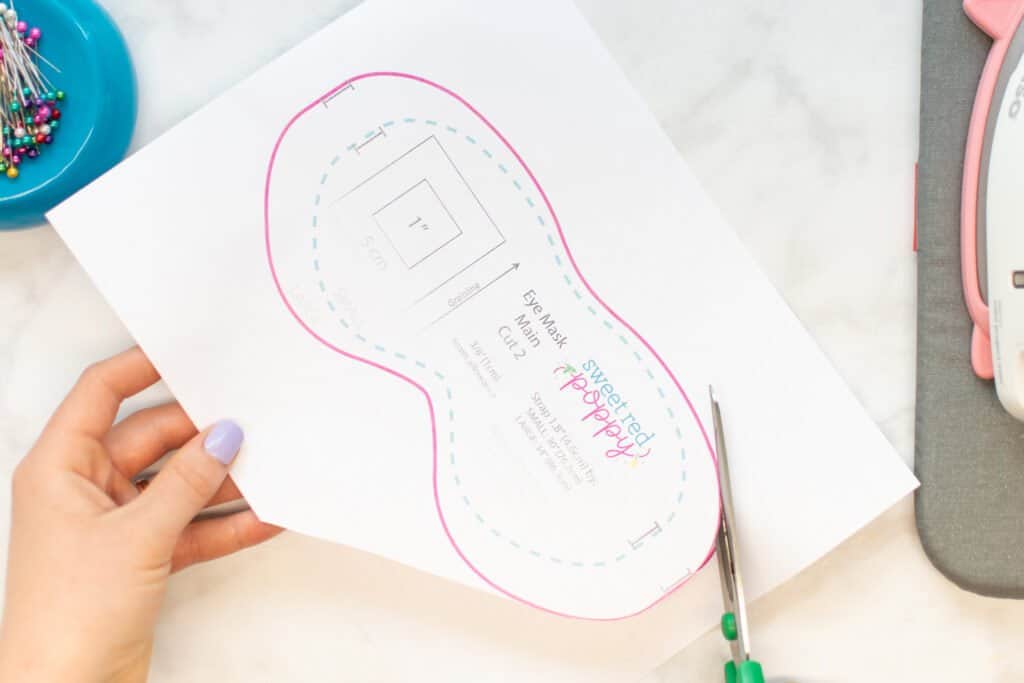
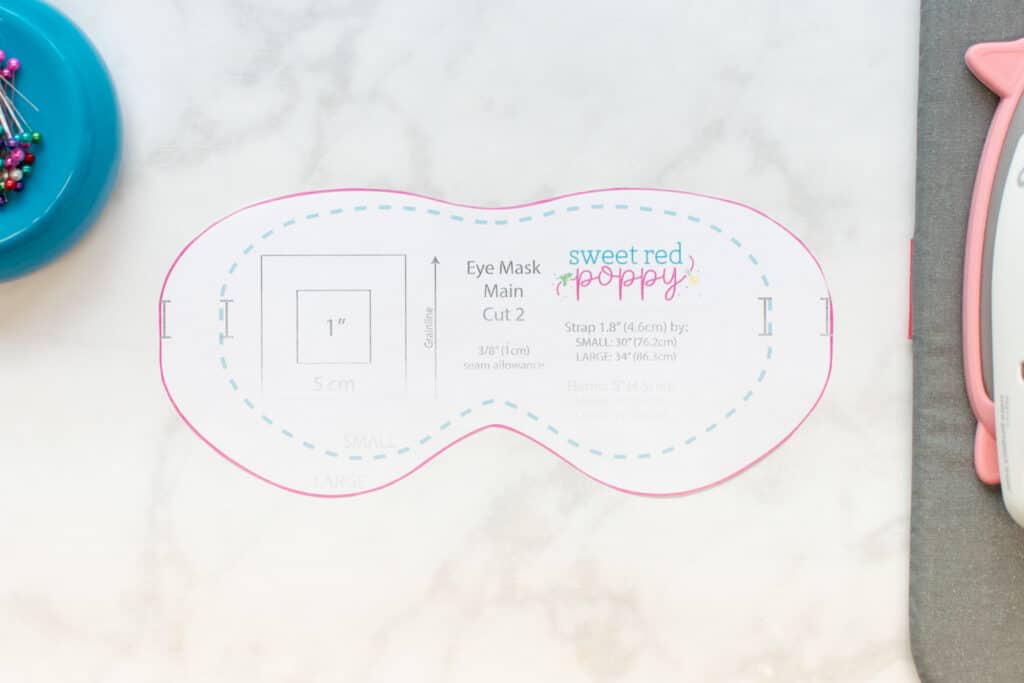
Once printed, cut the pattern piece out.
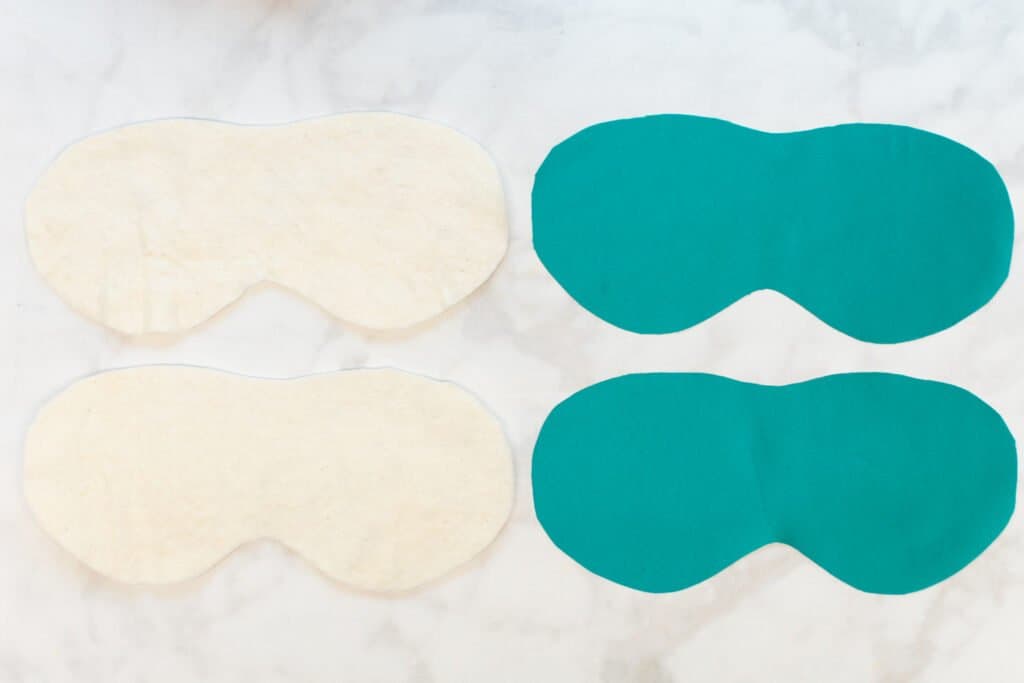
Step 2: Cut Out Fabric for Sleep Mask
With your pattern prepared, it's time to cut out the fabric for your sleep mask.
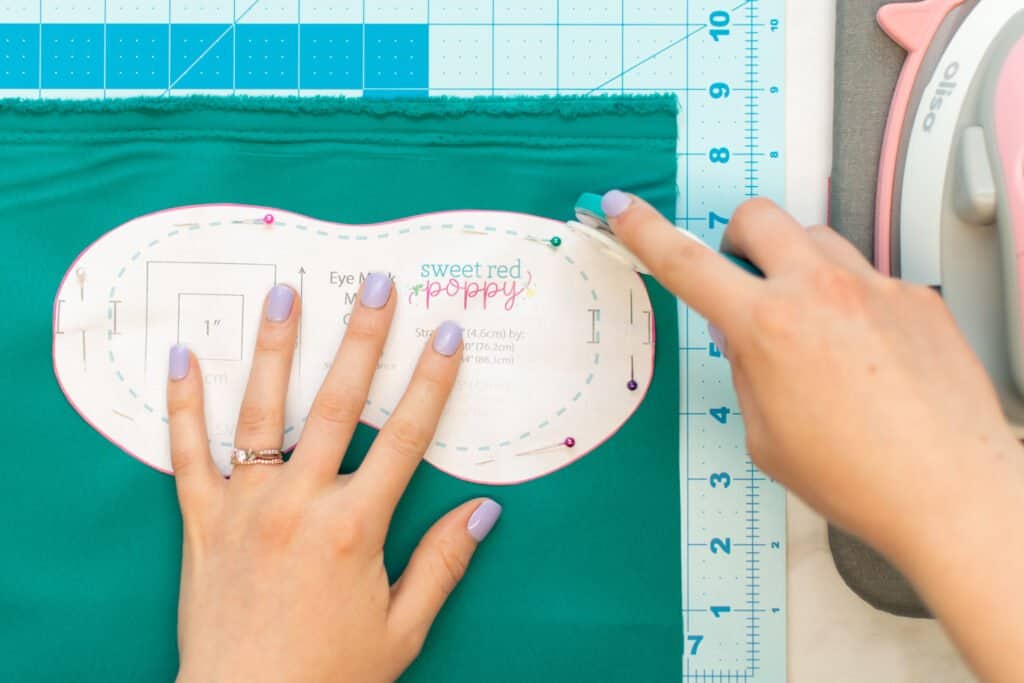
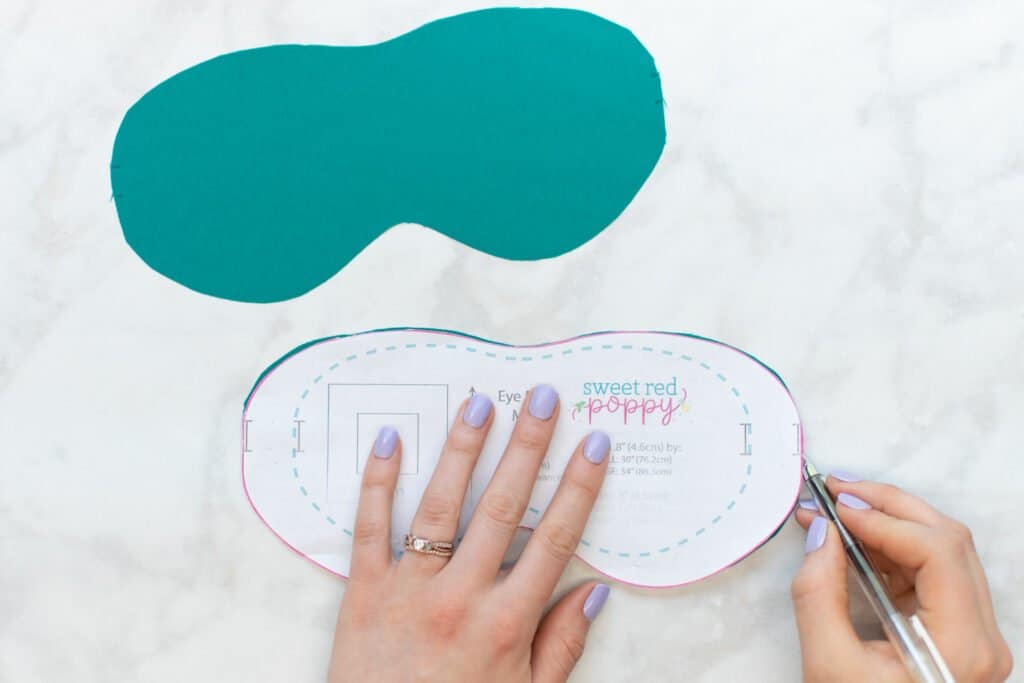
Cut two sleep mask pieces from your fabric and two from your quilt batting.
Transfer the strap placement marks from the paper pattern to the fabric pieces with a fabric pen.
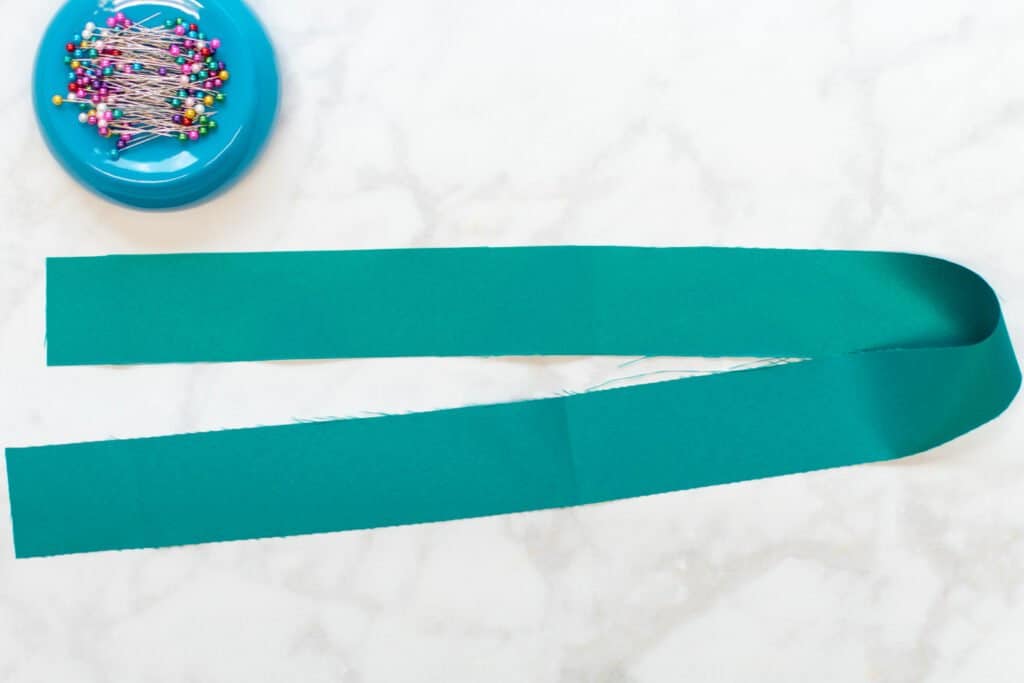
Then, cut one fabric rectangle for your strap. If you're sewing the small, cut your strap 1.8" wide by 30" long. If you're sewing the large, it should be cut 1.8" x 34".
*You can opt to use fold over elastic for this step instead. If choosing this option, skip cutting out the rectangle and just cut out your fold over elastic.
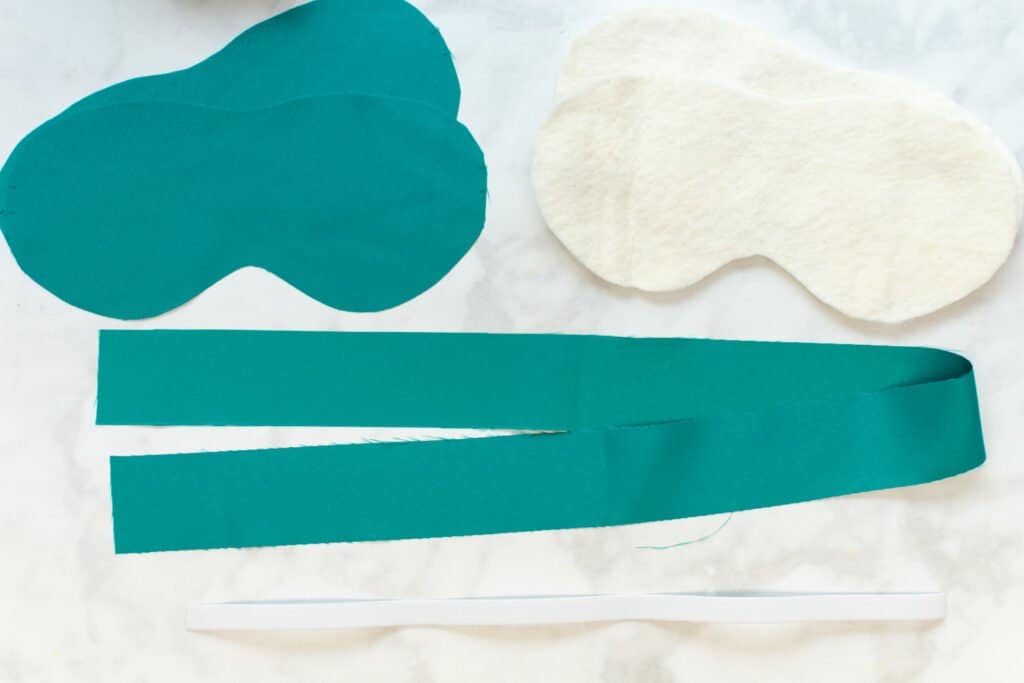
Finally, cut one piece of half-inch wide elastic to 13" long for the small or 15" long for the large.

You now have all the pieces of your sleep mask cut out.
Step 3: Prepare the Strap
Let's start with the sleep mask strap!
Begin by folding the strap piece in half lengthwise with right sides together.
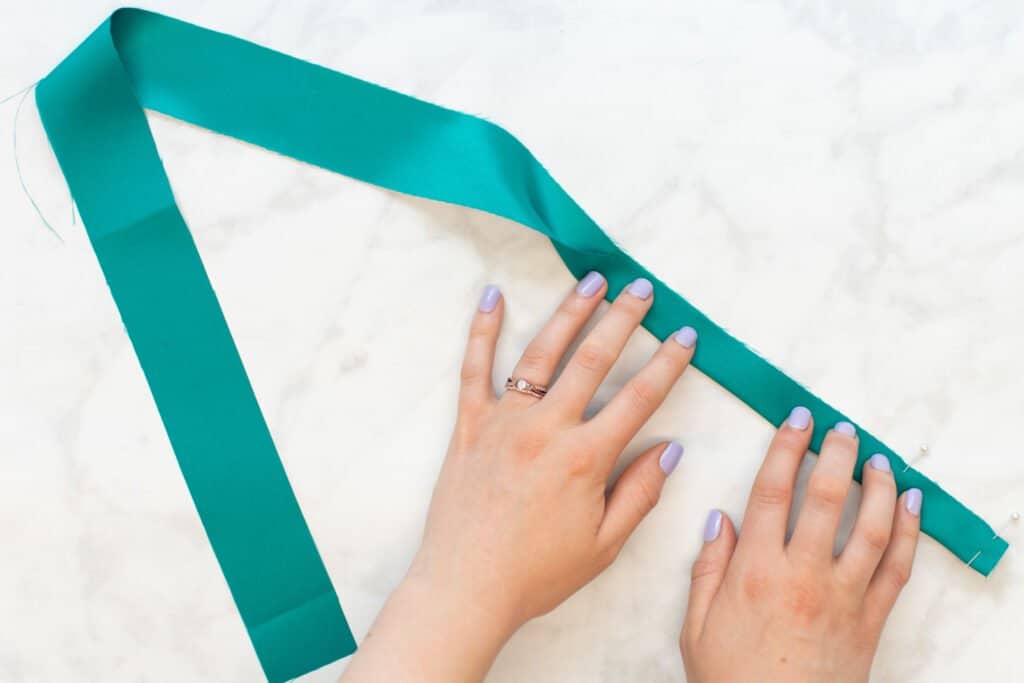
Pin the edges of the strap together along the long edge.

Take the strap to your sewing machine and stitch along the long edge with a 1/4 inch seam allowance.
*NOTE: The seam allowance for this seam is slightly less than the 3/8 inch seam allowance used on the rest of the pattern. This is because you need to leave extra room to fit the 1/2 inch elastic easily into the strap later.
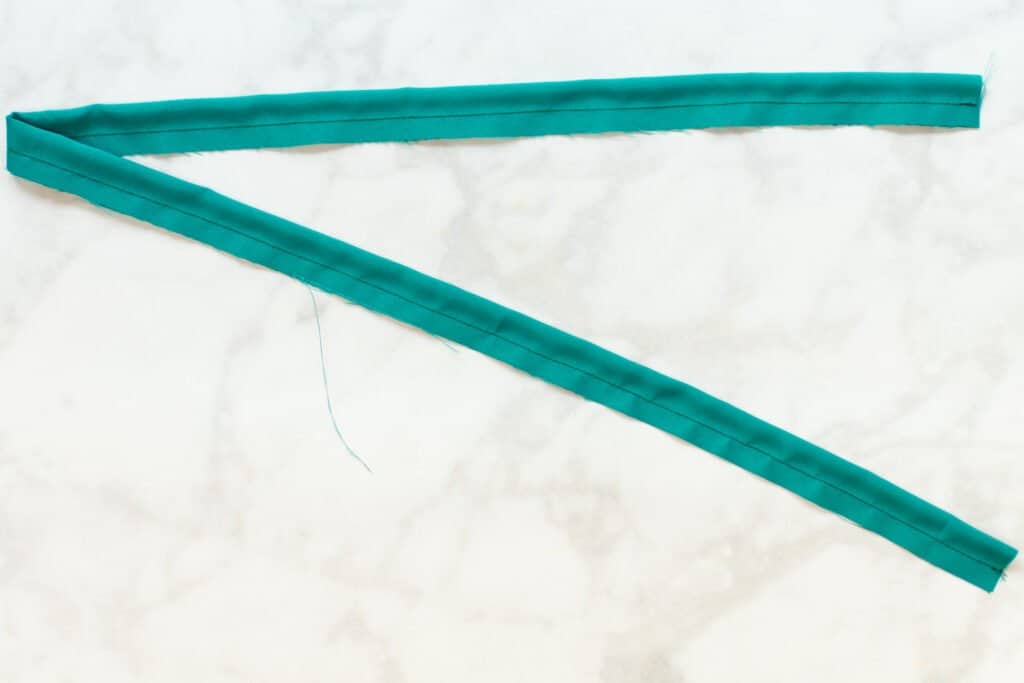
Trim the seam allowance down by about half to reduce bulk.

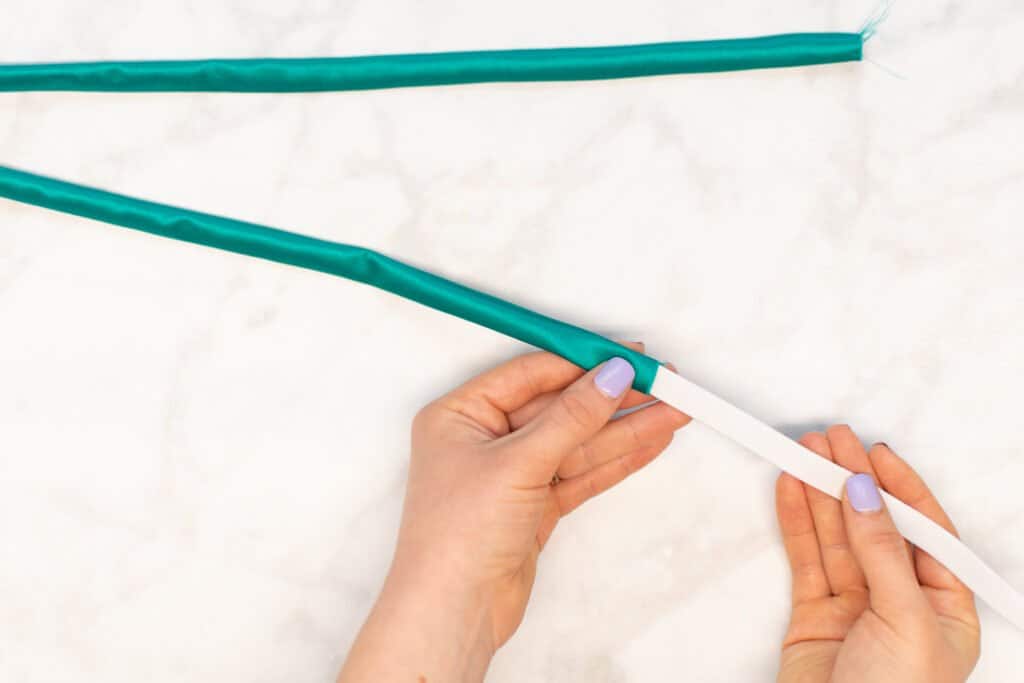
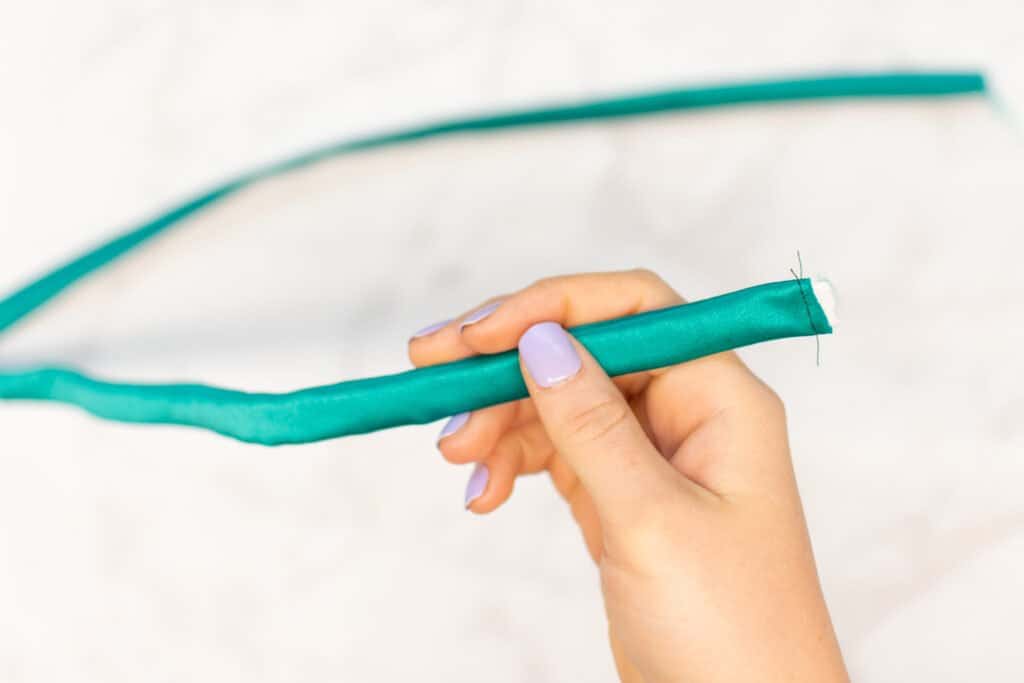
Next, turn the strap right sides out by pulling one end down through the tube of fabric. I like to use my loop turner for this by pushing the loop turner through one end of the tube, hooking the other end, and pulling it through.
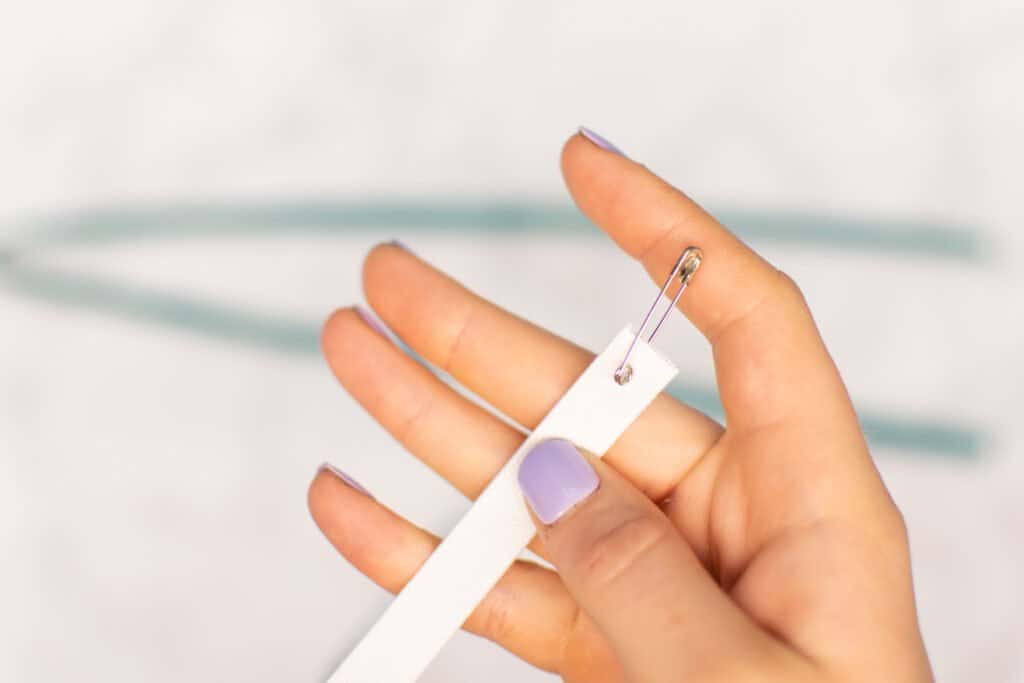
However, if you don't have a loop turner, you can use a safety pin instead. Simply hook the safety pin to one end, push it down into the tube, and work the safety pin through the strap to turn it right sides out.
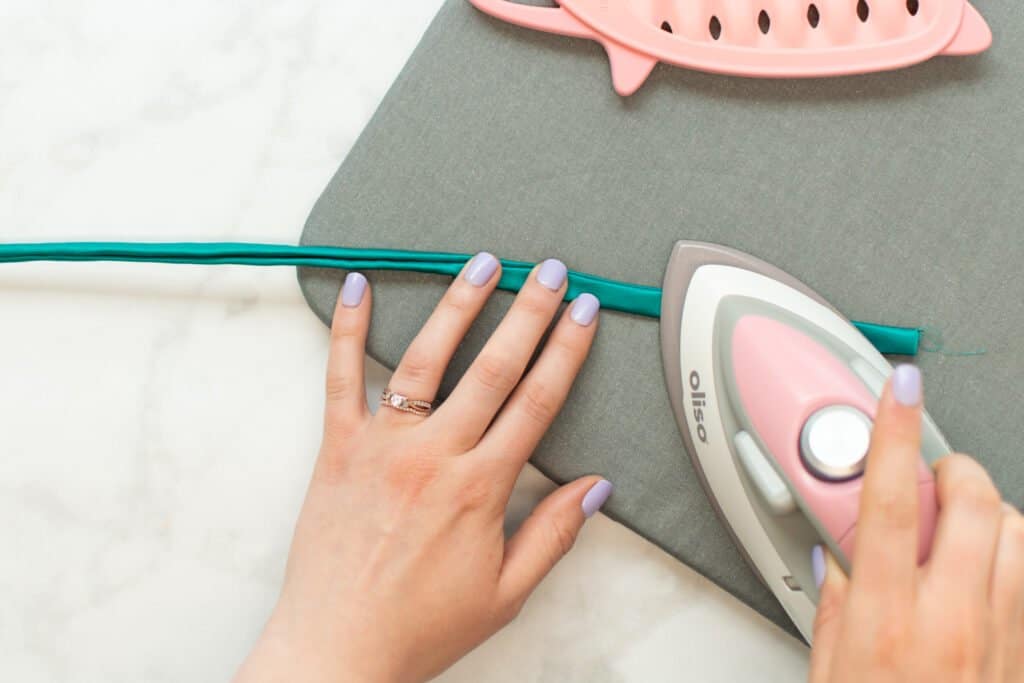
Once turned, press the strap flat with your iron, pressing the seam to either the top or the bottom.
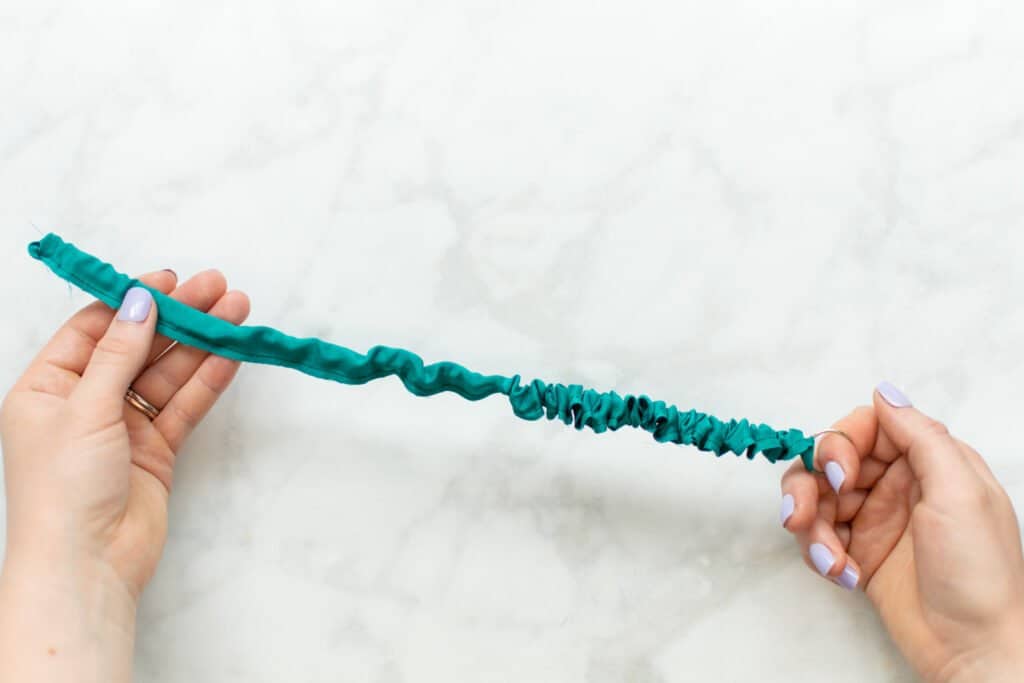
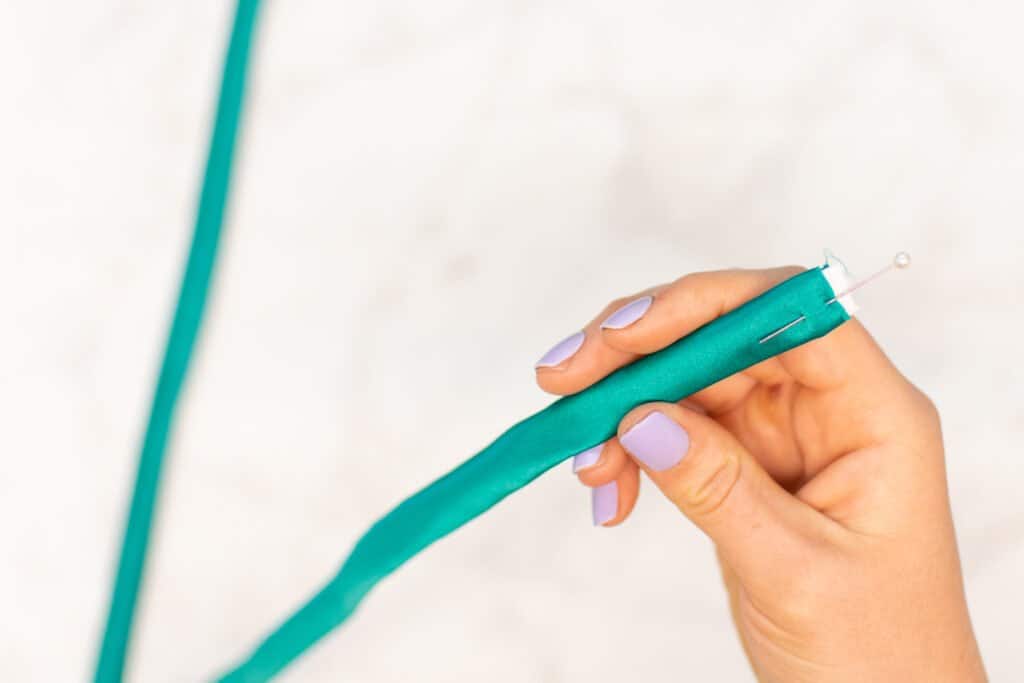
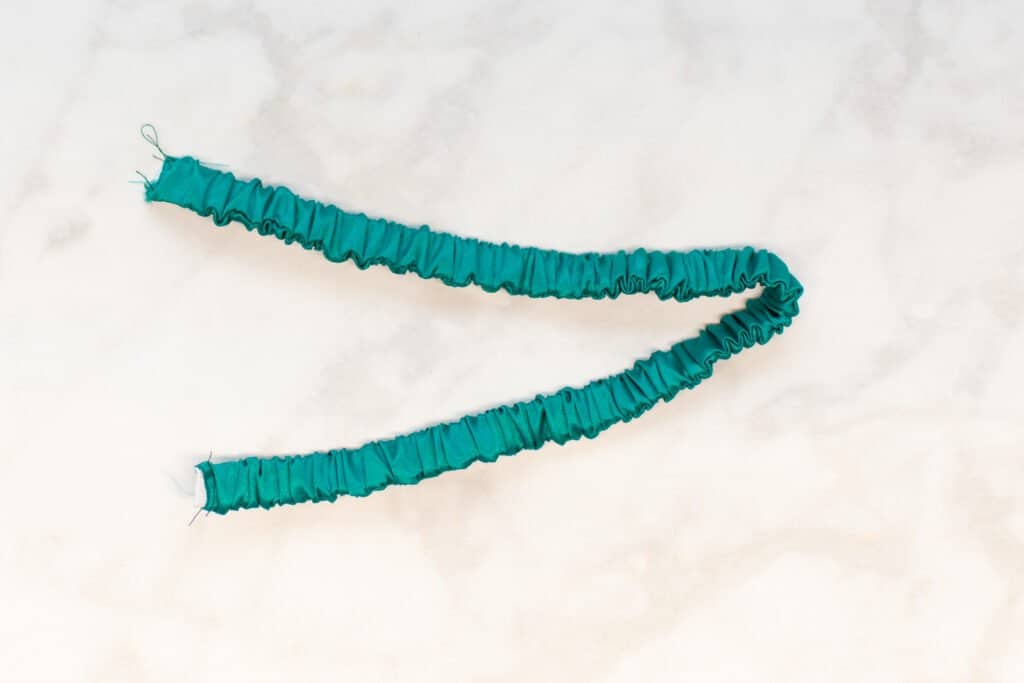
Next, let's insert the elastic into the strap. Hook a safety pin to one end of the elastic.
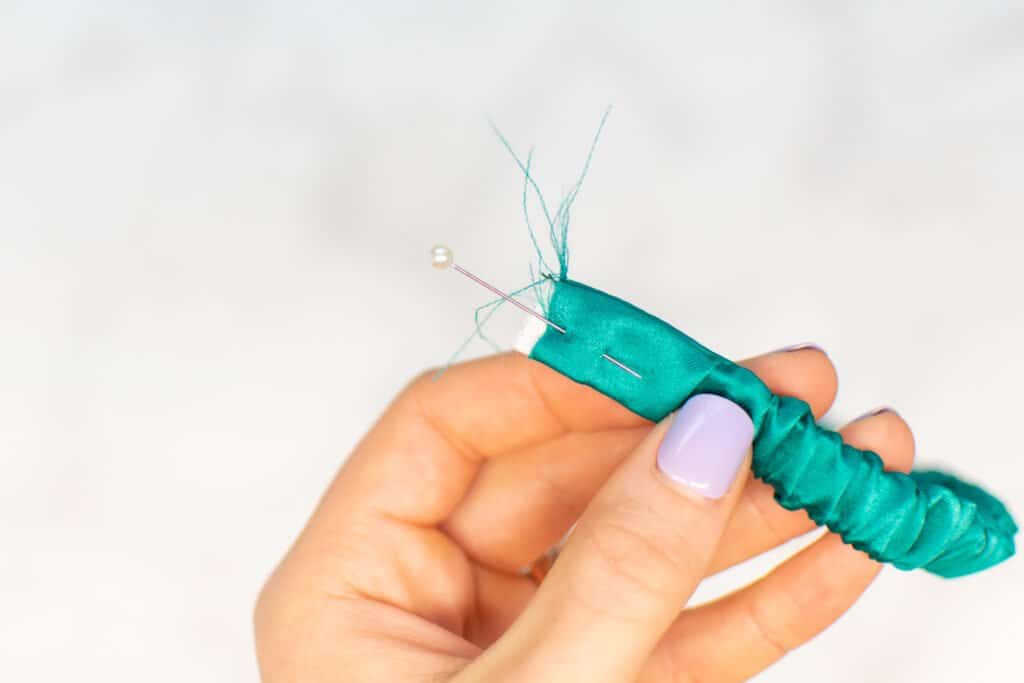
Push the safety pin into the fabric tube, pushing it through until there is only a tiny 1/8 inch tail of elastic hanging out the end of the fabric. Pin the elastic in place.
Then, sew across the end of the fabric strap with a basting stitch to secure the elastic to the fabric.
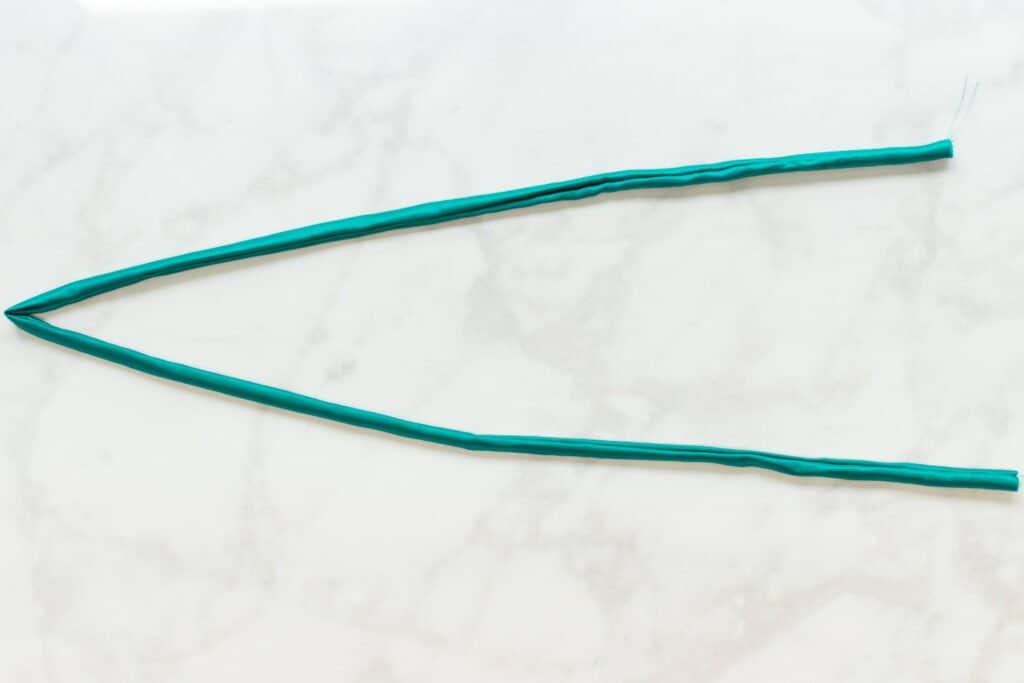
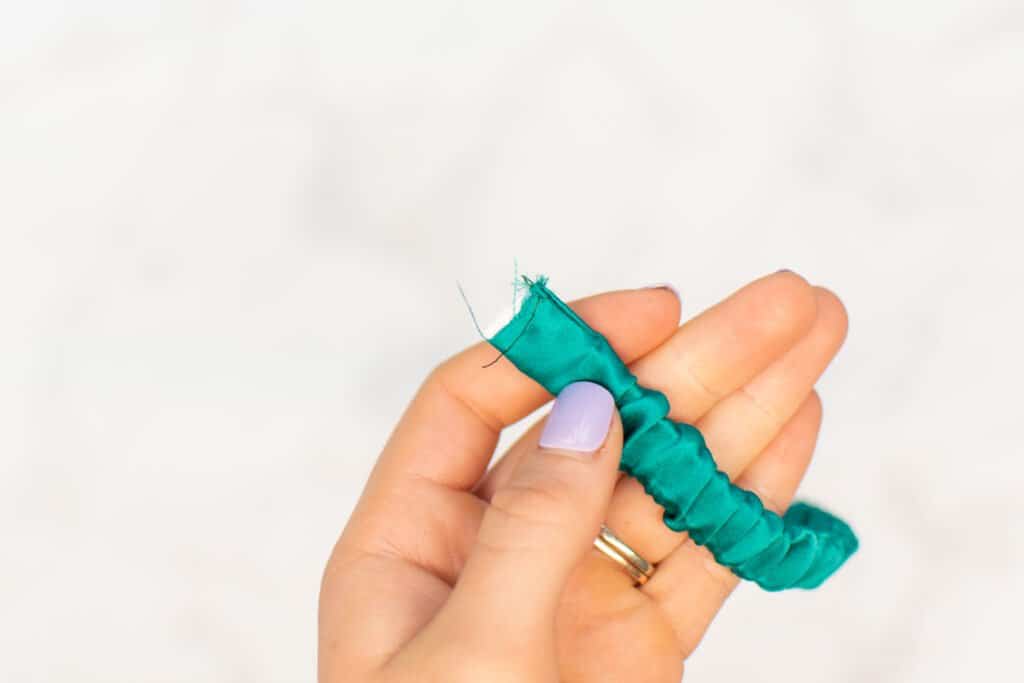
Continue pulling the other end of the elastic through with the safety pin until there is a 1/8 inch tail sticking out the other end of the strap. Pin the elastic in place.
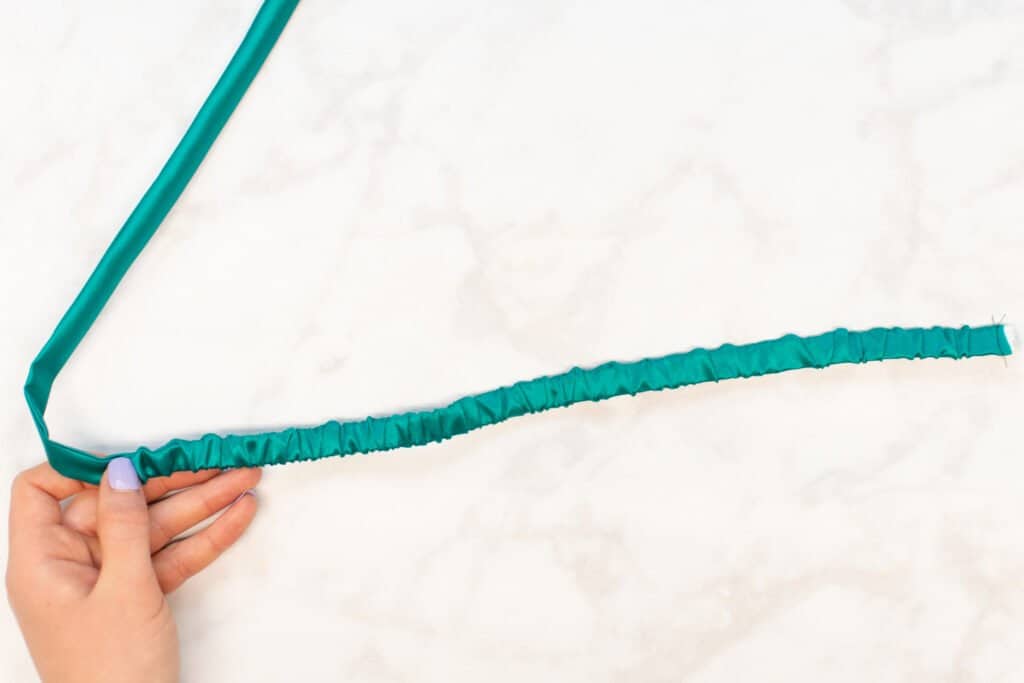
Baste across the other end of the strap to hold the elastic to the fabric.
Step 4: Sew the Sleep Mask
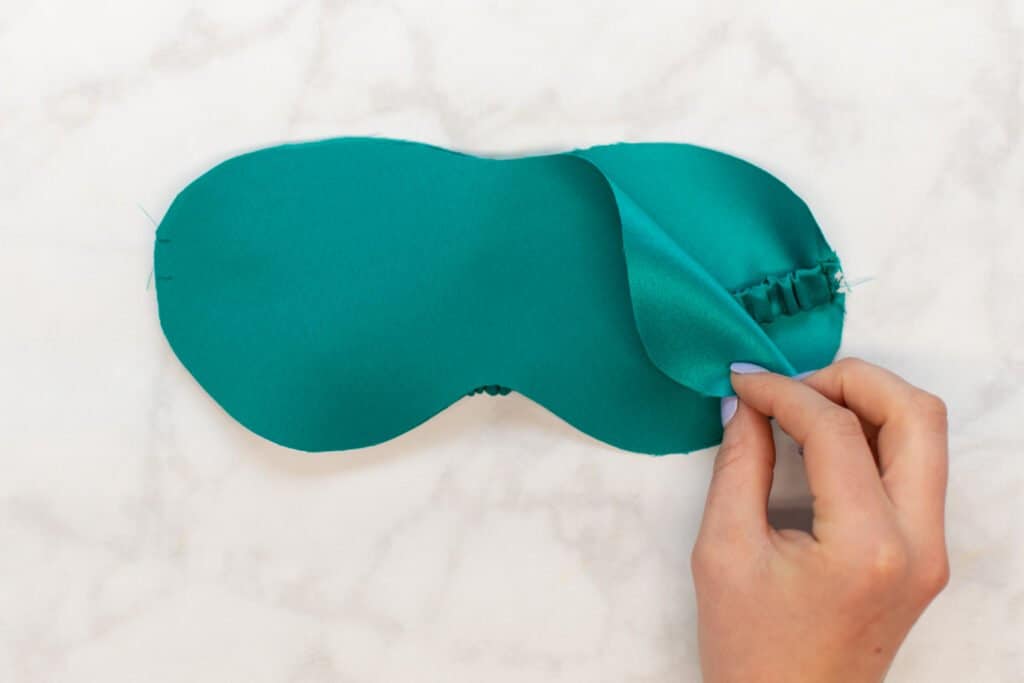
Next, lay one of the fabric pieces of the sleep mask right sides up on your table.
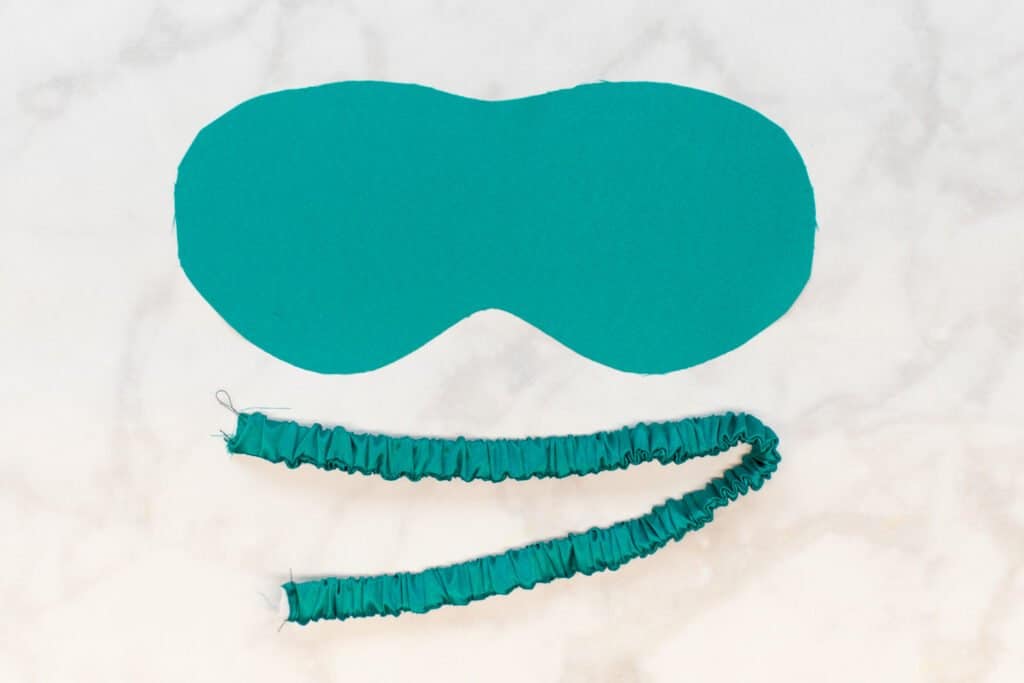
Place the strap onto the fabric piece, aligning the ends with the markings on either side of the sleep mask. The ends of the straps should be lined up along the raw edge of the fabric. Pin the strap ends in place, making sure there are no twists in it.
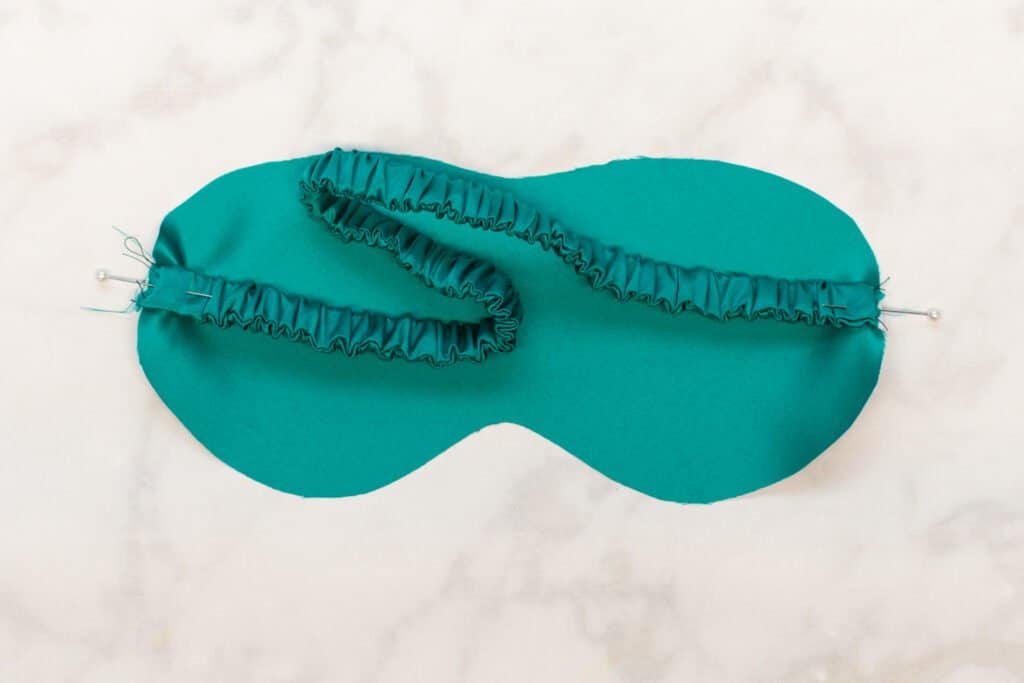
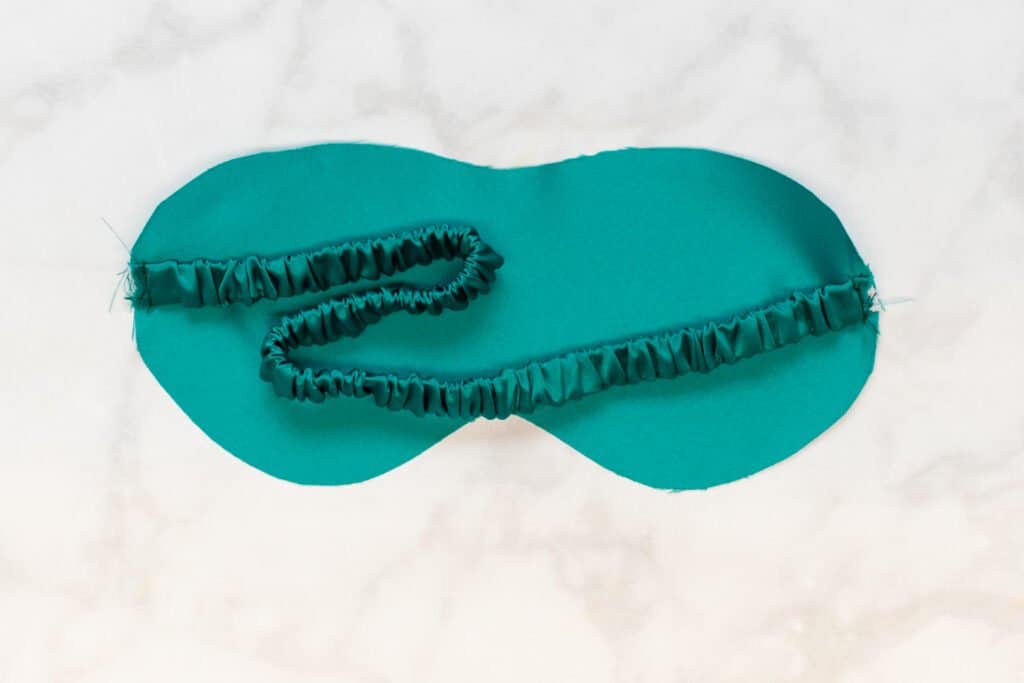
Stitch the strap ends in place with a basting stitch about 1/4 inch away from the raw edge.
Place the other fabric sleep mask piece right sides together with the first piece, folding the strap out of the way into the center of the sleep mask.
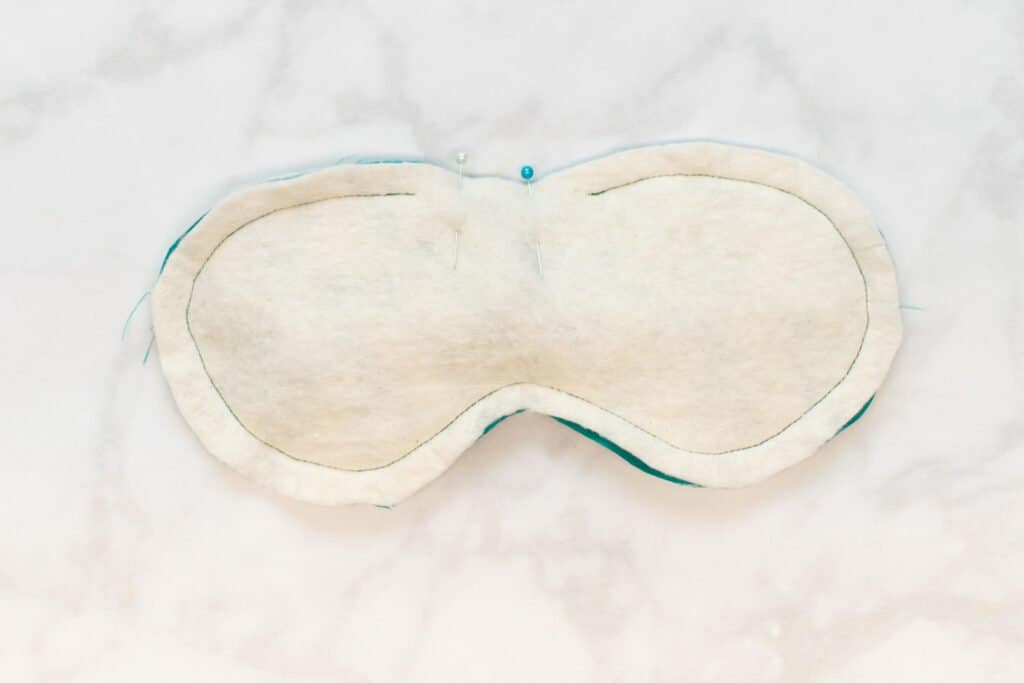
Next, line up the two batting pieces on either side of the fabric sleep mask pieces. The batting will be touching the wrong sides of the fabric.

Pin the edges of the sleep mask through all four layers.

Stitch around the entire sleep mask with a 3/8 inch seam allowance, leaving a 2-inch opening at the top. Be sure not to accidentally catch the strap in your stitching and make sure to backstitch at the beginning and end!

*PRO TIP: It can help you to get smoother curves and a more evenly sewn sleep mask if you mark your stitching line in with a fabric pen before sewing. Then, when you sew, you can simply follow the drawn-in stitching line.
Once the sleep mask is sewn, trim the batting out of the seam allowance very close to the seam - but not cutting through your stitching. This is important to help reduce bulk.
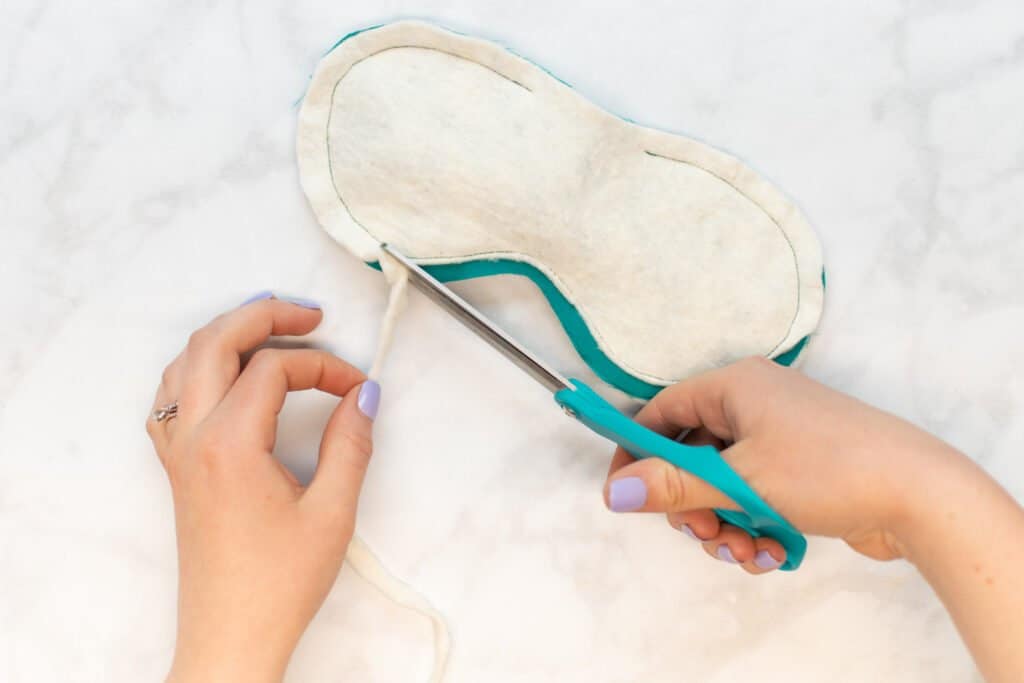
Next, clip into the seam allowance close to the stitching around the entire sleep mask, especially focusing on the most curved areas. This will help your mask to lay flat and look professional. I like to space my clips approximately 1/4 inch apart.

Step 5: Turn and Finish Your Sleep Mask
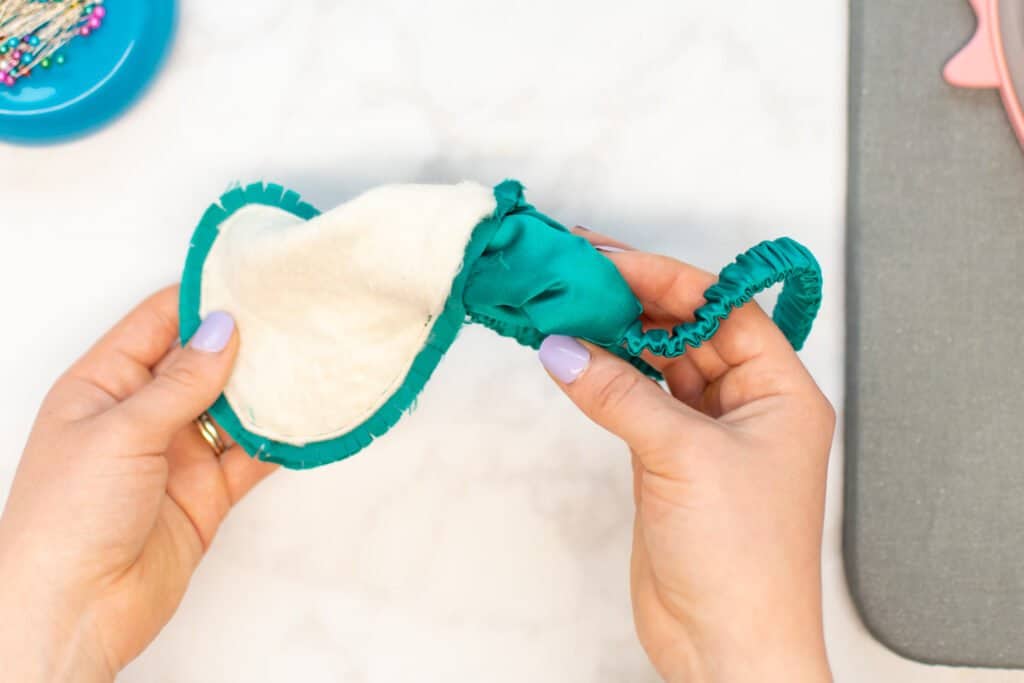
With the sleep mask stitched, it's time to turn it and finish it off!
First, turn it right sides out through the opening left in the top edge.
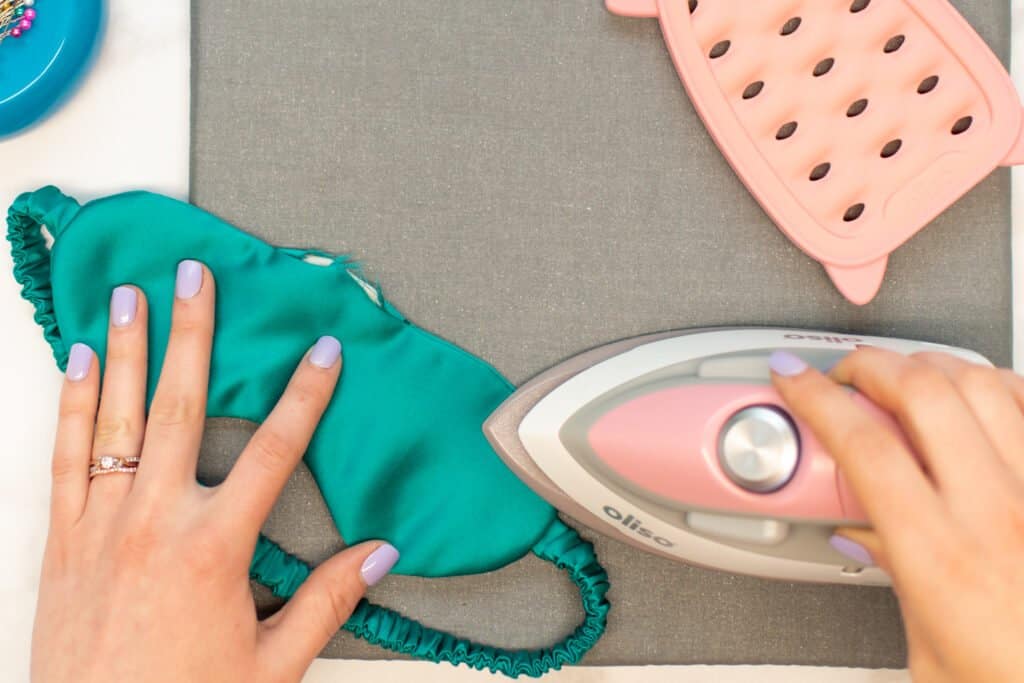
Press the sleep mask flat, pressing the raw edges of the opening to the inside of the mask. Be careful not to have your iron on high heat if using a delicate fabric such as satin.
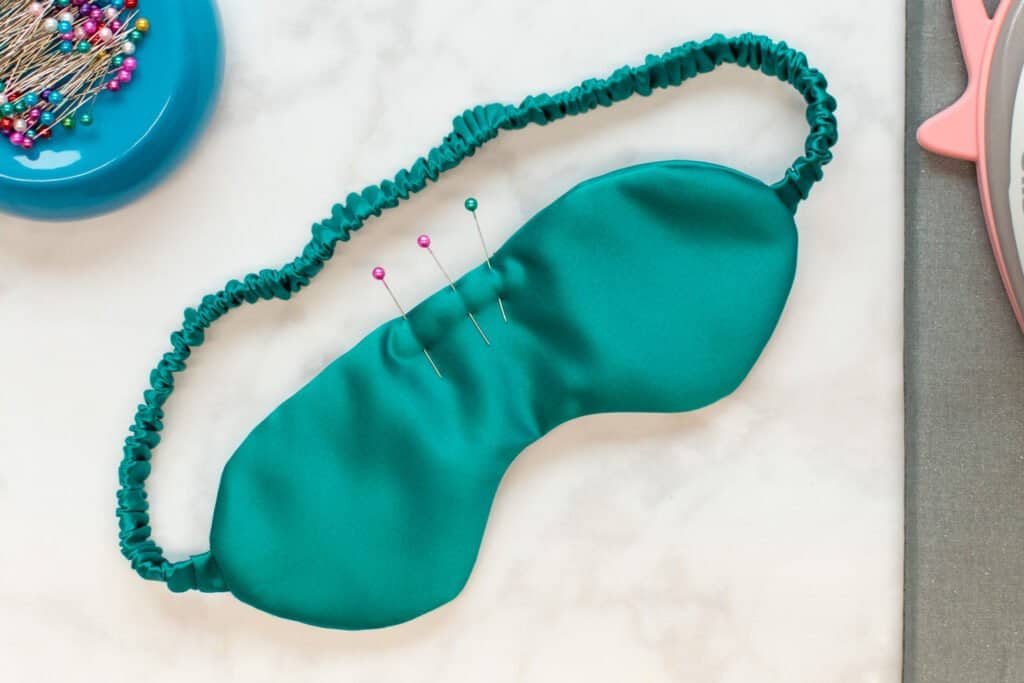
Pin the opening in the top edge closed, making sure it is pressed to create a continuous clean edge.
Finally, we need to close up the opening. You have two options here. If you like the look of topstitching, simply topstitch around the entire edge of the sleep mask with a 1/8 inch seam allowance.
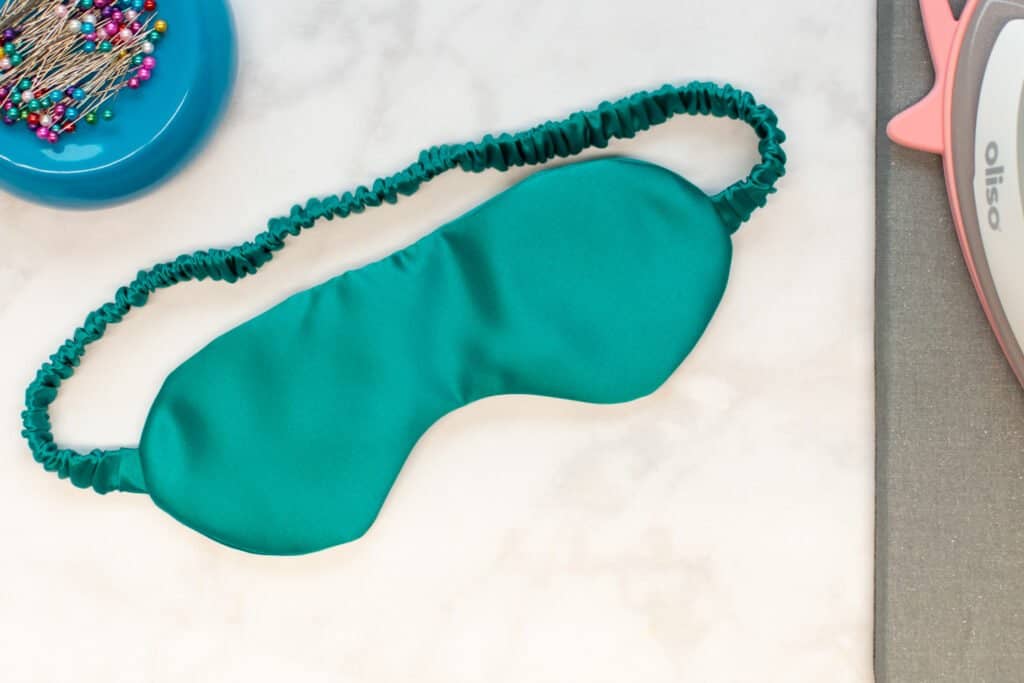
Below is an example of a sleep mask with topstitching.

If you don't like topstitching, use a slip stitch to hand-sew it closed, which is what I did here. Click here for a step-by-step slip stitch tutorial.
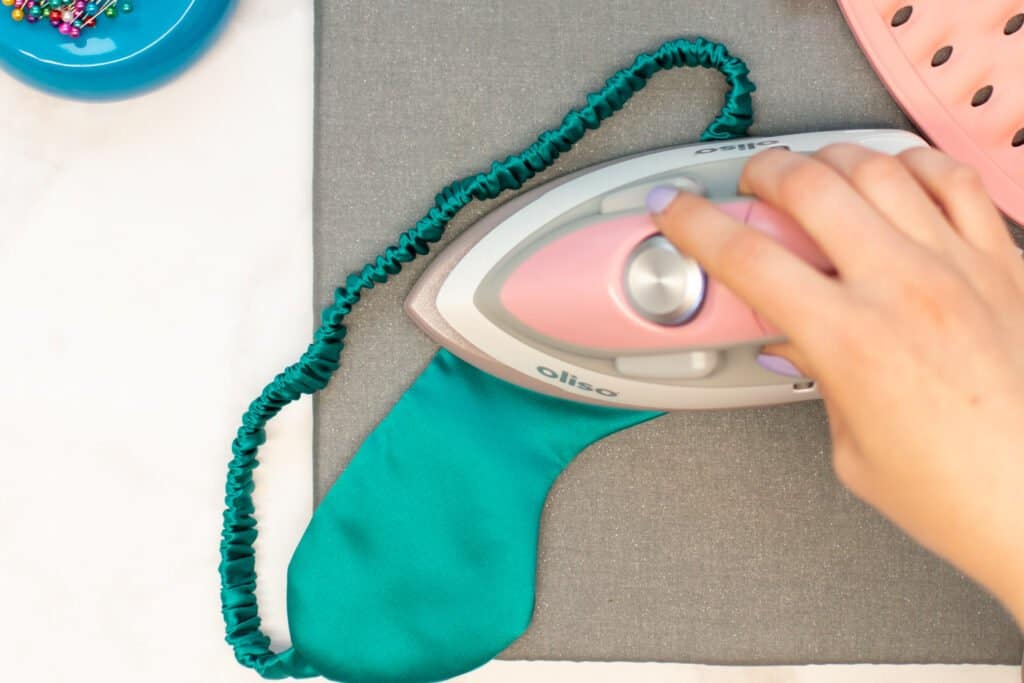
Give your beautiful sleep mask a final pressing with your iron and you're done! Enjoy some good sleep with your new light-blocking sleep mask.
Did you sew up your own sleep mask? Share a photo on Instagram with the hashtag #sweetredpoppy. I would love to see how yours turned out!
Don't forget to join my Facebook group where you can show us what you're making, ask questions, and learn from others.
SHARING IS CARING
Help me by sharing this project! If you like free sewing patterns, please take a moment to share this on your favorite social media site or pin it on Pinterest!
Click here to pin this project on Pinterest.
This helps my site to continue to grow so that I can continue to provide free content. Thank you!
Looking for even more free sewing patterns? Click the links below!
This is such a fun sewing project, and your sleep mask looks so comfy! Today I’ve shared your pattern on Crafts on Display - hope you enjoy it! https://craftsondisplay.com/sewing/fun-little-projects/diy-sleep-eye-mask-149594/