Sew your own stylish hair accessories in just 15 minutes by making these simple oversized scrunchies! Learn how with this step-by-step sewing tutorial and free downloadable sewing pattern.
Oversized scrunchies have made a huge comeback over the last few years - and I'm a fan! Scrunchies are cute, casual, and softer on your hair than a regular hair tie.
But the latest trend in the scrunchie world? Jumbo scrunchies! These oversized hair ties will give your everyday outfits a cool, stylish touch without sacrificing comfort.
You can find a good selection of oversized scrunchies available in stores and online - but why not use up some fabric scraps to make your own? They're simple to sew and come together in just 10-20 minutes!
Below, I'll show you my favorite easy method of sewing cool jumbo scrunchies!
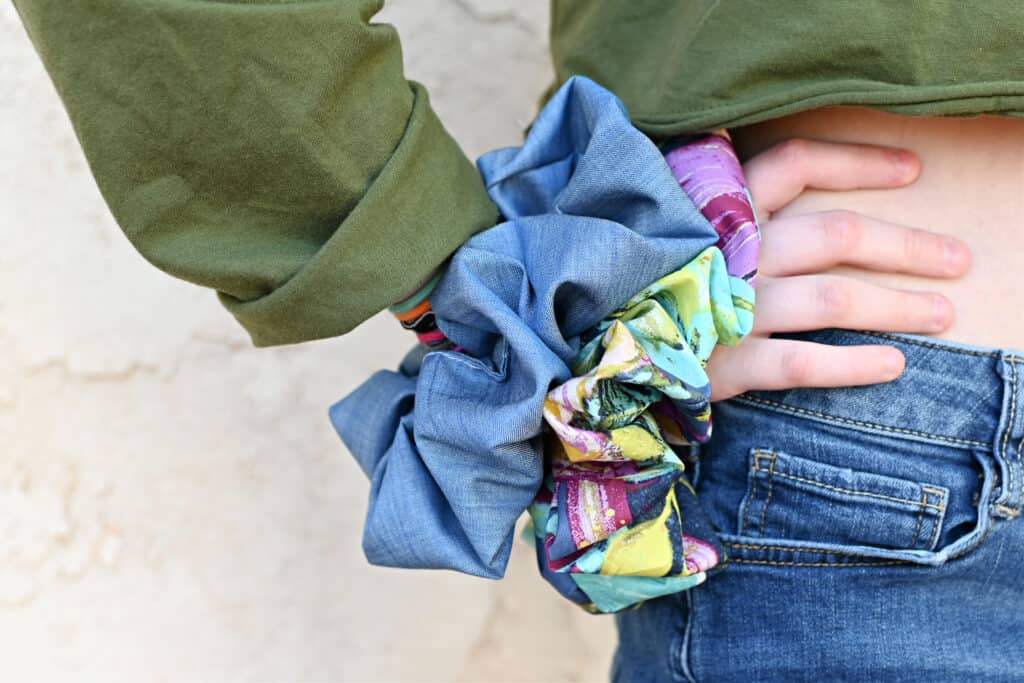
Table of Contents
What Fabric is Best for Sewing Scrunchies?
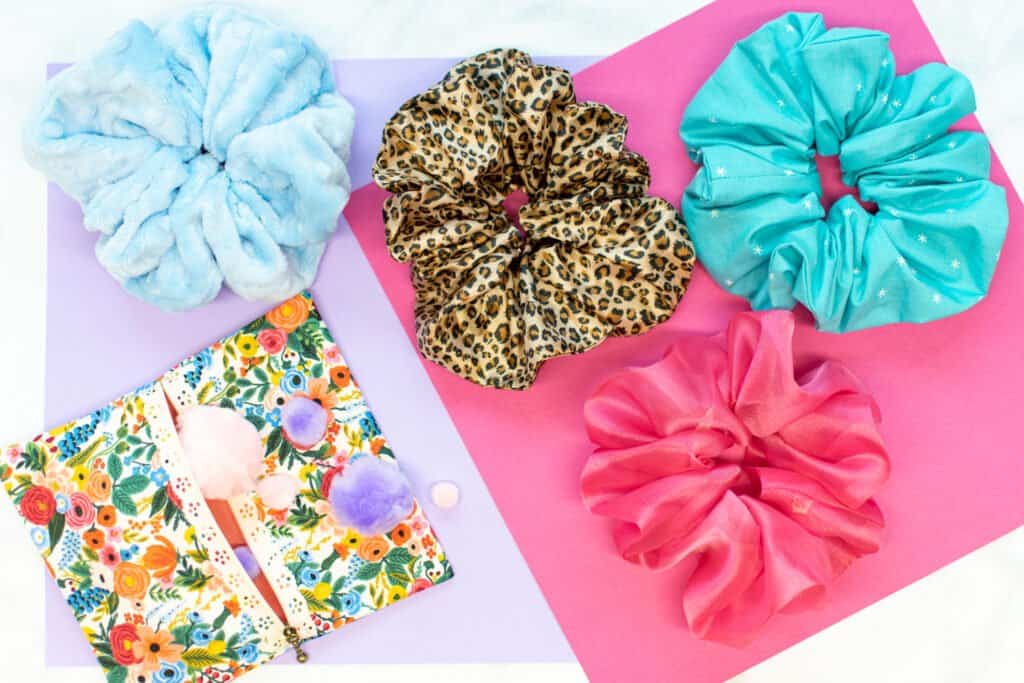
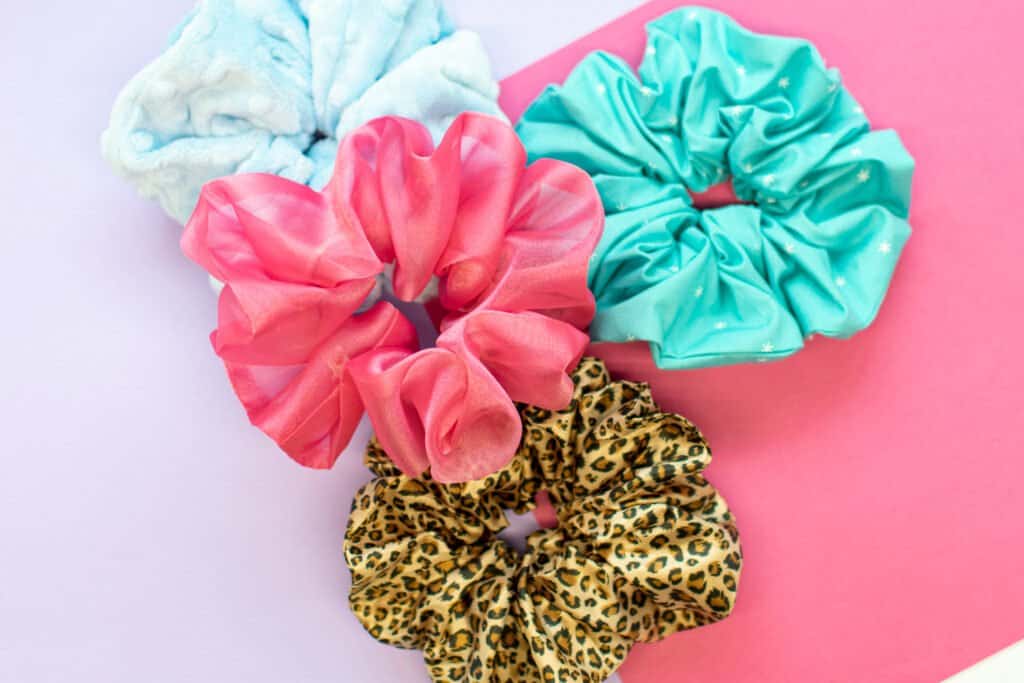
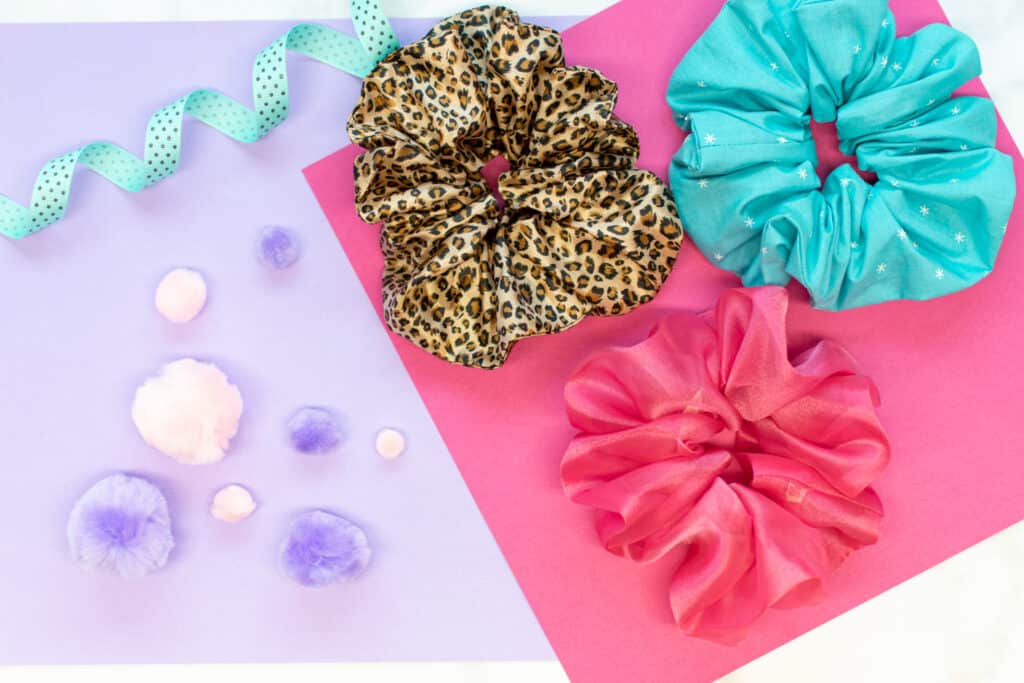
Oversized scrunchies made from silk, satin, and colorful organza are majorly trending right now. But one of the best things about making scrunchies is that you can use almost any fabric that you have on hand.
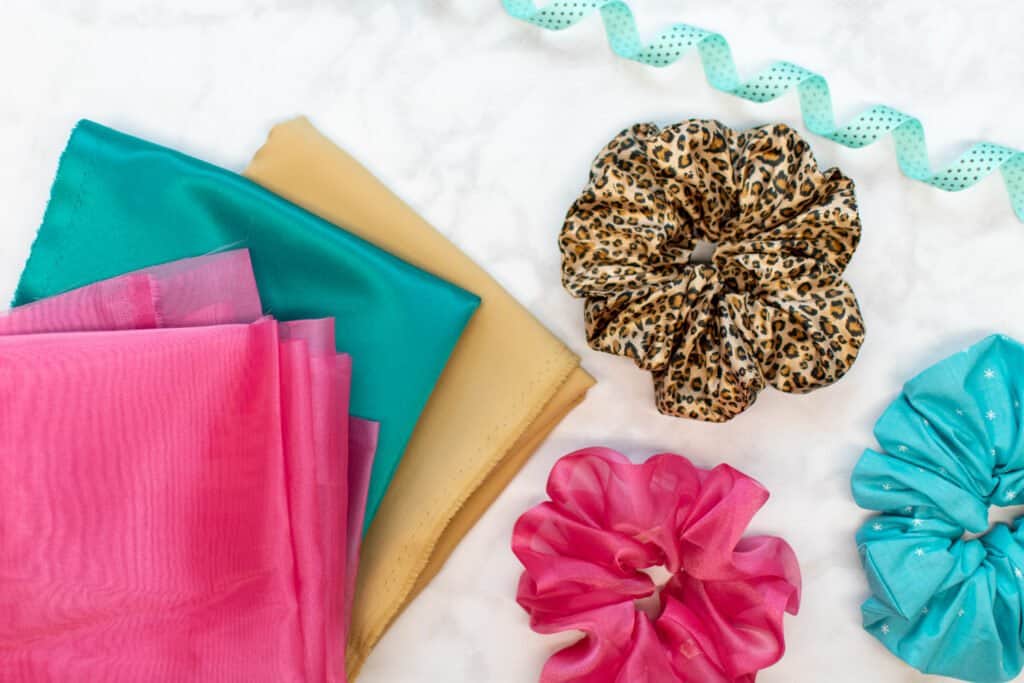
They can be made from both woven and knit fabric. The only type of fabric you probably want to avoid is anything that is very thick or heavy, such as denim.
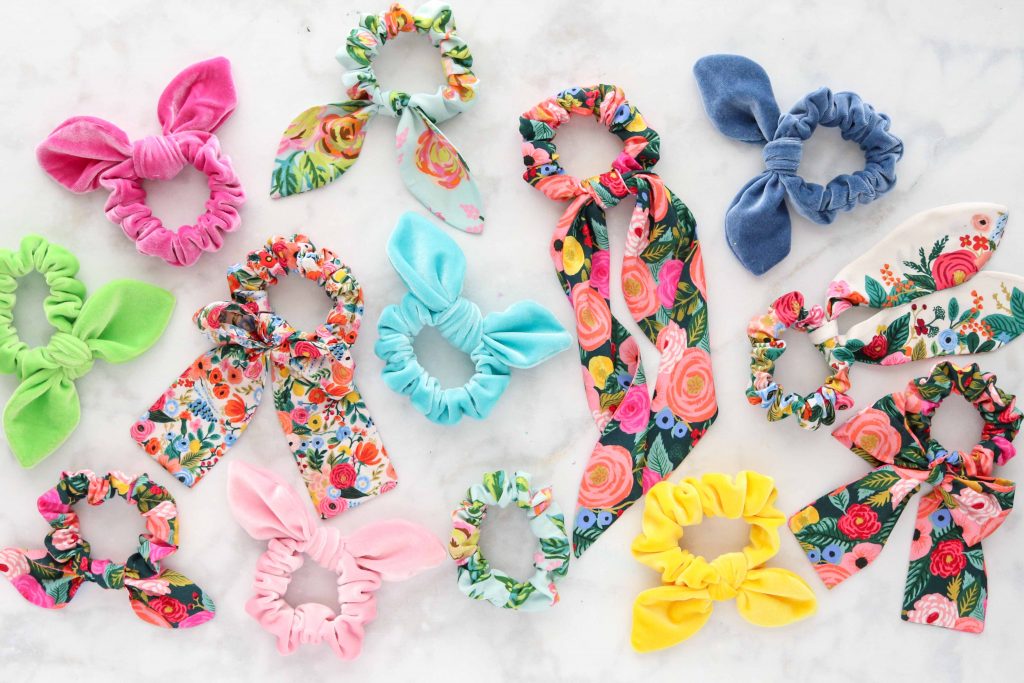
These scrunchies are so quick and easy to sew, that you can have fun experimenting with making them from as many different fabrics as your heart desires!
Why Shop Through My Links?
When you shop through my affiliate links, it doesn't cost you anything extra, but it helps me out in a big way! I earn a small commission from those purchases, and that support allows me to continue creating and sharing free tutorials and patterns for you. Thank you so much for helping me keep this creative community going!
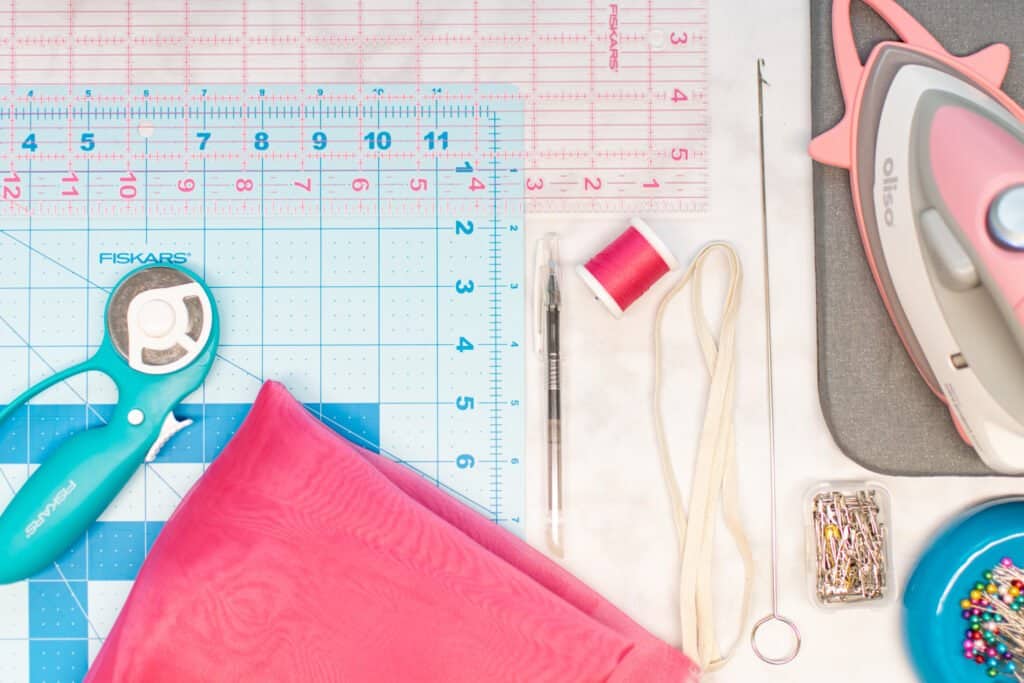
Supplies to Sew an Oversized Scrunchie
Here are the supplies you'll need to have on hand to make a cool, oversized scrunchie.
- 40" x 6.75" Piece of Fabric
- 8.5" Piece of 1/4" Wide Elastic (I like cotton elastic because it's more flexible than rubber elastic)
- Scissors
- Rotary Cutter
- Rotary Cutting Mat
- Thread
- Pins or Clips
- Iron & Ironing Board
- Fabric Pen or Chalk
- Printer
- Printing Paper
- Tape
- Sewing Machine
- Acrylic Ruler
- Hemming Tool
- Safety Pin
- Hand Sewing Needle or Fabric Glue
- Loop Turner (optional)
Shop my favorite sewing supplies here!
Download the FREE Jumbo Scrunchie Sewing Pattern Here!
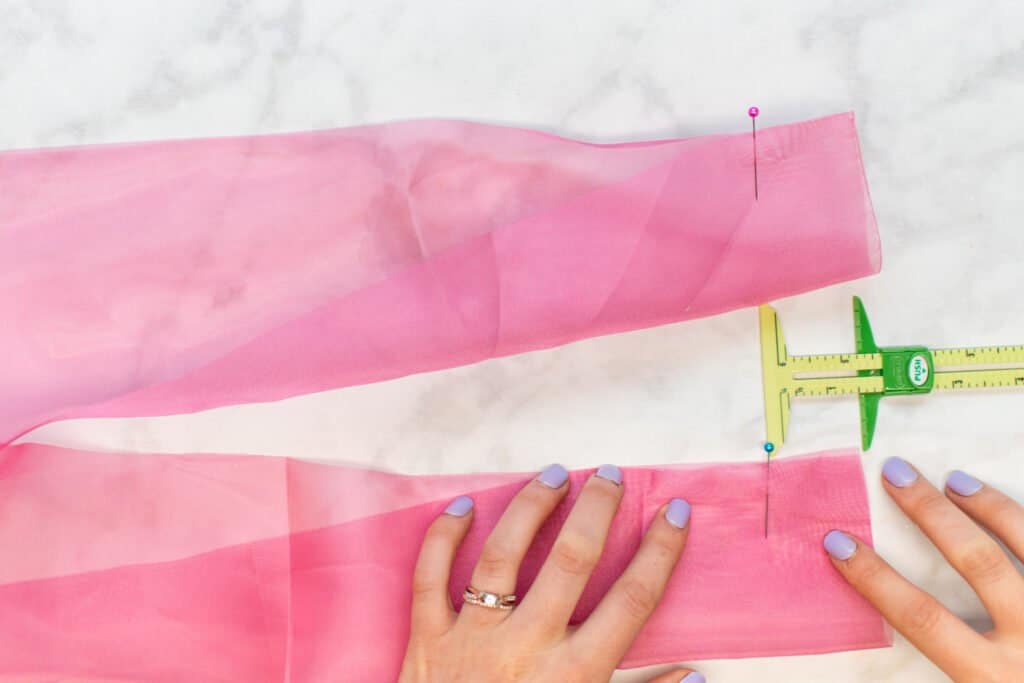
Step 1: Cut Out Your Scrunchie
Start by cutting out your fabric (refer to the pattern download for exact dimensions. I like to use a quilting ruler and fabric chalk to draw in the rectangle on the wrong side of my fabric before cutting.
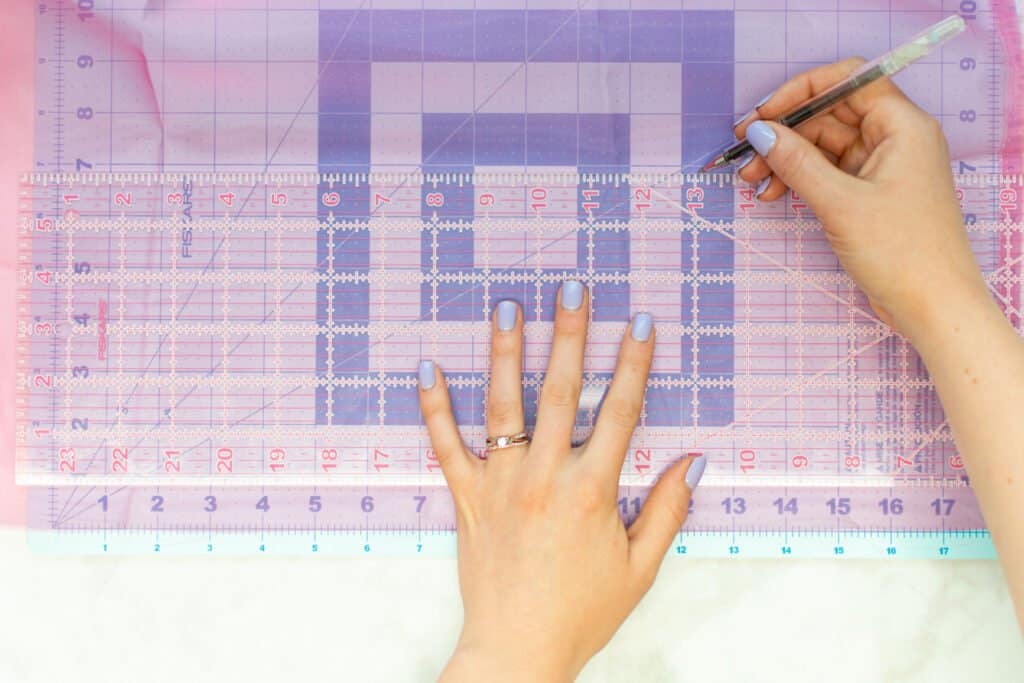
Then cut along the lines with your rotary cutter to cut out your scrunchie.

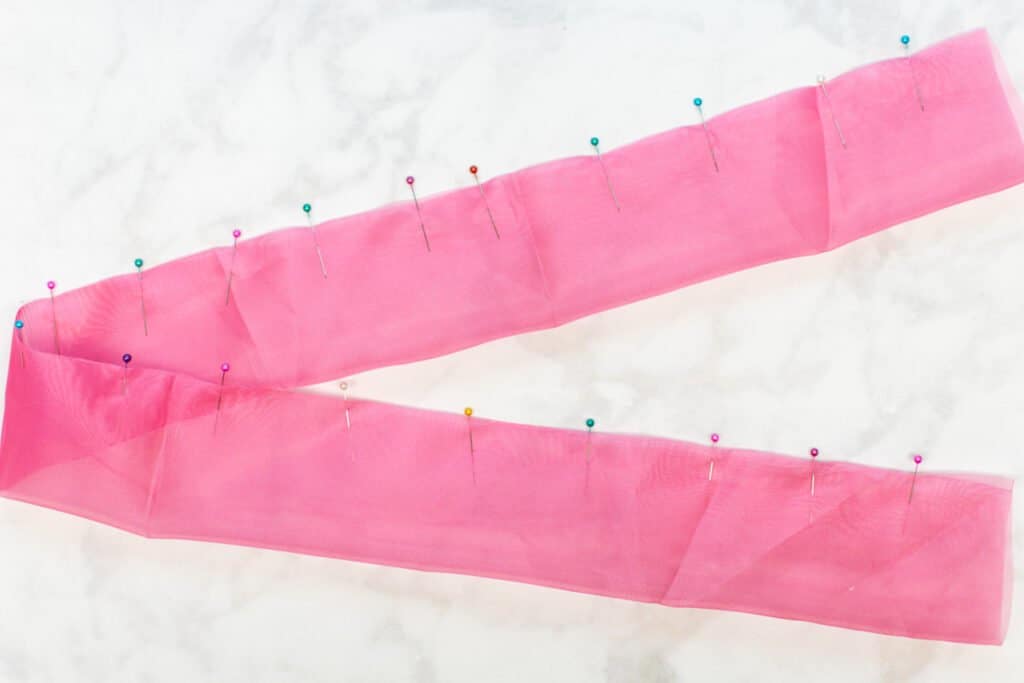
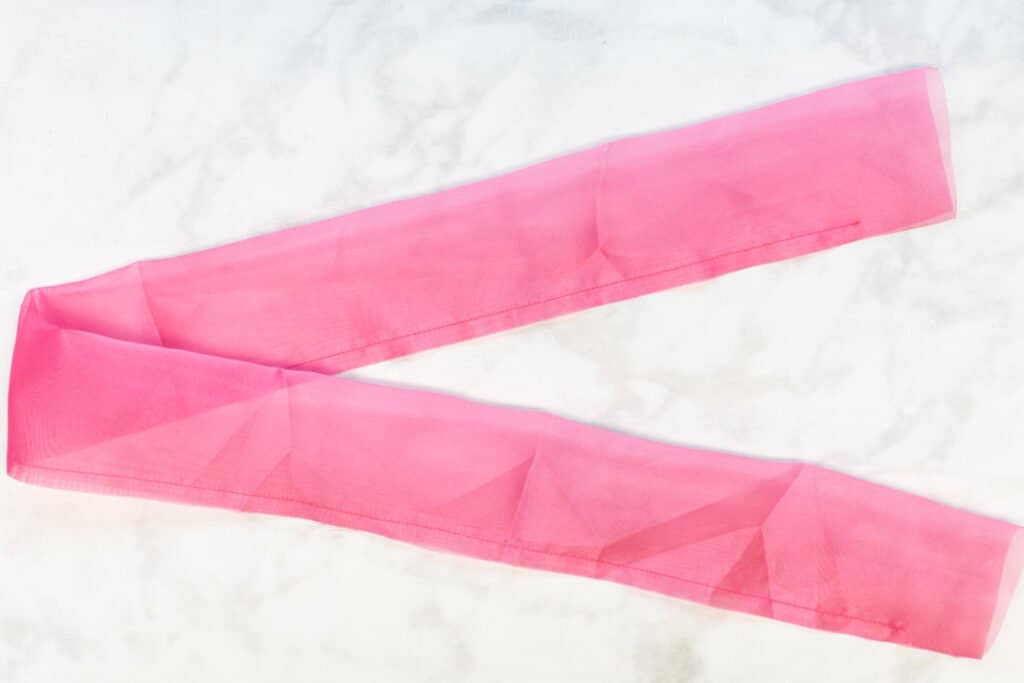
Step 2: Sew the Long Sides of the Scrunchie
Next, fold the scrunchie in half lengthwise with right sides together. Place a pin 1.5 inches in from either end along the raw edges.
Place more pins in between these first two to secure the raw edges of the fabric together.
Take the scrunchie to your sewing machine and begin sewing at your first pin on one end. Don't forget to backstitch at the beginning!
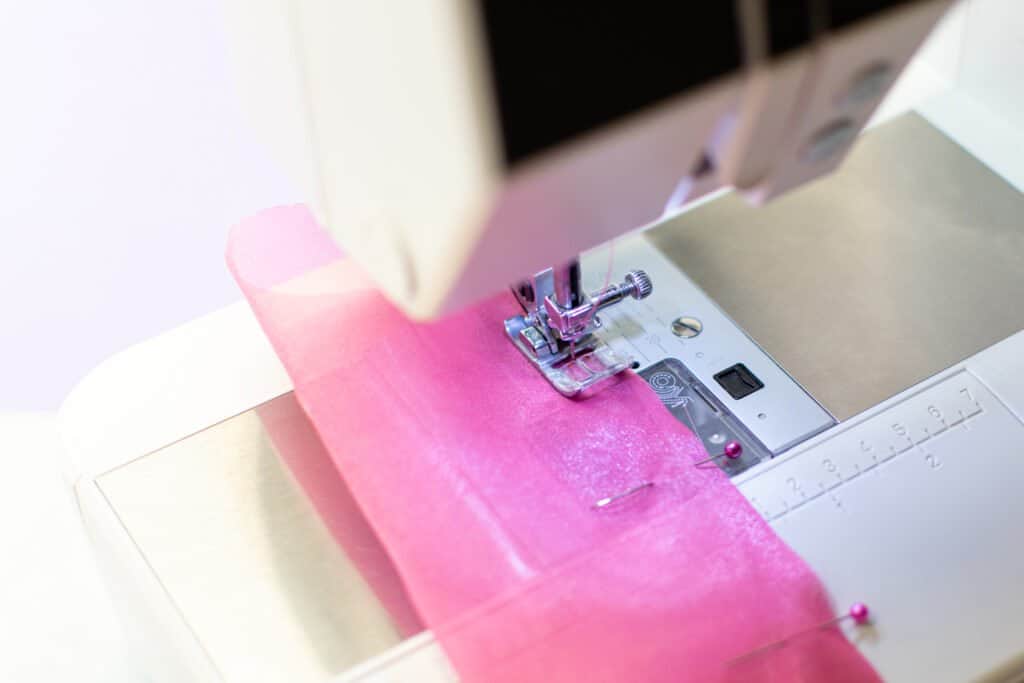
Stitch the long edge with a 3/8 inch seam allowance.
Stop sewing when you reach the last pin, backstitch, and trim your thread tails.
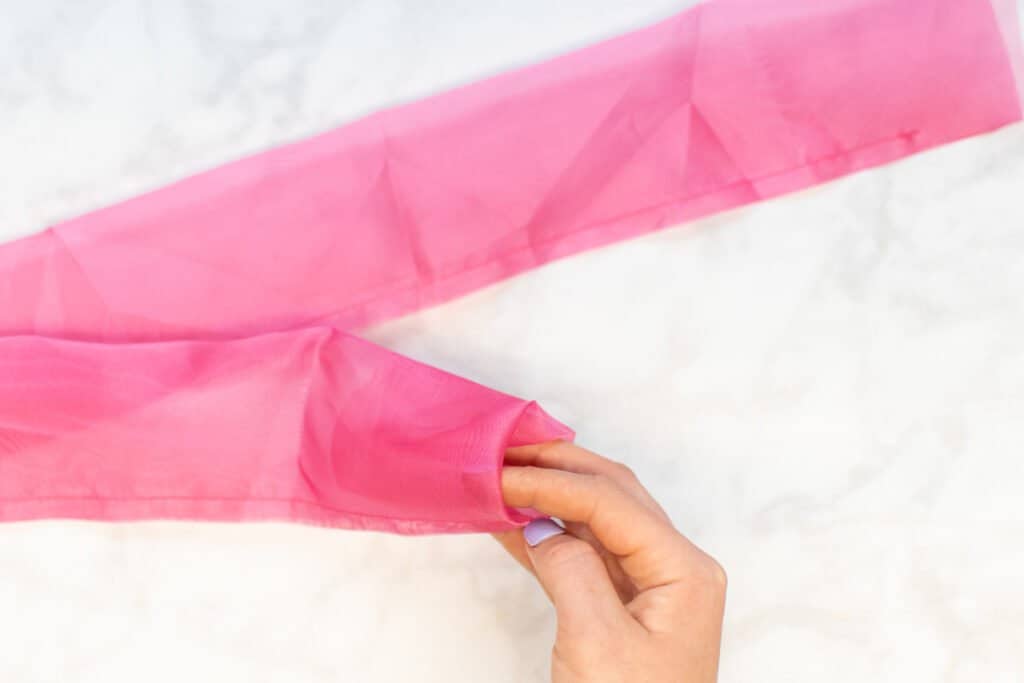
Step 3: Sew the Short Ends of the Scrunchie
With the long edge sewn, we need to get the short ends right sides together so we can sew them next.
Start by pulling one end of the scrunchie down into the tube, pulling it through until it reaches the other end.
*PRO TIP: I like to use my loop turner for this. Push the end inside the tube a few inches, then reach in with the loop turner from the far side and hook the turned-in end. Then, simply pull the loop turner out, bringing the end of the fabric with it!
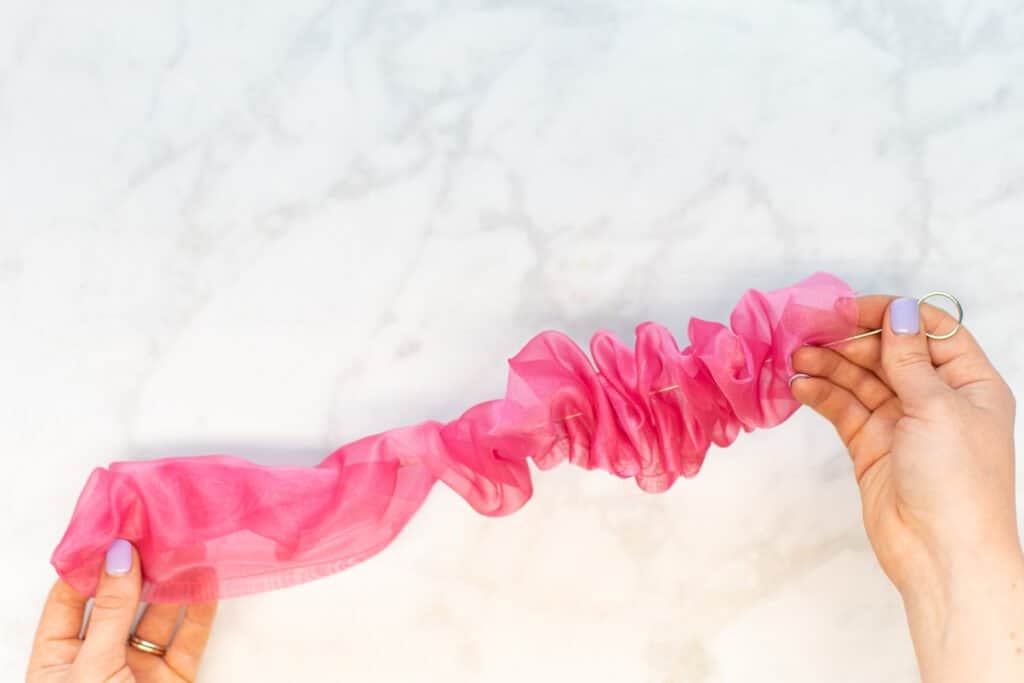
If you don't have a loop turner, you can also hook a safety pin to the end of the fabric and work the safety pin through the tube until it comes out the other side.
Next, pin the two short ends of the scrunchie together. They should be right sides together.
*PRO TIP: It helps to pin the corners together first, then fill in the remaining length of fabric with pins.
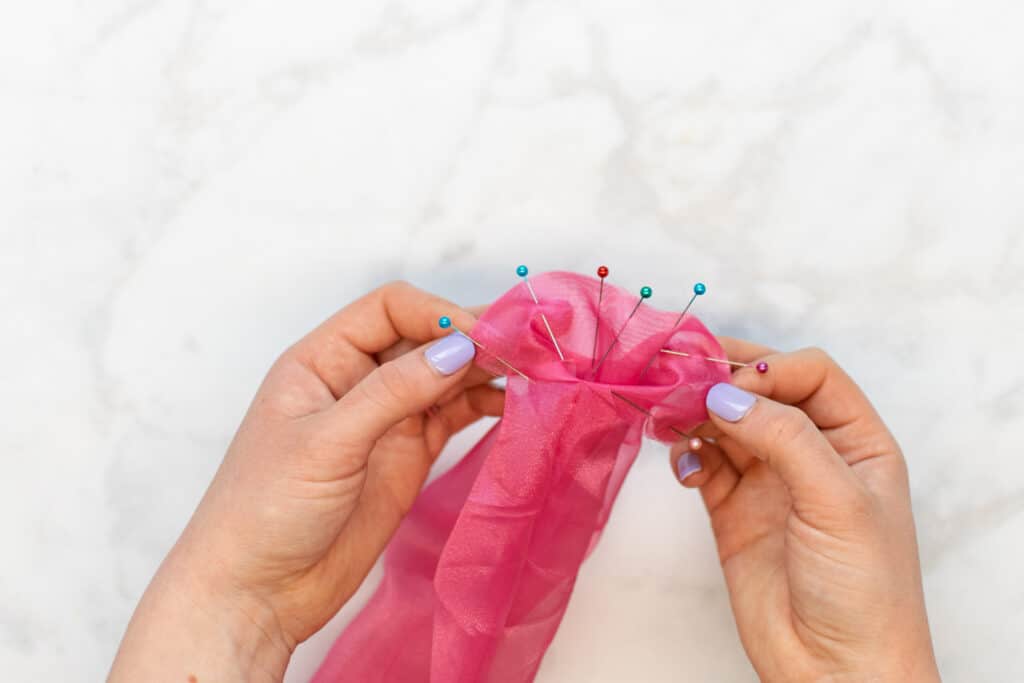
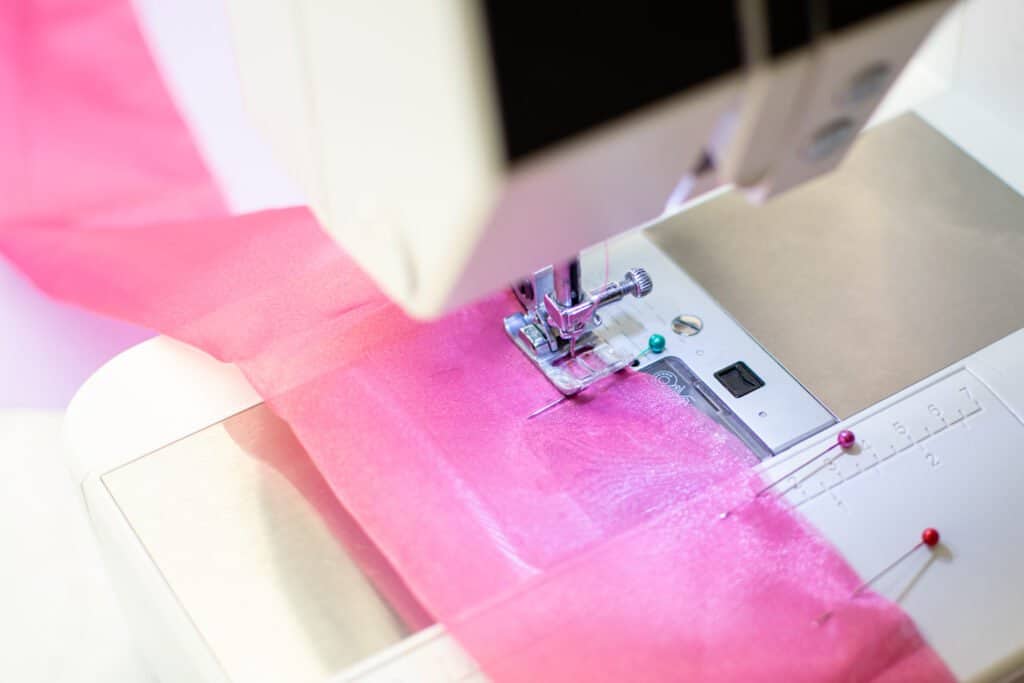
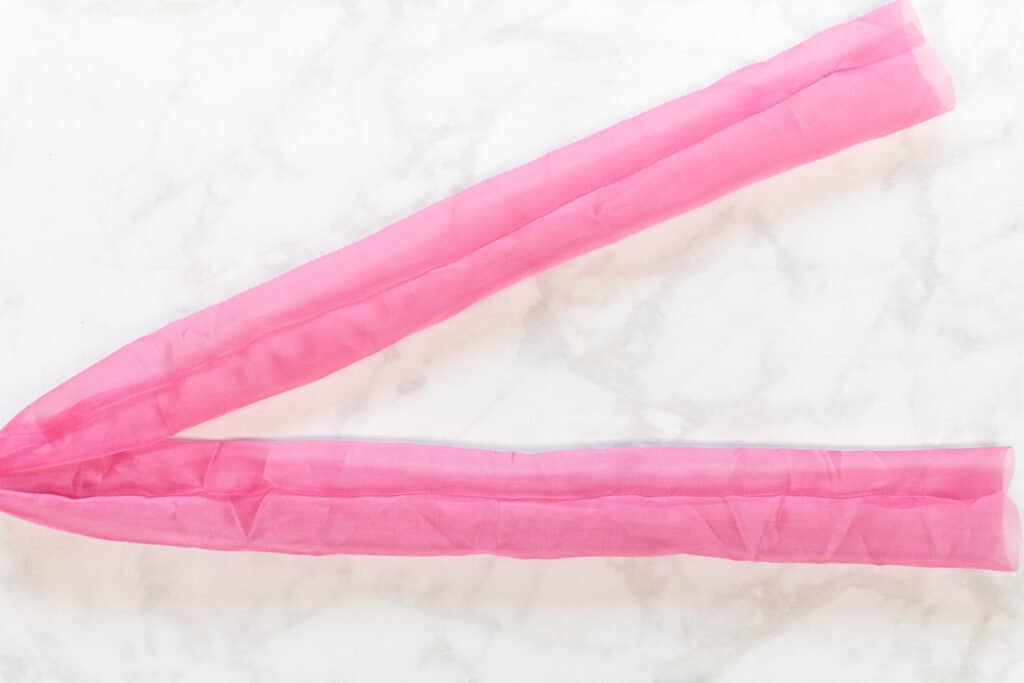
Sew the short ends with a 3/8 inch seam allowance. Make sure to keep the fabric flat as you sew over it.
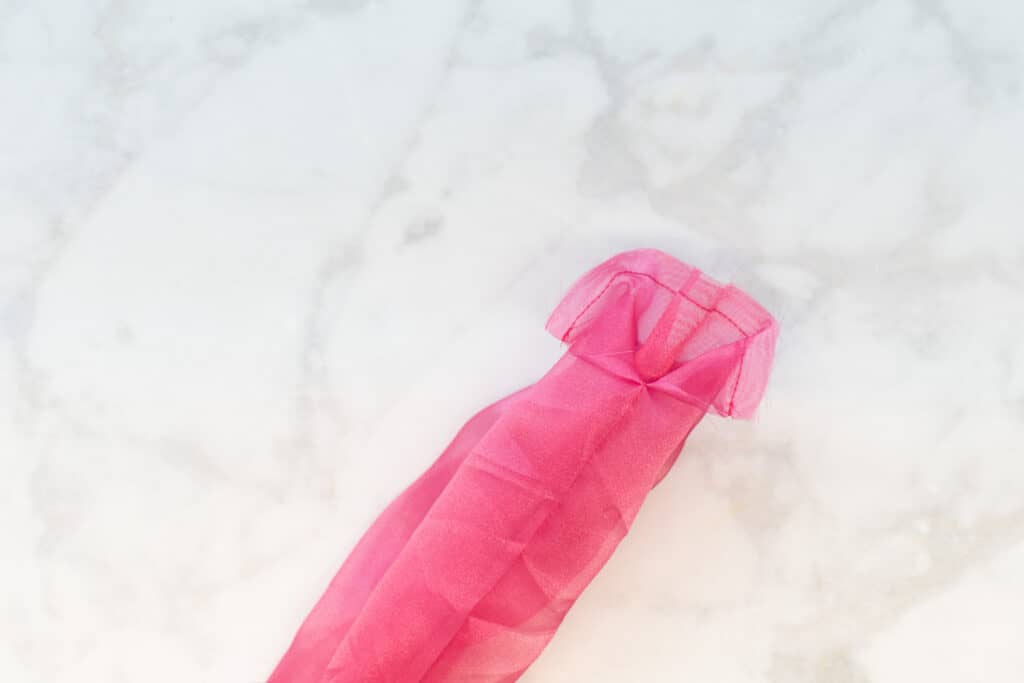
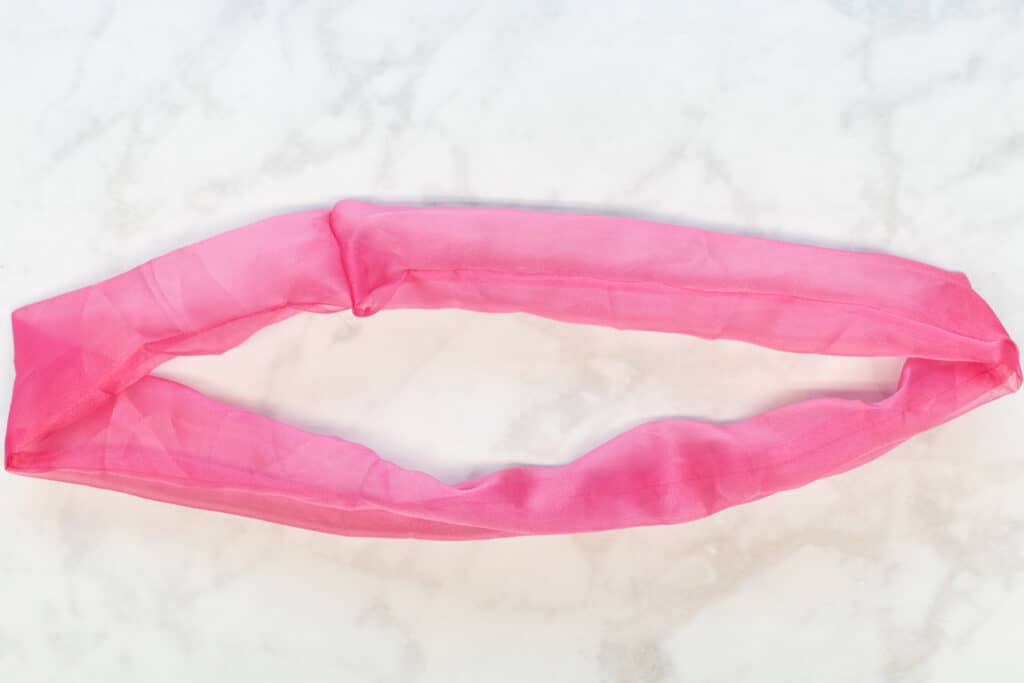
Then, pull the two sides away from the seam. You now have a loop with a small opening along the edge.
Step 4: Add Elastic to the Scrunchie
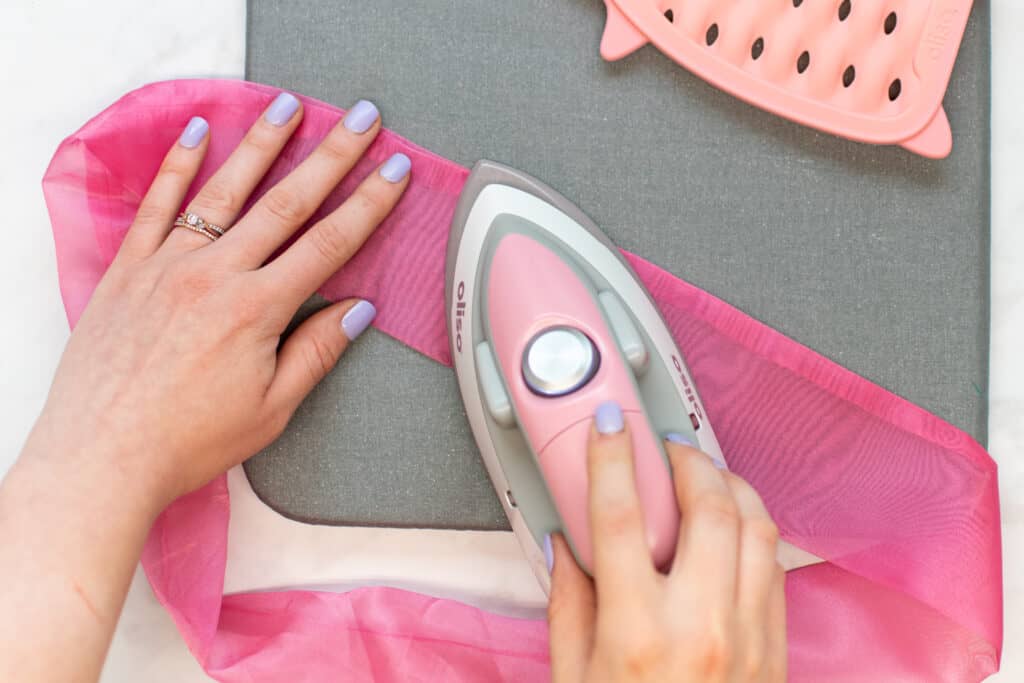
It's almost time to add your elastic! But first, iron the scrunchie flat with the seam along either the top or bottom edge.
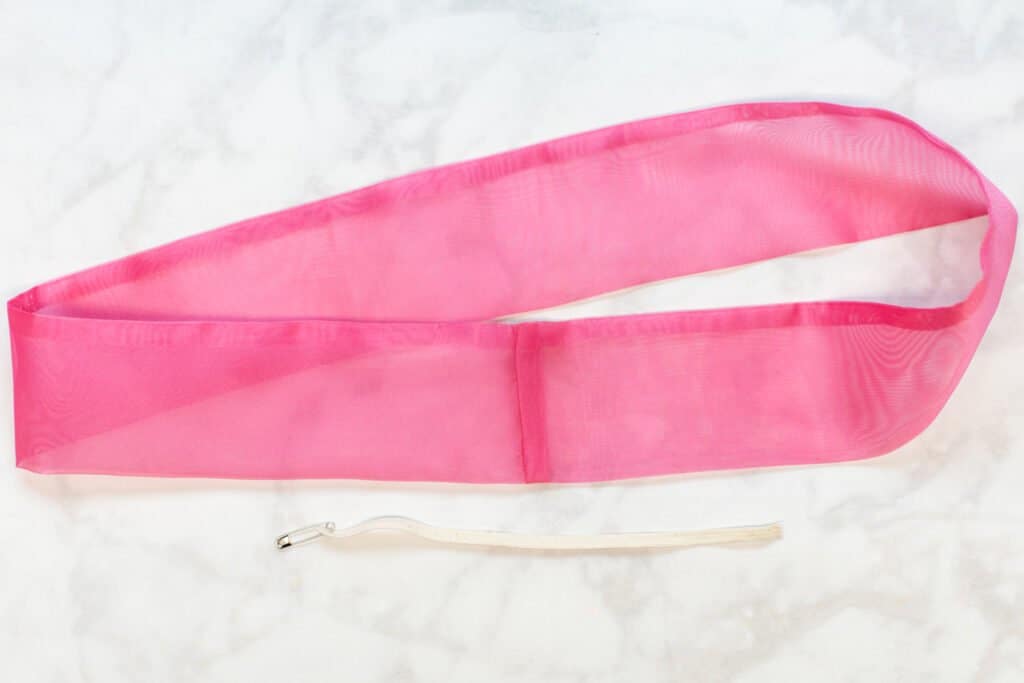
Next, cut a piece of 1/4 inch wide elastic to 8.5 inches long.
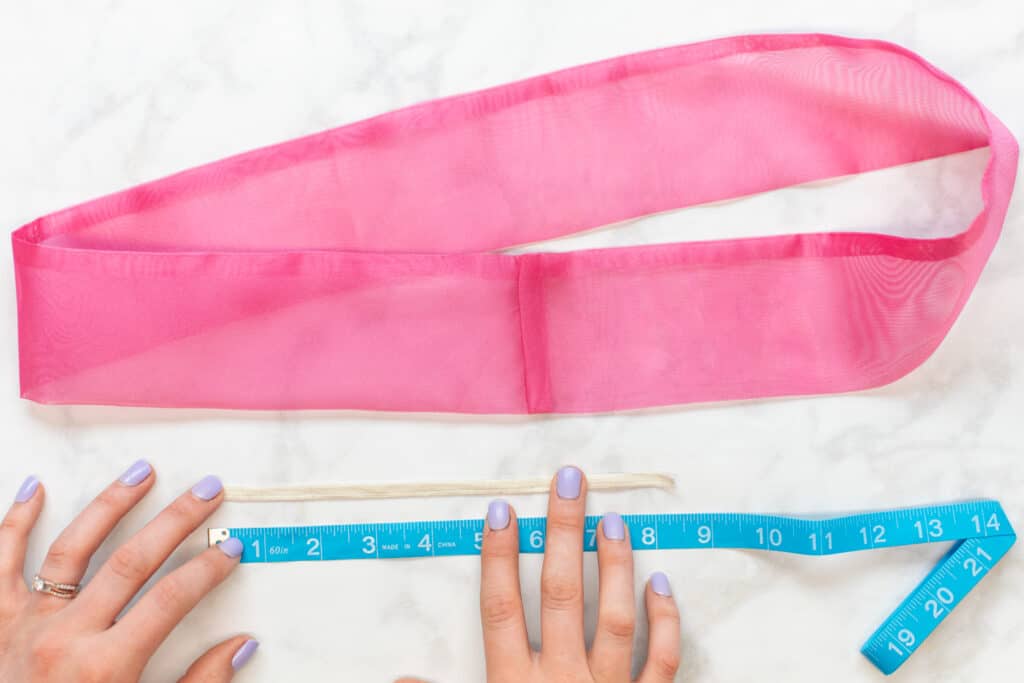
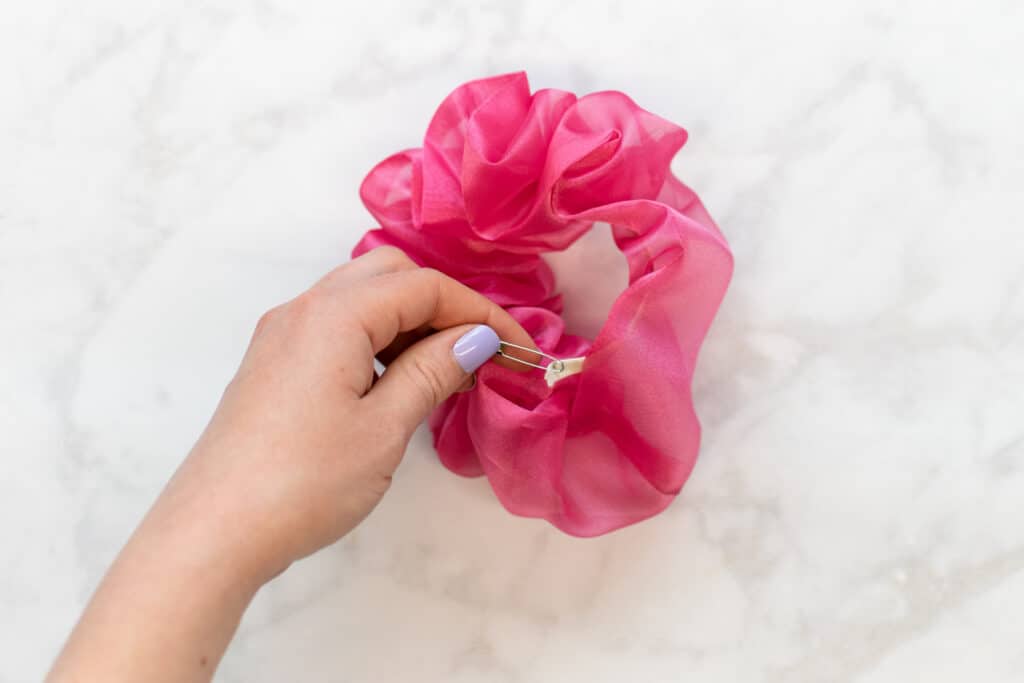
Attach a safety pin to one end.
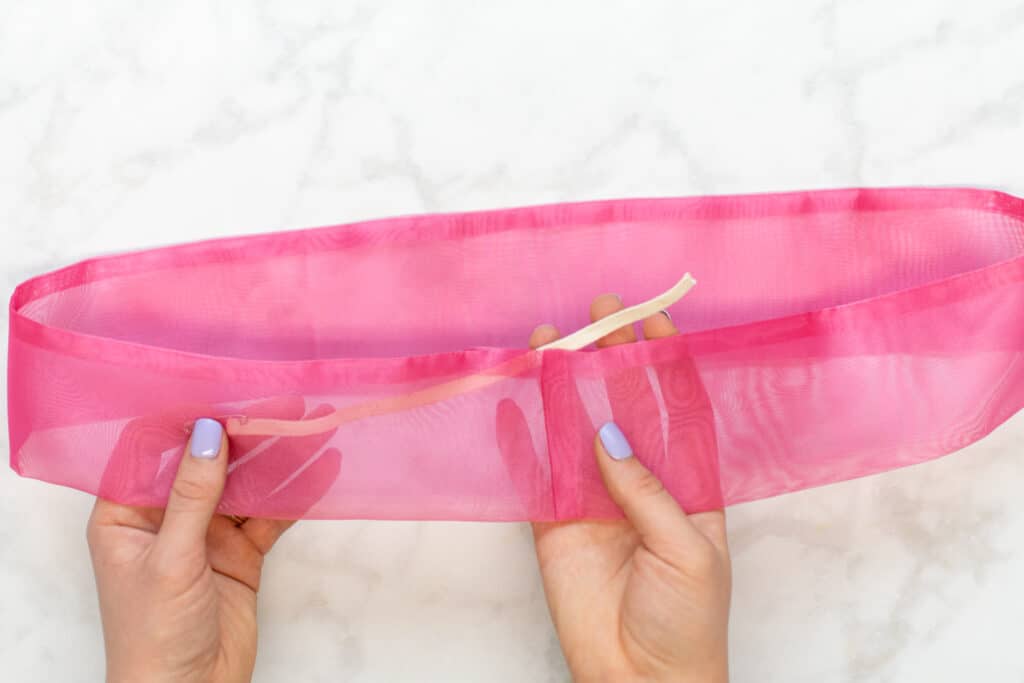
Insert the safety pin into the scrunchie through one side of the opening.

Start working the safety pin through the scrunchie by pushing it further into the tube, then pulling the fabric over it.
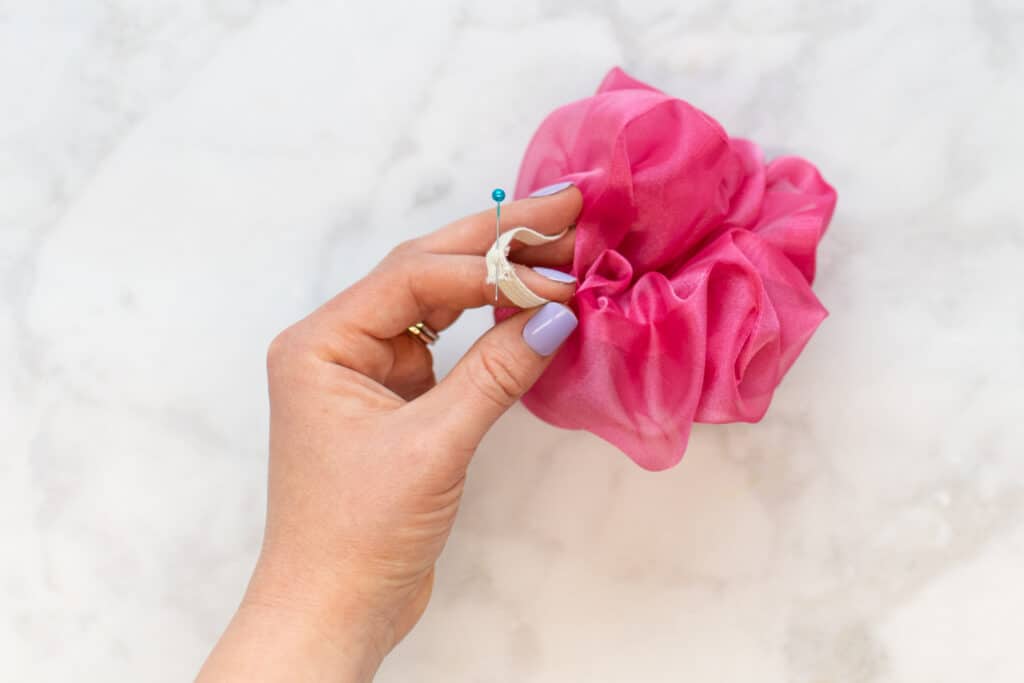
Once the tail end of the elastic is about to disappear into the scrunchie, use another safety pin to attach it to the fabric at the opening. You don't want to lose this tail or you'll have to start all over!
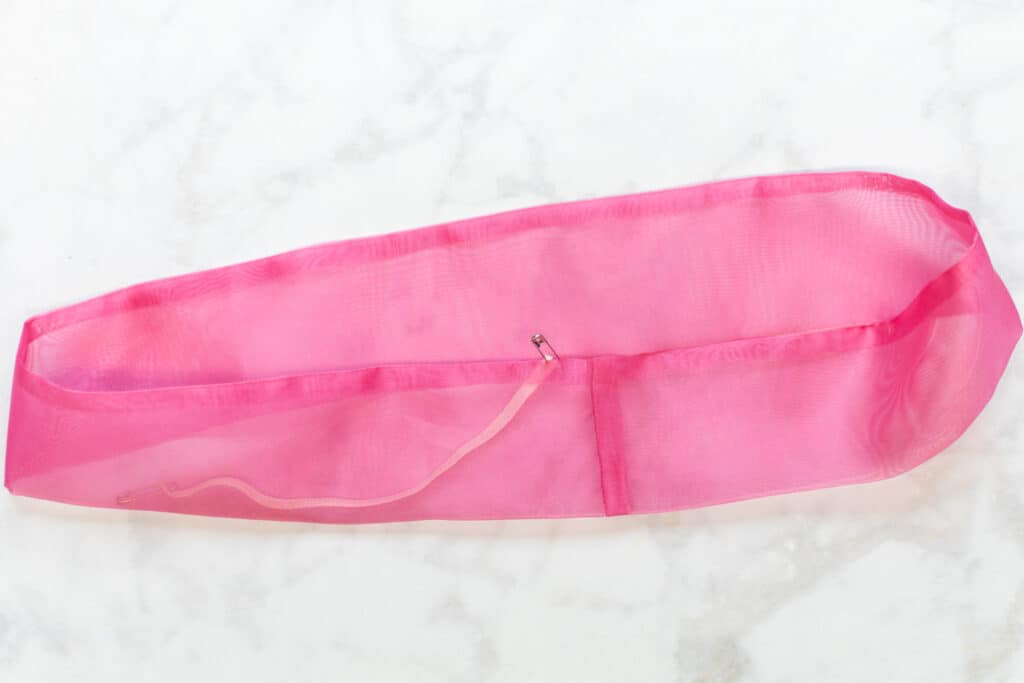
Next, continue working the front end of the elastic through the scrunchie until the safety pin emerges from the opposite side of the opening.
Remove both safety pins and pull both elastic tails as far out from the fabric of the scrunchie as possible.
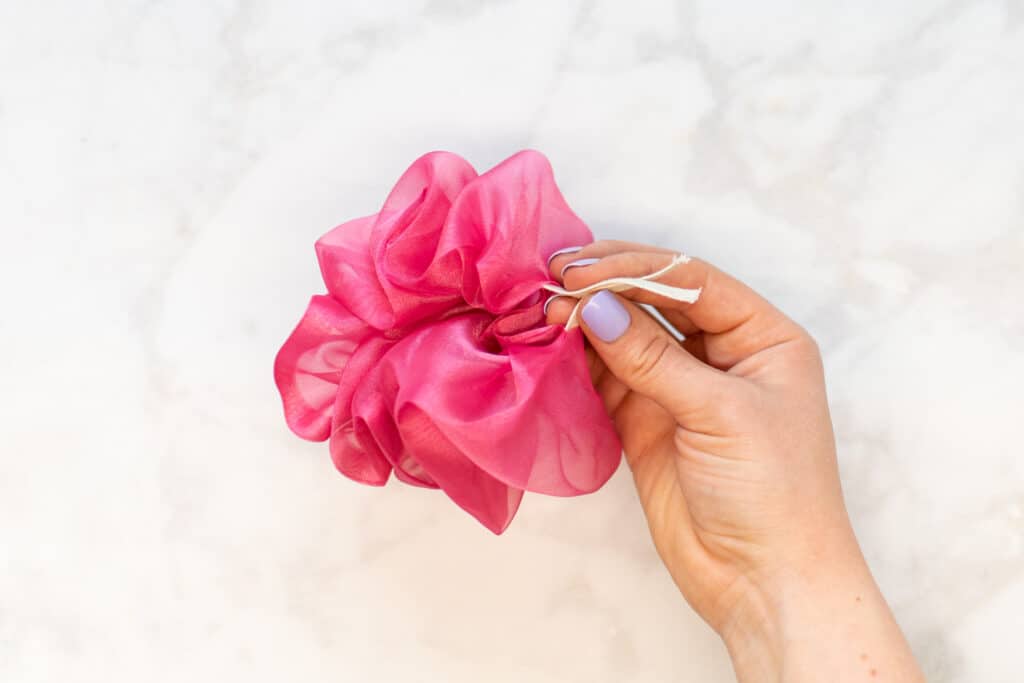
Overlap the ends of the elastic by 1/4 to 1/2 inch.
Take the scrunchie to your sewing machine and sew across the ends of the elastic several times with a zigzag stitch. Make sure not to catch the fabric in this stitching, keep it pulled forward and out of the way.
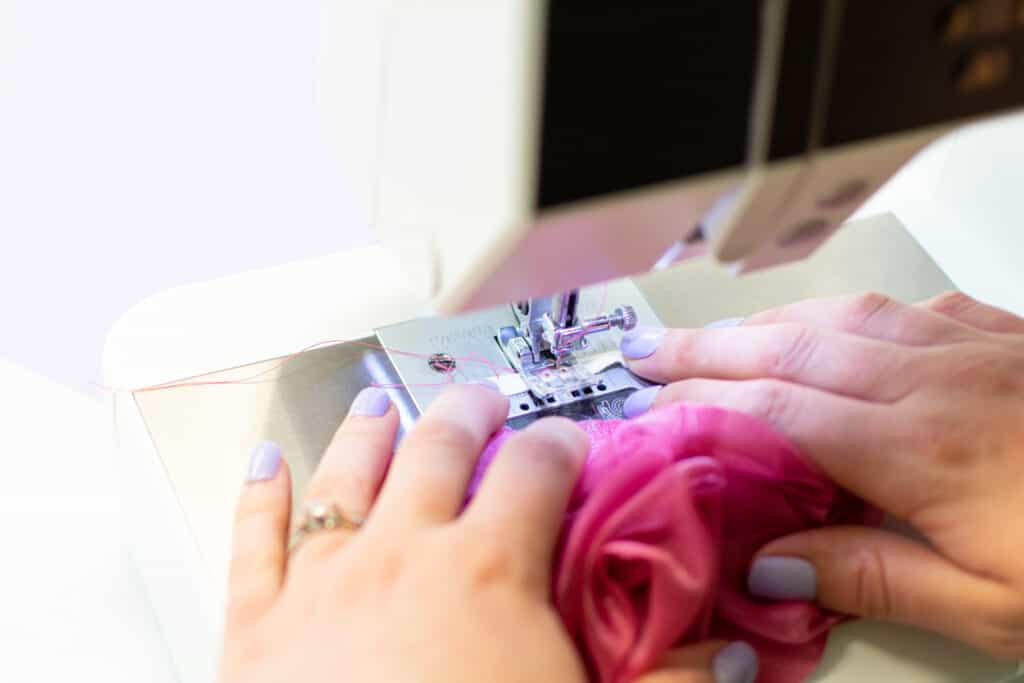

*PRO TIP: While sewing the elastic ends together is the best and strongest way to secure them, you can tie the ends together tightly instead if you're in a hurry or having trouble with this step.
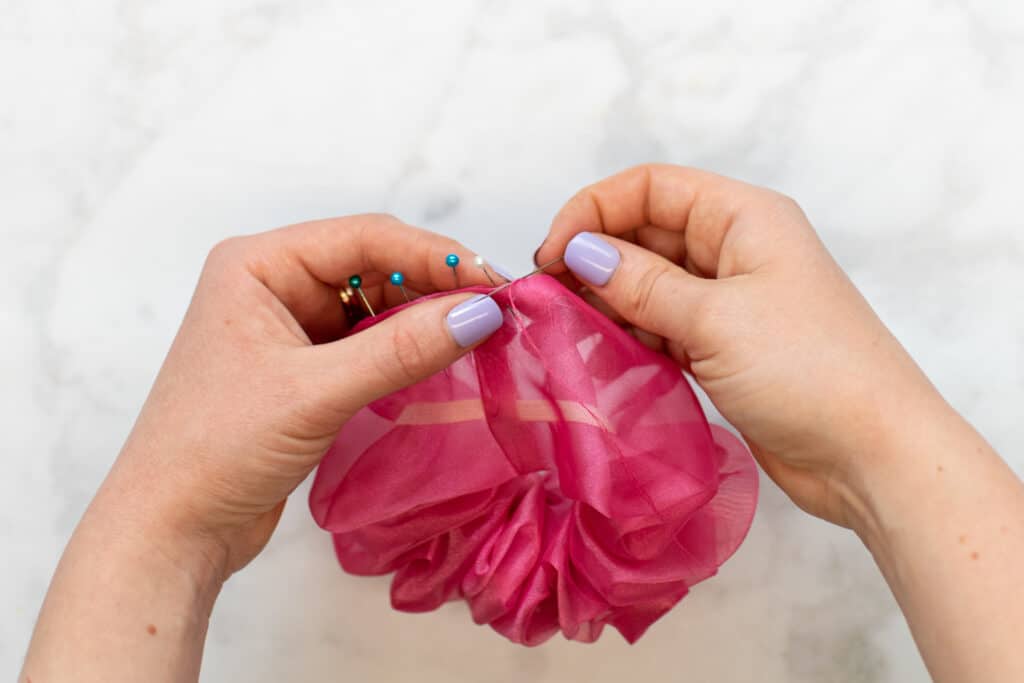
Step 5: Finish the Opening in the Oversized Scrunchie
Pin the opening along the seam closed to fully encase the elastic inside.

Finally, close up the opening left in the side of the scrunchie with a ladder stitch using a hand sewing needle and thread. Not sure how to sew a ladder stitch? Check out this step-by-step tutorial!
Another option is to close the opening with fabric glue - it's up to you!
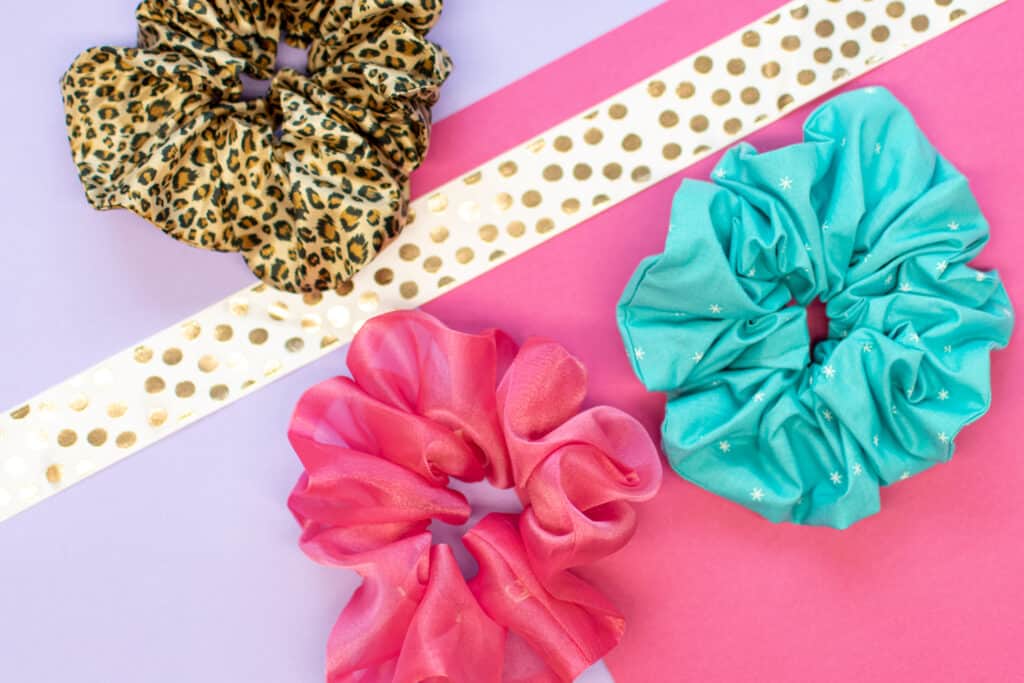
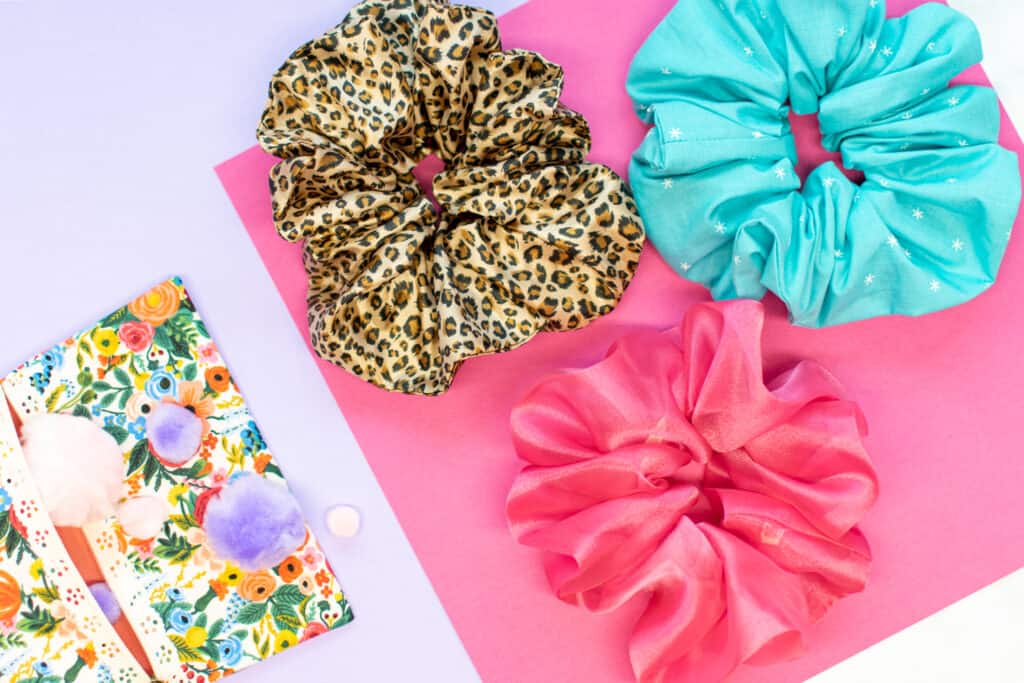
Your stylish jumbo-sized scrunchie is done! Go ahead and put your hair up with your new hair tie and enjoy!
Have any questions while sewing your scrunchie? Leave a comment below so I can help you out!
Want more scrunchies? Take a look at this scrunchie tutorial!
Did you make your own oversized scrunchies? Share a photo on Instagram with the hashtag #sweetredpoppy. I would love to see how yours turned out!
Don’t want to forget about this tutorial? Save this project for later! Click here to save this project on Pinterest.
Don't forget to join my Facebook group where you can show us what you're making, ask questions, and learn from others
Wow. These are amazing. 100% making these. I will share them in your Facebook group.
https://www.facebook.com/groups/2128534807407840/
Fun. Very precise and easy to understand and see. Thanks