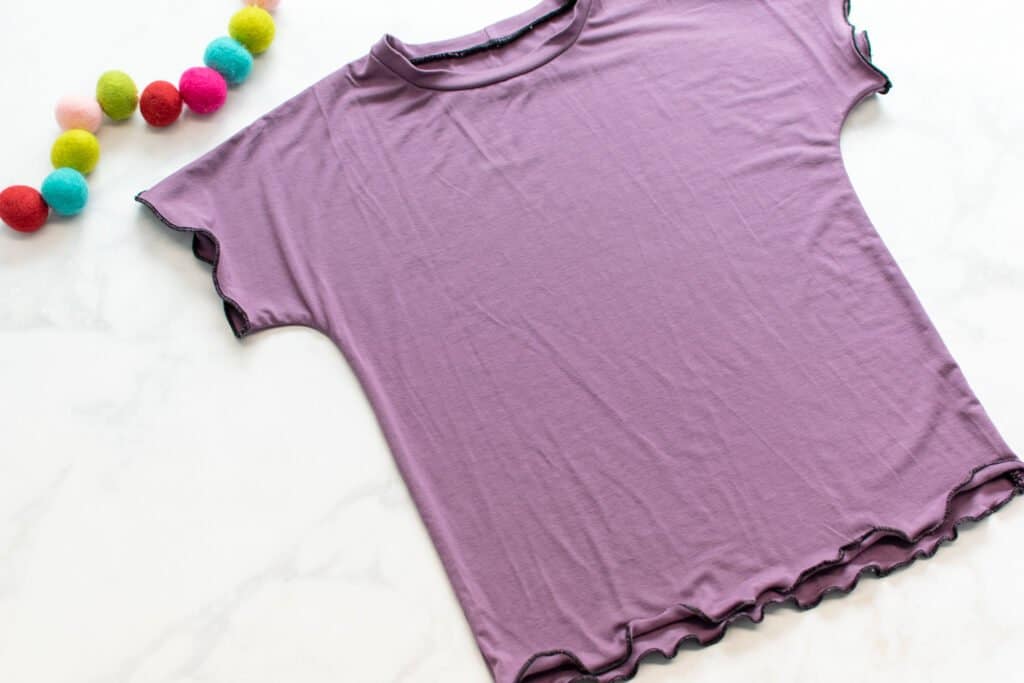
With a few adjustments on your serger, you can create a sweet lettuce-edge hem on your garments! Adorable and easy, I'll take you through the process, step-by-step.
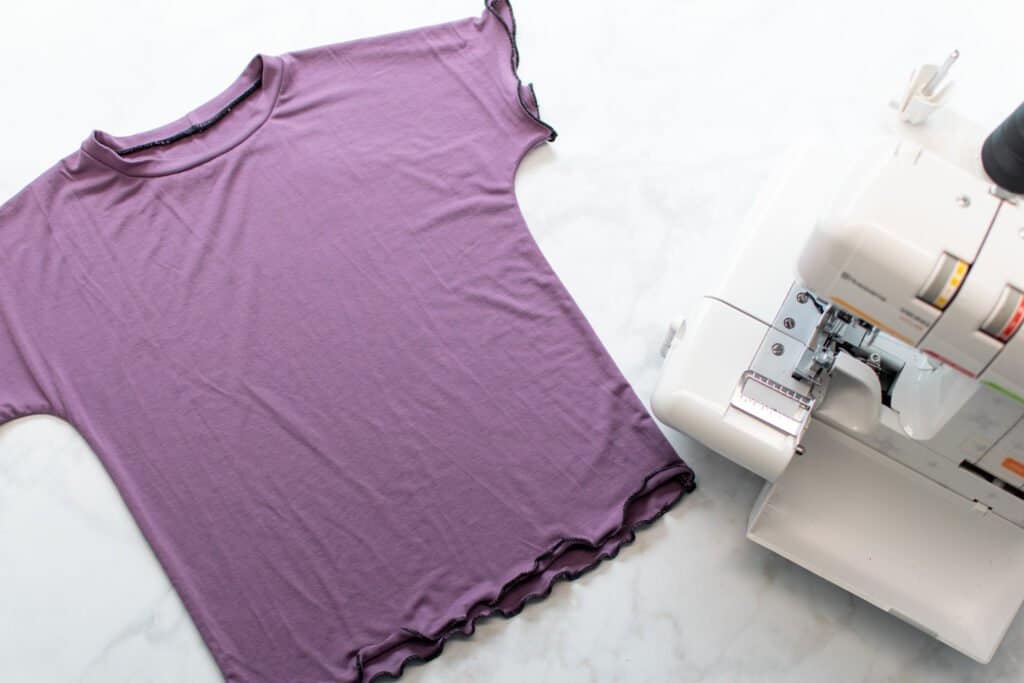
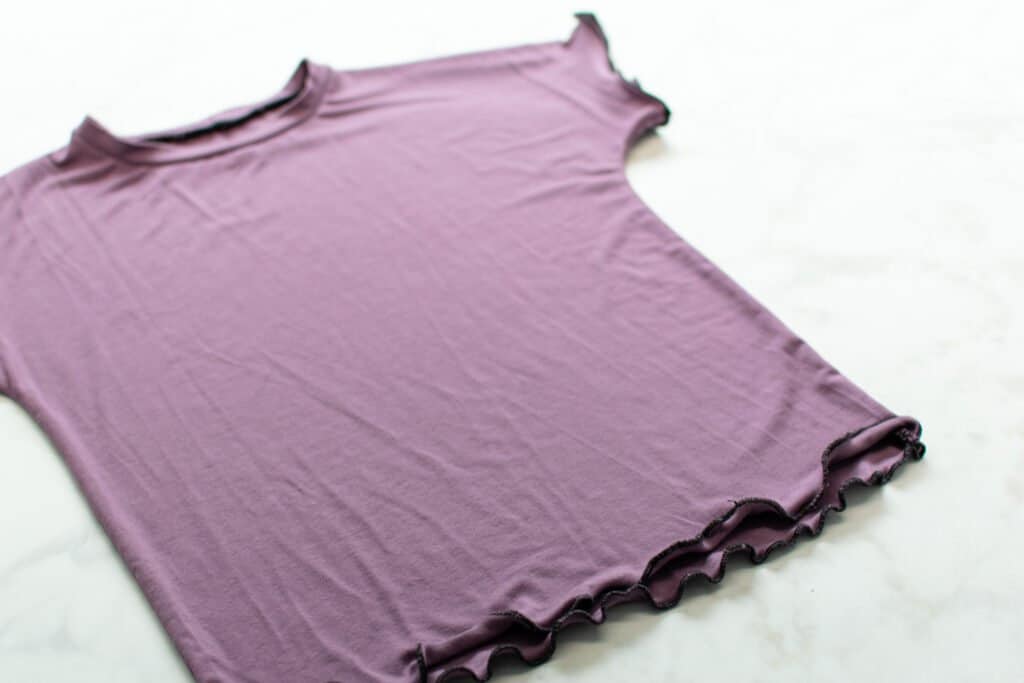
You may have noticed an abundance of cute, tightly ruffled hems on children's and adult clothing alike. This is called a lettuce-edge hem and it's all over the place right now!
There are a few different ways to achieve this look, but I'm going to show you how using a serger.
Love the shirt I sewed up for this tutorial? You can get the free dolman t-shirt pattern and sewing tutorial HERE to practice your new lettuce hem sewing skills!
Table of Contents
What is a Lettuce-Edge Hem?
A lettuce-edge hem is a decorative garment finish that you can sew on ruffles, sleeves, hems, and more. It is similar to a rolled hem, with a deliberately stretched-out edge that creates a rippled or wavy effect.
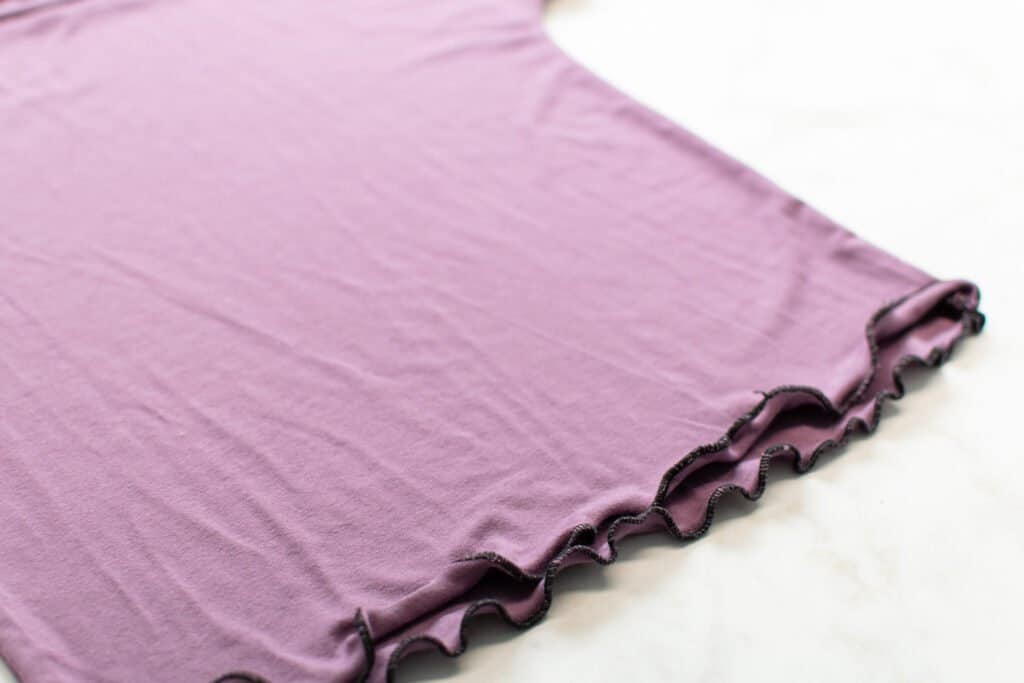
It works by pulling the edge of the fabric to wrap underneath the back, like the rolled hem. But, you'll turn up the needle tensions and differential feed to create a wavy edge.
This technique requires a fabric that stretches, so you will want to use a type of knit fabric.
Need Extra Serger Help?
Looking for help learning how to use your serger? This tutorial is a freebie from my Ready, Set, Sew! Serger Edition course. Get the full video tutorial and extra resources inside of the online, self-paced course.
Click here to enroll in this incredible online course!

How do I adjust my Serger to sew a Lettuce-Edge Hem?
To begin, we’re going to make all the needed adjustments to the Serger machine. We will be adjusting the (1) Stitch Finger, (2) Differential Feed, (3) Needles, (4) Stitch Length, (5) Stitch Width, and (6) the Tension dials.
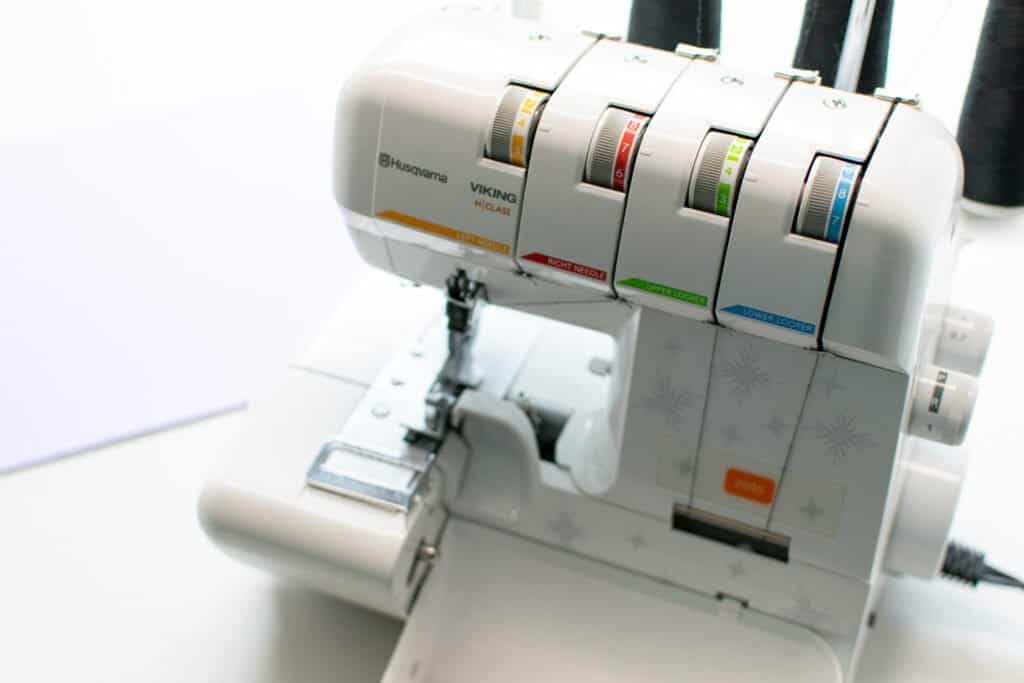
Serger Settings Quick Look:
- Stitch Length: Set the stitch length to “R” for a rolled hem
- Stitch Width: Lower to “R” setting if your machine has a width adjustment dial
- Differential feed: Decrease to a number lower than 1; We're using .7.
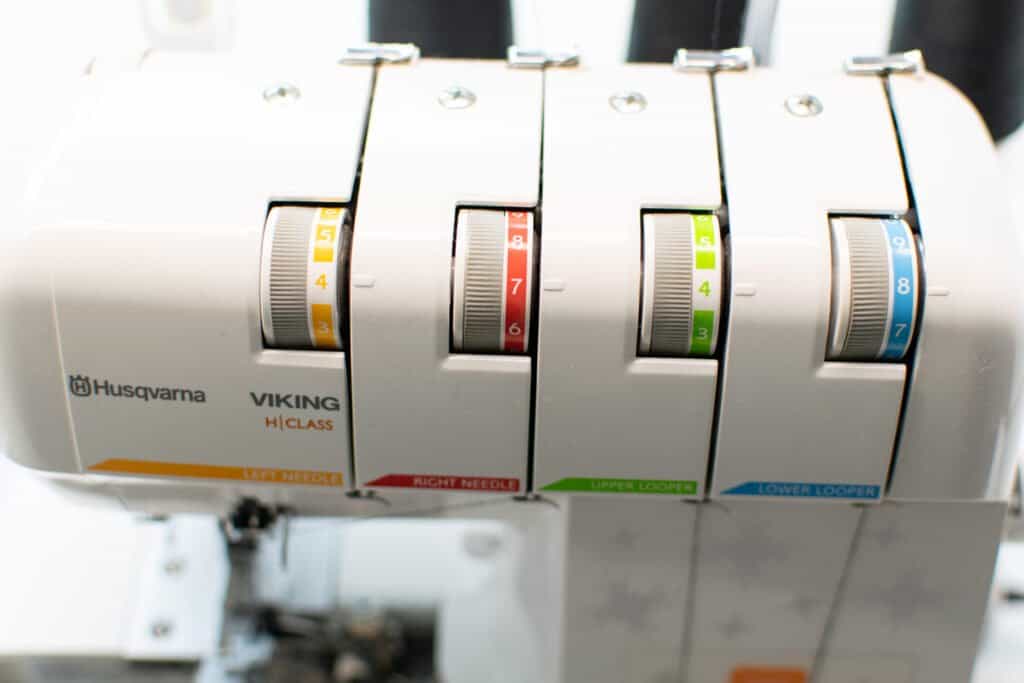
- Tension: UL: 4, LL: 8 or 9, RN: 7
- Needle: Only use the right needle – Remove the left needle
- Stitch Finger (Y/N): Remove the stitch finger.
Stitch Finger
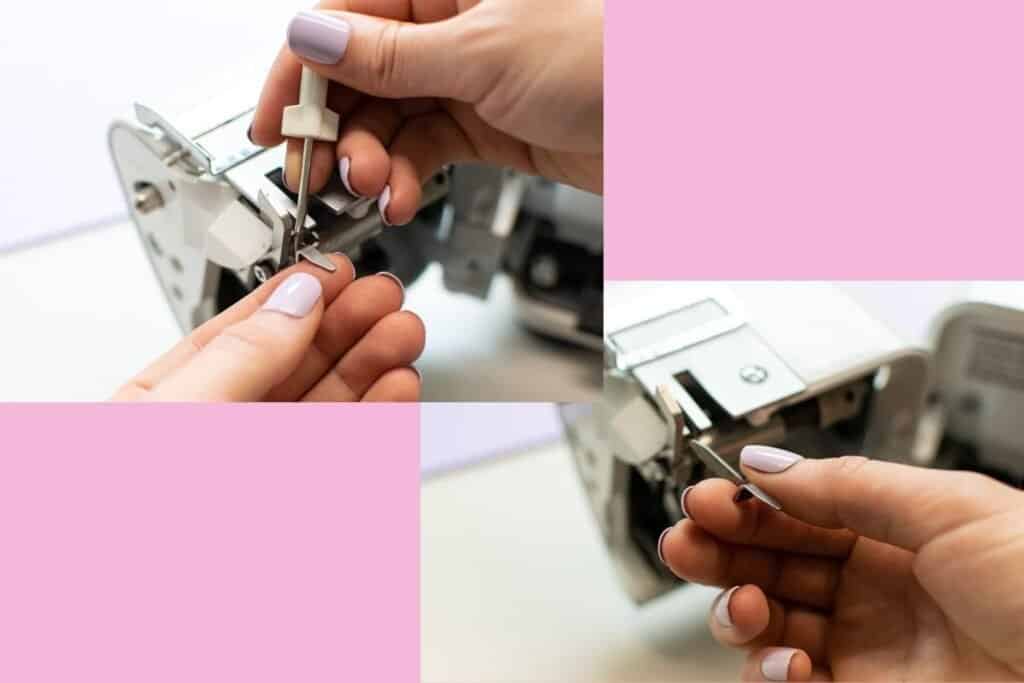
First, we’re going to remove the stitch finger. The Stitch finger assists in creating stitches like the 4-thread overlock and 3-thread flatlock. We need to disengage the stitch finger to create a lettuce-edged hem.
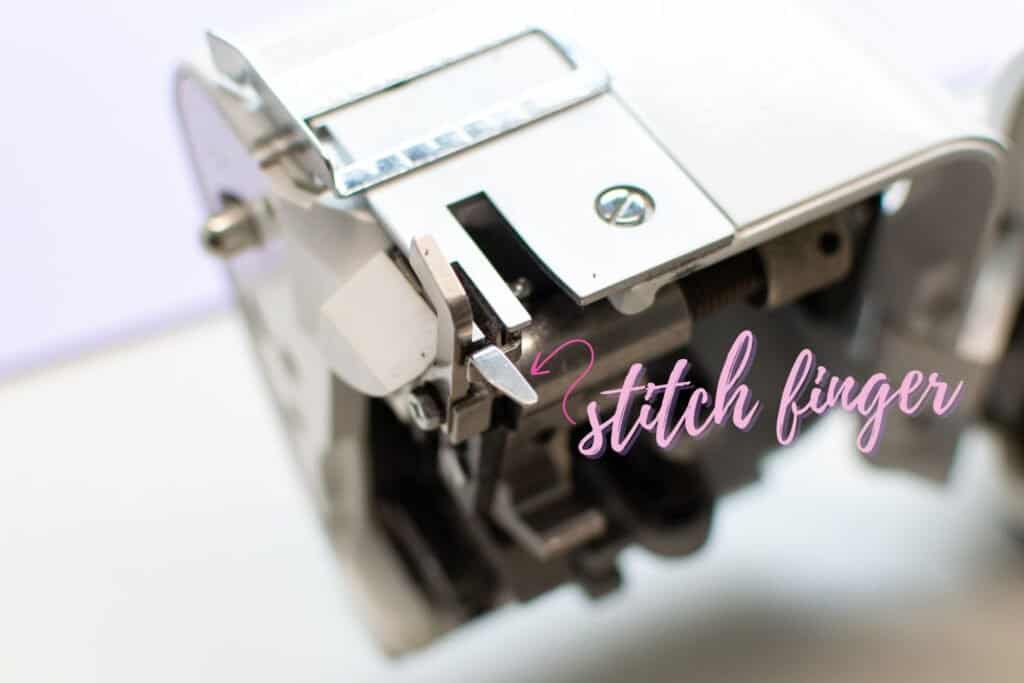
This is going to be a little different on every machine. Some machines have a button to hide it, while others, like the Brother Lock 1034D, must be manually removed. Make sure to check your serger manual to learn how to remove the stitch finger from your machine.
To remove my stitch finger, I’m going to open up both sides of my machine. Then, I'll simply grab onto the stitch finger and pull it out. It can help to use the screwdriver that came with the serger to pry the stitch finger away from the machine a bit before pulling it out.
Differential Feed
Next, let’s adjust the differential feed. The Differential feed changes the speed of your front feed dogs. This is how fast or slow your fabric is pulled into the machine. While this was originally designed to solve the problem of some fabrics stretching and waving, it can also be used to purposefully create ruffles or waves in your fabric.
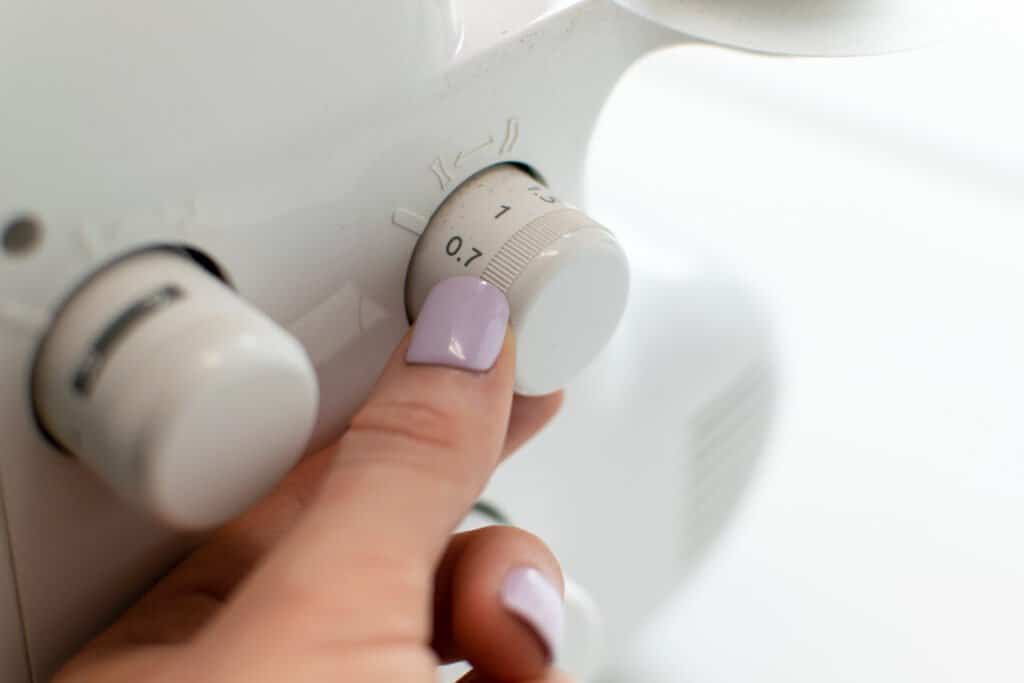
Turn the differential feed to a setting lower than 1 - in my case, 0.7 is the lowest setting on my serger. This will help stretch the fabric, which is key to creating a lettuce-edge hem.
Needles
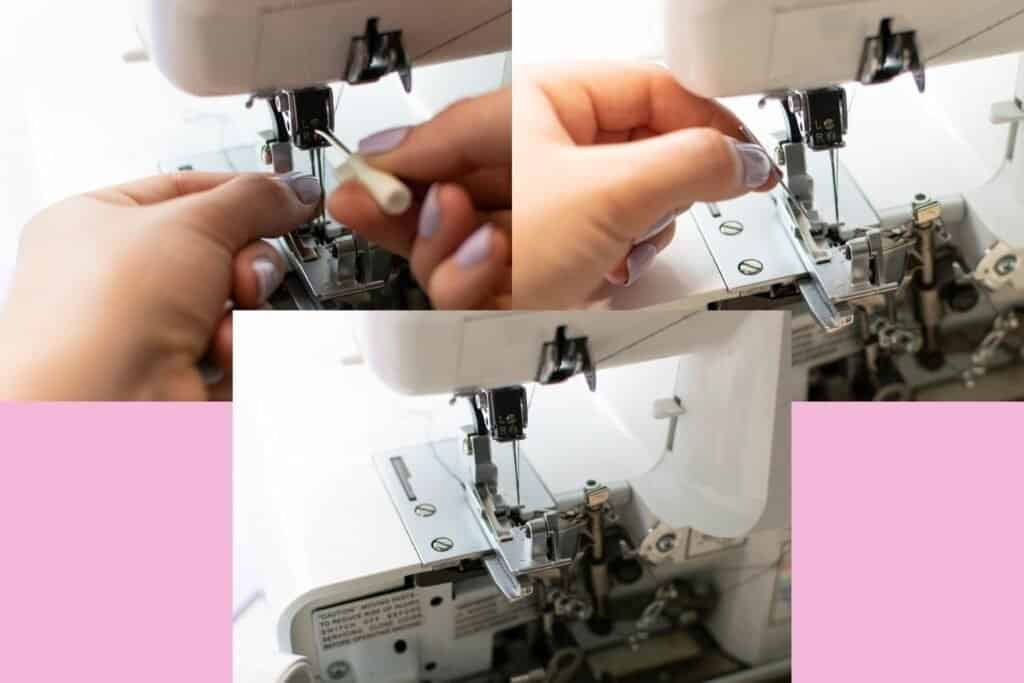
Moving onto needles. We only need one needle for a lettuce-edge hem. Remove the left needle so that you’re left only with the right needle.
Stitch Length and Width
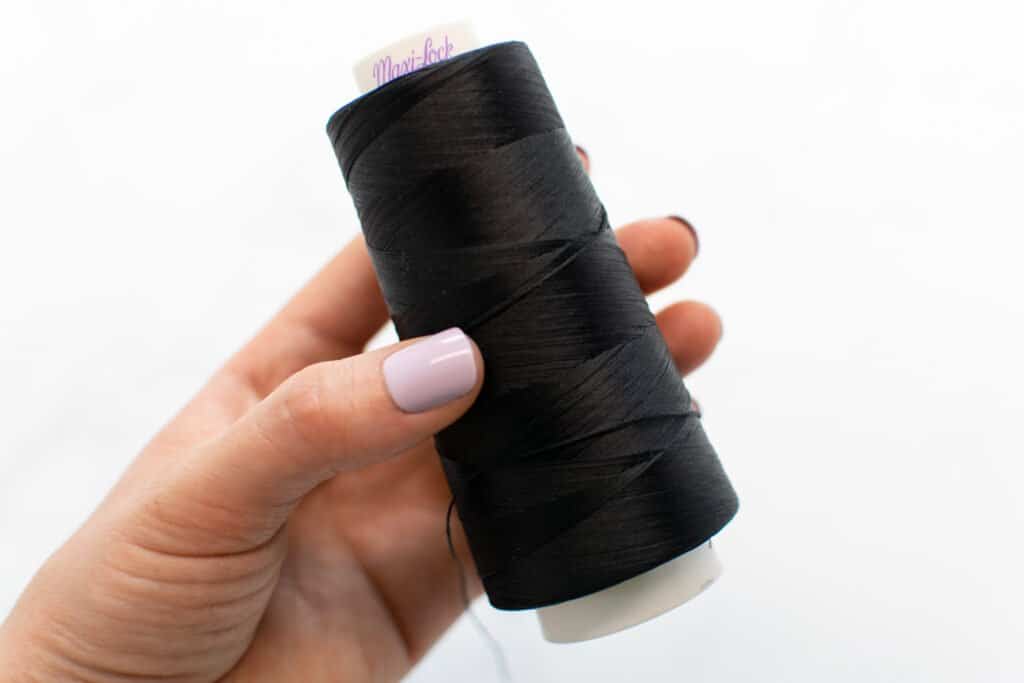
Next, lower the stitch length to the “R” setting. “R” stands for rolled hem. Your stitch length should be relatively short so that the thread fully covers the edge. If a short stitch length doesn’t work with your fabric, use a thicker thread like woolly nylon in the upper looper to fill it in.
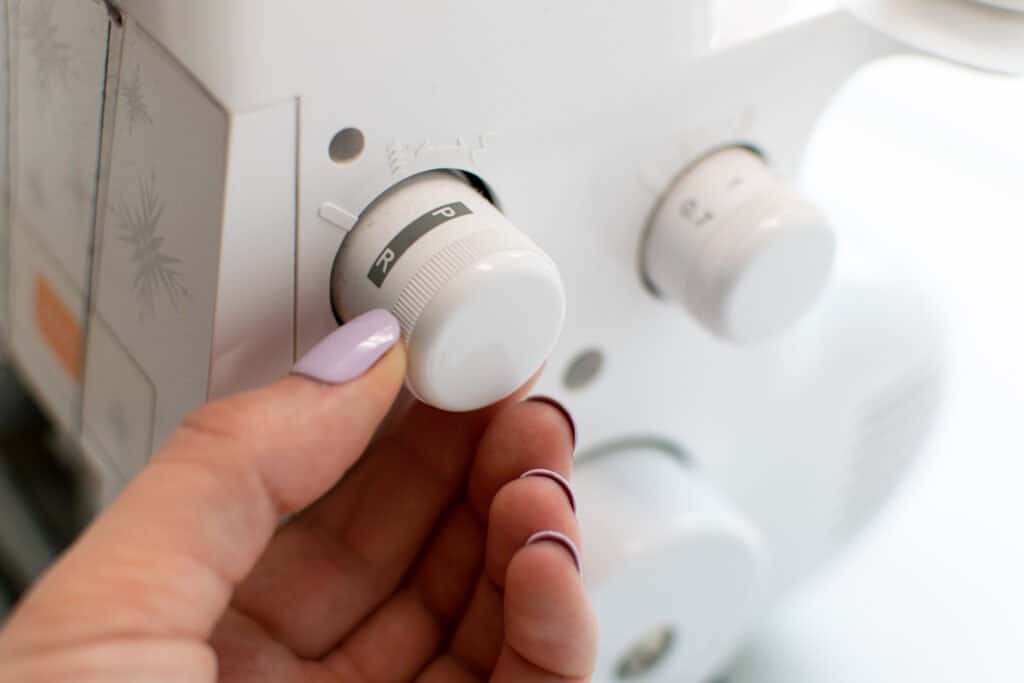
If your serger has a stitch width setting (some do and others don’t!), lower that to “R” as well.
Tension
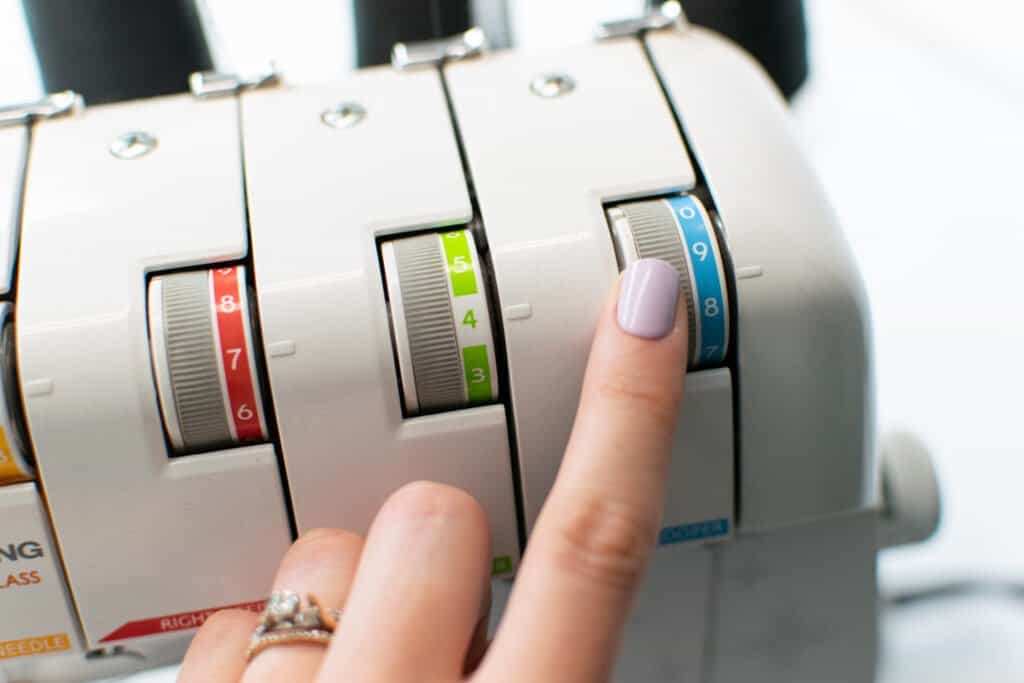
Set your tension dials accordingly: set the right needle tension to 7, the upper looper to 4, and the lower looper to 8 or 9. The left needle tension doesn't matter, since the left needle is not in the machine.
*PRO TIP: I find that if my thread is breaking a lot, setting the lower looper to 8 instead of 9 seems to help this issue. Which tension setting is best will depend a lot on your specific fabric.
How do I Sew a Lettuce-Edge Hem?
Be aware that this stitch requires that your fabric has some stretch to it to get the best results. I’m going to use a jersey knit fabric for this sample so that I get the most waviness out of my stitch.
As you place your fabric into the machine, pull the fabric behind the presser foot away from you, and the fabric in front of the presser foot towards you to gently stretch the edge as you feed the fabric through the machine. The more you pull, the more the edge of the fabric will curl up.
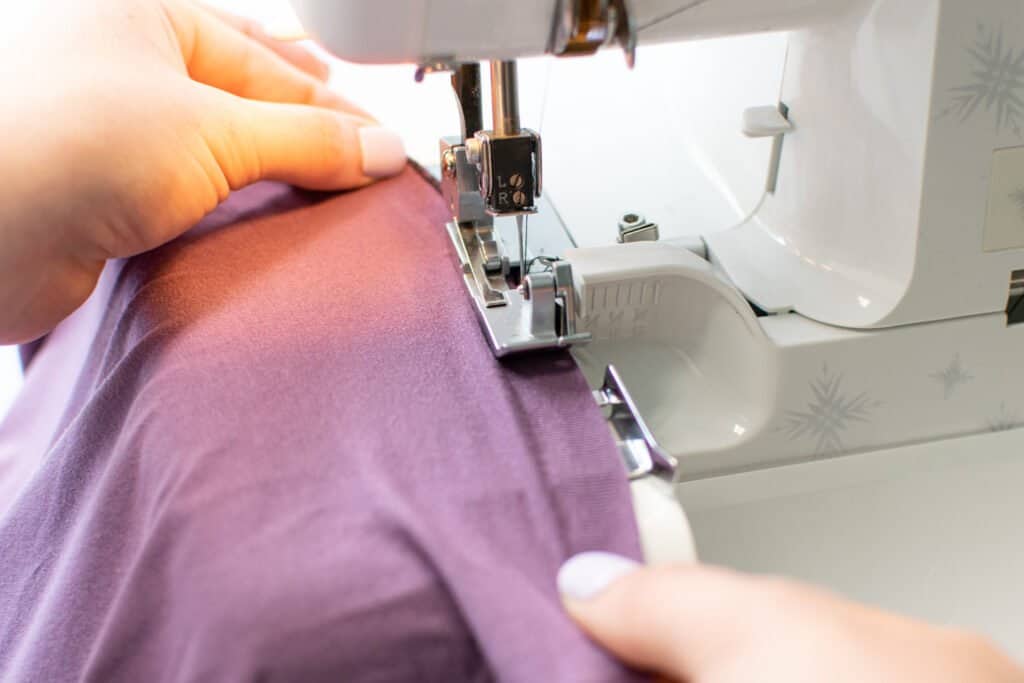
Play around with the tension settings and how much you stretch your fabric on scrap pieces of fabric before applying the technique to your actual garment to ensure you get your desired look.
Troubleshooting
Let’s talk about some things that may go wrong.
First, your fabric may not roll. This can be caused by your fabric being too stiff. You can usually remove the stiff finish by washing it.
Another reason your fabric may not roll is that your lower looper or needle tension is not tight enough. Try tightening it up one step at a time and sewing a new sample.
If you’ve tried both of these and it's still not working, your fabric may not be compatible with this stitch.
Another common issue is that your stitches do not cover the fabric. To fix this, try shortening the stitch length or use a thicker thread such as woolly nylon in the upper looper. You may also need to adjust the tension.
Have you ever sewn a lettuce-edge hem before? Will you give this technique a try? I’d love to know how you apply the lettuce-edge trend to your makes!
Looking for a sewing pattern to try out creating an adorable lettuce-edge hem? Try one of these free patterns:
Don't forget to join my Facebook group where you can show us what you're making, ask questions, and learn from others.

Leave a Reply