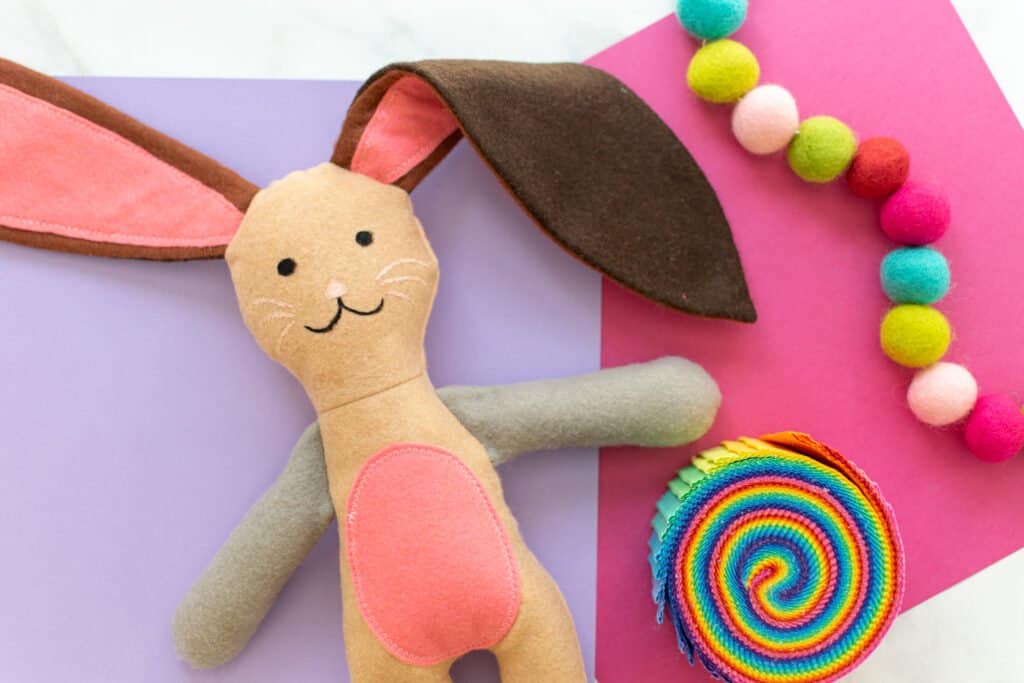
Sew this adorable plush bunny doll with my free downloadable sewing pattern and step-by-step sewing tutorial. Not into bunnies? Make the cat, fox, or bear version of the plushie instead!
With Easter quickly approaching, it's time to plan out what you'll be stuffing those Easter baskets with for all the kids in your life.
This cute plush bunny would be the perfect handmade addition to an Easter basket this year! Plus, if you have a lot of Easter gifts to sew, you'll love how quickly this plushy comes together!
Want to make a sweet Easter basket for your handmade plush animal doll? Get my free Easter bunny basket sewing pattern and tutorial here!
Ready for some fun spring sewing? Let's get into the tutorial!
Table of Contents
Supplies to Sew a Plush Animal Doll
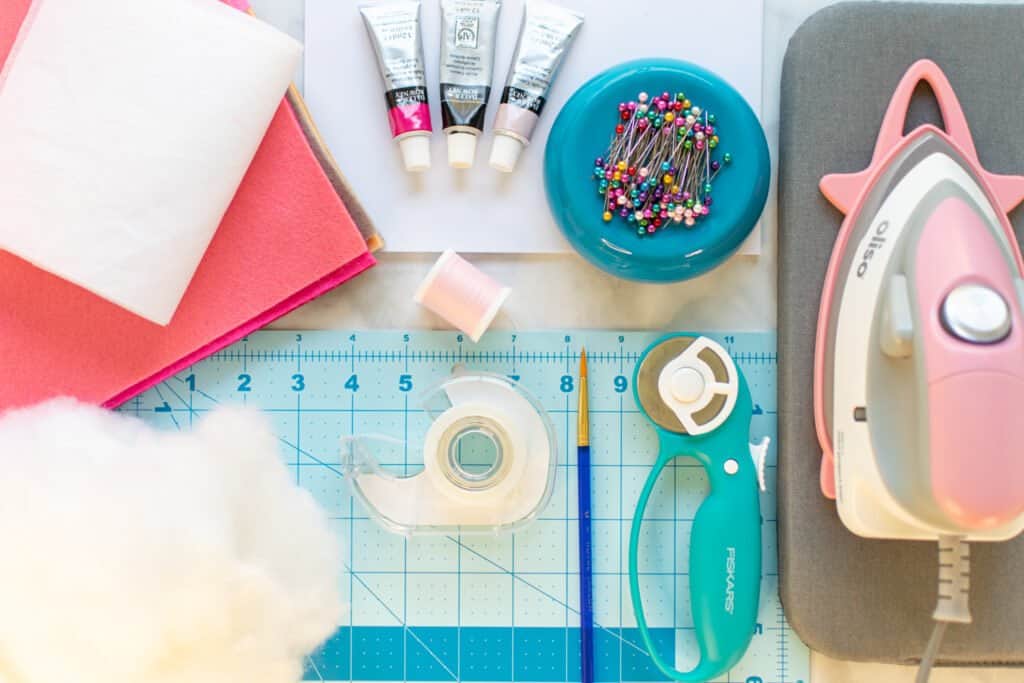
Here are the supplies you'll need to sew your cute plush animal doll.
- Quilting Cotton Scraps or Thin Felt (1/2 Yard)
- Medium Weight Interfacing (1/4 Yard)
- Pillow Stuffing
- Sewing Machine
- Rotary Cutter
- Rotary Cutting Mat
- Acrylic Ruler
- Thread
- Pins
- Iron
- Ironing Mat
- Sewing Machine Needle
- Fabric Pen
- Printer
- Printing Paper
- Optional: Acrylic Paints and Paintbrush
Click Here to Download the Free Plush Animal Doll Pattern
Step 1: Download and Assemble the Plush Animal Doll Pattern
First, download the free animal plushy pattern to your computer.
Open the pattern in Adobe Acrobat. This is important because printing from the browser can often result in printing with the wrong scaling, so it won't print at the right size.
In the Adobe Acrobat print settings, set the scaling to "100%" or "actual size." Print the pattern.
After printing, make sure that the 1" x 1" test square is printed at the correct size. If it measures larger or smaller than 1", you will need to recheck your print settings and print the pattern again.
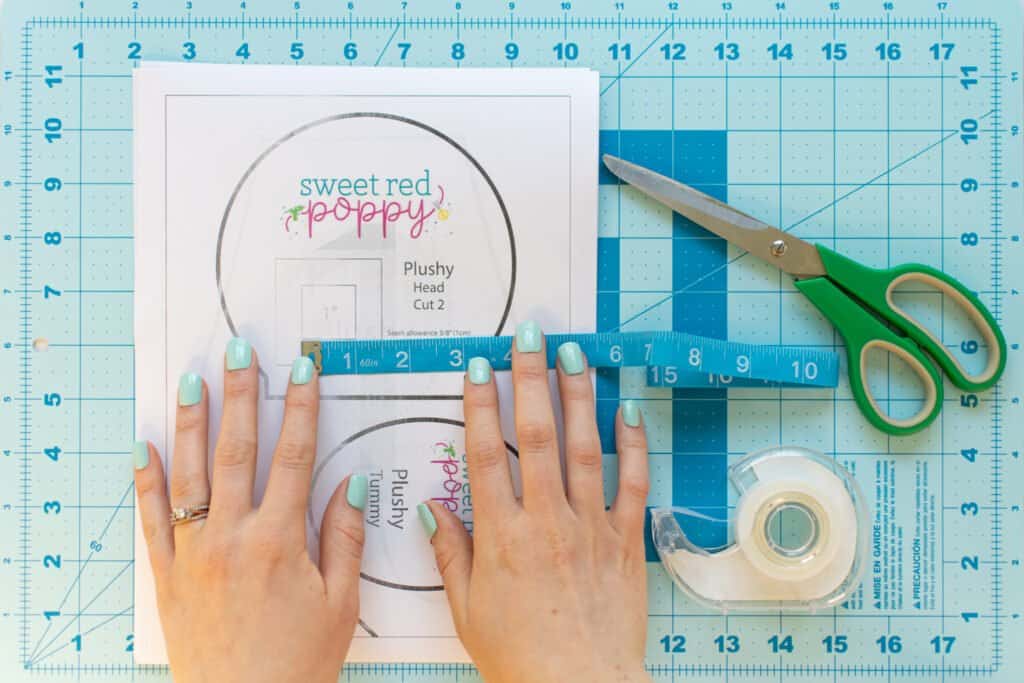
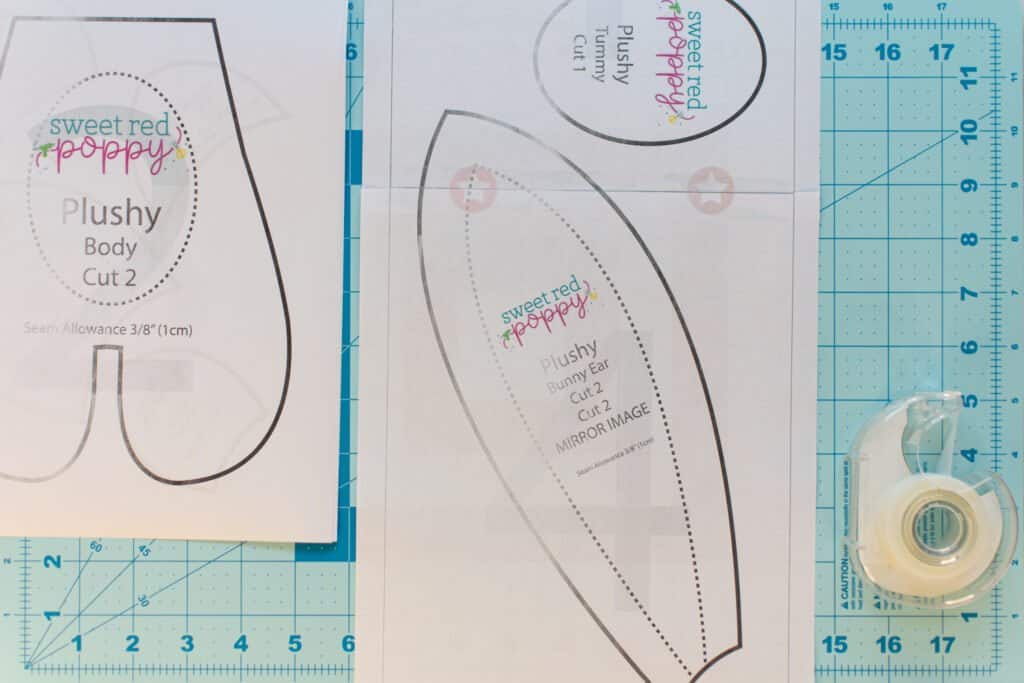
Next, match up the top of the bunny ear on Page 1 with the lower portion of the bunny ear on Page 4. Align the lines of the pattern and the little circles with stars in the center. It can help to trim away the excess paper along the edge of one of the pieces before lining them up.
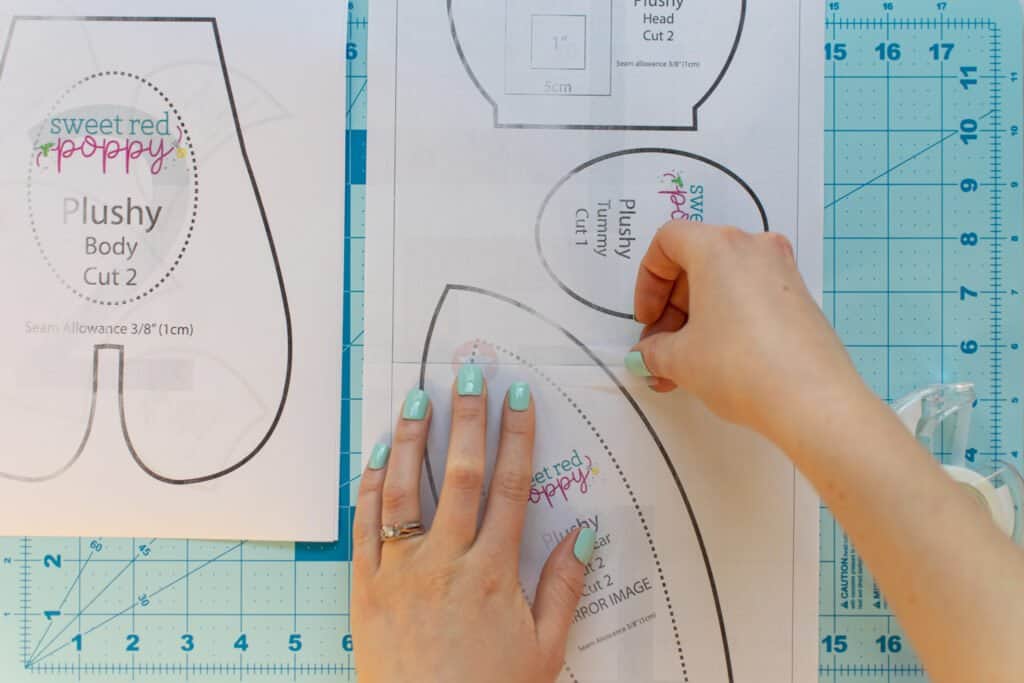
Tape the two pages together.
Next, cut out all of the pattern pieces with your paper scissors or rotary cutter.
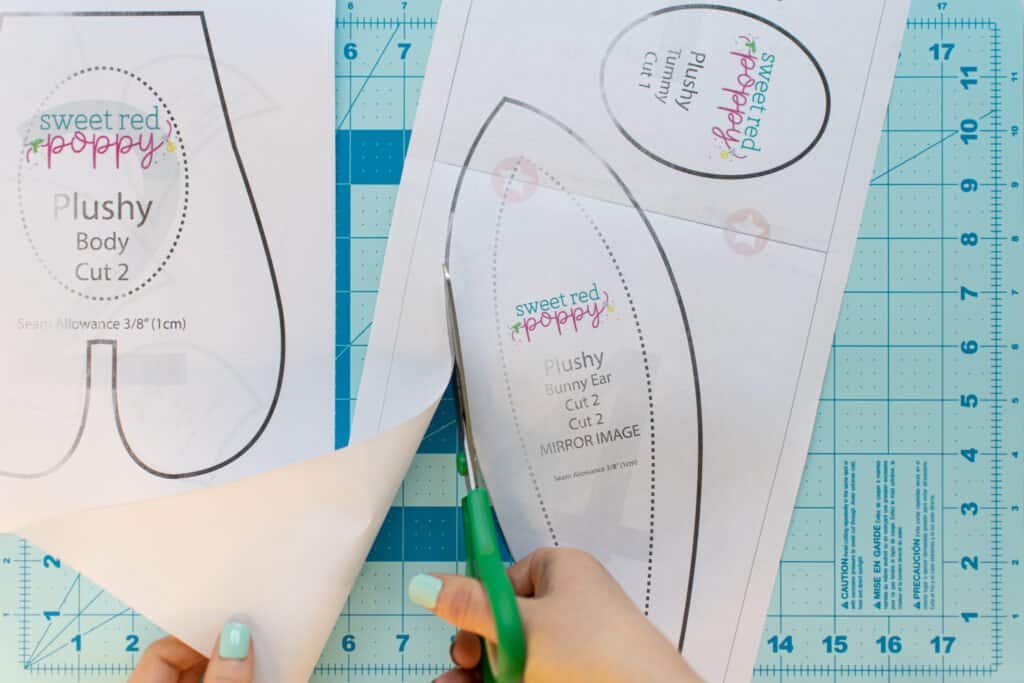
*PRO TIP: Cutting your pattern with a rotary cutter can make the process much faster! Just change the blade out before cutting fabric since cutting paper can dull the blade.
Step 2: Cut and Prepare the Fabric
With your pattern cut out, it's time to cut your fabric!
First, decide which version of the plush doll you'll be making - the bunny, cat, fox, or bear. Grab the ear pieces that go with your choice and set aside all the other ear pattern pieces.
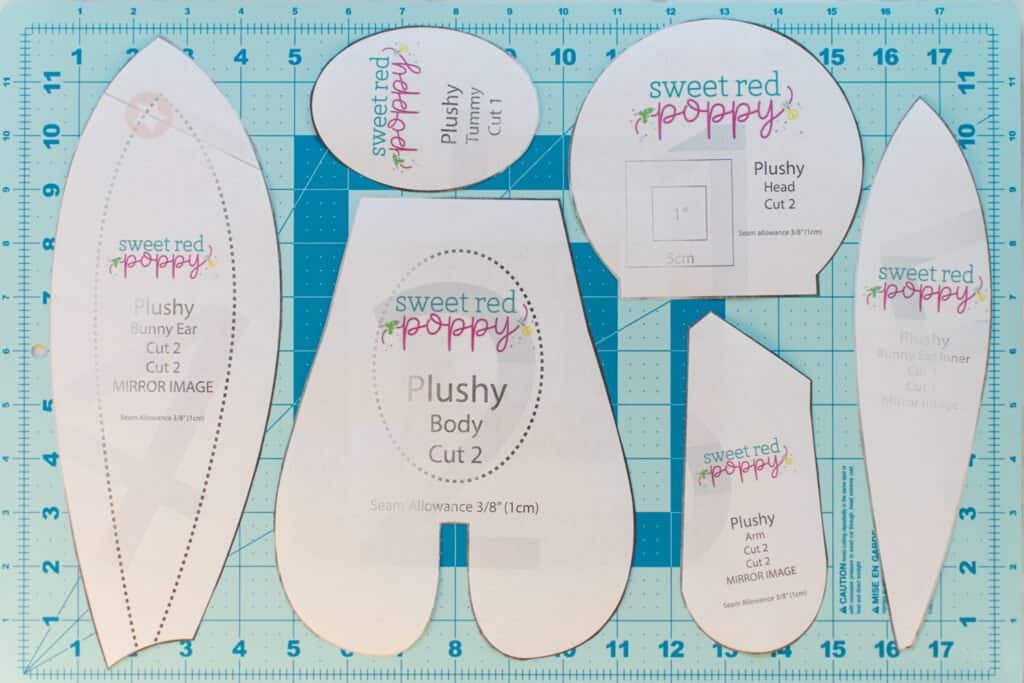
I'll be making the bunny today, so am using the "bunny ear" and "bunny ear inner" pieces.
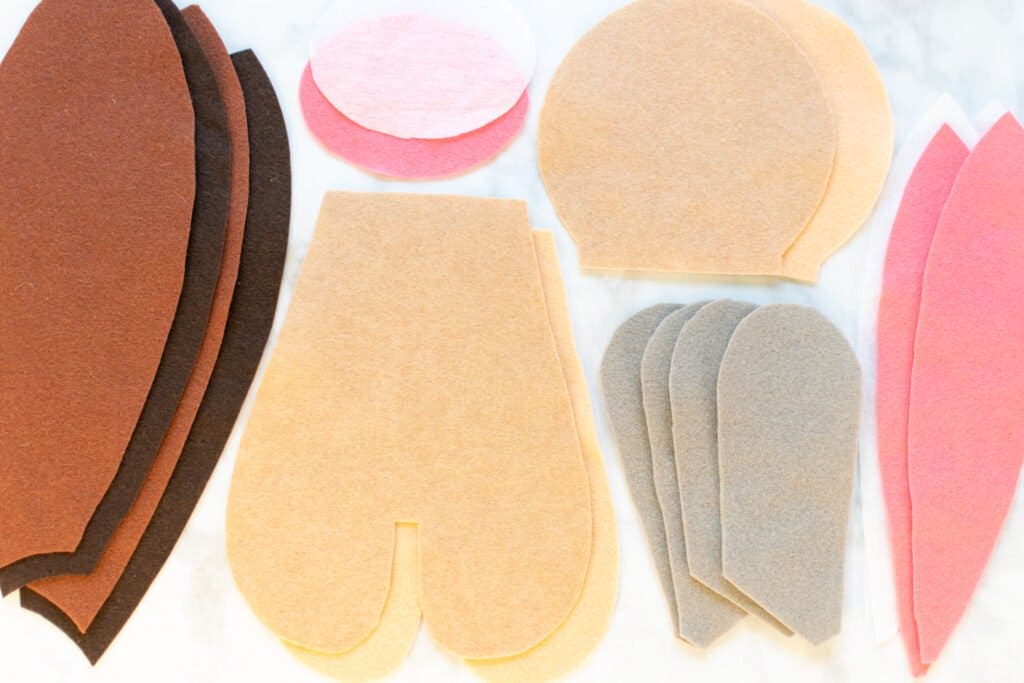
Next, cut the following number of pieces from your fabric and interfacing:
Fabric
- Head: Cut 2
- Body: Cut 2
- Tummy: Cut 1
- Arm: Cut 4 (2 sets cut as mirror images)
- Ear: Cut 4 (2 sets cut as mirror images)
- Ear Inner (for bunny and fox only): Cut 2 as mirror images
Interfacing
- Tummy: Cut 1
- Ear Inner (for bunny and fox only): Cut 2 as mirror images
*NOTE: You can play with the colors of fabric you use for your plushy by cutting the different pieces in complementary shades.
Next, apply your cut interfacing to the wrong side of the inner ear and tummy pieces following the manufacturer's instructions.
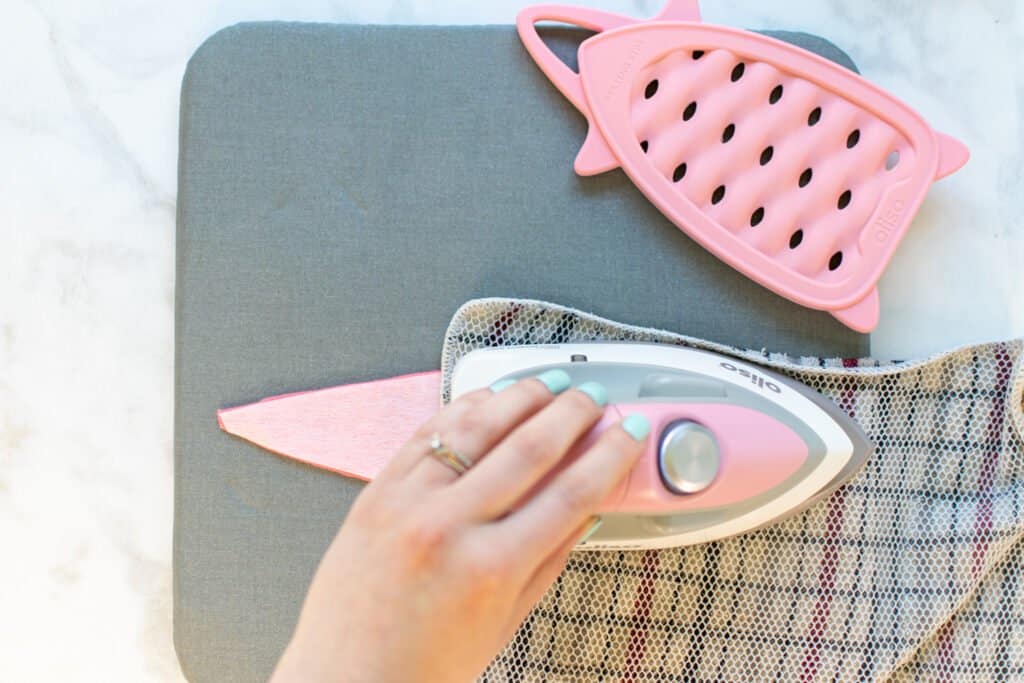
Generally, this involves placing the interfacing on the fabric, laying a damp cloth on top of it, and holding your iron firmly to the damp cloth for 15-30 seconds.
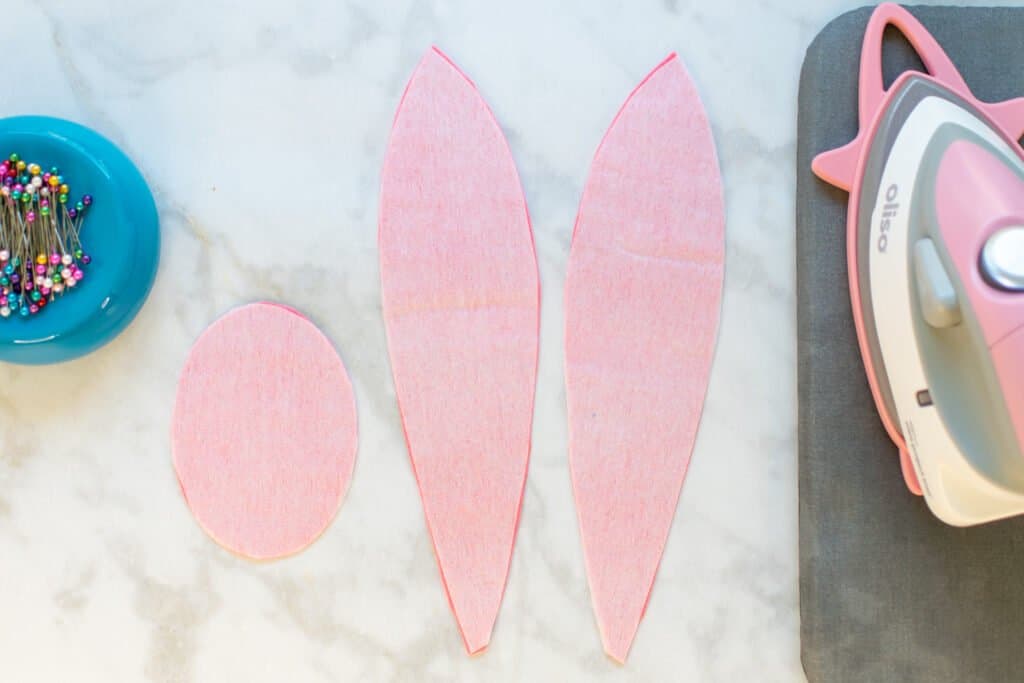
Working from the right side, trim away any interfacing that is sticking out past the fabric. You don't want the interfacing to show!
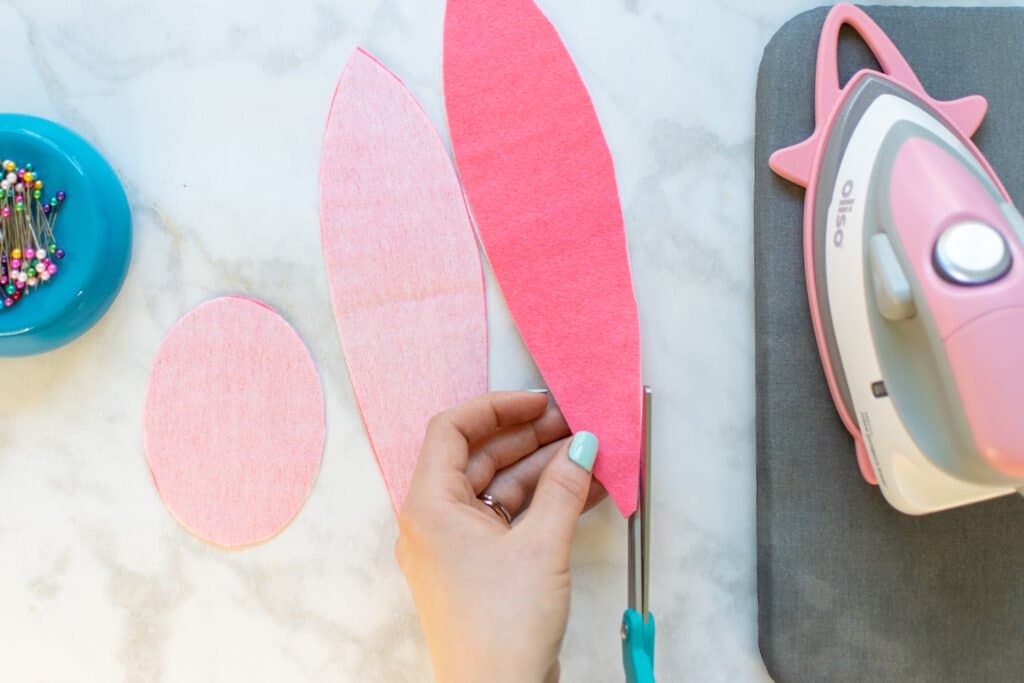
Step 3: Sew Inner Ears and Tummy
Now that you've got everything prepared, let's start sewing!
First, lay one pair of mirror-image ear pieces on the table with the right side facing up.
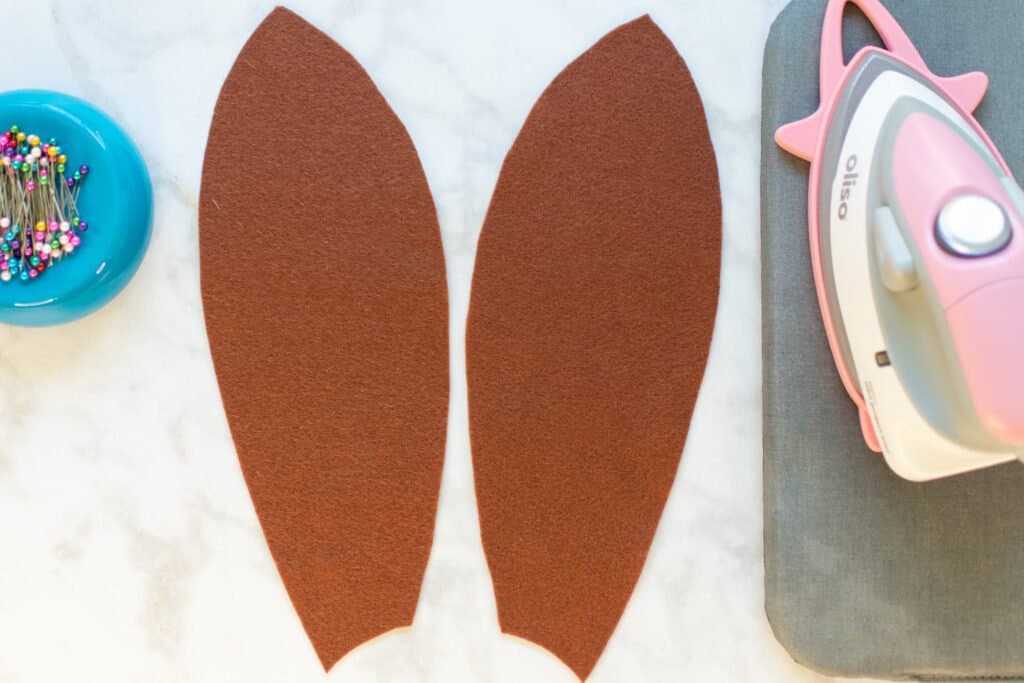
Then place the inner ear pieces on top of the ear pieces with the interfacing side down. Pin in place.
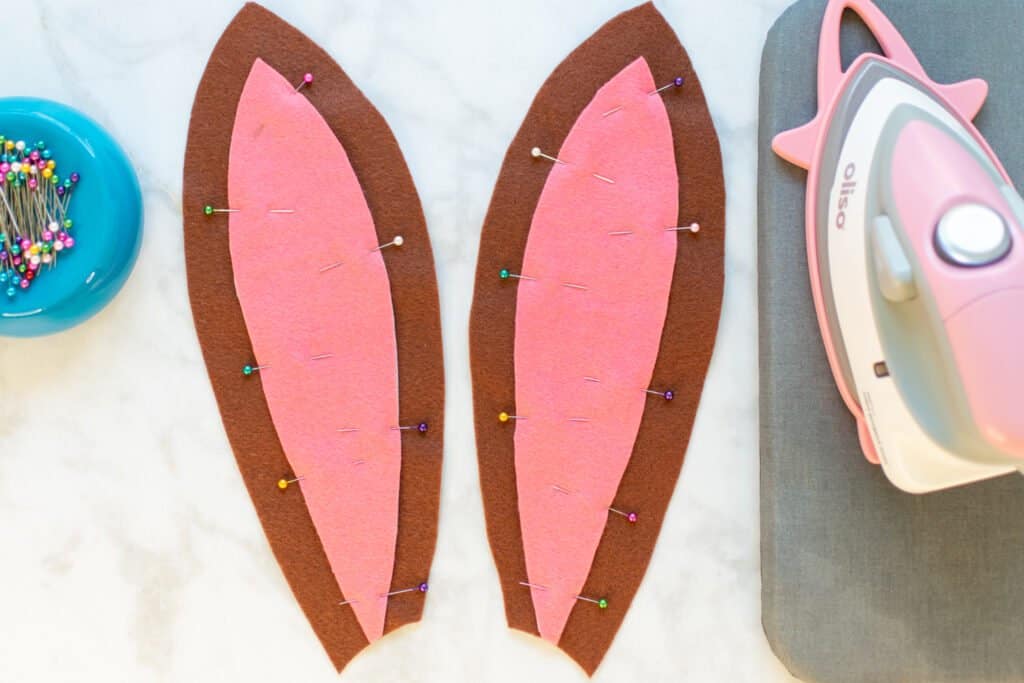
Stitch all the way around the inner ear pieces with a zigzag stitch using matching thread. Try to keep your zigzag right along the edge of the inner ear pieces the entire way around.
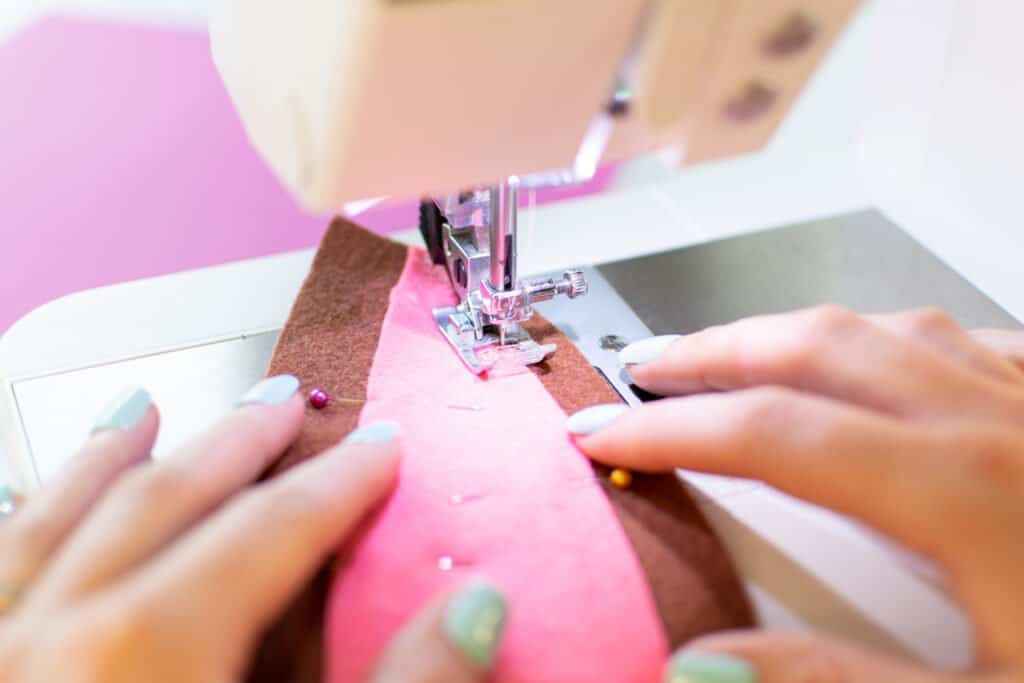
Don't forget to backstitch at the beginning and end. Trim your thread tails.
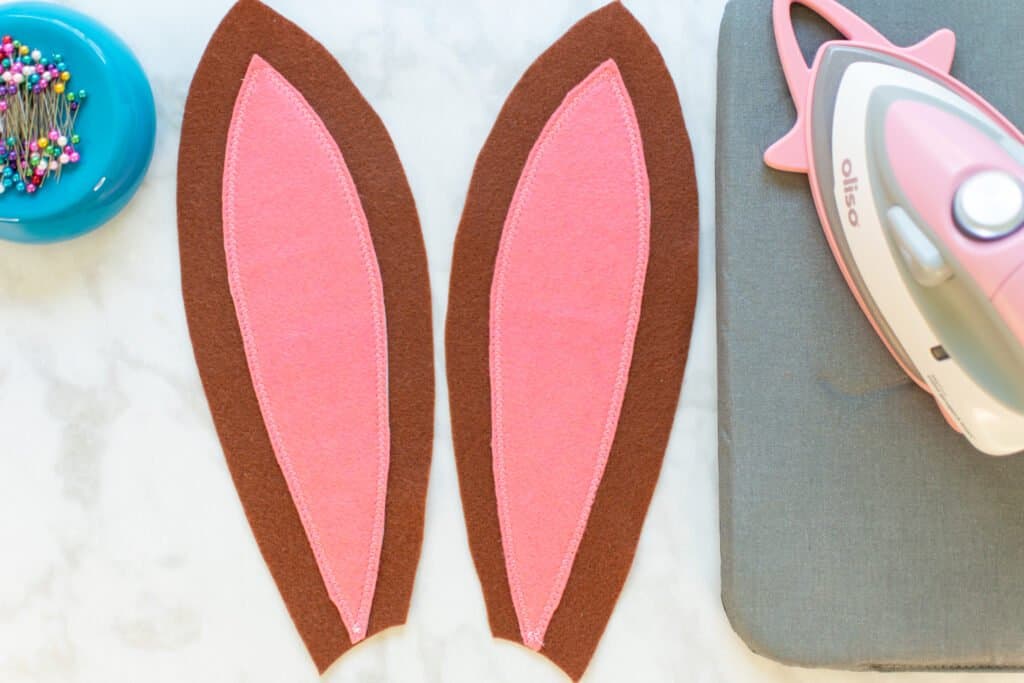
Next, lay the front body piece of your plushy right side up on the table.
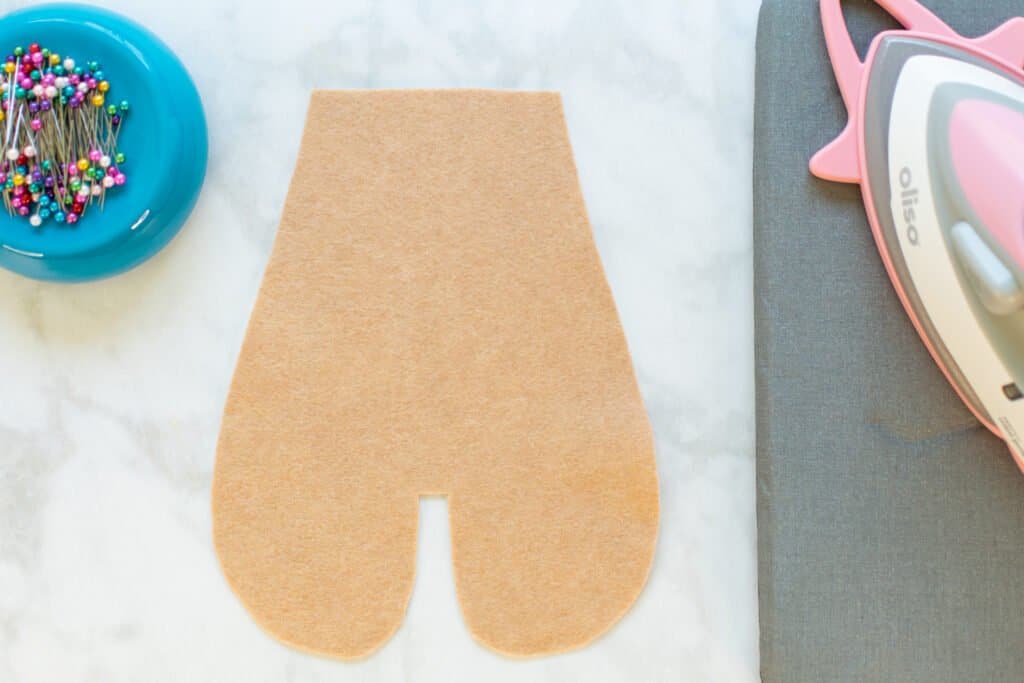
Place the tummy piece on top of it with the interfacing side down. Line it up wherever you want it on the front of your plushy's body and pin in place.
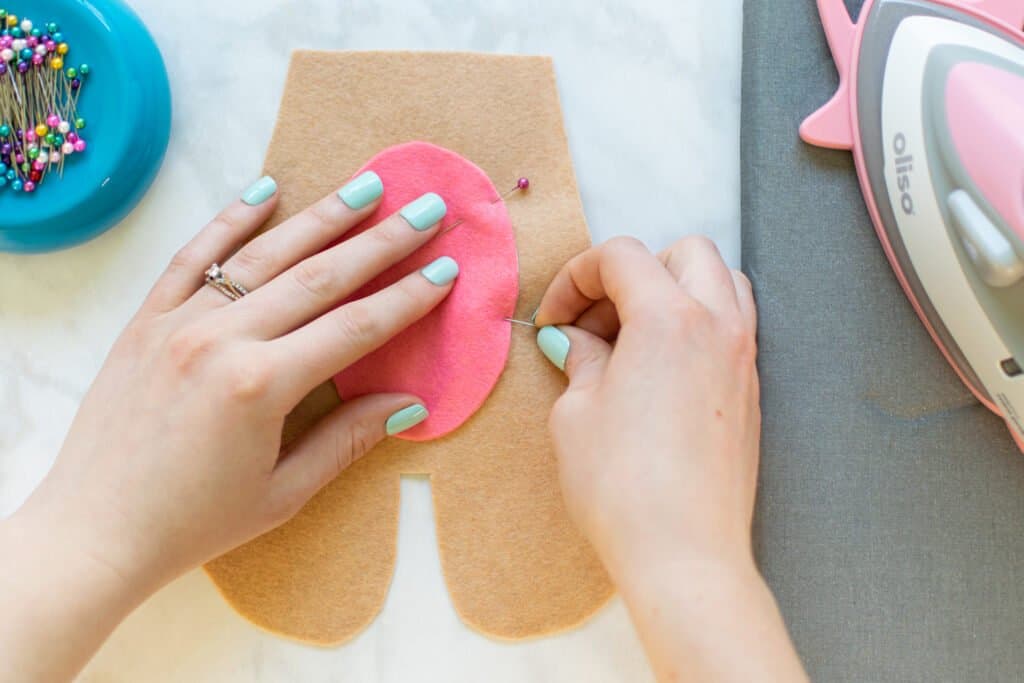
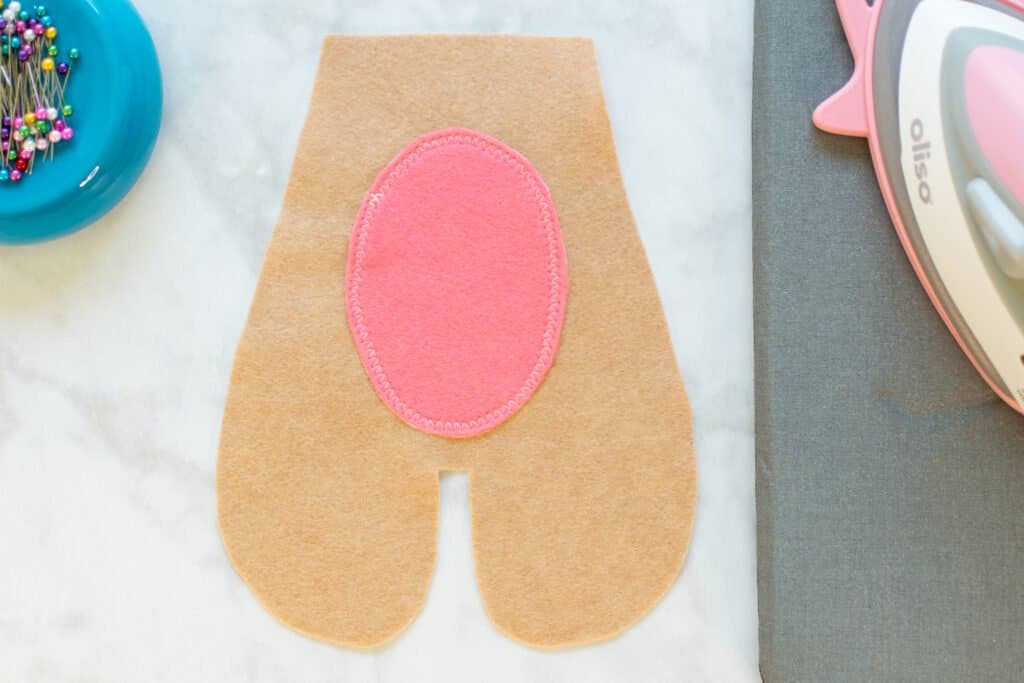
Sew around the tummy piece with a zigzag stitch to secure it to the body.
Step 4: Sew the Ears
Lay the two ear pieces with the inner ears attached facing right sides up on the table.
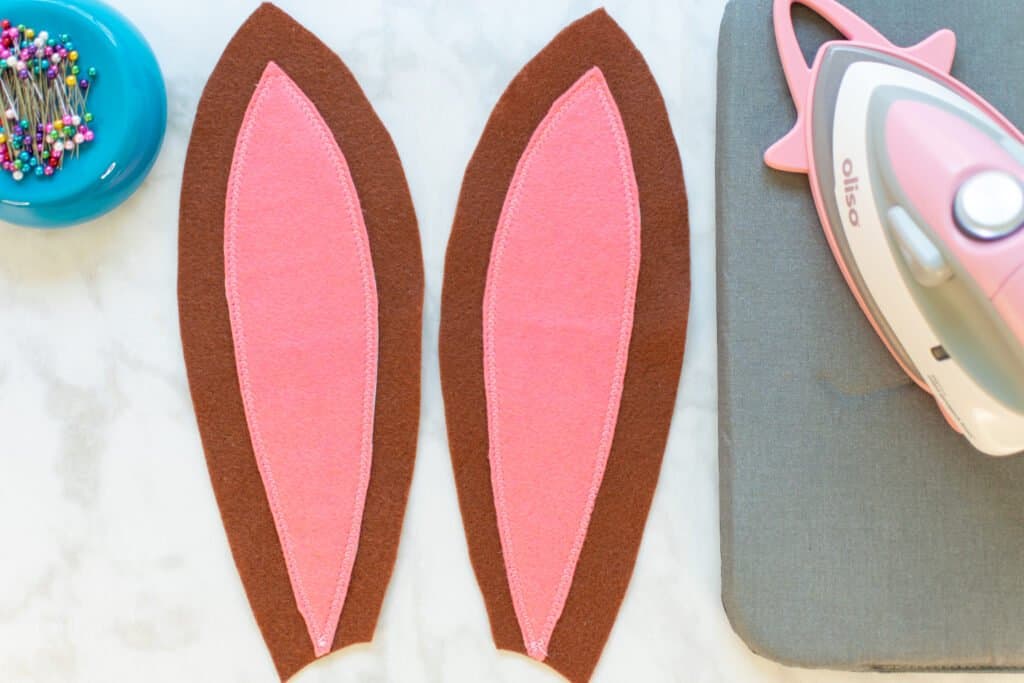
Place the other ear pieces on top of them with the right sides down so that the edges are aligned with right sides together.
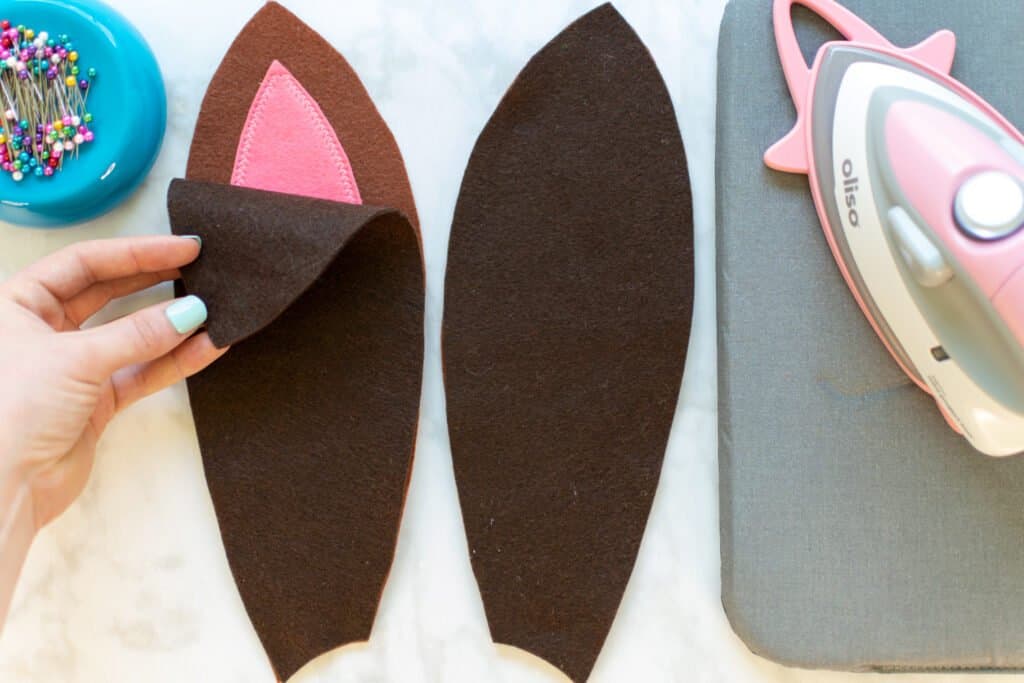
Pin the two ears together.
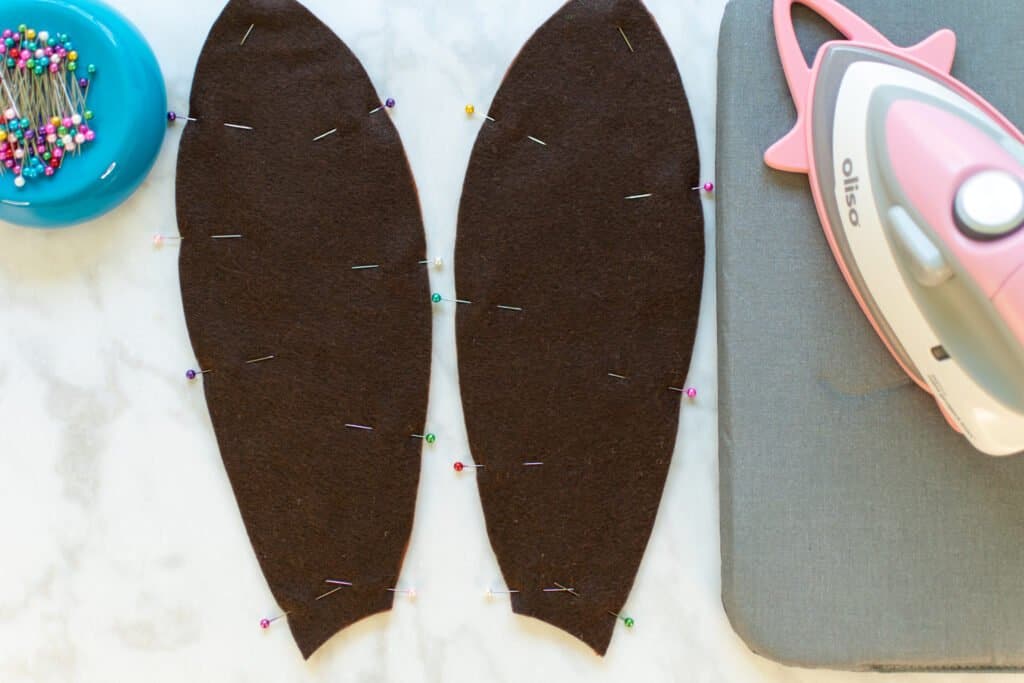
Sew the two long sides of the ears with a 3/8 inch seam allowance. Make sure to leave the bottom of the ears open and unsewn.
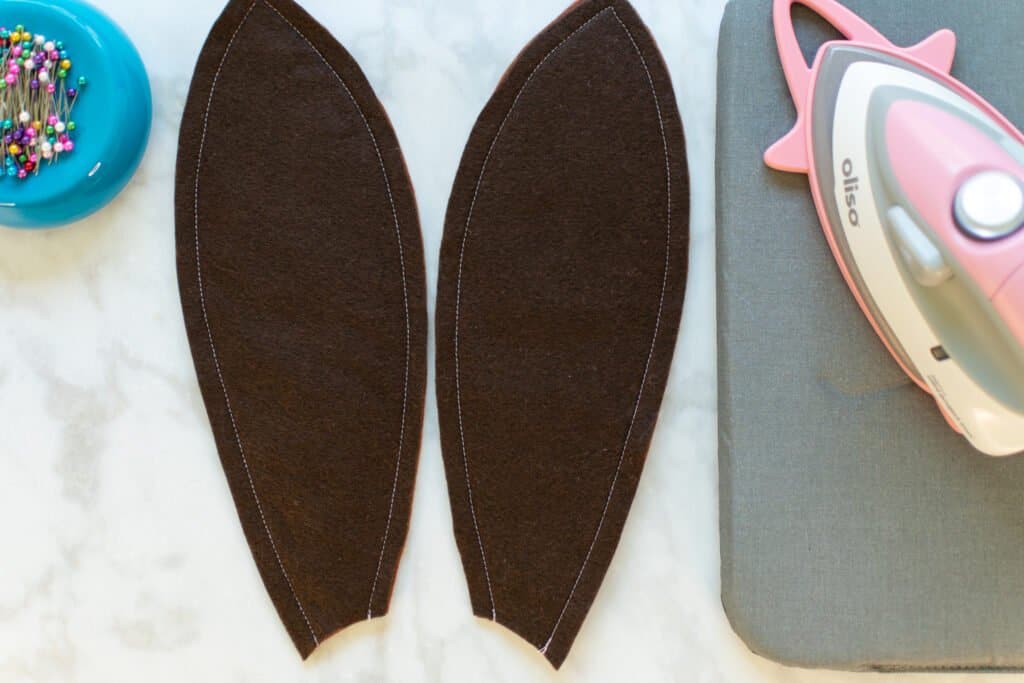
Once you have both ears sewn together, trim the seam allowances down by half.
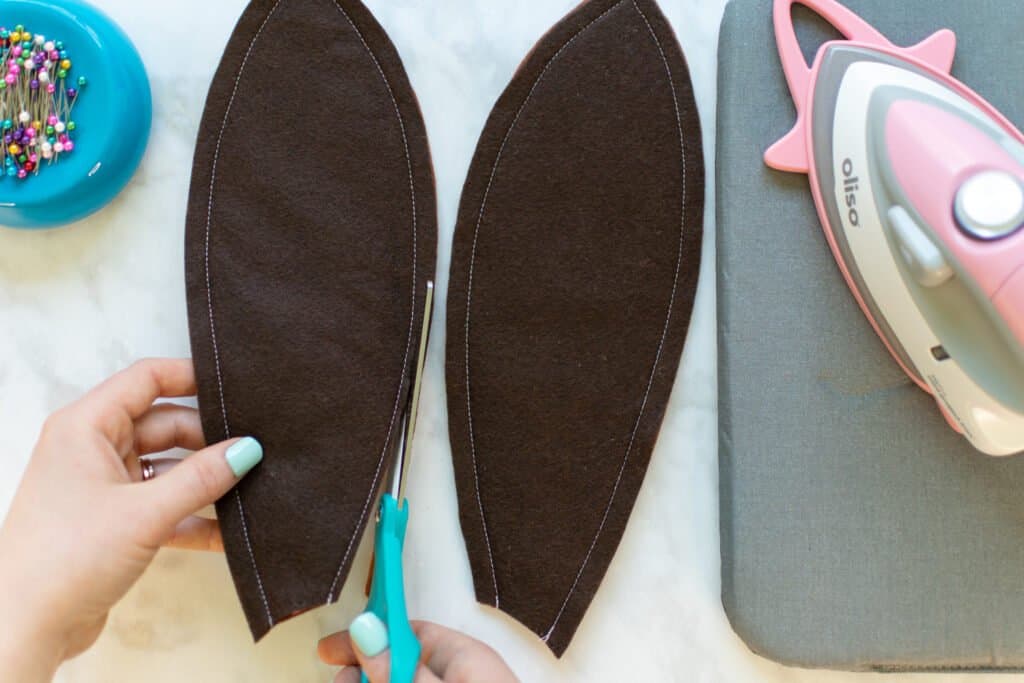
Cut the tip of the ear off above your stitching to reduce bulk - make sure not to cut through your stitches!
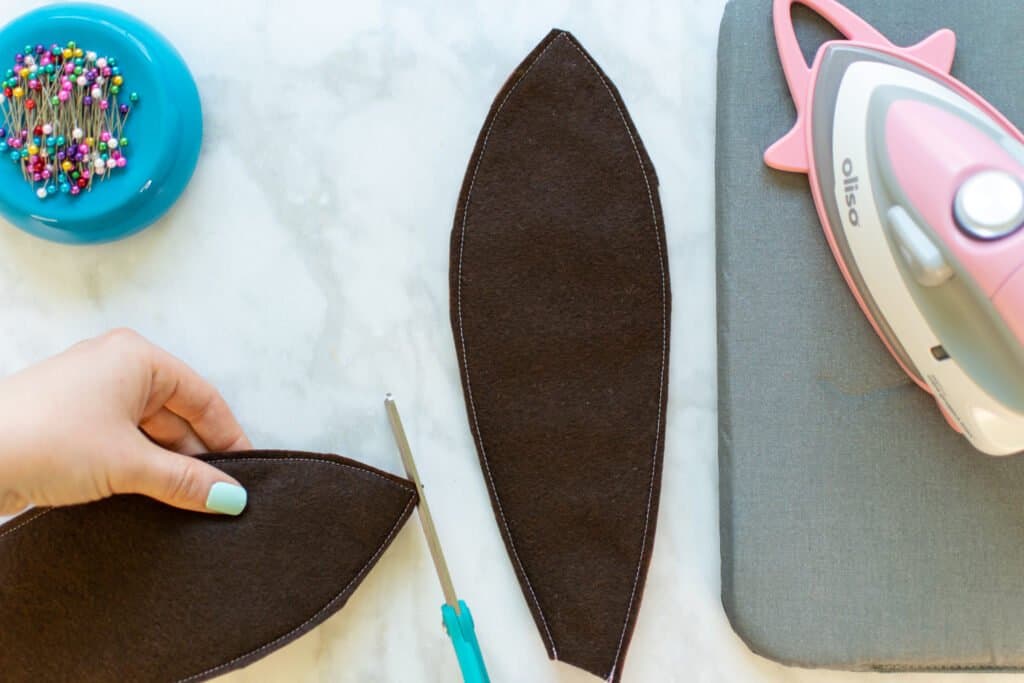
Next, notch the seam allowance of the curved portions of the ears.
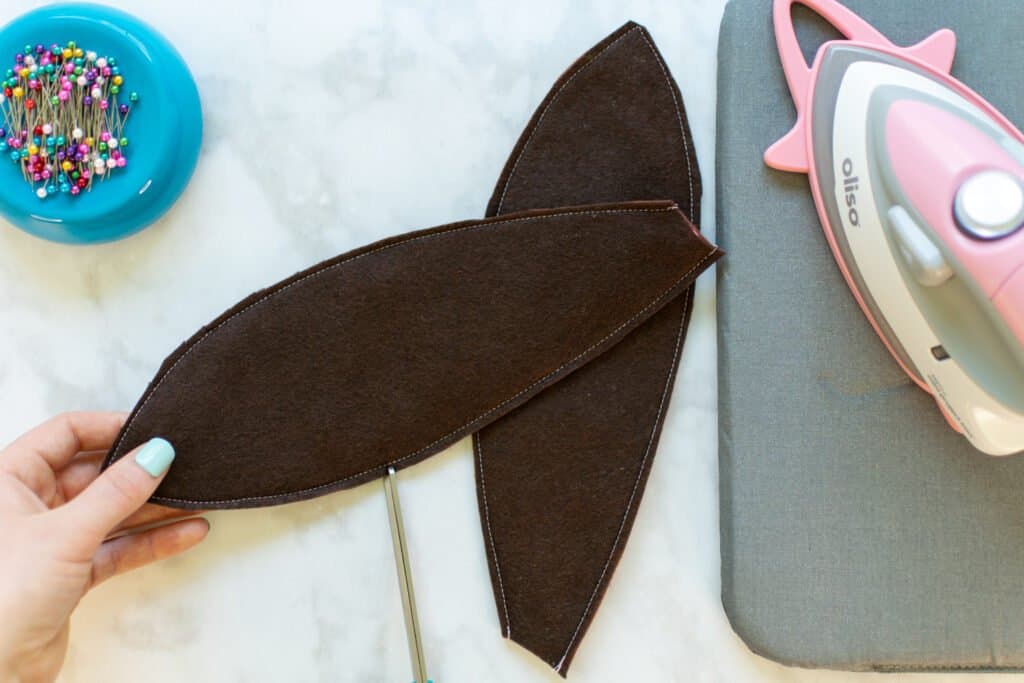
Turn the ears right sides out through the opening in the bottom.
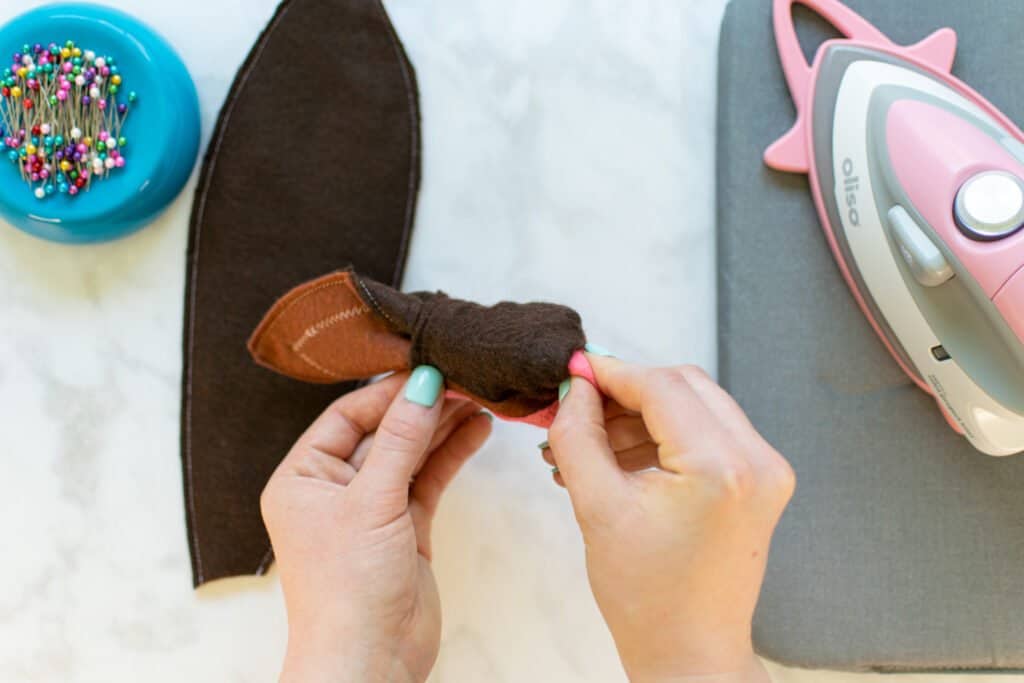
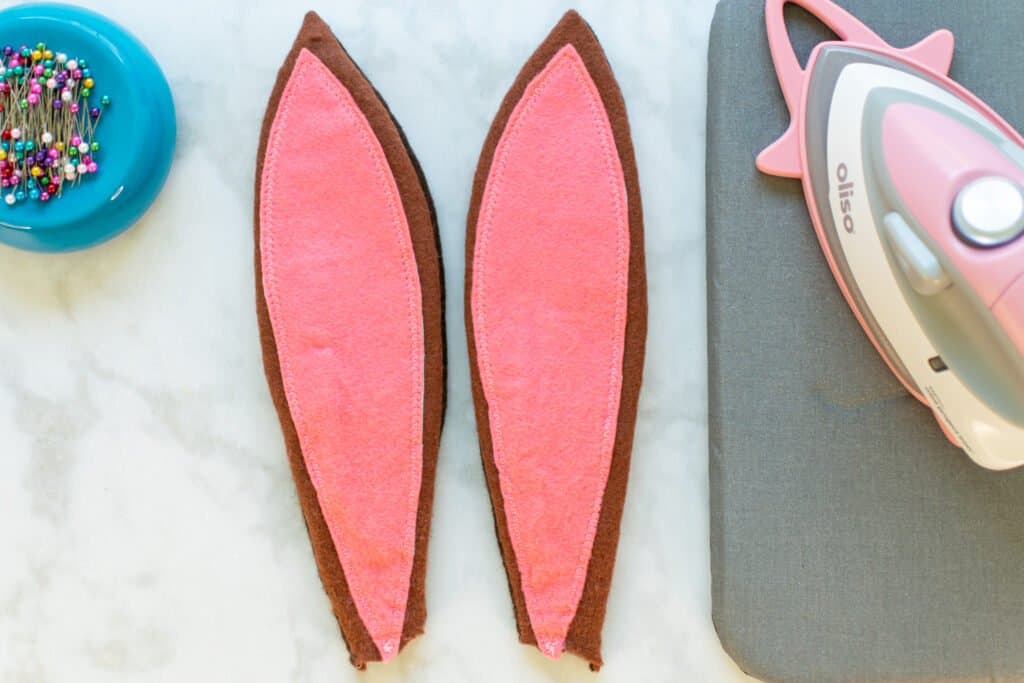
Iron both ears nice and flat.
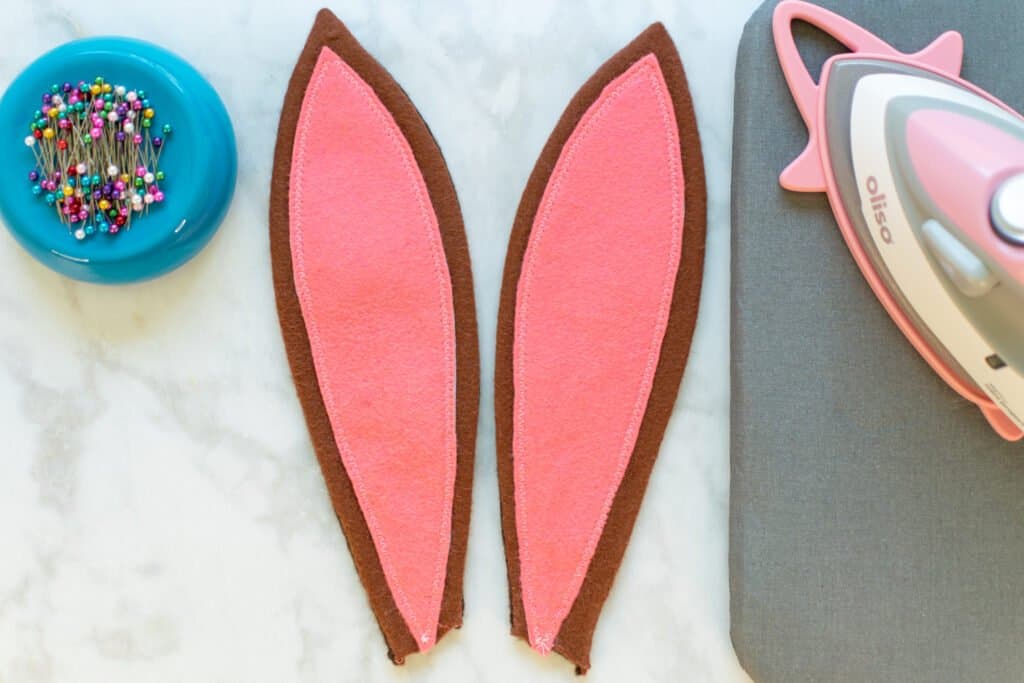
Step 5: Sew the Arms
Set aside the ears for now - it's time to focus on the arms.
Line up two of the arm pieces with right sides together.
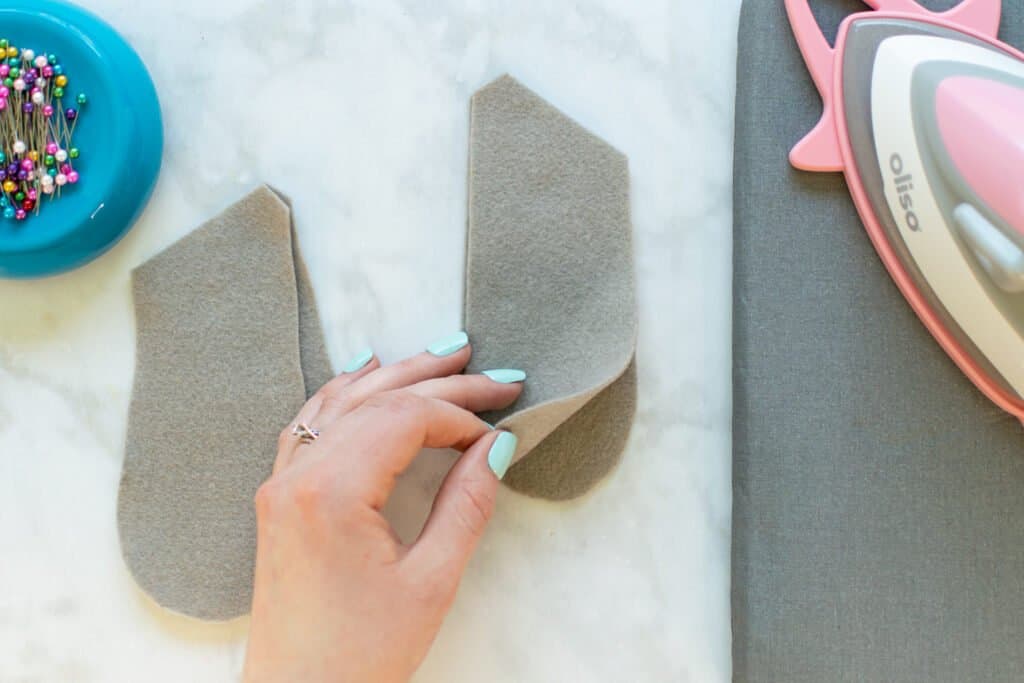
Repeat with the other two arm pieces. Pin both sets of arm pieces together.
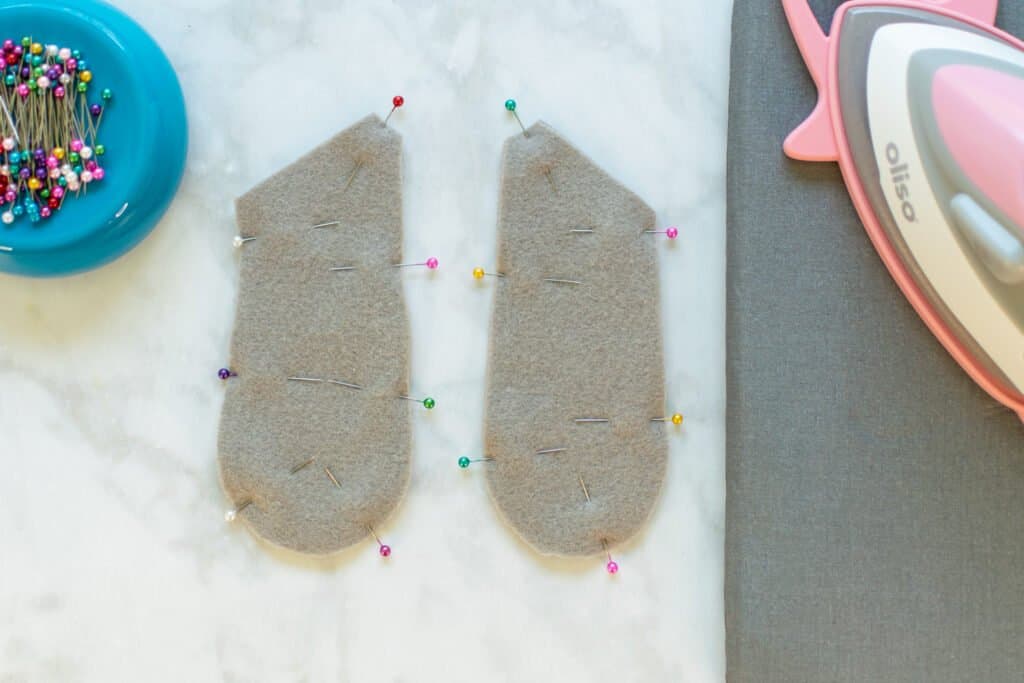
Sew around the short flat edge and curved portion of the arms, leaving the longer flat edge unsewn. Use a 3/8 inch seam allowance.
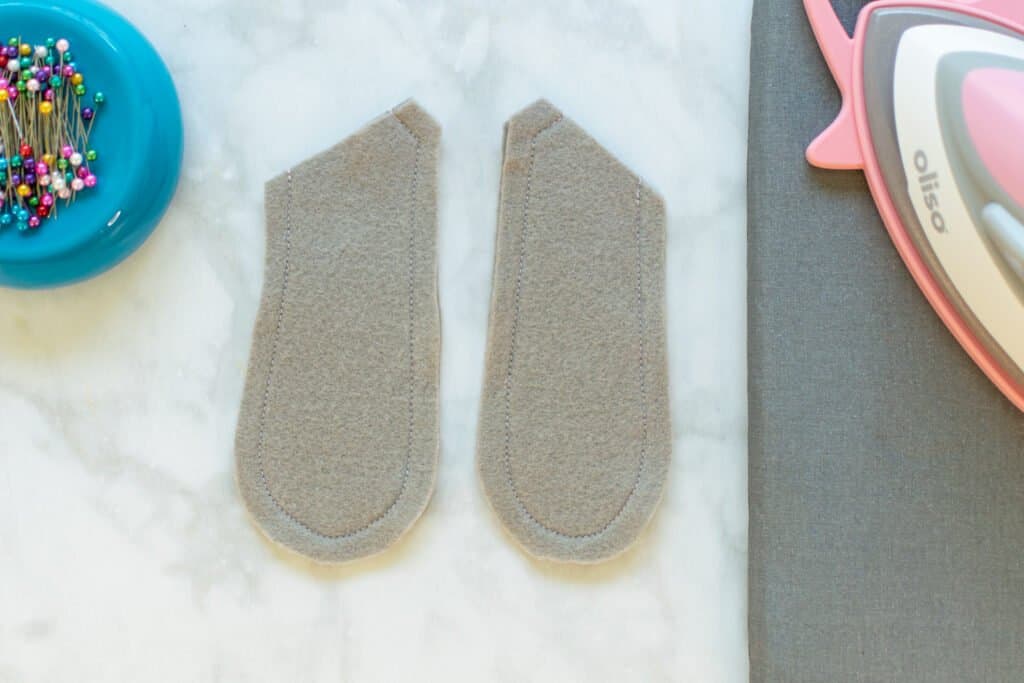
Just like you did with the ears, trim the seam allowance down by half and notch the curved portions.
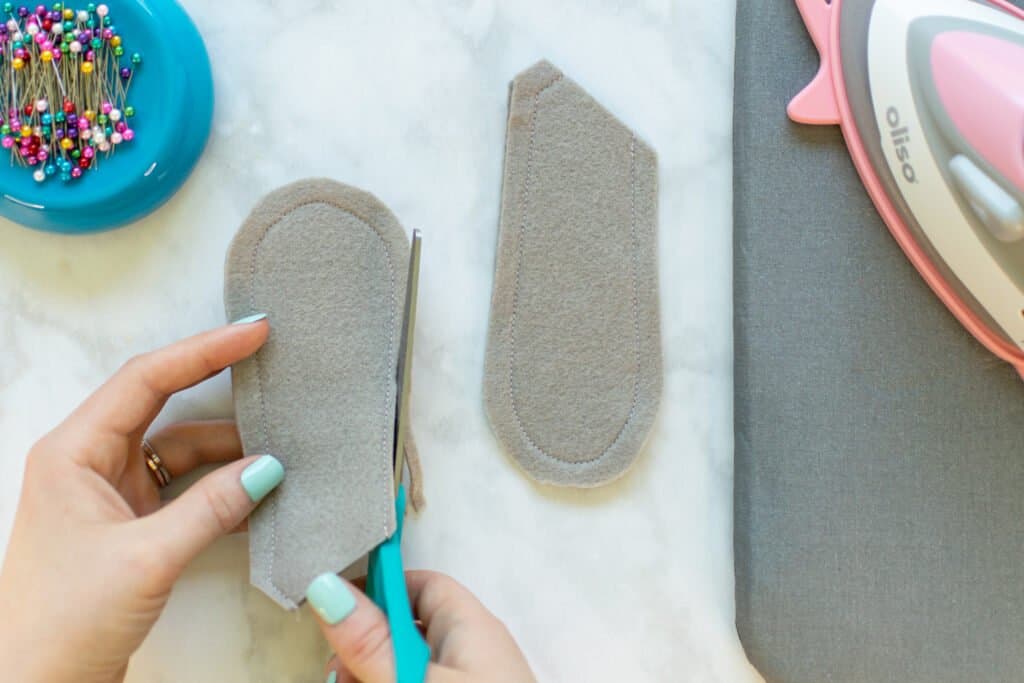
Turn the arms right sides out through the open end.
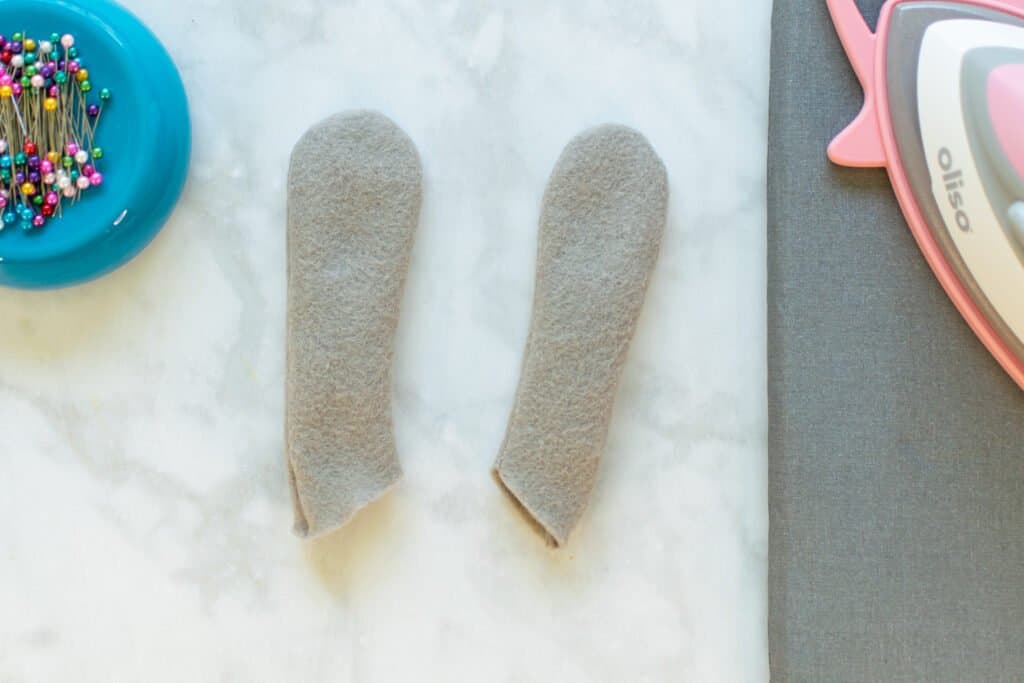
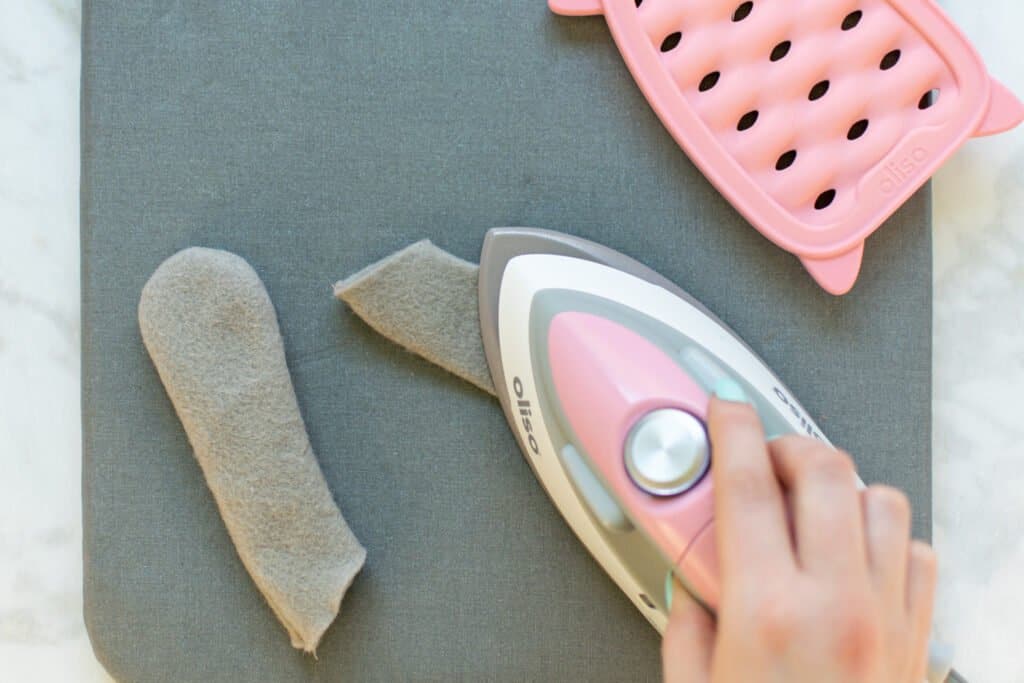
Iron both arm pieces flat.
Next, stuff the arms of the plushy about 3/4 of the way full.
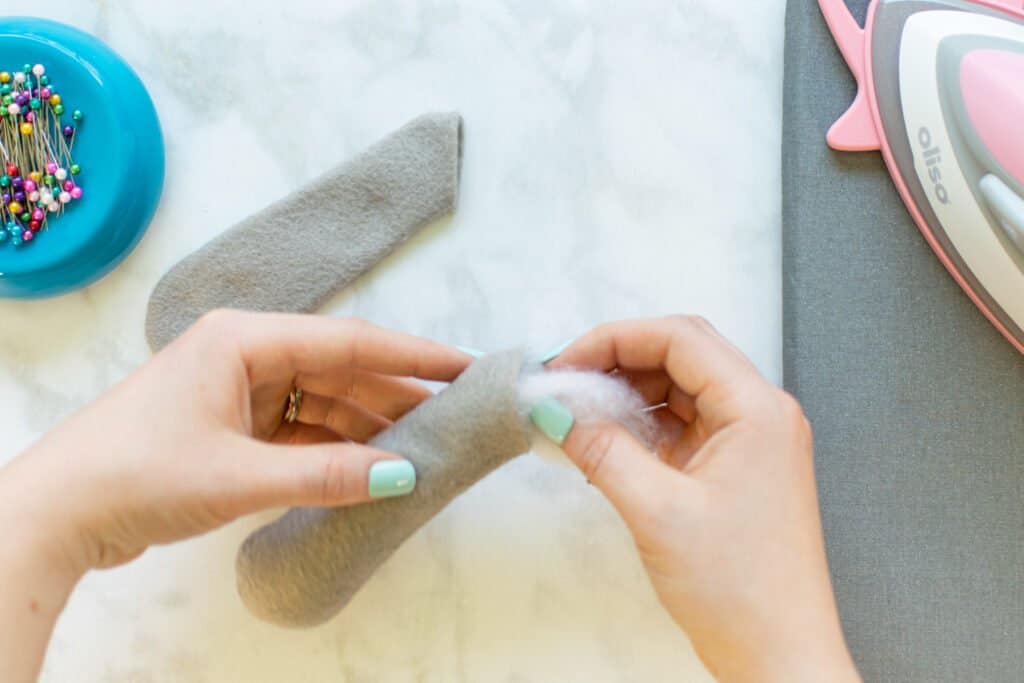
You want to make sure to leave enough of the arms unstuffed so that you will be able to attach them to the body.
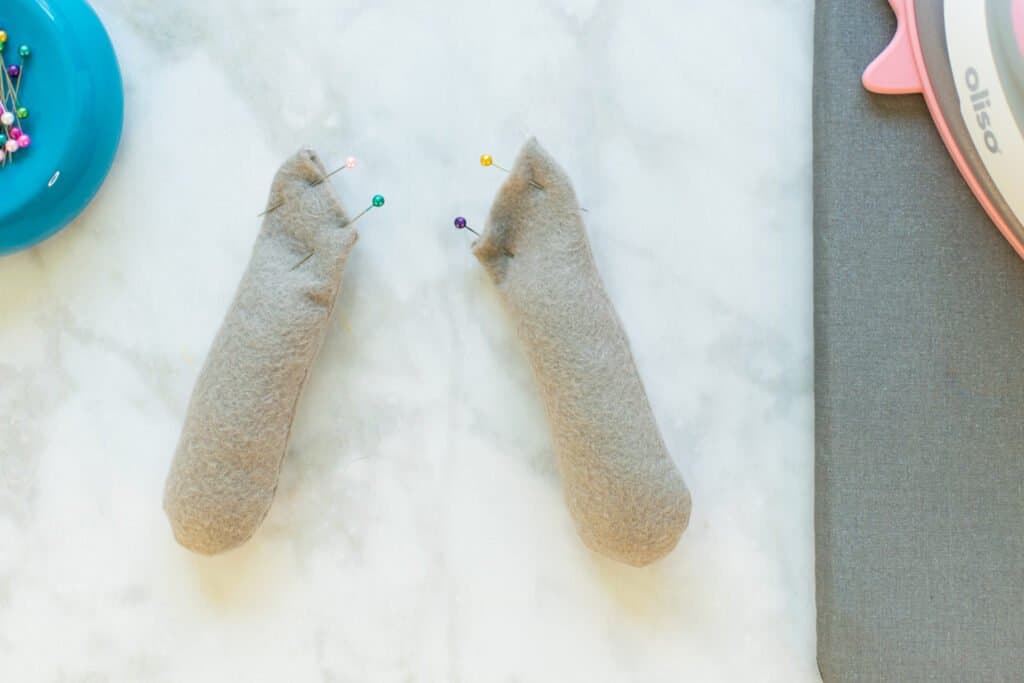
Sew the bottom opening of the arms closed, sewing about 1/8 inch from the edge.
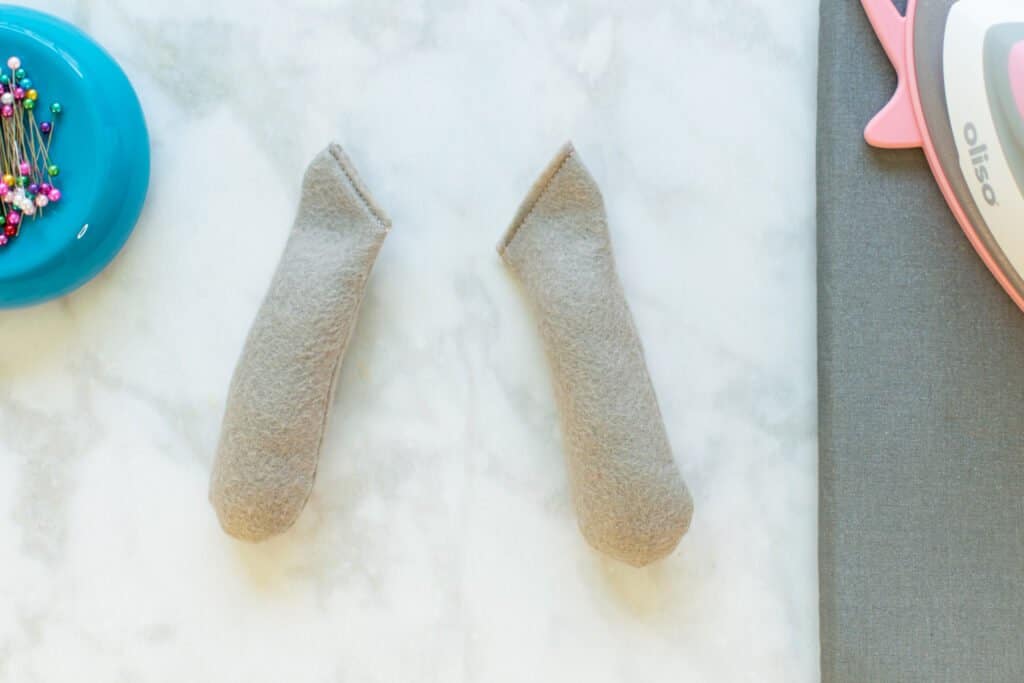
Step 6: Attach the Head, Ears, and Arms
Place one of the head pieces right sides together with one of the body pieces, lining up the straight neck edges.
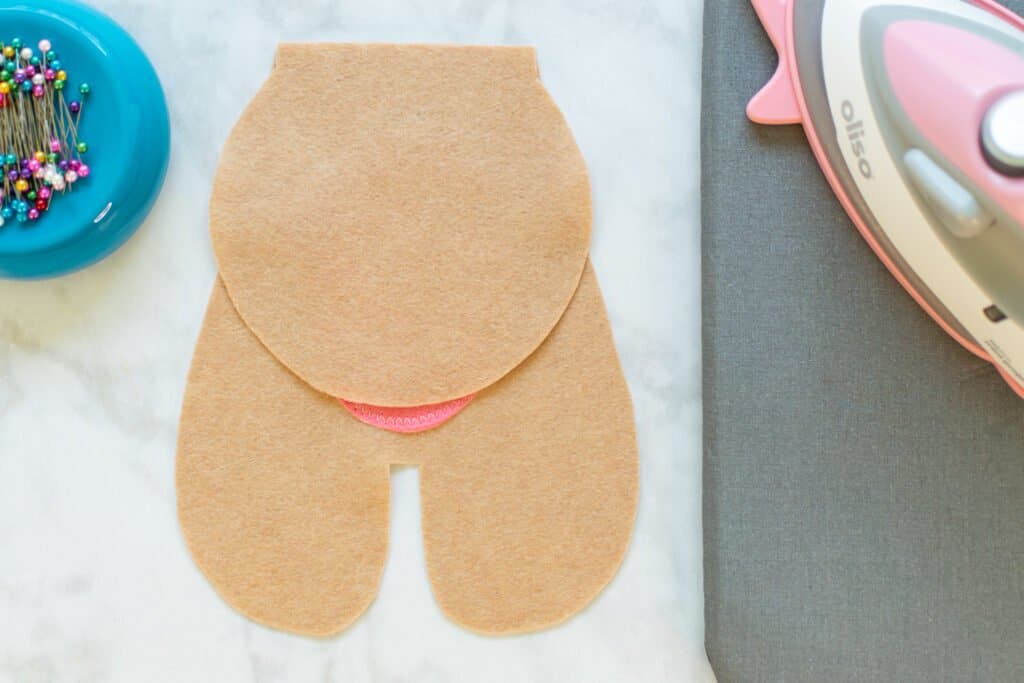
Pin the head to the body.
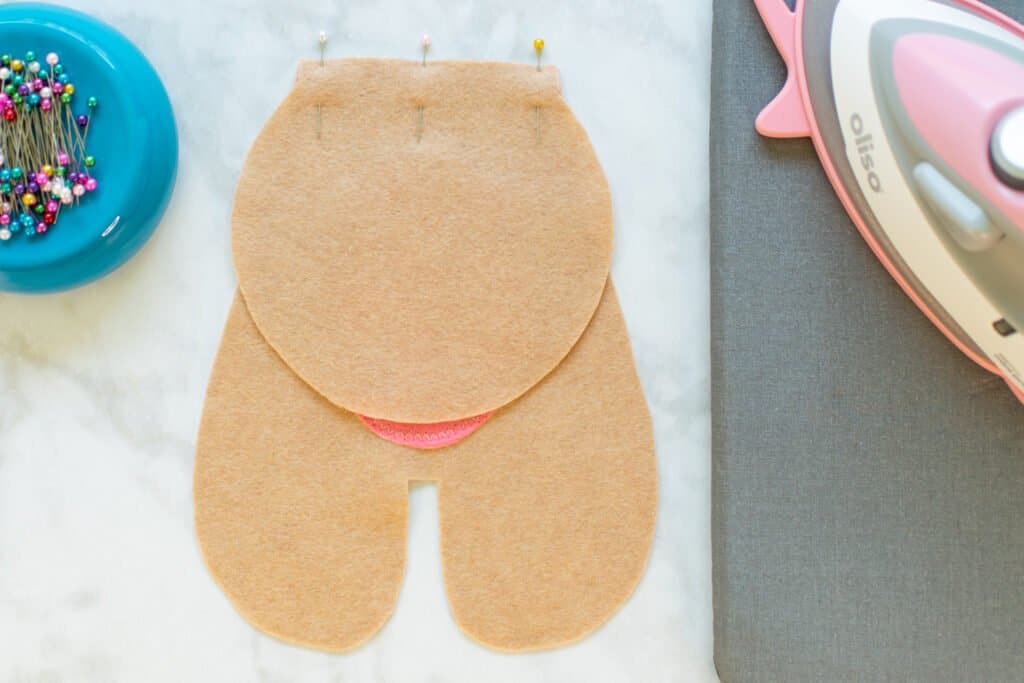
Repeat with the other head and body piece.
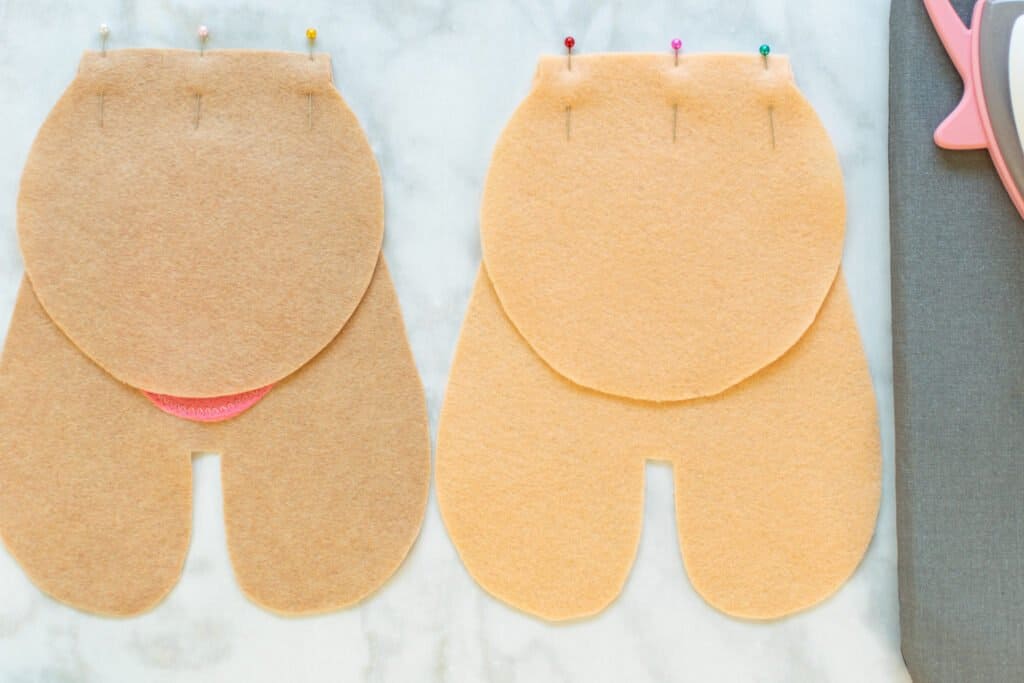
Next, sew both head pieces to the two body pieces along the neck edges with a 3/8 inch seam allowance.
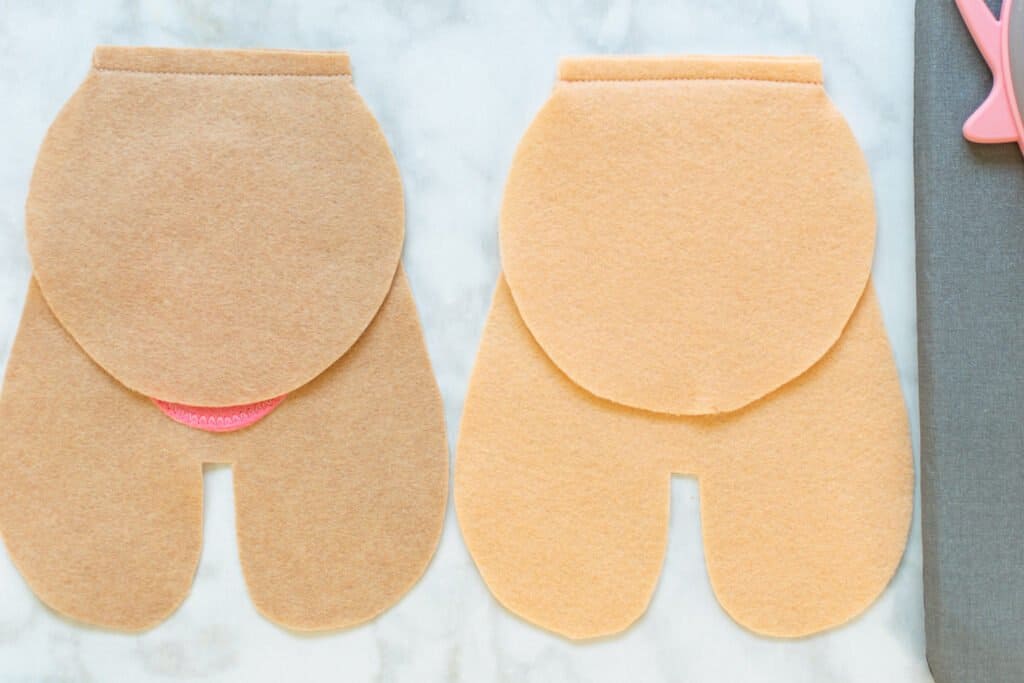
Press the heads away from the body pieces, pressing the seam allowances upwards.
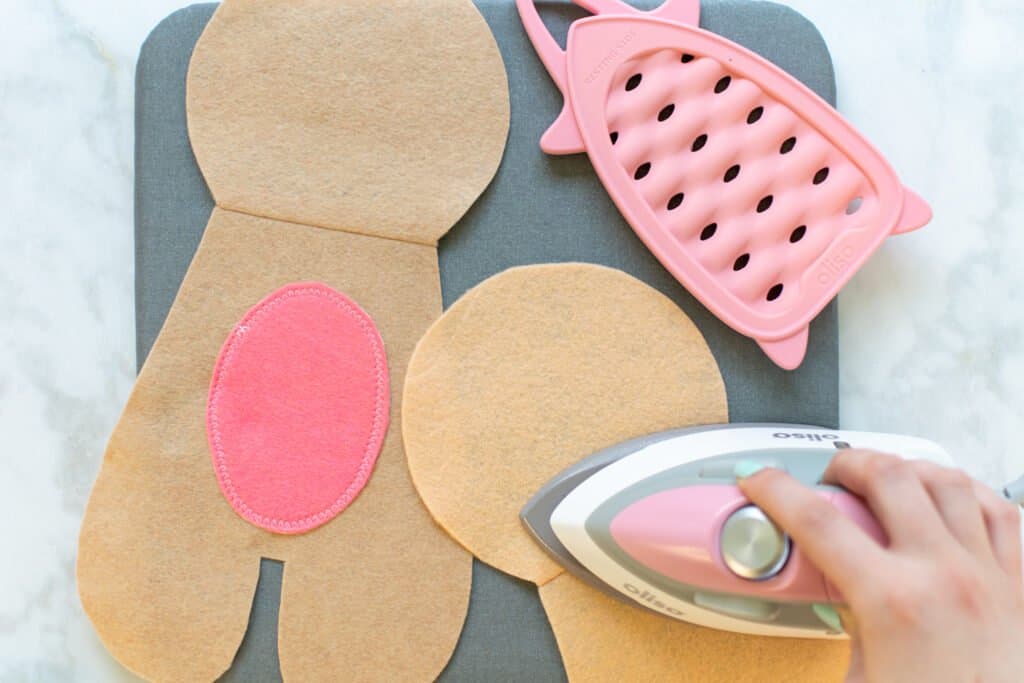
Next, lay the front body/head piece right side up on the table.
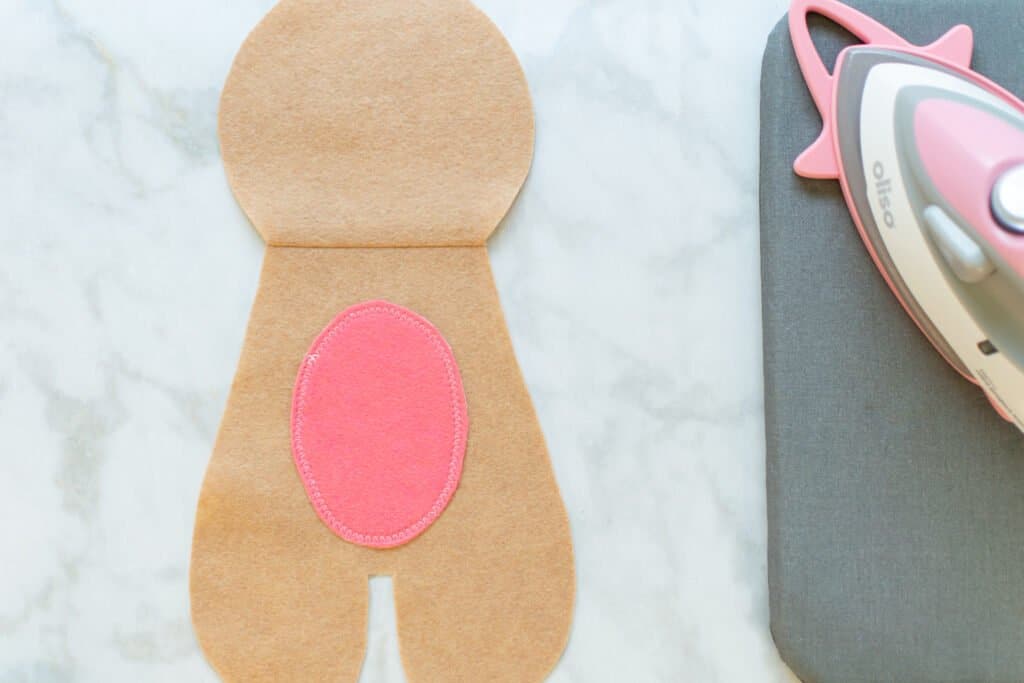
Pin one arm to either side of the doll, lining up the top of the arm pieces with the neck seam.
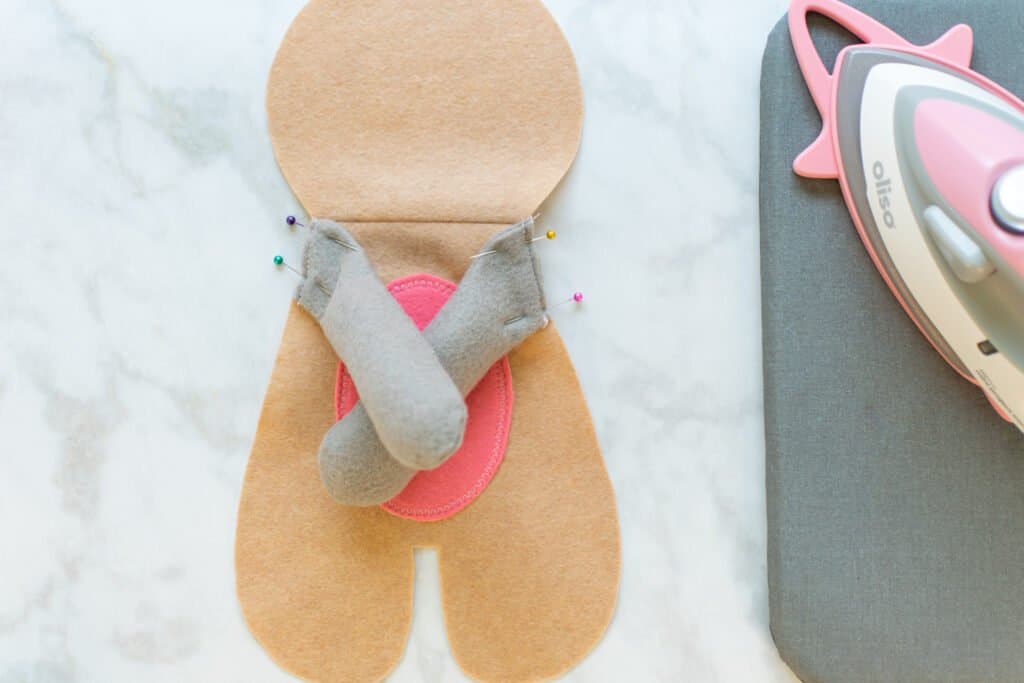
Stitch the arms to the body of the plushy, sewing 1/8 inch from the edge.
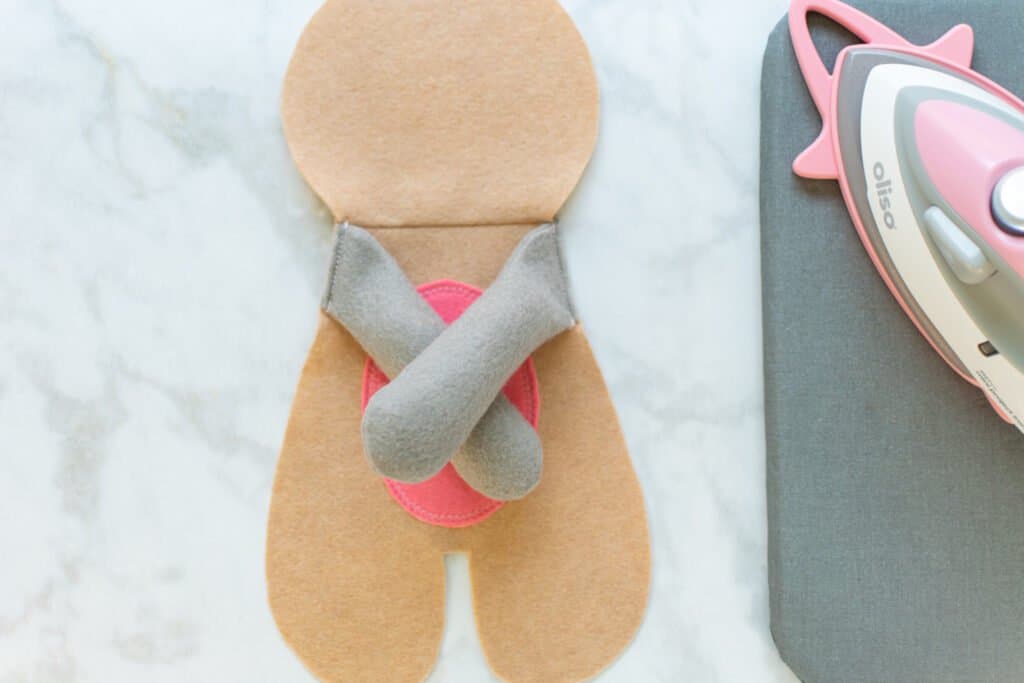
Then, pin the two ears to the head. You can experiment with the placement of the ears before pinning them in place wherever you want them.
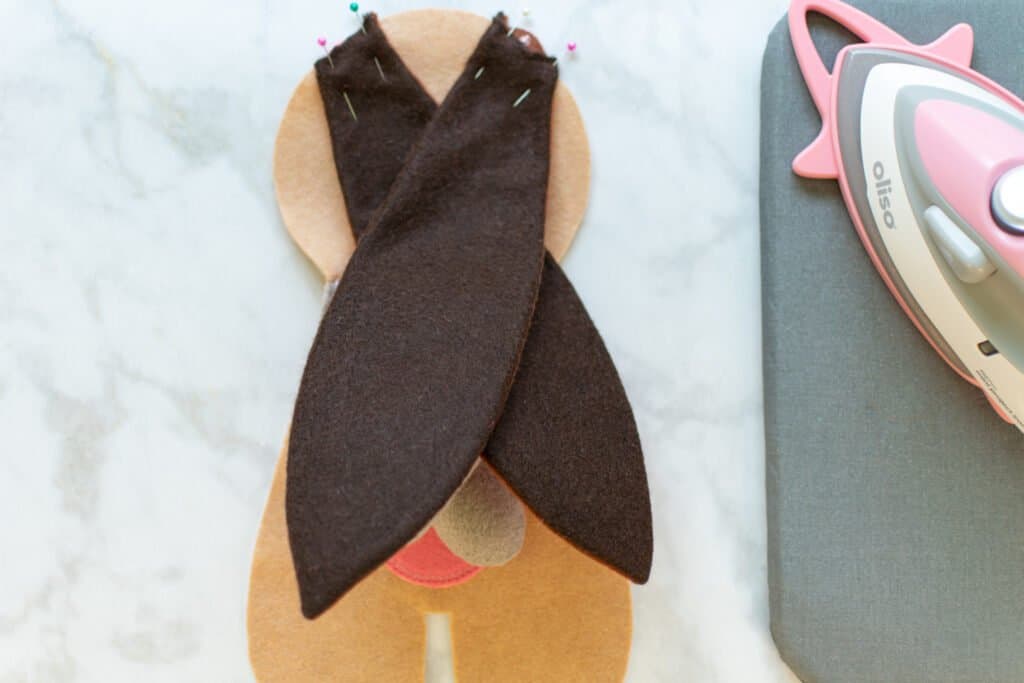
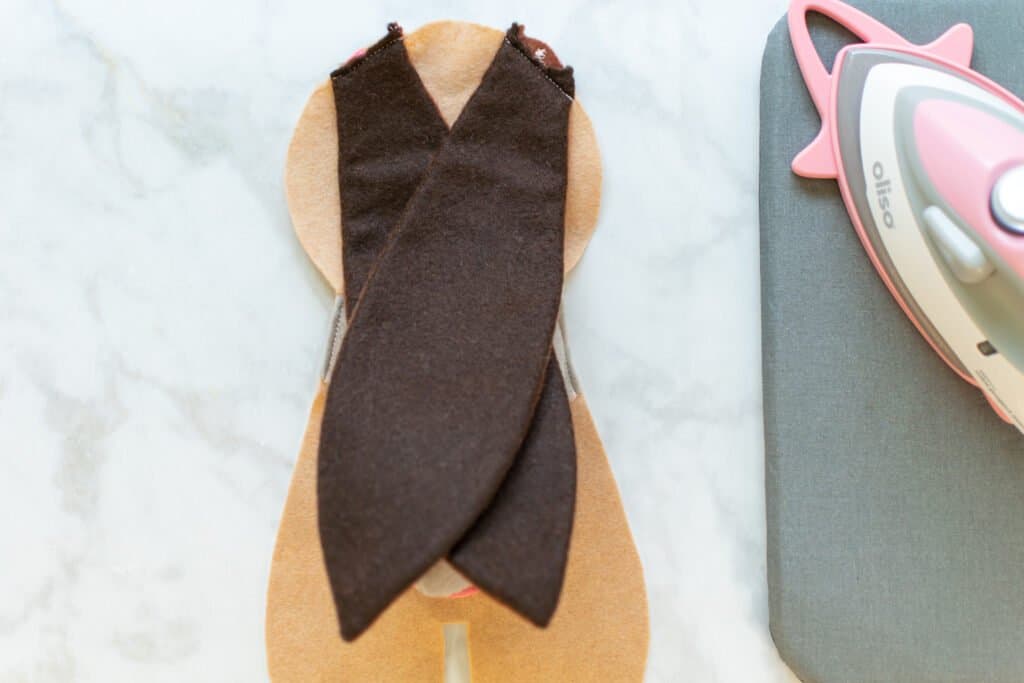
Sew the ears to the head of the doll with a 1/8 inch seam allowance.
Step 7: Sew the Body
Fold the ears to the center of the plushy and pin them in place. You want to make sure they will be out of your way when stitching around the outer edge of the doll.
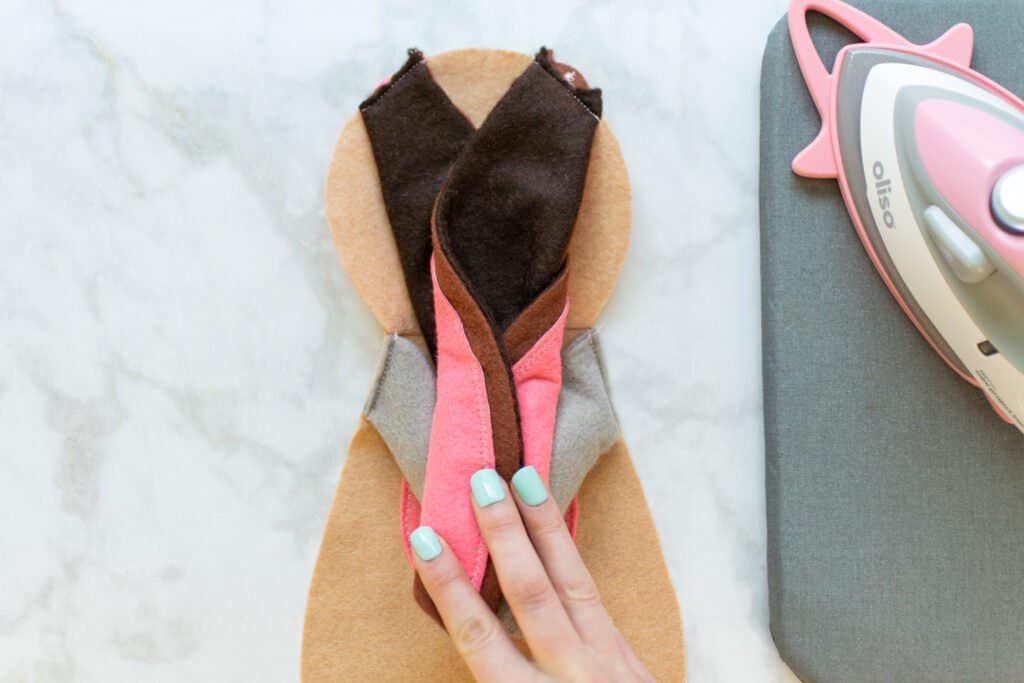
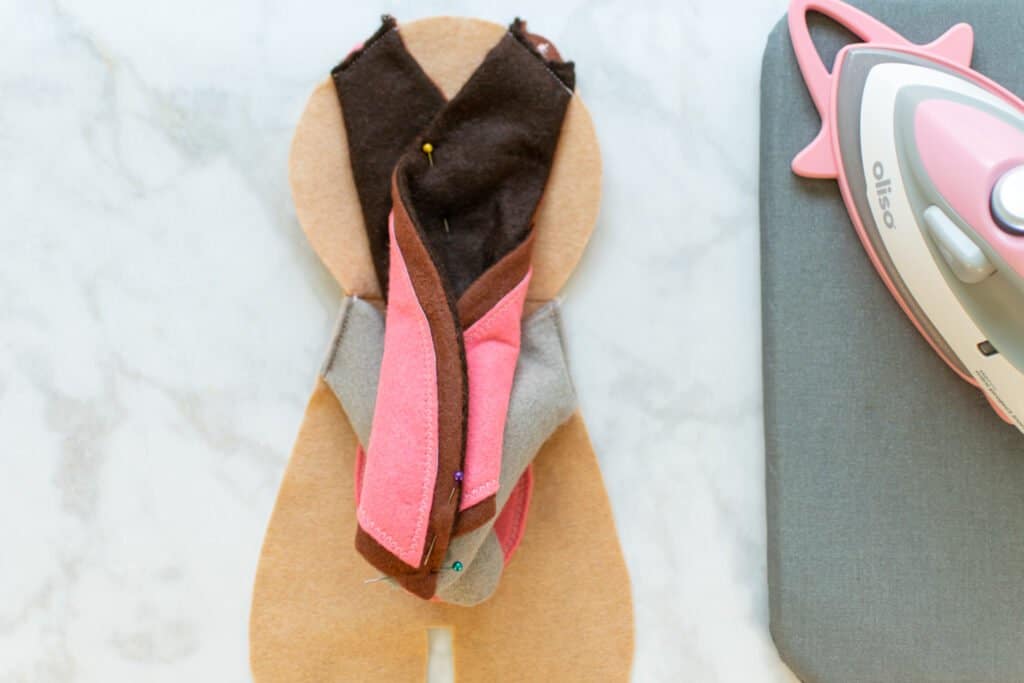
Next, place the other body piece on top of the front body piece with right sides together.
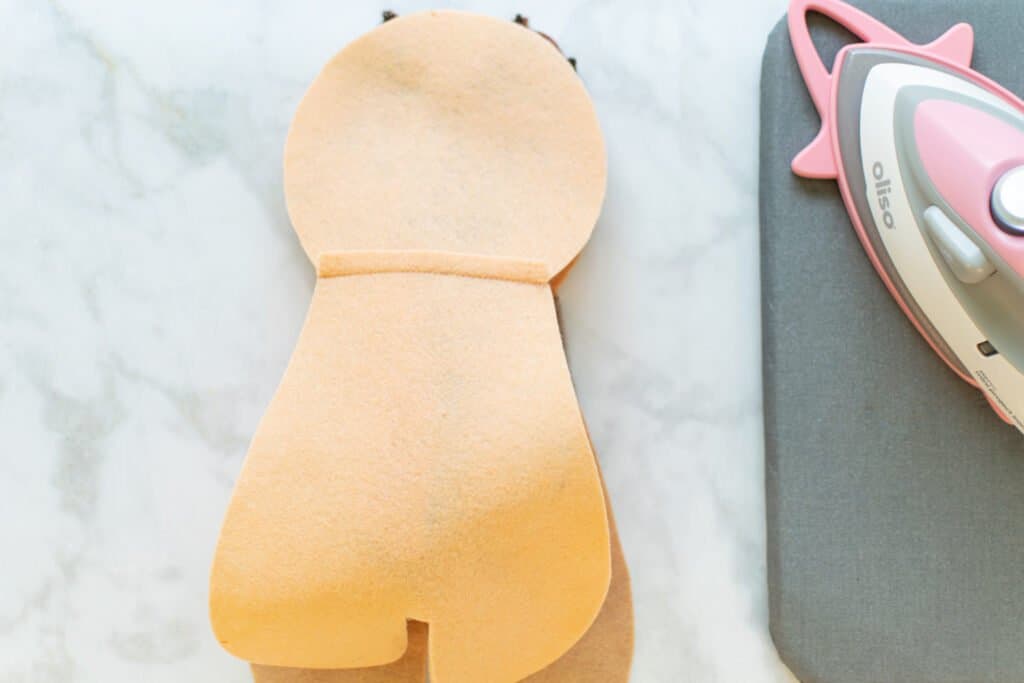
Pin all the way around the body and head of the animal plushy, lining up the edges and the neck seam of the two pieces.
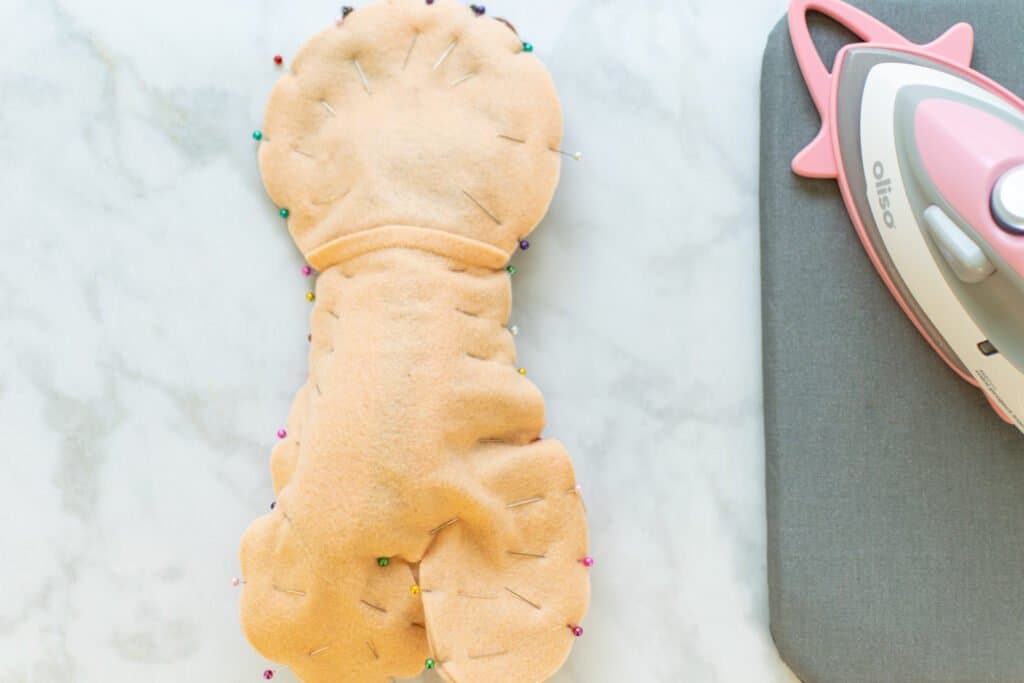
Start stitching about 1 inch below one of the arms of the doll, making sure to backstitch at the beginning.
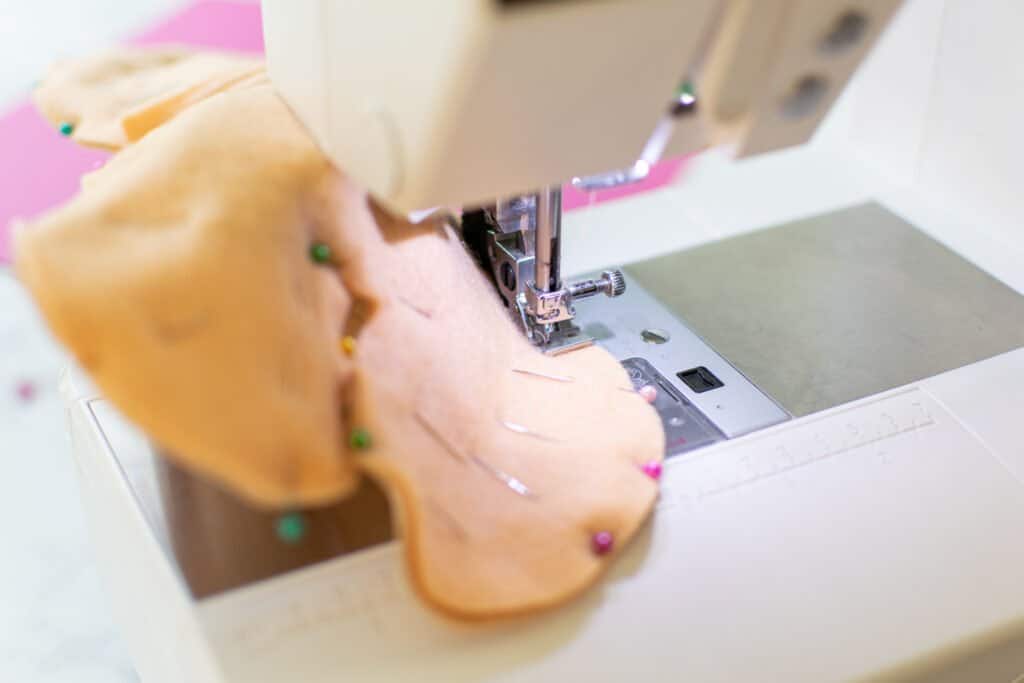
Then, sew all the way around the edges of the body and head with a 3/8 inch seam allowance.
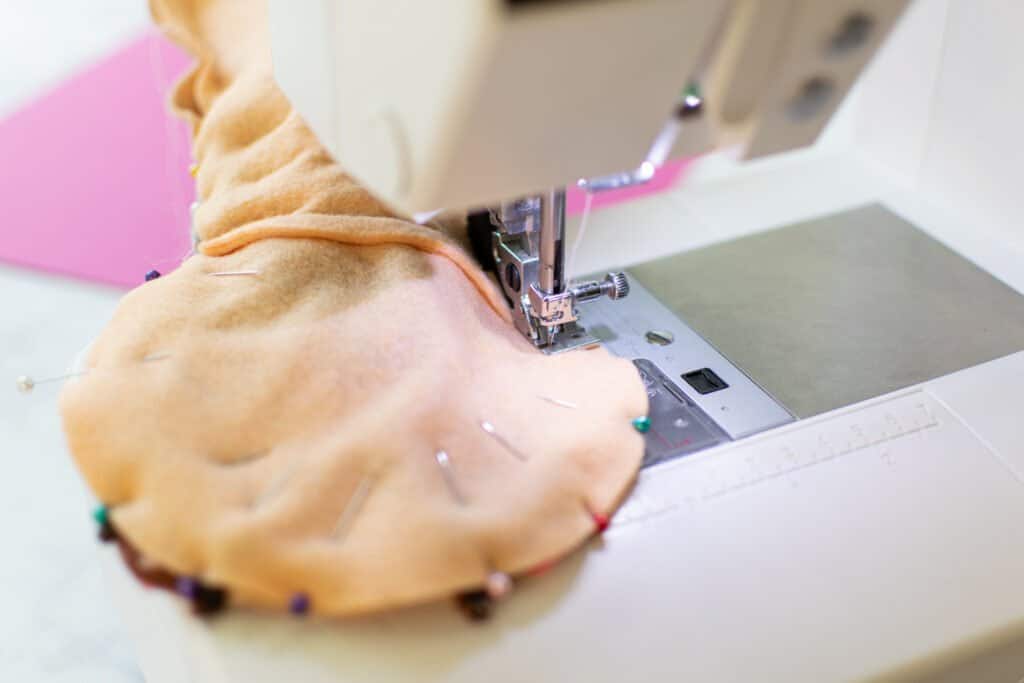
Stop sewing when you get 2 inches from where you started. Backstitch and trim your thread tails.
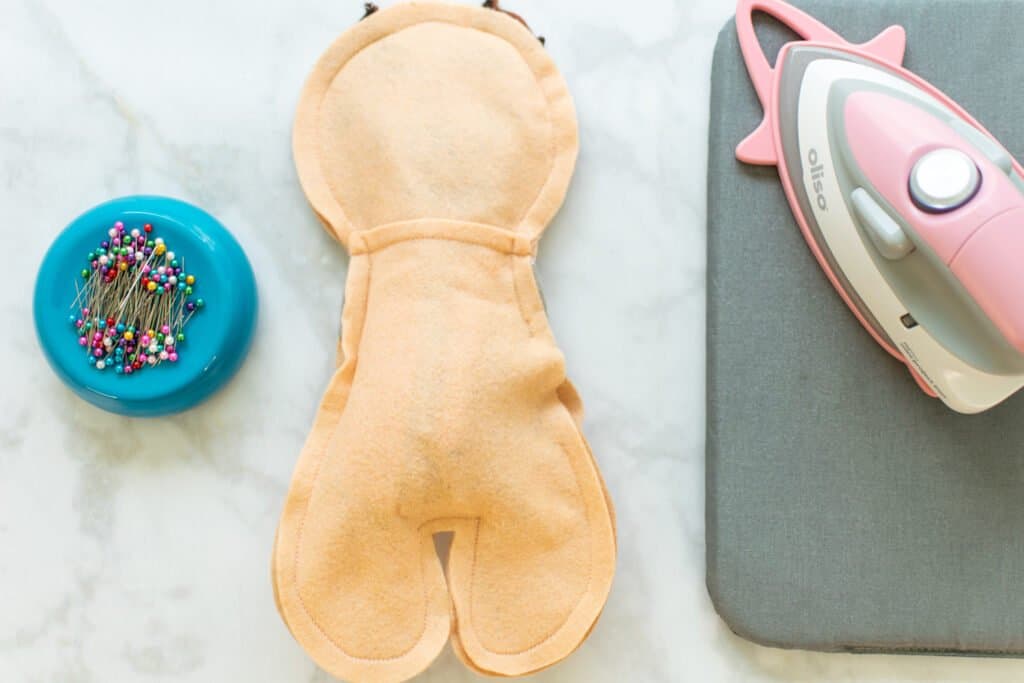
*PRO TIP: Using a zipper foot for this step will help you get the needle where you need it. The bulky arms and ears inside the doll make it difficult to get around some areas with a regular presser foot.
You know what I'm going to say - trim those seam allowances down by half, especially around the curved areas. Leave the seam allowance untrimmed at the opening.
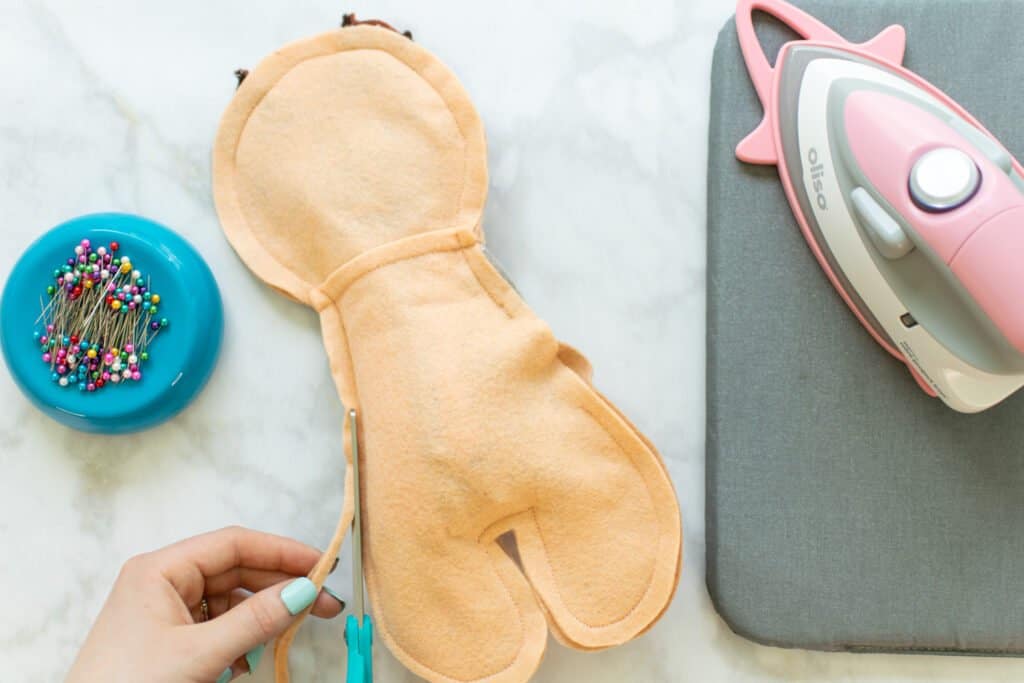
You'll also want to notch the curved portions of the seam allowance. Clip into the corners around the crotch - this will help the crotch to lay flat once the plushy is turned right sides out.
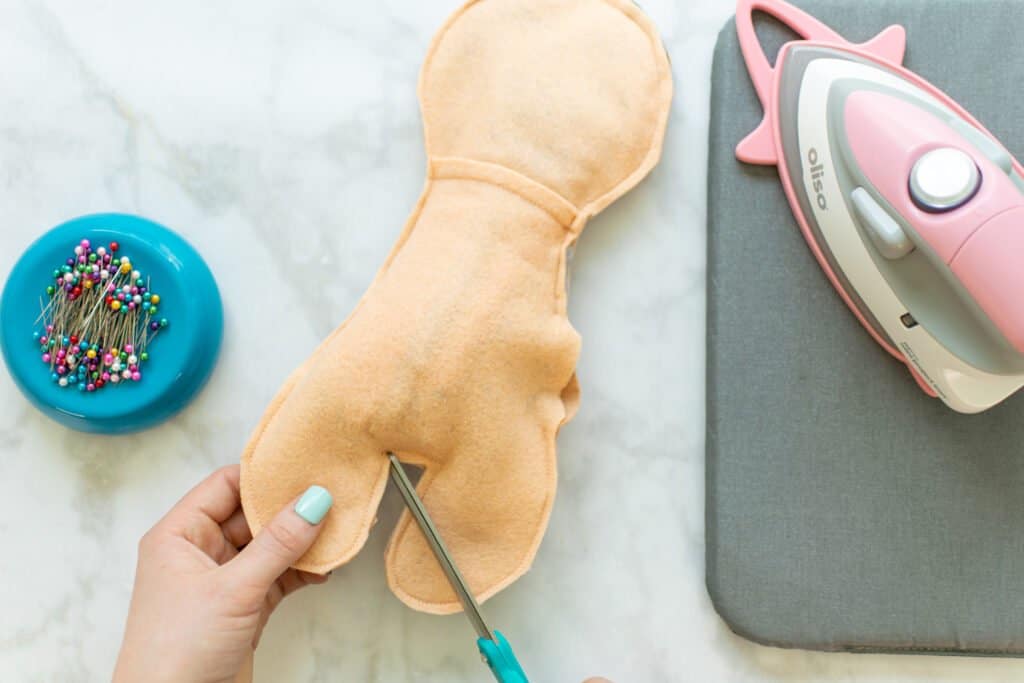
Step 8: Stuff and Finish the Plush Animal Doll
Your doll is almost done!
Turn it right sides out through the 2 inch opening you left in the stitching.
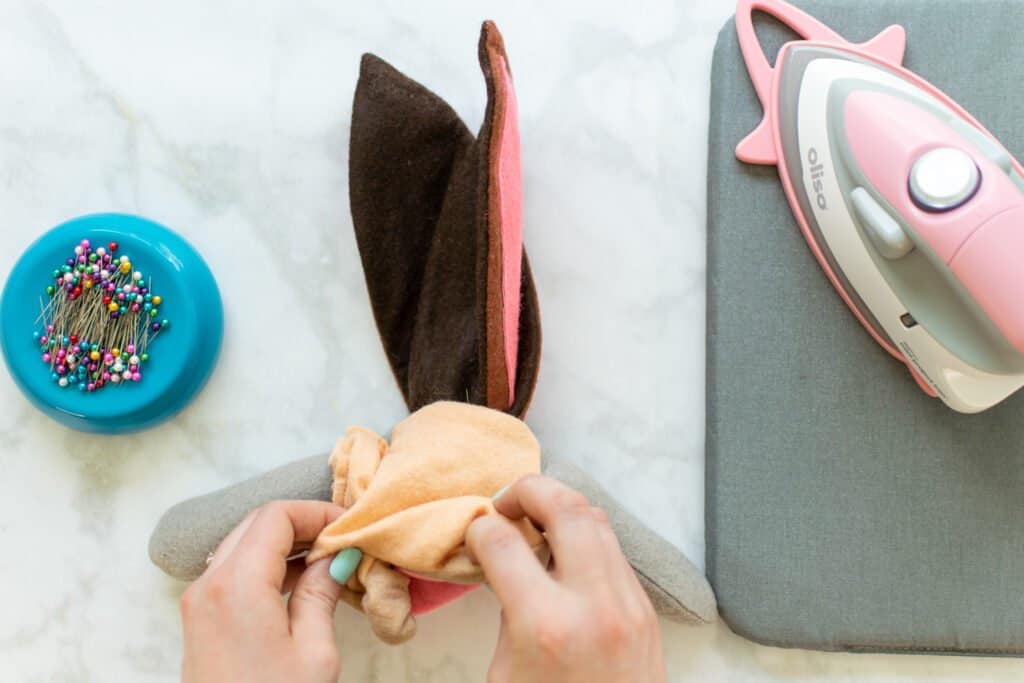
Now for the fun part - stuff the plushy! Add stuffing to the legs first, then the head, then the body. You can fill it with as much (or as little) stuffing as you like!
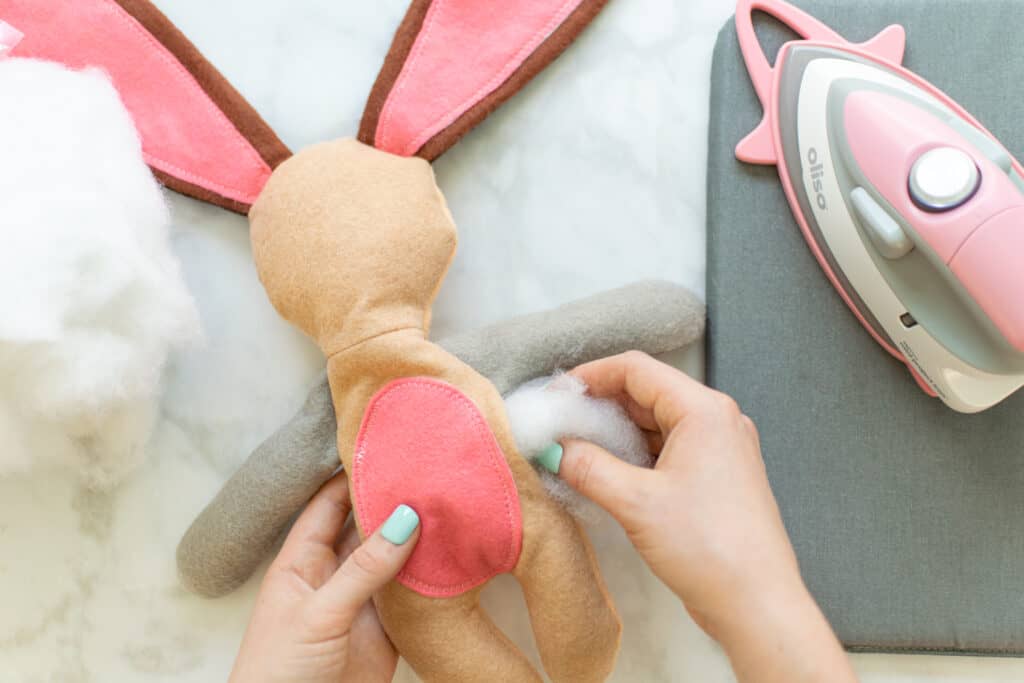
Once you've got your animal doll stuffed just the way you want it, fold the fabric in by 3/8 inch along the opening and pin the two pieces together to close the seam.
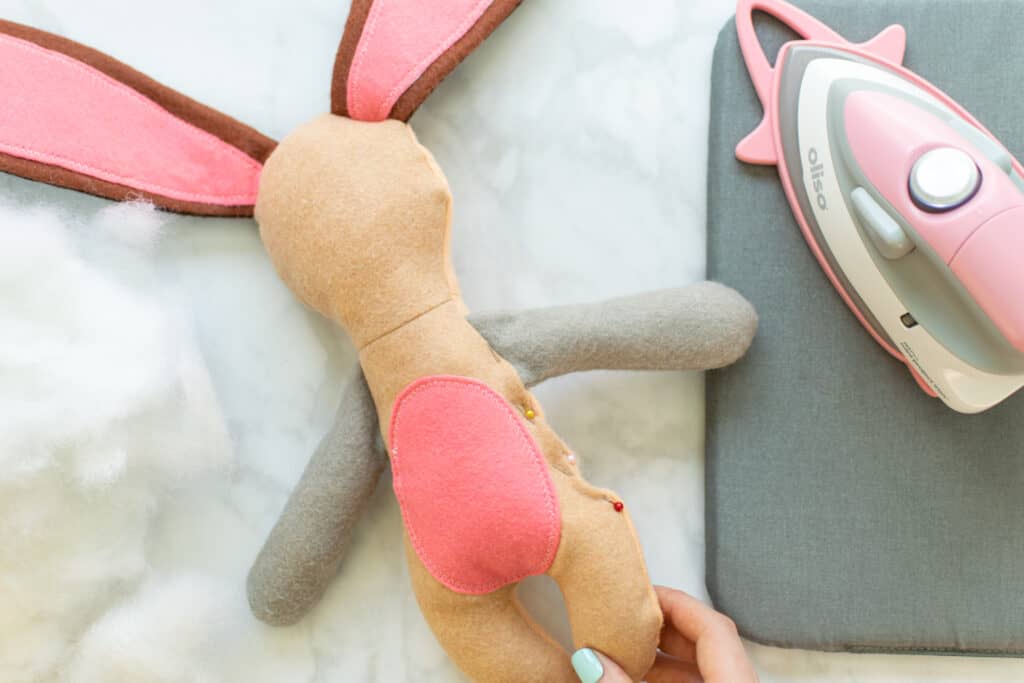
Thread a hand sewing needle with a double layer of thread and knot the ends. Trim the thread tails close to the knot.
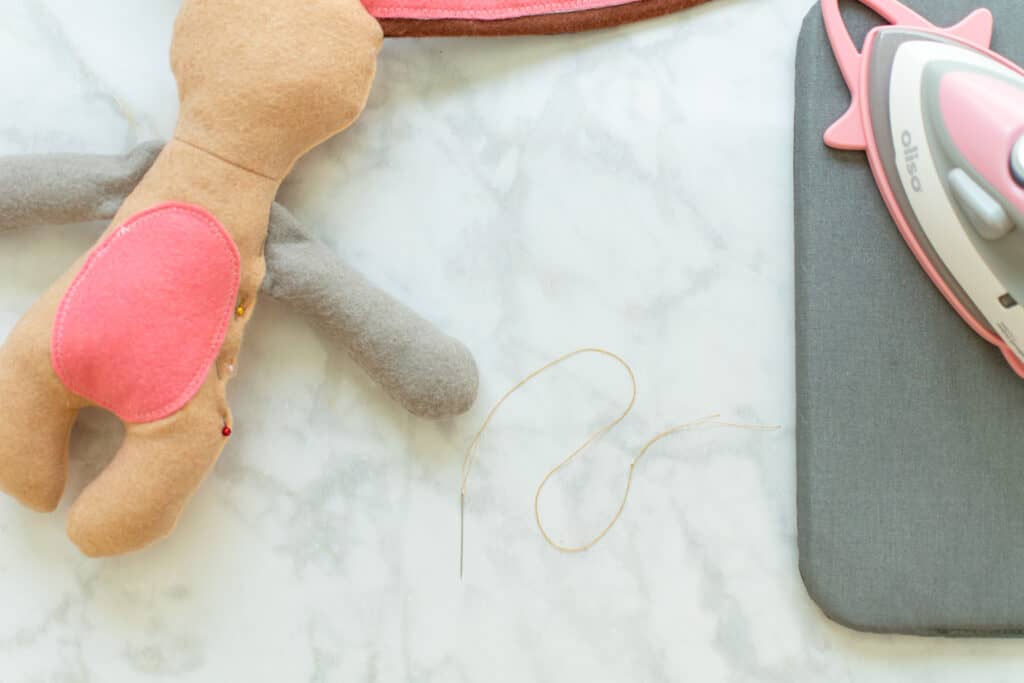
Finally, slip stitch the pinned opening closed, removing the pins as you sew. For detailed instructions on how to sew a slip stitch, check out this tutorial.
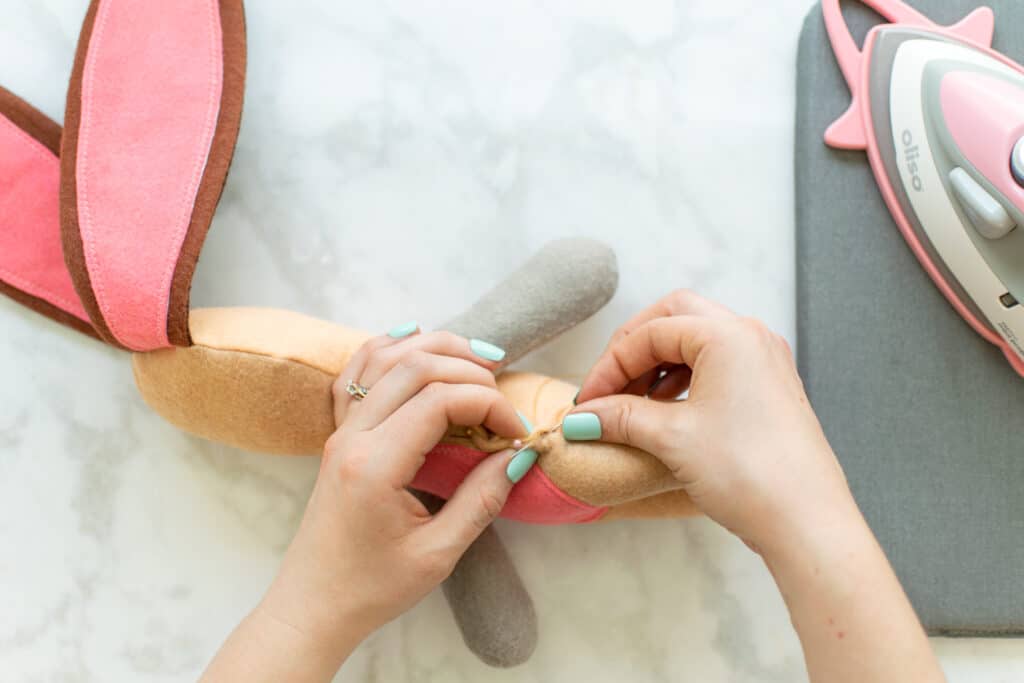
When you reach the end, knot the thread and trim the thread tails to secure your hand stitching.
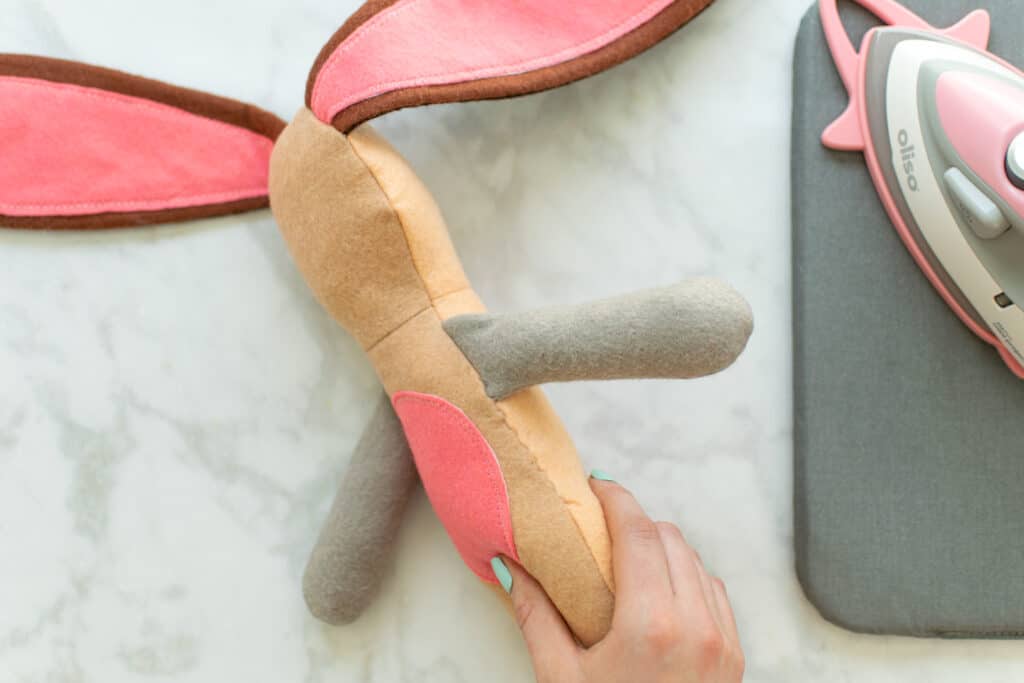
The sewing is done - and this next step is optional. If you want your plushy to have a cute face to give it some character, you can add a face with acrylic paints!
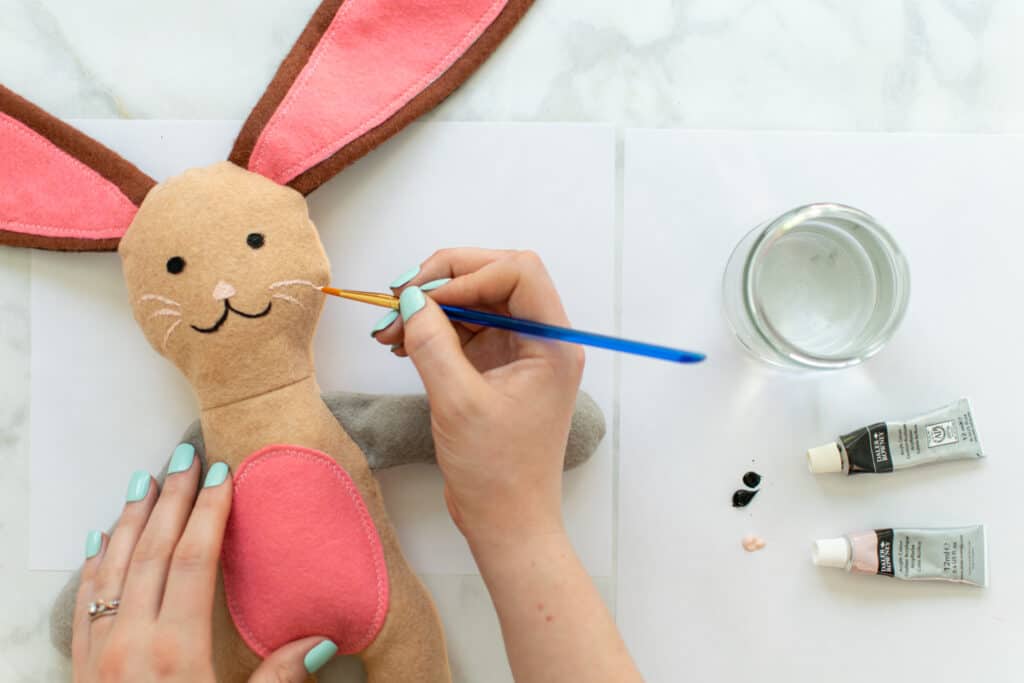
Your adorable plush bunny doll (or cat, fox, or bear!) is now sewn!
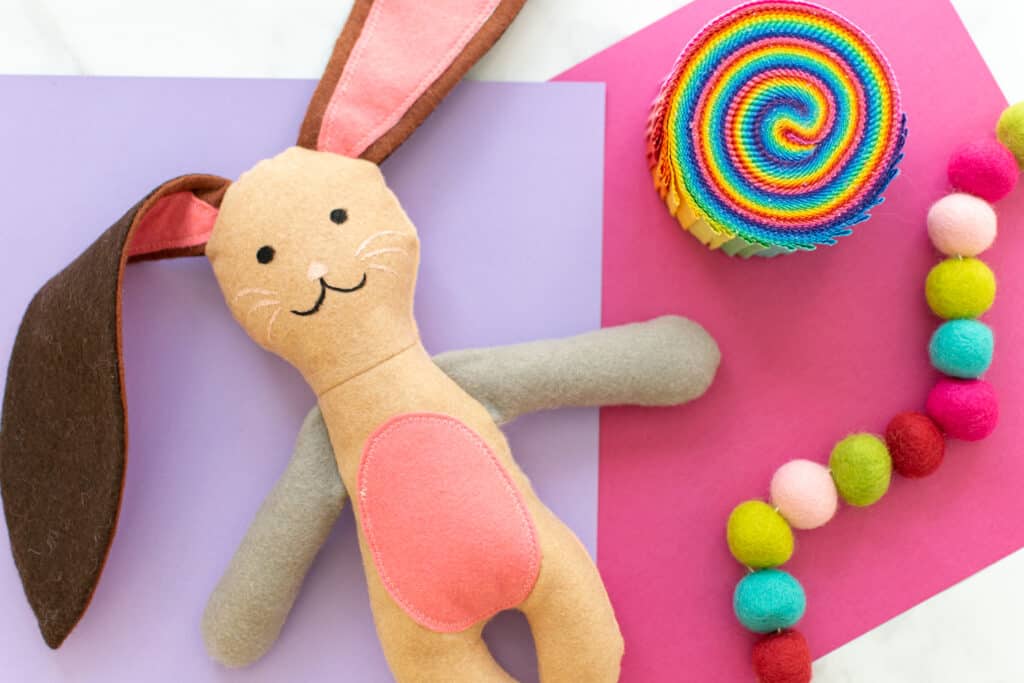
This plushy doll makes for a great gift! Let me know in the comments below what you plan on doing with your plushy doll!
Don't want to forget about this project? Save it for later! Click here to save to Pinterest.
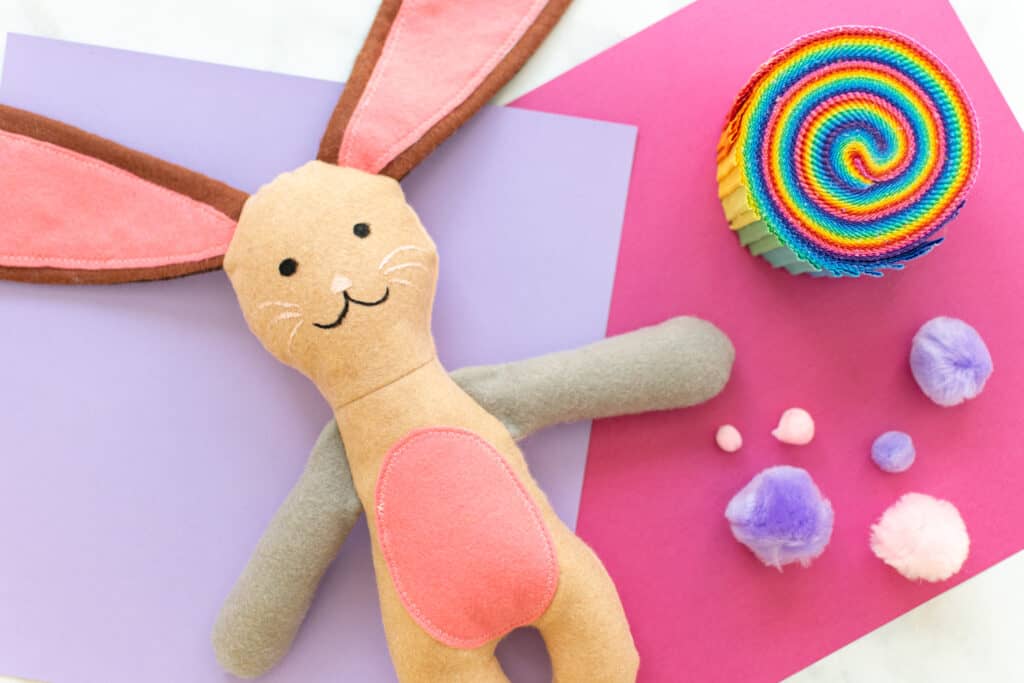
Did you make your own animal plushy with this tutorial? Share a photo on Instagram with the hashtag #sweetredpoppy. I would love to see how yours turned out!
Don't forget to join my Facebook group where you can show us what you're making, ask questions, and learn from others

Can I use cotton fabrics instead of the felt?