Download the FREE SVG files and learn how I put together this adorable kit full of crafts for kids in this blog post!
I made an adorable craft kit full of ready-to-be painted and embroidered wooden crafts for kids with my Glowforge Spark™! Plus, you can download the SVG files I used to create this kit full of DIY goodies down below!
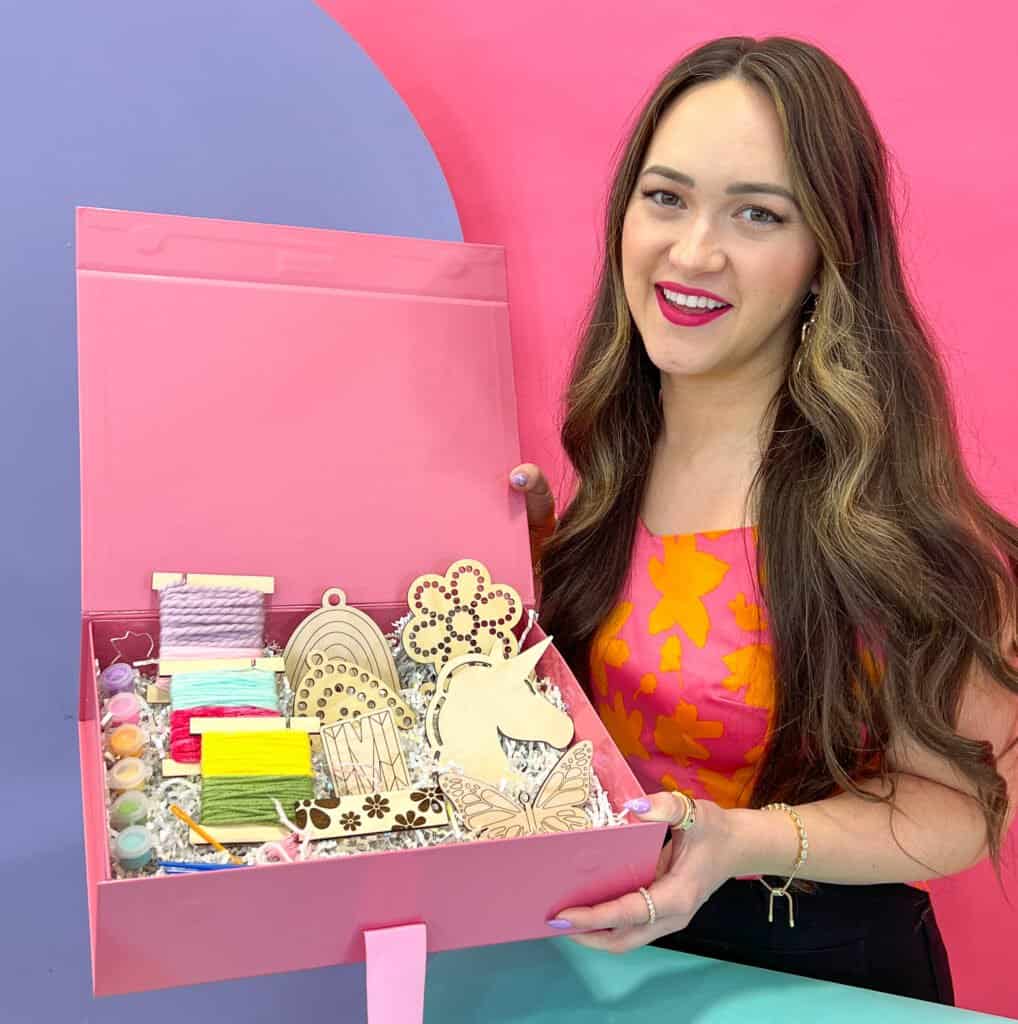
This kit is perfect for spring break while the kids are home from school! I’m sharing a bundle of SVG files that consist of painting and embroidery projects. These projects are perfect for teaching kids to explore their creativity, color within the lines, and learn how to sew.
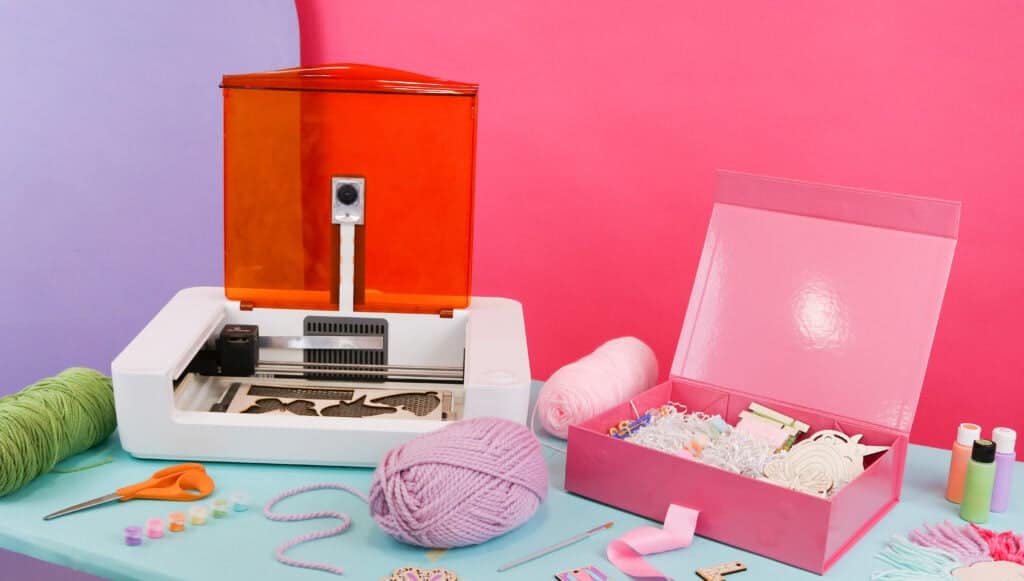
How to make a DIY Craft Kit
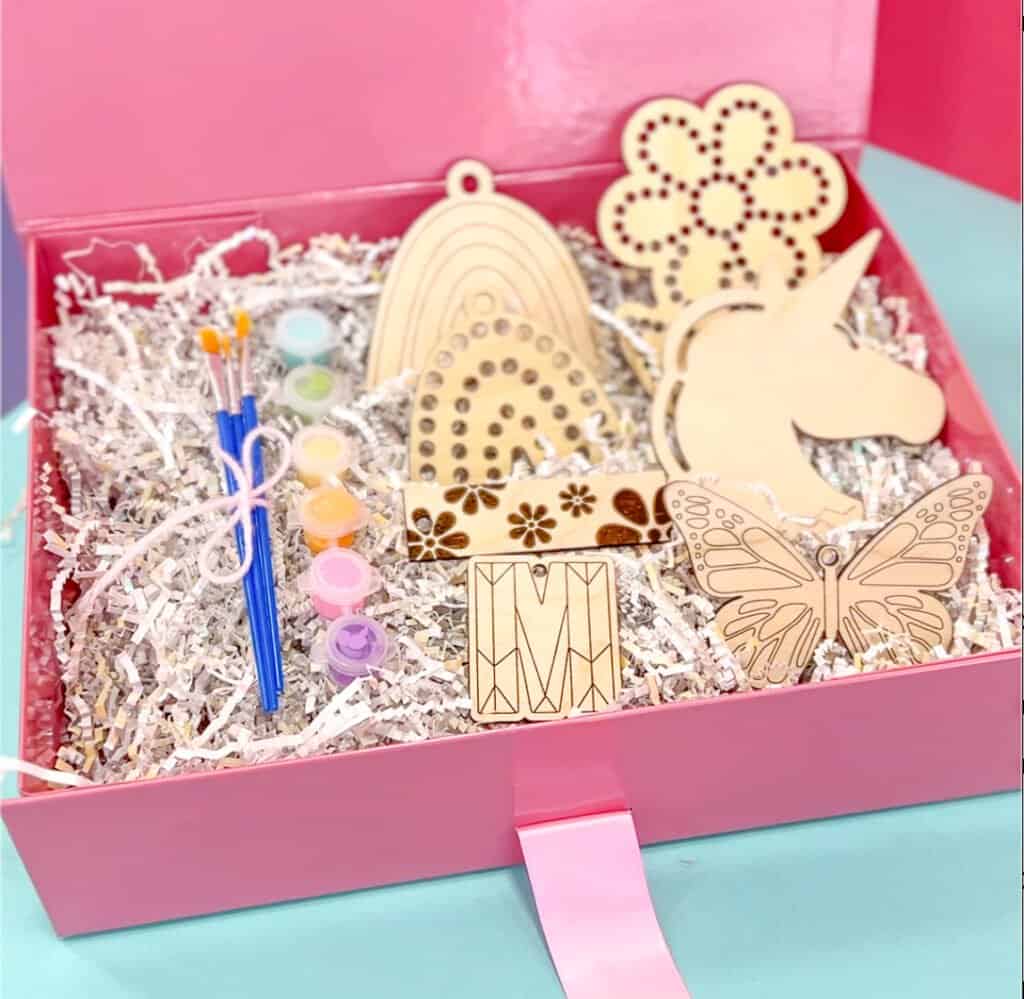
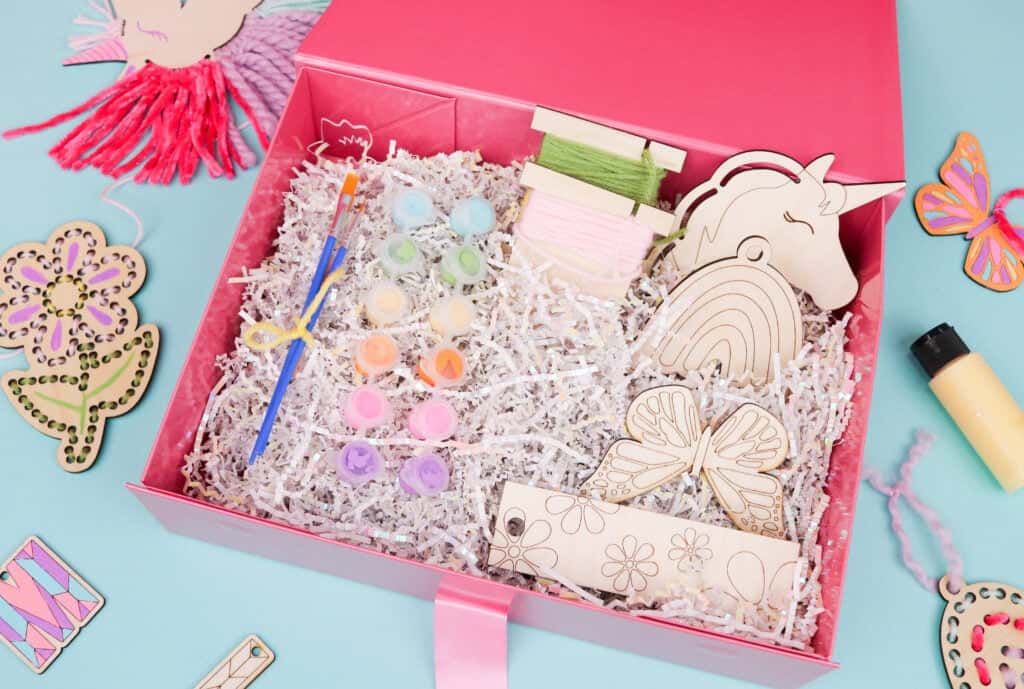
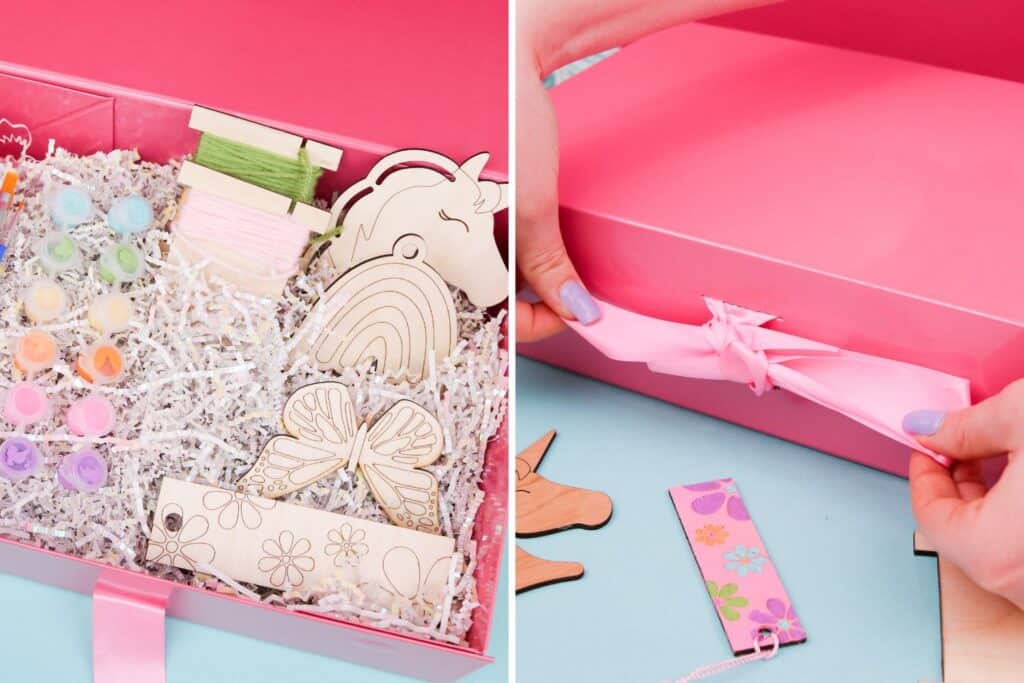
I made this gift box for my kids full of wood craft projects that were cut out ⅛-inch plywood using my new Glowforge® Spark machine and SVG files.
Purchase your Glowforge Machine HERE!
To assemble this box, I grabbed:
- A collapsible box with a magnetic lid
- Paper shred filler
- Empty paint pots
- Paintbrushes
- Plastic yarn needles
- A variety of yarns
- Acrylic paint colors
- Birch or Basswood Unfinished Sheets
- Wooden projects (Download the SVG files down below)
CLICK HERE TO SHOP THE SUPPLIES ON AMAZON
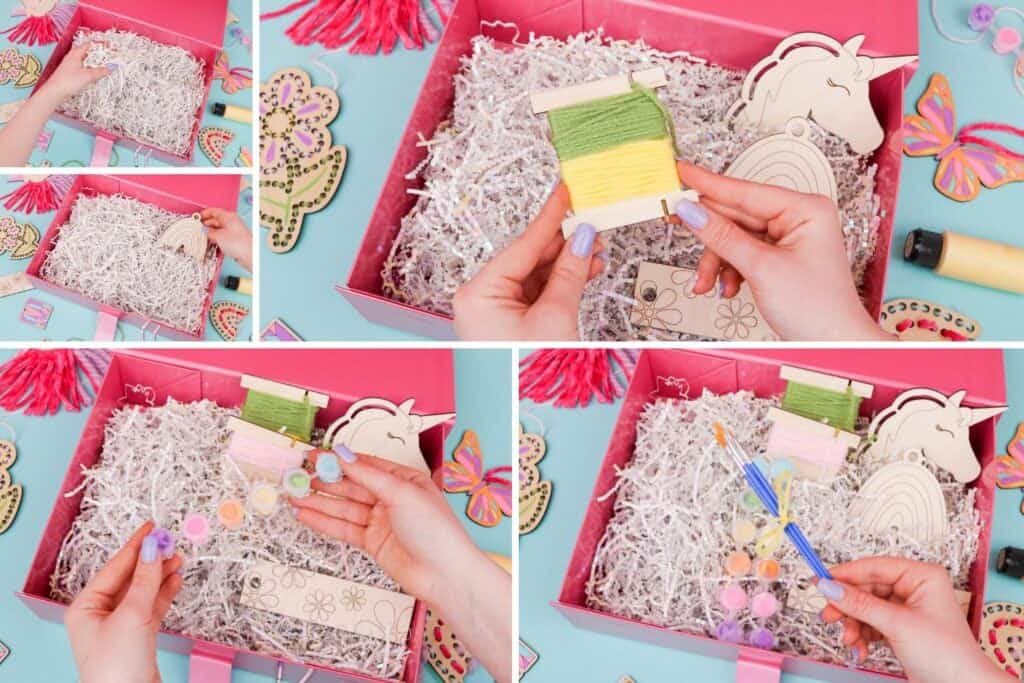
First, I assembled my box, filled it with the paper shred filler, filled the empty paint pots with acrylic paint, and wrapped the yarn around a wooden yarn bobbin I cut out with my laser cutter (included in the SVG bundle). Add those yarn needles and paintbrushes with yarn bows as the finishing touch and done, a great DIY craft kit!
Want to sell these kits on Etsy or at your local craft show or farmers market? You're welcome to use these files to sell products made from your own home on a small scale.
Download the SVG Bundle HERE!
What Does the SVG Bundle Include?
There’s a Butterfly, Unicorn, Flower, and a Bookmark design. Some designs have been duplicated to be a painting, an embroidery project, or both.
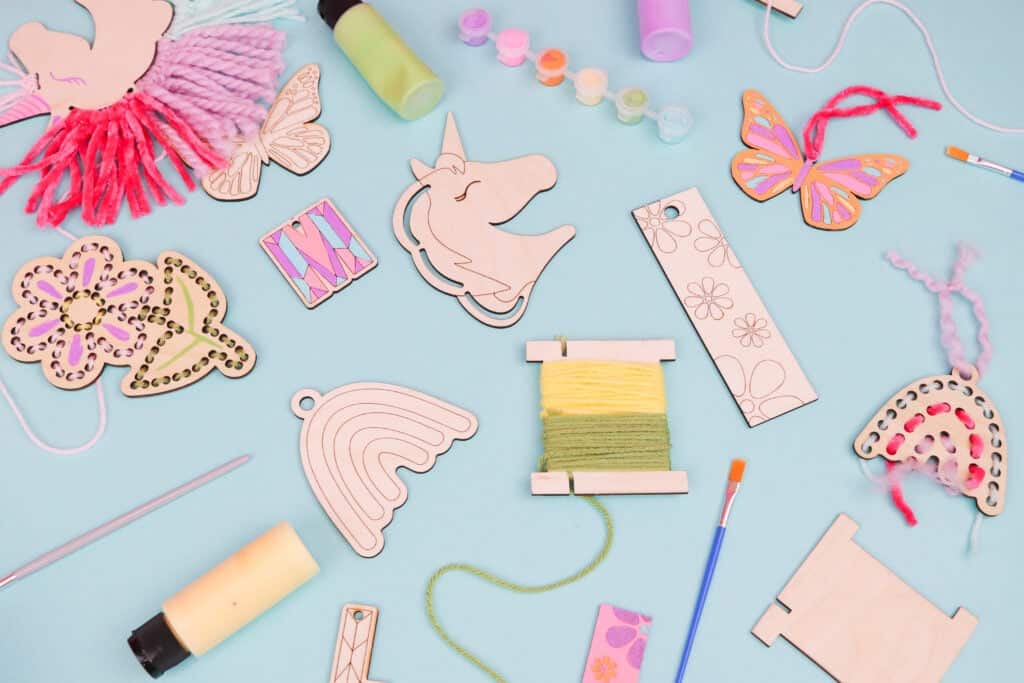
All together there are 9 embroidery and painting projects to choose from.
4 Embroidery Projects:
- A Flower
- A Rainbow
- A Unicorn
2 Painting Projects
- A Rainbow
- A Butterfly
- A Unicorn
Combined Designs (Combines both embroidery and score lines for painting)
- A Unicorn
Engraved Project
- A Bookmark with Engraved Flowers
Plus a yarn bobbin SVG file to hold strands of yarn for those embroidery projects.
What are the SVG files Compatible with?
These SVG files are made for the Glowforge App, but are also compatible with other cutting softwares such as Cricut Design Space, but in this blog post I will be using the free Glowforge App that connects to my Glowforge Spark.
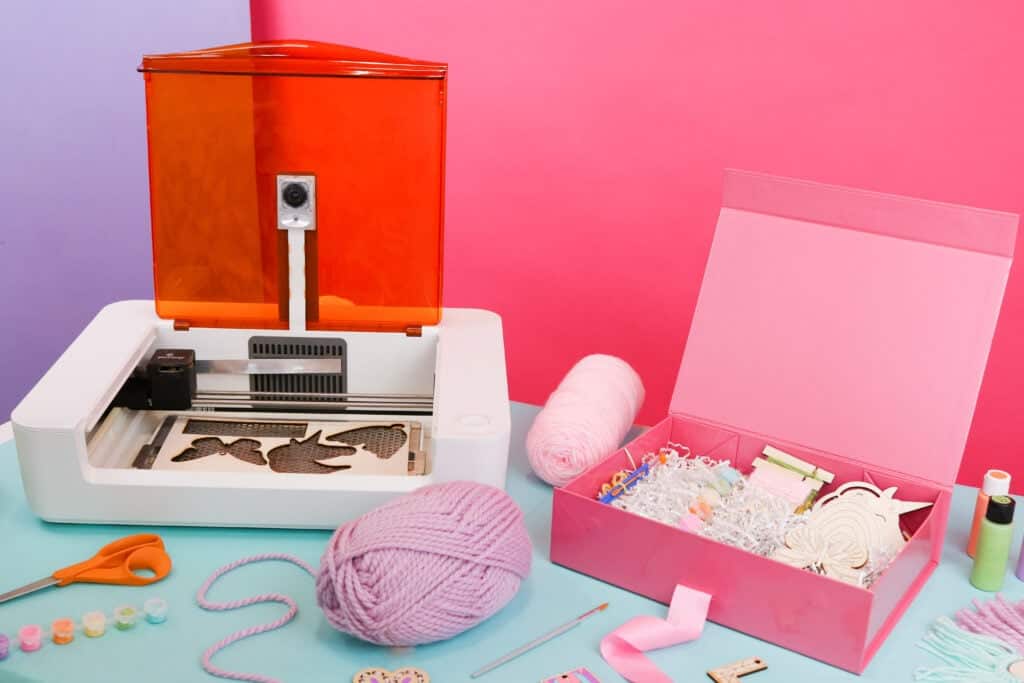
P.S. These files are compatible with all Glowforge machines, not just the Spark machine.
How To Tell the Difference Between Cut Lines, Score Lines, and Engrave Lines
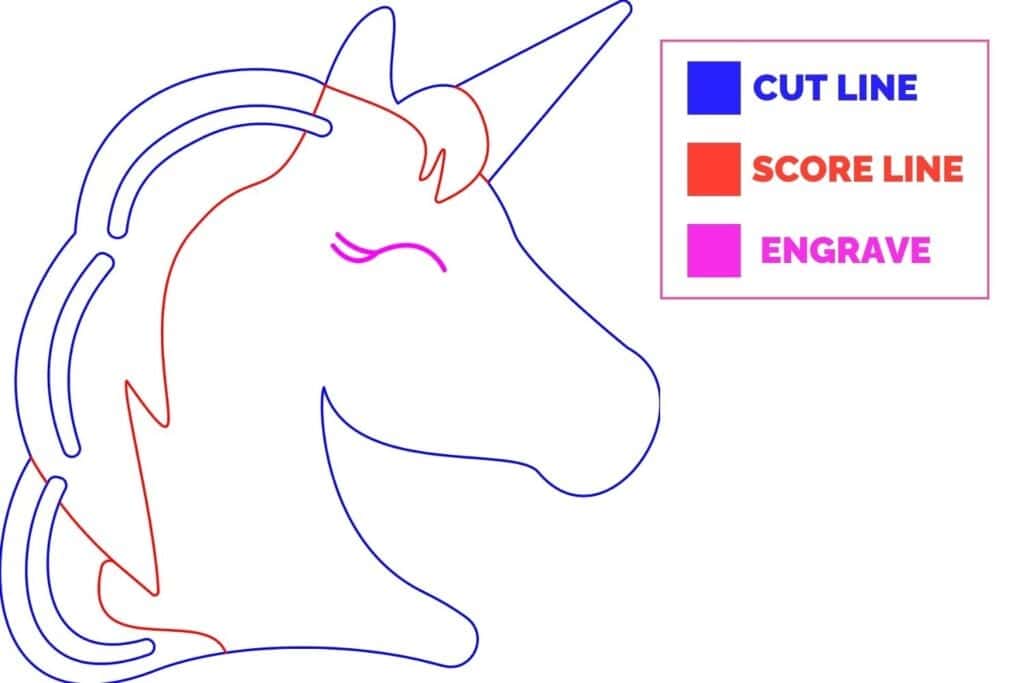
Some of these designs have score lines for painting and shapes for engraving, such as a unicorn eyelash. But how can you tell the difference when uploading these designs to your cutting software?
When I designed these files I made sure the color of the cut lines were blue, the score lines red, and the engraved lines were magenta. The Glowforge App will identify the colored strokes and outlines and change the setting to cut, score, or engrave depending on the color.
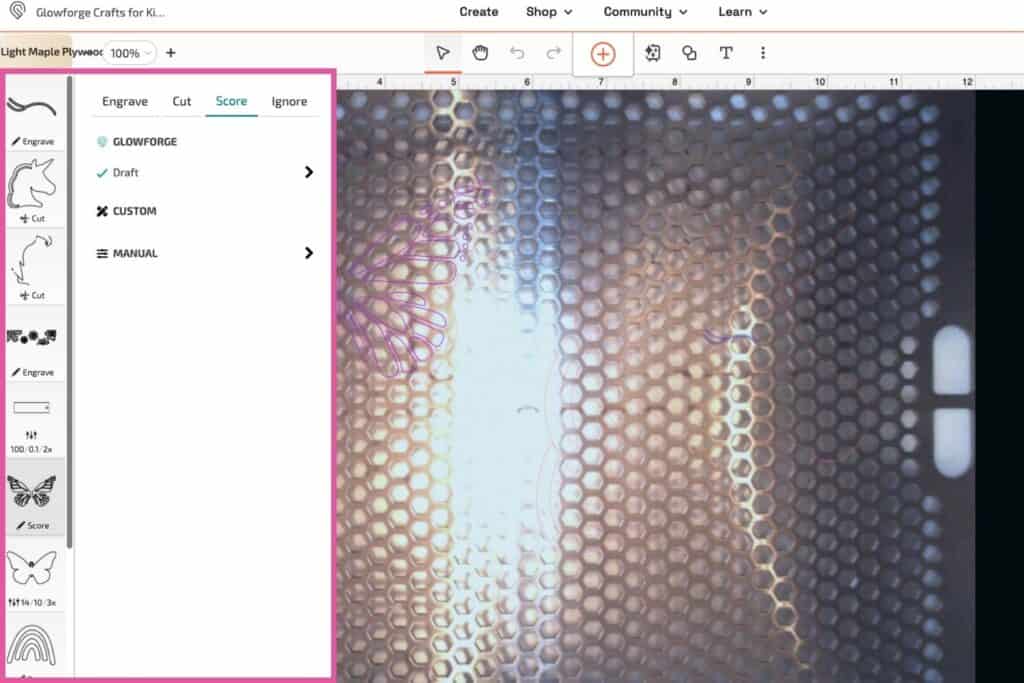
Sometimes, you may have to manually change some of the layers from cut to score if they’re not identified by the Glowforge.
Let's go over the difference between Cut, Score, and Engrave.
Cut (Blue): Cuts all the way through the material
Score (Red): Similar to drawing on a piece of material
Engrave (Magenta): Carves away from the material to add contrast and depth.
I will provide a template distinguishing between cut lines, score lines, and engrave layers below.
What Material is Best?
I used a 12 x 12-inch piece of plywood that has a thickness of ⅛-inch.
It’s always recommended to use Glowforge’s Proofgrade® laser-friendly materials that are specifically designed for Glowforge machines.
The Proofgrade Light Maple Plywood looks and works great with these files!
What Settings Work Best?
The settings all depend on the materials you’re using. If you’re using Proofgrade materials, your Glowforge will read the QR code located in the bottom right corner of the material, and automatically, it adjusts its settings.
If you’re using non-Proograde materials, I recommend that you choose from the materials listed in the Glowforge App that is closest to the material you’re using, do a couple of test cuts, such as small circles on your material, and manually adjust the settings till you get a nice print.
I just used the setting my Glowforge automatically adjusts to for Light Maple Plywood, and it cuts like butter. These are the settings used-
- Cut Settings: Speed 14, Power 10, 2 Passes
- Score Settings: Speed 53, Power 10, Passes 1
How to Upload Files
To cut these files out with your Glowforge, upload them to the Glowforge App (http://app.glowforge.com).
First, turn on your Glowforge by plugging it in and wait for it to connect to your device. Open the lid of the Glowforge, place a piece of 12” x 12” material inside your Glowforge, and close the lid.
Click here to learn how to set up your new Glowforge machine!
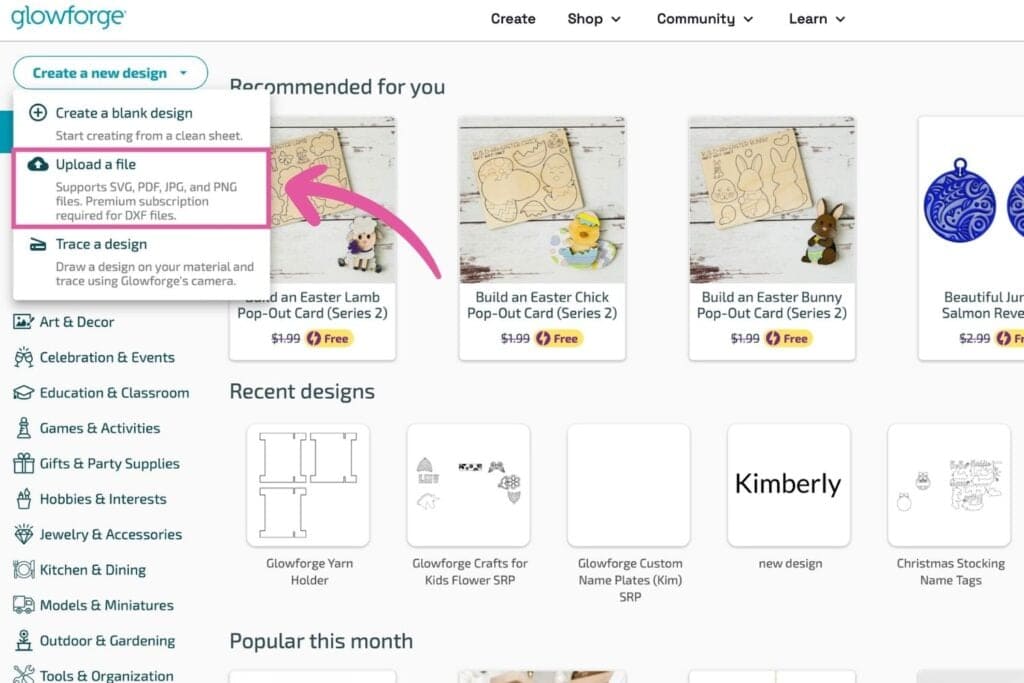
Click on Create a new design, Upload a file, and choose files to upload.
After uploading the files to Canvas, head over to the Layers panel and check whether Glowforge has recognized the cut, score, and engrave layers. You may have to change some manually by clicking on one of the layers and changing the operation.
Cut Out Wooden Pieces
Next, you can resize the designs if you like. Once you’re happy, click Print in the top right corner.
Wait a few minutes for the machine to calibrate, and then press the blue blinking button.

Now, all you have to do is wait for your machine to do the work for you!
Once it’s done printing, wait a few minutes for the machine to cool down and let the fumes go down, then open the lid and take out the material.
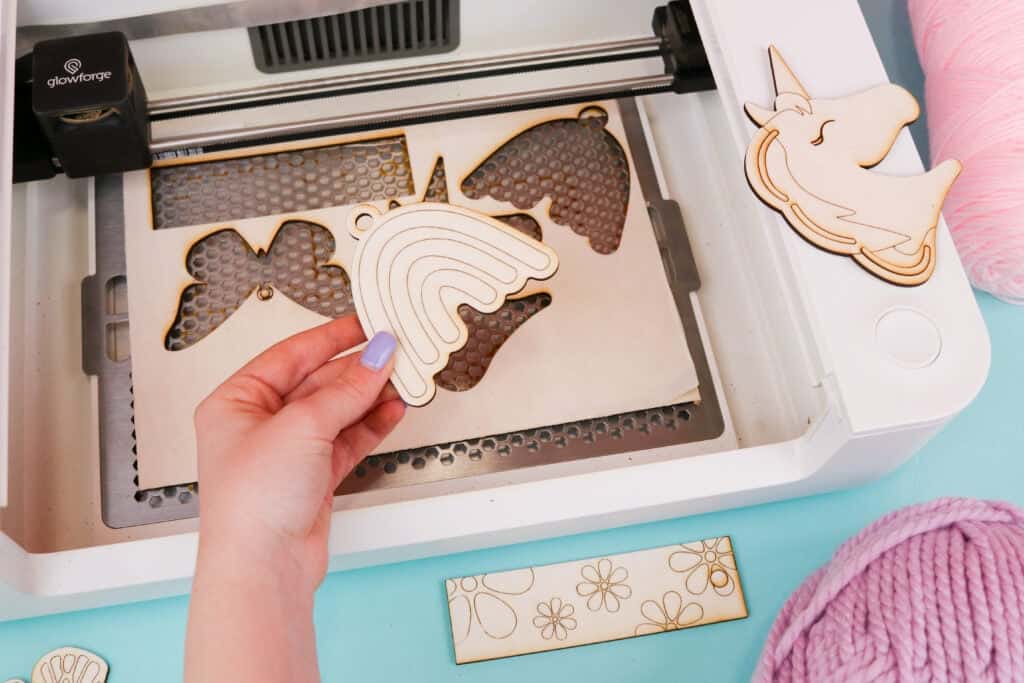
Pro Tip: Take a piece of duct tape to stick to the cut pieces and peel the masking tape away from the material.
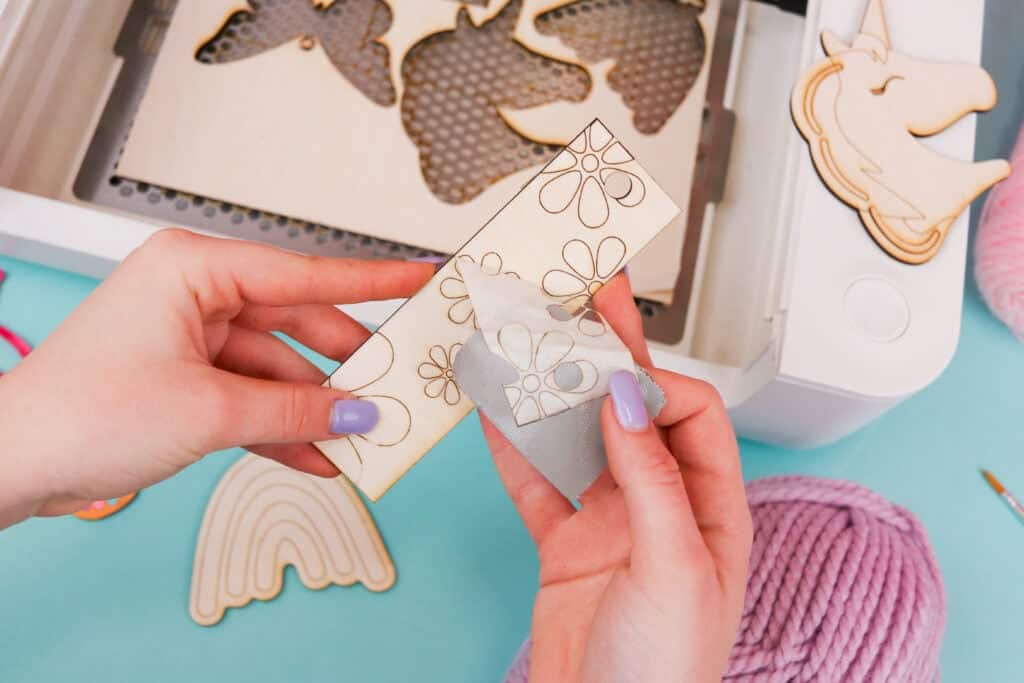
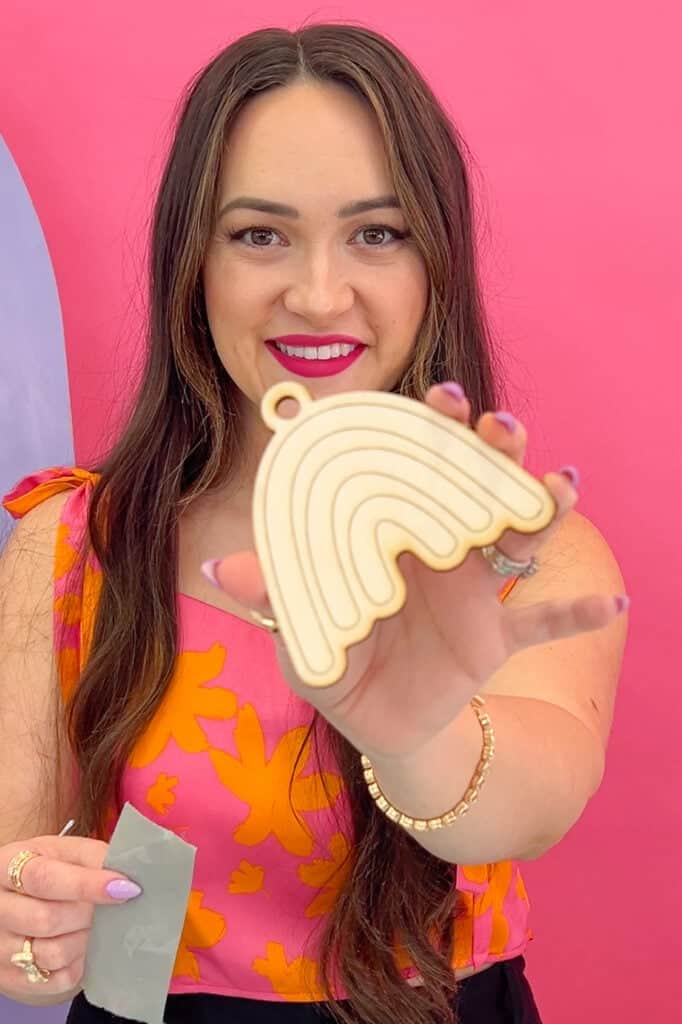
You can sand down your pieces or leave them be!
After you finish making your wooden crafts, place them inside the kit so that you can give them as a gift.
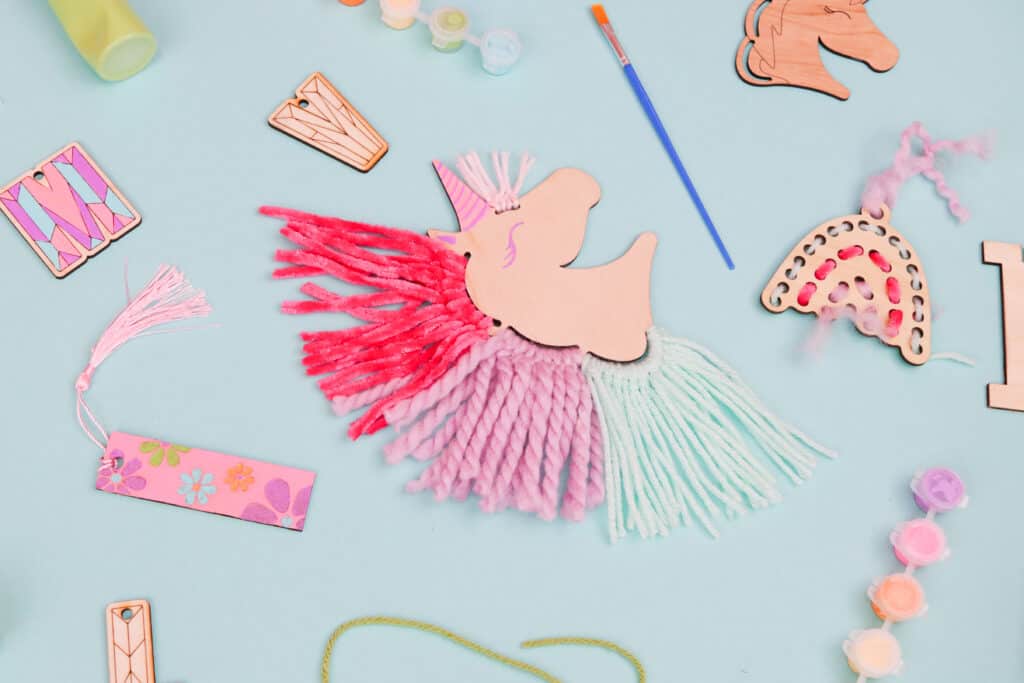
These kid crafts are so cute and I hope you have fun with these SVG files as much as I did!
Want to remember this post? Save it to your favorite Pinterest board HERE!
Join my crafting and sewing Facebook group where you can show us what you’re making, ask questions, and learn from others!
Do you have any questions? Let me know in the comments below!

Leave a Reply