Learn How to Sew a Pet Bed With This Free Printable PDF Sewing Pattern and Video Tutorial.
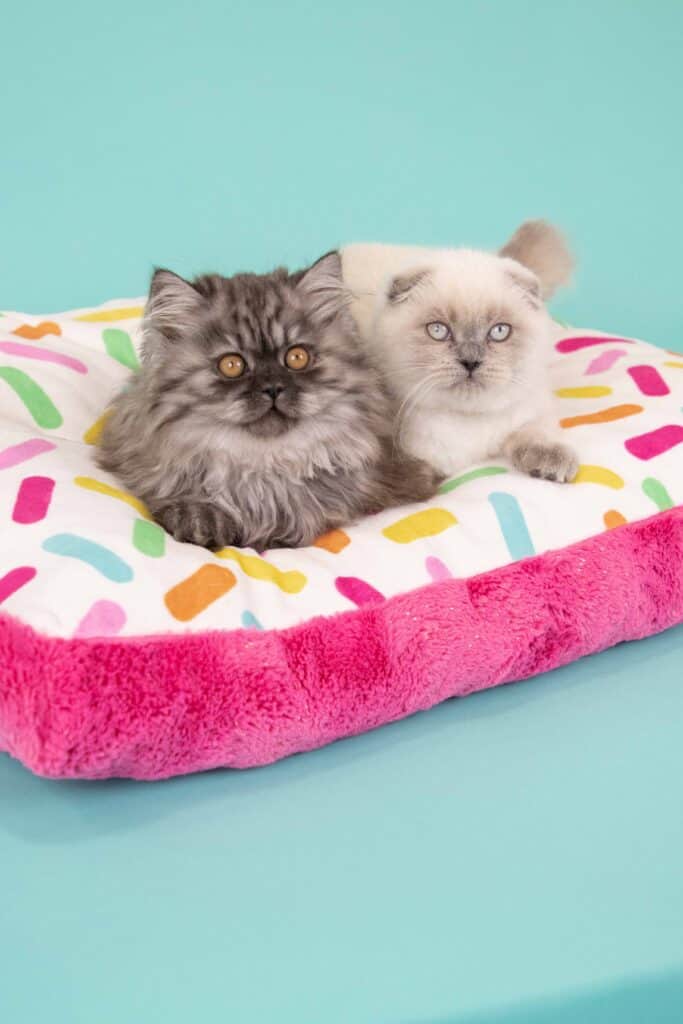
With one cat, three kittens, and a puppy in our house we desperately needed some new pet beds, so I sewed some up!
Our pets love their new pet beds and I've even caught our kids hauling the beds around the house and using them as reading pillows.
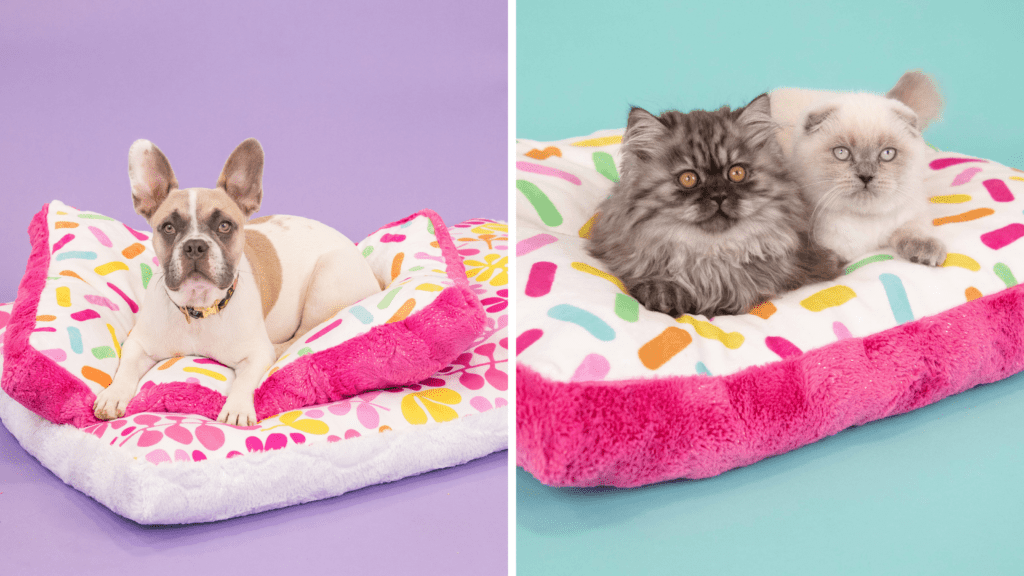
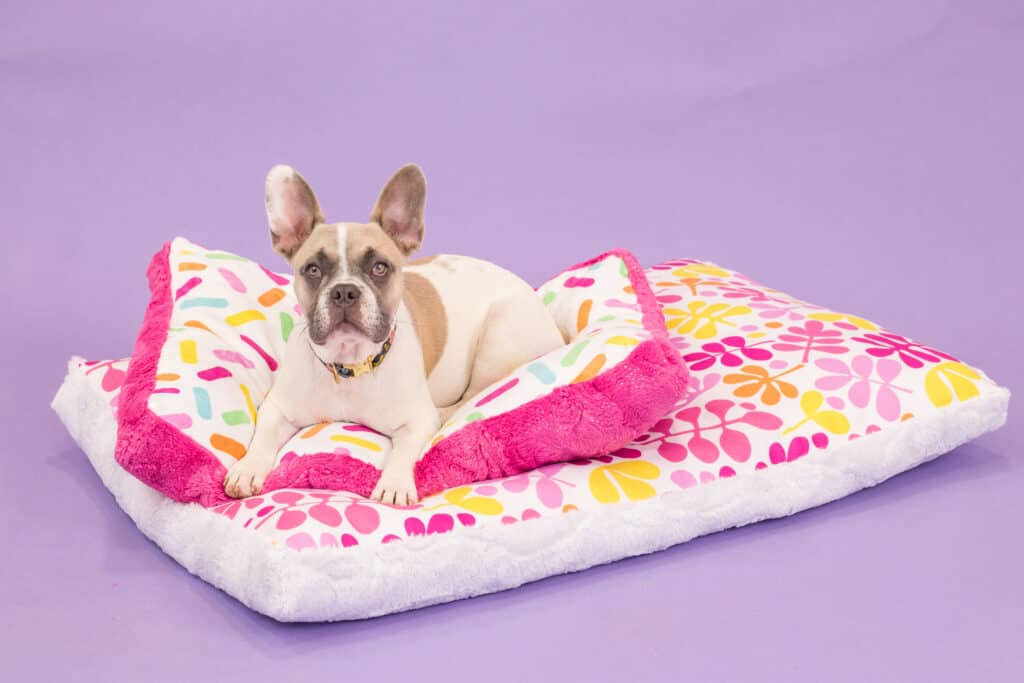
It's safe to say our pet beds have been a big hit with our dog, and our cats.
I designed this sewing pattern to have five different sizes and they are meant to fit perfectly into standard-sized crates. But it can also be used as a stand-alone pet bed outside of a crate.
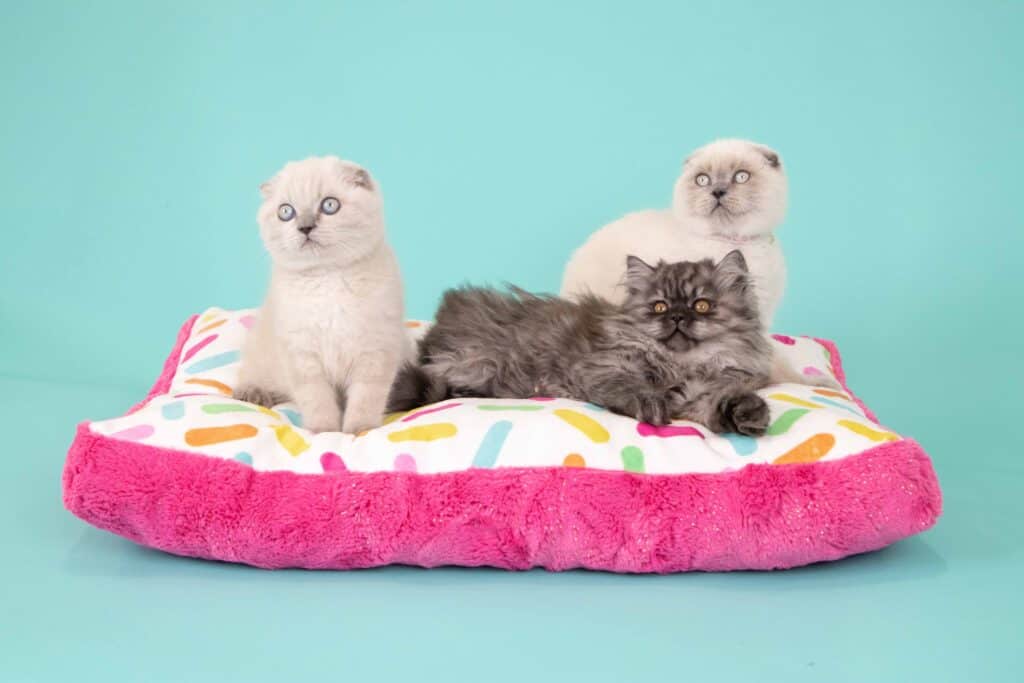
This pet bed is super comfy, and can easily fit into any corner to create a cozy retreat.
It can also be customized to match your home decor out of any fabric.
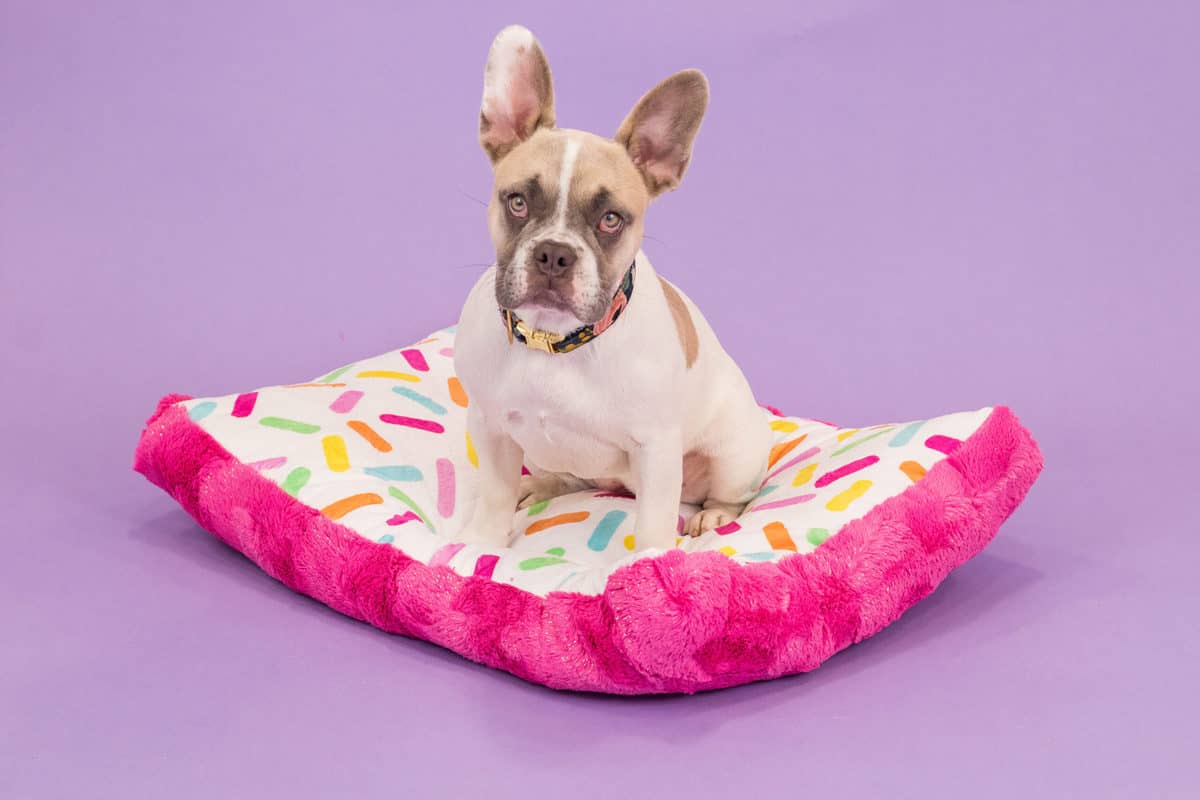
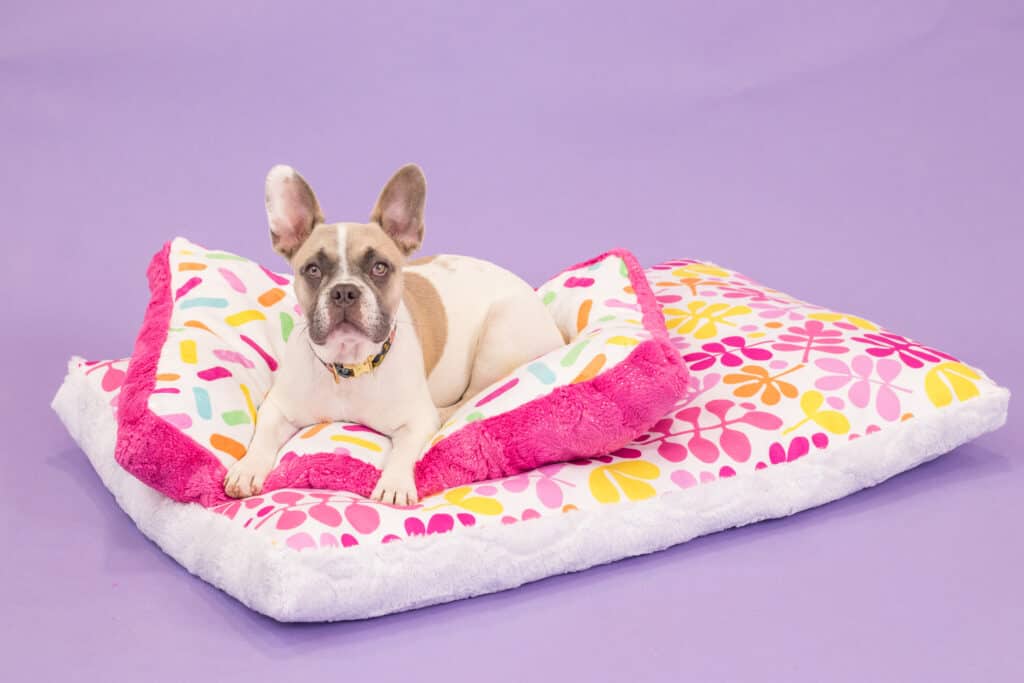
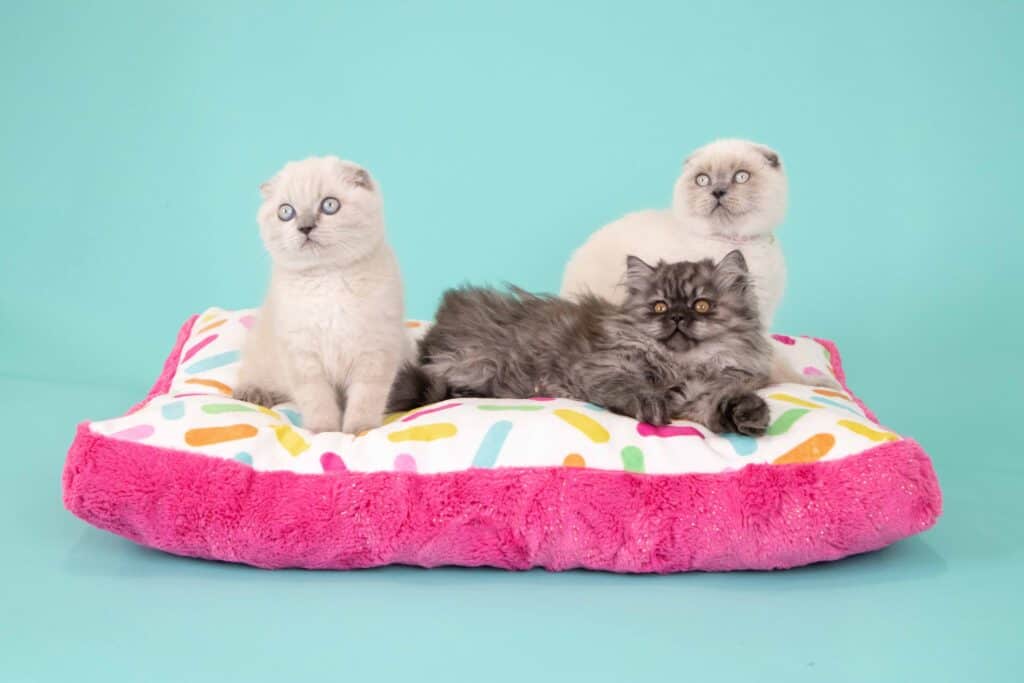
Any sized animal will love this bed! We made the x-small (sprinkle fabric) for our kittens, the small for our adult cat, and the medium (floral fabric) for our puppy! The large and X-large are perfect for your bigger animals.
Sewing Pattern Details
This sewing pattern was created with a 1/4" seam allowance so it can easily be sewn on a serger. If you plan on making it on a sewing machine, be sure to use the 1/4" seam allowance.
This pattern features 5 different sizes and is meant to fit in standard-sized crates. X-Small, Small, Medium, Large, & X-Large
Fabric Requirements
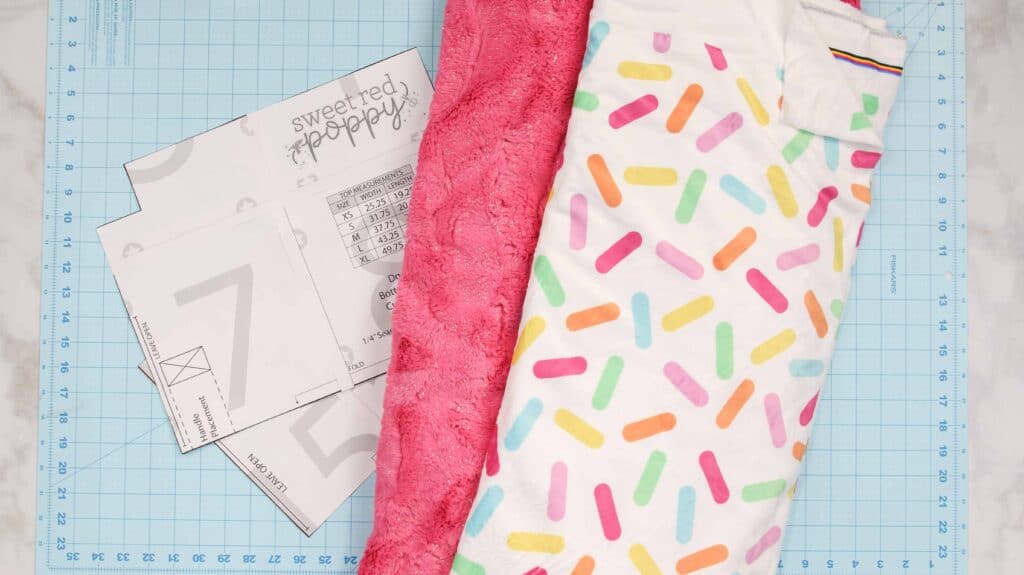
I recommend using soft fabric for this tutorial that has a bit of weight to it such as fleece, faux fur, sherpa, or Minky fabric. I used a combination of fleece and Minky for my beds.
Also, keep in mind that you should use a fabric that's washer/dryer friendly in case the bed needs to be washed.
I used the new Customizer from JOANN to custom-make these fun prints.
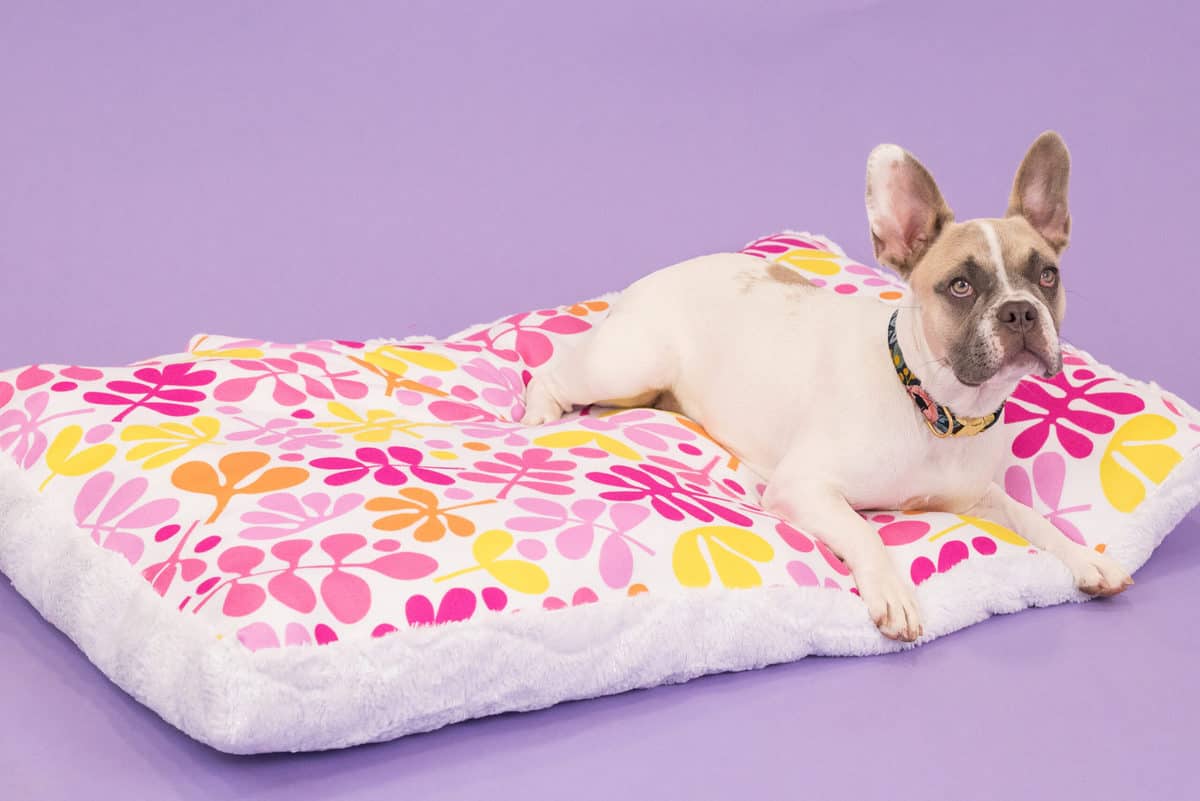
Table of Contents
Pet Bed Sizing
My pet beds will fit the following crates and sizes of animals.
X-Small - 18”L x 24”W 1-25 lbs
Small - 20”L x 30"W Fits 10-25 lbs
Medium - 23"L x 36"W Fits 26-40 lbs
Large - 28"L x 42"W Fits 41-70 lbs
X-Large - 30"L x 49"W Fits 71-90 lbs
DOG BED SUPPLIES
- 1-2 Yards of Minky or Fleece Fabric
- Sewing Machine or Serger
- Fiberfill (purchase more than 1 pack for the larger-sized beds)
- Scissors or Rotary Cutter & Mat
- Thread
- Pins
- Iron & Ironing Board
- Sewing Machine Needle
- Fabric Pen or Chalk
- Printer
- Printing Paper
- Tape
Download the Free Sewing Pattern Here!
STEP 1: PRINT SEWING PATTERN & ASSEMBLE
Download the pattern to your computer and print the pattern at 100% with no scaling.
Immediately check the 1” x 1” square to ensure the pattern has printed off correctly. If the 1" square measures larger or smaller the pattern will need to be reprinted for accuracy.
Lay the pages out in numerical order. When you come to a paper without stars on the right-hand side you’ve reached the end of a row. Place the next paper below the first row.
Align the stars of each page and the black lines and tape them in place.
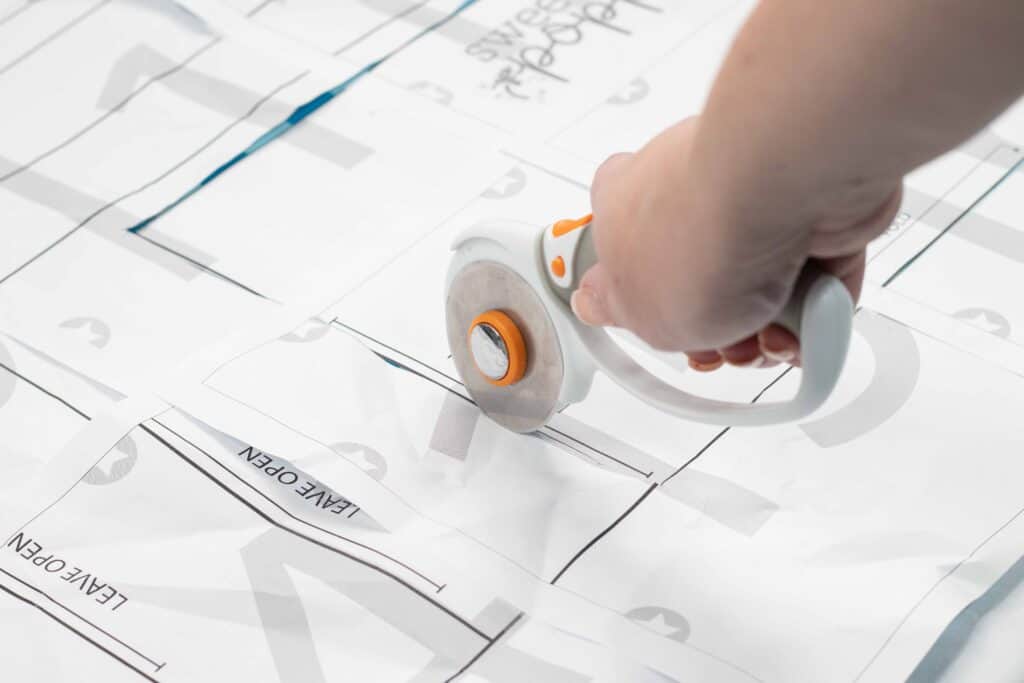
Then, cut out the pattern in your desired size.
* PRO TIP - Print off the pattern on cardstock so that it will last for multiples uses.
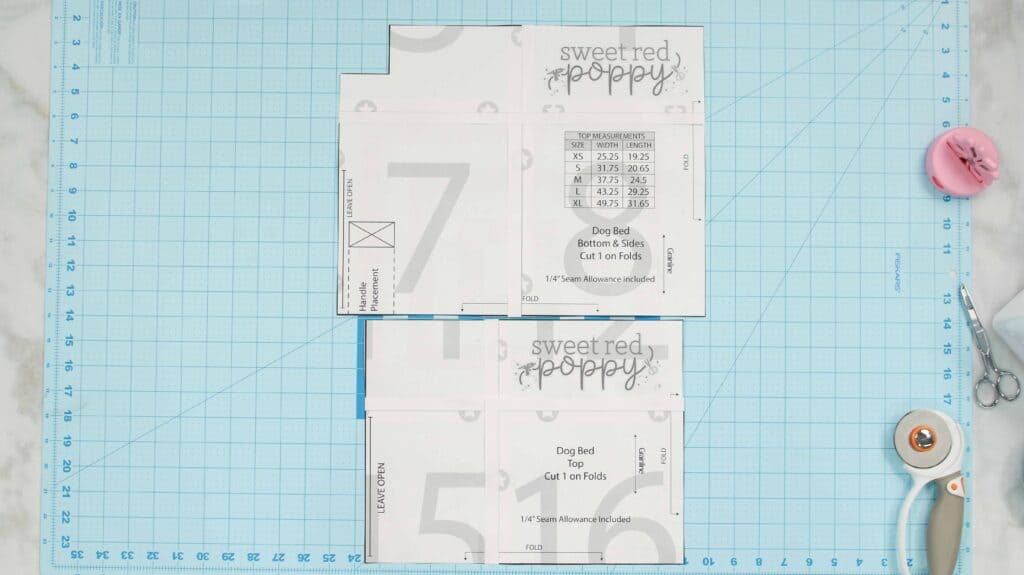
STEP 2: CUT OUT FABRIC & TRANSFER MARKINGS
Lay the top fabric out flat. Take the bottom of the fabric closest to you and fold it upwards. Then fold the fabric inwards from the left side to create a folded edge along the bottom and side.
Lay the pattern on top of the fabric aligning the fold marking on the pattern with the folded edges of the fabric.
Then, cut around the fabric.
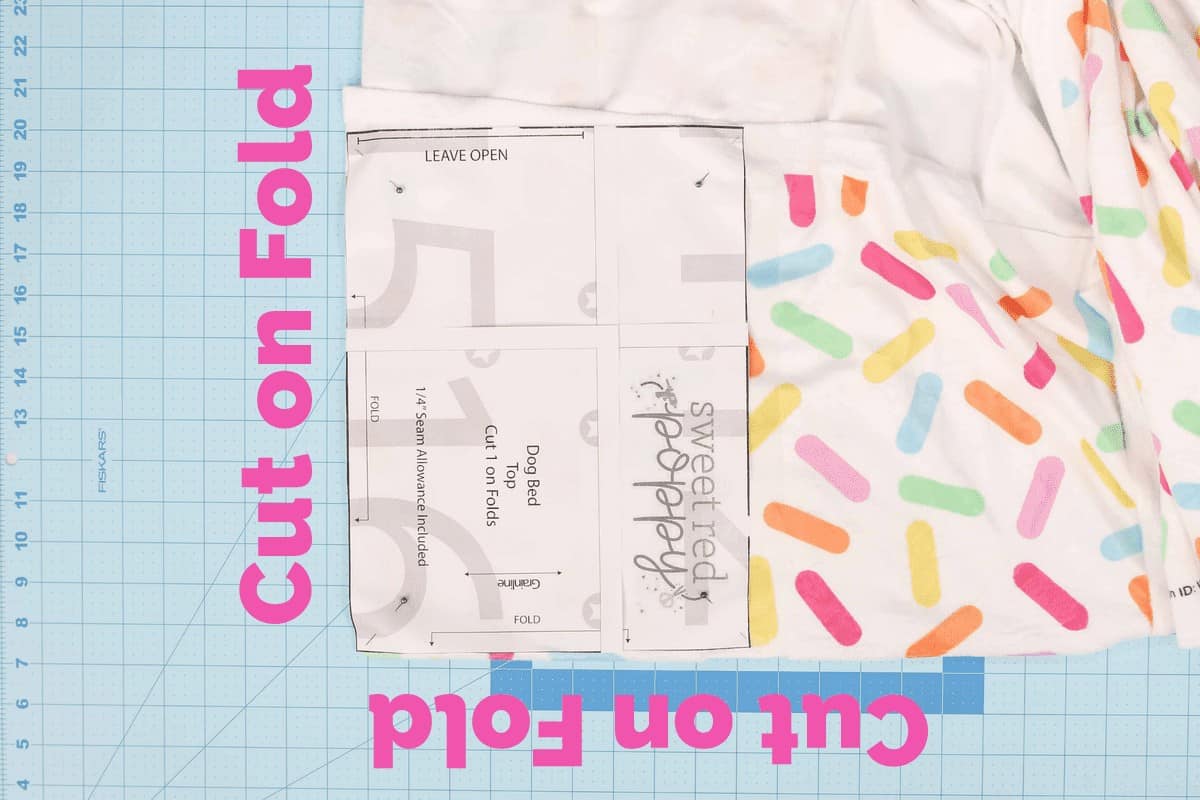
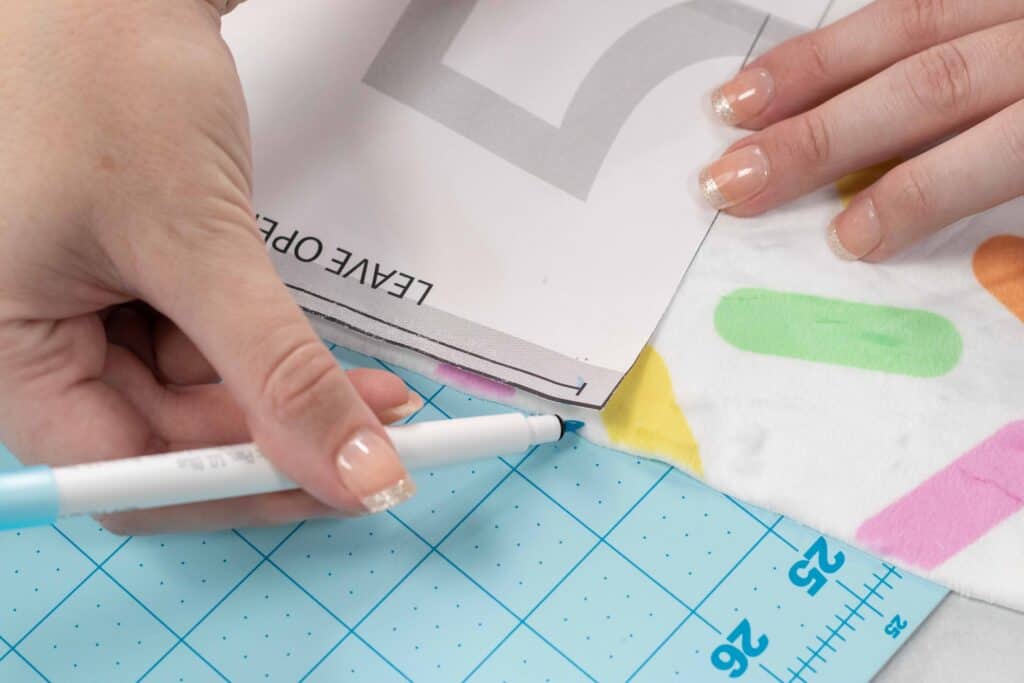
Transfer the "opening" marking to the fabric.
Lay the bottom/side fabric out flat. Take the bottom of the fabric and fold it upwards. Then fold the fabric inwards from the right side to create a folded edge along the bottom and side.
Cut around the pattern.
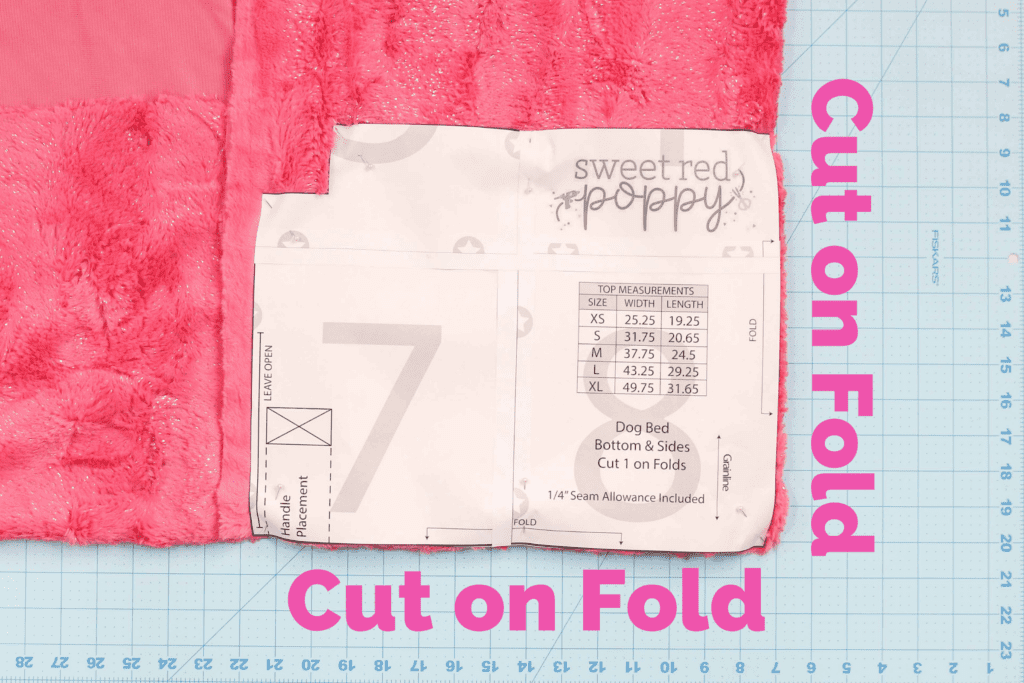
Trim away the box pleat for the bottom and side.
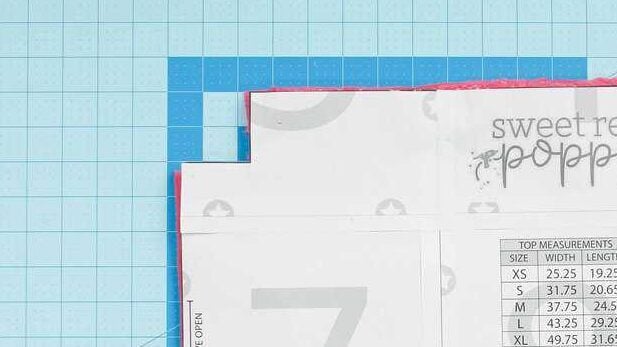
STEP 3: Sew Box Pleats
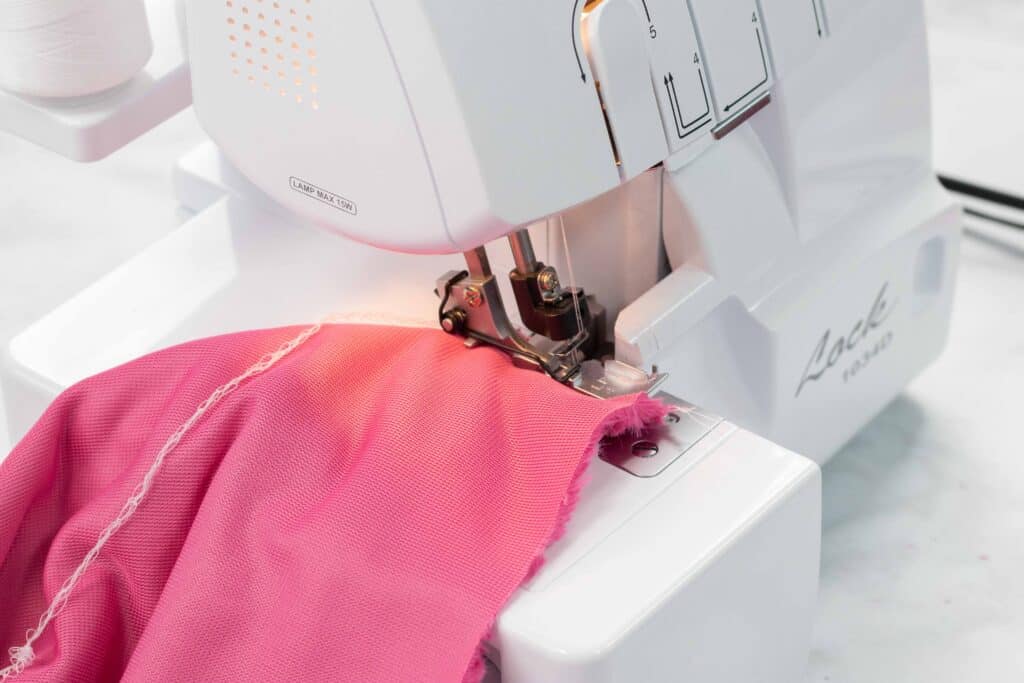
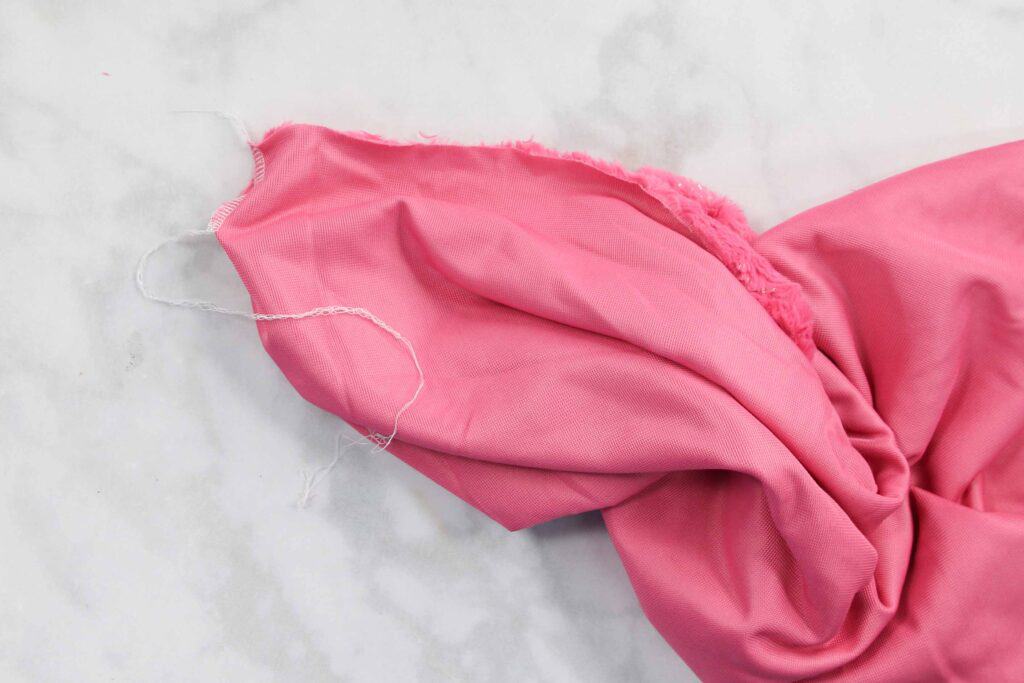
Next, take the dog bed bottom (pink) and align the corner cutout raw edges together and pin them in place. You should have a total of 4 corners that are pinned.
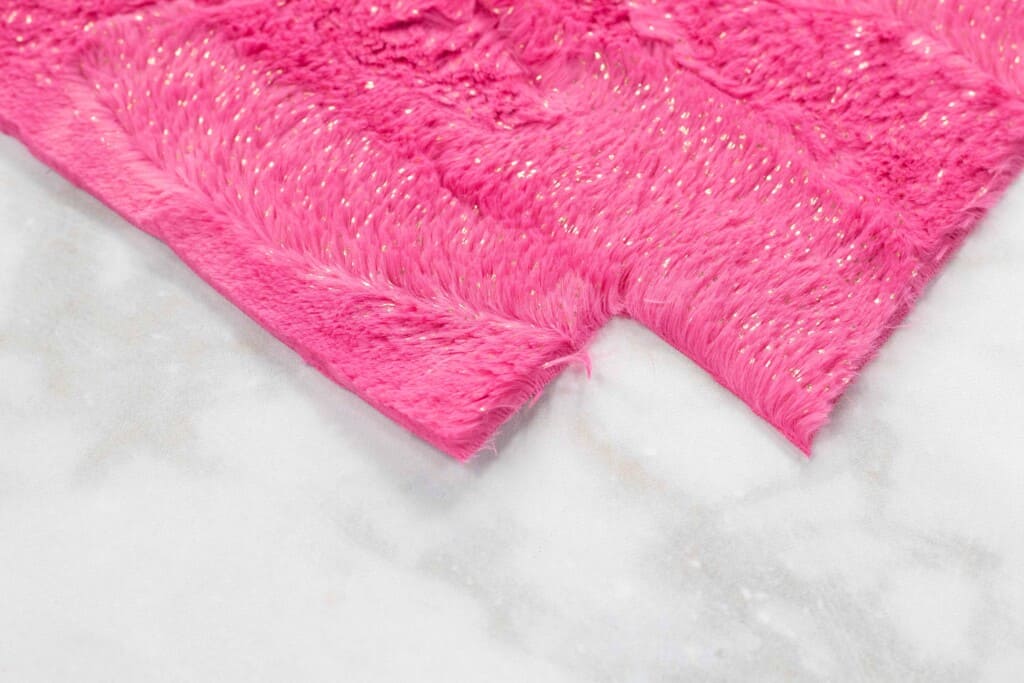

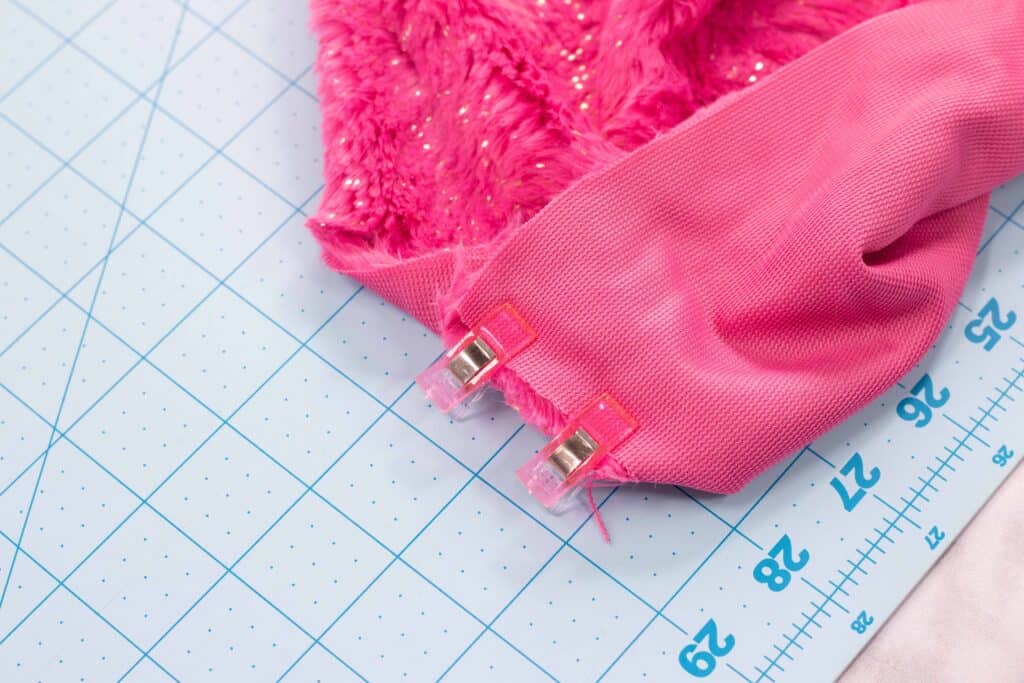
Sew the box pleats with a 1/4" seam allowance.
*If sewing with a serger, leave a tail and knot it or thread it back through the stitching to secure the seam.
STEP 4: Align Top to Bottom and Sew
Now it's time to put the bed together!
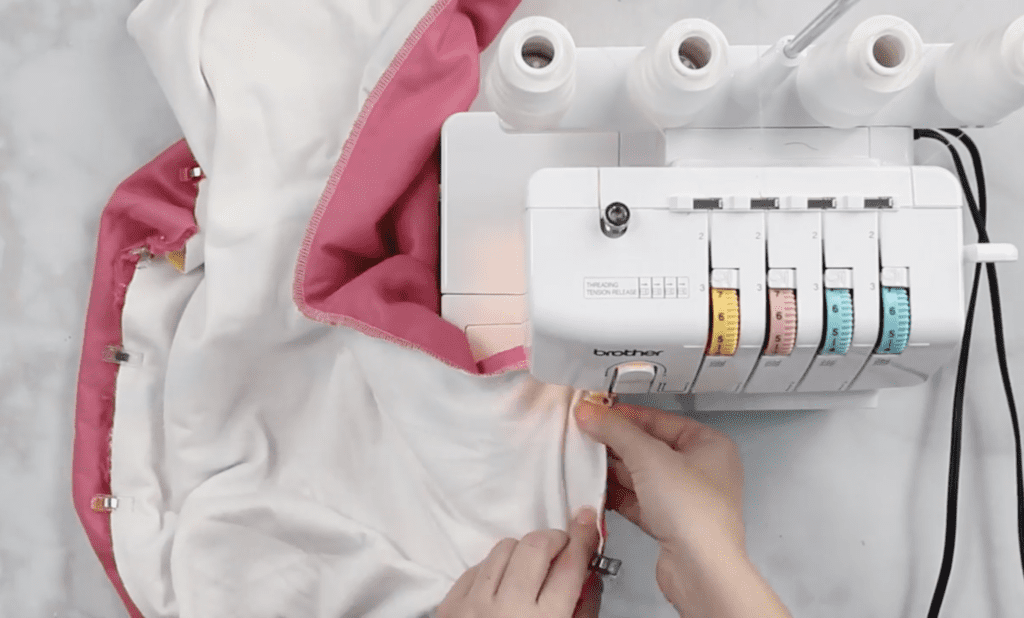
Place the dog bed bottom (pink) on the table in front of you with the right side facing upwards.
Place the dog bed top with the right side facing down. Align the raw edges and pin them together.
Be sure to leave an opening for turning right side out.

Sew or serge the seam with a 1/4" seam allowance.
STEP 5: Add Stuffing to Dog Bed
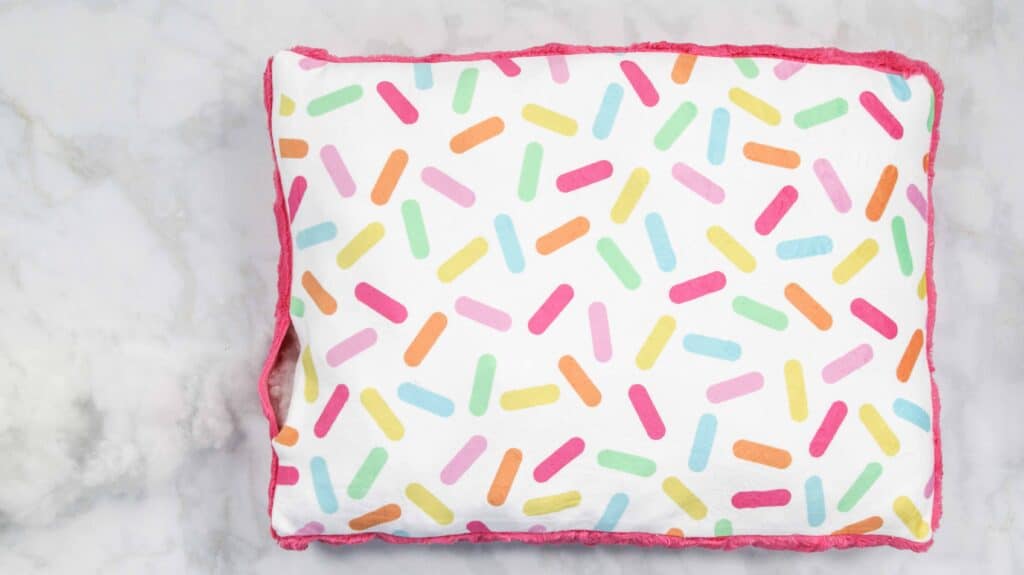
Before stuffing, turn the dog bed right side out through the unsewn portion of the bed.
Then, stuff the dog bed with stuffing until it's completely filled. Focus on pushing the stuffing into the corners of the bed to help it take shape.
STEP 6: Slip Stitch the Opening
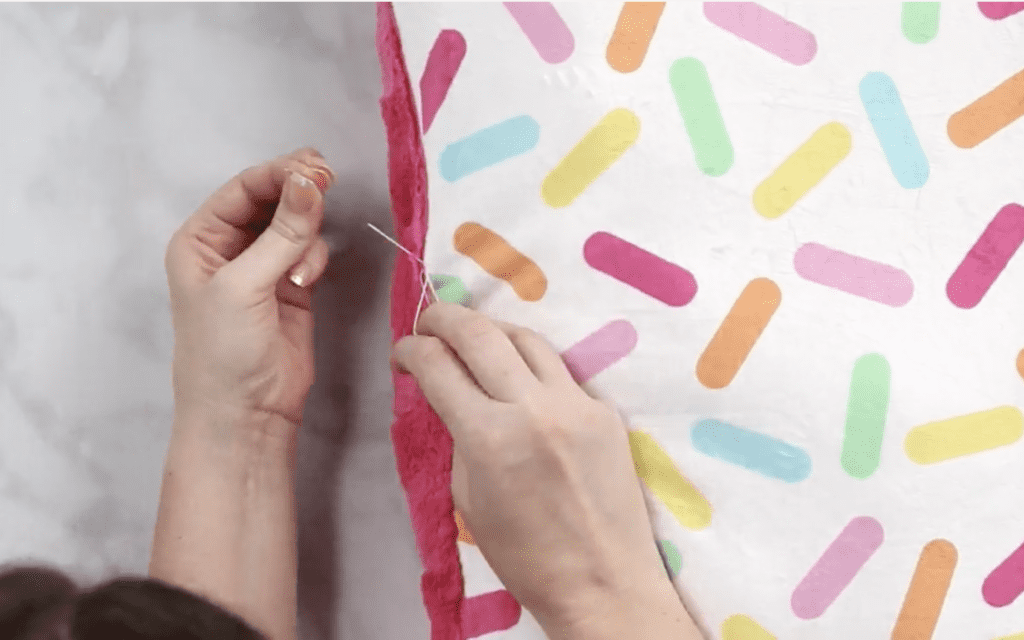
Slip stitch the opening of the dog bed closed with a needle and thread.
Finished Pet Bed
Enjoy your finished pet bed!
You can find all of the supplies for this tutorial from your local JOANN.
Join my crafting and sewing Facebook group where you can show us what you’re making, ask questions, and learn from others!
Don’t want to forget about this free template? Save this project for later! Click here to save this project on Pinterest.
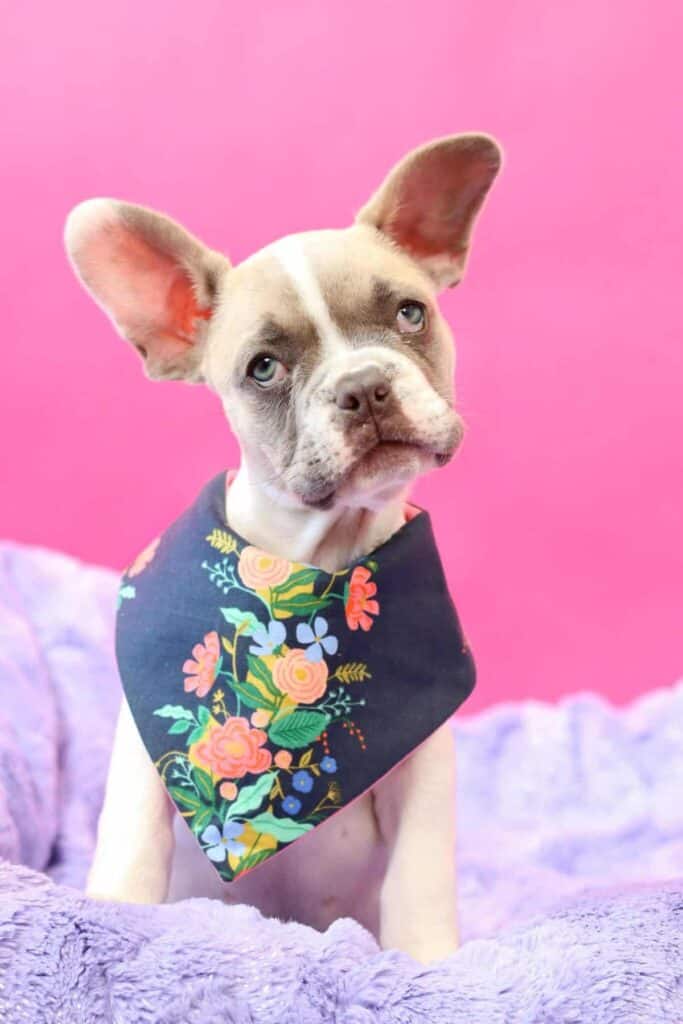
Looking for more free animal-friendly sewing patterns? Check out this bandana bib pattern.

My dog has chewed up her bed so I was just thinking of sewing a new one when your email with the pattern came! Problem is I need the xxxl pattern she is a Great Dane so we have the largest crate for her!
Great instructions for the pet bed. Thanks for the free pattern. I have posted a pic on Instagram!
Where do I download the pattern?
Thank you for the tutorial! However, I never quite understood the need for printed patterns in projects such as this that require only straight lines/edges. It would be so much easier (and not waste any paper or tape!) if you just gave cutting measurements for each size. For instance, cut A"xB" for the top piece, and C"xD" for the bottom piece, then cut 2"x2" corners out of the bottom piece, etc.
hi it seems pretty easy but i struggled with the pattern as 2 sides are marked with folding. Also you don't talk about a handle on your explanations.
thank you for your free pattern!