Learn How to Make a Scrunchie with a Bow the Easy Way Using this FREE Sewing Pattern and Step-By-Step Tutorial.
The
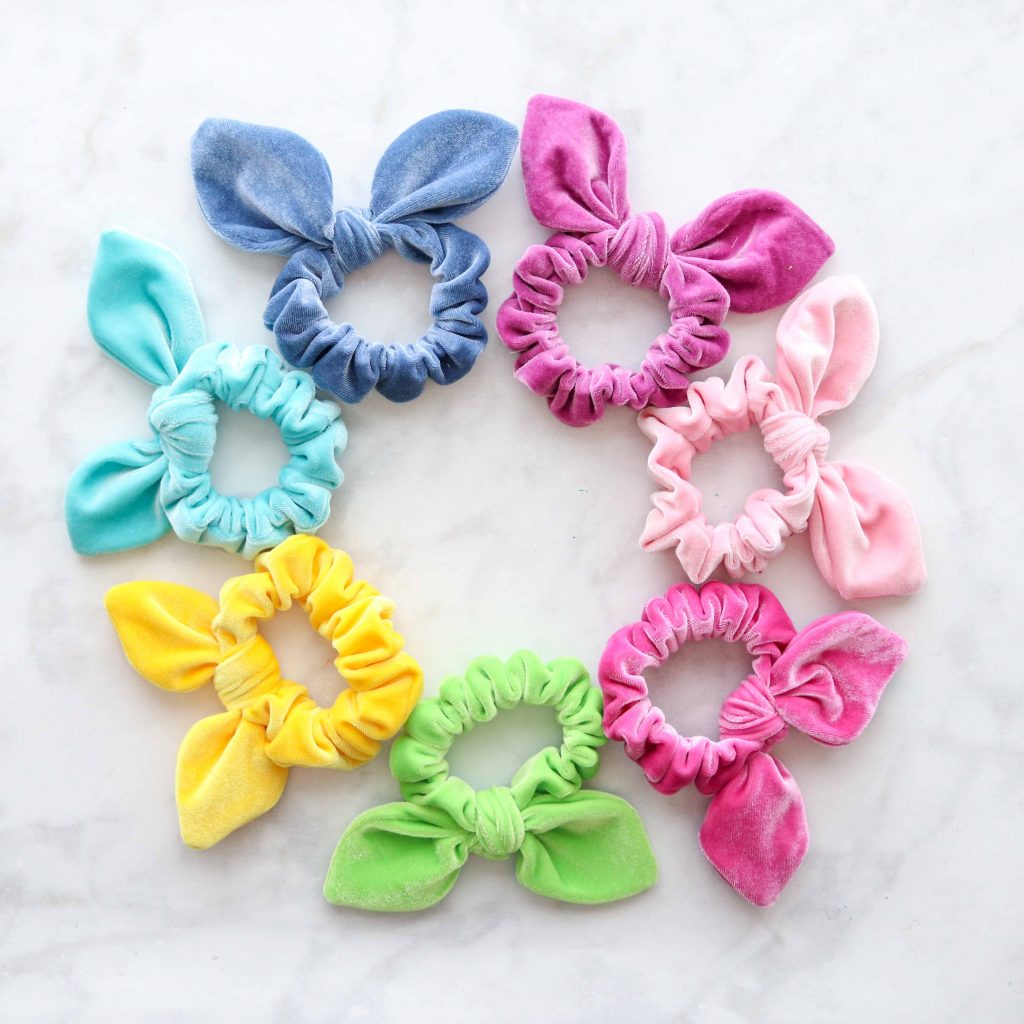
After perusing J.Crew, Anthropologie, Nordstrom and even Target and being slightly shocked by the price tags, I decided to make my own and share all of my patterns with you for free!
Who doesn't love a freebie, right? Now you can be stylish at a fraction of the price!
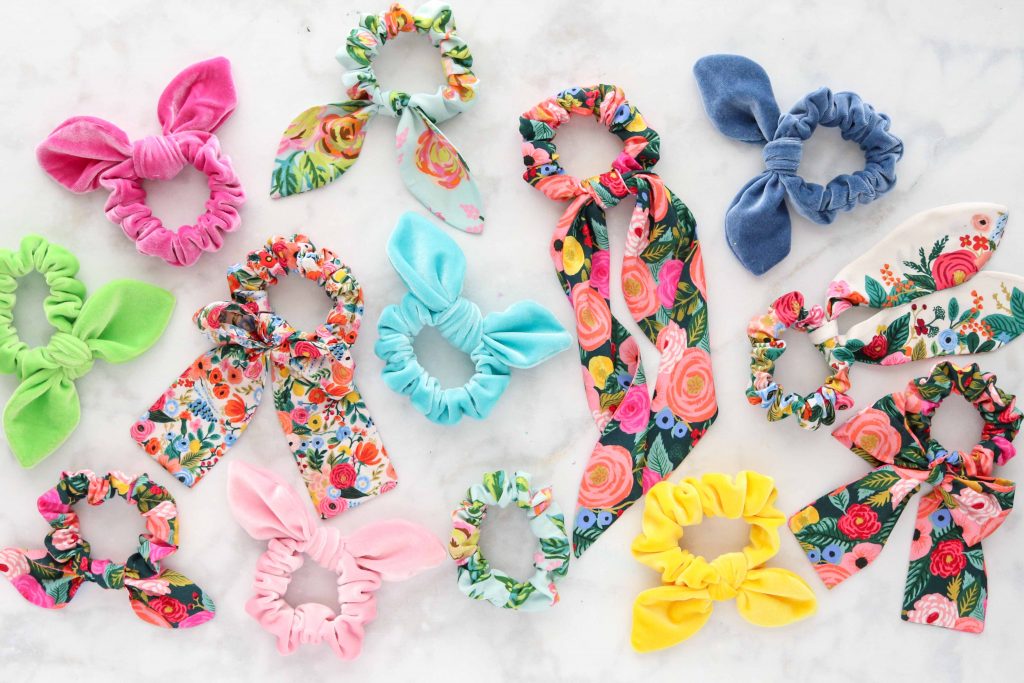
If you’re looking for a great seller at craft shows and in your Etsy shops, this is it! It's also perfect for gifts!
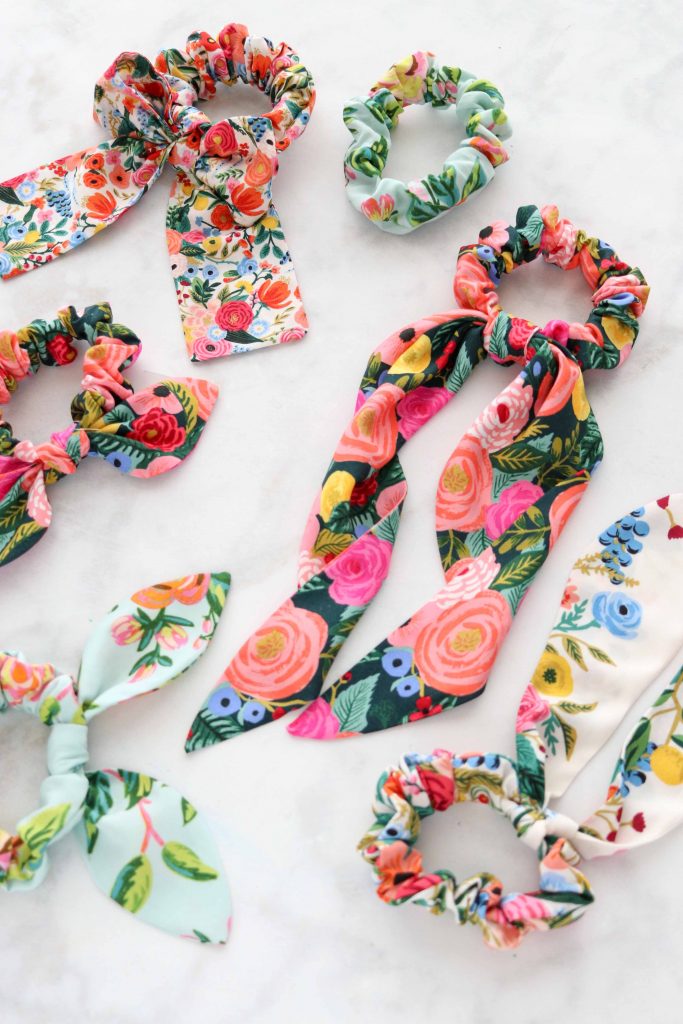
The best part is each Scrunchie takes about 10 minutes to sew and costs fewer dollars to make! I love a good quick and inexpensive project.
Below, I've listed out all of the different options offered in this pattern along with photos so you can choose your favorite style.
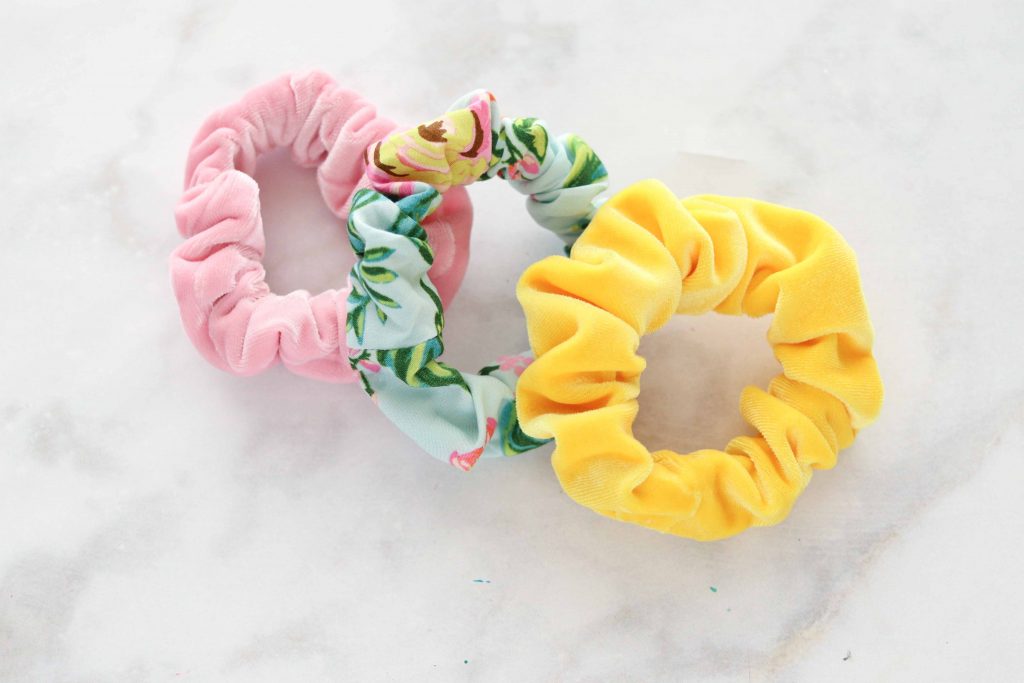
Basic Scrunchies
This is the most basic scrunchie option you can make! It's perfect for throwing your hair up in a ponytail or wearing on your wrist.
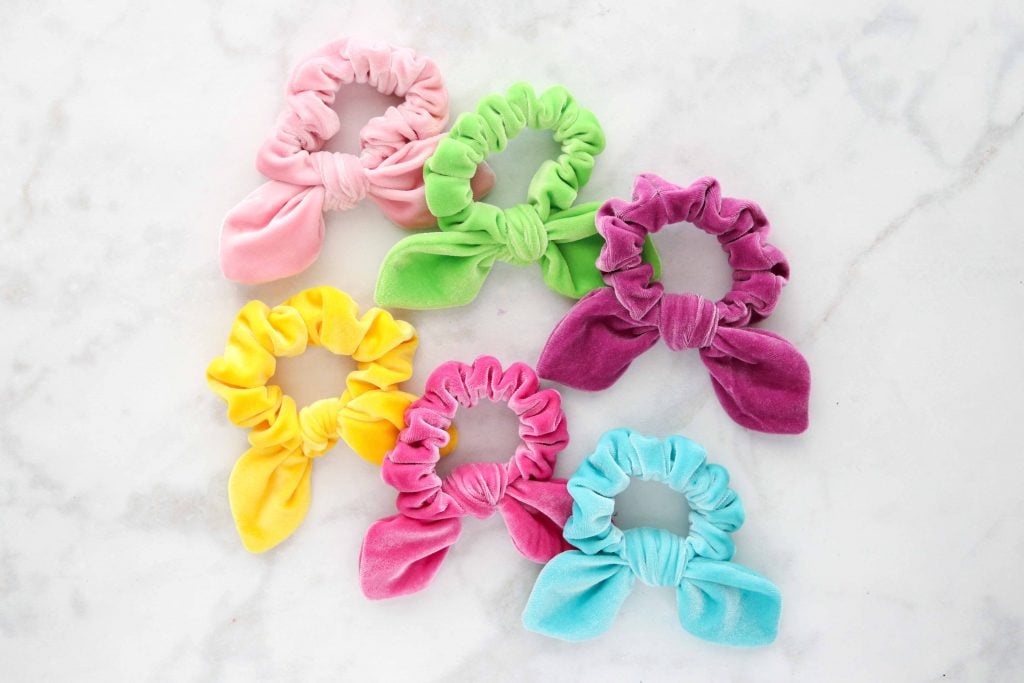
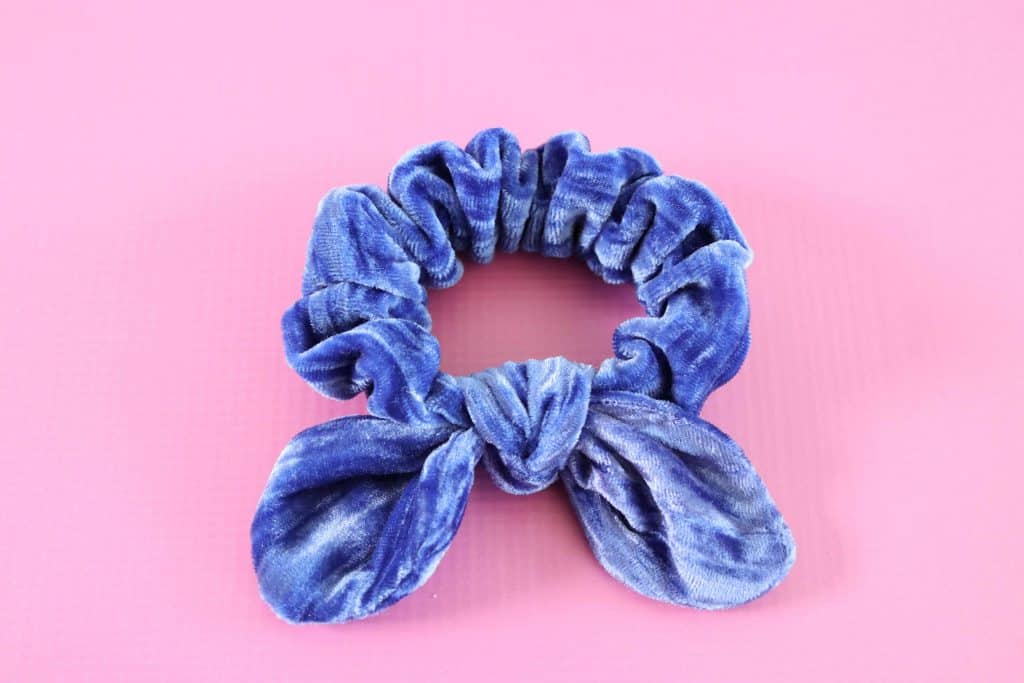
Scrunchies with Short Bunny Ears
This version of my scrunchie pattern gives you a fun bunny ear variation. Did I mention this is my favorite style? I've made more of these scrunchies than I can count!
Scrunchies with Medium Bunny Ears
For a slightly larger bunny ear, choose this scrunchie style!
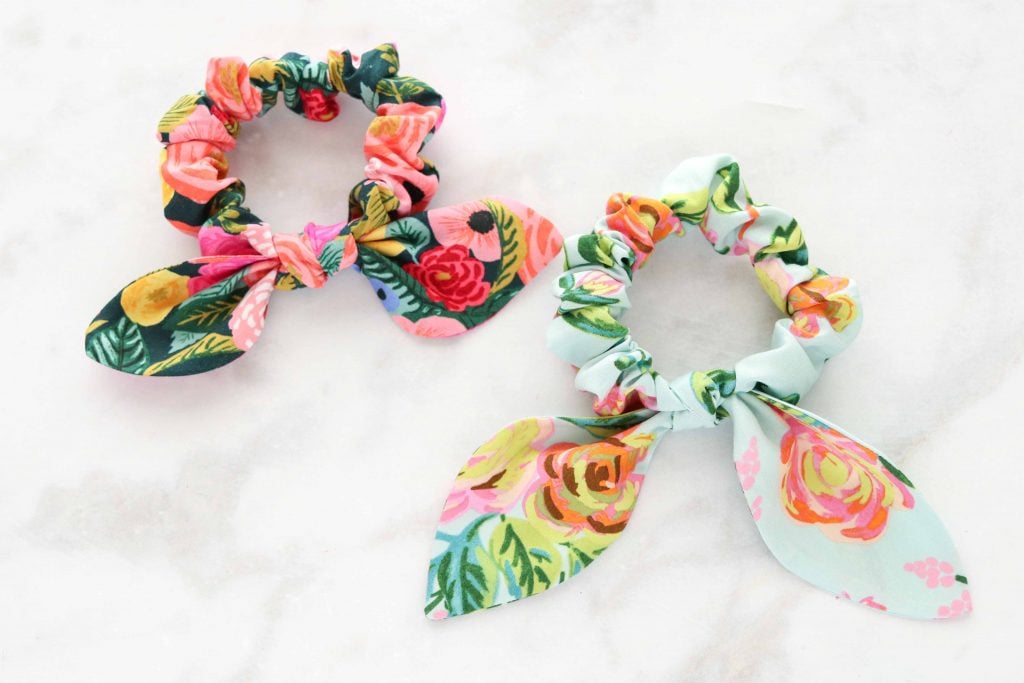
Scrunchies with Large Bunny Ears
Elevate your scrunchie style with this large bunny ear variation. It's beautiful in a rayon fabric or anything with some drape to it.
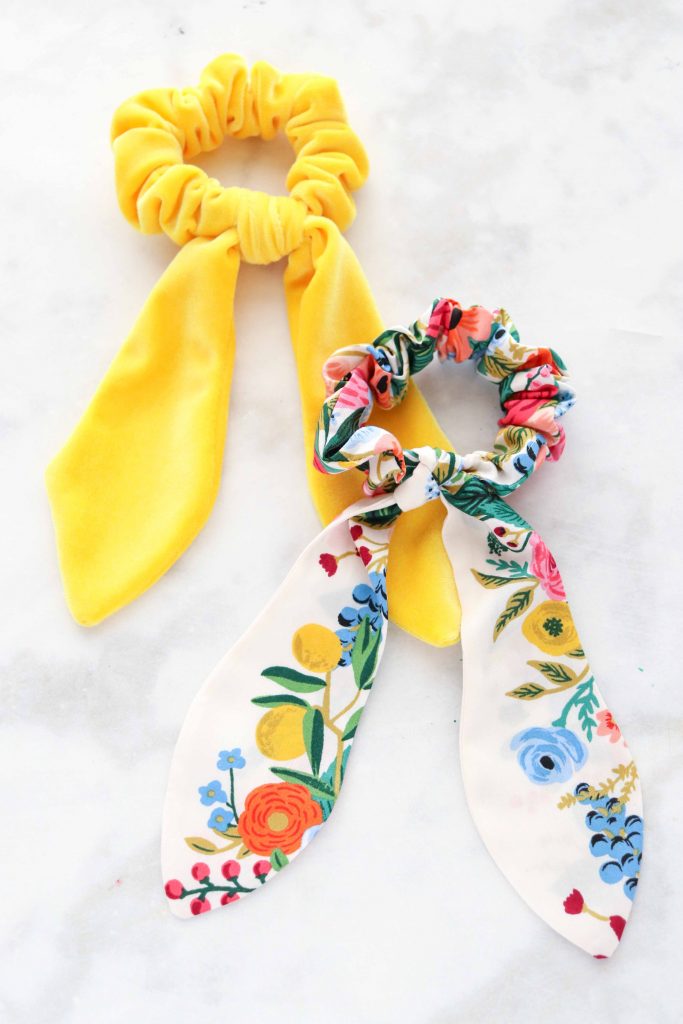
Scrunchies with Bows
Does it get any cuter than a scrunchie with a bow? I think not!
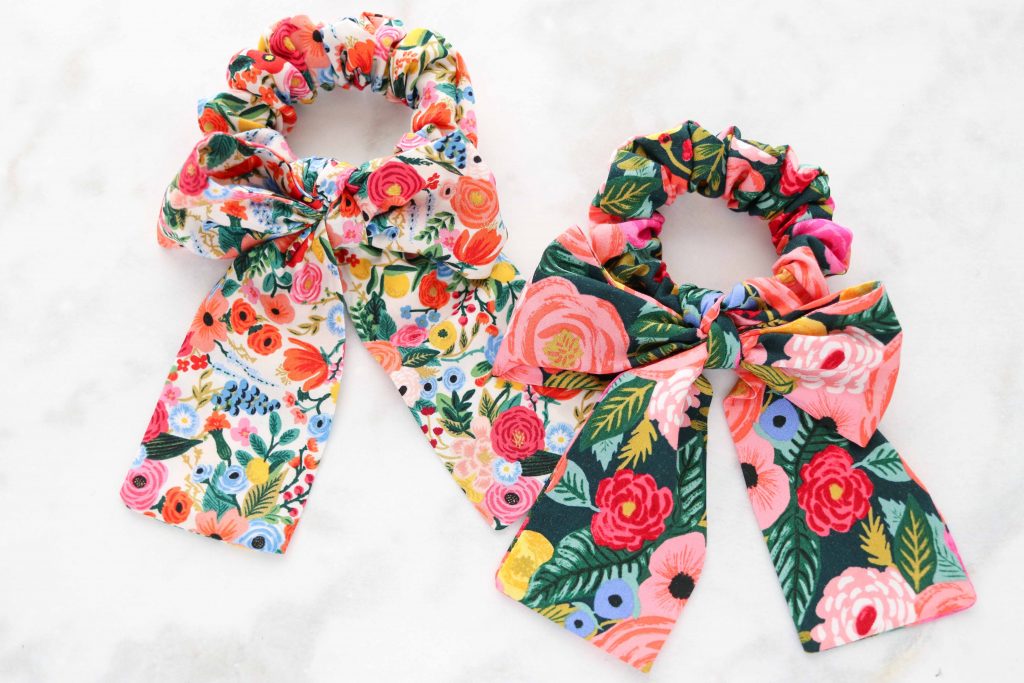
Scrunchies with Tails
Last but not least, this version is oh, so pretty! Perfect for dressing up an outfit with a fun pop of color.
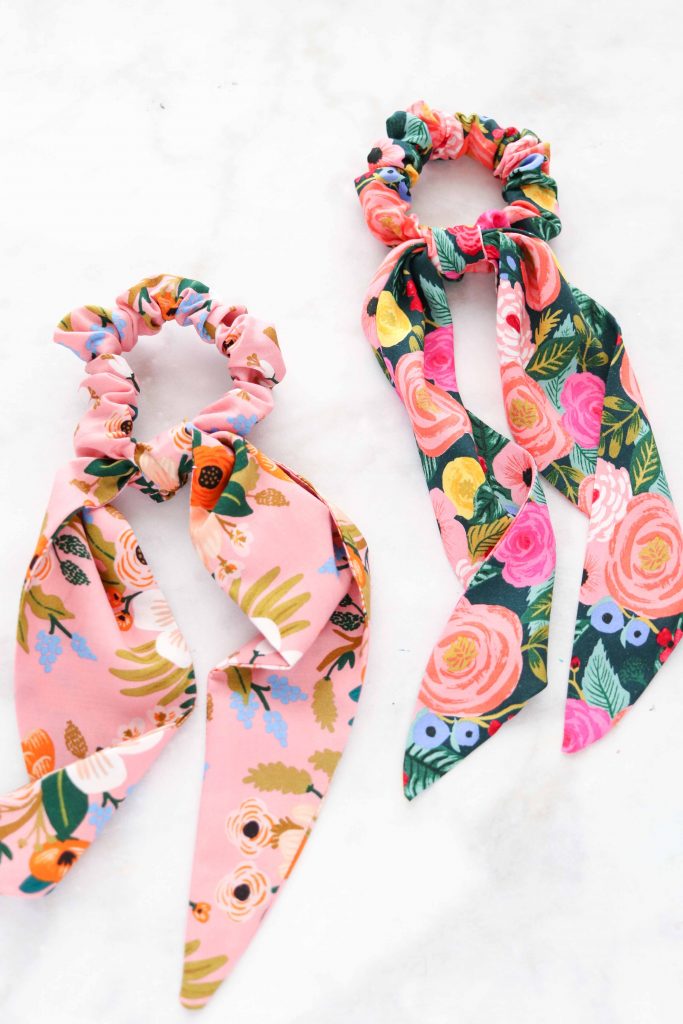
Table of Contents
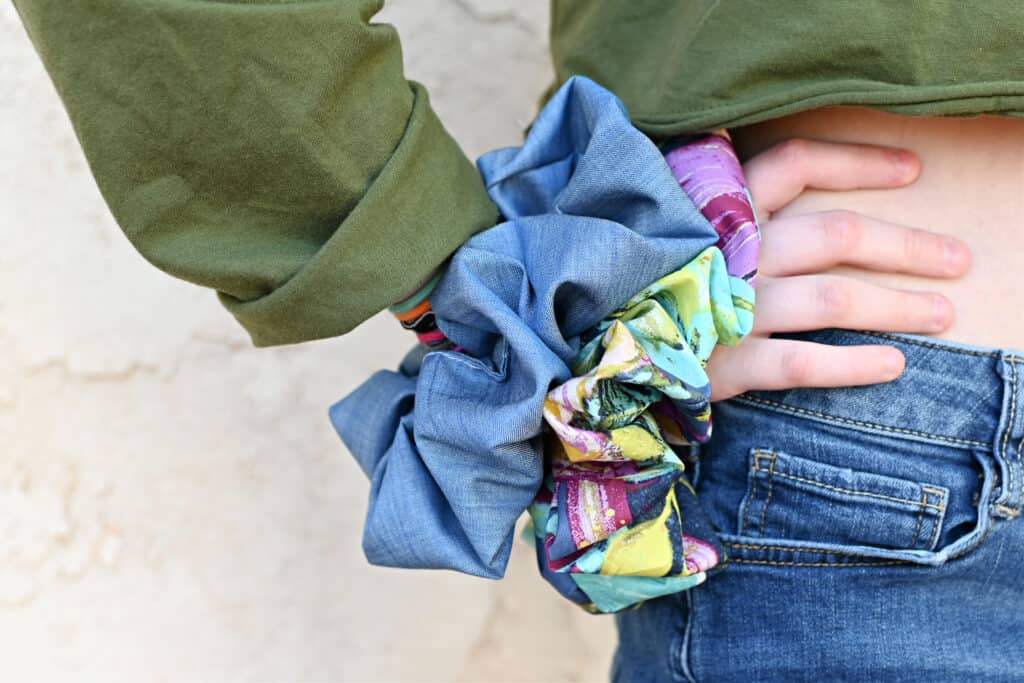
Oversized Scrunchie
Download the Scrunchie PDF Pattern by CLICKING HERE
Download the Scrunchie SVG File (for Cricut) by CLICKING HERE
I created a video that will walk you through every step of the process, from what type of fabric to use and cutting out the pattern, to sewing the scrunchie. Watch it below!
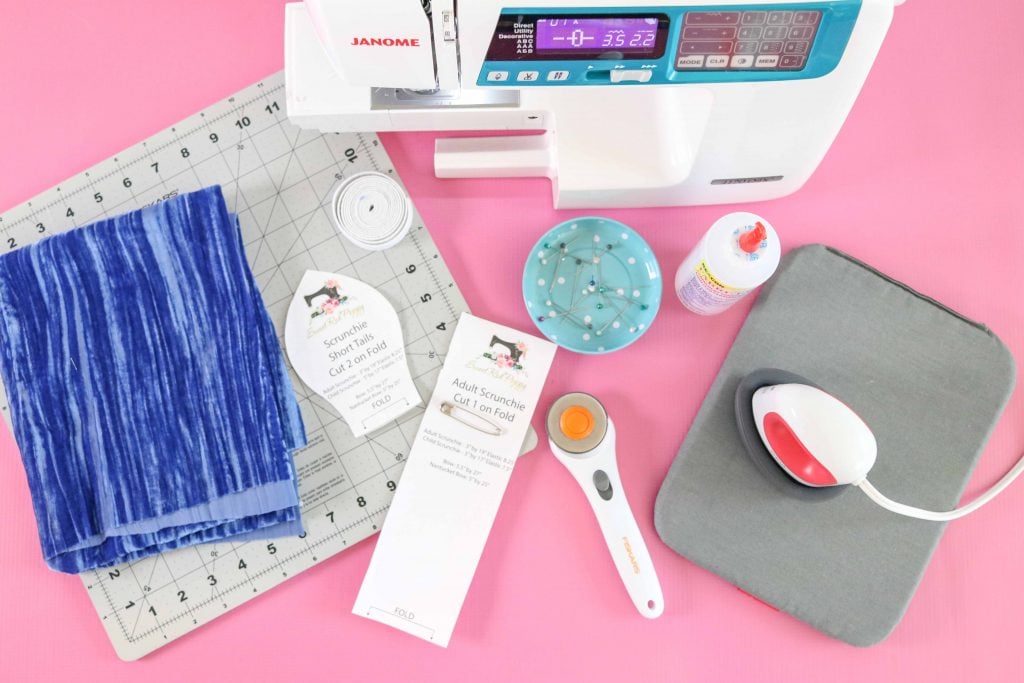
Scrunchies Supplies
- 1/4 Yard of Fabric (Velvet) (Rayon)
- 1/4 Inch Elastic or 1/2 Inch Elastic
- Large Safety Pin
- Fabric Glue
- Scissors
- Rotary Cutter
- Rotary Cutting Mat
- Thread
- Sewing Pins
- Iron
- Ironing Board
- Sewing Machine Needle
- Sewing Machine
- Tape
- PDF Pattern
- SVG File (Cricut)
What Type of Fabric To Use To Sew A Scrunchie
These scrunchies can be made in a wide variety of fabrics. Each fabric will give the finished scrunchie a slightly different look.
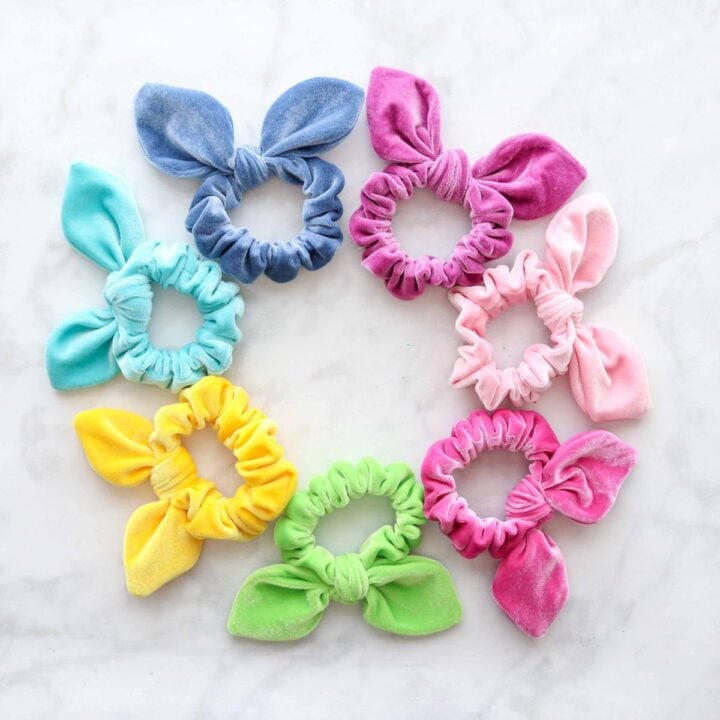
For the basic scrunchies and scrunchies with short and medium ears, I recommend using a stretch velvet fabric. This gives it a nice, full look.
Recommended Fabrics; Stretch Velvet, Quilting Cotton, Voile, Chambray, Knit, Gauze, Silk,
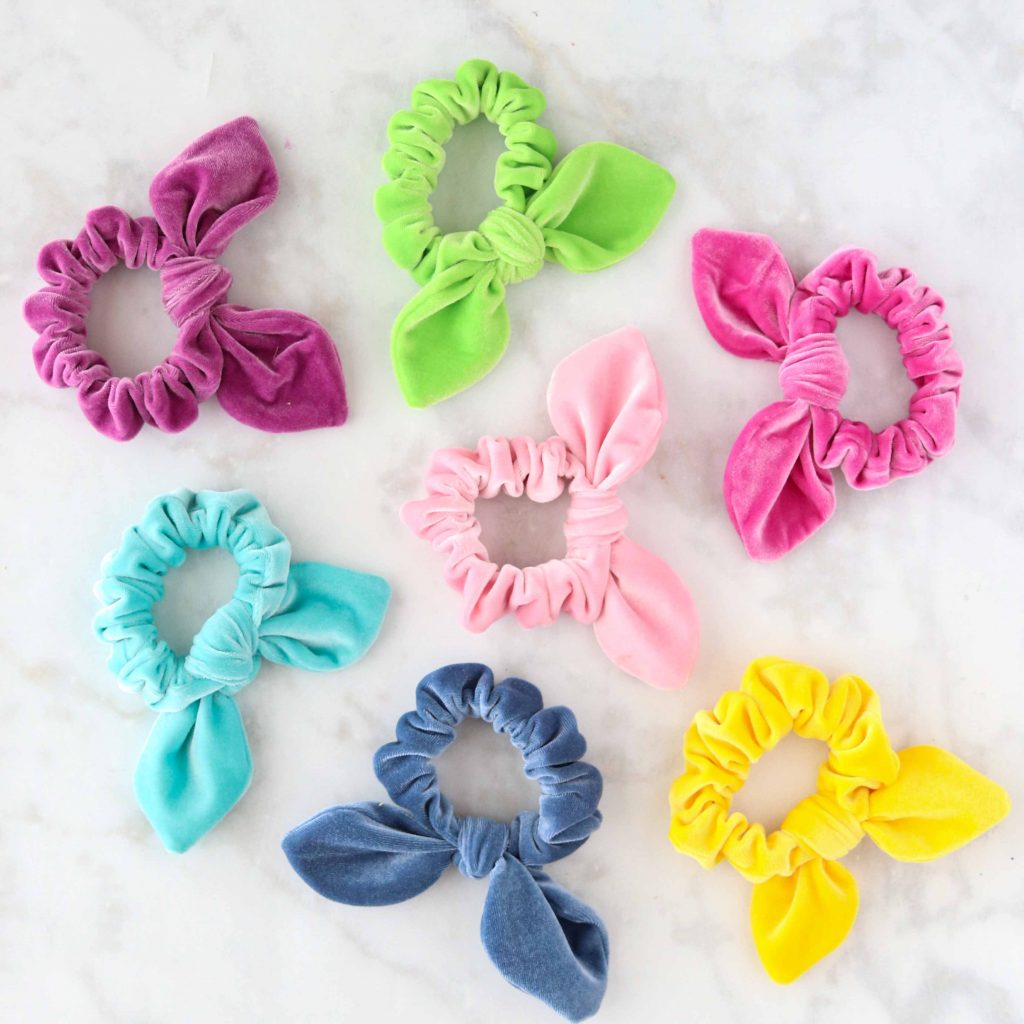
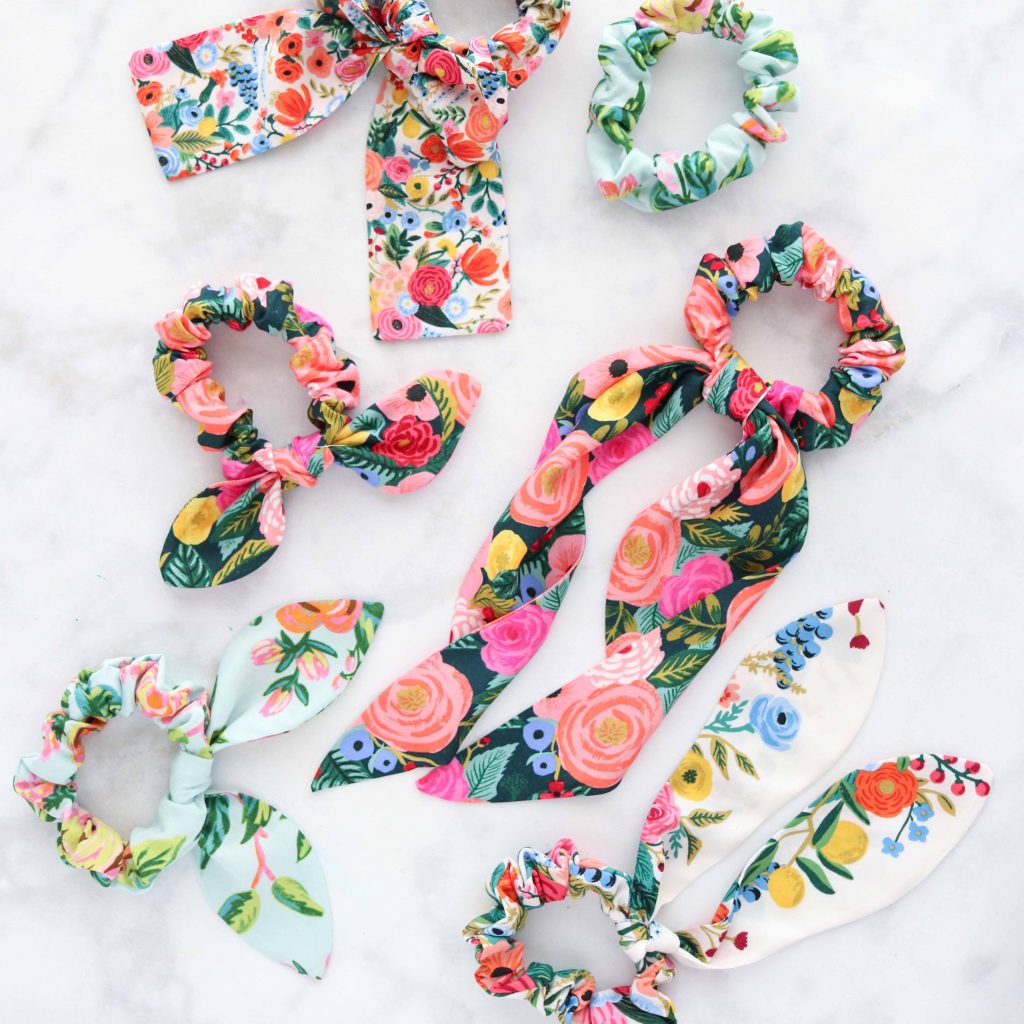
For the scrunchies with large ears, bow and tails I recommend using a drapes fabric like Rayon. These patterns look best in a fabric that has some drape to it. You can determine if it’s a drapes fabric by holding it up and looking at the way the fabric lays.
Recommended Fabrics; Gauze, Silk, Rayon, and Voile.
How to Make A Scrunchie Free Sewing Pattern
Learn How to Make a Scrunchie with a Bow the Easy Way Using this FREE Sewing Pattern and Step-By-Step Tutorial.
Materials
Tools
Instructions
Step One: Download the Free PDF Scrunchies Sewing Pattern
- Start by downloading the free pattern to your computer.
- Open the pattern in your PDF reader, I recommend using Adobe Acrobat. You want to avoid printing the pattern from your browser as it can cause the scaling to be off and the border lines to print incorrectly.
- Next, click on "Print" to open the print settings box. In the print settings, make sure the scaling is set to "Actual Size" or "Custom Scaling: 100%."
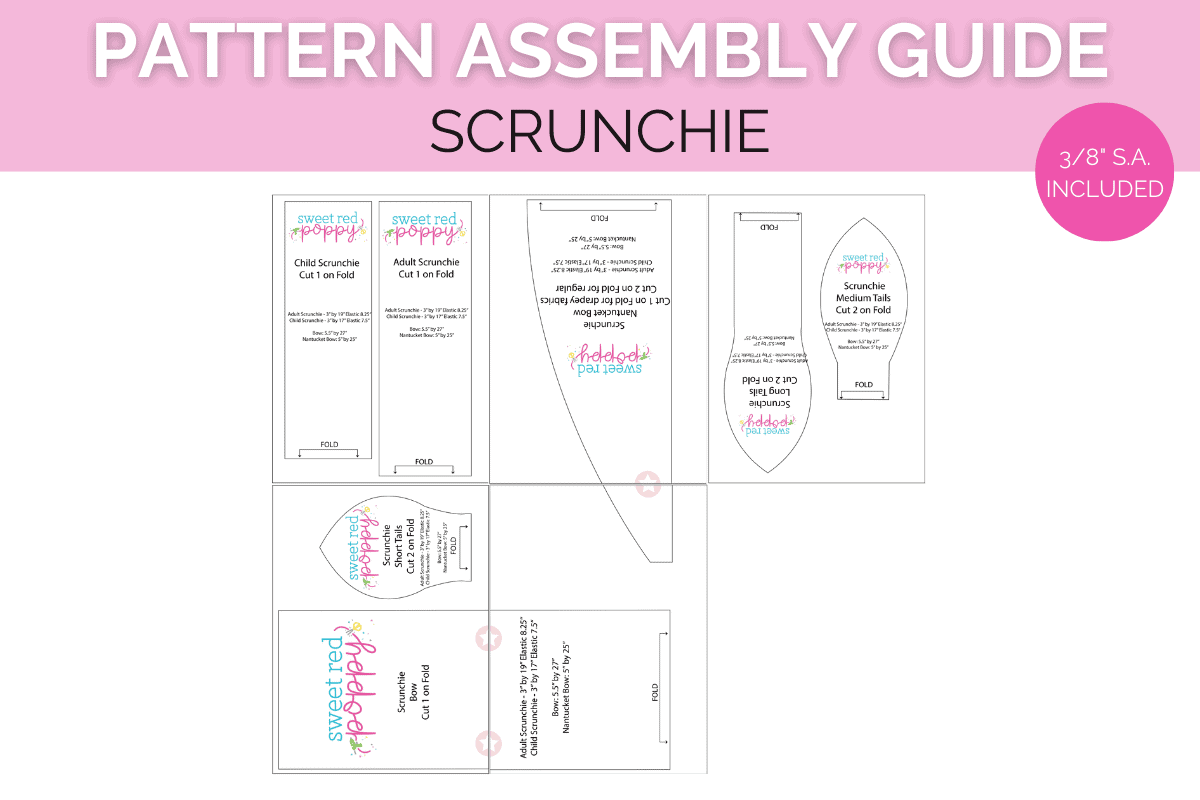
- Once printed, assemble the pattern by lining up the pink stars and lines of the pattern.

- Once you have the pattern taped together, cut out the pattern pieces along the lines corresponding to the scrunchie style you want to sew.
- *PRO TIP: If you plan on using this pattern multiple times, print it onto cardstock to create a sturdier template.
Step Two: Cut Out the Scrunchies
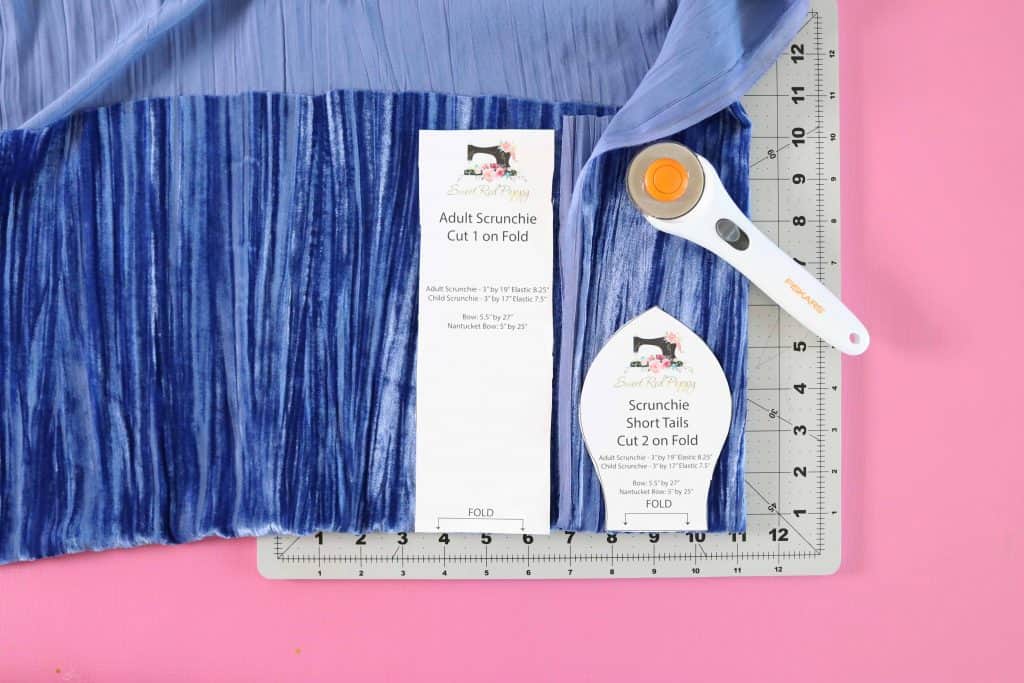
- The main scrunchie pattern is cut on the fold. Lay the fabric out on a table in front of you and fold it in half. Lay the pattern piece so that the short edge is aligned with the fold of the fabric.
- Pin the pattern piece in place and cut around the pattern.

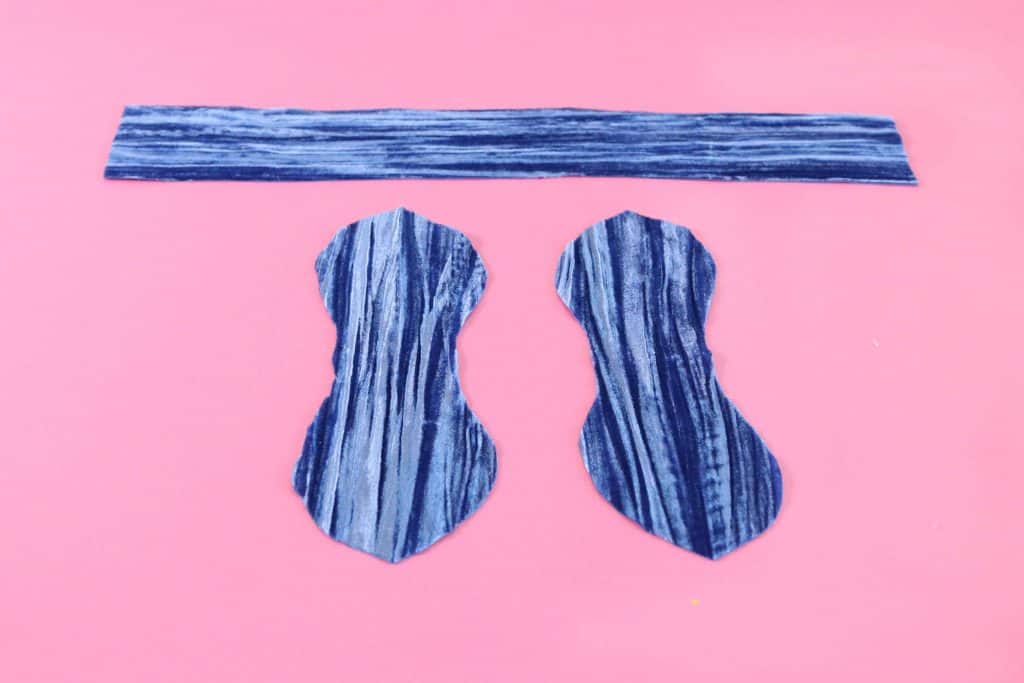
- You should now have one long rectangular piece of fabric cut out for the main scrunchie. If you are making the bow version you should also have a front and a back.

- PRO TIP: If you have a Cricut machine you can use it to cut the template out of cardstock. If you have a Cricut Maker you can cut out the scrunchies on your pink mat with the rotary blade.
- Step Three: Sew the Long Sides of the Scrunchie
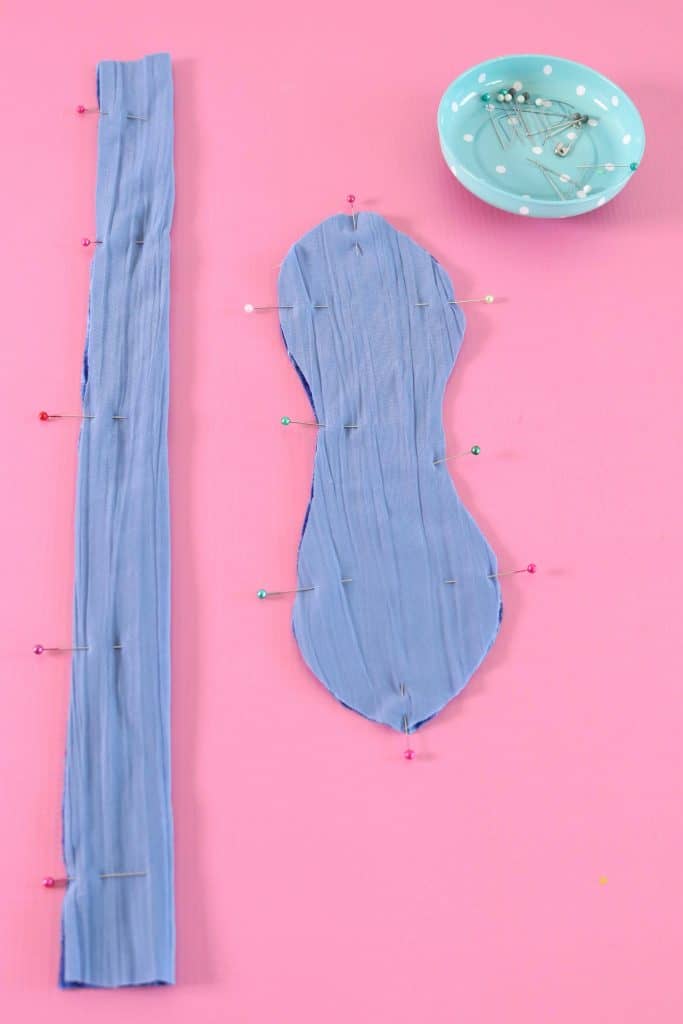
- Next, fold the scrunchie in half lengthwise with right sides together. Place a pin 1.5 inches in from either end along the raw edges.
- Pin the tail pieces with right sides together and pin around the raw edges of the fabric.

- Place more pins in between the first two pins to secure the raw edges of the fabric together.
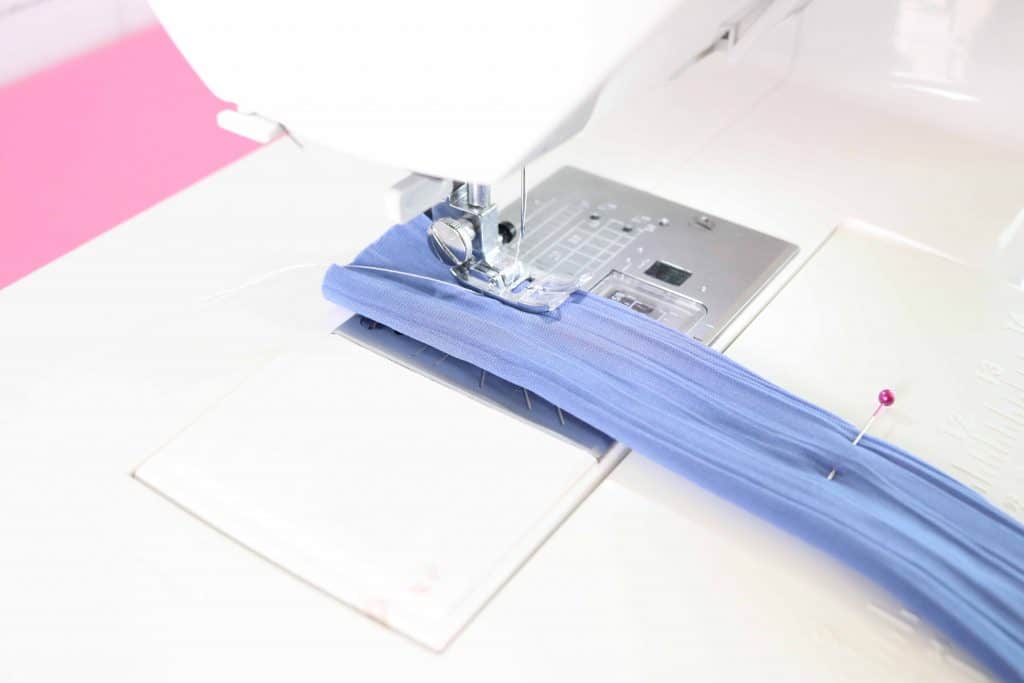
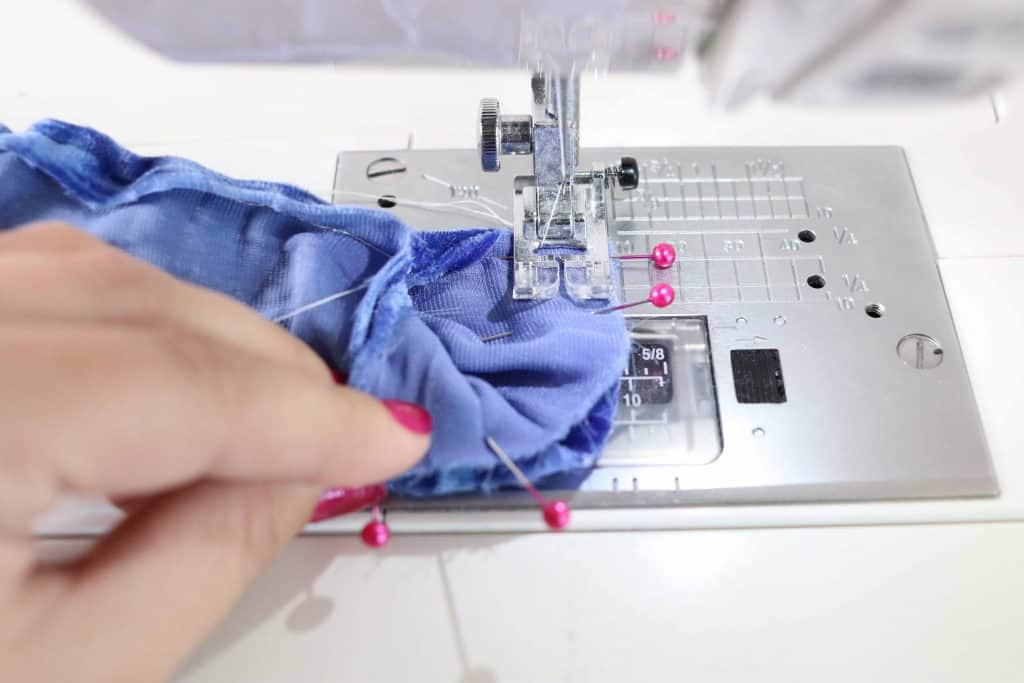
- Take the scrunchie to your sewing machine and begin sewing at your first pin on one end. Don't forget to backstitch at the beginning!

- Stitch the long edge with a 3/8 inch seam allowance.
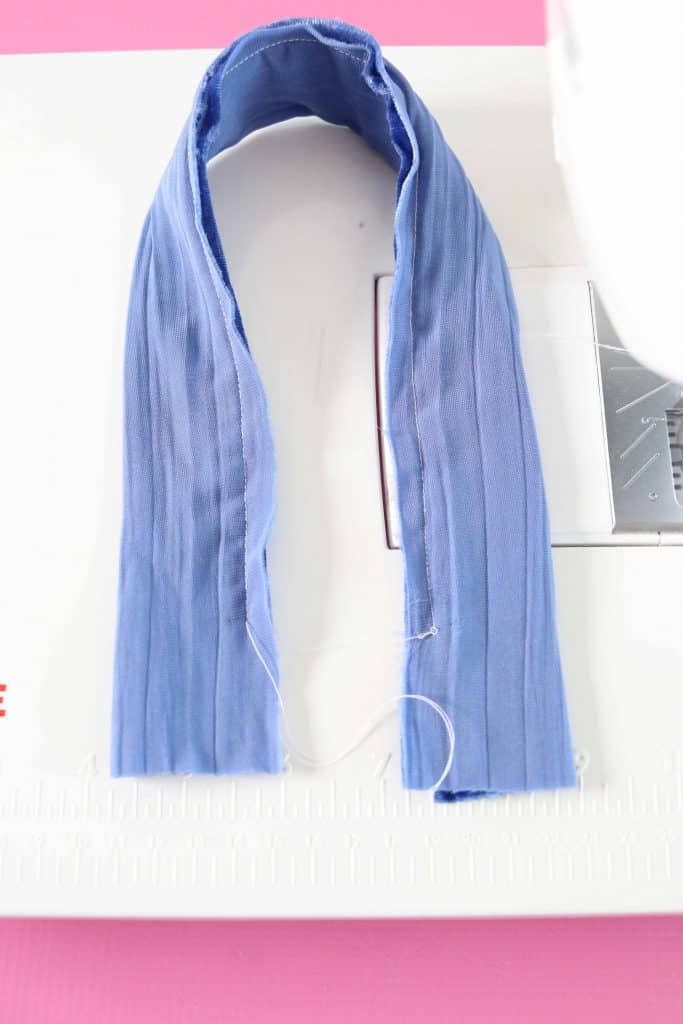
- Stop sewing when you reach the last pin, backstitch, and trim your thread tails.

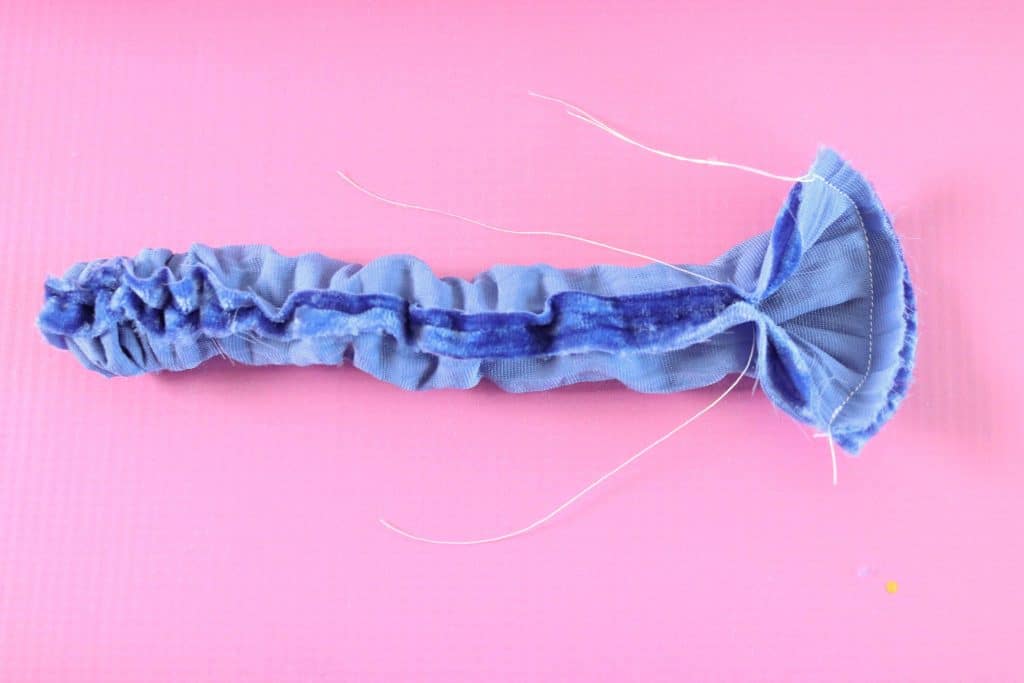
- There should be a 1.5" section unsewn on both ends of the scrunchie.
- Step Four: Sew the Scrunchie Tail
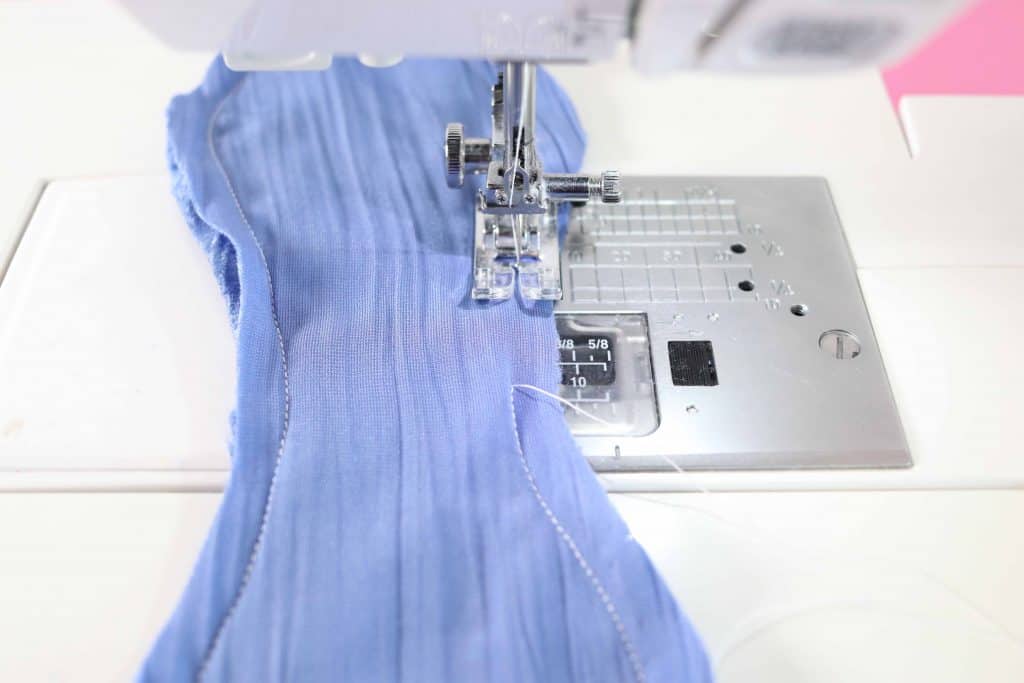
- With a 3/8" seam allowance begin stitching the tail together.
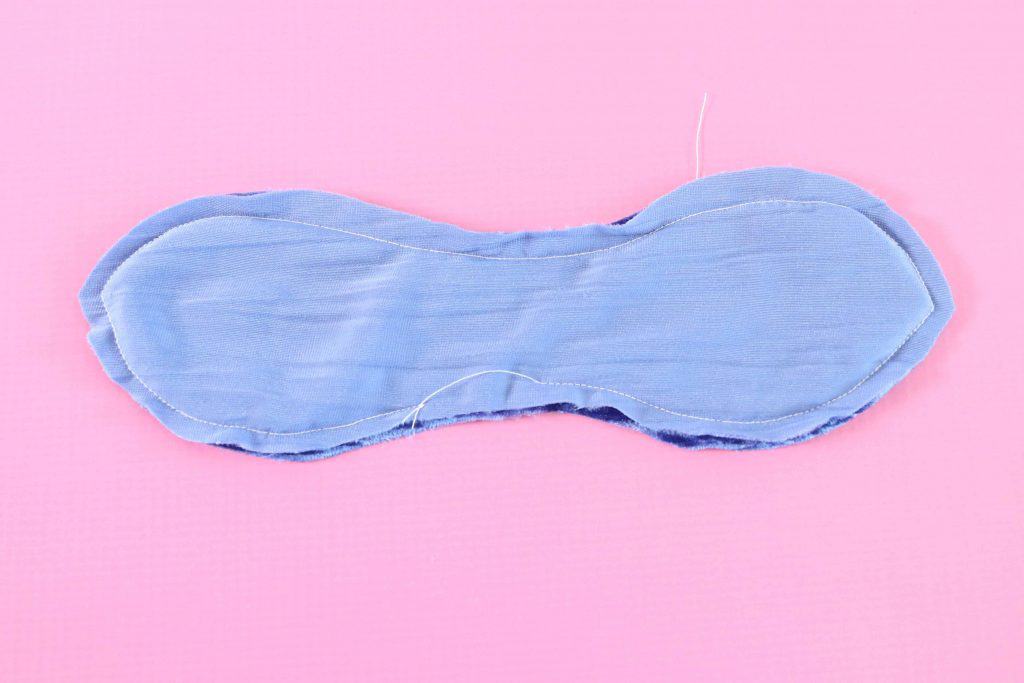
- Backstitch as you begin your seam, sew all the way around the fabric leaving a one inch opening for turning along the narrowest part of the bow.

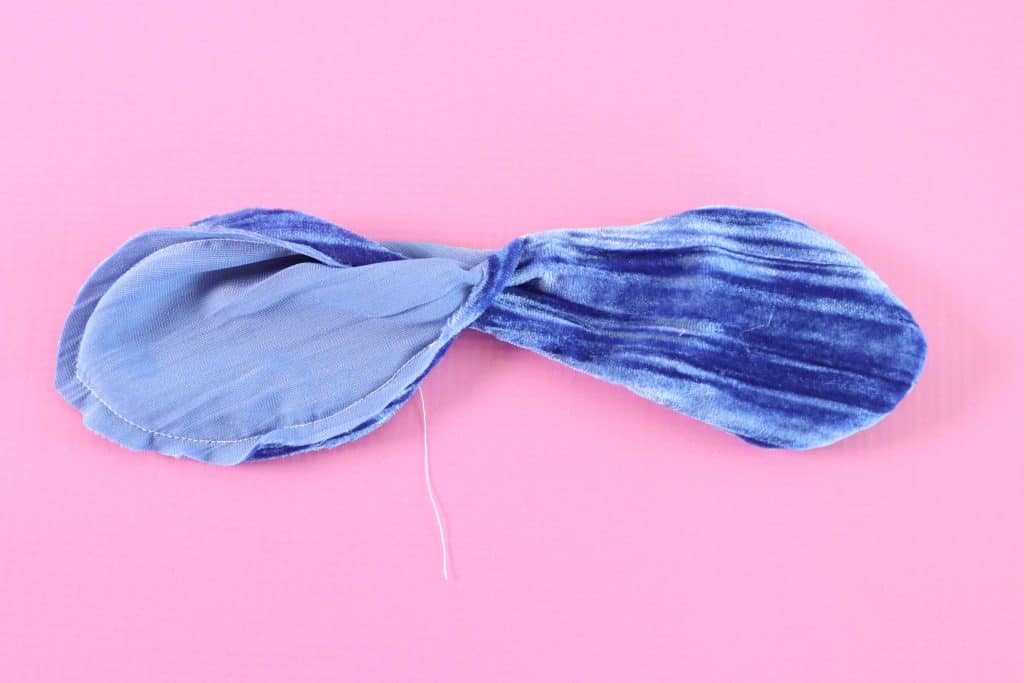
- Trim the excess fabric cutting close to, but not through the stitching lines. This will allow you to get a crisp point once the tail has been turned right-side out.

- Flip the tail right side out through the one-inch opening along the narrowest part of the tail.

- Sew a ladder stitch to close the 1-inch opening or draw a small line of Beacon fabric-tac along the seam allowance of the opening to close it. Gently pinch the fabric together and let the glue dry.
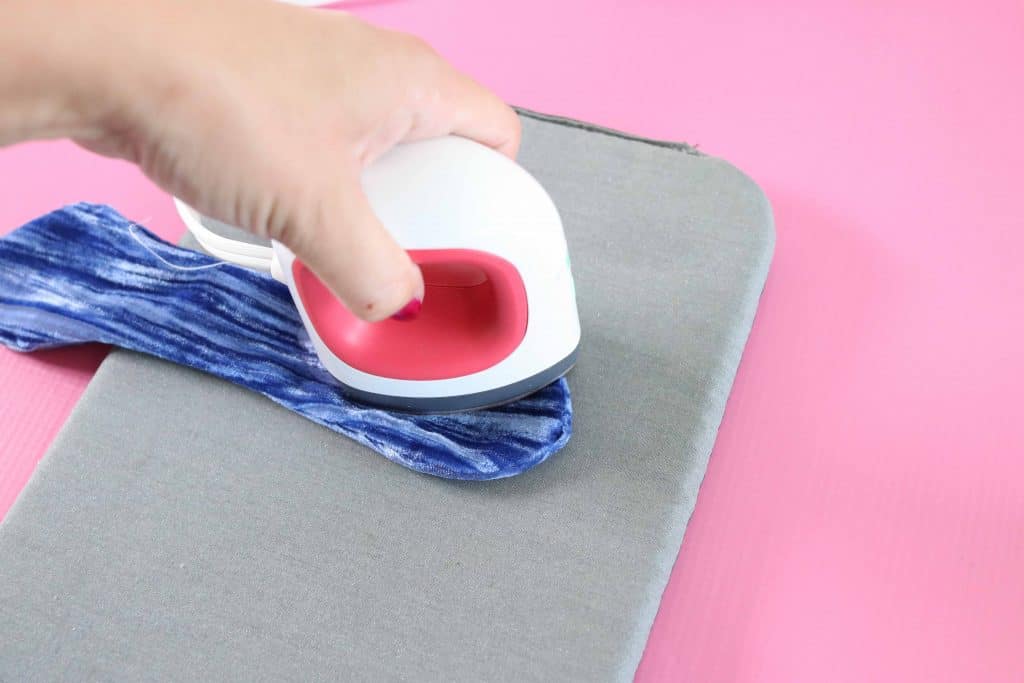
- With a hot iron, press the tail along the seams.

- Step Five: Sew the Short Ends of the Scrunchie
- With the long edges of the main scrunchie sewn, we need to get the short ends right sides together so we can sew them next.
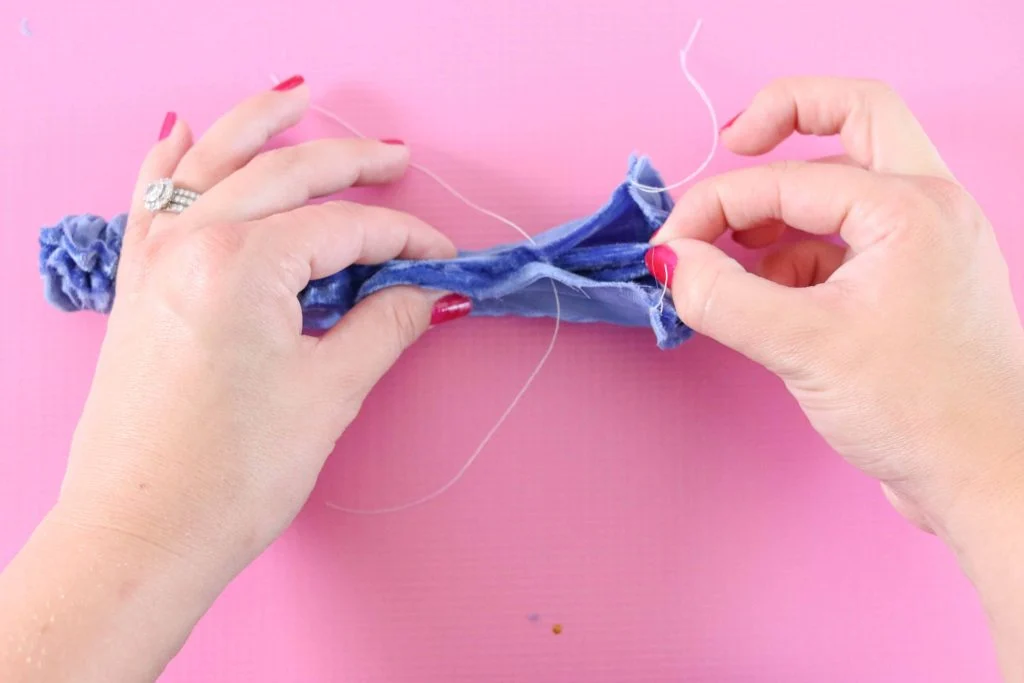
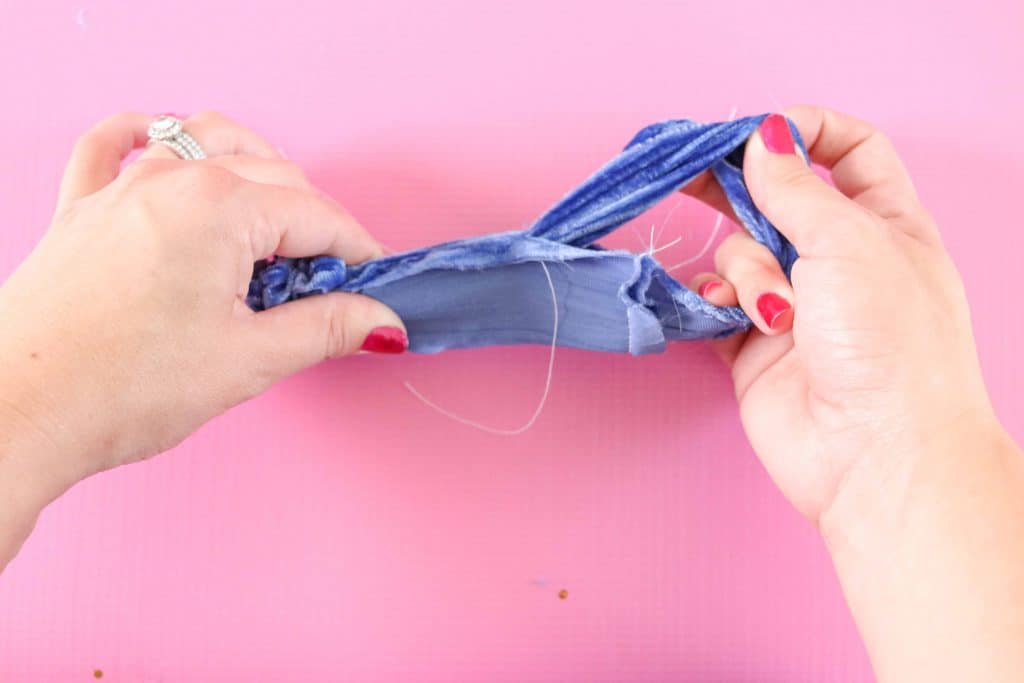
- Start by pulling one end of the scrunchie down into the tube, pulling it through until it reaches the other end. You can refer to the video for a clear demonstration of this.
- *PRO TIP: I like to use my loop turner for this. Push the end inside the tube a few inches, then reach in with the loop turner from the far side and hook the turned-in end. Then, simply pull the loop turner out, bringing the end of the fabric with it!

- If you don't have a loop turner, you can also hook a safety pin to the end of the fabric and work the safety pin through the tube until it comes out the other side.
- Next, pin the two short ends of the scrunchie together. They should be right sides together.
- *PRO TIP: It helps to pin the corners together first, then fill in the remaining length of fabric with pins.

- Sew the short ends with a 3/8 inch seam allowance. Make sure to keep the fabric flat as you sew over it.

- This is what your scrunchie should look like after sewing the short ends together.

- Then, pull the two sides away from the seam. You now have a loop with a small opening along the edge.


- Step Six: Add Elastic to the Scrunchie
- It's almost time to add your elastic! But first, iron the scrunchie flat with the seam along either the top or bottom edge.
- Next, cut a piece of 1/4 inch wide elastic to 8.5 inches long.
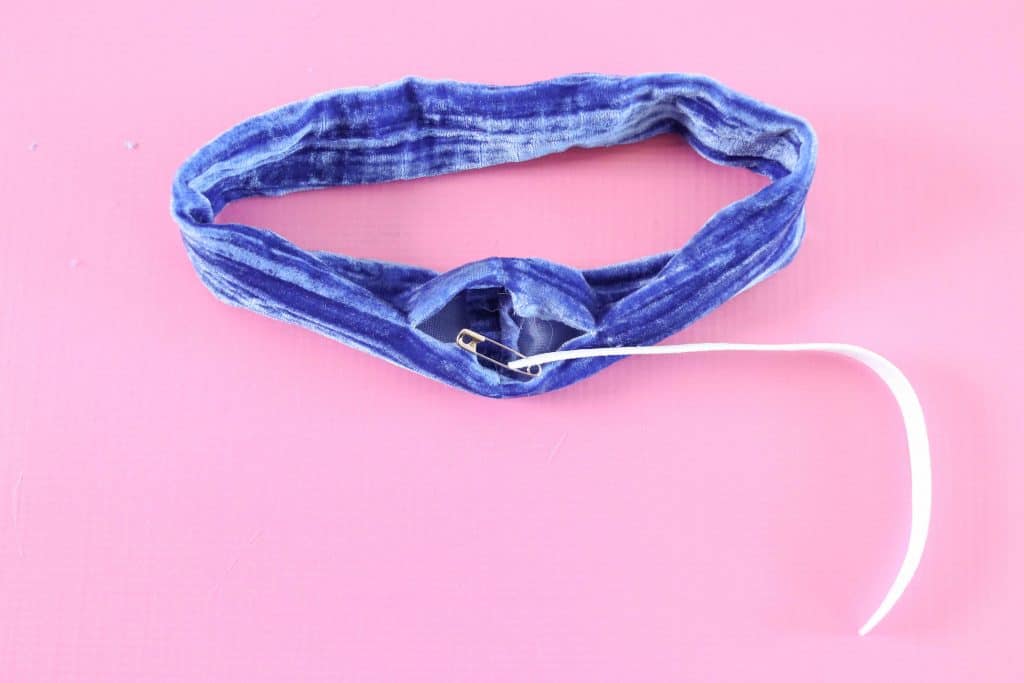
- Attach a safety pin to one end.
- Insert the safety pin into the scrunchie through one side of the opening.

- Start working the safety pin through the scrunchie by pushing it further into the tube, then pulling the fabric over it.
- Once the tail end of the elastic is about to disappear into the scrunchie, use another safety pin to attach it to the fabric at the opening. You don't want to lose this tail or you'll have to start all over!
- Next, continue working the front end of the elastic through the scrunchie until the safety pin emerges from the opposite side of the opening.
- Remove both safety pins and pull both elastic tails as far out from the fabric of the scrunchie as possible.
- Overlap the ends of the elastic by 1/4 to 1/2 inch.
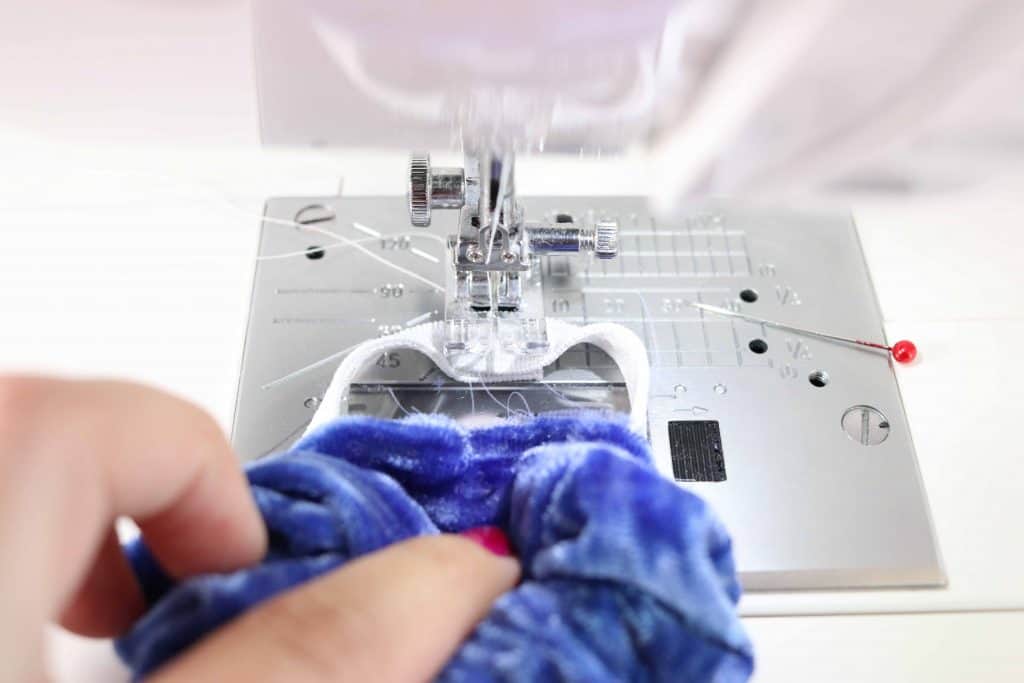
- Take the scrunchie to your sewing machine and sew across the ends of the elastic several times with a zigzag stitch. Make sure not to catch the fabric in this stitching, keep it pulled forward and out of the way.

- *PRO TIP: While sewing the elastic ends together is the best and strongest way to secure them, you can tie the ends together tightly in a double knot instead if you're in a hurry or having trouble with this step.
- Step Seven: Finish the Opening in the Scrunchie
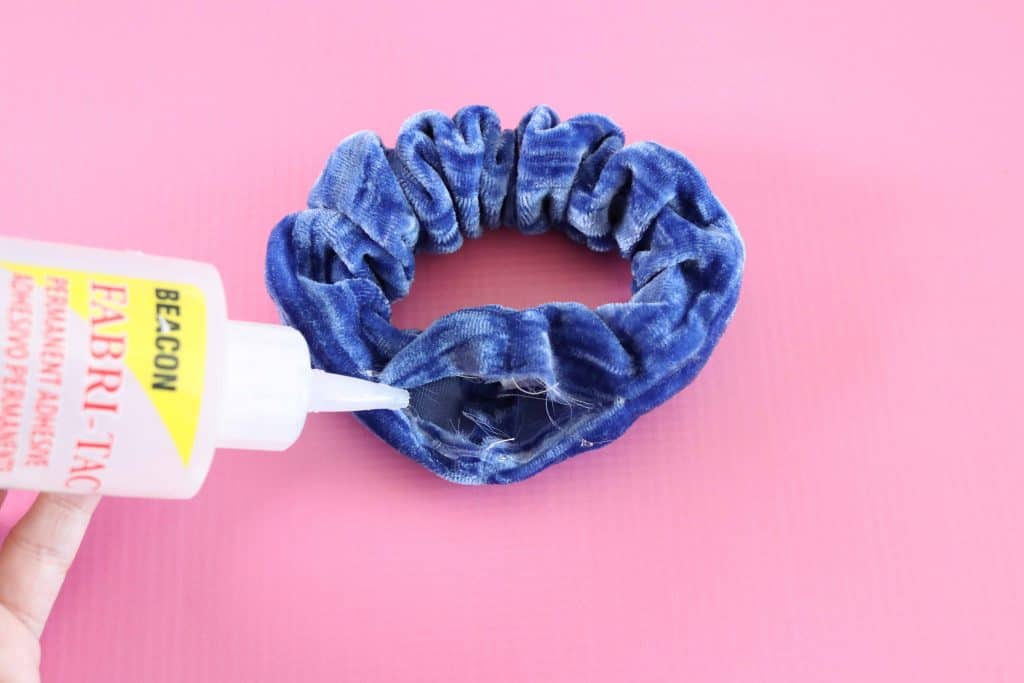
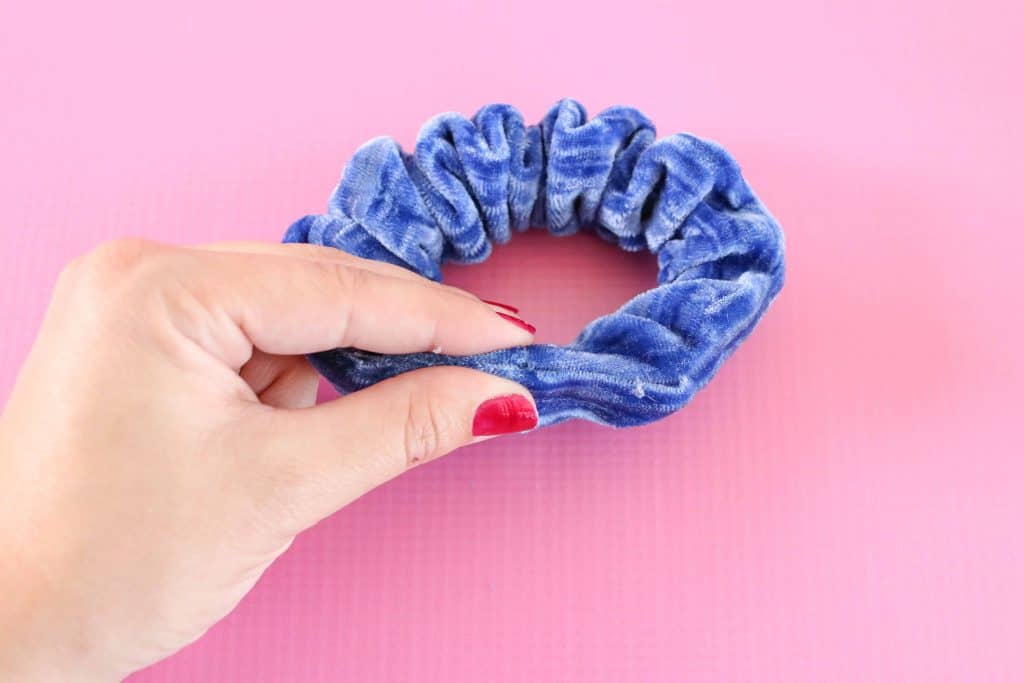
- Finally, close up the opening left in the side of the scrunchie with a ladder stitch using a hand sewing needle and thread.
- Another option is to close the opening with a line of fabric glue along the inside of the seam allowance - it's up to you!


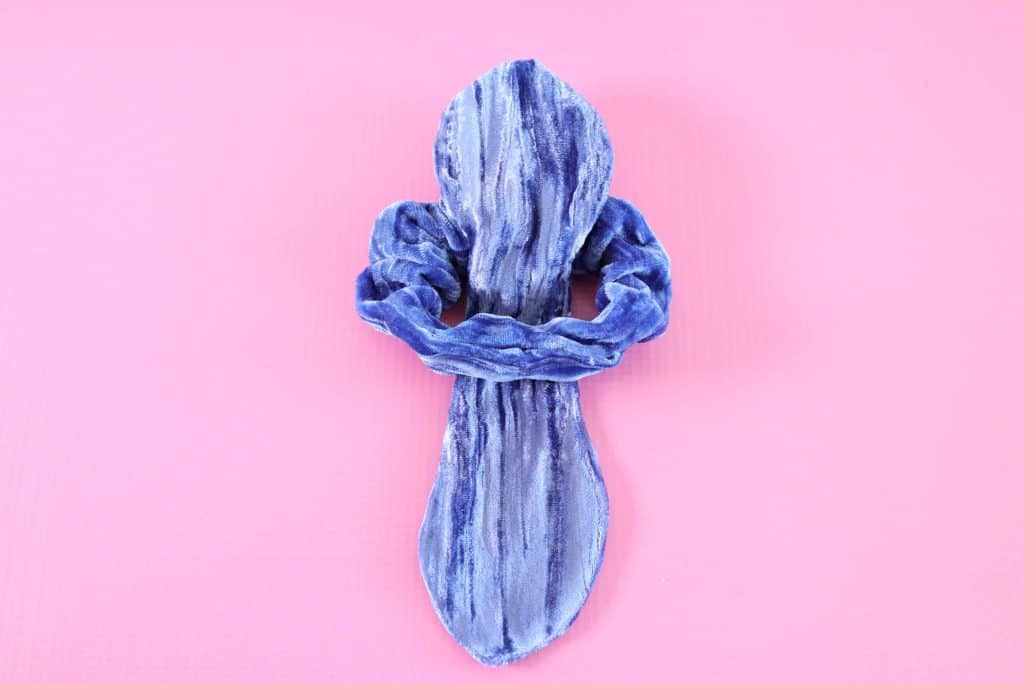
- Step Eight: Tie The Tail to the Scrunchie
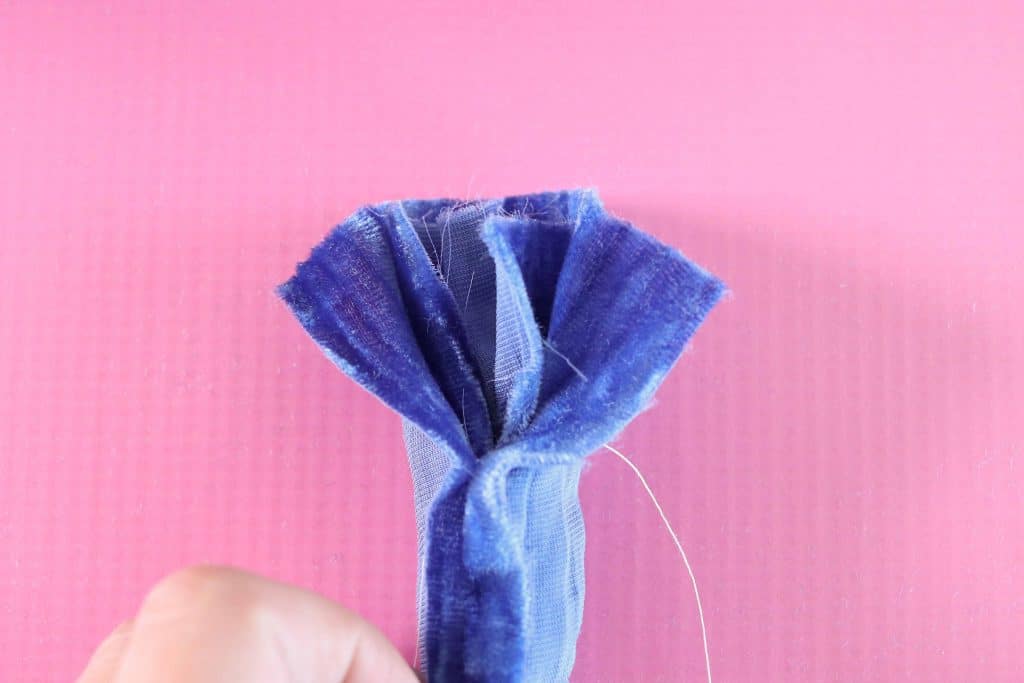
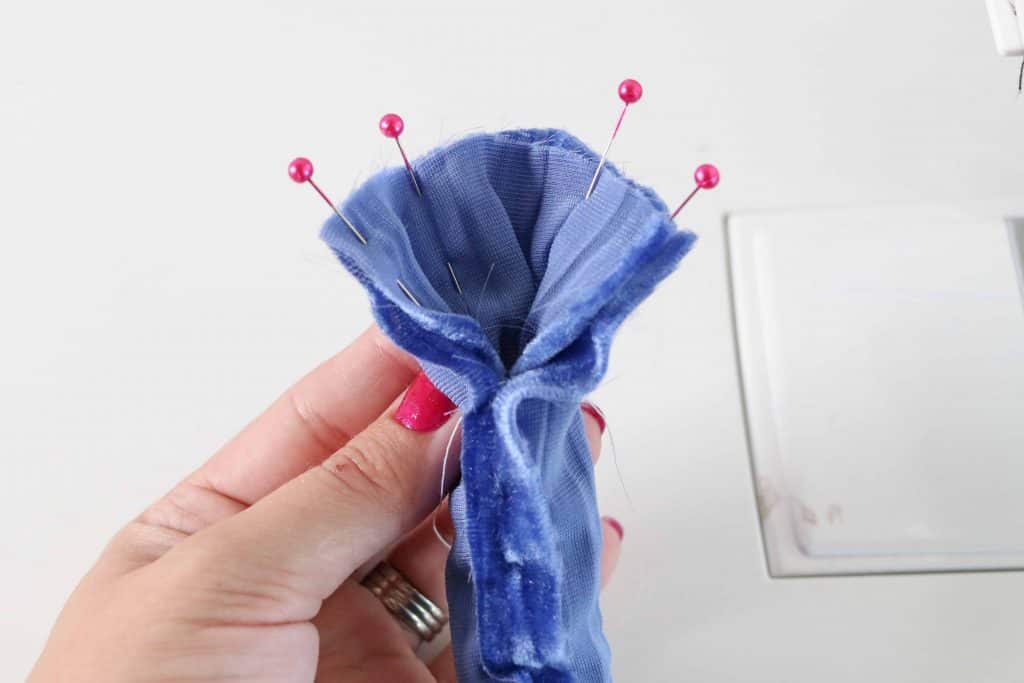
- Take the bunny ear tail and tie it in a knot around the scrunchie.


I can't wait to see what you make with this tutorial!
Make sure to join my Crafting & Sewing FB group and share what you are making with these free SVG files!
Follow me on Instagram for daily craft and sewing inspiration.
Don’t want to forget about this free template? Save this project for later! Click here to save this project on Pinterest.

Good morning.
Can you please send the tutorial to my email address?
Many thanks have a great day
Susan
I can't Get The Free Download Pattern
I can't get the pattern either. My granddaughter was so disappointed
hey, check your emails, the first link on this blog via the pdf pattern is the best one that works and the link gets sent to your email or downloads straight from the internet brower/app you are using 🙂
Hi, I love the bunny ear tutorial and I have the PDF, but I was wondering if you made a tutorial on the bow? I’ve clicked on the subheading and the photo and nothing popped up. I may be just out of the loop here but i have no idea how to make that bow. Thanks!
I have the same problem 🙂
me to can you send then to me
thanks
I can't Get The Free Download Pattern
Thank you for this post. I use to make Scrunchies when I was young with all my scraps. They would match the outfit I made. These are so much fun. I love the tail and bows. So hlad they are back in style.
I couldn't get the pattern either. Can you please send it to my email?
Thank you so much,
Sue
hey, check your emails, the first link on this blog via the pdf pattern is the best one that works and the link gets sent to your email or downloads straight from the internet brower/app you are using
Hello, thank you so much for these patterns. I am so excited to get started but I am not sure if I am missing something. There is a pdf file and a png file. Is an svg file available? I would love to be able to cut my fabric using the Maker. Thank you again and its good seeing you on the mend.
Hi Cyndee, you can use the PNG file for the Maker! 🙂
Hi Cyndee, I just updated the folder with the SVG file!
Coud u please email me the tutorial
Jessicasymonds@outlook.com
Buenas tardes soy de Venezuela te felicito por tan buena explicación y dedicación !!! Es un proyecto que me ha ayudado con mis ingresos y estos patrones serán una nueva versión que utilizaré ........ bendiciones a tus manos y mucha salud a tu vida por la labor que haces.
Having problems getting the pattern for the scruchie, not sure if you could send it to me.
Feel free to email me at thesweetredpoppy@gmail.com
Hi Do you think I can just do a no sew using just the Fabric glue? Will it hold?
Yes! I would recommend using FabriTac!
Such a cute idea! Please send me the download of the scrunchies/
Hi Marlene, there's a link to the download near the supply list!
I love this so much! Can I get the pattern ?
Thank you for sharing. YYou u are so talented.
Hi Sheri! You can download the pattern with the link provided near the supply list.
I enjoyed your tutorial on these adorable scrunchies! You are a very good teacher for beginners, giving friendly advice as you show them step by step how to make these. I like how you are encouraging those new to sewing the different methods to choose from and giving them permission to take their time while making this project!
I do have one concern. In your video, you show gluing shut your scrunchie opening BEFORE you insert the elastic. Other than that, it was a very good tutorial.
Love the cute little iron!
Hi Mary, thank you for mentioning that. It was an accidental edit from my video editor that I'm working on amending!
I love these scrunchies! I have made several with the tails.
I must be missing something. How do I make the scrunchies with the bows?
Thanks!
Love this pattern! When printing should it be set to fit to page or to 100%?
I just click print on mine and it was ok
Hello Kimberly,
Is the Fabric glue good enough or should we sew it?
I can't Get The Free Download Pattern
I can’t get the free Pattern download. Not showing up to download
These are so cute, thanks so much for the pattern and tutorial! And I just love that velvet fabric...can you share where you purchased it? Thanks!
Thank you so much, it is very clear and the pattern is cute,
You said somewhere there are separate instructions for the bow and tails. I cannot find them, can you help?
I can't get the download nor the tutorial
Nice tutorial, but no visual. Some of us work better with visual.
Can we talk about that wallpaper behind you? Gorgeous! Can you share where you got it?
I can't get the free pattern. Can you help? Tried several times do you have pdf? Thanks.
Where did you get your fabric at??
I cannot download the patterns. I really want to make a few of these for my Granddaughters. I love the Sweet Red Poppy website! I’ve already made several face masks for them getting ready for going back to school. Thank you for making these all available!
I tried to download the scrunchie pattern, my 9 year old little girl really loved them, but I couldn't do it.
Your tutorial stops before you show how to make the bow with the loops and tails. Do you have another video that demonstrates this?
I couldn’t download the patterns for the scrunches.
I can’t download the pattern either and keep going in circles.
Hi my teacher,
I'm from Myanmar.I can download your pattern .I will try to do .Thankyou so much for teaching.
I discovered your website while looking for mask patterns and love it! My daughter wants scrunchies to match her masks, but I don't own the winzip software required to open the download offered on this site. I noticed a lot of previous comments that mention the same problems accessing the download. Is there a pdf or this pattern available on your website?
thank you again for all that is available here!
Cherie
Hi Kimberly,
I'm new to your website and posts. It's clear that you put a lot of work into these and the content is nice; the photography is beautiful. I am a novice sewist. Just now downloaded the patterns for the scrunchies. (Thank you!) Next thing I needed was a downloadable (formatted for download and printing) version of the written instructions and photos you provided but I could not find a "print" button. I did manage to do a copy and paste into a word document so that I don't have to constantly look at my pc and be online in order to see what the next steps are. Formatting was tedious to make it a document that will be easy to refer to when I do try to make some of these scrunchies. Is this what I would expect to need to do for any patterns and instructions that I might buy in the future? I hope not. And I hope you have plans to make your instructions easy to download for us end-users. It makes experiencing your work much better for us. Thanks for reading.
How do you make the ones with the bows? It seems like the video cuts off at the end.
Thanks
How do you make the ones with the bows? It seems like the video cuts off at the end.
donde consigo los patrones de los scrunchies puede enviarme por favor por que no los encuentro
envieme a mi correo por favor niky1998bedon@gmail.com
Hola! Haga clic aquí para ver el patrón https://sweetredpoppy.ck.page/723b6a8899
Your video and tutorial are very good. Just printed out the pattern, can't wait to get started 🙂
Thank you
Thank you! I hope you enjoy it. Let me know how your scrunchies turn out!
Love this pattern! However your tutorial ends in the middle of the bow tutorial so I don’t know how to finish it. Can you explain how it’s finished?
Hi Tori! You are just going to give the bow piece a good press, glue the small opening to the bow closed with fabric glue, and tie a bow onto the scrunchie portion. Hope this helps!
great video thanks so mutch for the download go well dave