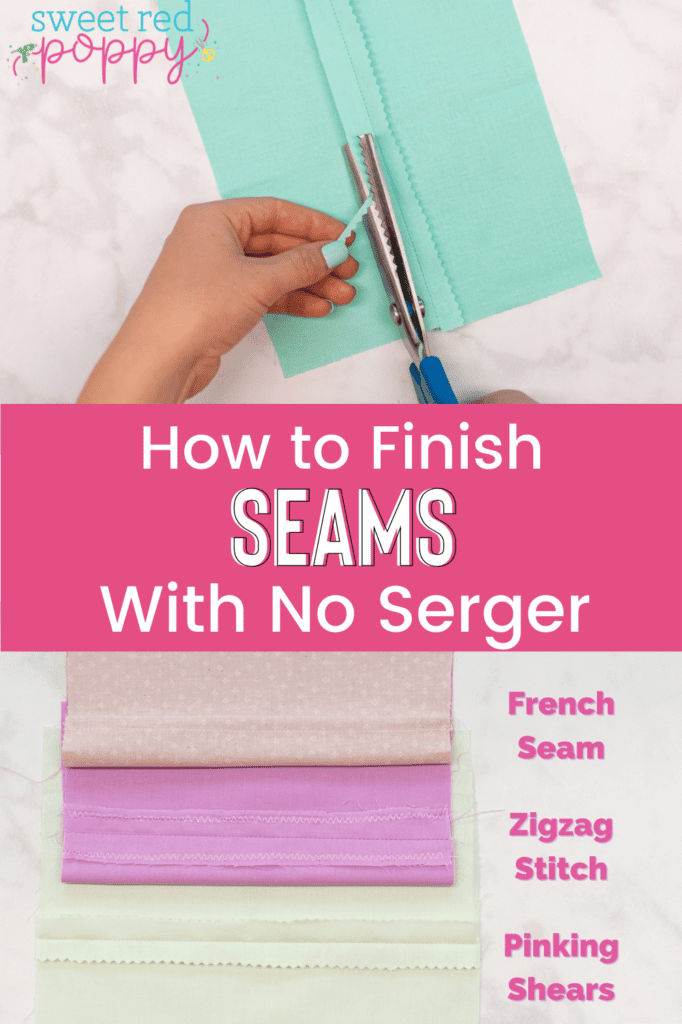
Make the inside of your project look as nice as the outside by finishing your seams! I'm sharing my 3 favorite non-serger, seam finishes.
Finishing seams is an important step in the sewing process that you definitely shouldn't skip! It helps to prevent the raw edges from unraveling, keeping the inside of your project looking clean and professional.
While the serger (also known as an overlocker) is an amazing tool that makes finishing seams quick and easy - not everyone has access to one. That's why I'm bringing you my top 3 seam finishes that you can do without a serger!
Table of Contents
What is a Seam Finish?
A seam finish is anything extra you do to the raw edges of your seam allowances to prevent fraying.
If you were to skip finishing your seams, the inside of your project may start to look quite messy over time - sometimes even after the very first wash. We don't want that!
There are many different types of seam finishes. Some are quick, easy, and great for beginners. Other methods are much more complex and time-consuming, but the result is a beautiful, high-end couture look.
The method you choose will depend on the fabric you're working with, your skill level, and your personal preference.
Why Are Seam Finishes Important?
If you've ever wondered why the inside of your sewing projects always seems to look messy, with fraying threads all over the place - it's likely because you're not finishing your seams.
Many patterns don't even mention seam finishing in the instructions, it's just assumed that you know to finish your seams. As a result, many beginners unknowingly skip this important step.
Seam finishes lock in the raw edges of the seam allowances, preventing (or at least limiting) fraying. Not only does this help your projects to look more professional, but it allows them to hold up better in the washing machine.
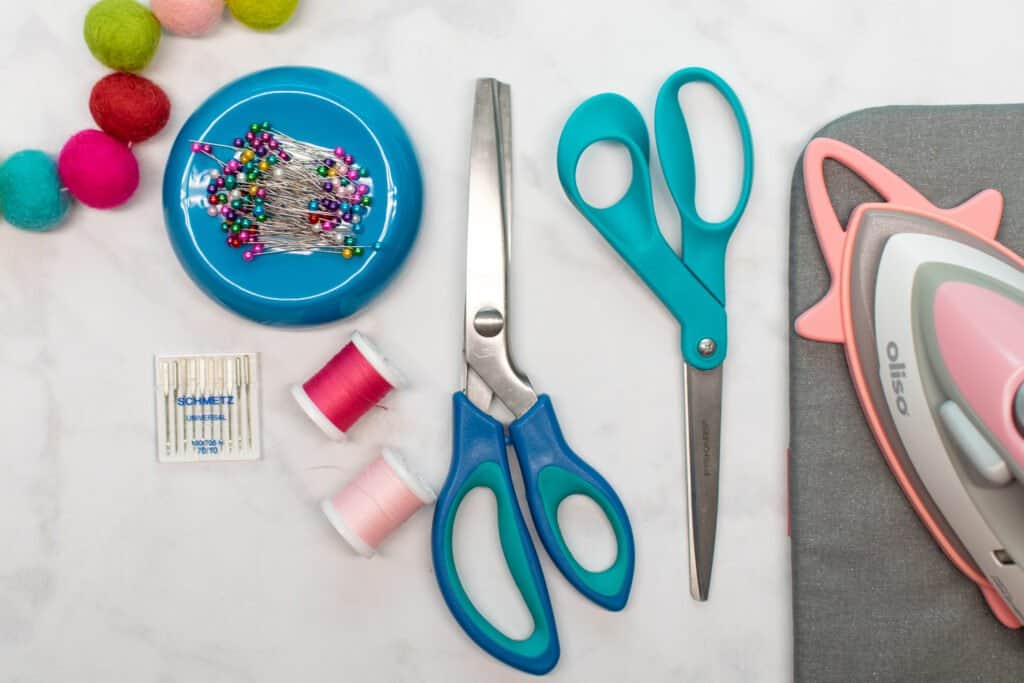
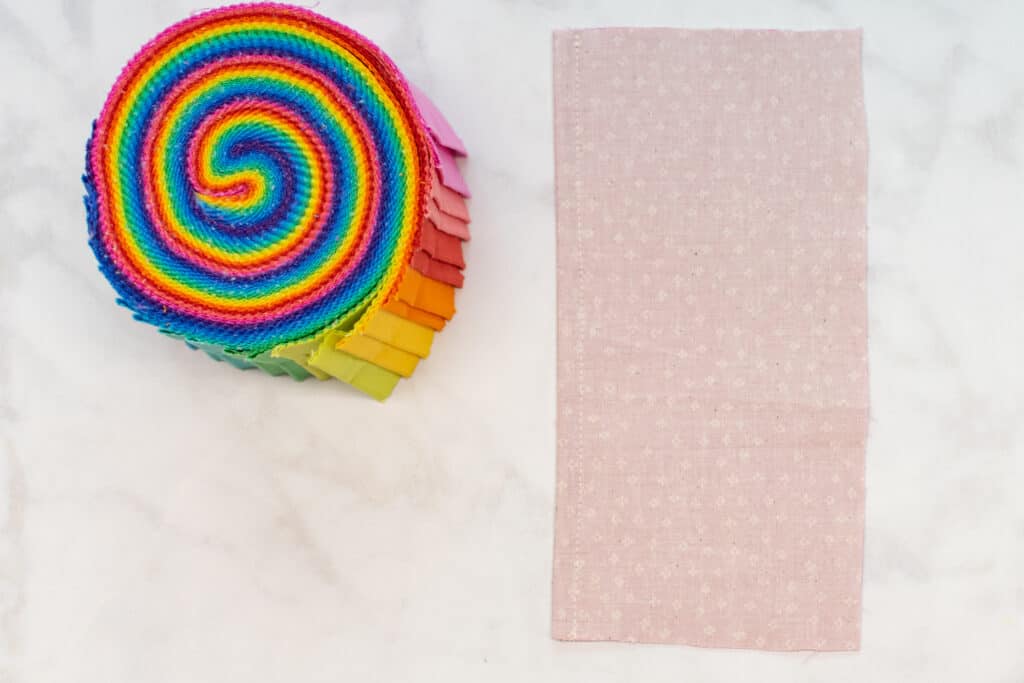
Supplies for Finishing a Seam
These are the supplies you'll need to have on hand to finish your seams.
- Pinking Shears (For Method #1)
- Scissors
- Matching Thread
- Sewing Machine Needle
- Sewing Pins
- Iron & Ironing Board
- Sewing Machine
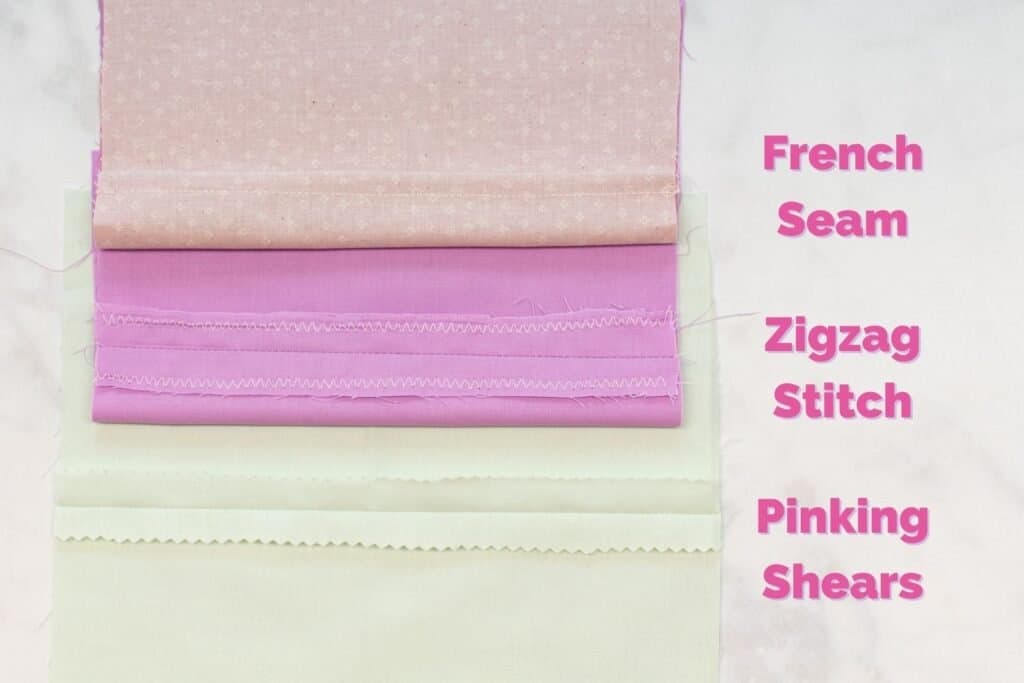
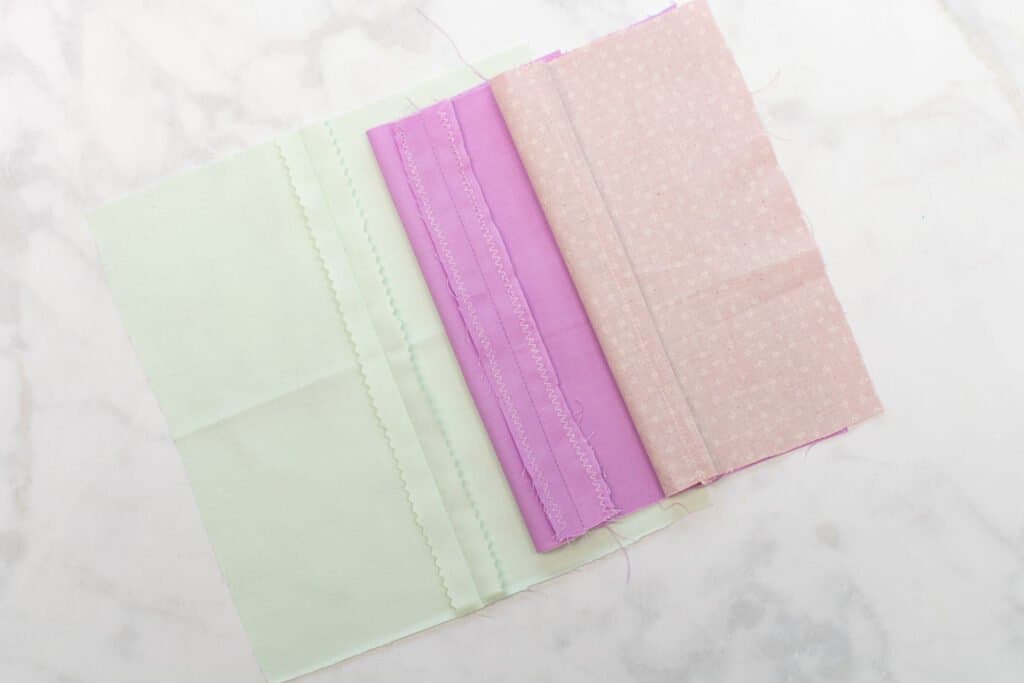
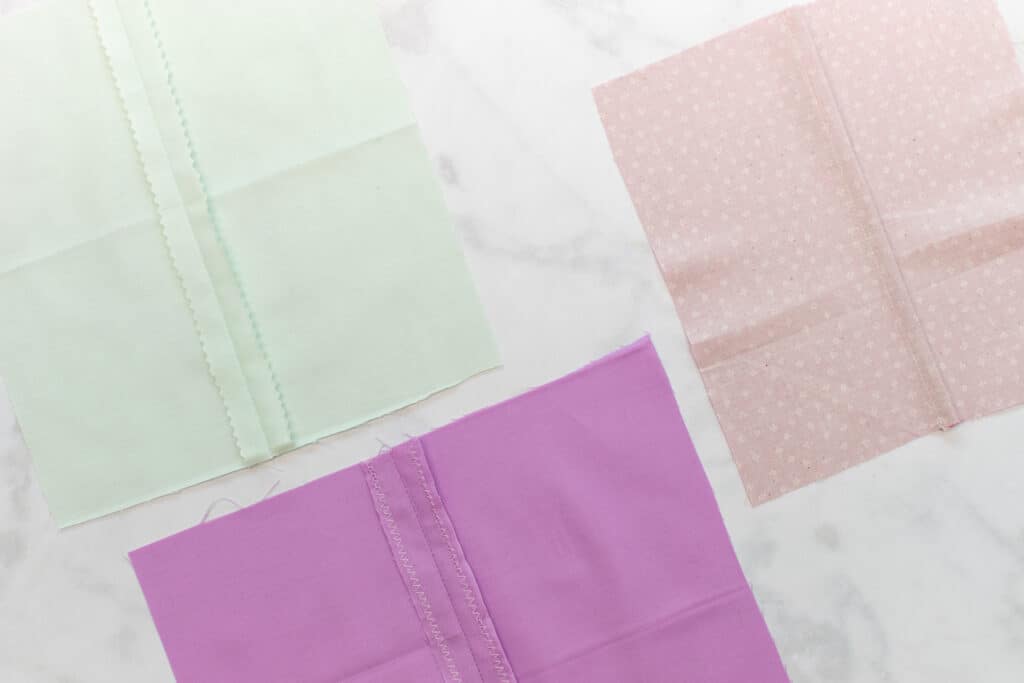
Seam Finish #1: How to Finish Seams with Pinking Shears
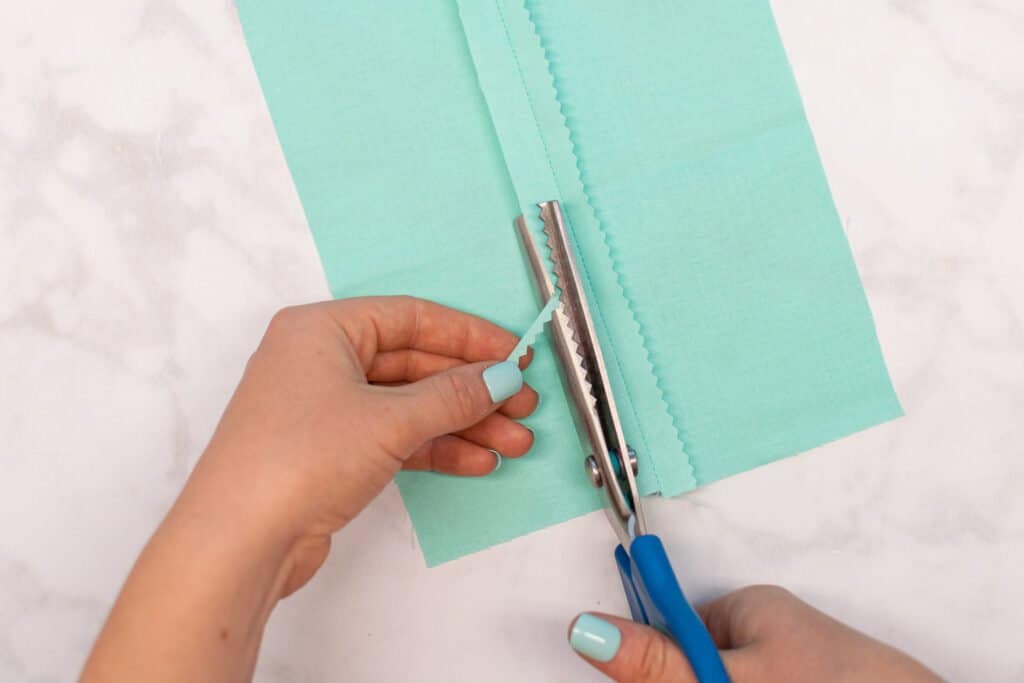
If you don't own a serger, using pinking shears is the easiest, most beginner-friendly method of finishing seams. But, keep in mind that this method still allows for some fraying. So it's best for projects that won't be machine-washed or are made from fabric that doesn't tend to fray.
So, what are pinking shears? They are a specialty type of scissors that cut fabric with a wavy line instead of a straight line.
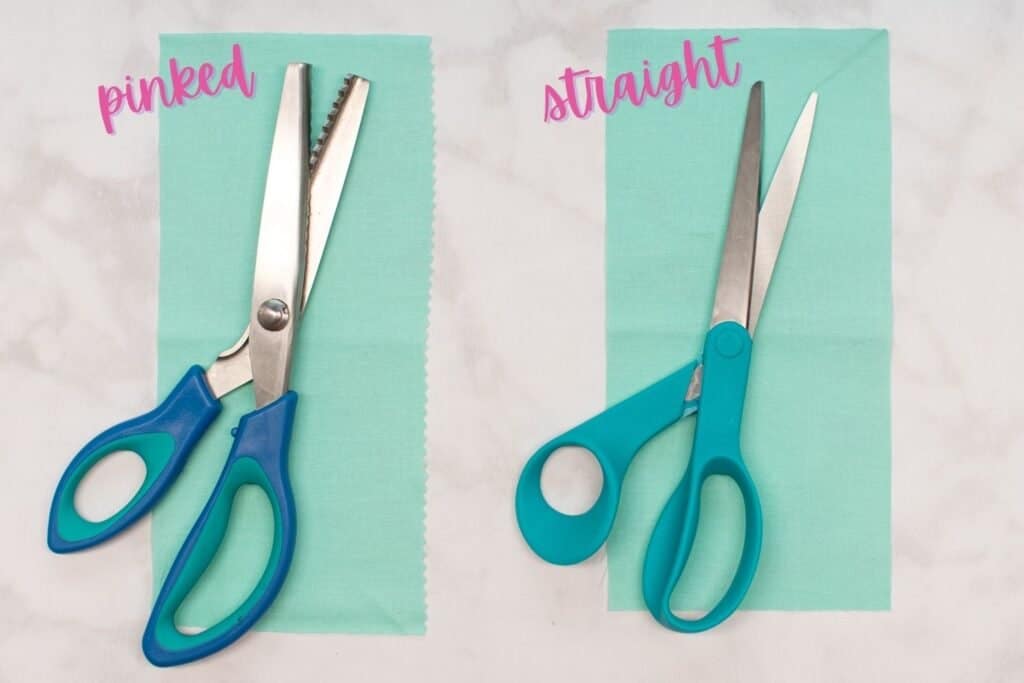
Because fabric frays less on the bias (on the diagonal), the wavy edge will unravel significantly less than a straight-cut edge.
To use pinking shears to finish your raw edges, simply cut your seam allowances down by half using your pinking shears after you sew each seam. You can use them exactly like you would use scissors.
*PRO TIP: If you like using a rotary cutter, you can get a pinking blade for your rotary cutter. I always love being able to use the same tool for more than one purpose!
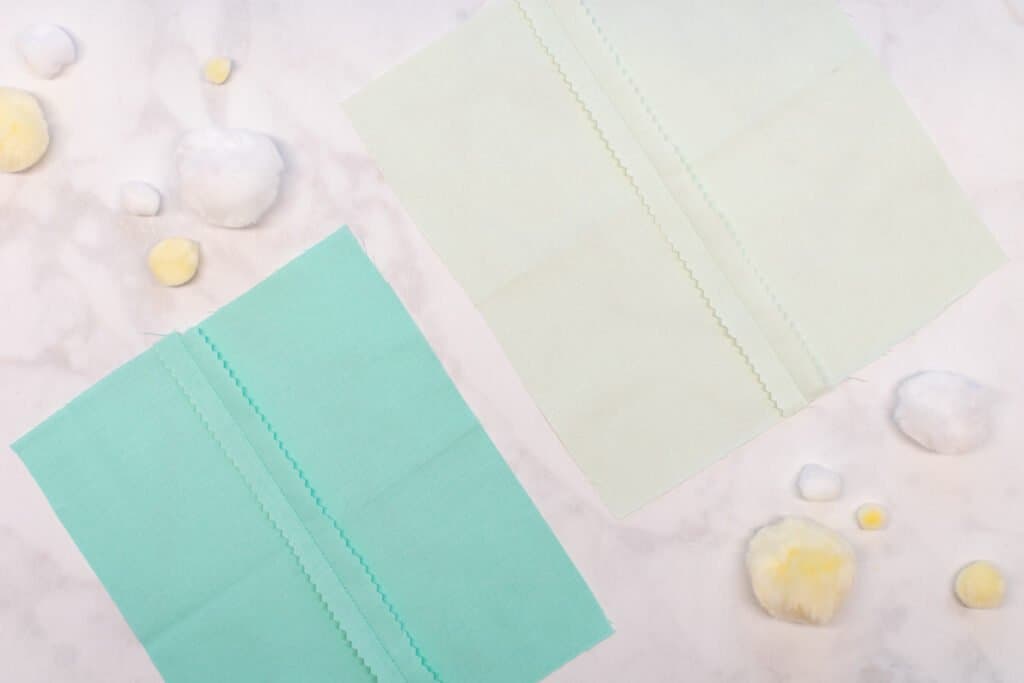
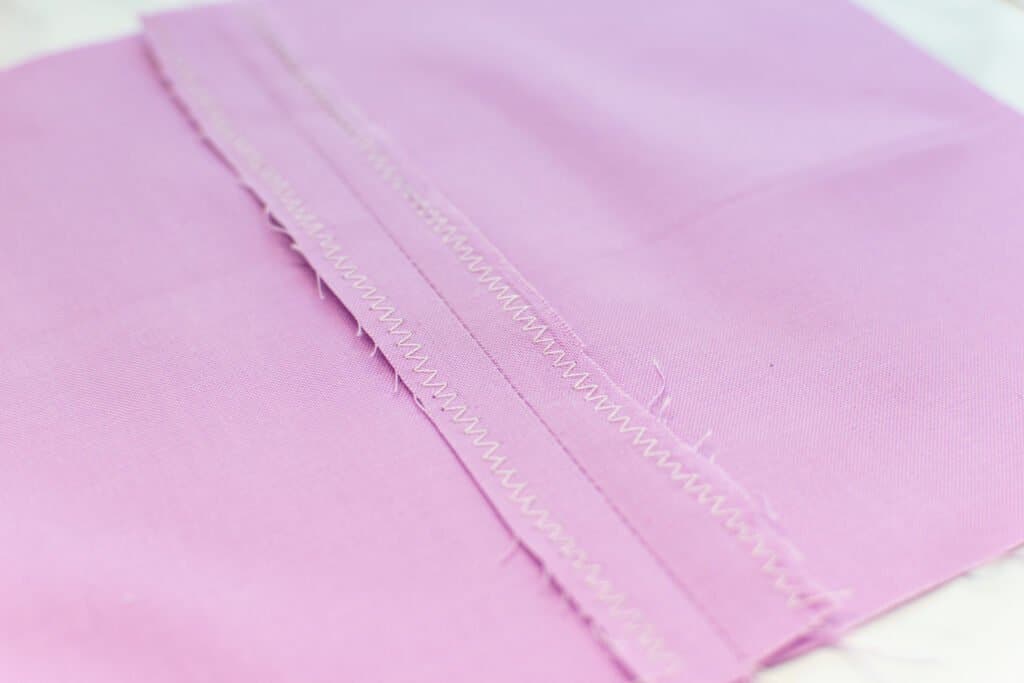
Seam Finish #2: How to Finish Seams with a Zigzag Stitch
If you're sewing something that will need to be machine washed, I would recommend using a zigzag stitch to finish your seams instead of pinking shears.

A zigzag stitch finish is also beginner-friendly and will allow less fraying than pinking shears, but it is a bit more time-consuming. However, keep in mind that this method will still fray more than a serger finish on fray-prone fabrics.
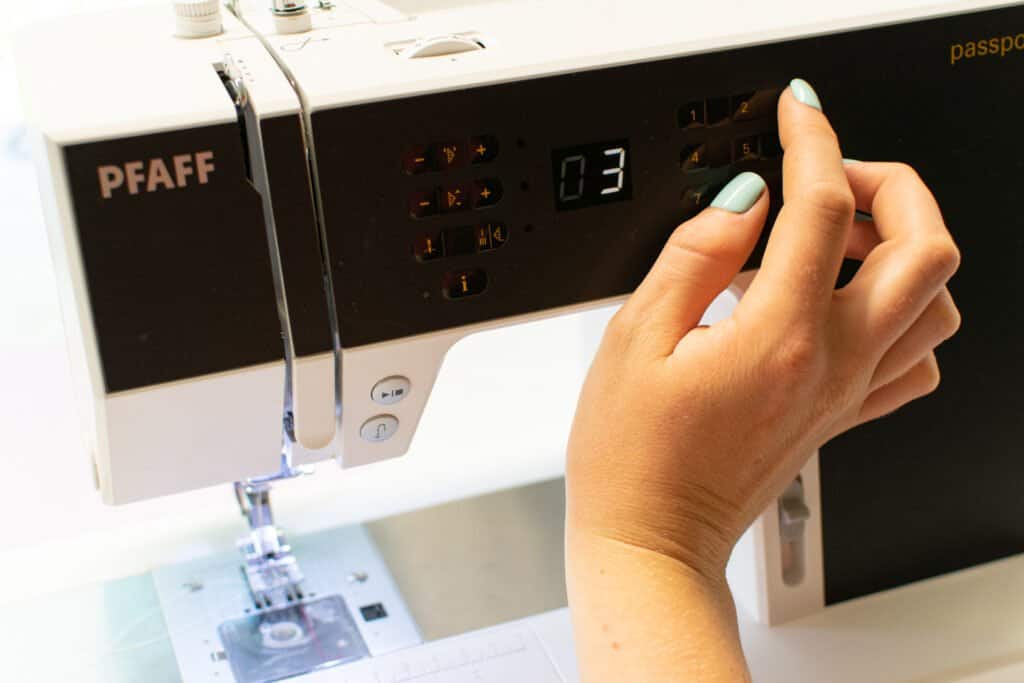
To finish a seam with a zigzag, first set your machine to the regular zigzag stitch. I find that the default length and width settings are usually just fine for seam finishing, but feel free to play around with the settings on scrap fabric first.
Next, sew your seam as usual. Press your seam allowances open.
Then, sew along each edge of the seam allowance, sewing 1/8 inch from the raw edge. Make sure not to catch the outside of your project as you sew - you want to sew through the seam allowance only!
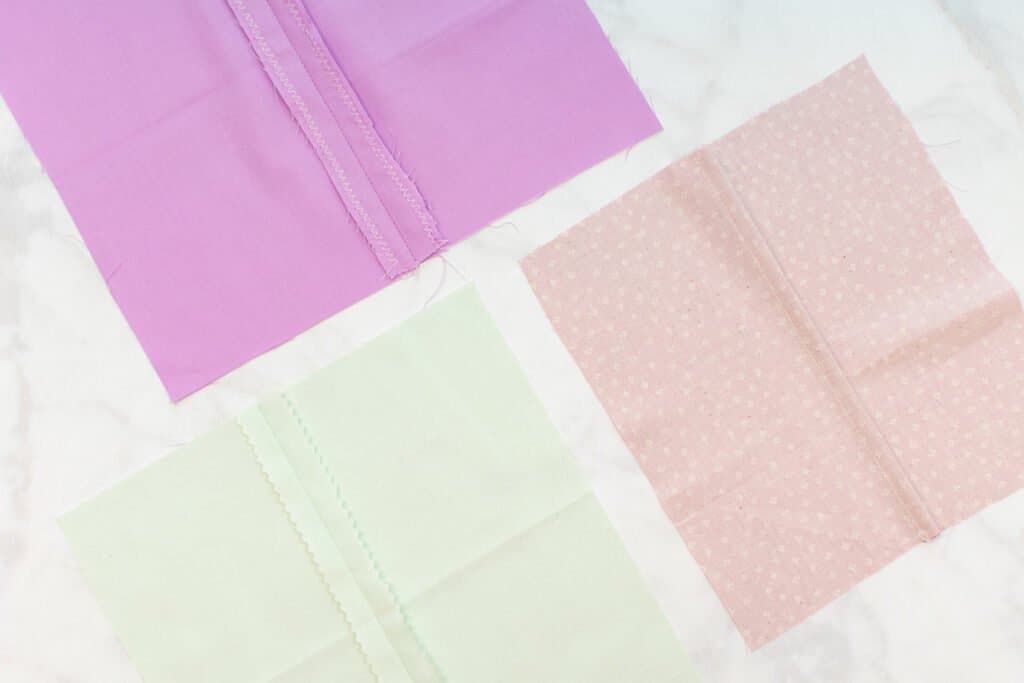
Seam Finish #3: How to Finish Seams with a French Seam
While the other two methods we discussed are simple and quick, they're likely not the right fit if you're looking for an ultra-clean, professional finish. My favorite couture seam finish is the french seam.
When you sew a french seam, all the raw edges are hidden inside of the seam allowance. The result is a seam that looks as pretty from the inside as it does from the outside.
The downside to french seams is that they are a bit trickier and take longer to sew than the other two finishes. In addition, you'll have to make your french seams as you sew each seam, not after the seam is already sewn.
Let's get into the mechanics of how to sew a gorgeous french seam.
Step 1: Divide Your Seam Allowance
When you sew a french seam, you sew the seam twice - first wrong sides together, then right sides together. This means that you will need to take only a portion of your seam allowance with each pass, so that the total seam allowance will be taken out by the end of your second pass of stitching.
The seam allowance you take on your second pass of stitching will be the width of your finished seam allowance. Because of this, I like to keep my second pass seam allowance at 1/4 inch or less for a less bulky finished seam.
With that in mind, here are the 1st and 2nd pass seam allowances I would use for different total seam allowances.
| Total Seam Allowance | Seam Allowance First Pass | Seam Allowance Second Pass |
| 1/4 inch | 1/8 inch | 1/8 inch |
| 3/8 inch | 1/8 inch | 1/4 inch |
| 1/2 inch | 1/4 inch | 1/4 inch |
| 5/8 inch | 3/8 inch | 1/4 inch |
| 3/4 inch | 1/2 inch | 1/4 inch |
| 1 inch | 3/4 inch | 1/4 inch |
Step 2: Stitch Wrong Sides Together
Once you've determined what seam allowance you will be using for your first and second pass of stitching, it's time to start sewing!
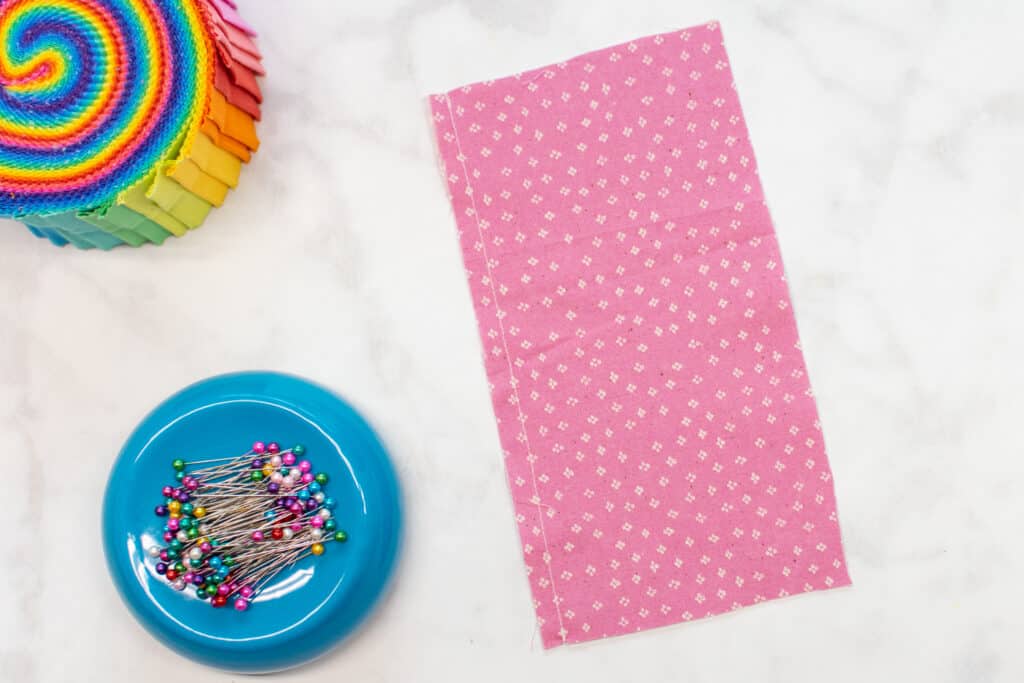
First, align the two raw edges of the seam you need to sew with the fabric wrong sides together and pin. This is opposite of how you would normally sew a seam, so it may feel strange!
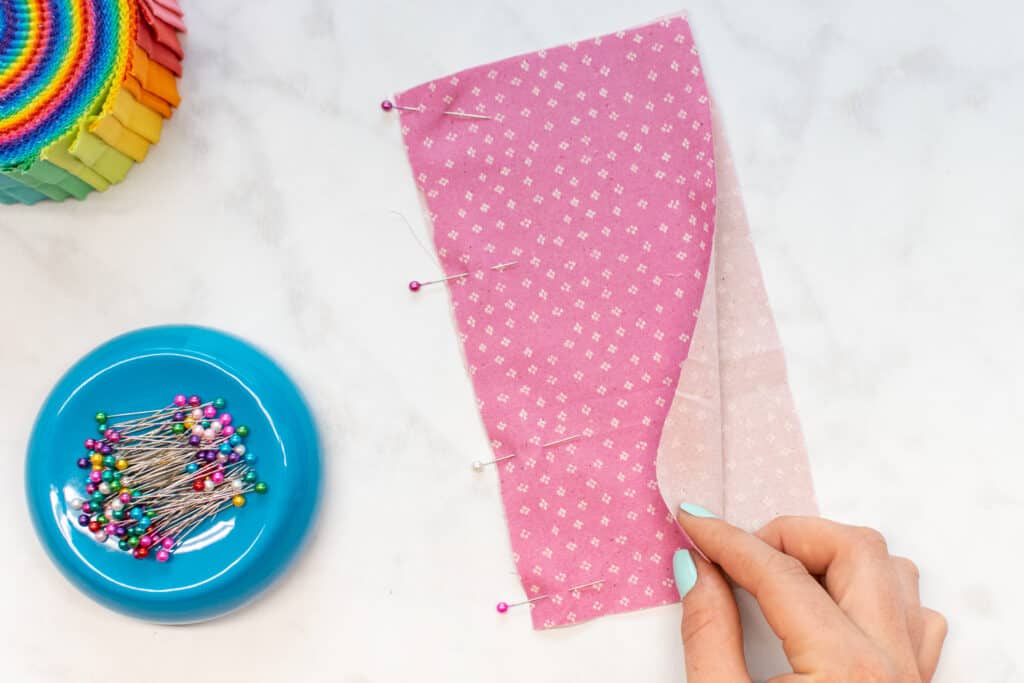
Next, stitch the seam using the first pass seam allowance from the chart above that corresponds to the total seam allowance your pattern calls for.
This seam allowance should be smaller than your total seam allowance!
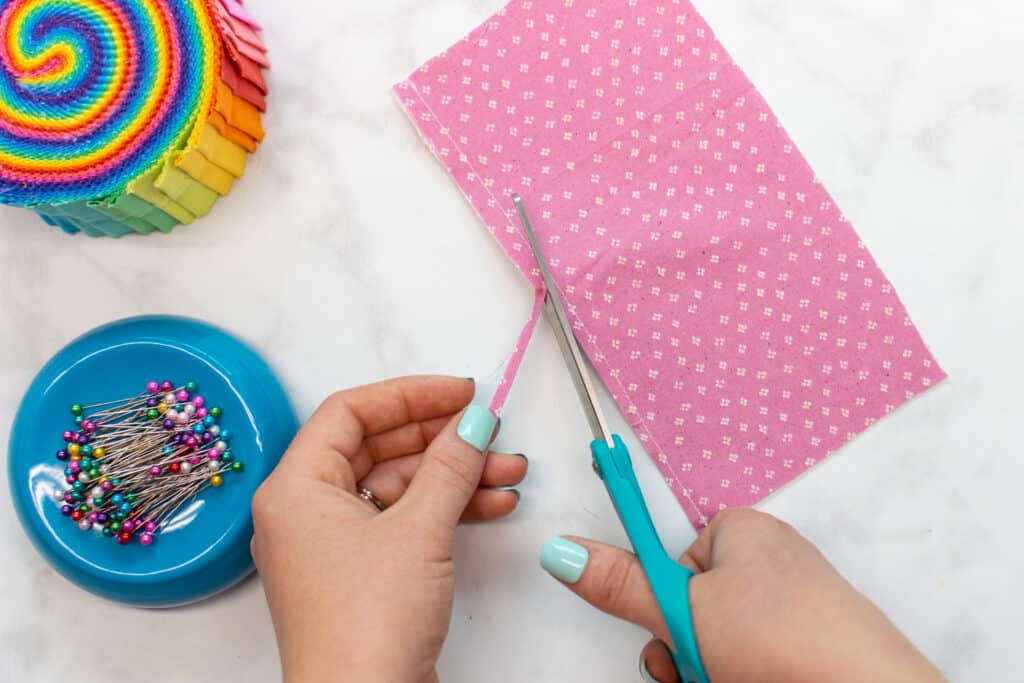
Once sewn, trim the seam allowance down to 1/8 inch with your scissors.
Step 3: Stitch Right Sides Together
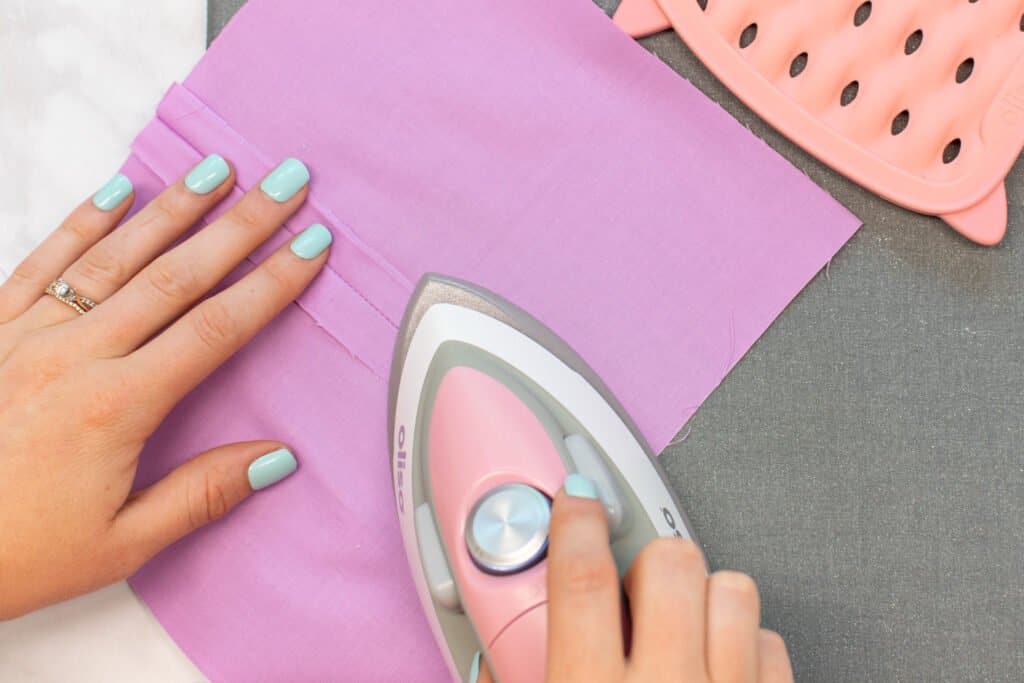
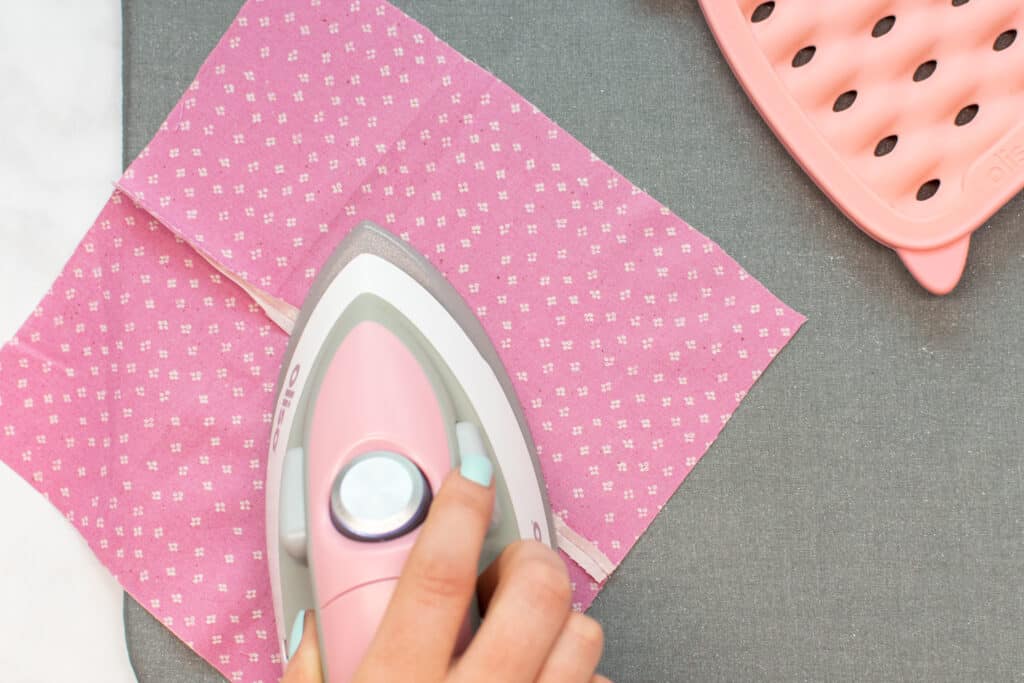
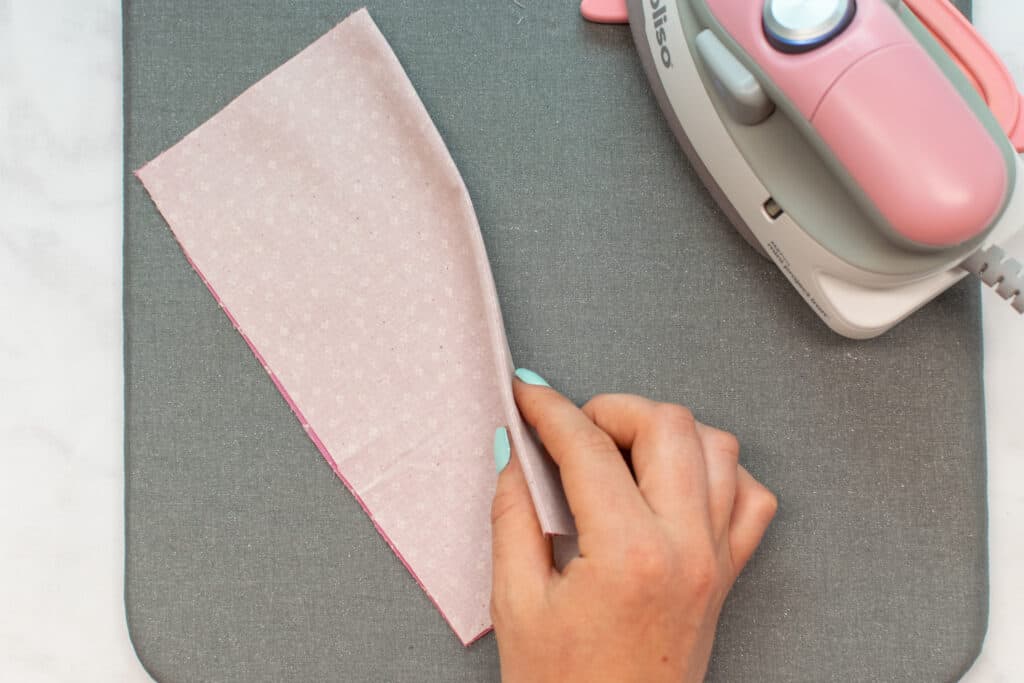
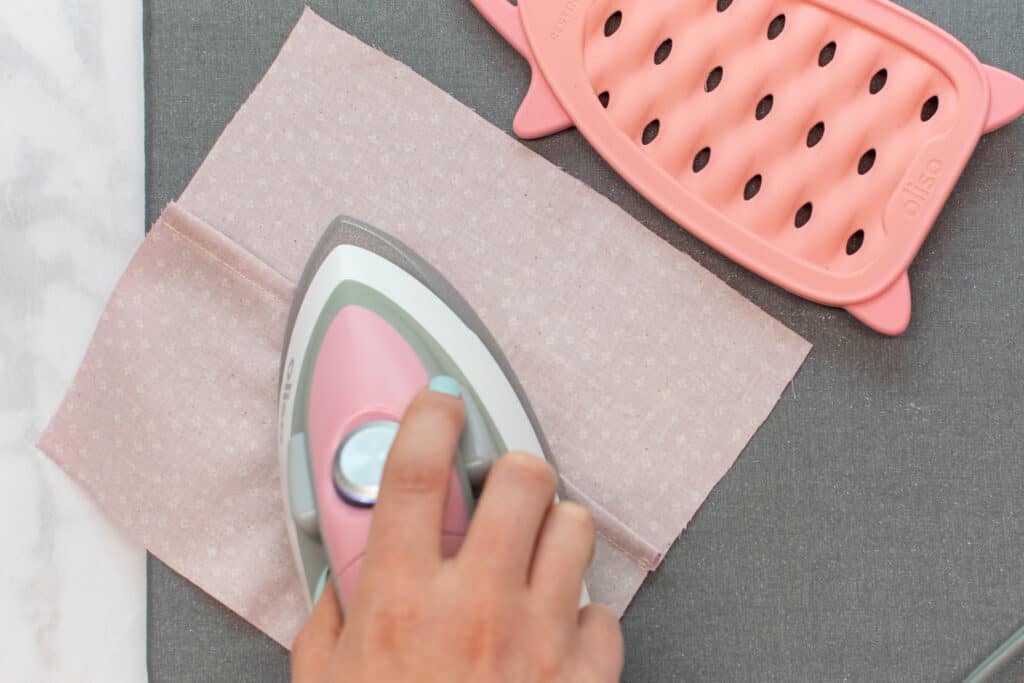
Next, to prepare the seam for the second pass of stitching, we need to first press it.
Start by pressing the seam allowances open. While this may seem counterintuitive, pressing the seam open first helps you to get a better, flatter press in the next step.
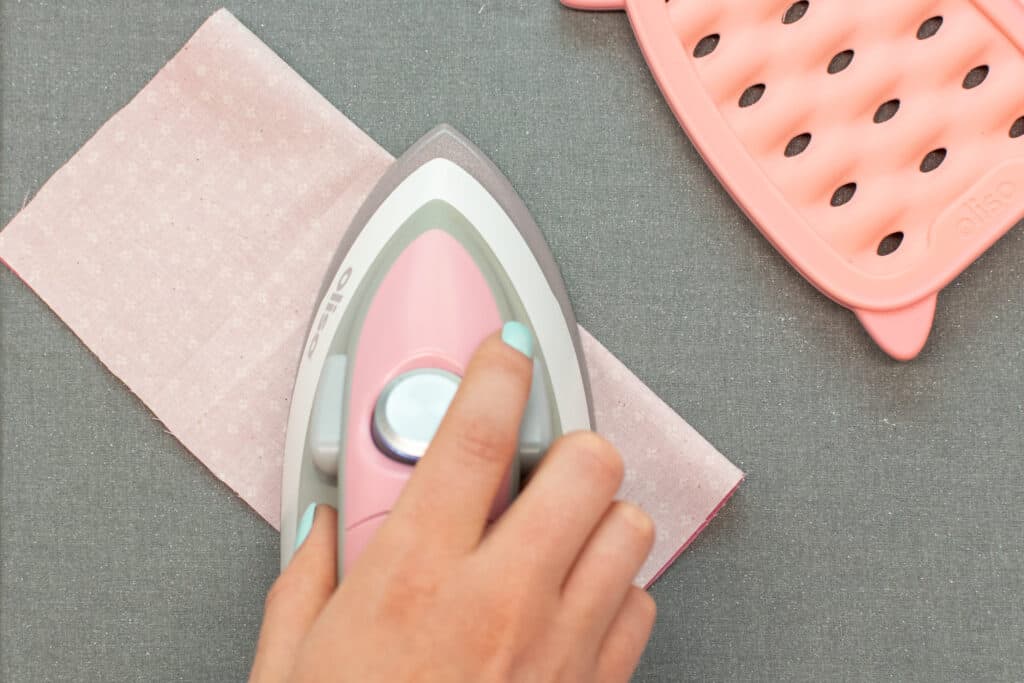
Once pressed open, flip the fabric so that it is now right sides together. Press the seam again, this time pressing the already sewn seam to the outer edge.
Then, stitch the seam a second time, this time with right sides together. Use the second pass seam allowance from the above chart that corresponds to your total seam allowance.
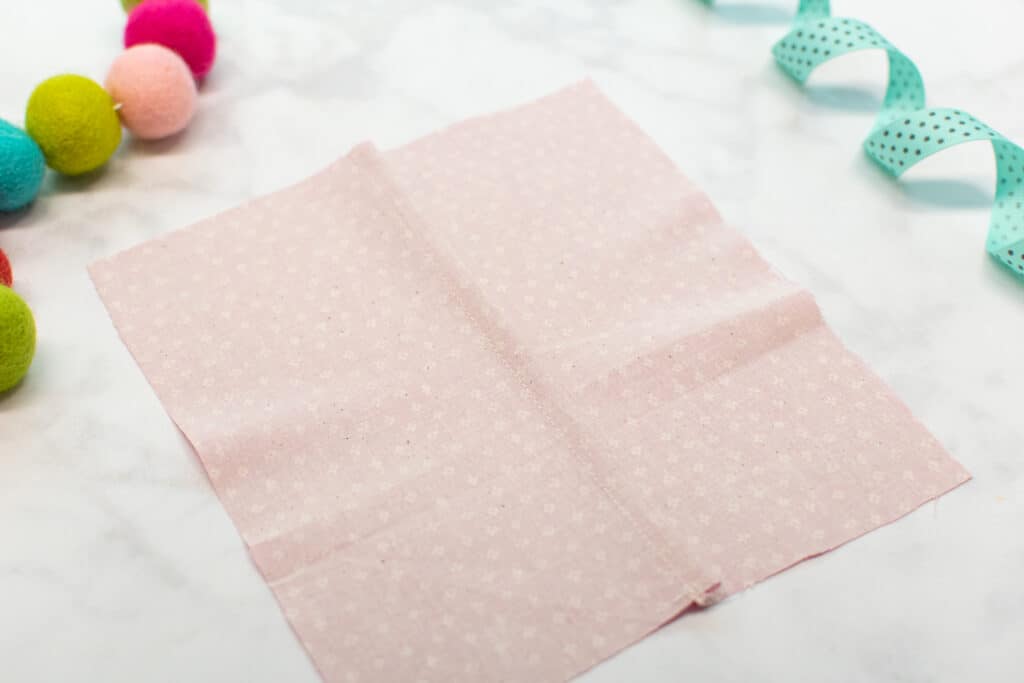
This last pass of stitching will hide all of the raw edges inside the seam for a beautiful finish.
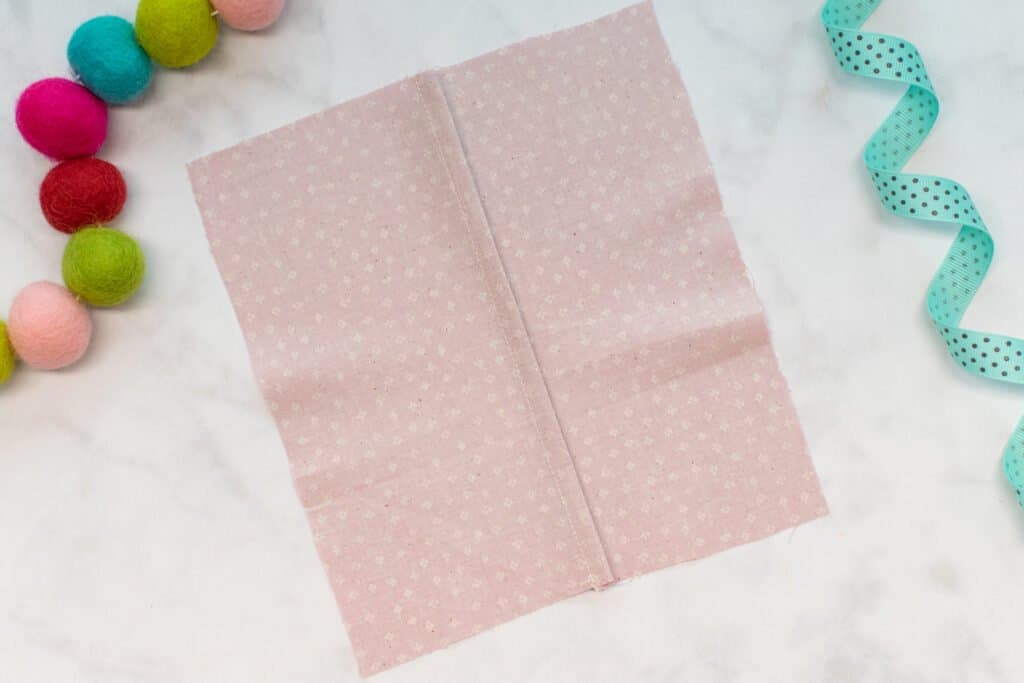
Finally, press the seam allowance to one side and you're ready to move on to the next seam!
I just love french seams for a gorgeous finish when I can't (or don't want to) pull out my serger! What's your favorite no-serger seam finish?
Looking for more great sewing techniques to add to your sewing-skill toolbox? Check out one of the tutorials below!
Don't forget to join my Facebook group where you can show us what you're making, ask questions, and learn from others.
Don’t want to forget this technique? Click here to save this tutorial on Pinterest!
Leave a Reply