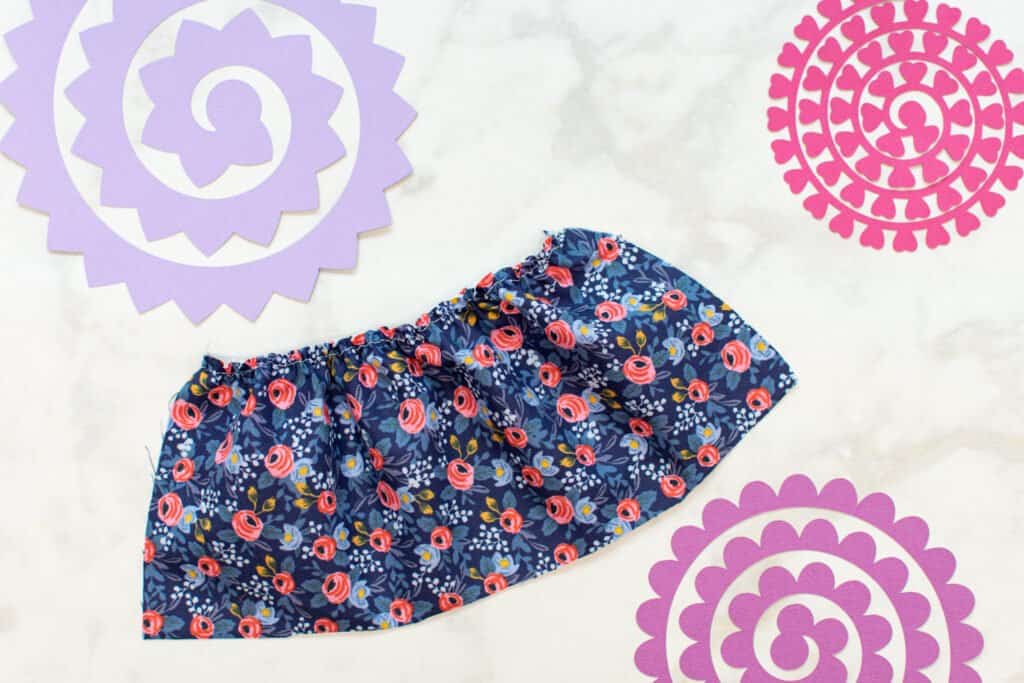
Learning how to gather fabric will open up a world of new sewing projects like beautiful ruffles, swingy skirts, and puffy sleeves. My step-by-step sewing tutorial will walk you through how to sew gorgeous ruffles and gathers in 3 different ways.
Gathering fabric is one of those techniques that looks complicated before you try it, but is actually pretty simple to do. And I promise, it's something you'll definitely want to learn how to do because creating ruffles and gathering fabric will open up a whole new world of sewing projects for you!
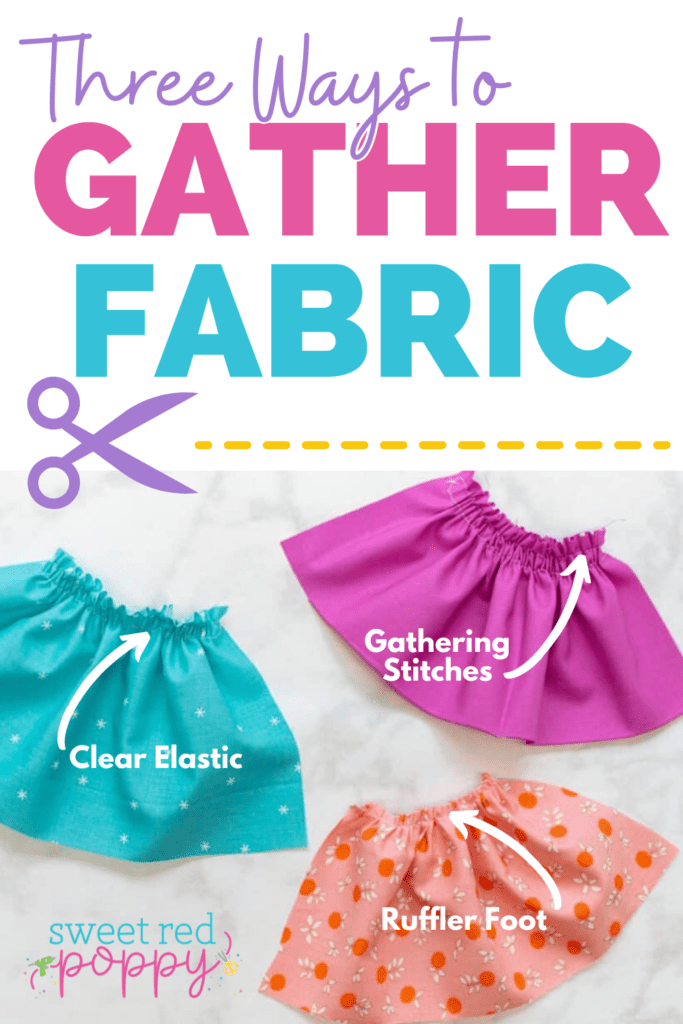
There are quite a few different methods for gathering fabric floating around the sewing community. Today I'm sharing my top 3 favorite ways to gather fabric with a step-by-step tutorial to walk you through each method!
Table of Contents
What is Gathering Fabric and Why Learn How to Do It?
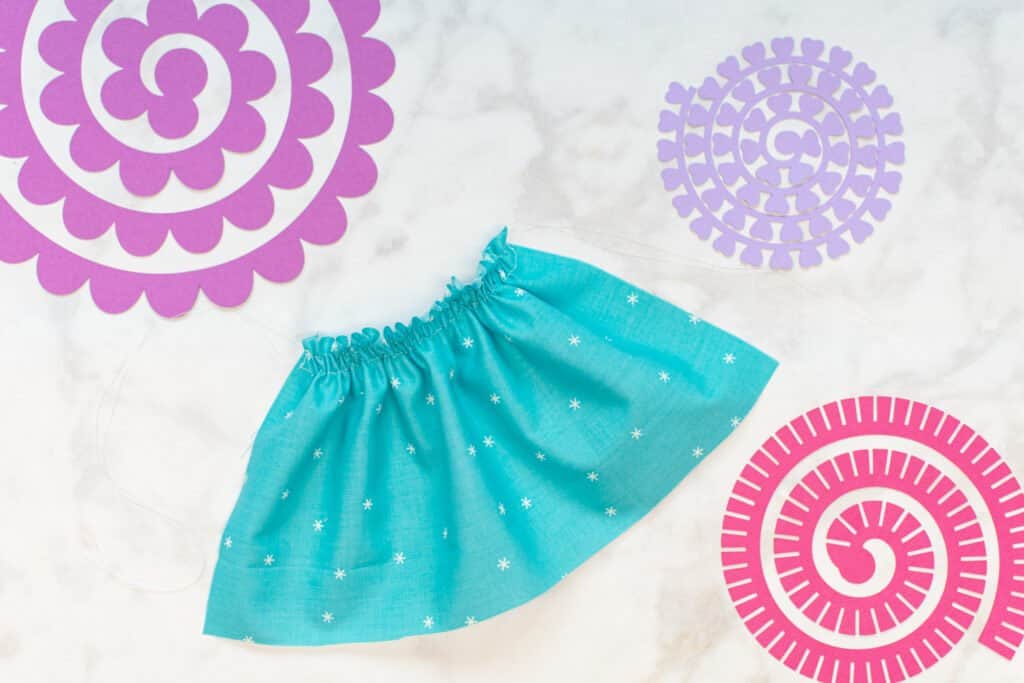
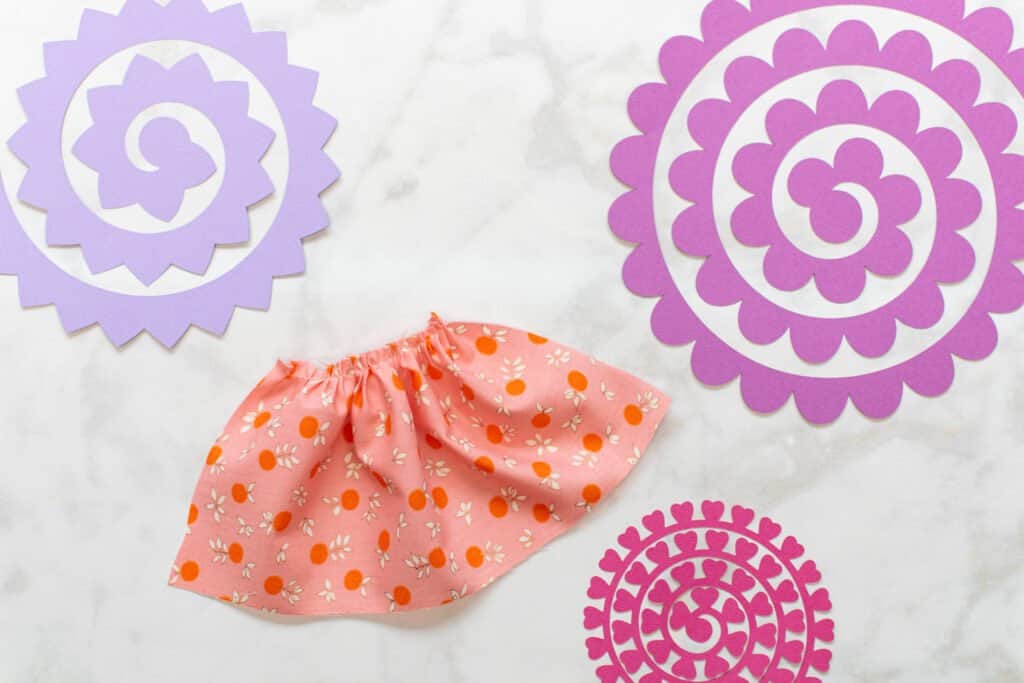
Gathering fabric is when you intentionally bunch up one side of a longer piece of fabric to fit to a shorter edge. This bunching up of the fabric creates fullness and volume, giving your project a fun detail.
An example would be a swingy, full skirt. The fabric along the waistline edge of the skirt is gathered up to fit onto a shorter waistband piece. This creates a cinched-in look at the waist that expands over the hip into a beautiful, voluminous skirt.
Gathering fabric is a really great sewing skill to learn, because it's incorporated into a lot of different sewing projects. You can use gathering to create puffy sleeves, tiered skirts, all sorts of ruffles, cute frilly details on home decor projects, and more.
It's a versatile sewing technique that is really worth learning!
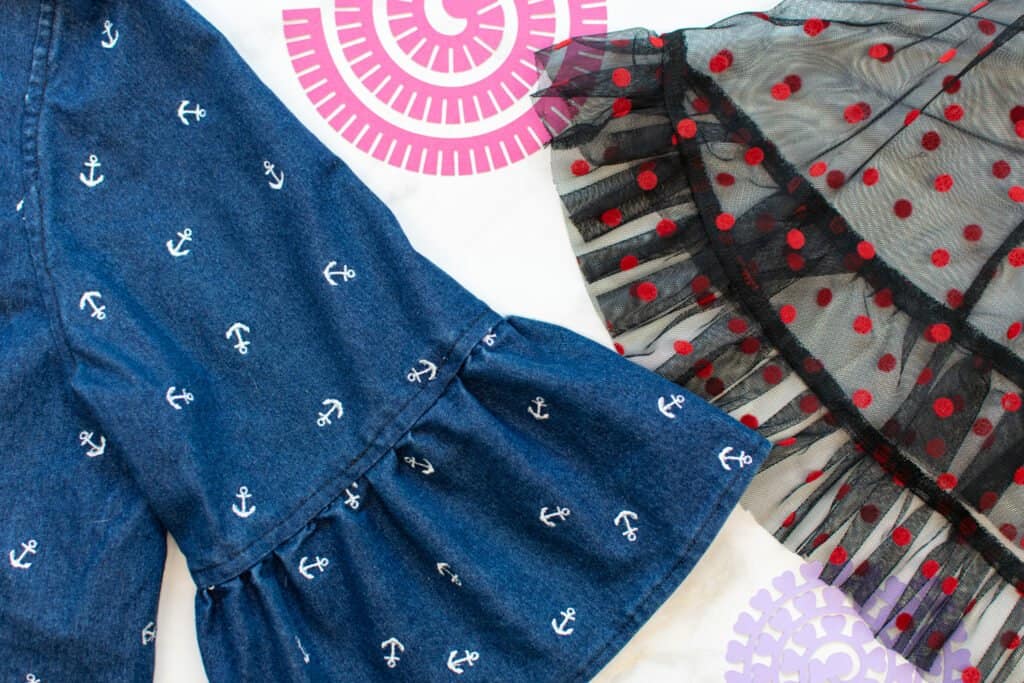
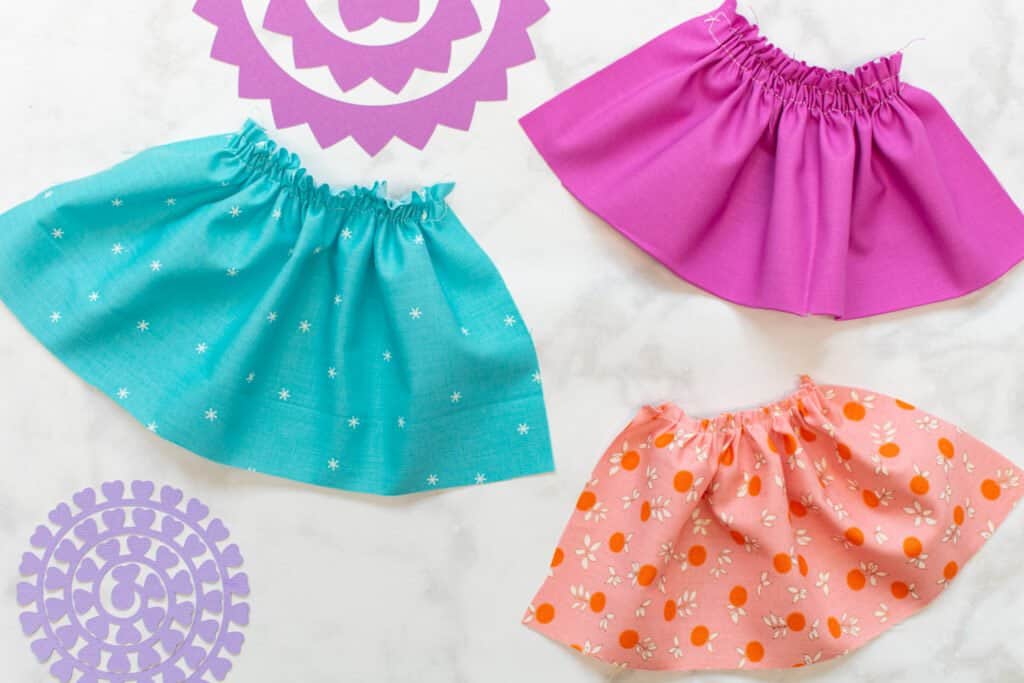
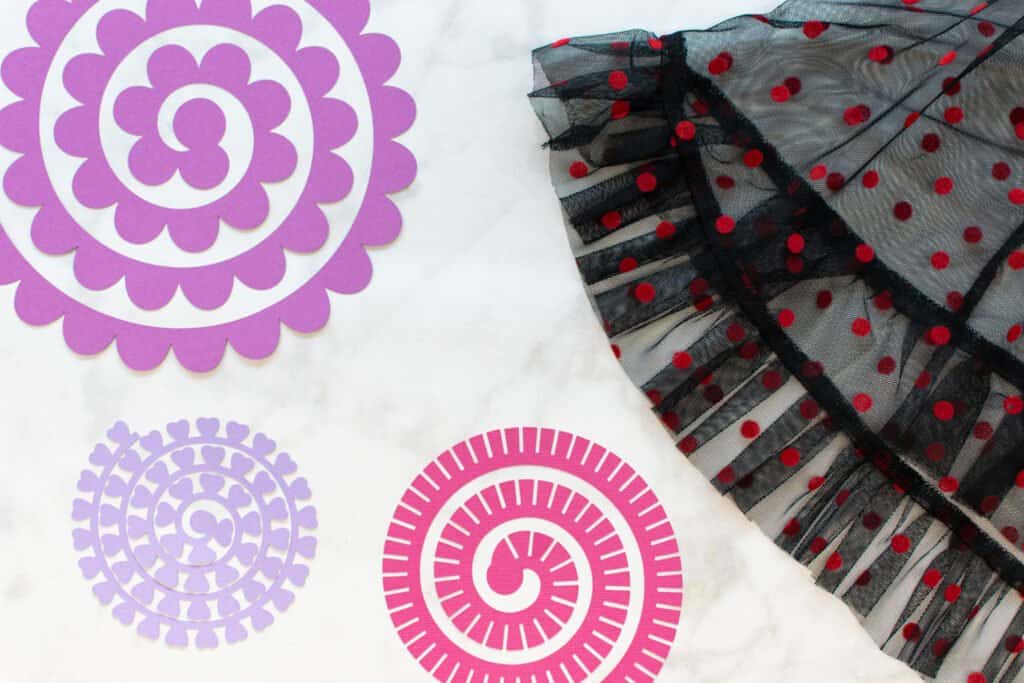
Project Ideas for Ruffles and Gathering Fabric
To get your creative juices flowing before we get into the gathering tutorial, here are a few fun project ideas for ruffles and gathering!
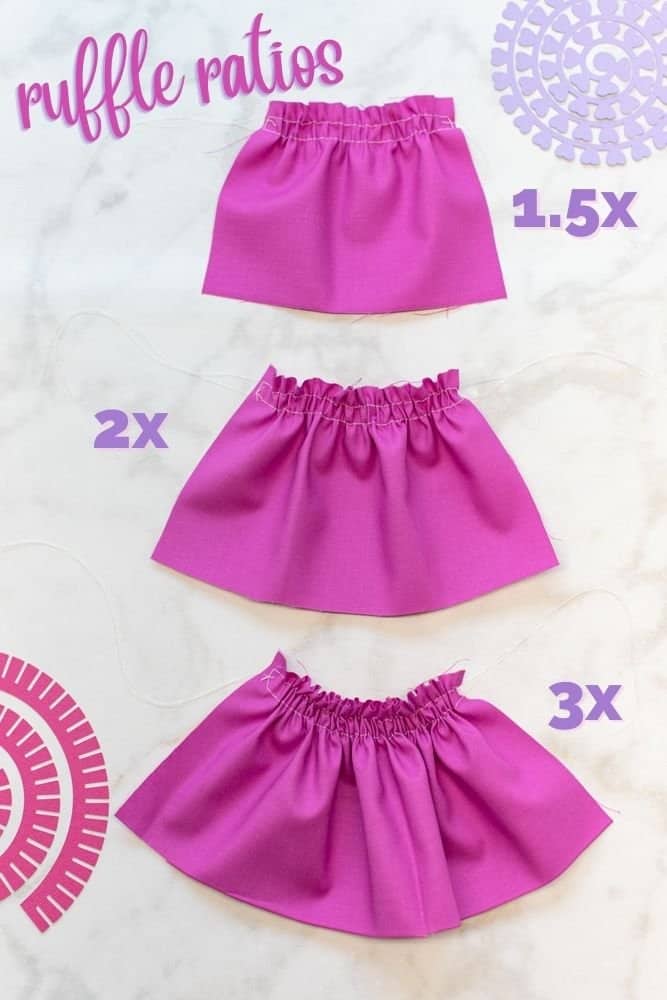
Fabric Length for Gathering and Ruffles
When cutting fabric to gather or make a ruffle, it will have to be cut longer than your intended finished length. As a general rule of thumb, cut the fabric to be gathered at 1.5 to 3 times longer than the planned finished length.
However, you can play around with the volume and look of your ruffle by cutting the fabric shorter or longer. To create a smoother, lightly gathered look, cut the fabric closer to the intended finished length. For more body and volume, cut your ruffle much longer than the planned finished length.
Here's a quick photo reference chart to help you choose your perfect ruffle ratio!
Step-by-Step Tutorial: How to Gather Fabric (3 Ways)
Ready to add sewing gathers to your sewing repertoire? In this detailed sewing tutorial, I'll show you my 3 favorite methods of sewing ruffles and gathering fabric.
Why Shop Through My Links?
When you shop through my affiliate links, it doesn't cost you anything extra, but it helps me out in a big way! I earn a small commission from those purchases, and that support allows me to continue creating and sharing free tutorials and patterns for you. Thank you so much for helping me keep this creative community going!
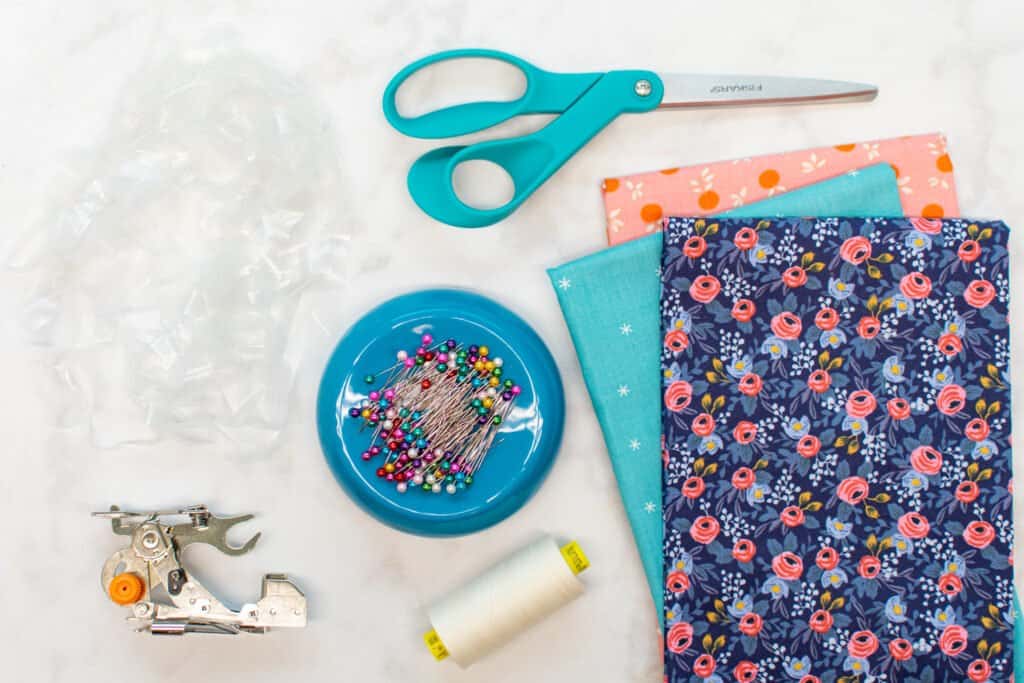
Supplies to Gather Fabric
Shop my favorite sewing supplies here!
These are the supplies you'll need to have on hand when creating ruffles and gathering fabric.
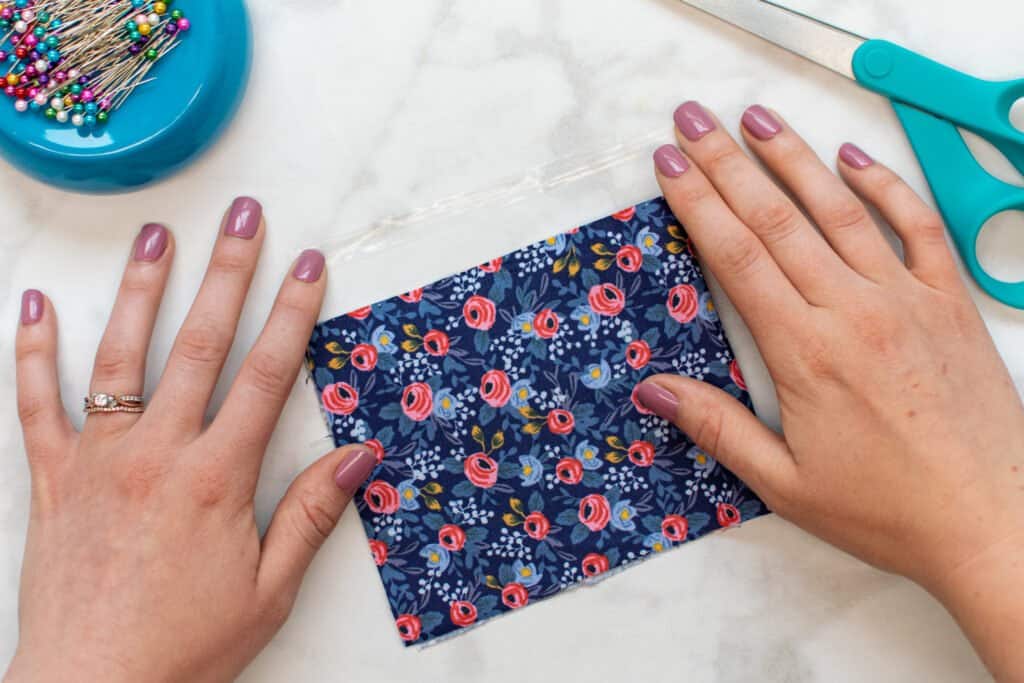
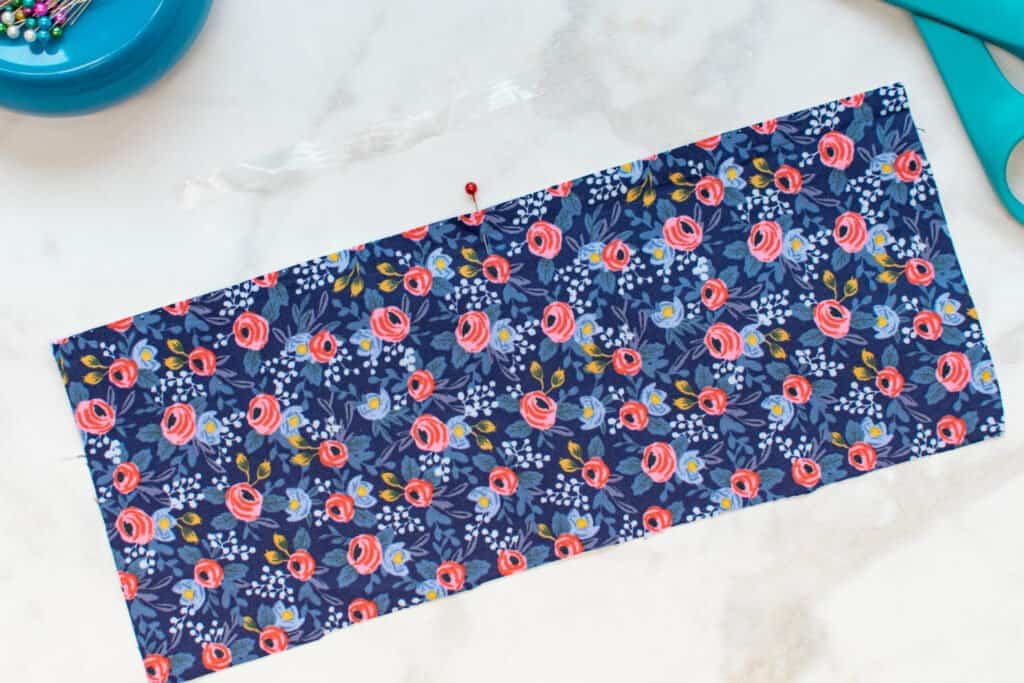
- Fabric that Needs to be Gathered
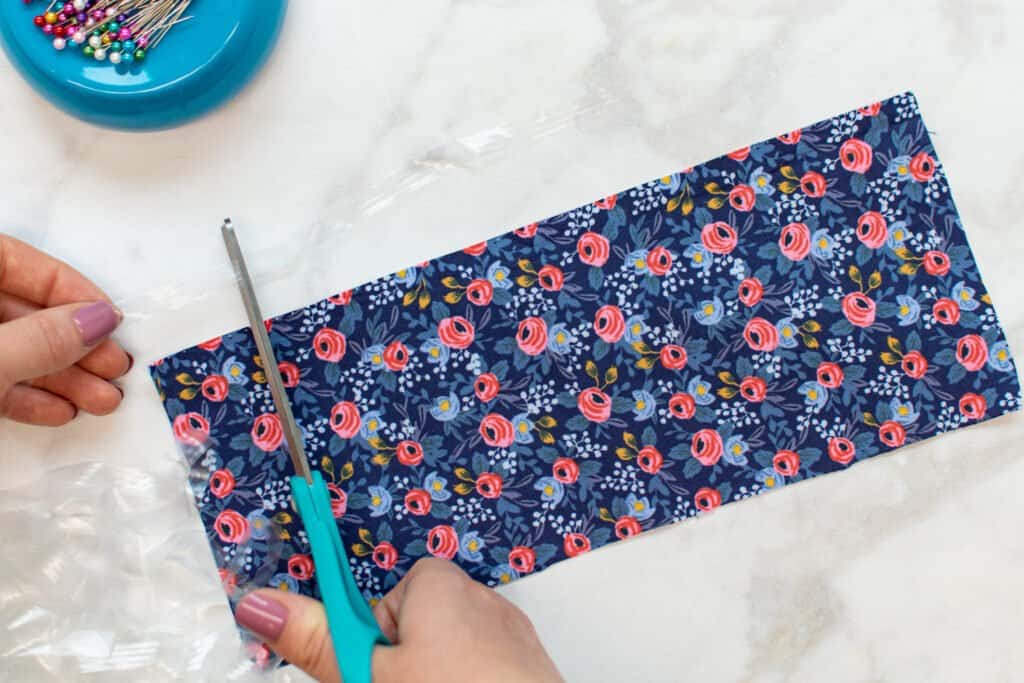
- Scissors
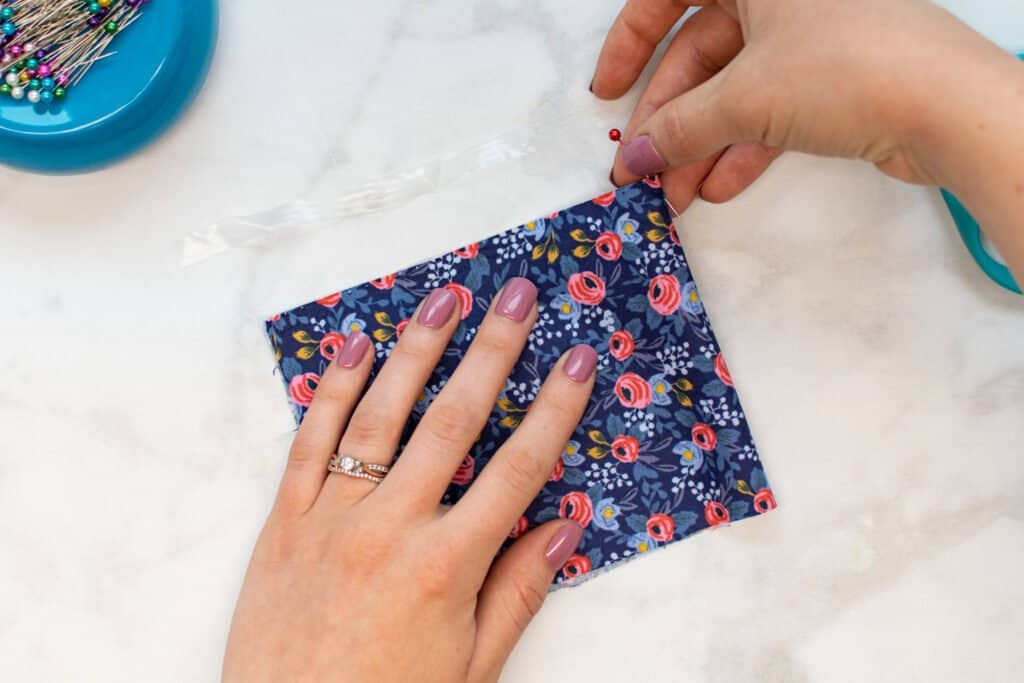
- Sewing Pins
- Thread
- Sewing Machine
- Sewing Machine Needle
- Clear Elastic (for second method)
- Ruffler Foot (for third method)
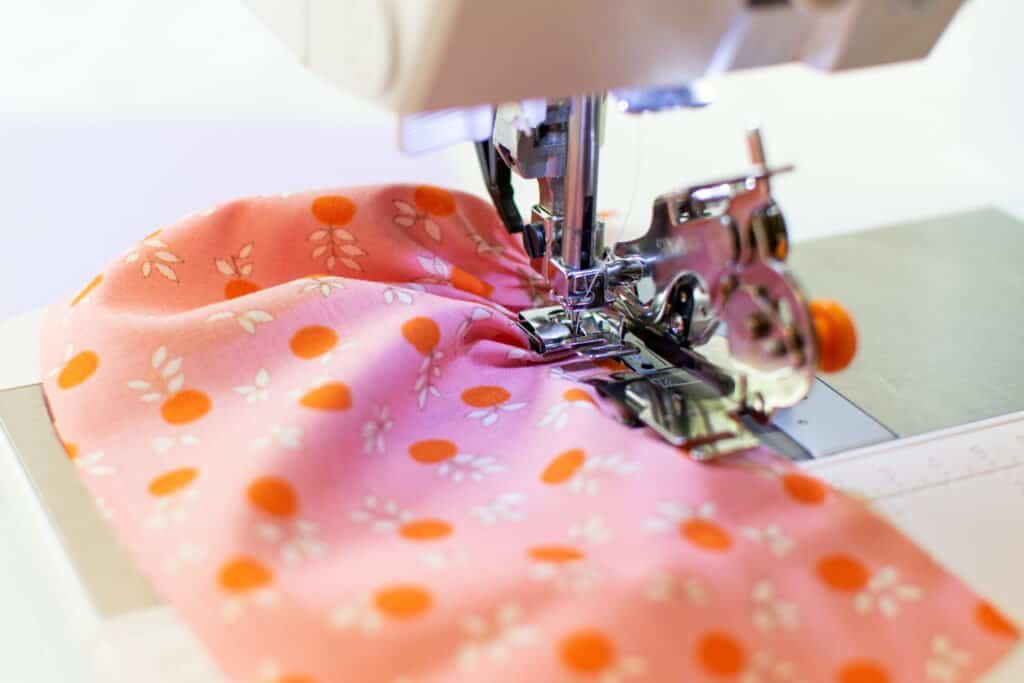
How to Gather Fabric with Basting Stitches
The first method I'm going to show you is the most traditional way of creating gathers - using basting stitches. This versatile method works great for any gathering project, but it is a bit more time-consuming than the other 2 methods.
This is my preferred way to gather fabric because you get the most control over the gathers, and you can easily readjust the ruffles to make them even.
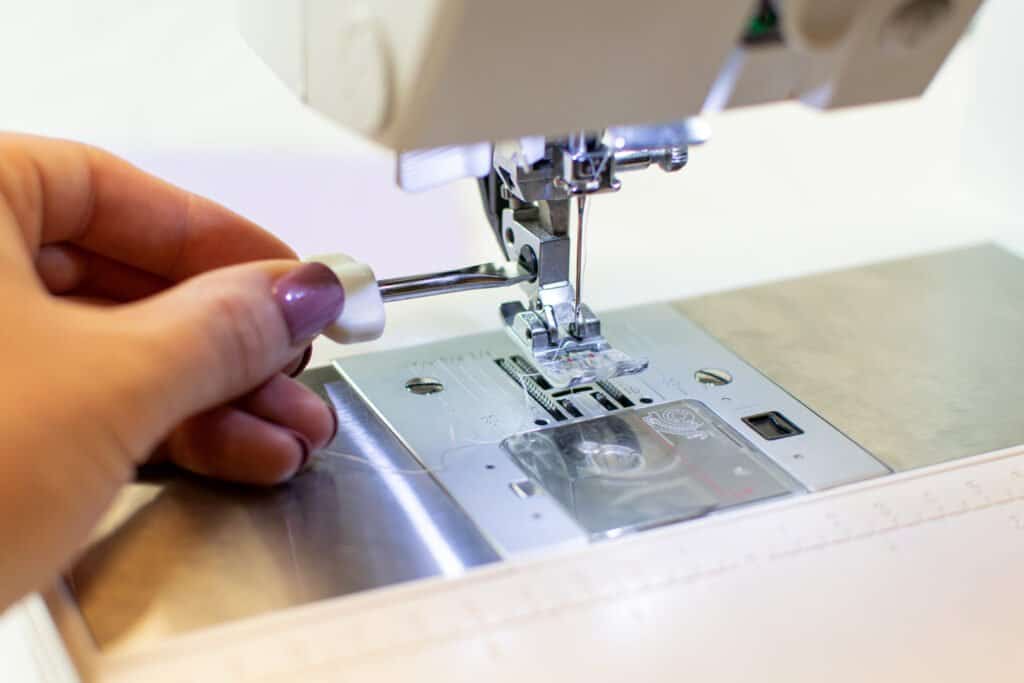
Step 1: Sew Basting Stitches
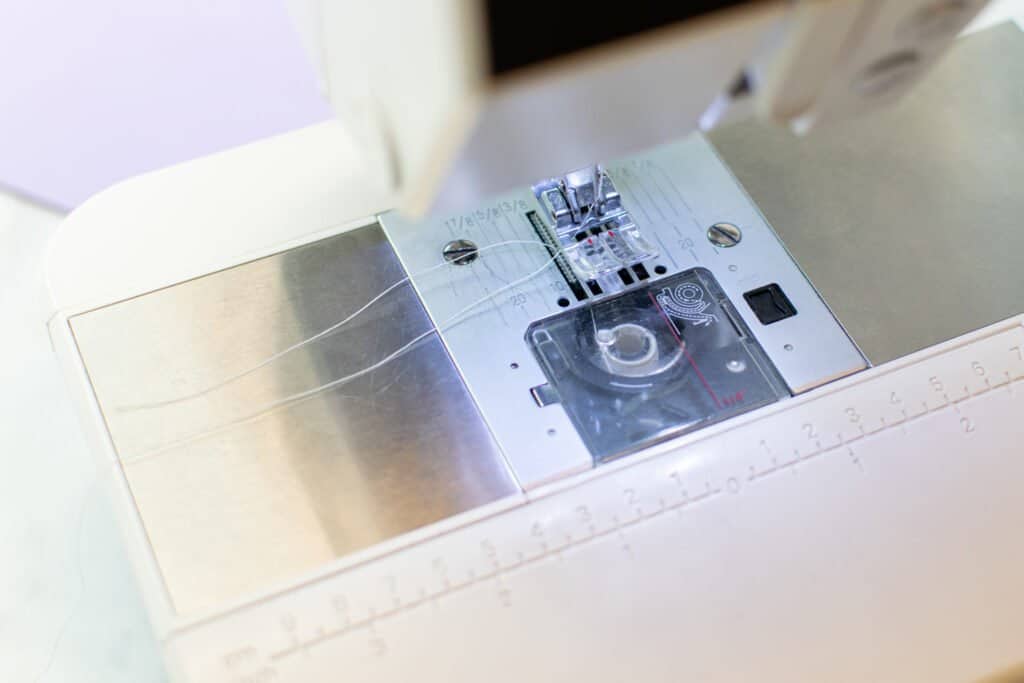
Start by setting your sewing machine to a basting stitch - which is a temporary stitch with a long stitch length. I like to use a straight stitch with a length of 4.5 to 5mm.
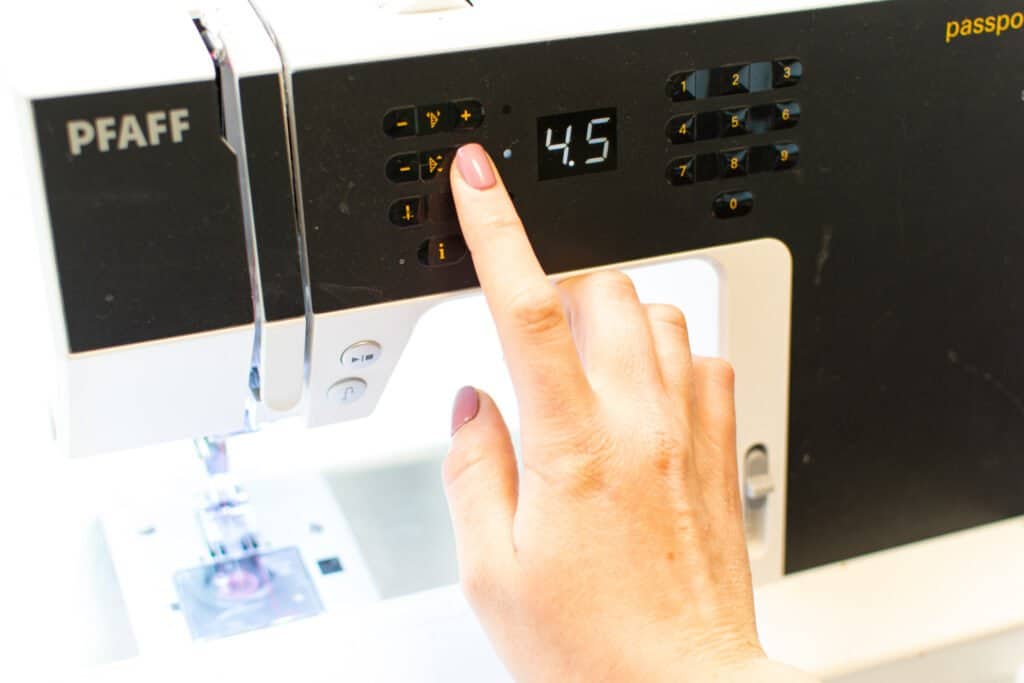
Make sure that you have tails at least 2 inches long for both the top and bobbin threads before starting.
*PRO TIP: For thick fabric like upholstery or denim, you can use a single line of basting stitches. For fine fabric like chiffon or organza, adding a third row of basting stitching will give you more control over a delicate hard to work with fabric.
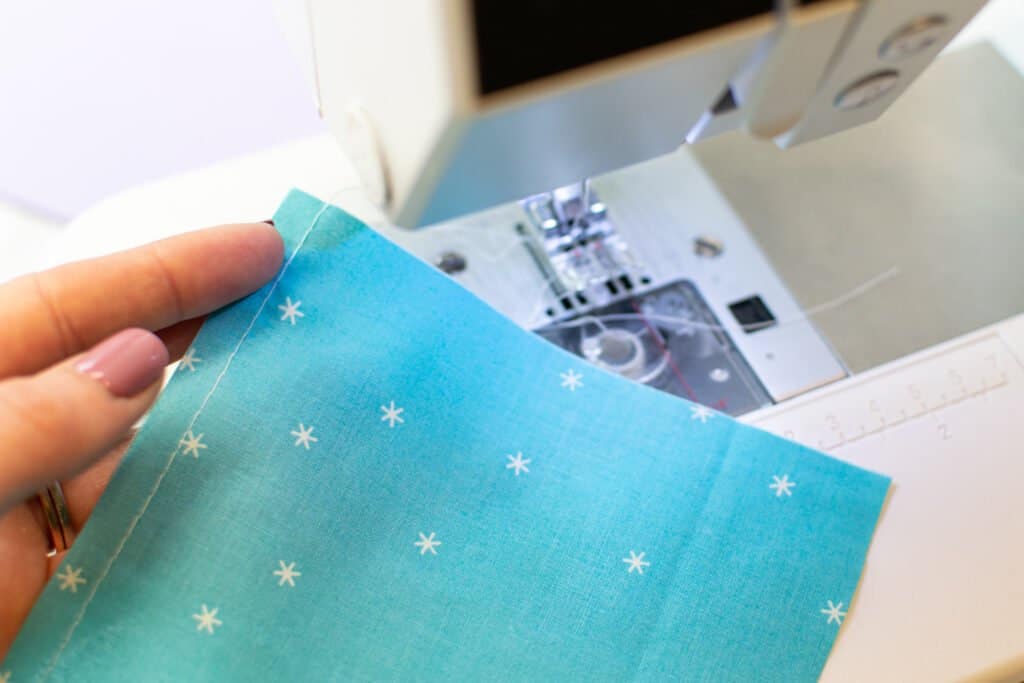
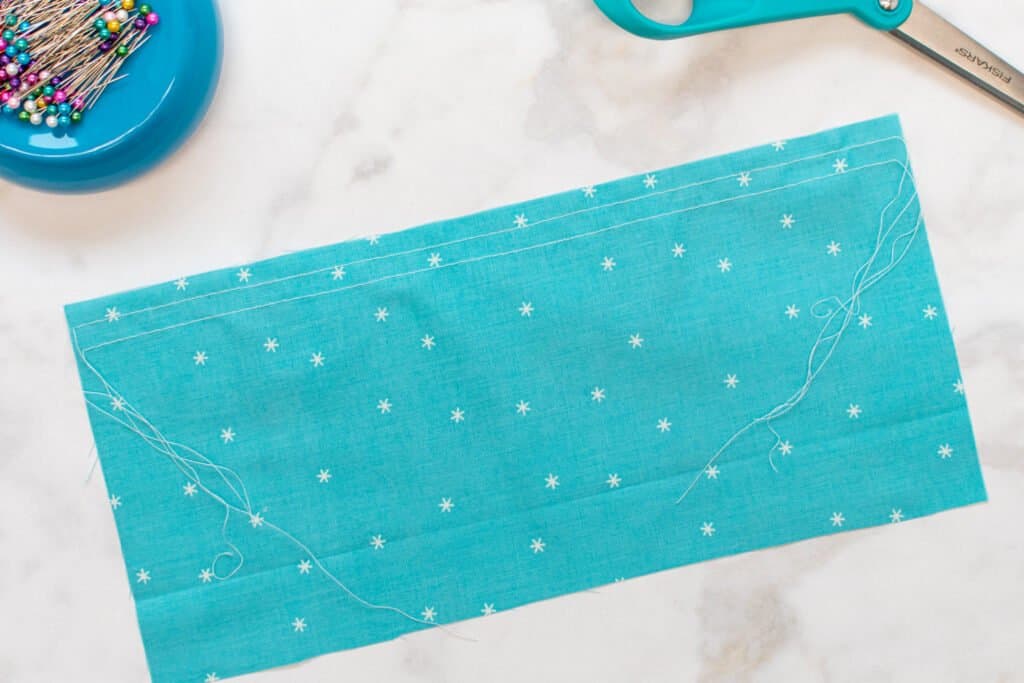
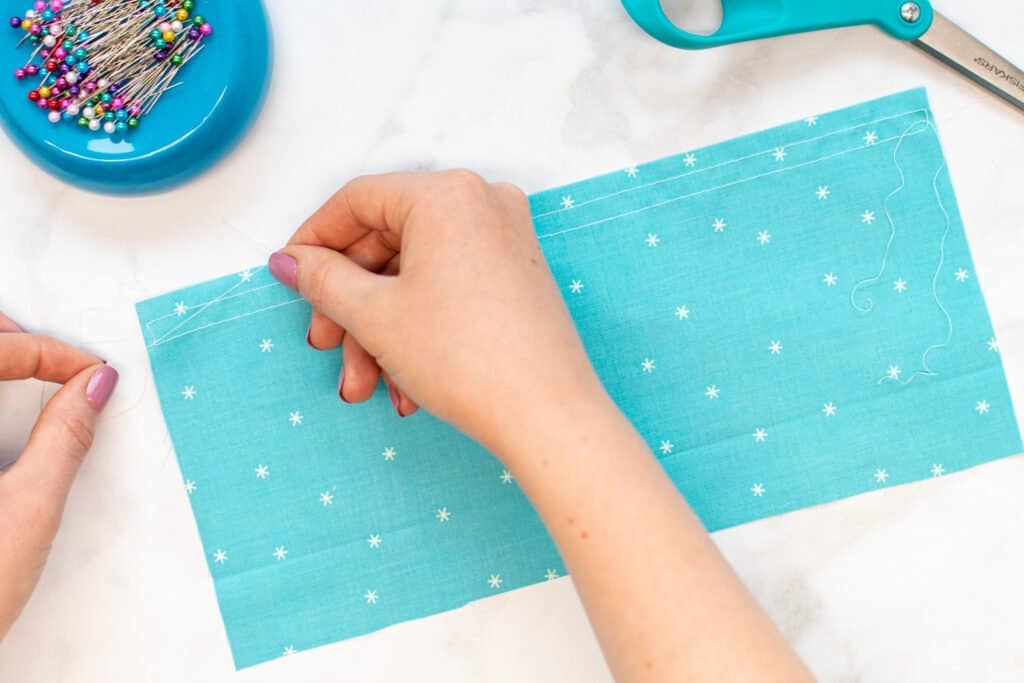
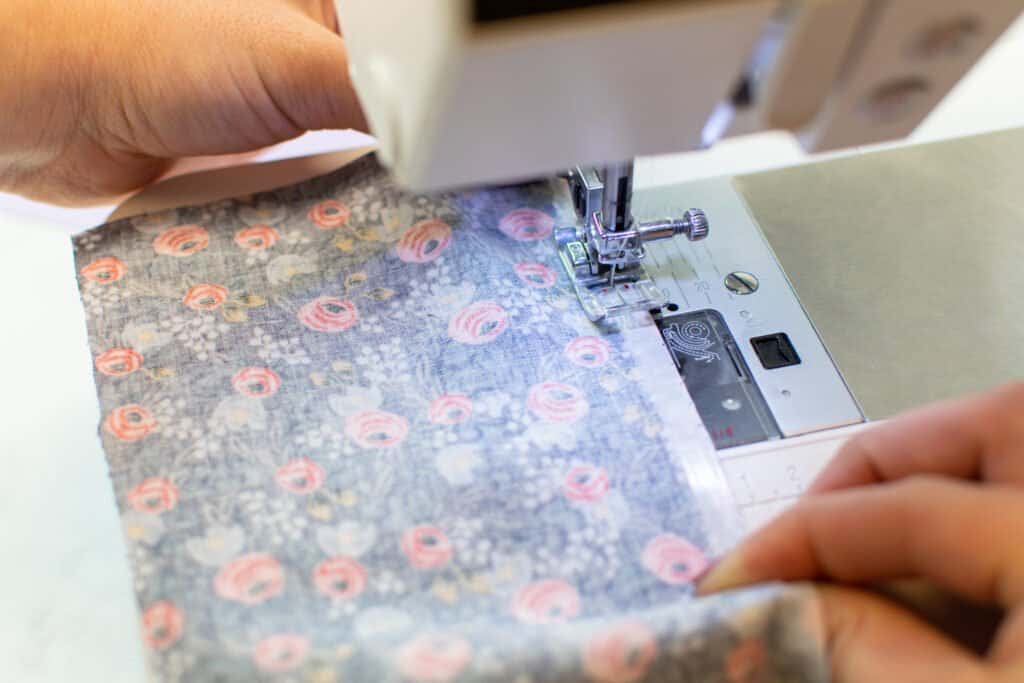
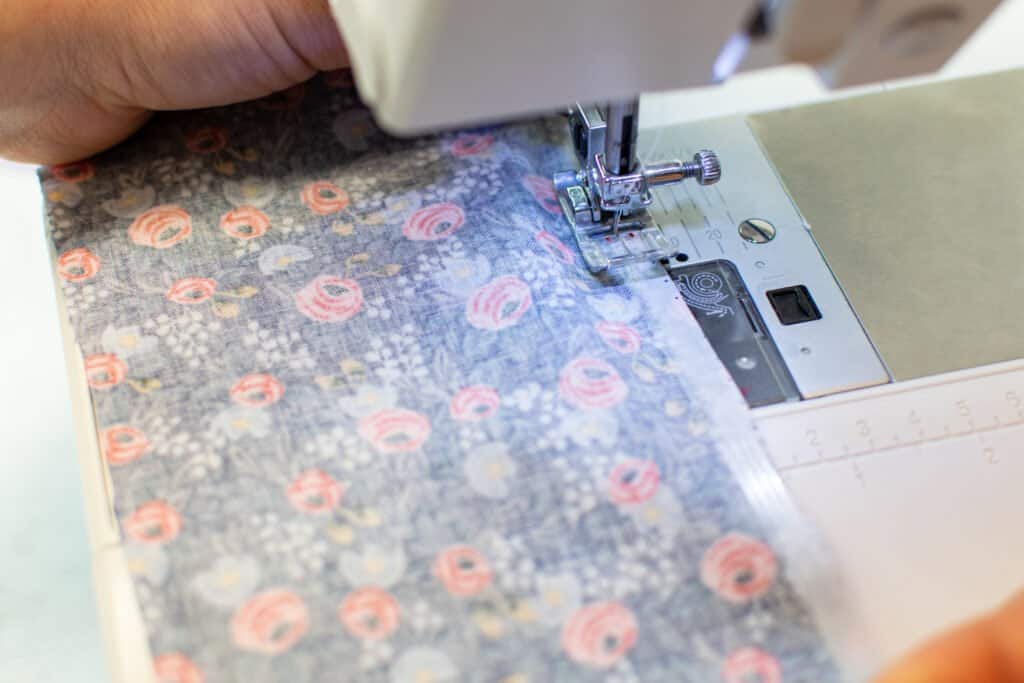
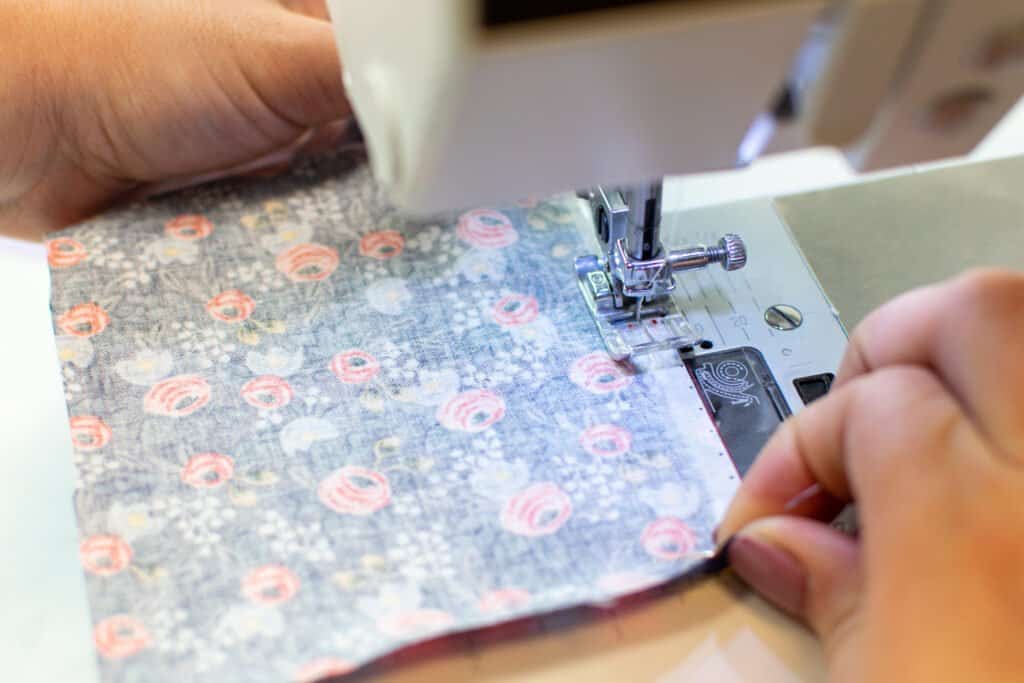
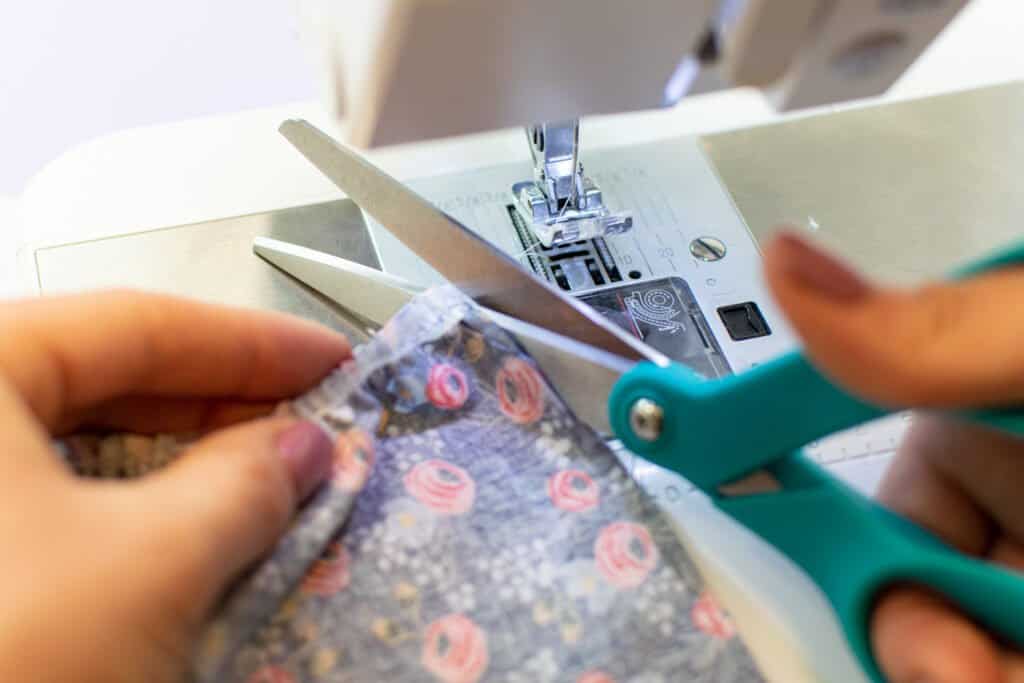
Next, using your basting stitch, sew along the edge of the fabric to be gathered. Stitch about 1/4 inch from the raw edge. It might be against your instincts, but don't backstitch at the beginning or end of this stitching.
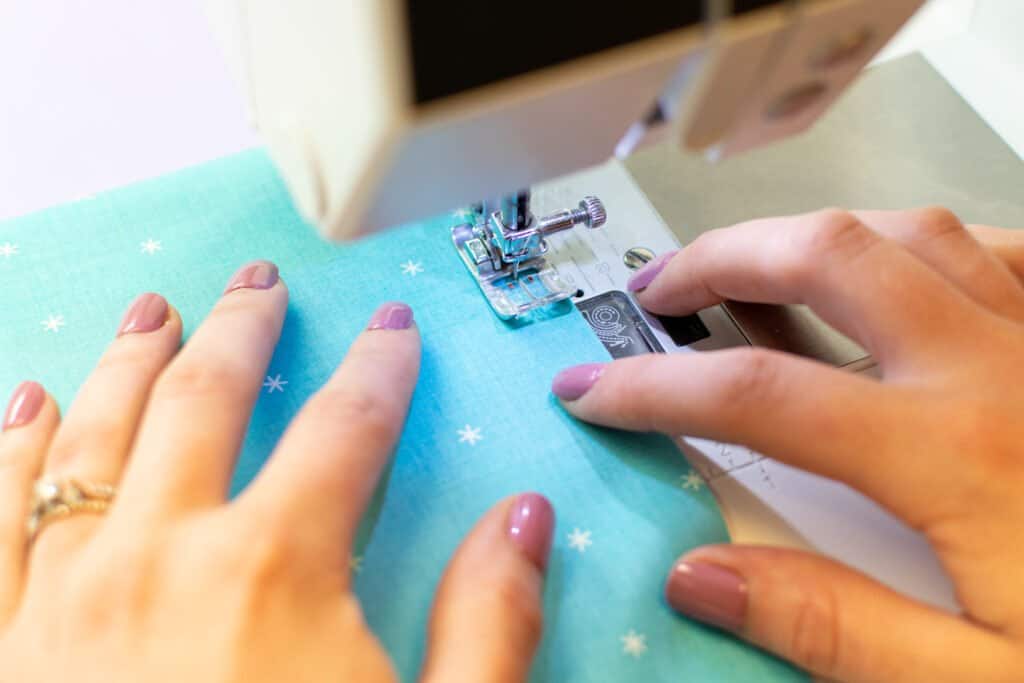
When you finish the line of stitching, pull the fabric out from the machine and trim the thread to leave long tails.
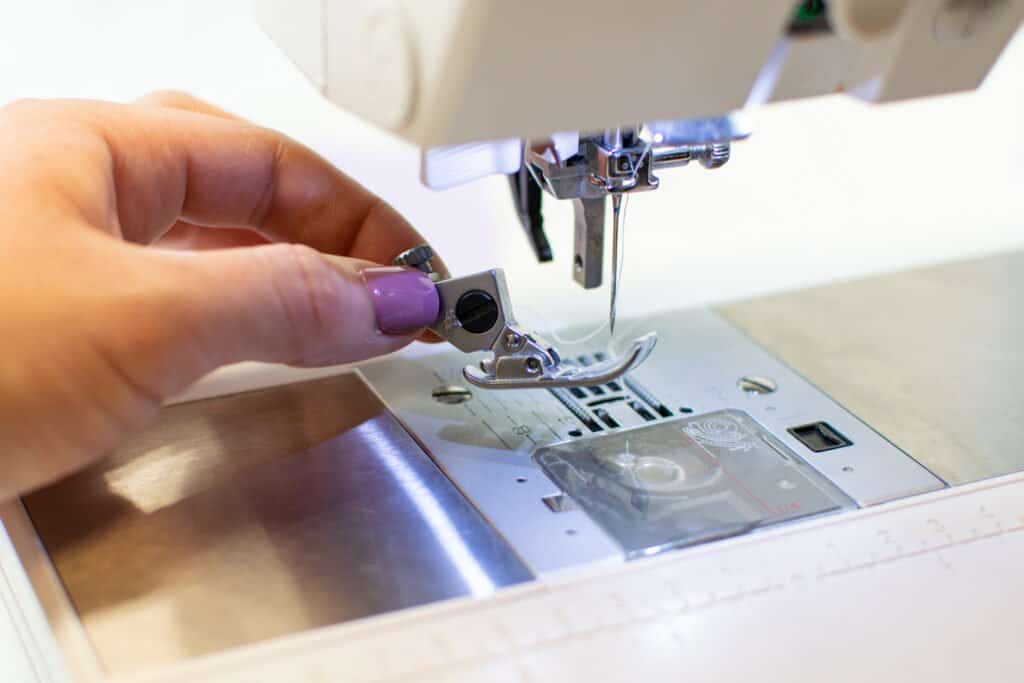
Then sew another row of basting stitches 1/4 inch in from the first row. It's important to keep these two rows of stitching parallel for even gathers. If you accidentally overlap the stitching, you will have to seam rip and restart.
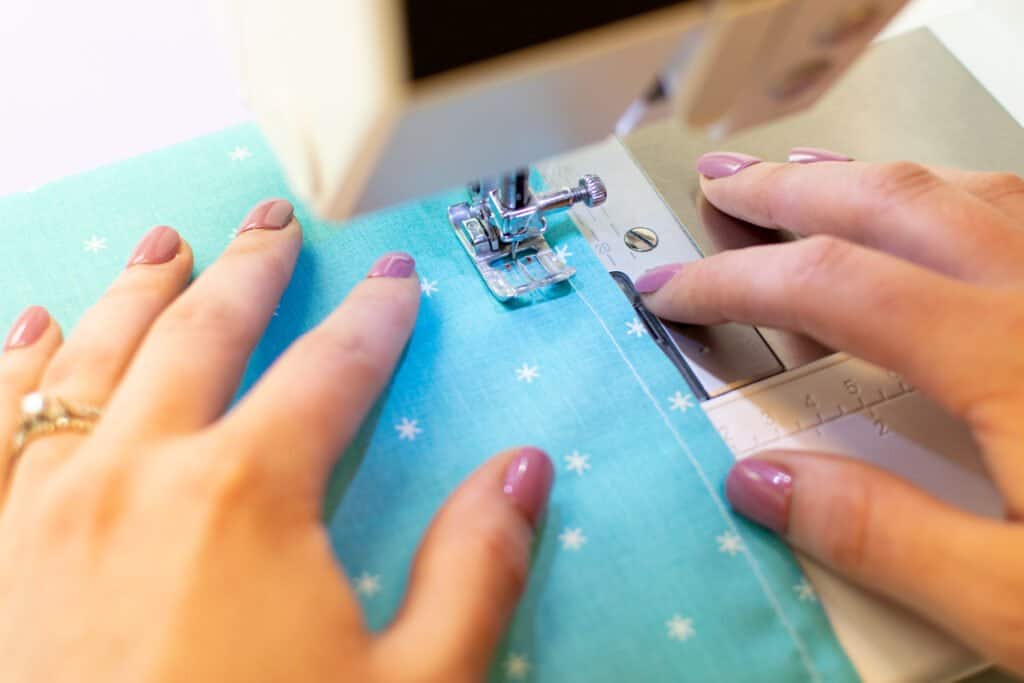
Make sure not to backstitch and to leave long thread tails for this second row of stitching as well.
*PRO TIP: If you're gathering an edge that has seams in it, such as a skirt with side seams, try to avoid sewing your lines of basting stitches across the seams. This can cause the thread to hang up and break. Instead, it's best to sew your rows of basting stitches in separate sections, between the seams.
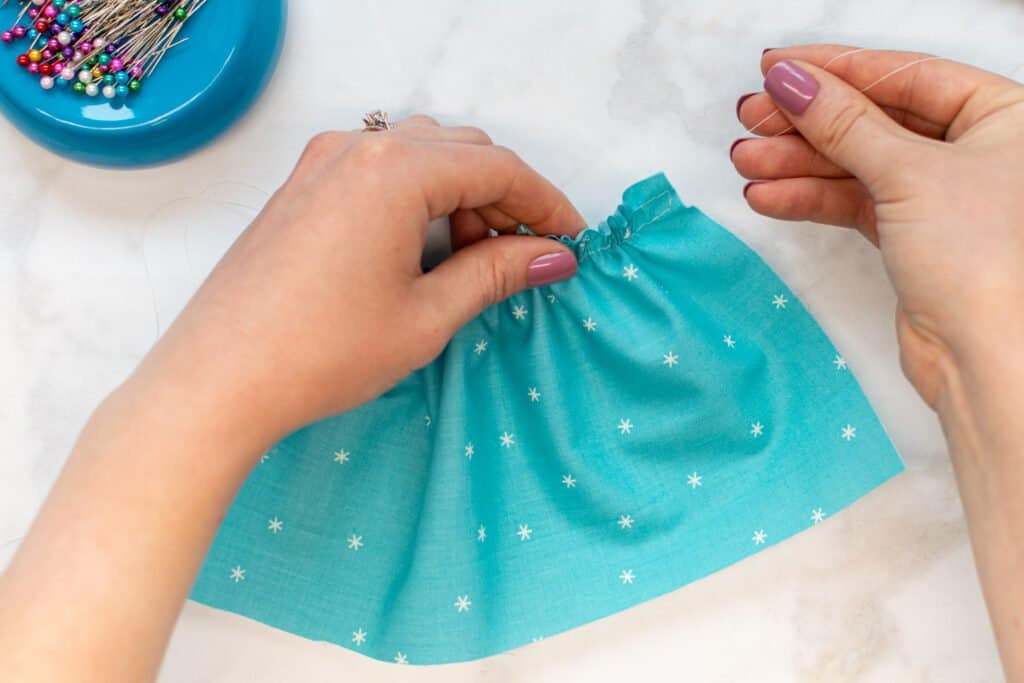
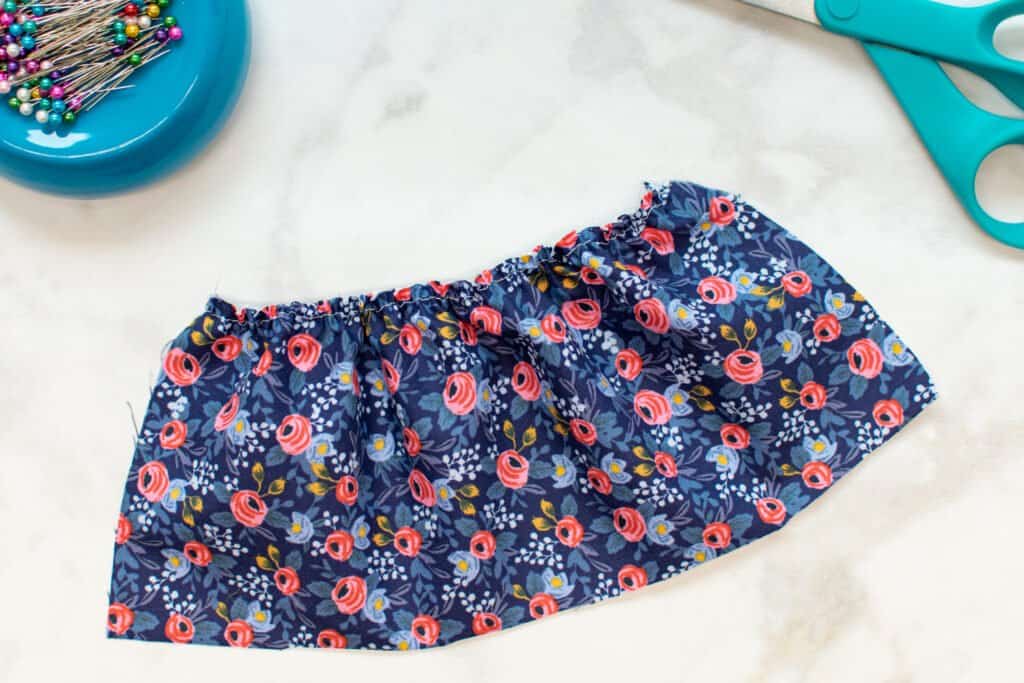
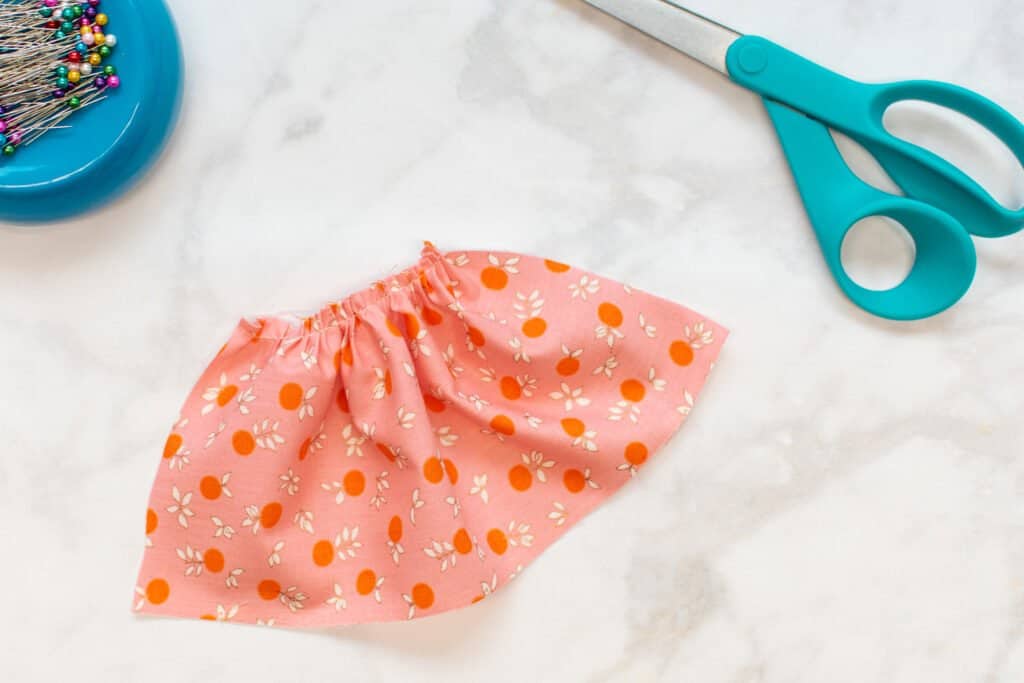
Step 2: Gather Fabric
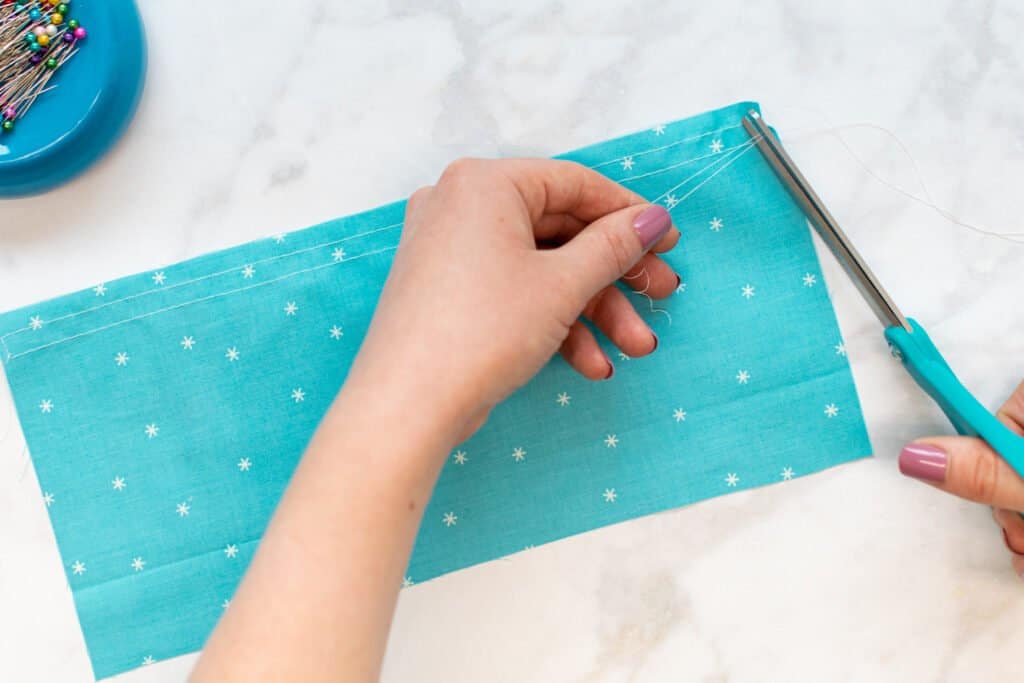
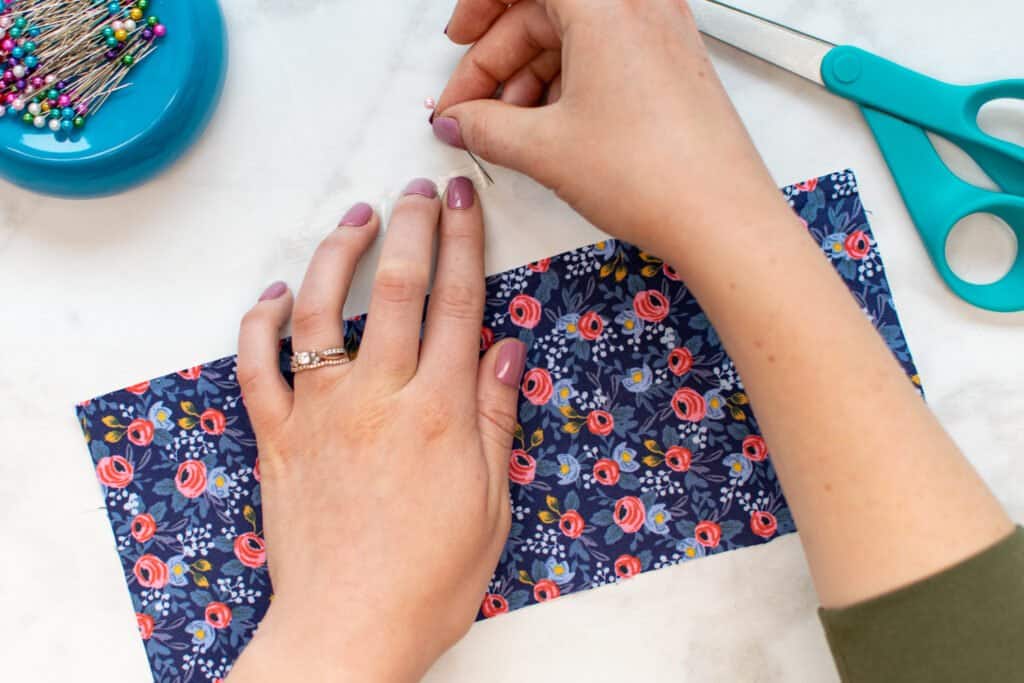
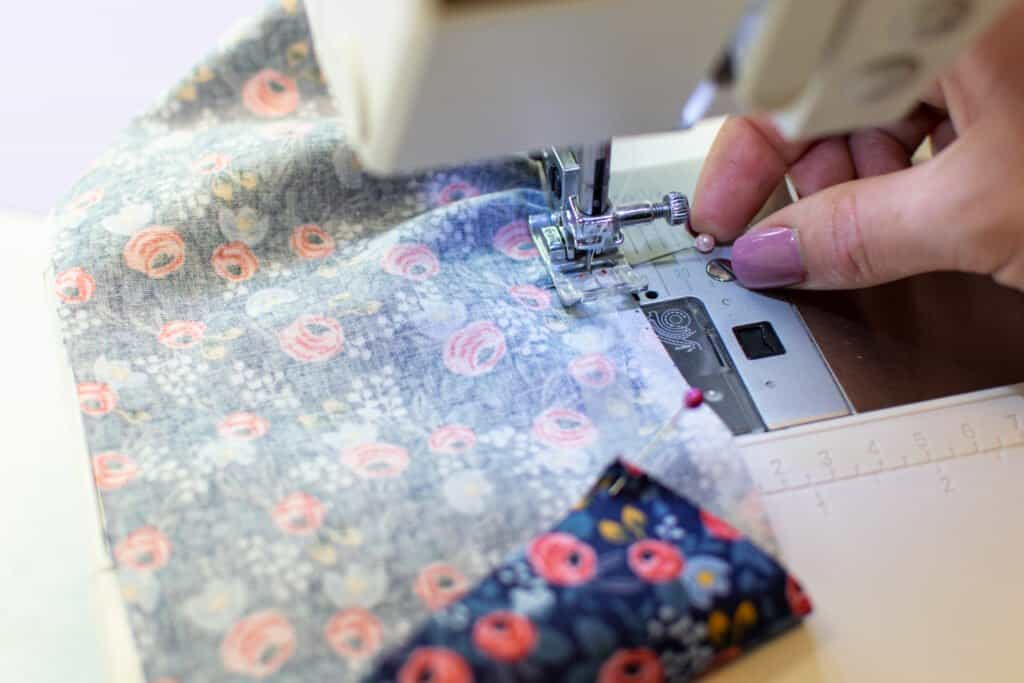
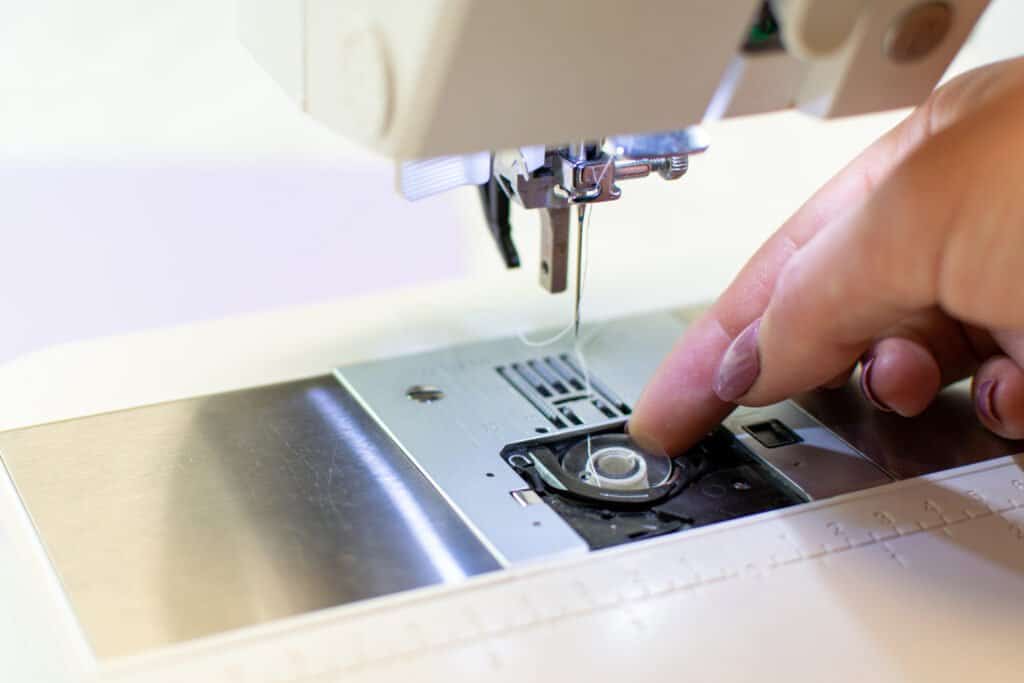
With the basting stitches in, tie the top thread tails together loosely on each end.
Trim the top thread tails away close to the knots.
Next, on one end of the fabric, grip the two bobbin tails in one hand. With your other hand, push the fabric away from the thread tails, sliding it along the threads to create gathers.
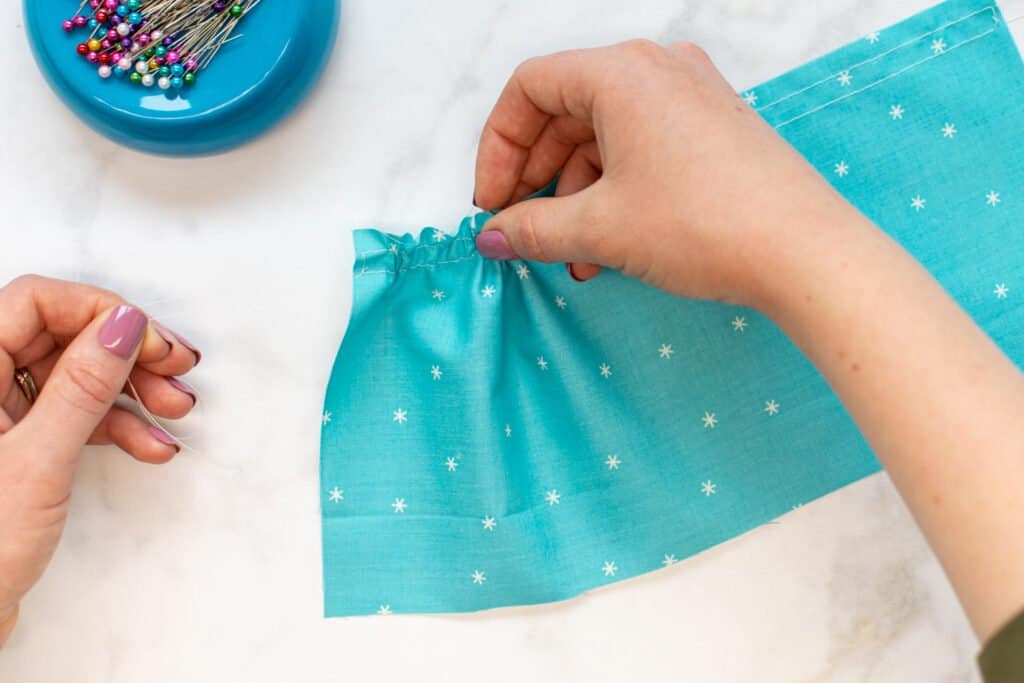
Continue pushing the gathers down through the fabric. As you do this, the thread tails will get longer and longer.
For a shorter piece of fabric, you can create the gathers from only one end of the stitching. If you're gathering a longer piece of fabric, you can push gathers into the fabric from both ends, pushing them towards the center.
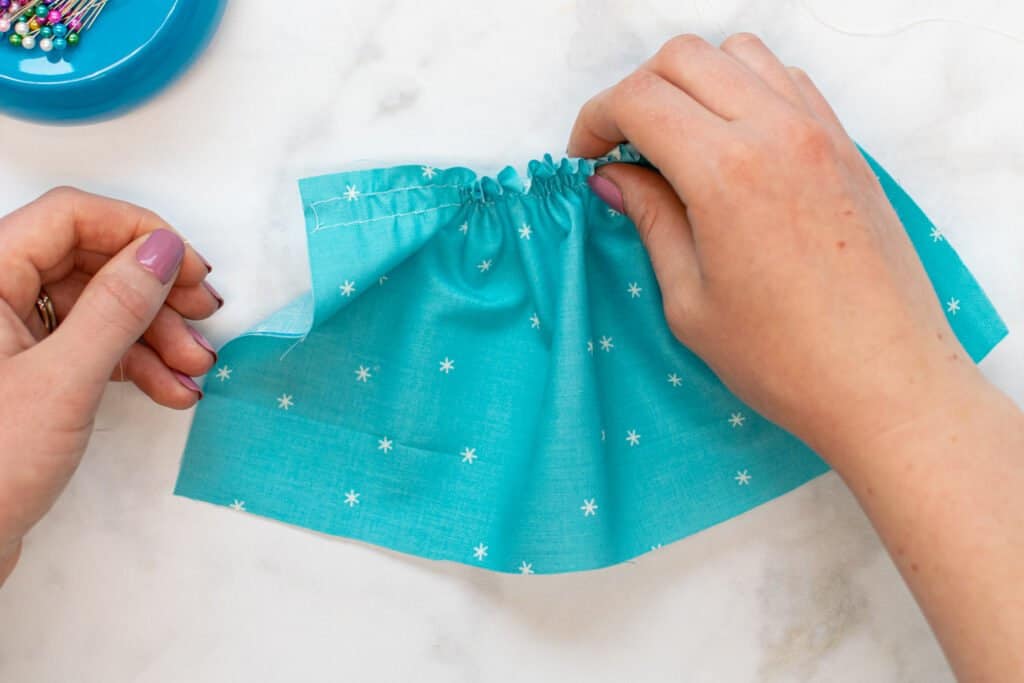
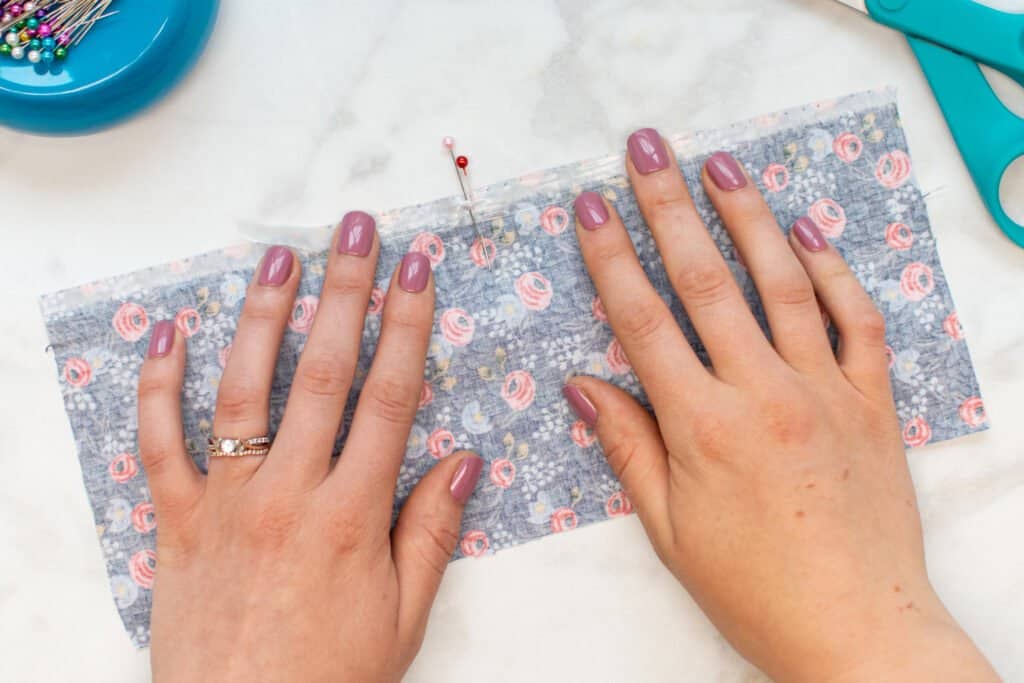
After your fabric is quite gathered, check it against the area you plan to sew it to. You want to get your gathered fabric to the right length.
Add more gathers or push some off the ends of the fabric to lengthen or shorten it to the right length.
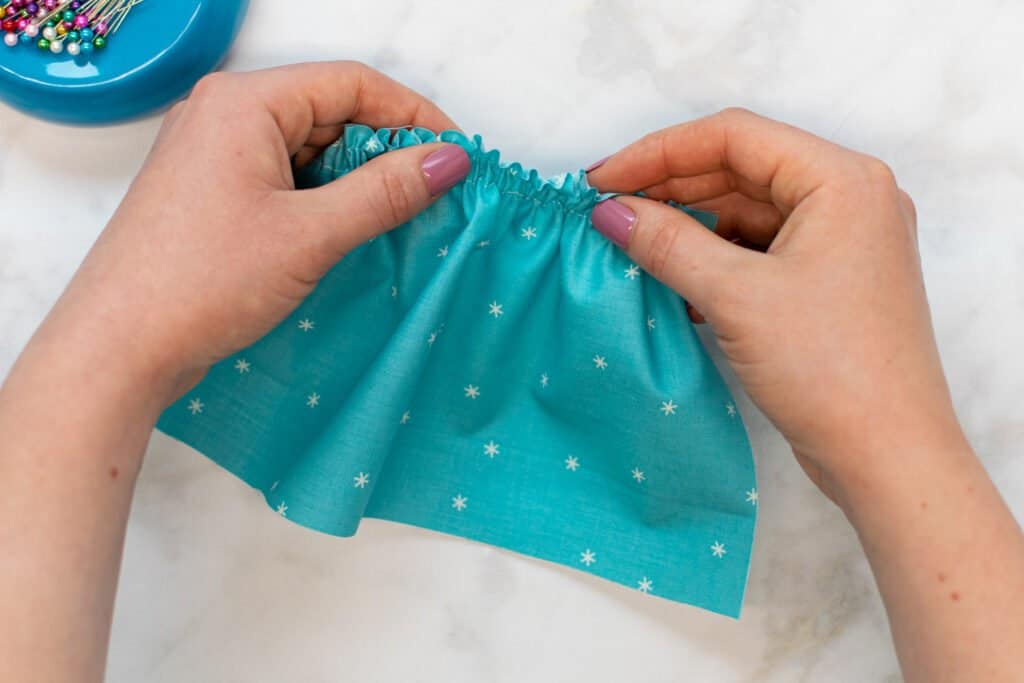
Once you have the length right, adjust the gathers with your fingers to even them out until you like how they look.
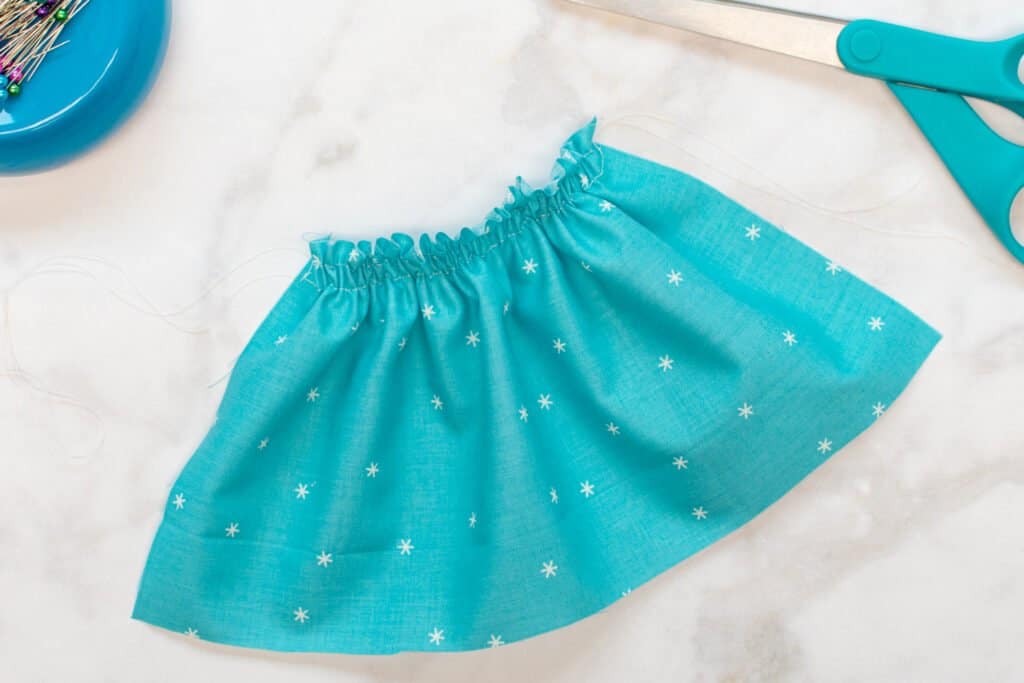
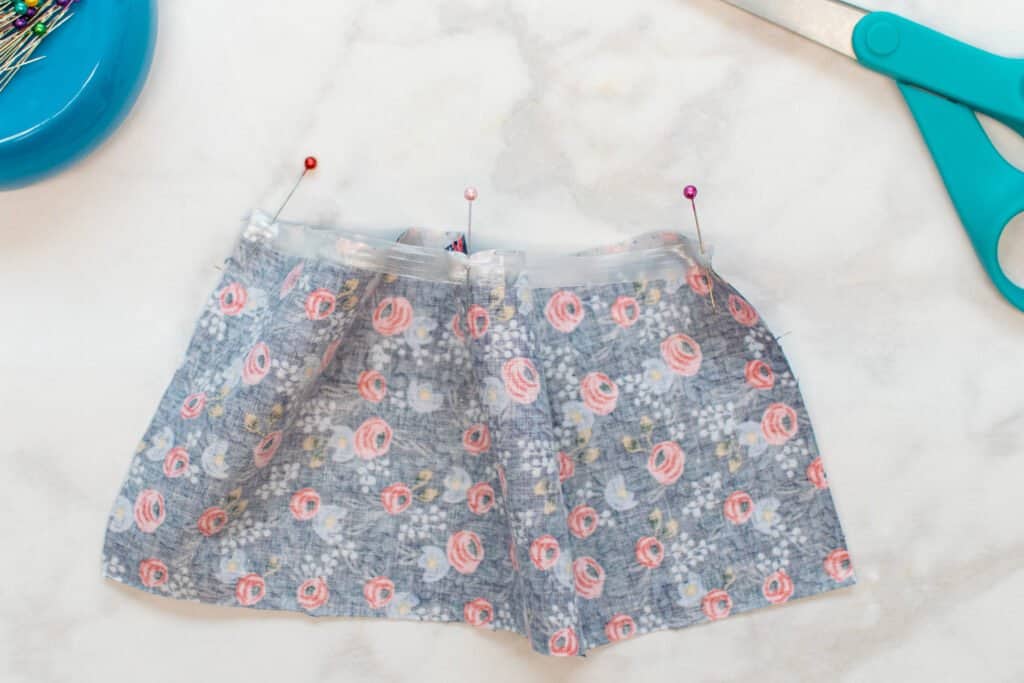
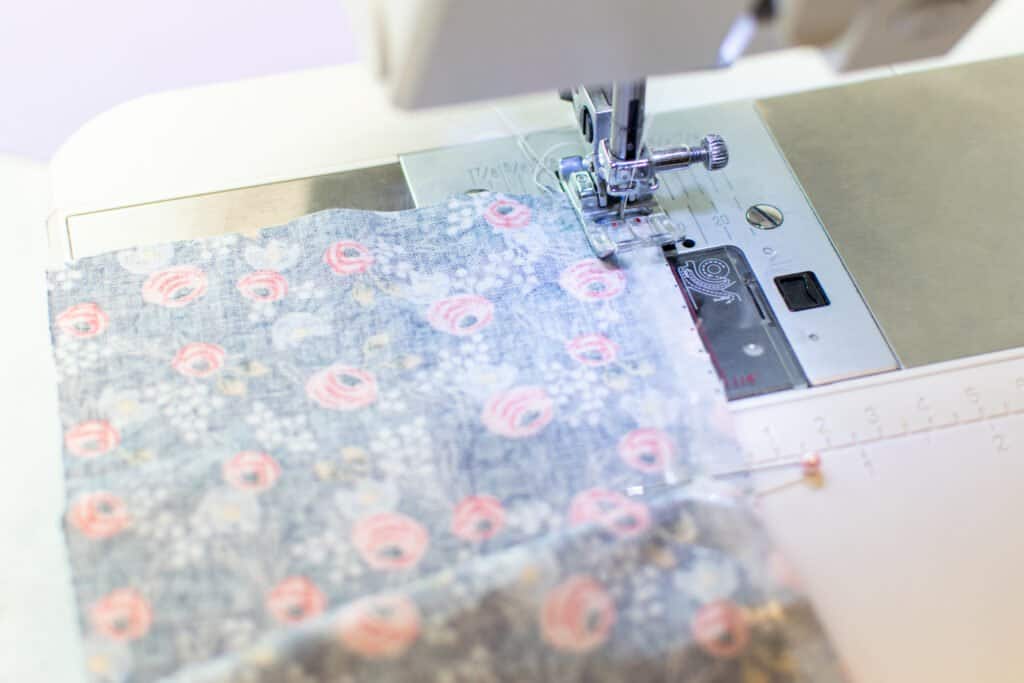
You're now ready to pin your ruffle to your project and stitch it in place!
How to Gather Fabric with Clear Elastic
This second method to gather fabric is a little less traditional but is really simple and quick. Keep in mind that with this method, you'll have less control over the look of the ruffles, so the result may not be as even as the previous method.
I like to use this method for more casual, quick projects such as swimwear, knitwear, and fun home decor projects.
Step 1: Pin Elastic to Fabric
Start by cutting a piece of elastic to your desired finished length of the ruffle.
If you cut your ruffle 2 times longer than the planned finished length, you can find the elastic length by folding the fabric in half, then measuring the elastic along the folded fabric edge.
Next, mark the center of the fabric edge with a pin. To find the center, fold it in half and place the pin at the middle of the fold.
Mark the center of the elastic with another pin, finding the middle in the same way.
Working on the wrong side of the fabric, match up the pin in the elastic with the pin in the fabric, pinning them together at that point. Once secured with one pin, you can remove the second pin.
Next, pin each end of the elastic to the corresponding end of the fabric piece.
Step 2: Sew Elastic to Fabric
Let's get sewing! Set your sewing machine to a regular straight stitch with a normal stitch length (somewhere around 2.5mm).

With the elastic on top, start stitching on one end of your piece to be gathered, sewing in the center of the elastic. Sew 2 or 3 stitches to secure the end of the elastic to the fabric. Make sure to backstitch at the beginning.
Hold the center pin in your hand and stretch the elastic to fit the fabric in front of the presser foot. Sew forward until the end of the fabric is just coming out from behind the presser foot.

Then, grip the sewn fabric/elastic end behind the presser foot with one hand and grab the fabric/elastic at the center pin with your other hand.
Pull your hands away from each other to stretch the elastic just enough to fit the edge of the fabric.
Keep this stretch on the elastic as you continue to stitch down the center of the elastic, sewing towards the center pin. Make sure to keep the edge of the elastic lined up with the edge of the fabric as closely as possible.
*PRO TIP: It's important during this step to stretch the elastic with both hands (from both directions). If you only pull the elastic out in front of the foot, you may pull the fabric forward every time the needle raises. This can result in wonky stitching, bent needles, and just all-around not a fun time!
Once your stitching reaches the center pin, stop sewing and remove the pin.
Then, grab the fabric just behind the presser foot with one hand and the end of the fabric and elastic with the other hand.
Just as you did before, stretch the elastic between your two hands to fit it to the fabric as you sew.
Stitch the rest of the way to the end of the elastic, backstitching when you finish sewing.
Trim those thread tails and your fabric is now beautifully gathered with a piece of clear elastic! Quick and easy!
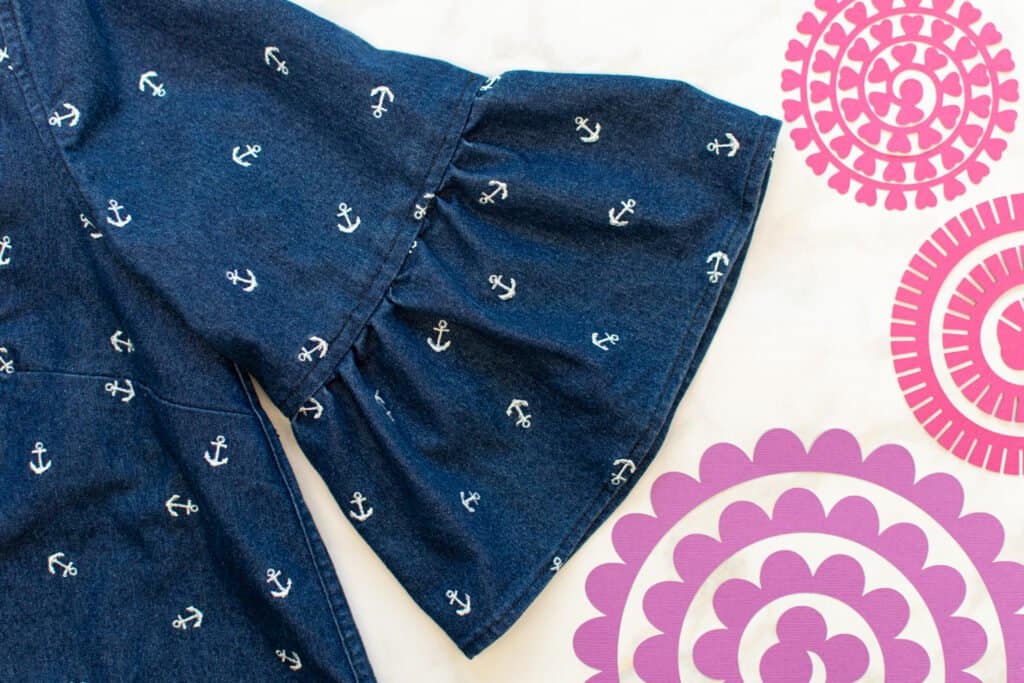
How to Gather Fabric with a Ruffler Foot
This last method is the best option if you've just got tons of gathering to do. Maybe you're making bridesmaids' dresses? Or sewing a long, tiered skirt? If you feel like you need to gather what feels like miles of fabric, using a ruffler foot can help you out!
Using a ruffler is definitely the fastest method of creating beautiful gathers - once you've made it through the learning curve. Keep in mind that getting your foot properly set up and adjusted for the first time may take some trial and error!
Step 1: Attach Ruffler Foot to Your Machine
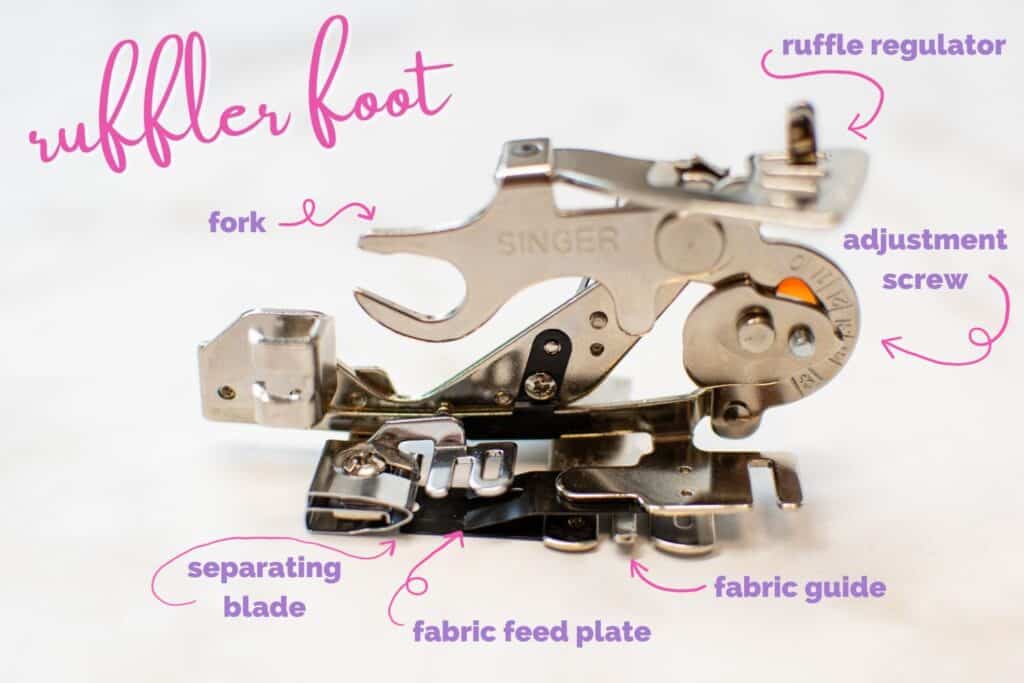
First, let's get that ruffler foot attached to your sewing machine! But before we get started, here is a quick guide to the parts of your ruffler foot:
Start by using a screwdriver to loosen the screw holding the presser foot to your sewing machine.
Once the screw has been loosened enough, remove the old presser foot from your machine.
If your sewing machine is not already threaded, thread both the top thread and bobbin now.
Next, align the ruffler foot on your machine.

Make sure that the fork at the top of the foot is around the screw holding the needle in place.
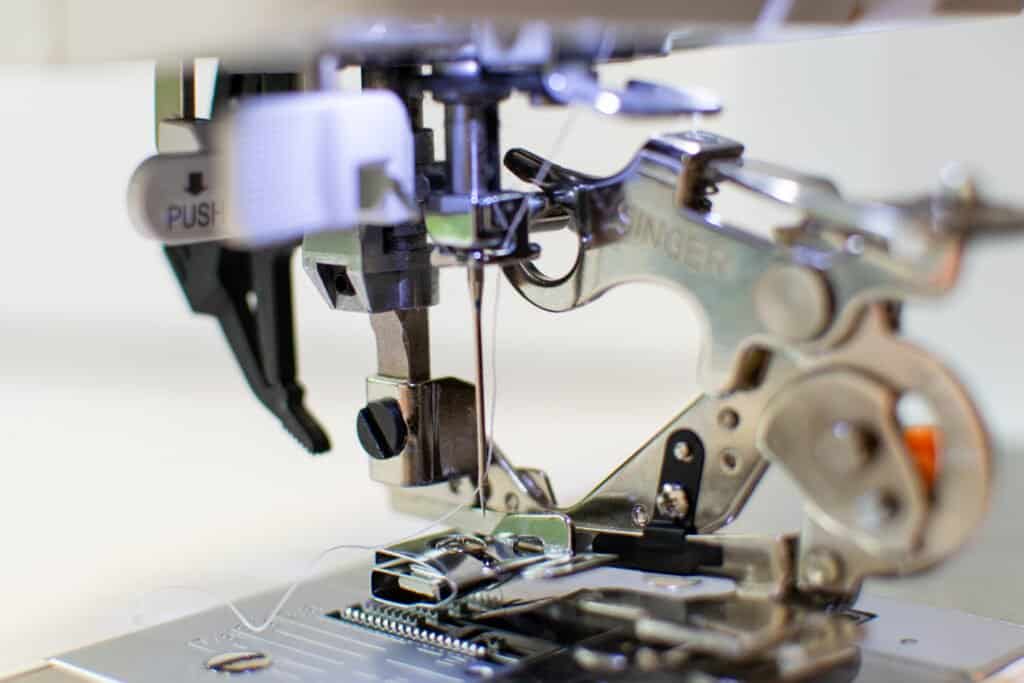
Lastly, screw the ruffler foot in place.

Step 2: Adjust Ruffler and Machine Settings
Once your ruffler foot is properly attached to your machine, it's time to adjust your ruffler and machine settings.
At the top of the ruffler foot is the "ruffle regulator," which has numbers engraved next to notches in the metal. You can lift and move the regulator side-to-side to adjust how tight your ruffles will be.
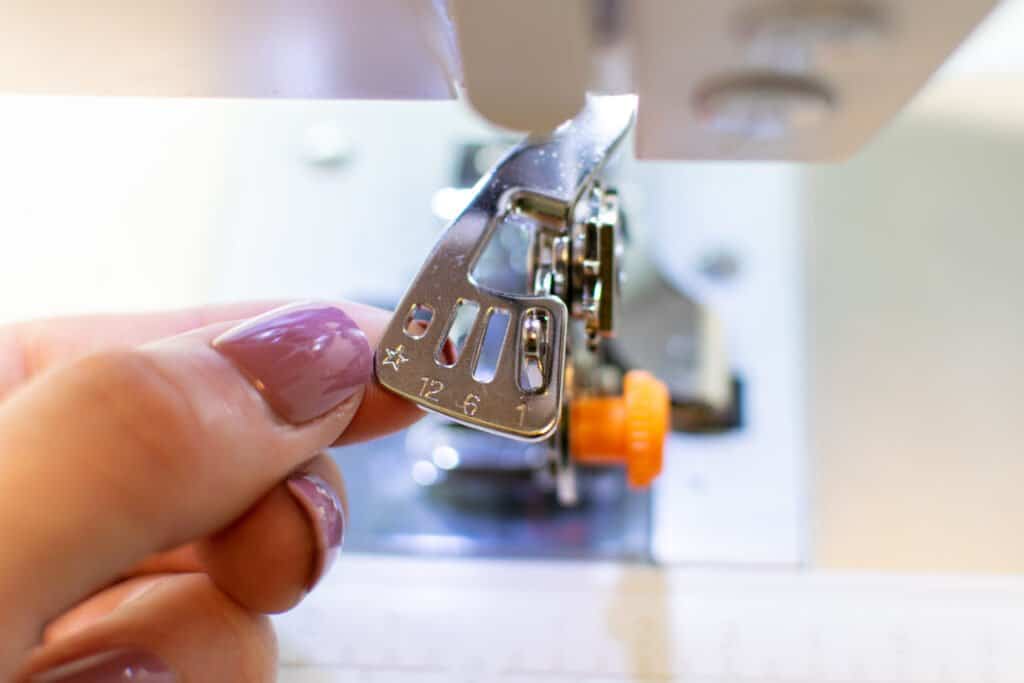
Here is a guide to the settings on the ruffle regulator:
| Setting | What does it do? |
| * | no ruffles are sewn - regular stitch |
| 12 | ruffles every 12th stitch - loose ruffles |
| 6 | ruffles every 6th stitch - medium ruffles |
| 1 | ruffles every stitch - tight ruffles |
Your ruffler foot will also have an adjustment screw to adjust how much fabric the foot pushes under the needle at each gather. You can loosen this screw and slide it up and down to adjust this setting.

I like to set the adjustment screw to a medium setting.
For machine settings, your average tension and stitch settings should work. The only adjustment I usually make is to slightly increase my stitch length to around 3mm. I find that this can help to create better gathers.
*PRO TIP: Make sure to test your settings on a scrap piece of fabric before gathering your project!
Step 3: Ruffle Your Fabric
Once your ruffler foot is installed and adjusted, the rest is easy!
Slide your fabric into the ruffler from the side.
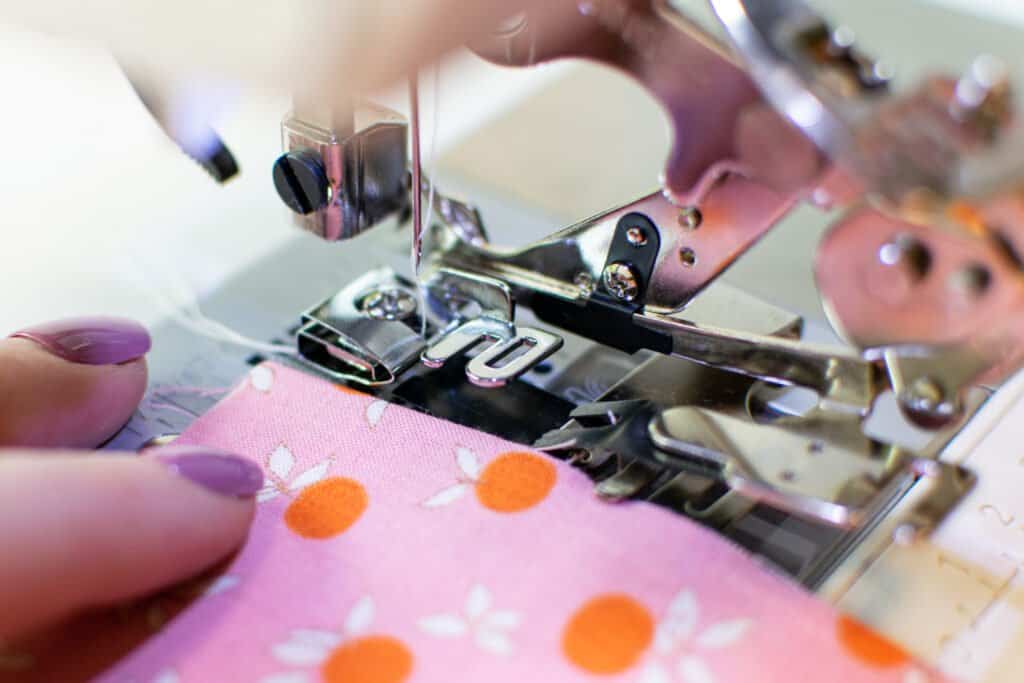
Place the fabric under the fabric guide and between the fabric feed plate and the separating blade. Slide the fabric into the foot until the raw edge is lined up just past the far edge of the foot.
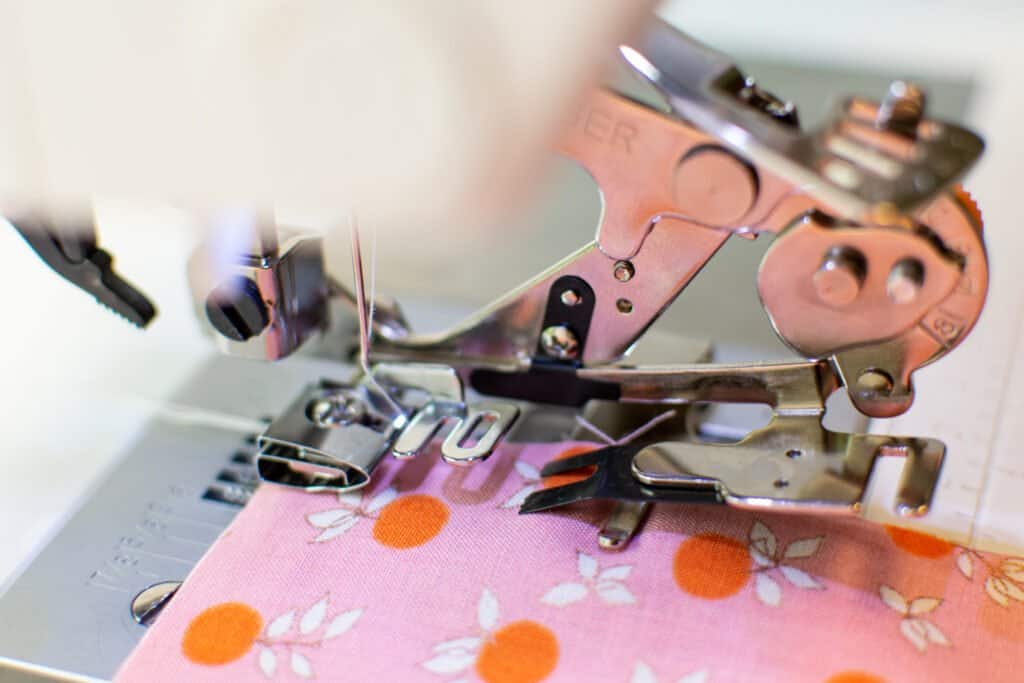
Then, push the fabric feed plate back towards the needle.
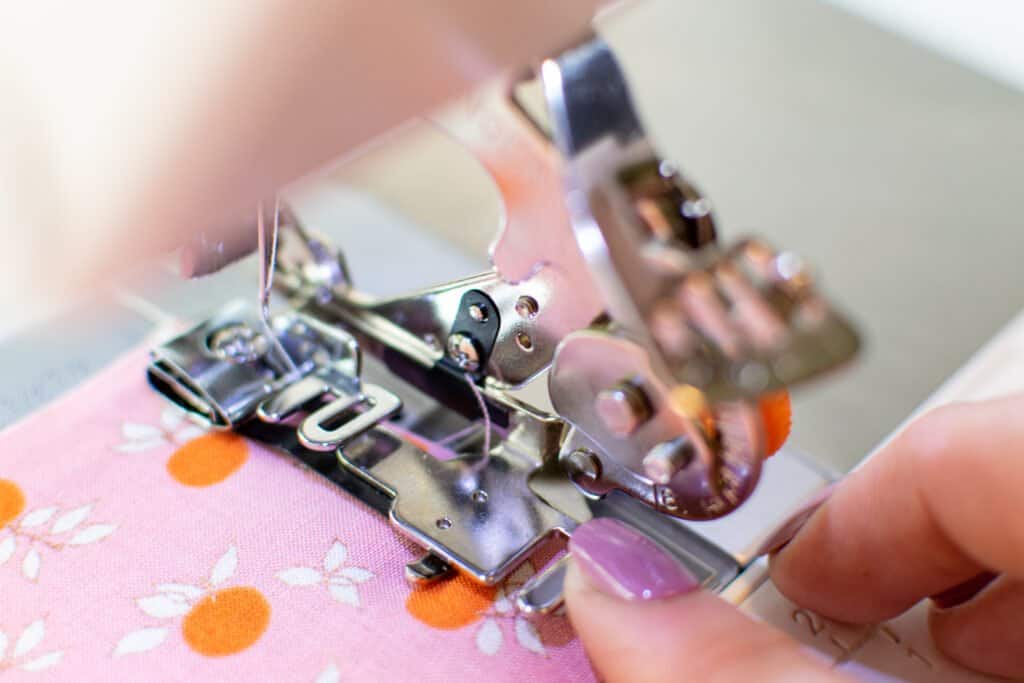
Finally, start sewing! The foot will ruffle your fabric as you sew!
I hope you're feeling confident in creating all the ruffles and gathers you desire! Enjoy all the new ruffle-filled projects you can sew!
Have you tried any of the 3 methods of gathering fabric that I've shared today? Let me know which methods you've tried and love in the comments below!
Try out your new ruffle skills with the following projects!

Don't forget to join my Facebook group where you can show us what you're making, ask questions, and learn from others.
Don't want to forget this technique??? Click here to save this pin on Pinterest!
Leave a Reply