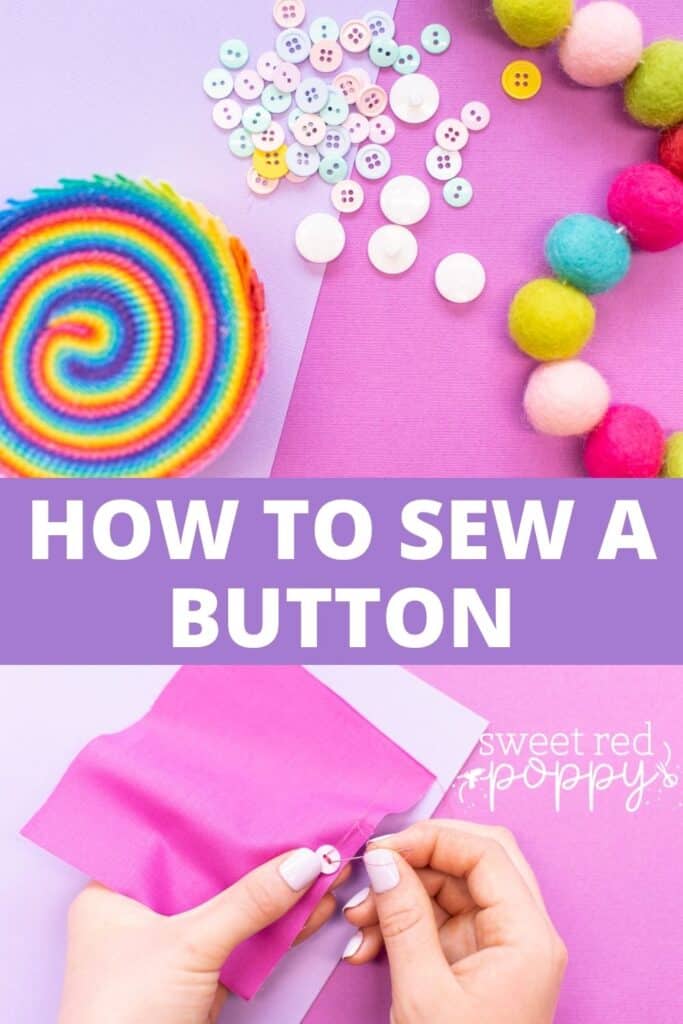
Sewing a button is a key sewing (and life) skill to learn - it will come in useful in so many different ways. In this step-by-step sewing tutorial, I'll show you how easy it is to sew a button.
Whether or not you enjoy sewing, knowing how to sew a button is a very useful skill to have. It's a simple and quick process that will help you keep all the shirts, pants, and jackets in your closet in tip-top shape.
All you need to sew on a button are a few basic sewing supplies and a little practice. In this tutorial, I'm sharing with you my favorite method of sewing the two most common types of buttons: sew-through buttons and shank buttons.
Table of Contents
Why Should You Learn How to Sew a Button?
In my opinion, learning to sew a button is an essential skill for almost everyone. It allows you to easily mend clothing in your closet if a button becomes loose or falls off. This will save you frustration and money - you won't have to buy a new shirt or spend money on a tailor if you lose a button.

If you like to sew clothing or other projects, knowing how to sew with buttons can open up a whole new world of sewing projects to you. Buttoned shirts, button-front dresses, cute throw pillows with decorative buttons, and many more projects!
Project Ideas for Buttons
Before we get into the tutorial, here are some button-filled project ideas to practice your newfound skill!
- Elastic Waist Flat Front Skirt with Button Front
- Ear Saver for Elastic Face Mask
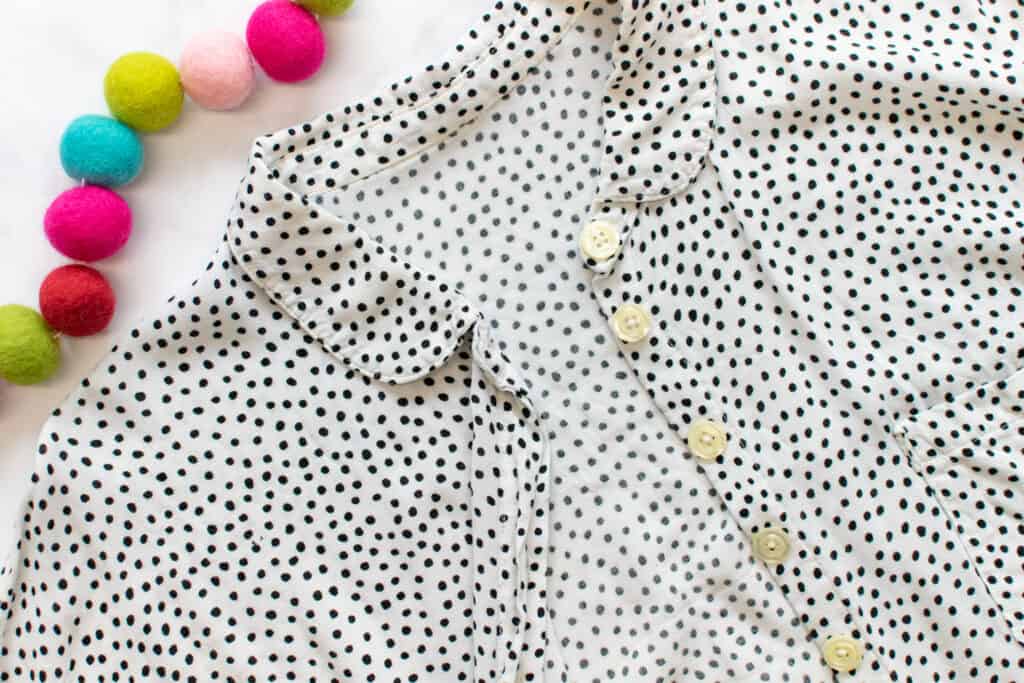
- Girl's Button Front Coat
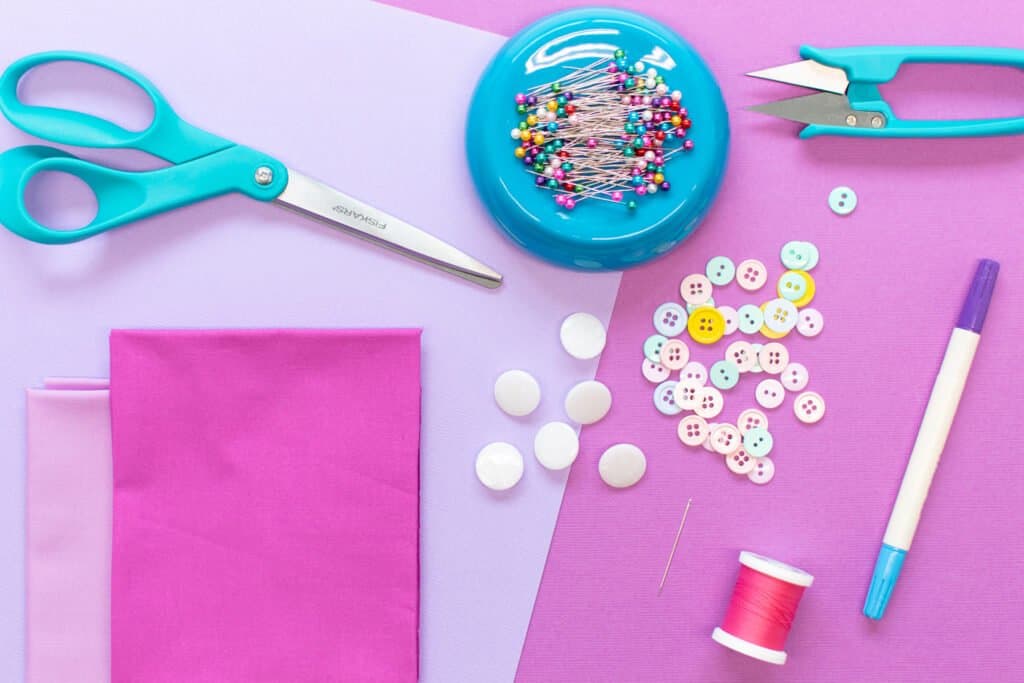
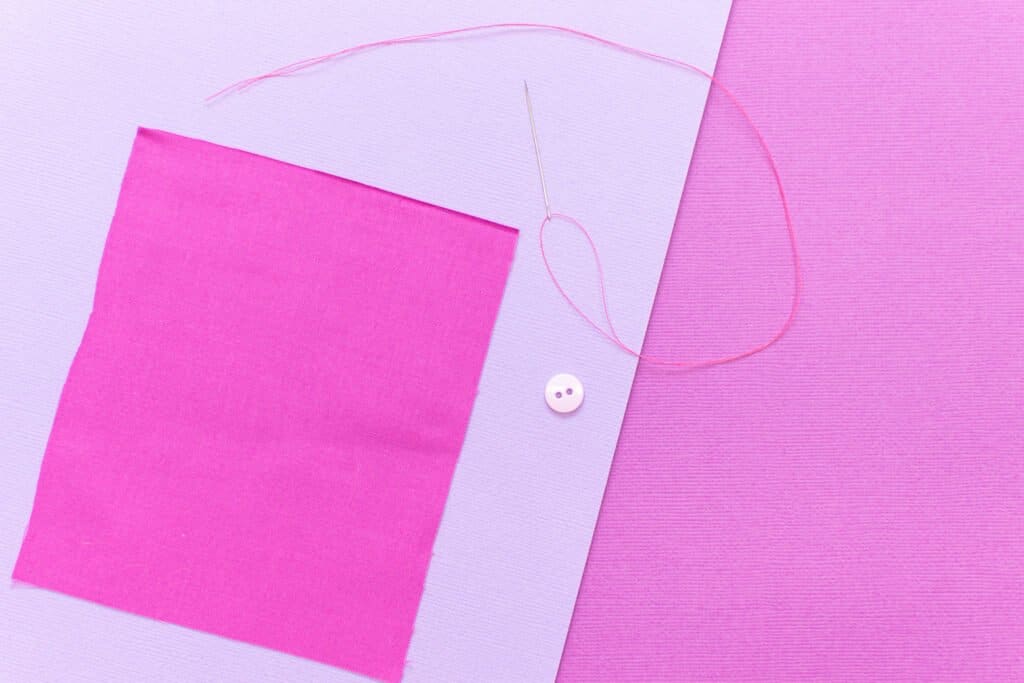
Supplies to Sew a Button
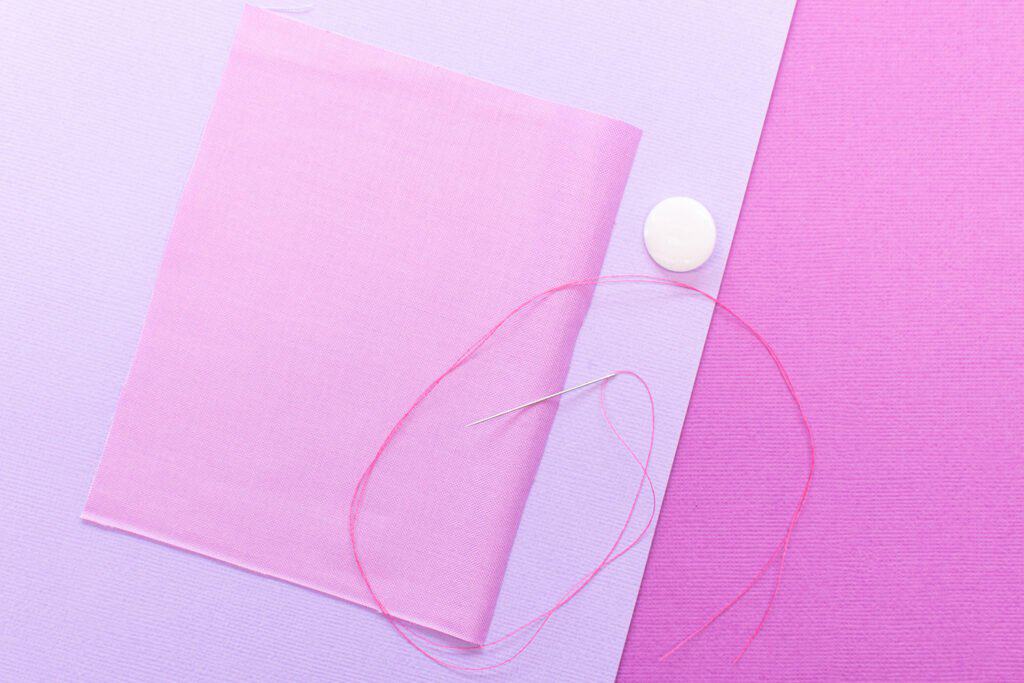
These are the supplies you'll need to have on hand to sew a button.
- Project that Needs a Button
- Button
- Thread
- Hand Sewing Needle
- Toothpick or Sewing Pin
- Scissors or Thread Snips
- Fabric Pen
- Marking Pen
How to Sew a Sew-Through Button
Sew-through buttons are one of the most common types of buttons found on clothing and other projects. This is a basic, versatile type of button that is great for a variety of different projects.

Sew-through buttons typically have either 2 or 4 holes that can be sewn through to secure the button to fabric. Sometimes you may also come across sew-through buttons with 3 holes.
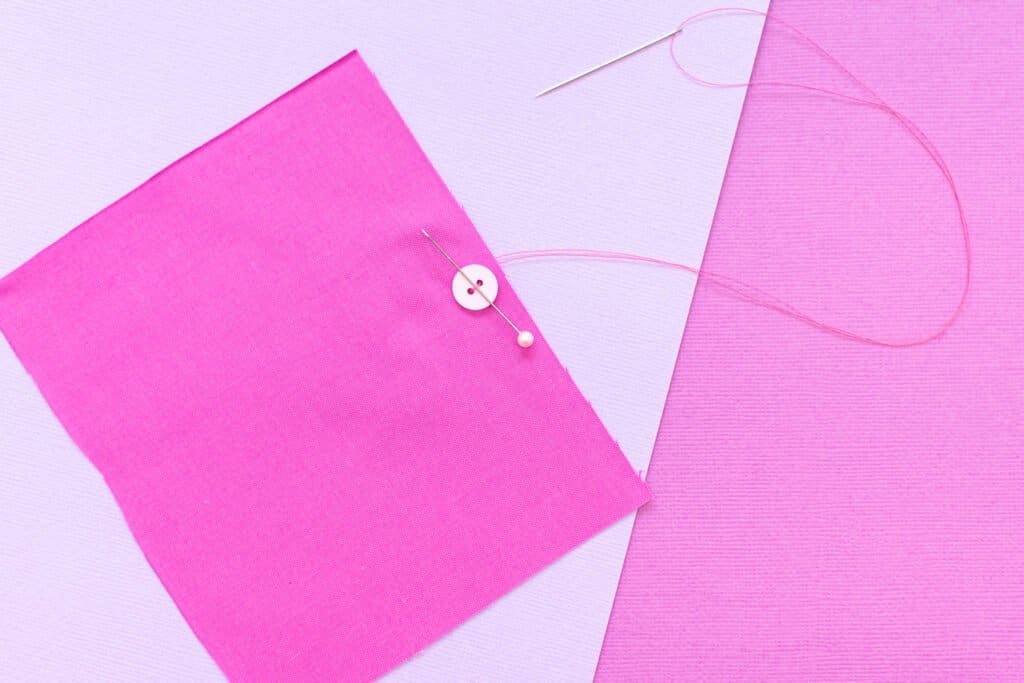
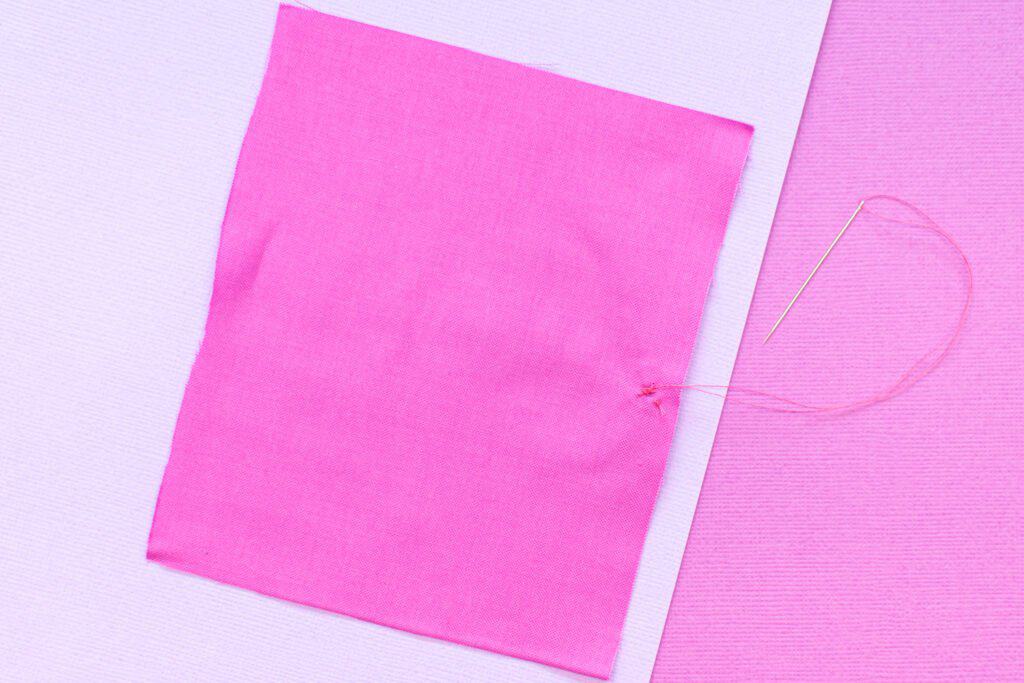
Step 1: Prepare the Needle and Thread
Start by threading a hand sewing needle with a double layer of thread in a color matching your project.
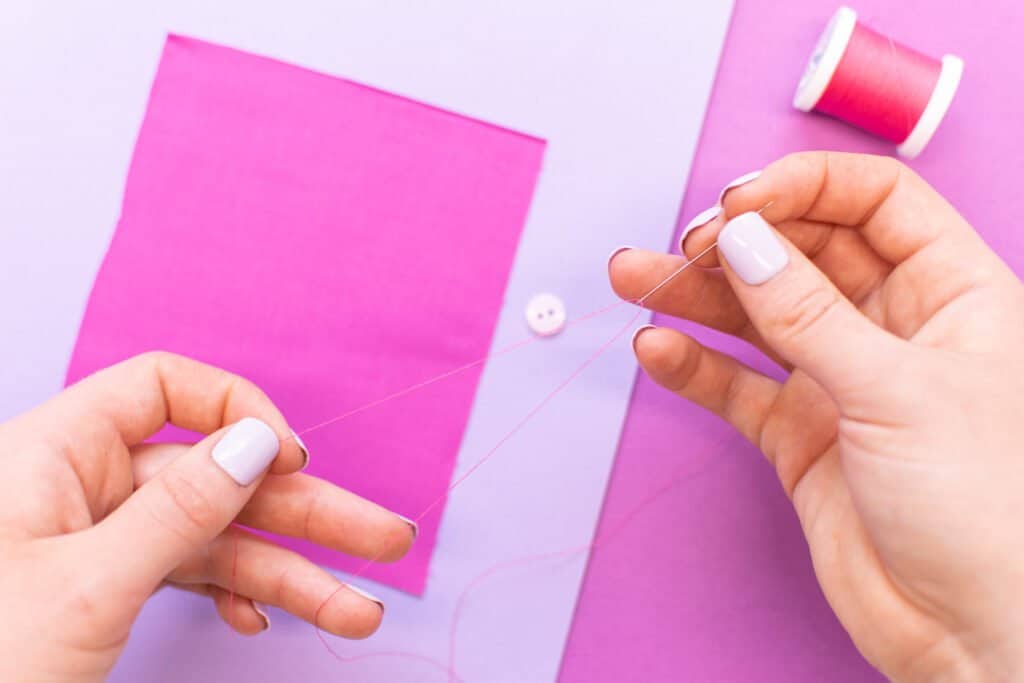
I find that cutting a length of thread between 15 and 20 inches works well for sewing a button.
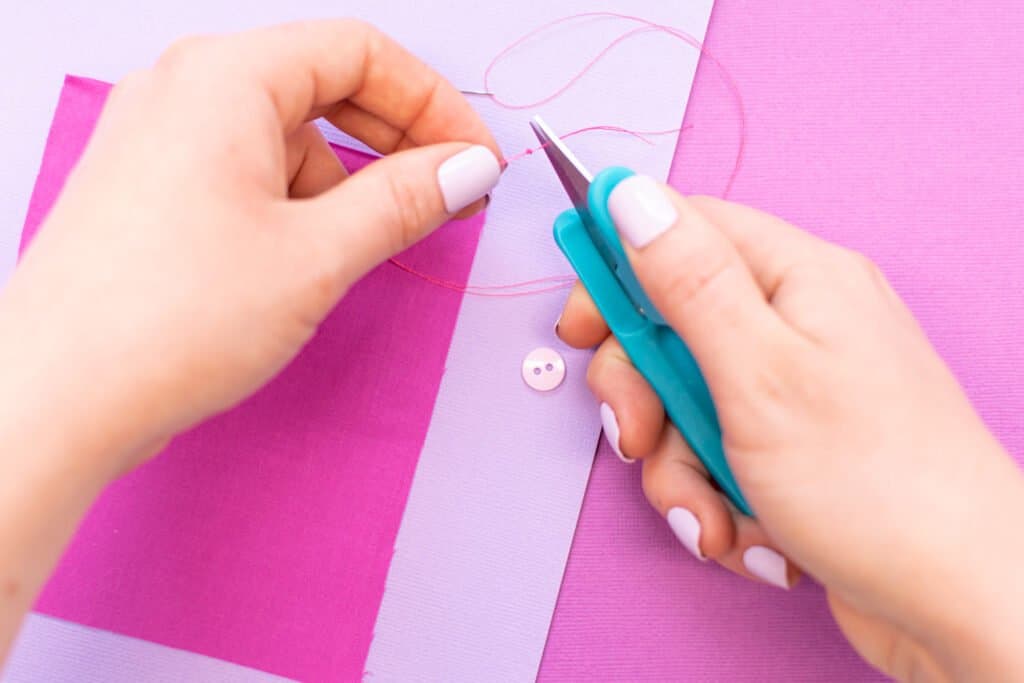
Next, knot the two ends of the thread together with a double or triple knot.
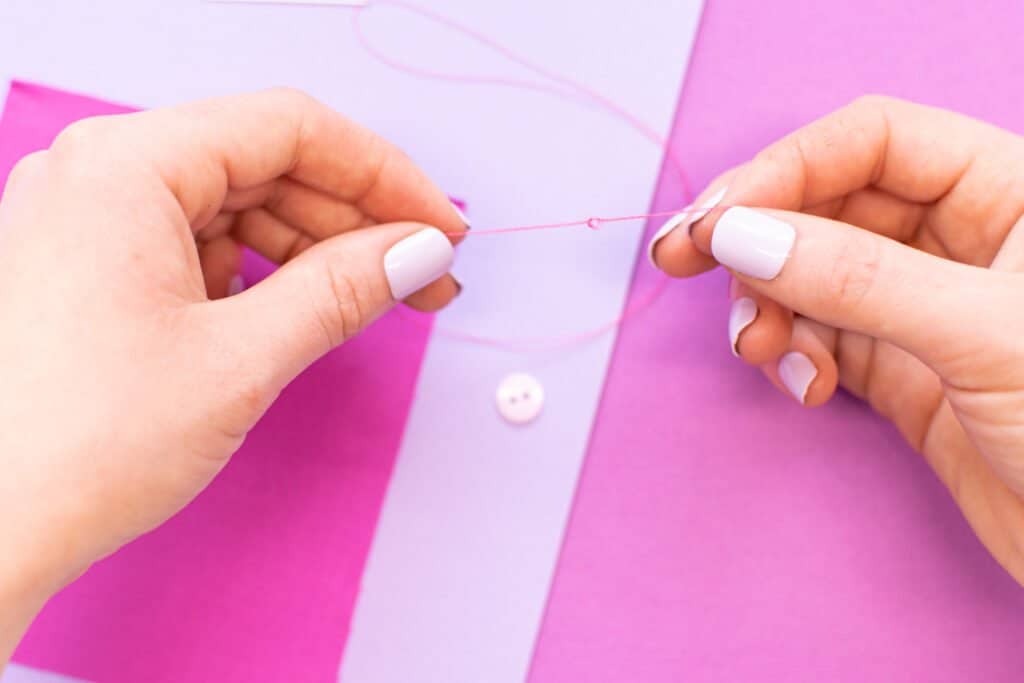
Trim away the excess thread tails close to the knot.
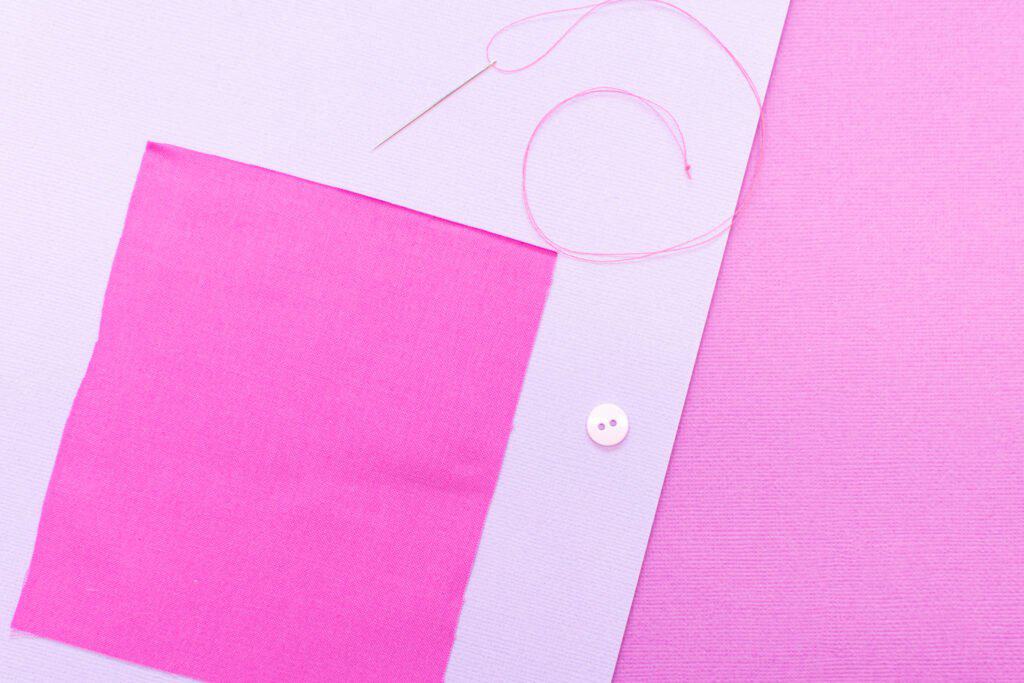
You're ready to start sewing the button!
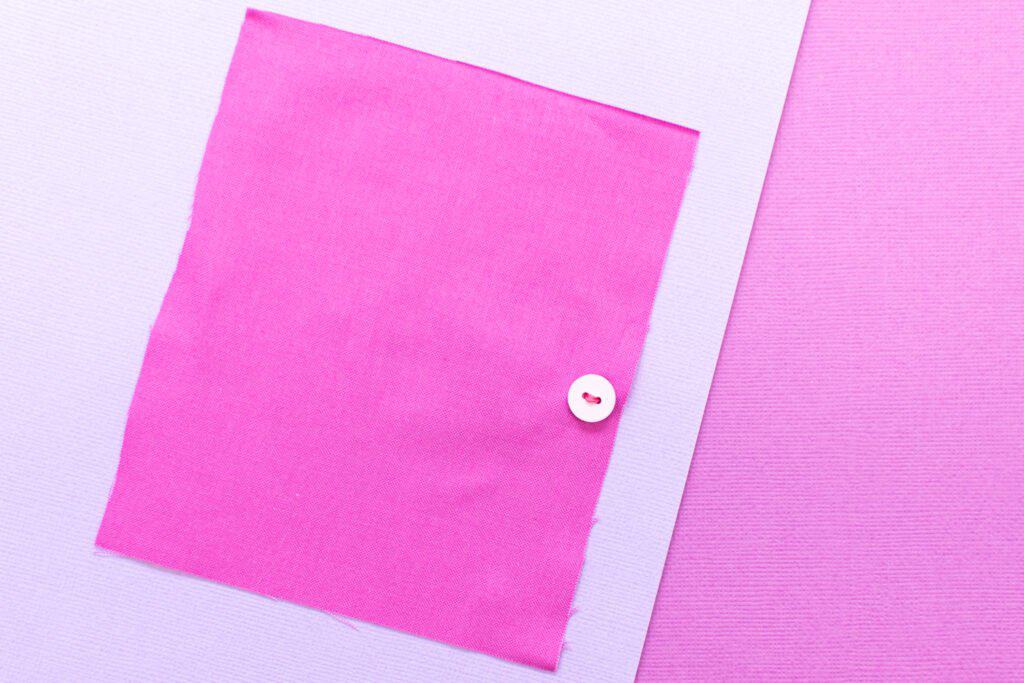
Step 2: Sew the Button
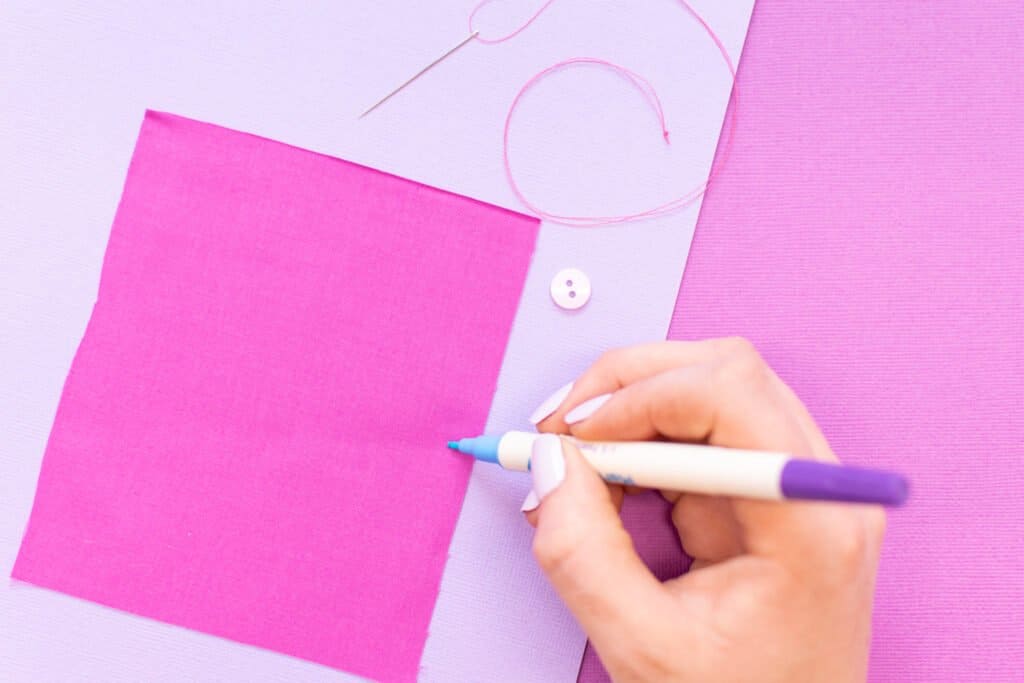
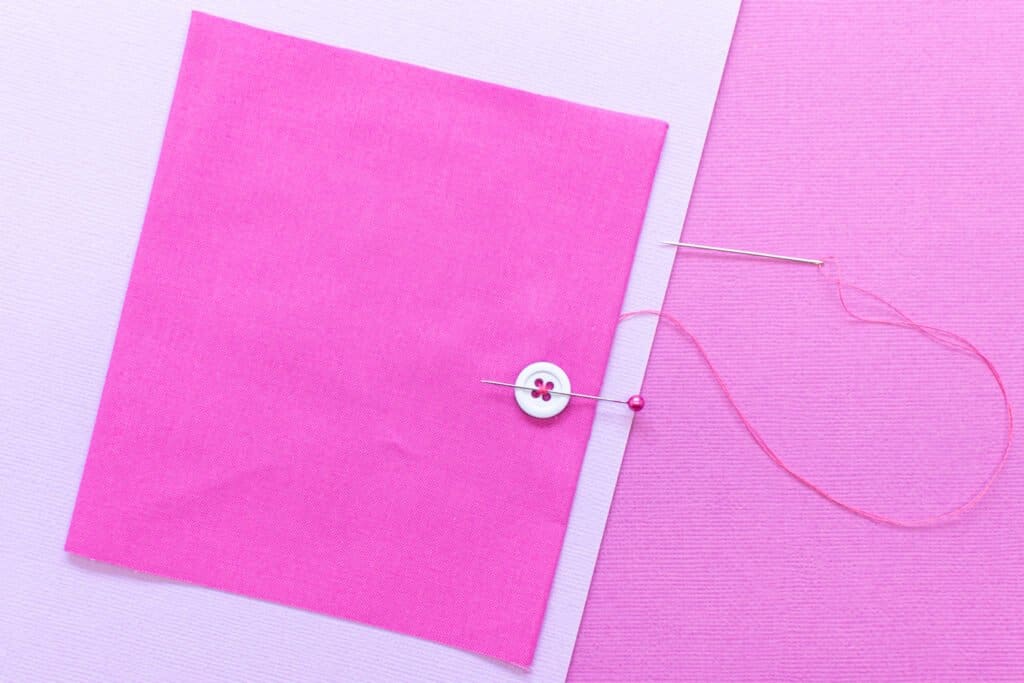
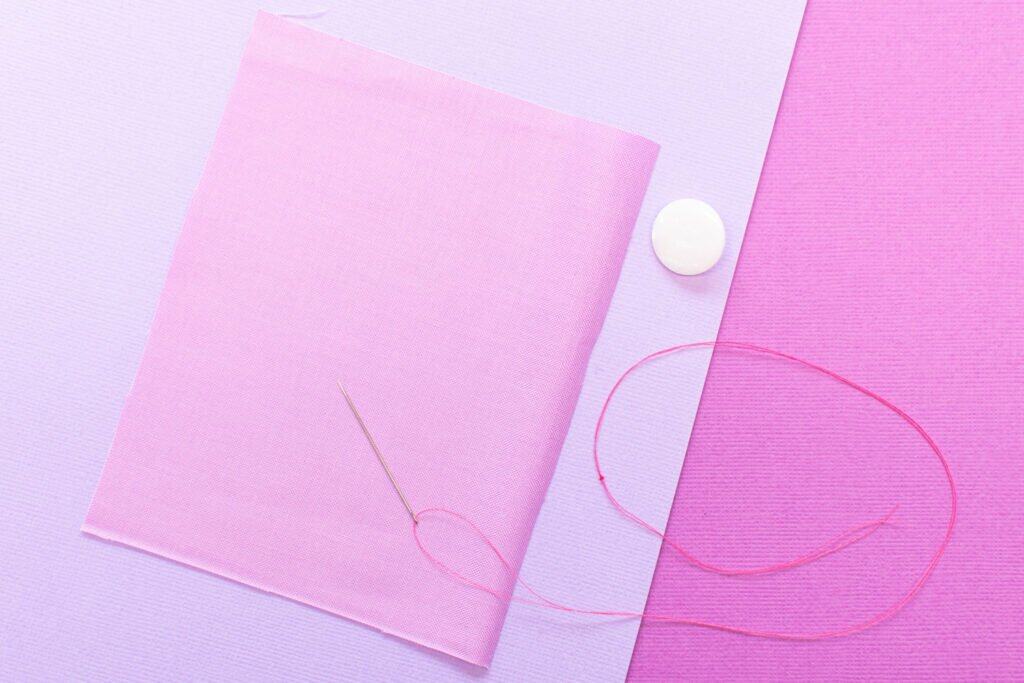
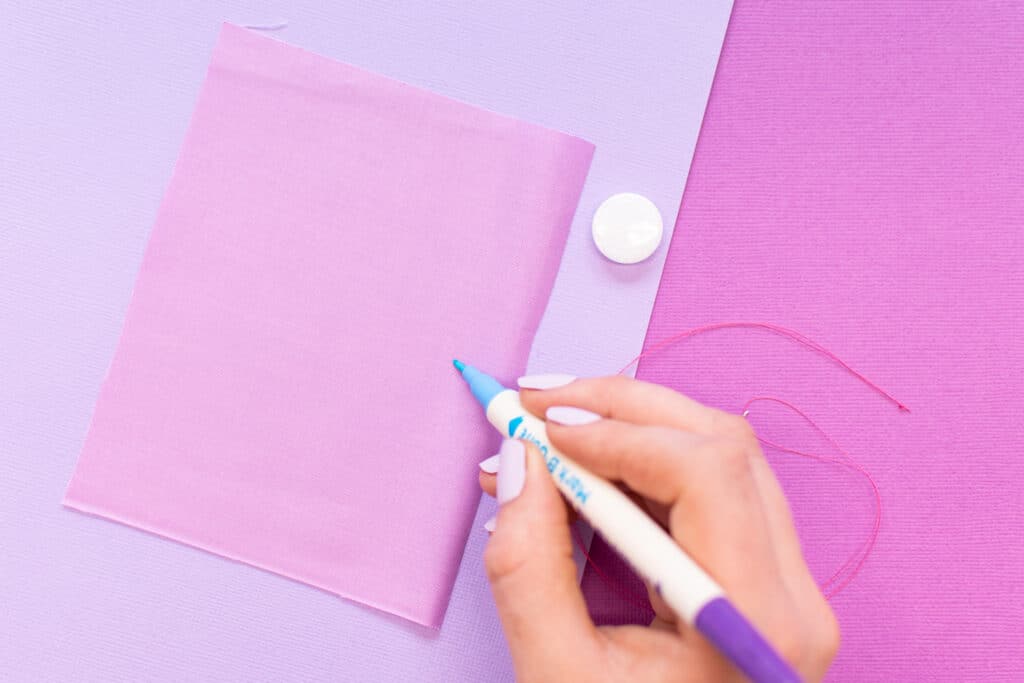
Once your needle and thread are prepared, make sure the button location is marked on your project.
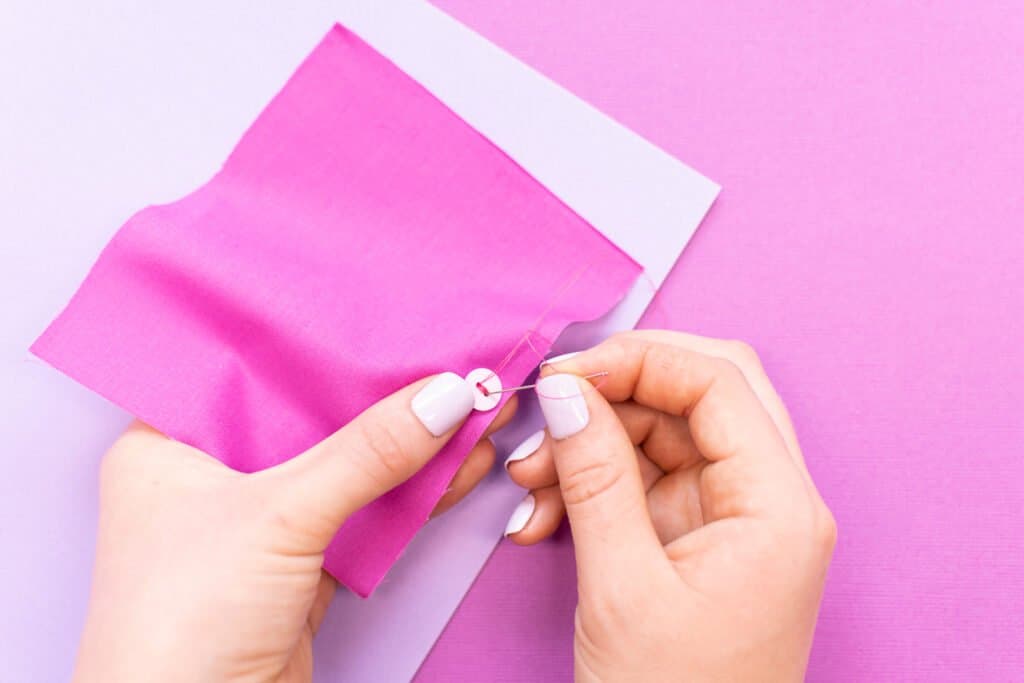
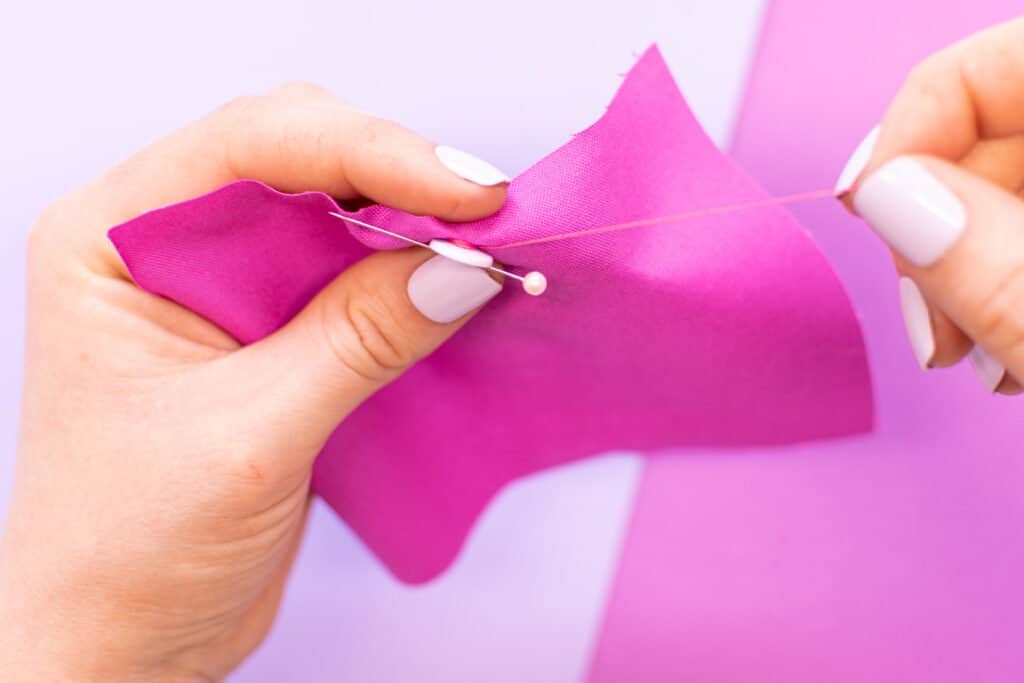
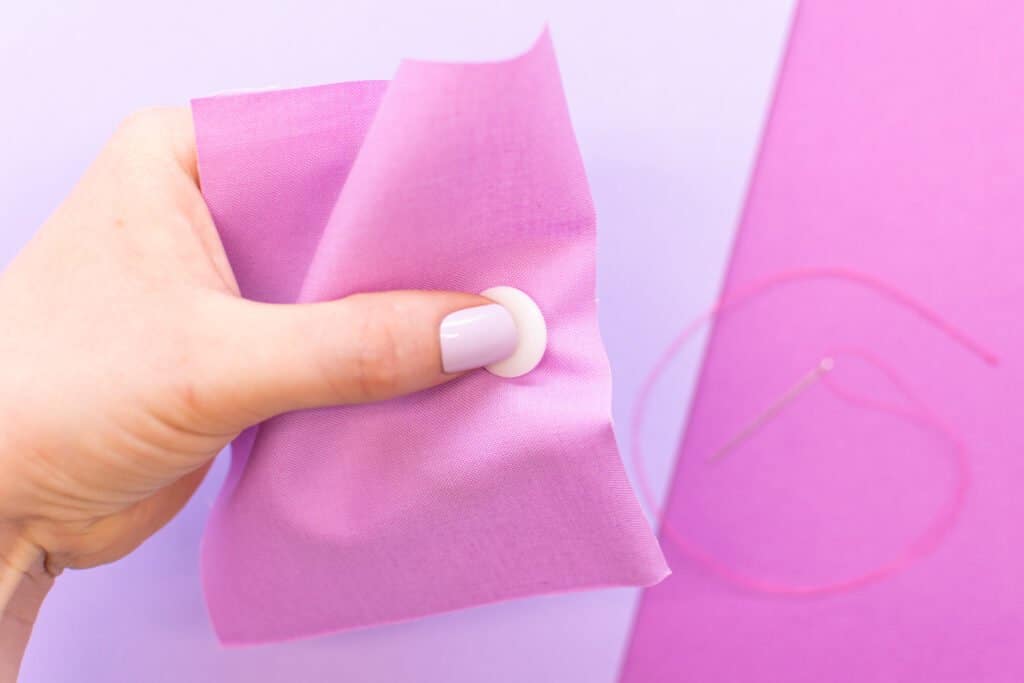
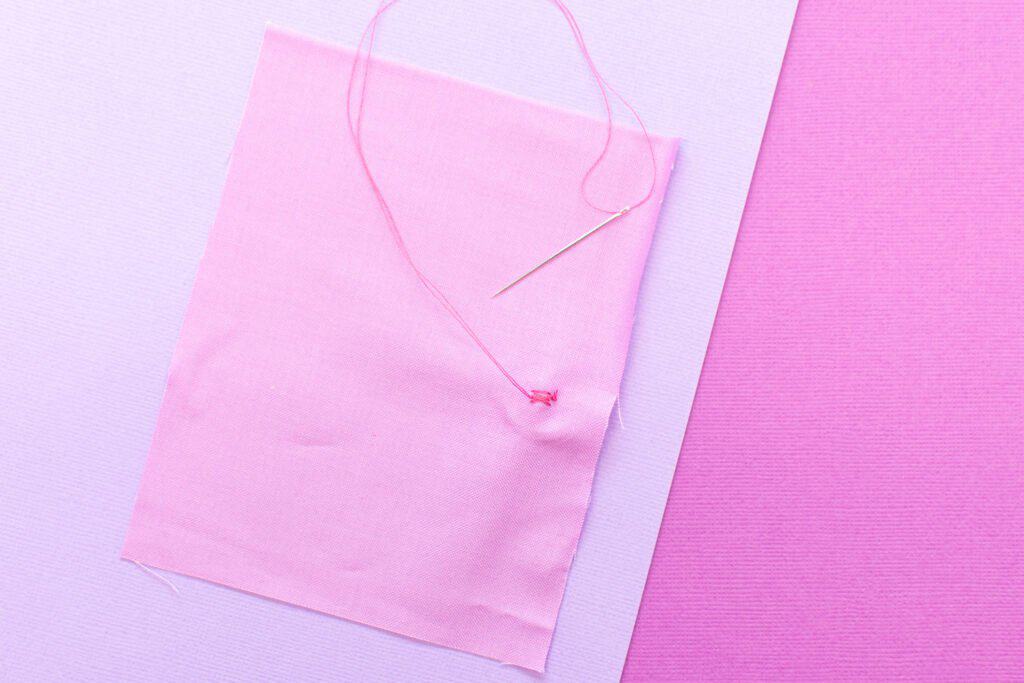
Then, hold the button on the right side of the fabric at the marking. Push the needle up from the wrong side through one of the holes in the button.
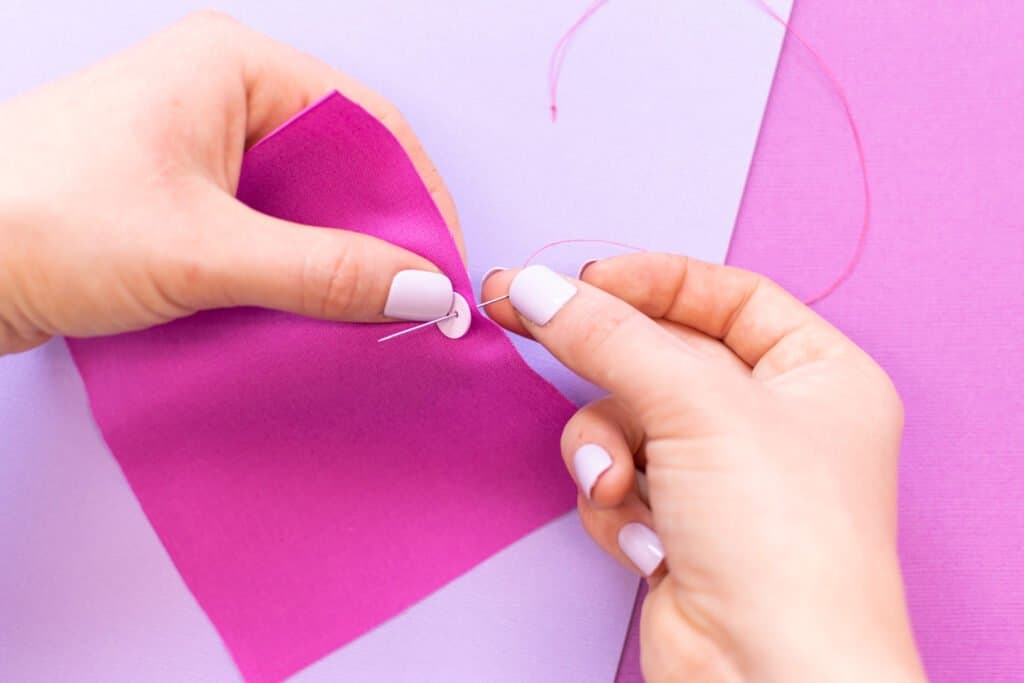
Pull the needle and thread through until the knot is taut against the back of the fabric.
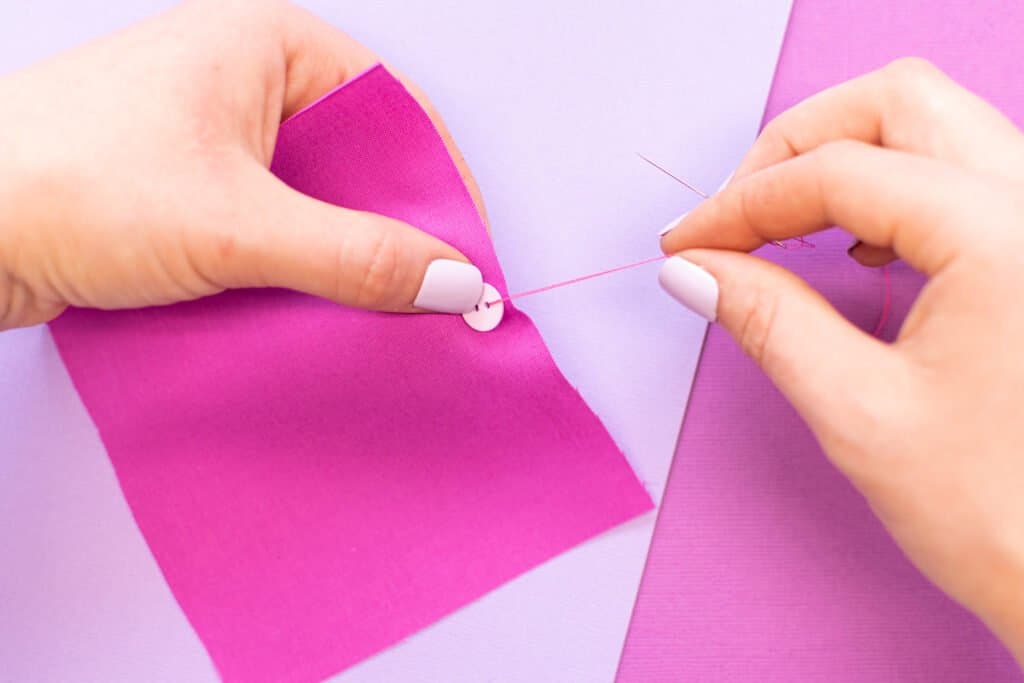
Push the needle back down through the fabric, going through the other hole in the button.

Pull the thread taut.
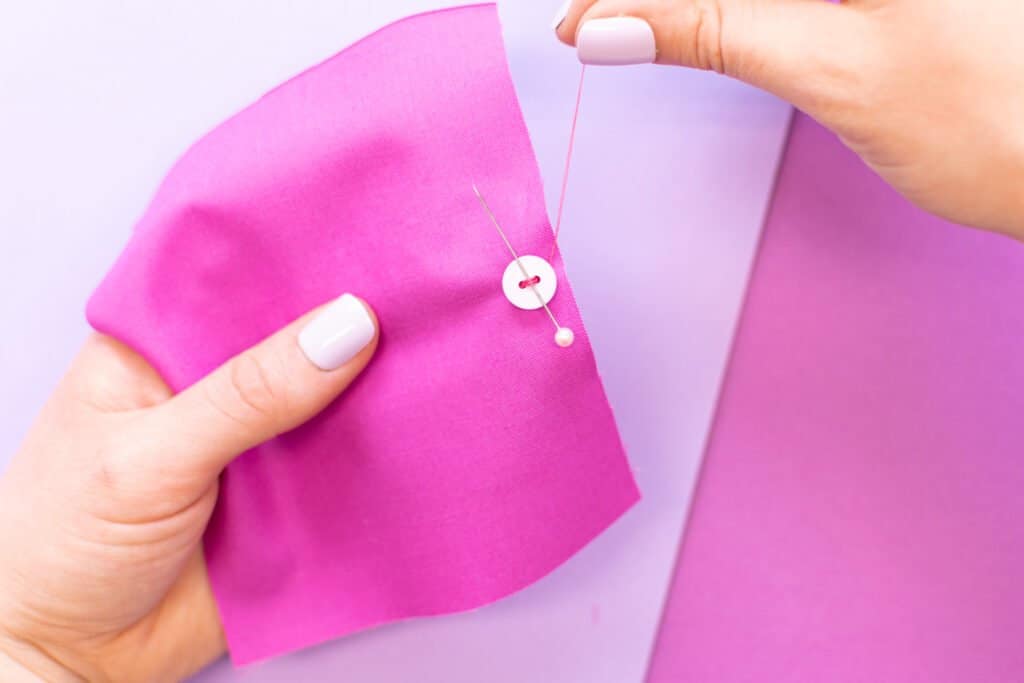
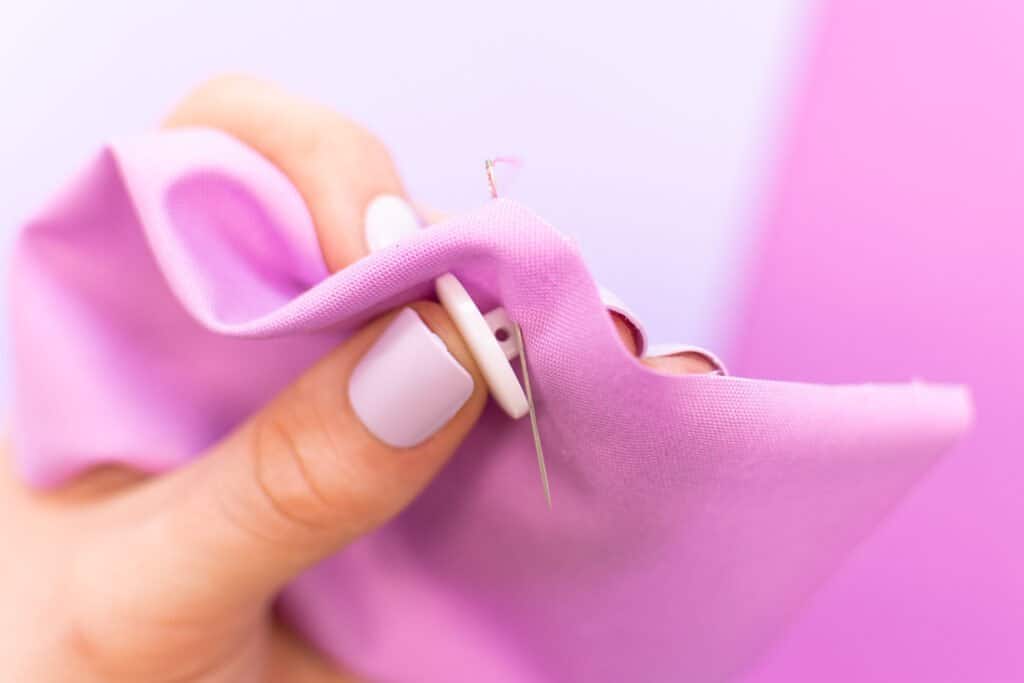
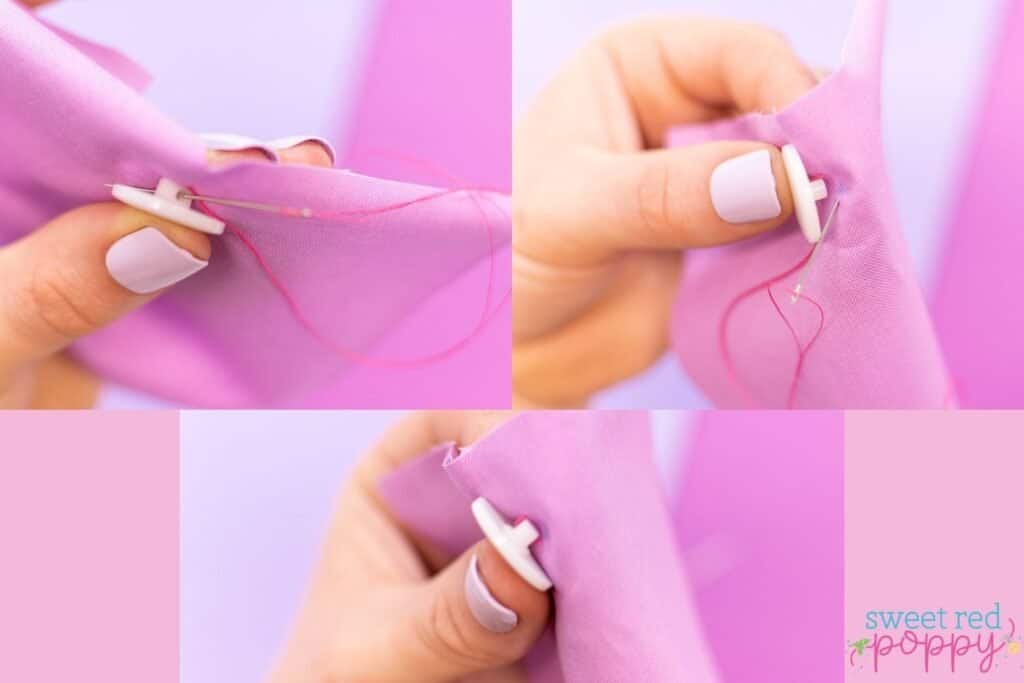
Next, lay your toothpick or sewing pin across the button, going under the thread loop. This will help to prevent the thread from holding the button too tightly to the fabric, making it difficult to fit the button into the buttonhole.
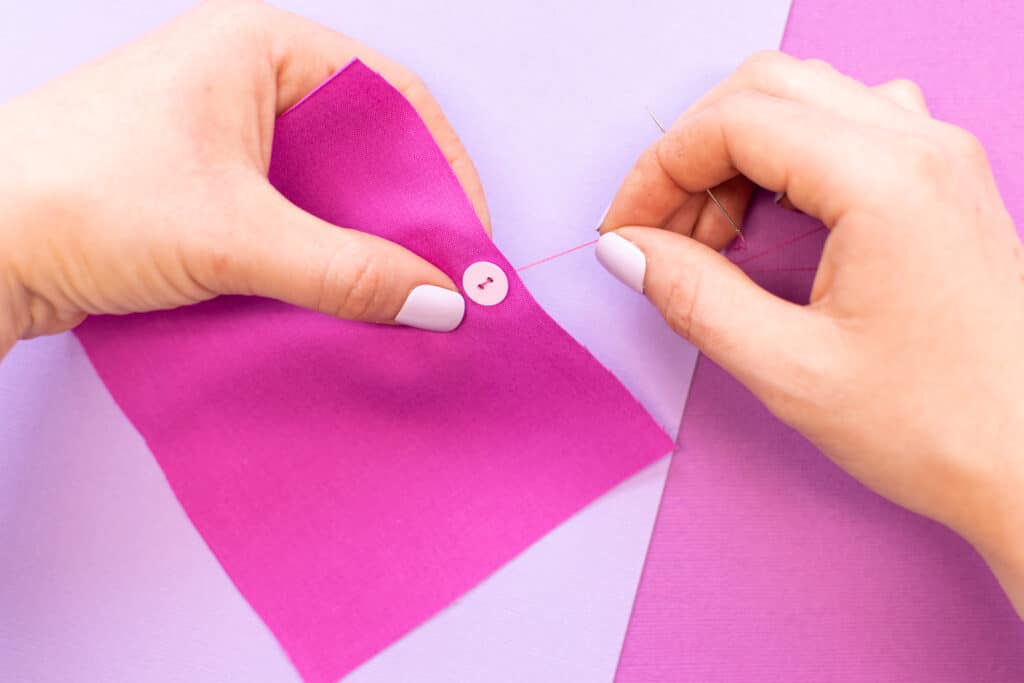
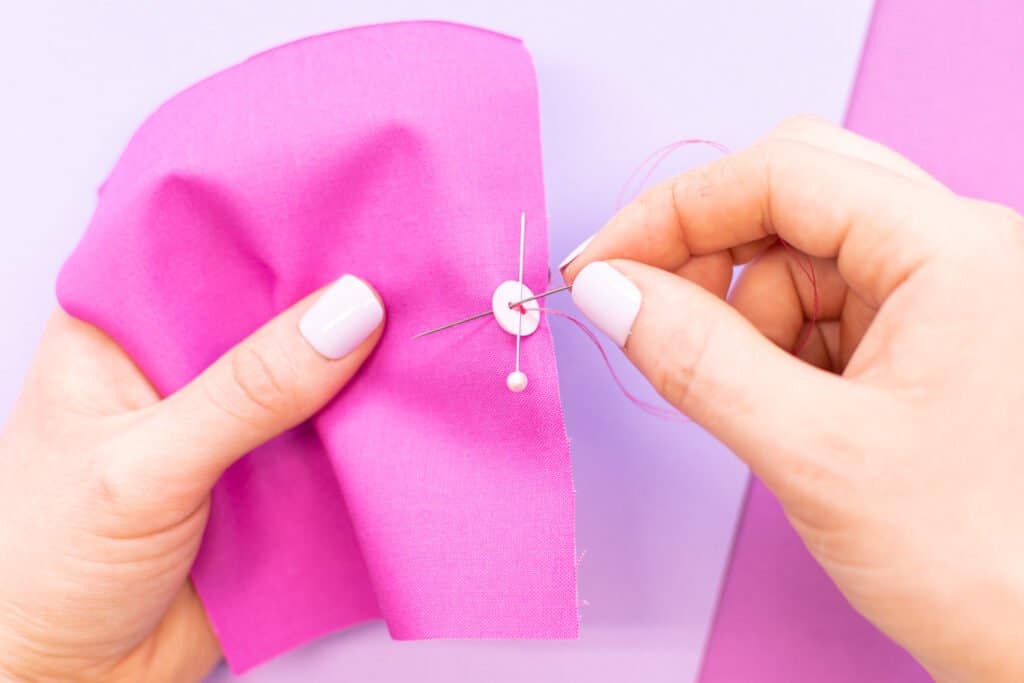
Once your toothpick or pin is in place, push the needle back up through the first hole and down through the second one in the same pattern as your first stitch.
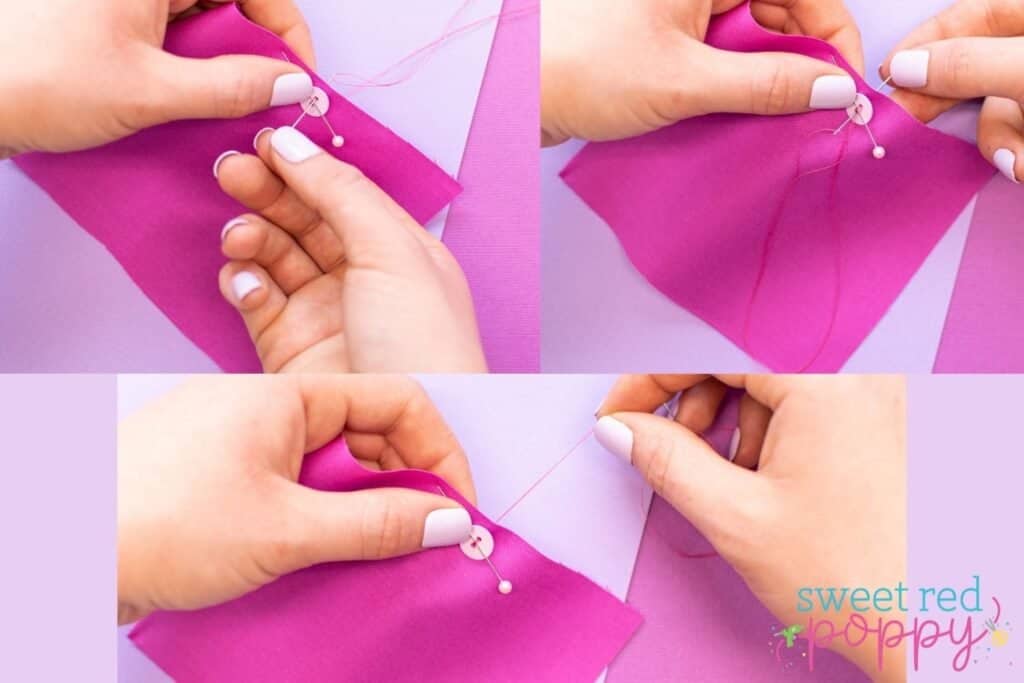
Repeat this process 3 to 4 more times.
For 4-hole buttons, crisscross between the two diagonal sets of holes, making sure to go through each set of holes at least 2 or 3 times. This process will create an 'X' of thread on the face of the button.
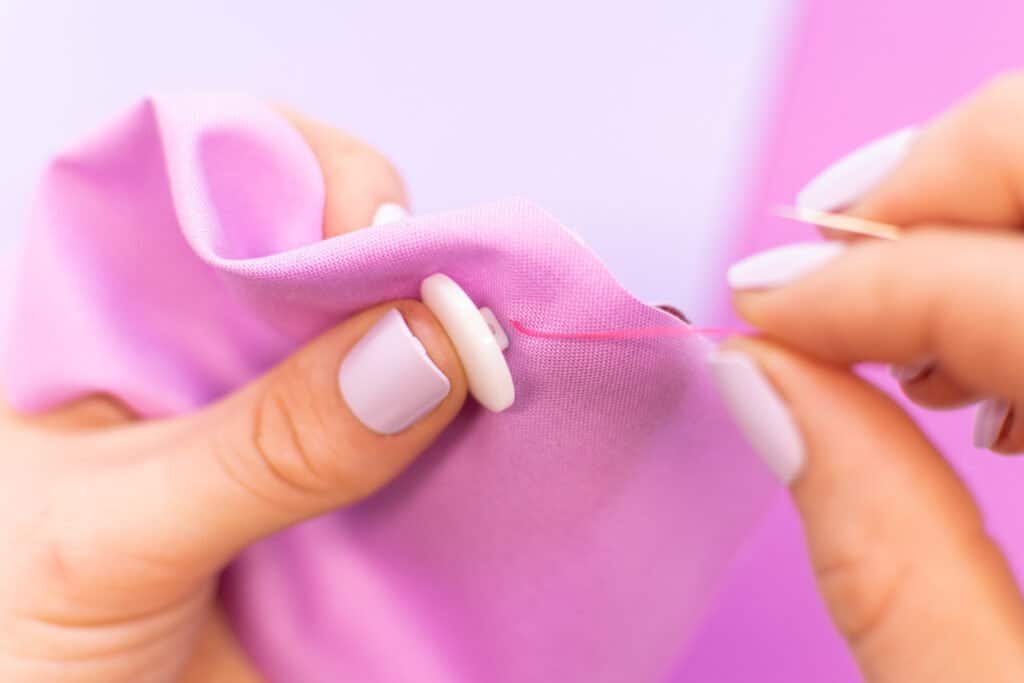
On the last stitch, go up through the first hole but not back down through the second hole.

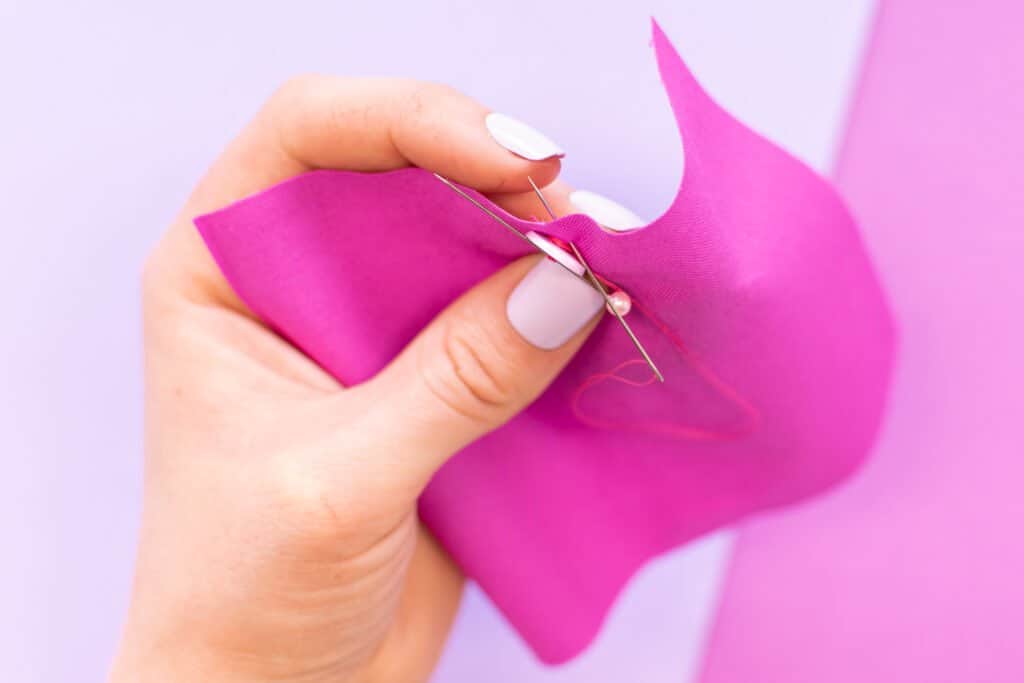
Instead, push the needle and thread through the second hole, angling the needle so that it doesn't go through the fabric. The thread should come out just under the button, on top of the fabric.
Then, wrap the thread around the stitches holding the button to the fabric. Wrap the thread around the base of the button 5 or 6 times. This will create a "shank" that holds the button away from the fabric, making it easy to open and close.
Step 3: Finish and Tie Off the Thread
Your button should now be secured to your project and the needle and thread should be on the right side of the fabric under the button.
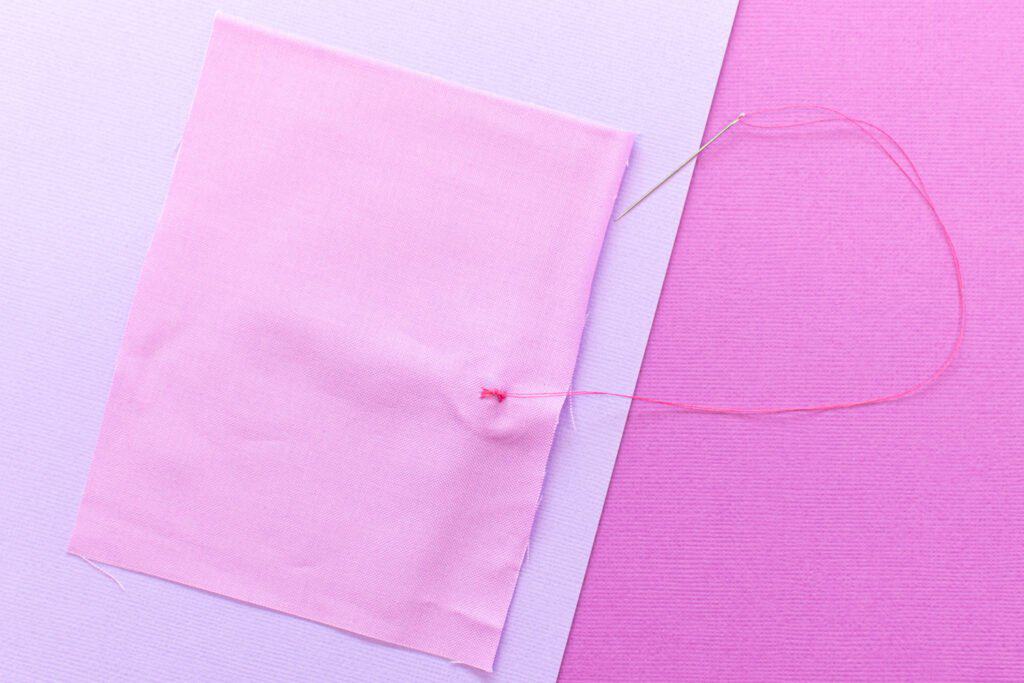
Insert the needle into the fabric at the base of the button, pushing it through to the wrong side.
Pull the thread through to the underside of the fabric, pulling it taut.
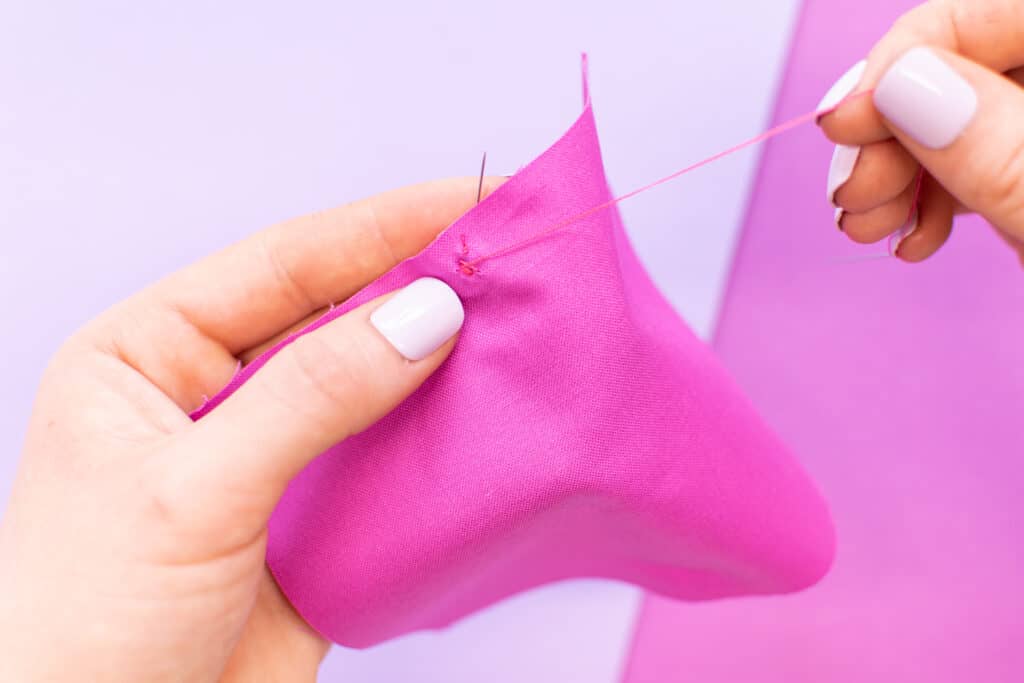
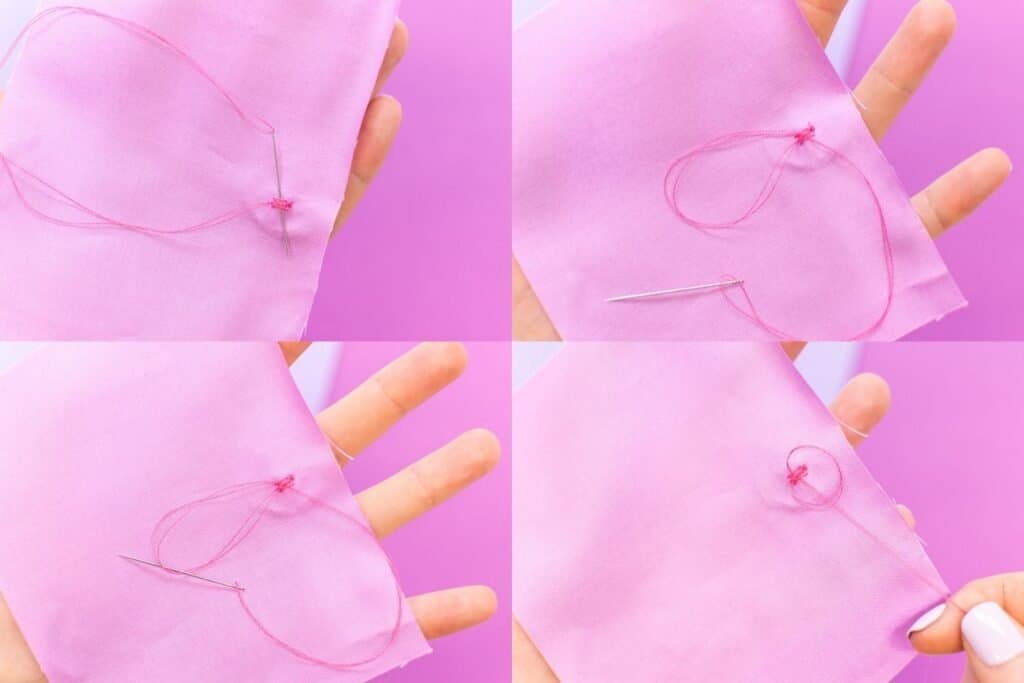
Next, to knot the thread, slide the needle under the stitches holding the button to the fabric. Don't pull the thread all the way through - there should be a loop of thread. Push the needle through the loop, then pull the thread tight to form a knot.
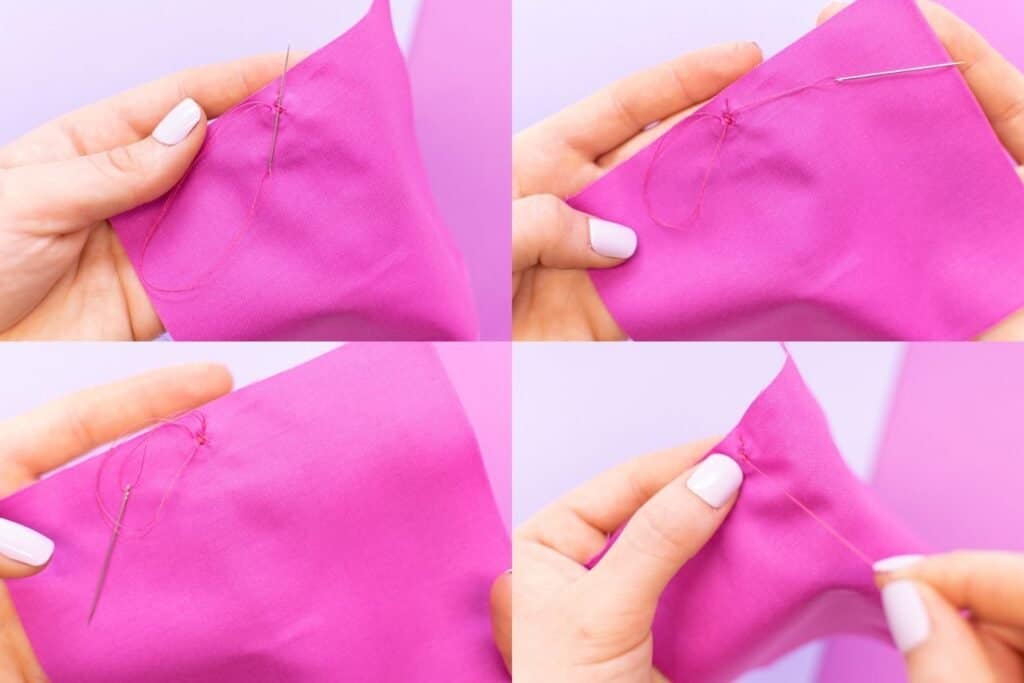
Repeat this process 2 or 3 times to make sure your knot is secure.
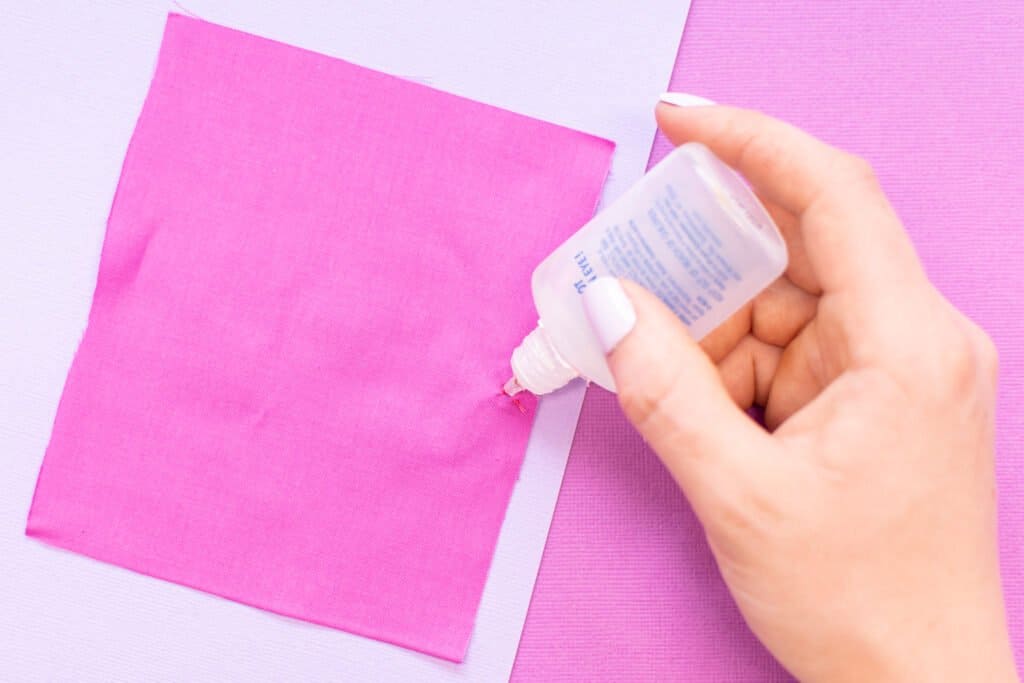
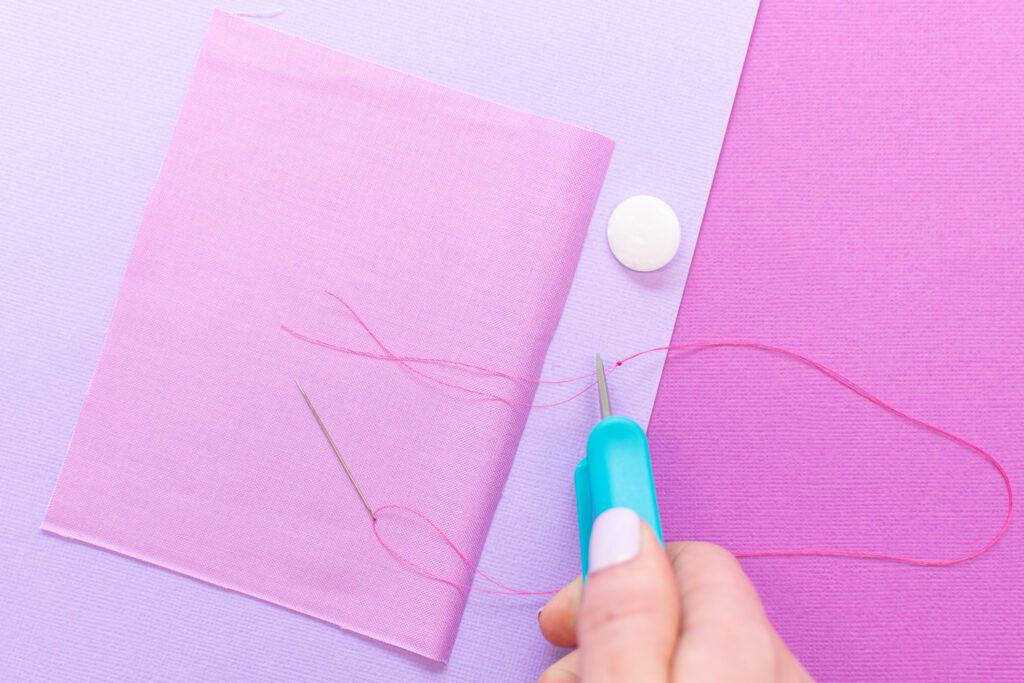
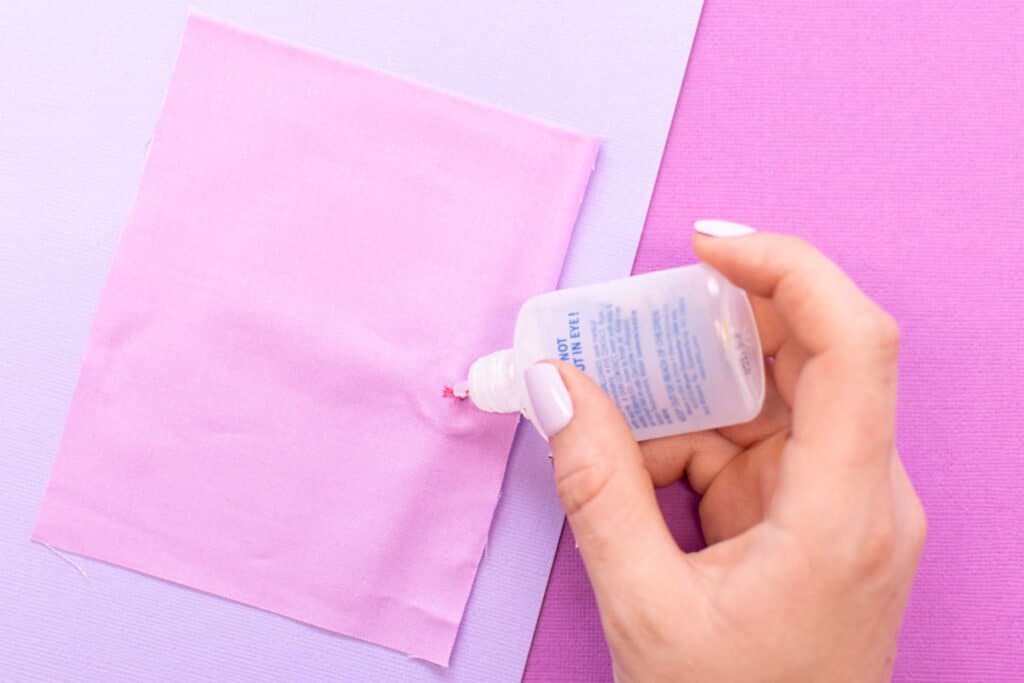
Trim the excess thread away close to your fabric, then dot a bit of fray check on the knot to make sure it's extra secure.
How to Sew a Shank Button
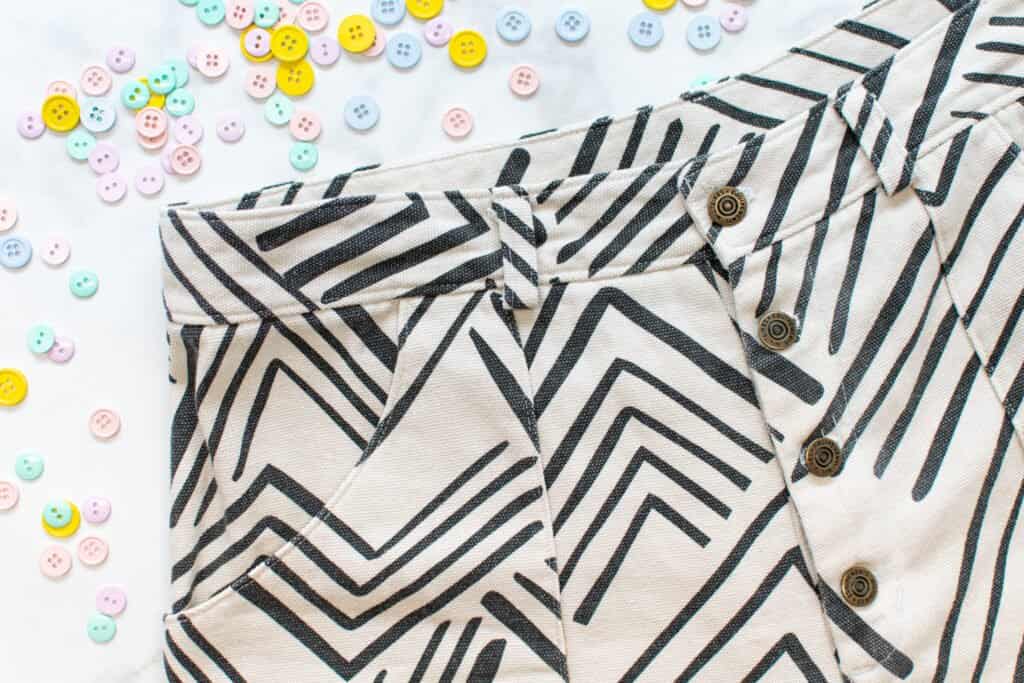
The other type of button that you'll come across most often is a shank button. This type of button has a little metal or plastic loop, called a shank, at the back that can be sewn through to attach the button.
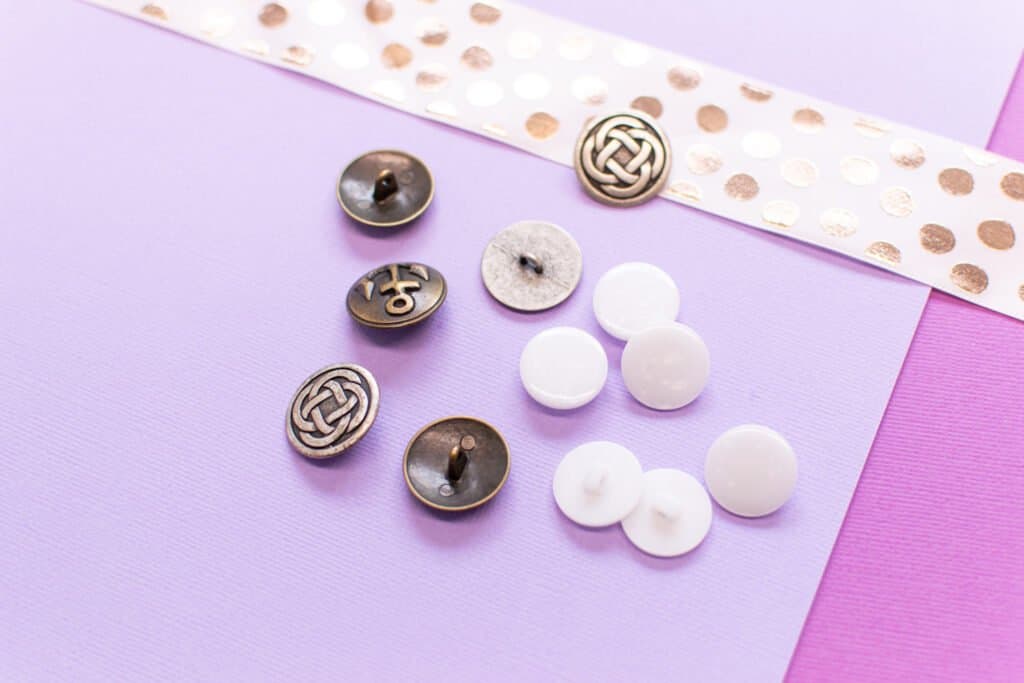
Shank buttons are often fancier than sew-through buttons and have engraved designs or embellishments on the front. This is because there aren't holes in the surface of the button taking up space. They may be fancier, but shank buttons are just as easy to sew!
Step 1: Prepare the Needle and Thread
Firstly, prepare a hand sewing needle with a 15-20 inch length of thread, doubled up.
Knot the thread tails together with a double or triple knot.
Trim the thread tails away close to the knot.
Step 2: Sew the Button
Mark the location of the button on your project.
Then, hold the button in place on the fabric marking.
Push the needle up through the fabric from the wrong side, just to one side of the shank at the base of the button.
Pull the thread taut until the knot is against the wrong side of the fabric.
Next, push the needle through the button shank, then back down into the fabric on the other side of the shank. Pull the thread taut so that the button is held tight to the fabric.
Repeat this process of sewing through the shank another 4 or 5 times.
Step 3: Finish and Tie Off the Thread
After the last stitch, the needle and thread should be on the wrong side of the fabric. All that's left is to knot and trim the thread!
Start by sliding the needle under the stitches holding the button to the project, not pulling the thread all the way through. There will be a loop left in the thread. Push the needle through the loop, then pull the thread tight, pushing the knot against the fabric.
Repeat this knotting process another 2 or 3 times.
Finally, trim the thread tails away close to the knot and dot a bit of fray check on the threads to secure them.
What button-sewing project are you excited to get started on? Let me know in the comments below!
Join my Facebook group where you can show us what you're making, ask questions, and learn from others.
Don’t want to forget this technique? Click here to save this tutorial on Pinterest!
Many thanks!