In Just a Few Hours, You Can Sew Up a Cute and Useful Half Apron With My Free Apron Pattern and Simple Step-By-Step Sewing Tutorial.
Aprons are one of the best sewing projects for beginners because they're so quick and simple to stitch up. Plus, they're fun to customize with different fabric colors and prints - everyone needs an adorable apron to wear while baking!
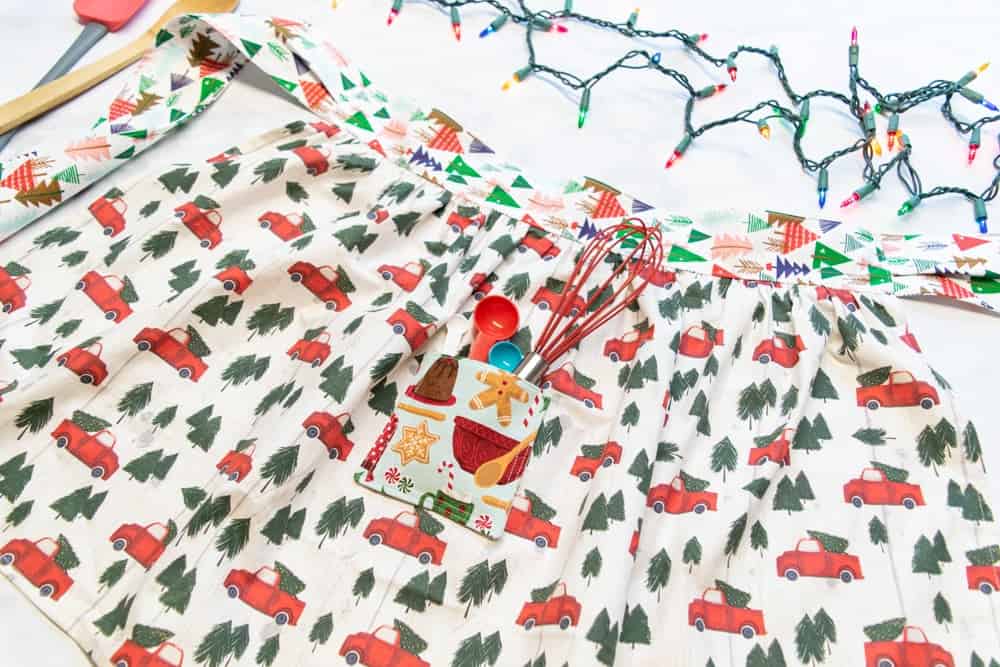
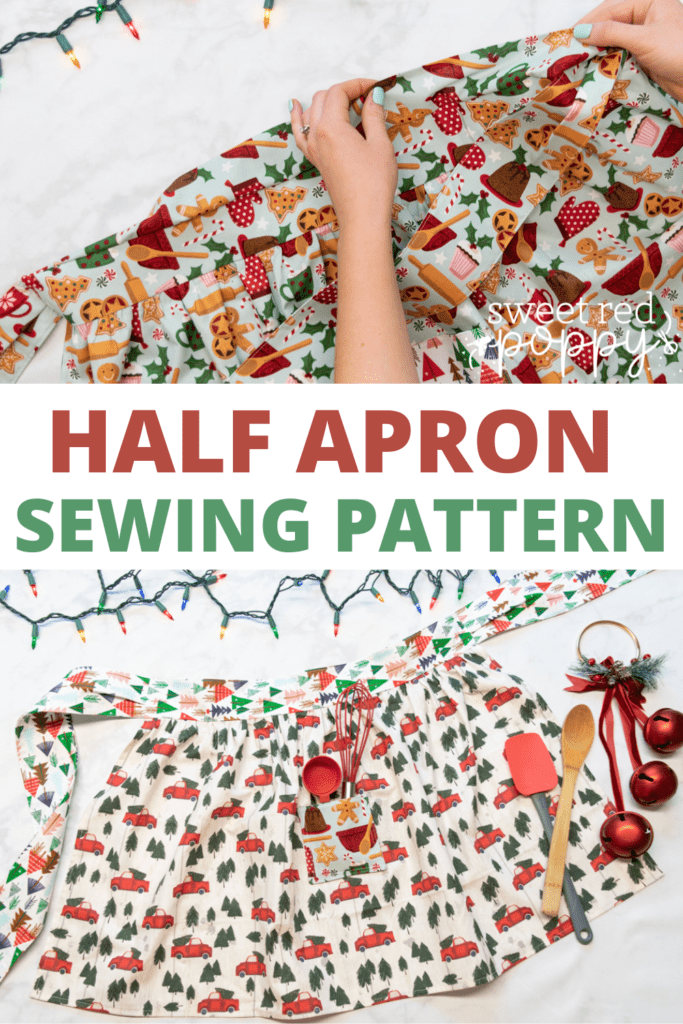
Today I'm sharing the pattern for my favorite go-to half apron absolutely free! I've even included both an adult size and a child size in the pattern so you can make some cute mommy & me aprons!
Holiday baking with your kids is more fun with matching aprons - I promise!
Table of Contents
What is a Half Apron?
A half apron is just what it sounds like - half of a full size apron - the bottom half to be exact. It has a waistband with ties in the back and a skirt that attaches to the front of the waistband.
This type of apron protects your pants or skirt from smears and messy food stains, such as from leaning against the countertop or wiping ingredients from your hands.
It's also easier and quicker to sew a half apron than a full-sized apron. Plus, it uses less material - always a big plus when sewing!
About the Free Apron Pattern
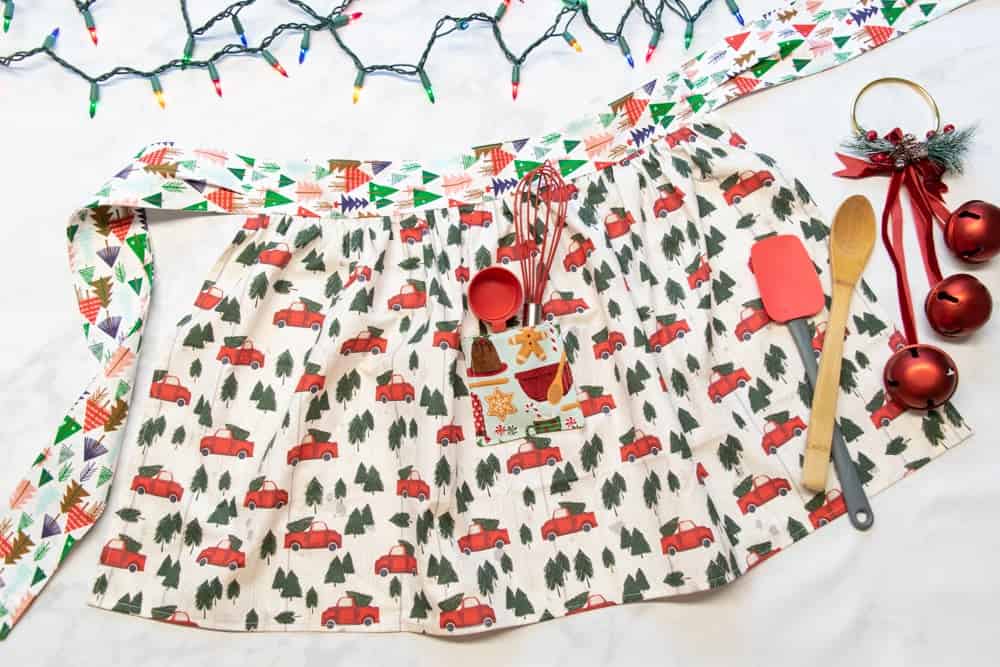
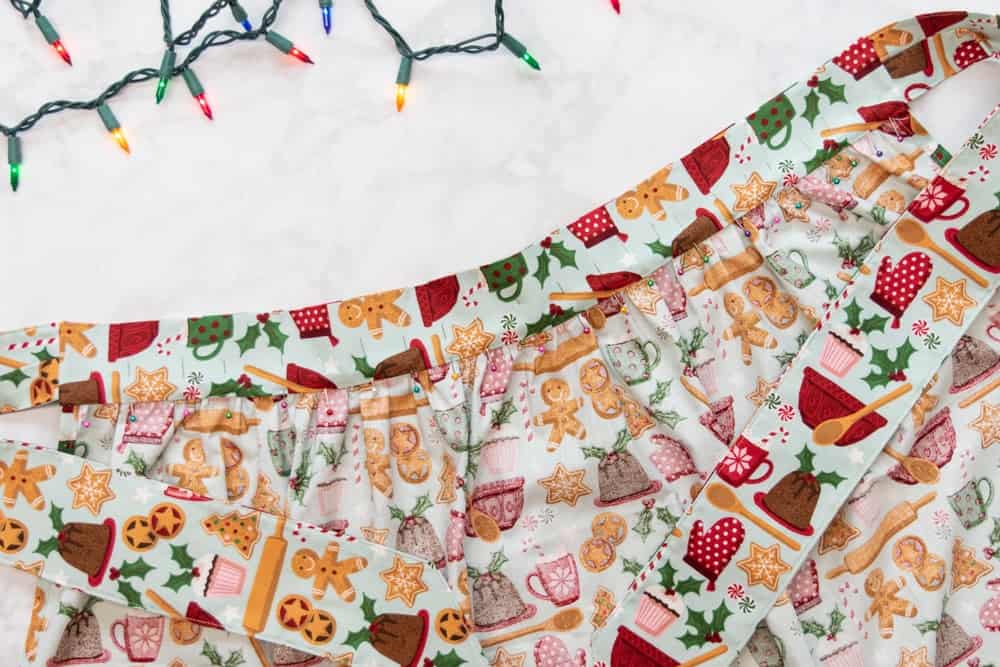
My free apron pattern includes both a child and an adult size. It features a cute gathered skirt with a pocket at the front.
The finished apron hits just above the knee. It has angled ties in the back with a cute little pleat where the tie meets the waistband.
This is a great beginner sewing project that comes together relatively quickly, in just an afternoon. Plus, it makes for great Christmas gifts!
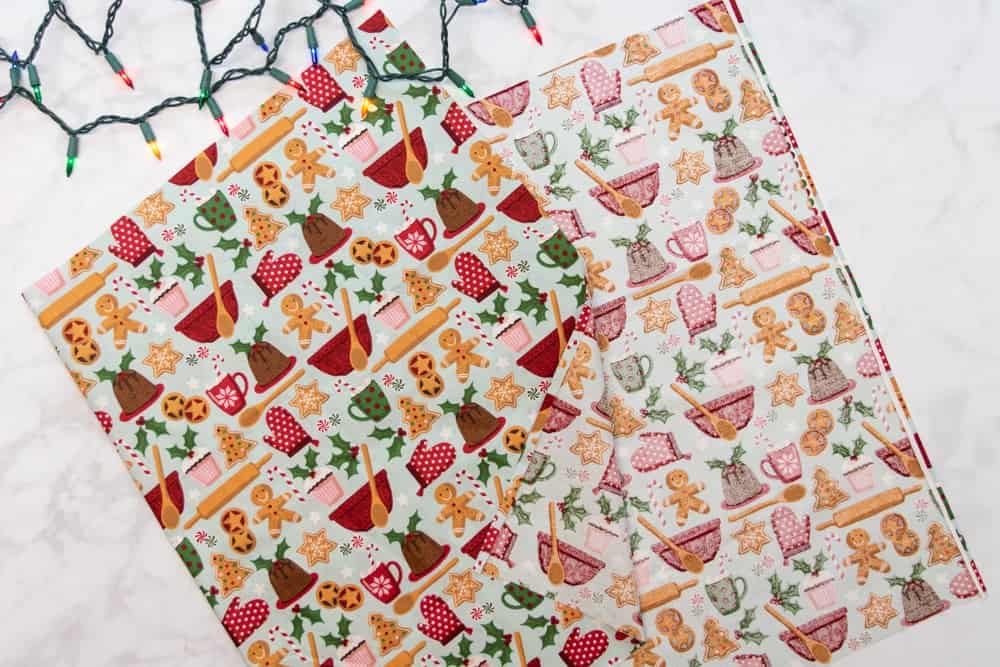
Fabric Requirements for the Half Apron
You will need a medium-weight non-stretch fabric to sew your half apron. I highly recommend using a high quality quilting cotton for this project. Quilting cotton is easy to sew, affordable, and comes in a huge selection of colors and prints.
However, if you want a unique apron and are up to working with a fabric that might be slightly more challenging to sew, you can make your apron in any non-stretch mid-weight fabric you like.
You will also need interfacing to stabilize certain portions of your apron, such as the waistband and ties. I recommend a medium-weight fusible woven interfacing, such as Pellon SF101.
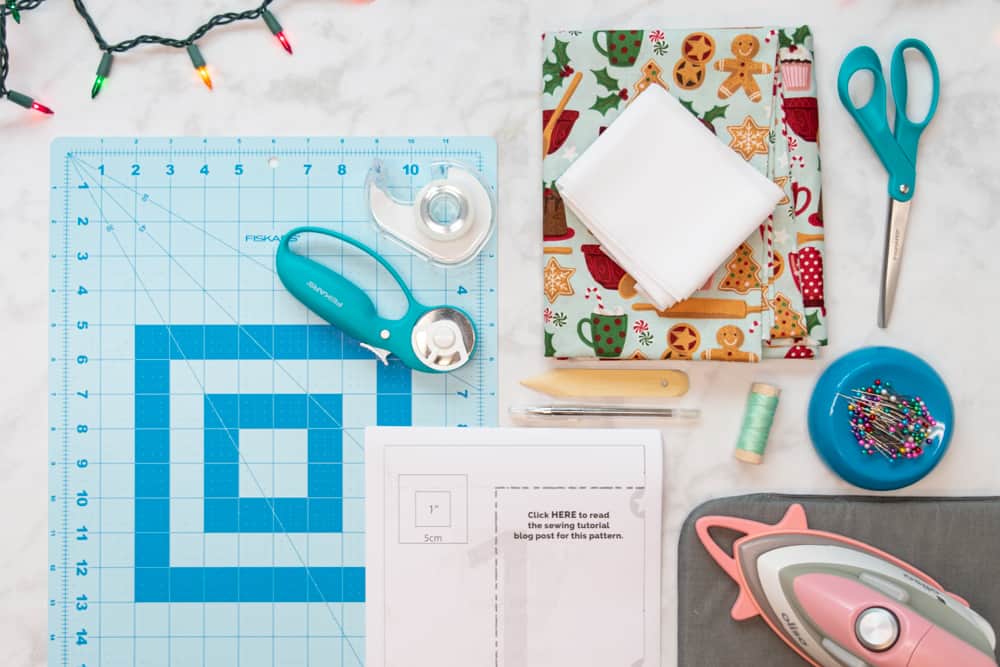
Supplies to Sew a Half Apron
Here are the supplies you'll need to stitch up your adorable half apron.
Click here to shop my favorite sewing supplies here!
- 1.5 Yard (Adult) or 1.25 Yard (Child) Quilting Cotton (At Least 44" Wide)
- 1 Yard 20-Inch Wide Medium-Weight Interfacing
- Scissors
- Rotary Cutter
- Rotary Cutting Mat
- Thread
- Sewing Pins
- Point Turner (Optional)
- Iron
- Ironing Board
- Fabric Pen or Tailor's Chalk
- Sewing Machine
- Sewing Machine Needle
- Printer
- Printing Paper
- Tape
When you shop through my affiliate links, it doesn't cost you anything extra, but it helps me out in a big way! I earn a small commission from those purchases, and that support allows me to continue creating and sharing free tutorials and patterns for you. Thank you so much for helping me keep this creative community going!
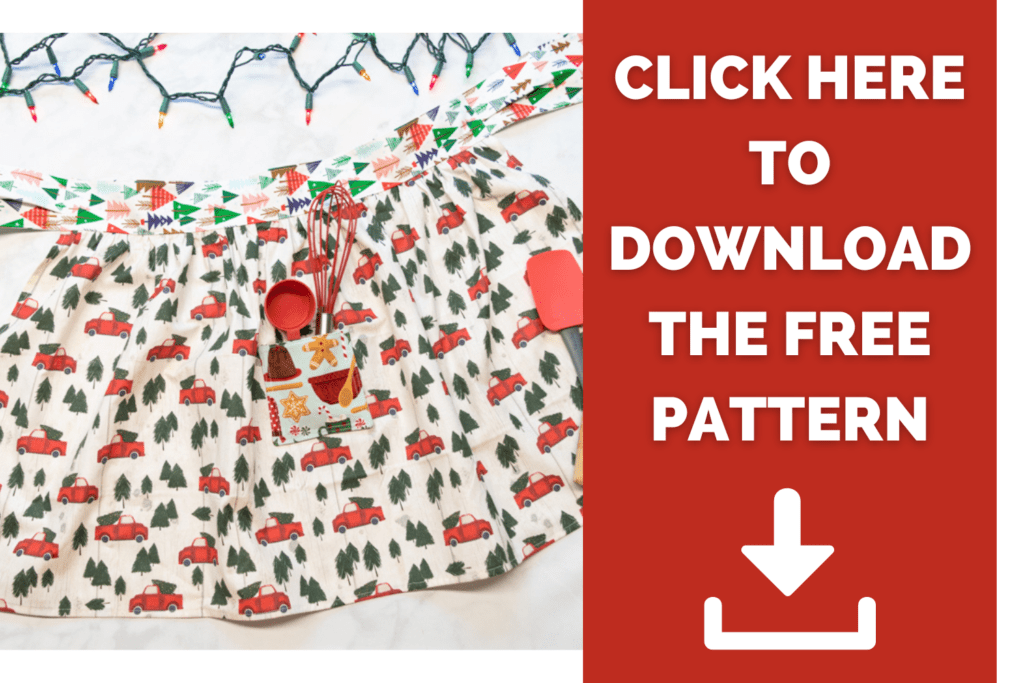
Download the Free Apron Pattern Here
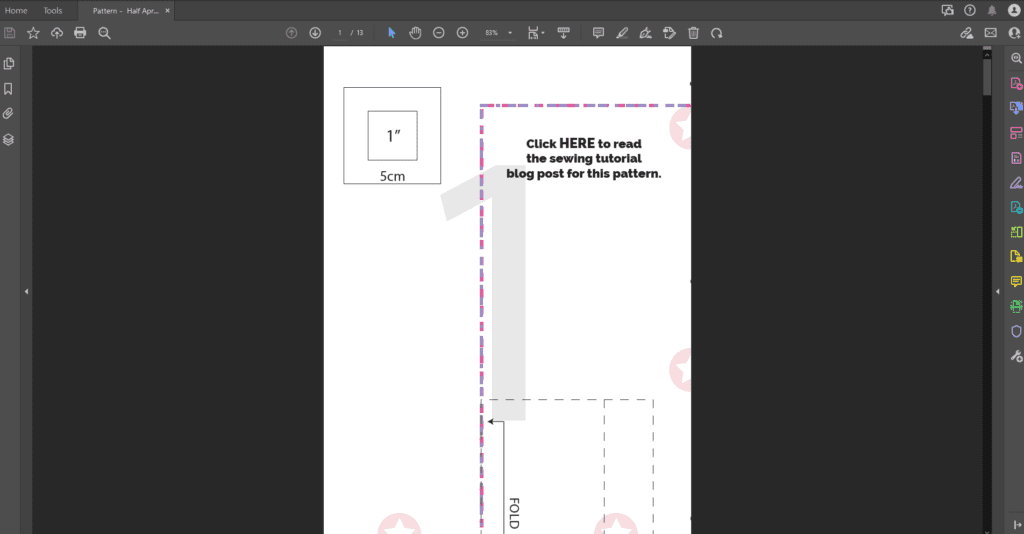
Step 1: Download and Assemble the Apron Pattern
Start by downloading the apron pattern to your computer, then open it in your PDF reader. I highly recommend using Adobe Acrobat.
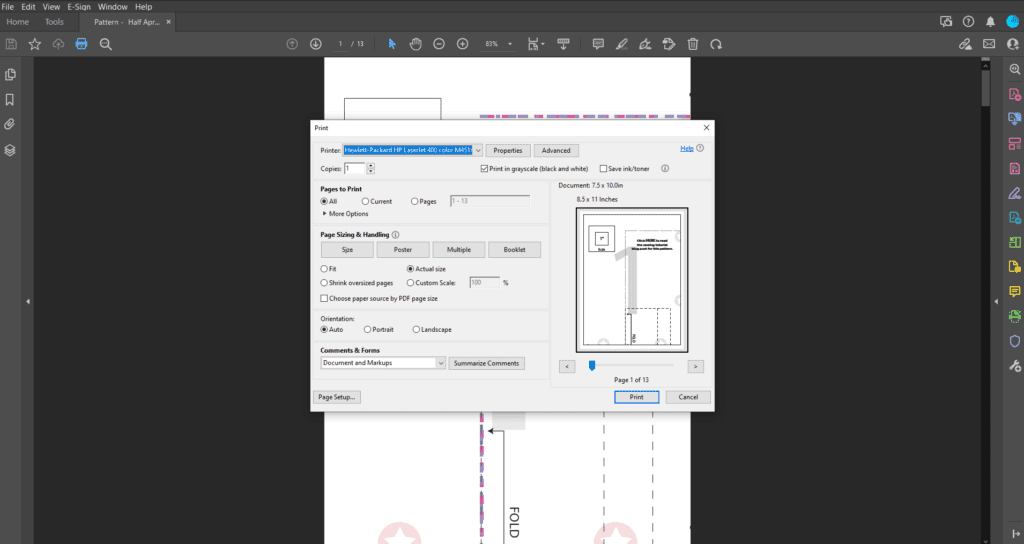
*PRO TIP: It's very important not to print the pattern directly from your browser as it can cause the scaling to print wrong and the border lines may print incorrectly.
Next, click "Print". This will bring up a dialog box with print setting options. In the scaling section, select "Actual Size" or "Custom Scaling: 100%".
Then, print Page 1 of the pattern. This page includes a 1" x 1" test square to make sure your pattern is printing at the correct size. Measure the test square once the page prints.
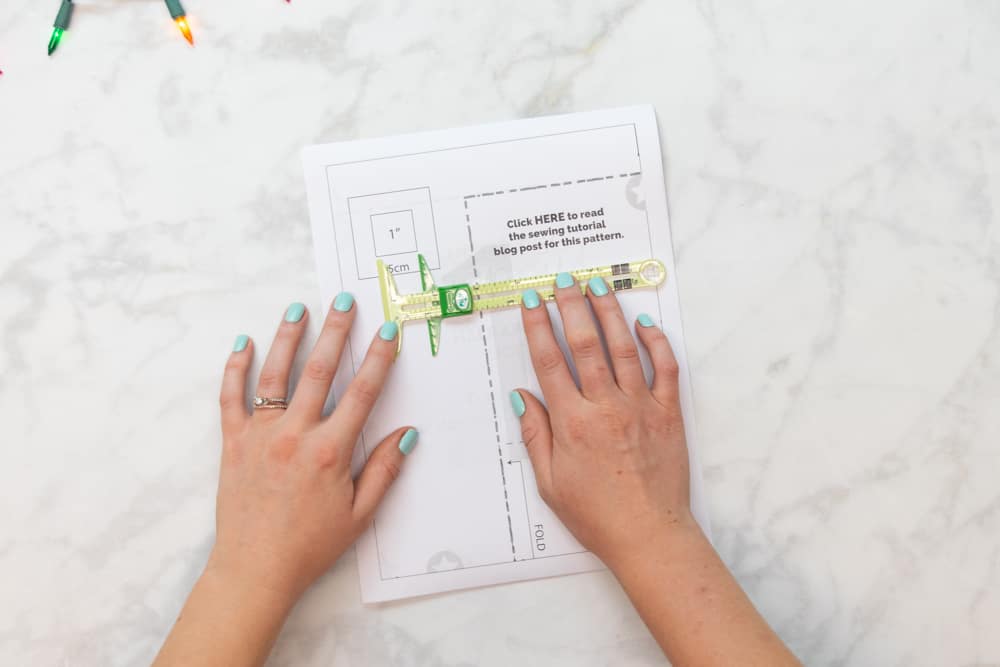
If the test square measures 1" x 1", go ahead and print the rest of the pattern - you're ready to go! If it does not measure 1" x 1", you will need to recheck your print scaling settings and reprint the pattern.
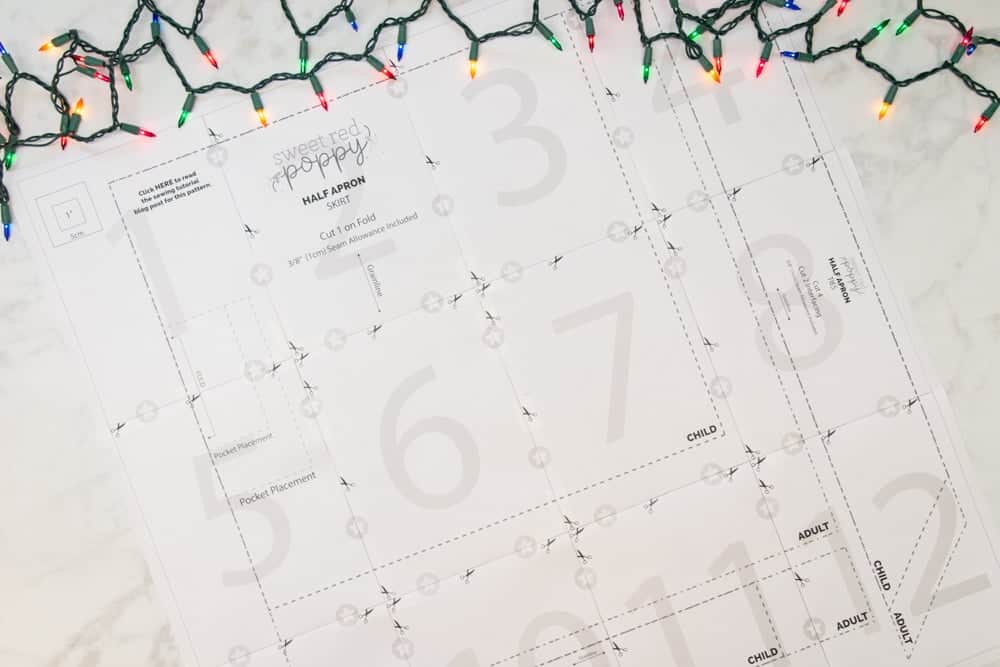
Once printed, it's time to assemble the pages of the pattern. Line up the pink stars and lines of the pattern and tape the papers together according to the layout chart below. There are large numbers in the center of each page to help you keep them in order.
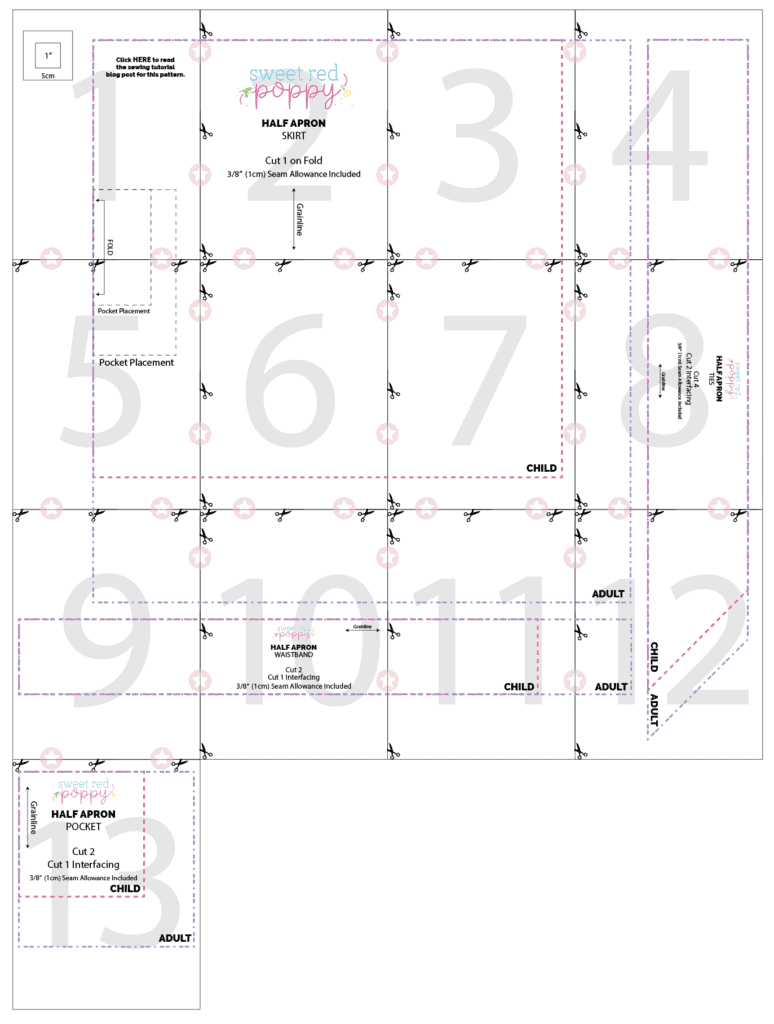
It can help to trim away the margins along the border lines before taping the pages together, or you can simply overlap the edges of the papers. If you decide to overlap the margins, holding the pages up to a light can help you see through the paper and align the pattern lines.
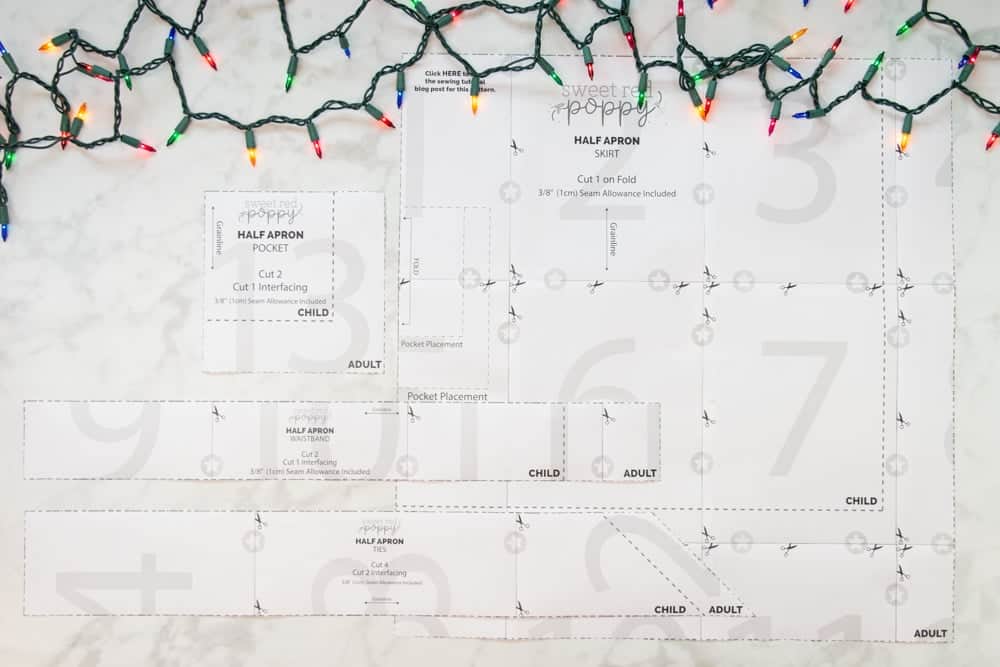
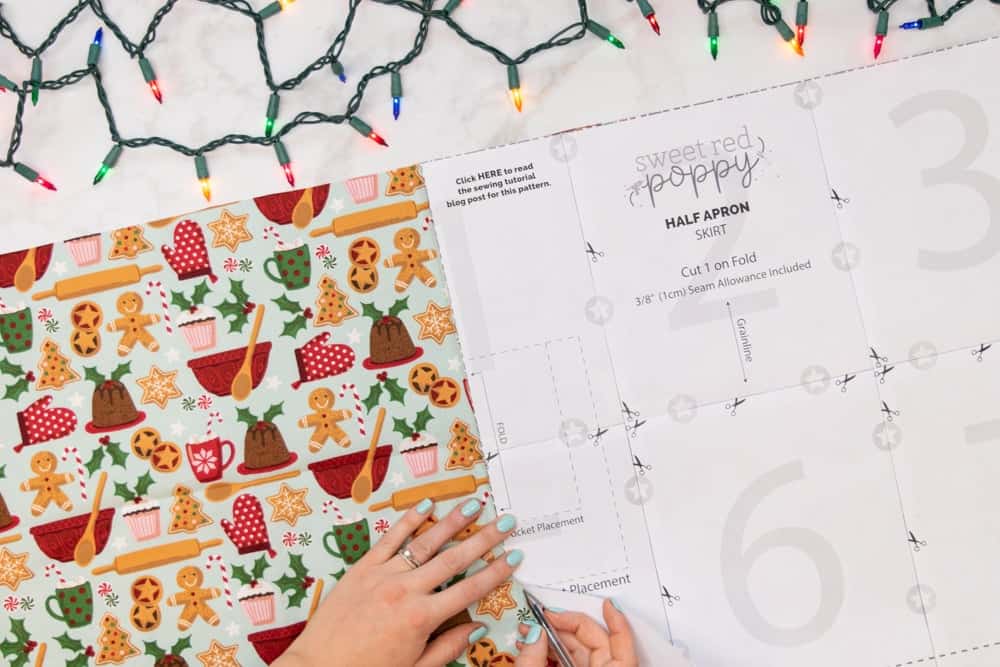
Once the pattern is assembled, cut out the pattern pieces, following the lines corresponding to the size you want to sew. You should have 4 pattern pieces: the Skirt, the Pocket, the Waistband, and the Ties.
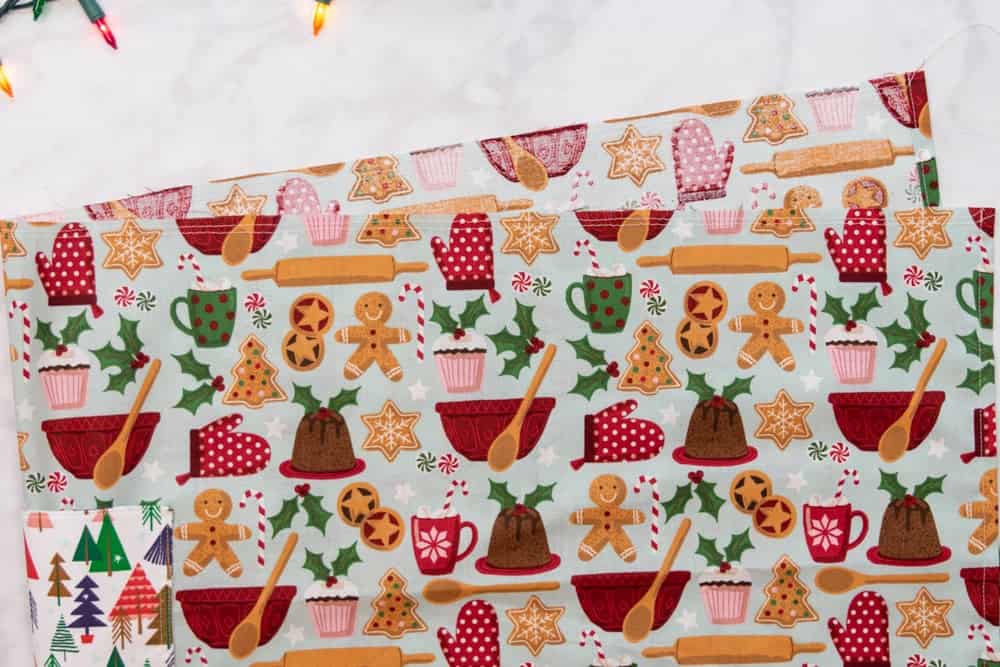
Step 2: Cut the Fabric and Apply Interfacing
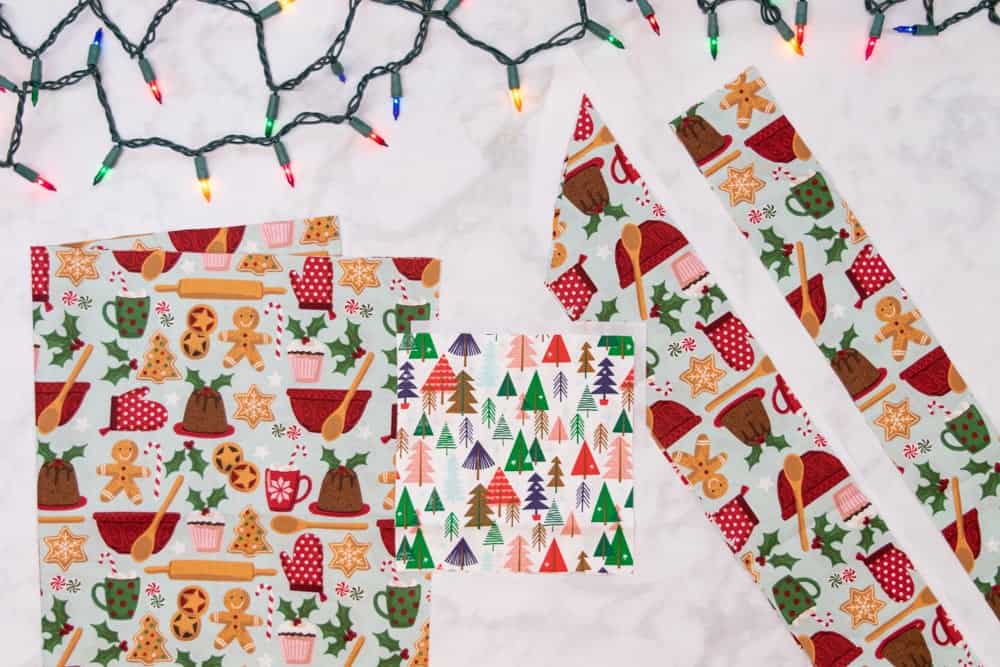
Once your pattern is prepared, you're ready to cut into that beautiful fabric!
Cut out the following number of pieces from your fabric and interfacing.
Fabric
- Skirt: Cut 1 on Fold
- Pocket: Cut 2
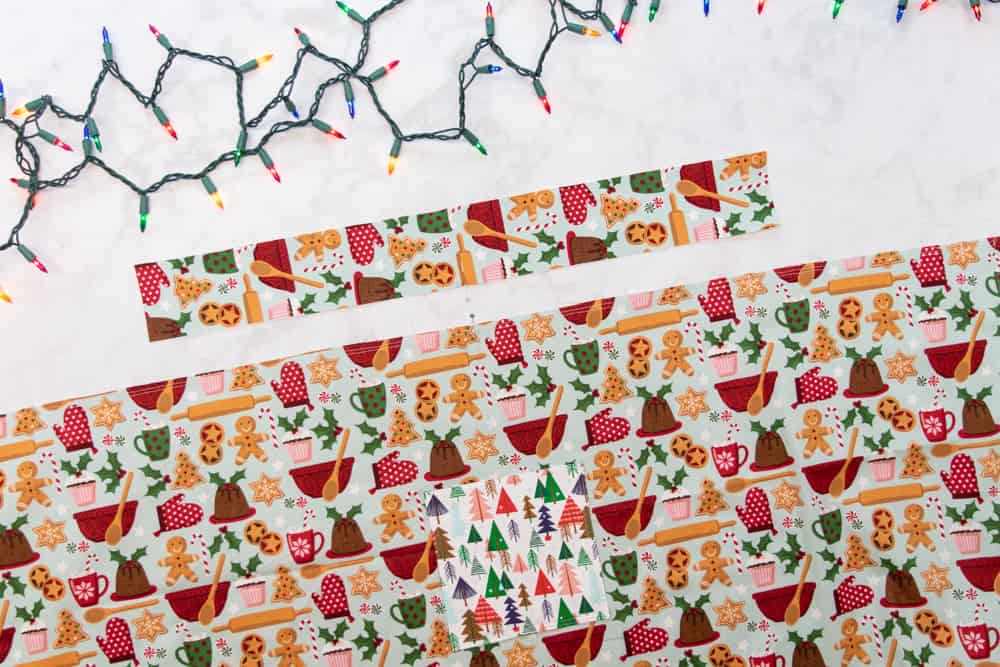
- Waistband: Cut 2
- Ties: Cut 4 (2 Sets of Mirror Images)
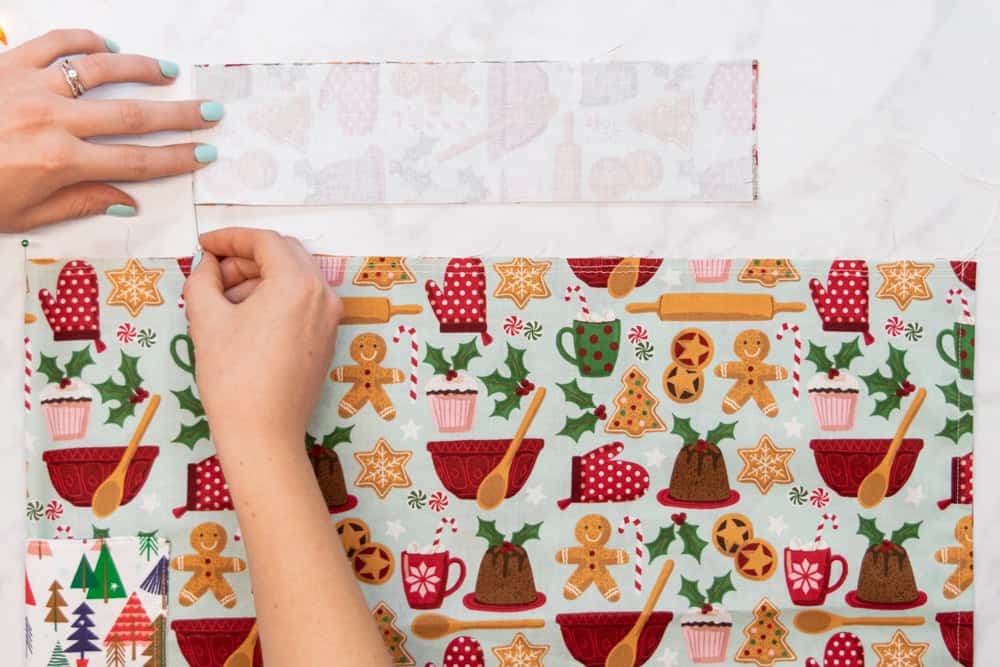
Interfacing
- Pocket: Cut 1
- Waistband: Cut 1
- Ties: Cut 2 (Mirror Images)
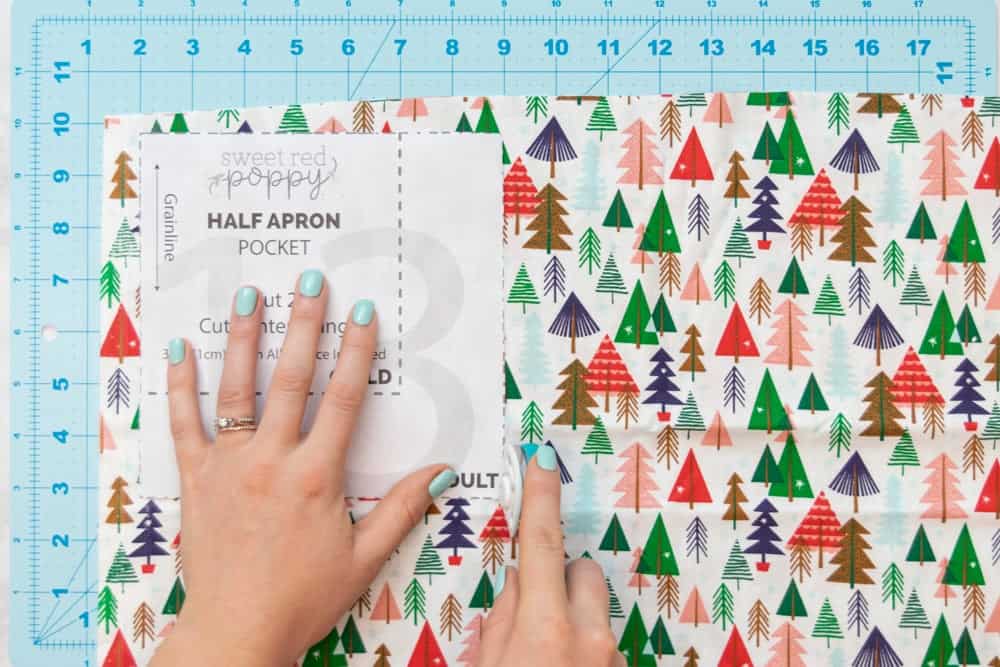
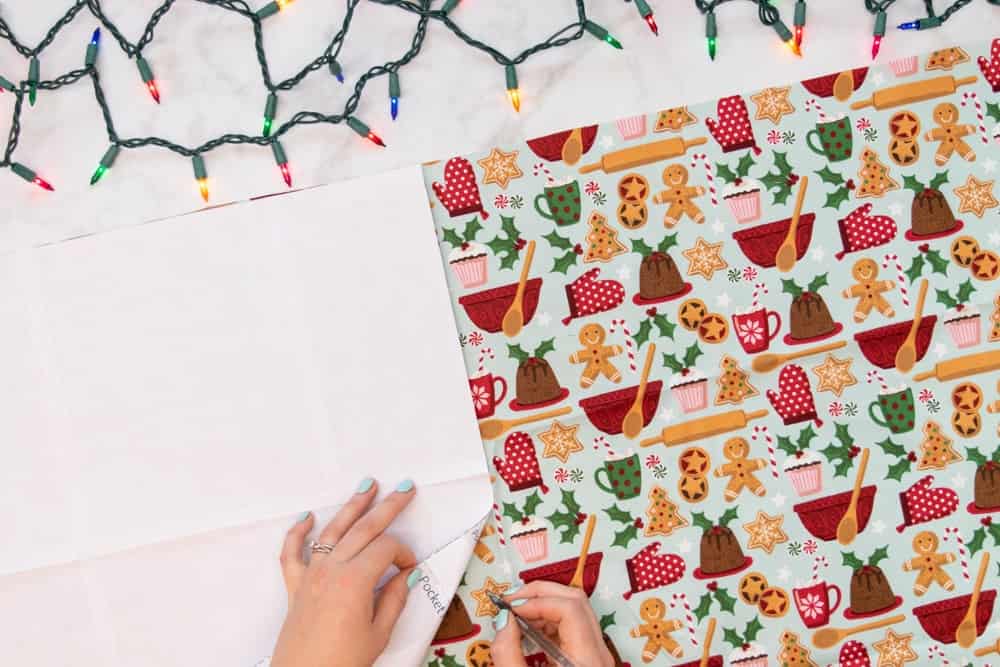
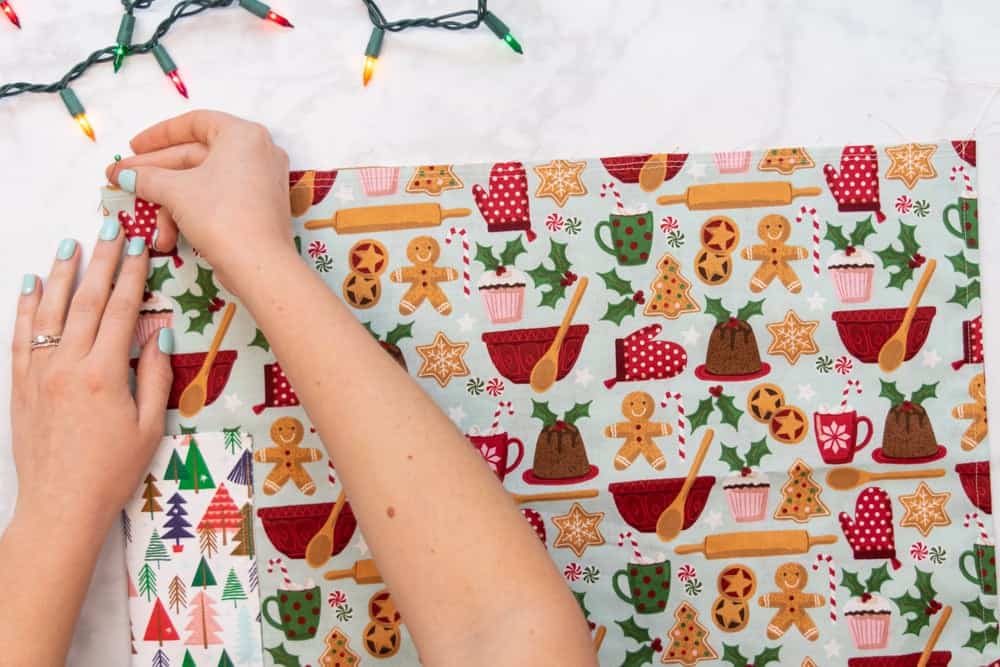
Next, transfer the Pocket Placement marking from the skirt pattern piece to the fabric of the skirt. Only half of the Pocket Placement is marked on the pattern because it is centered on the skirt, which was cut on the fold.
To transfer the Pocket Placement, mark the first side, then flip the pattern piece over to the other side of the fabric and transfer the second side.
Next, apply fusible interfacing to the wrong side of one Pocket piece and one Waistband piece. Take one set of 2 mirror image ties and fuse interfacing to the wrong side of both pieces. You should still have another set of 2 ties with no interfacing.
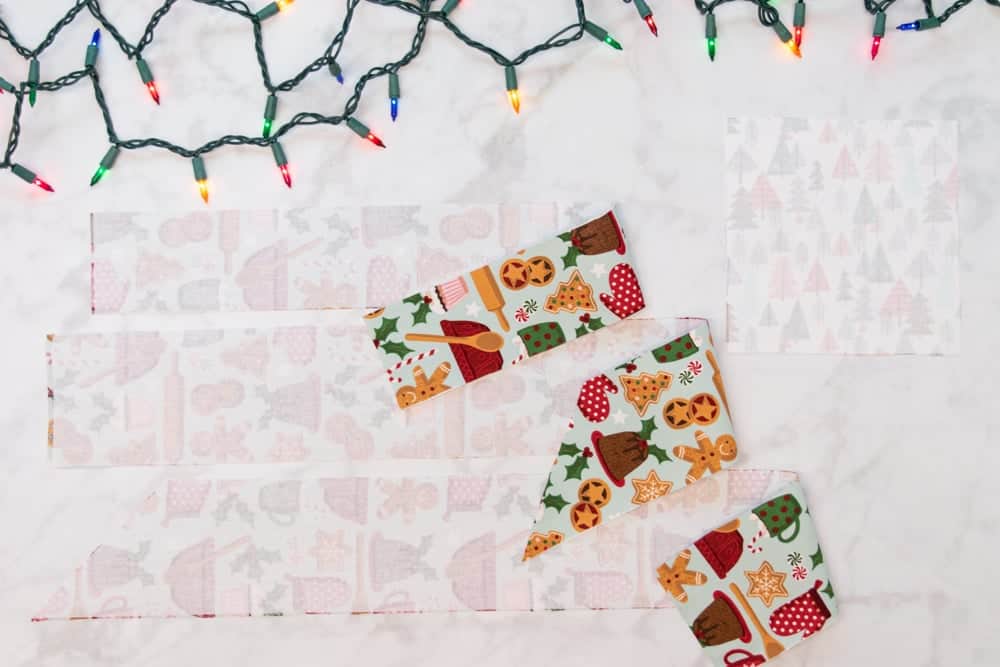
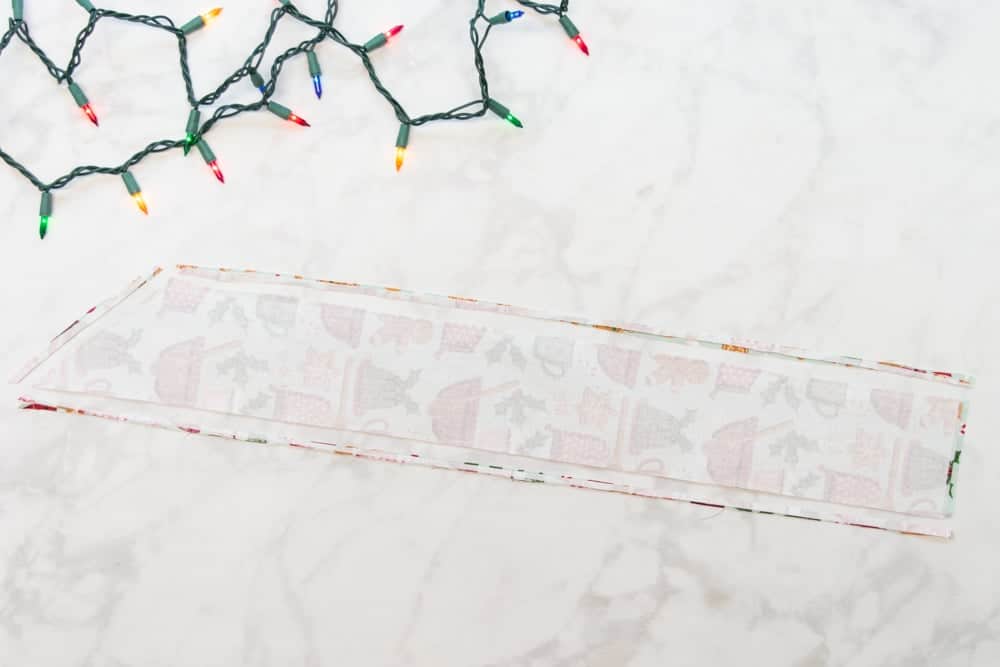
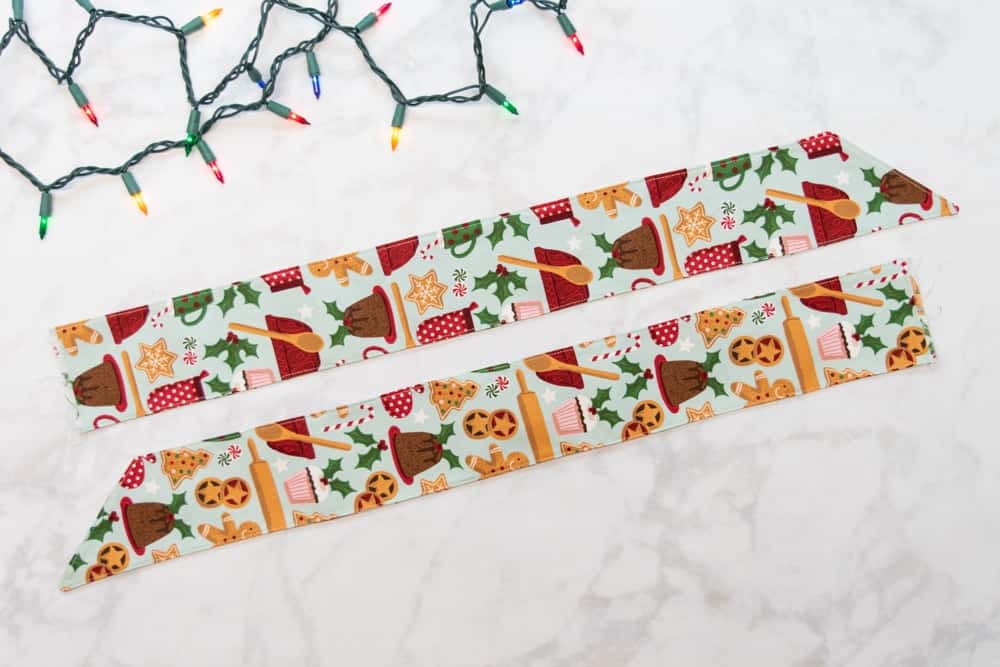
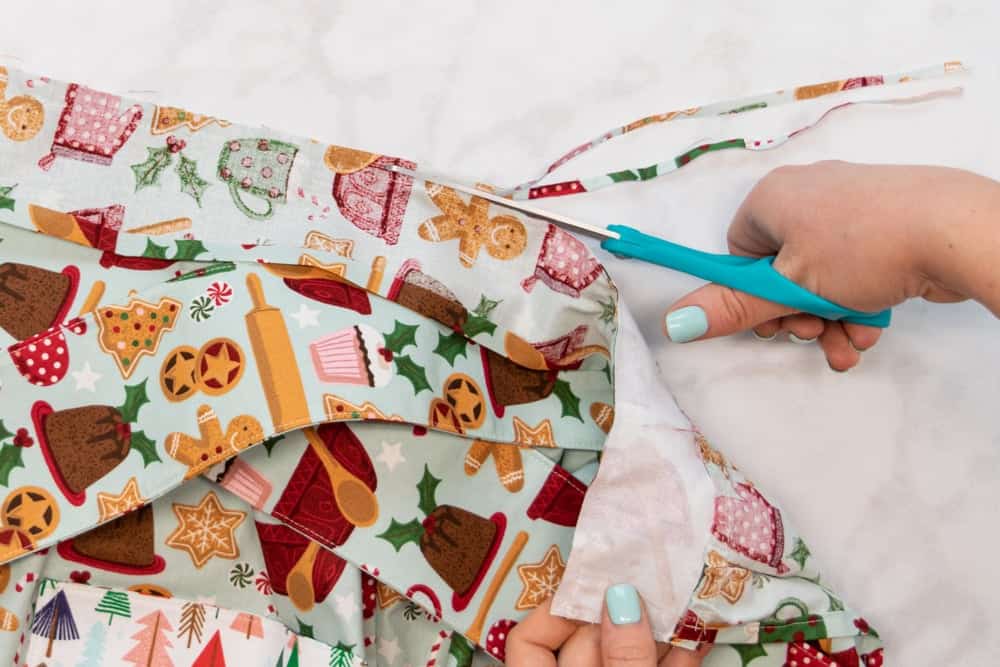
Step 3: Sew the Ties
You're ready to start sewing! Let's start with preparing the ties.
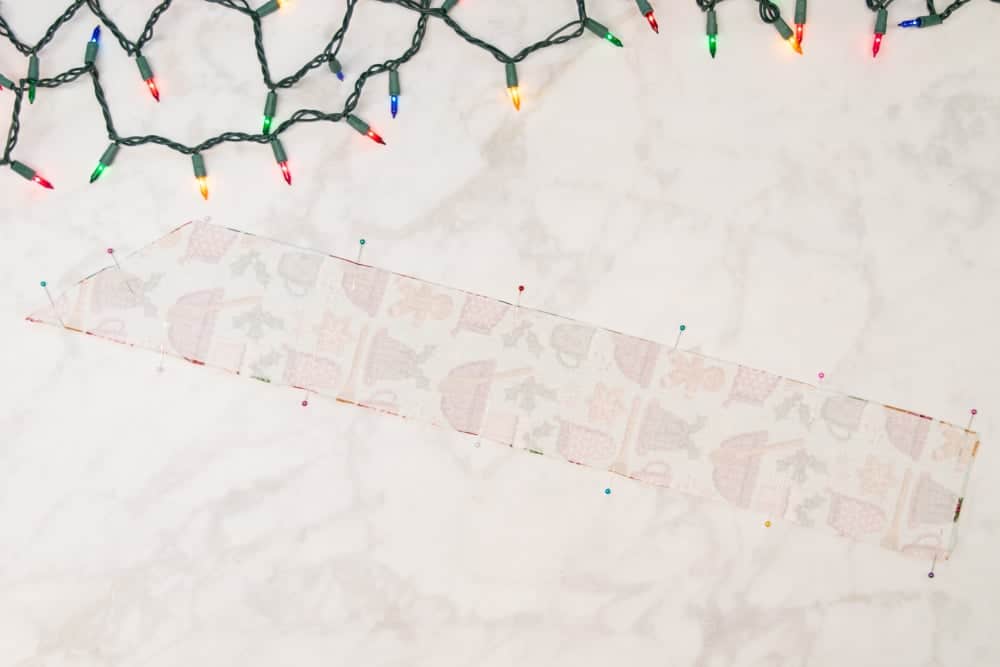
First, place one interfaced Tie piece right side up on your table. Then, lay the corresponding un-interfacing Tie on top of it with right sides together.
Match up the edges and pin them together along both long edges and the angled end. Leave the straight-edged short end unpinned.
Stitch the ties pieces together with a 3/8 inch seam allowance along both long edges and the angled edge.
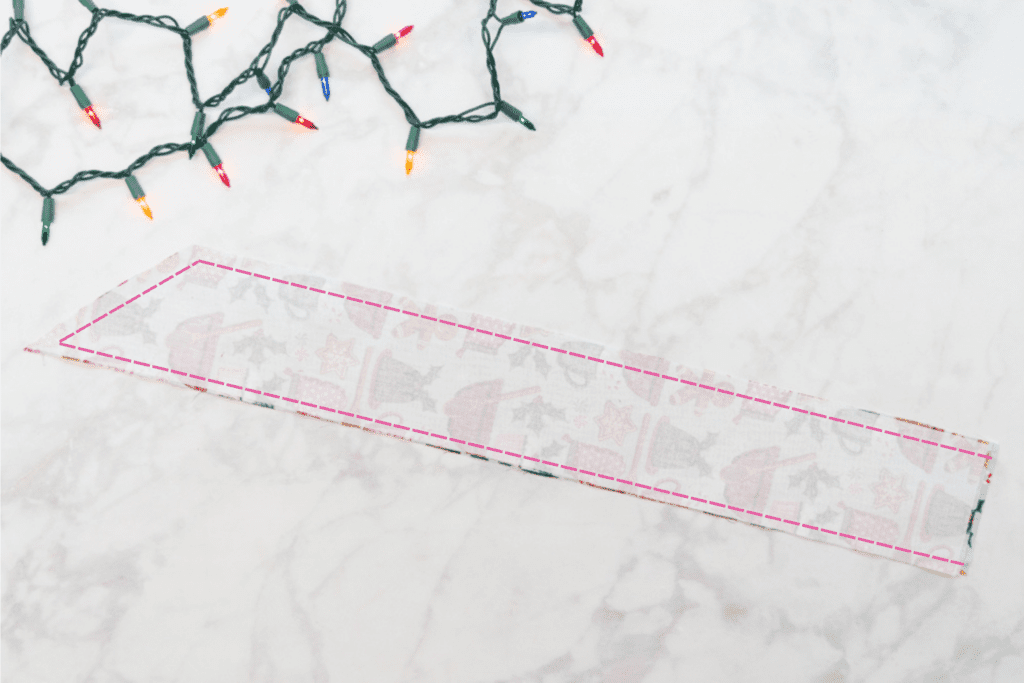
At the corners, stop sewing 3/8 inch before the edge of the fabric, leaving the needle down. Then, lift your presser foot and rotate the fabric so that the next edge is in front of the presser foot. Continue stitching the next edge. Repeat this process to rotate around the next corner.
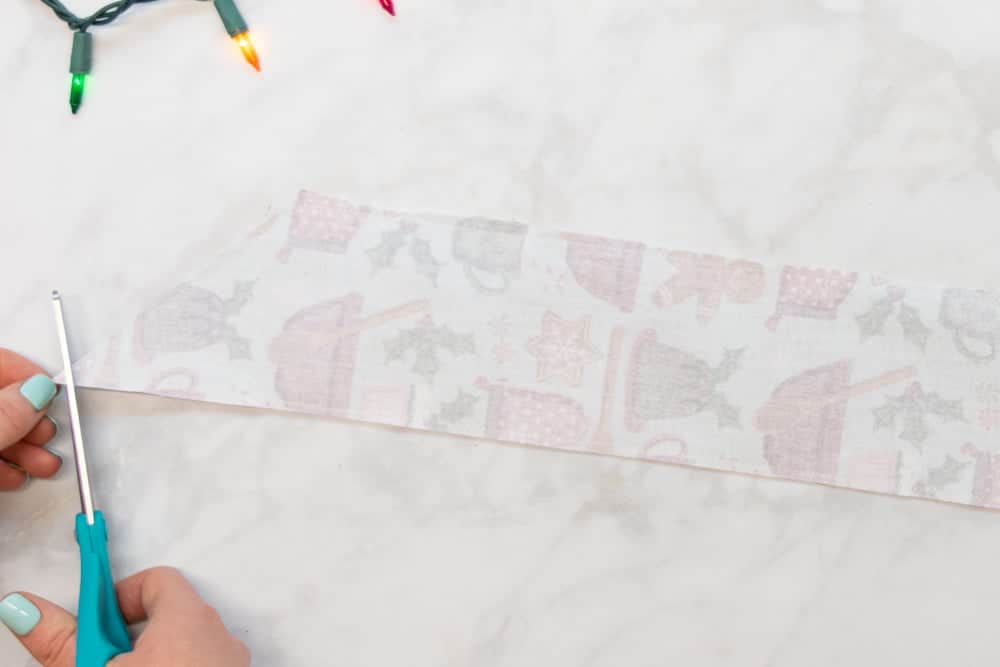
Once the tie is stitched, trim the seam allowances down by half.
Then, trim away the corners from the seam allowances to reduce bulk, cutting up to but not through your stitching.
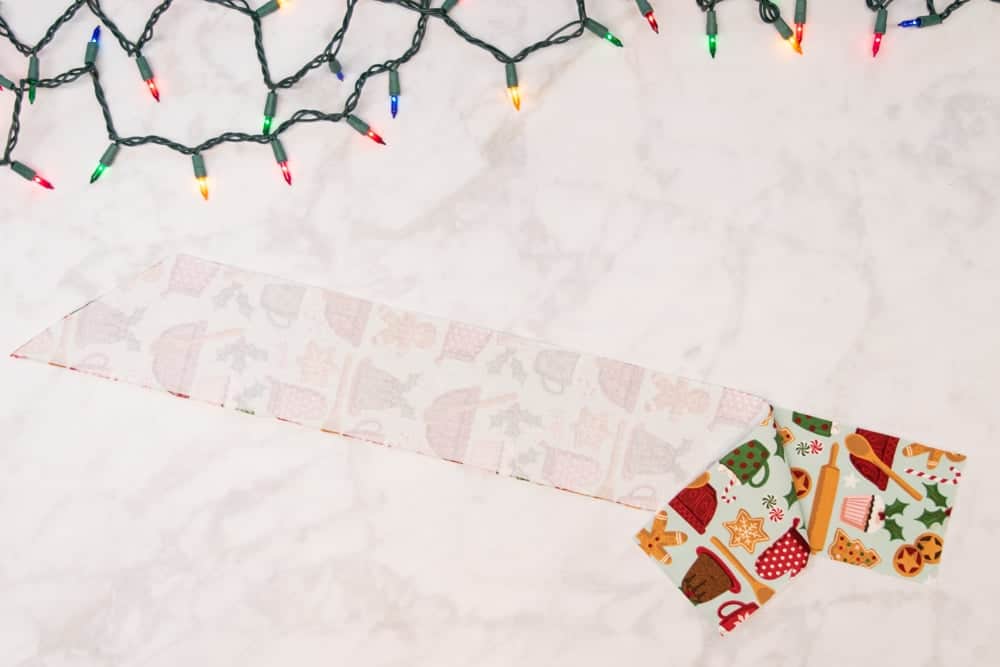
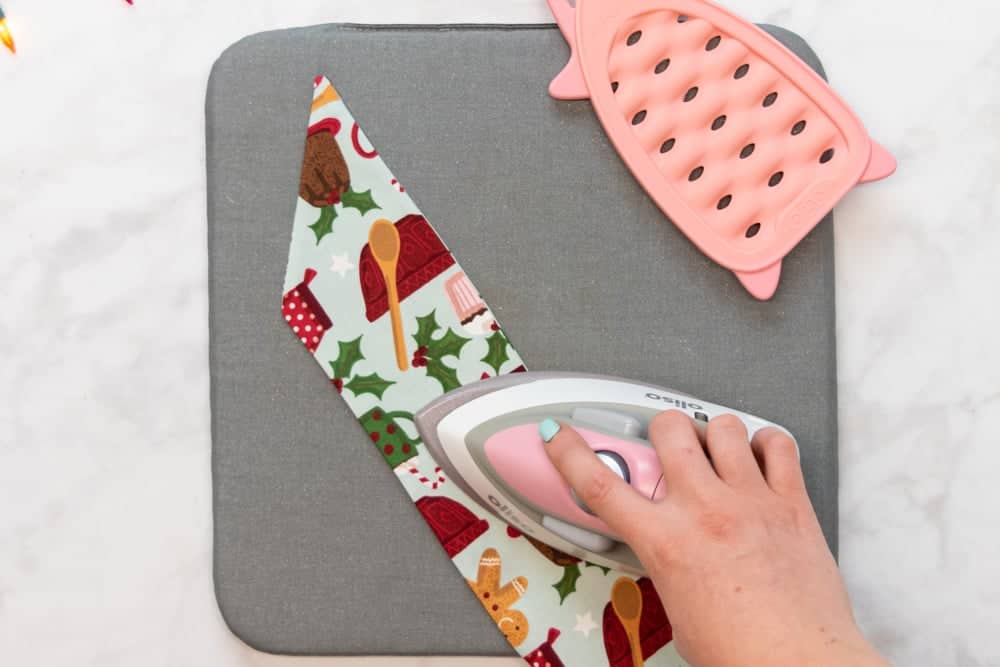
Turn the tie right sides out through the open end. Press it flat with your iron, pressing the seams to the edges.
Topstitch around the 3 stitched edges of your tie, sewing 1/8 inch from the fabric edge.
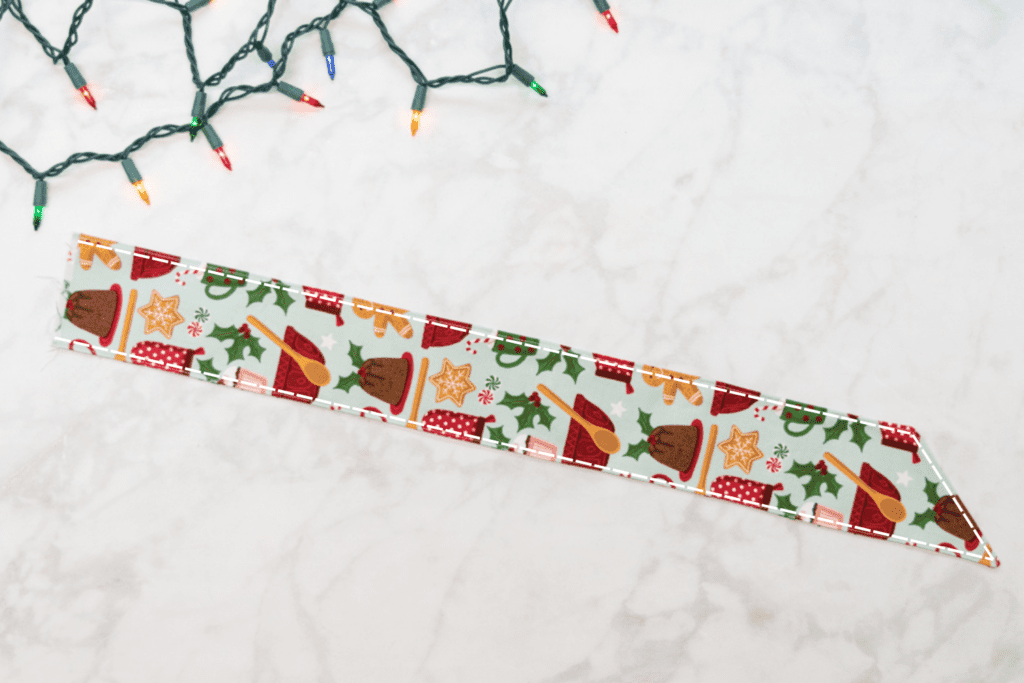
Finally, repeat this entire process to stitch the other two Tie pieces together to create the second tie.
Step 4: Sew the Pocket
Set your prepared ties aside and find your two Pocket pieces.
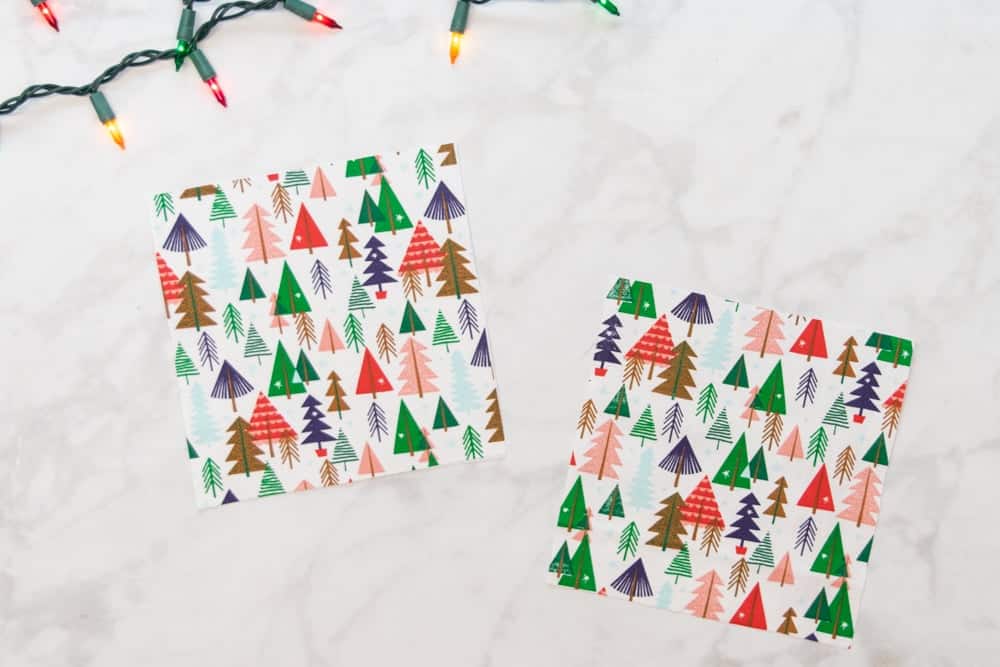
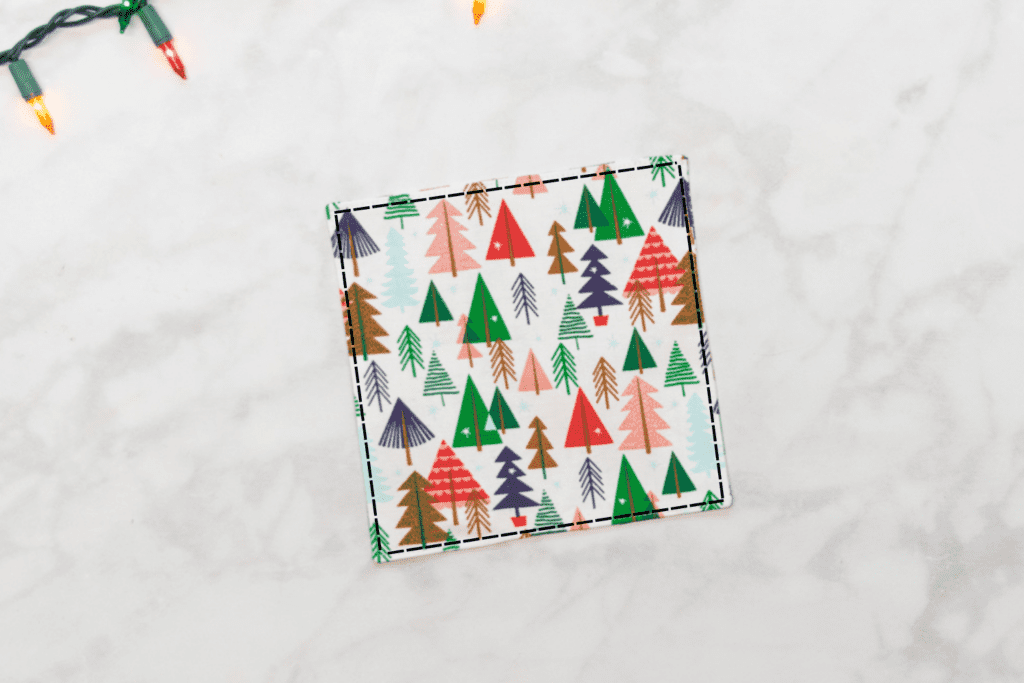
Place the Pocket pieces right sides together, lining up the edges.
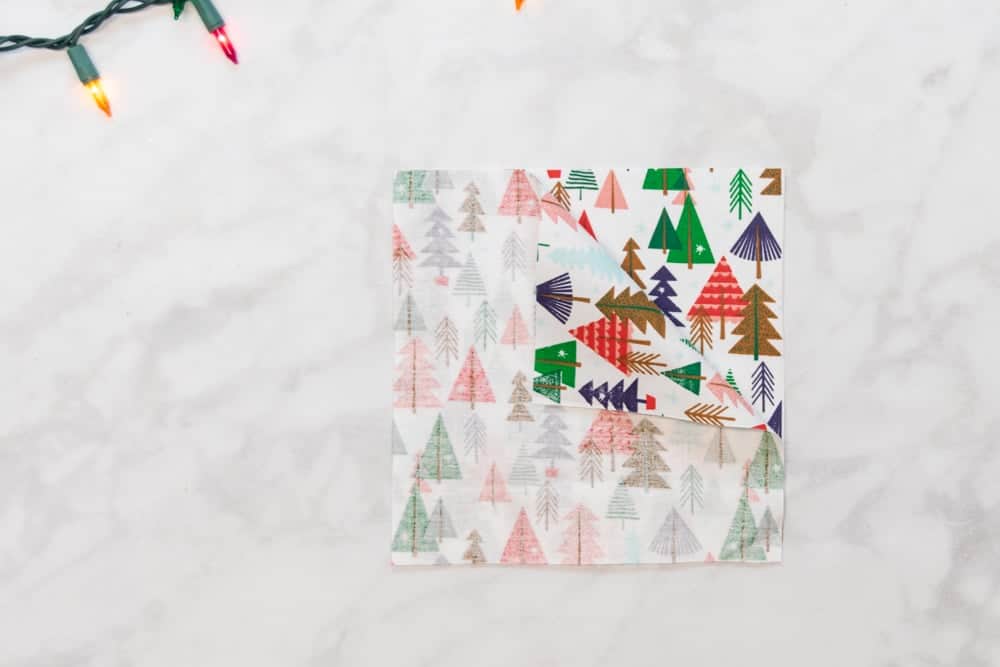
Pin them together around all 4 edges.
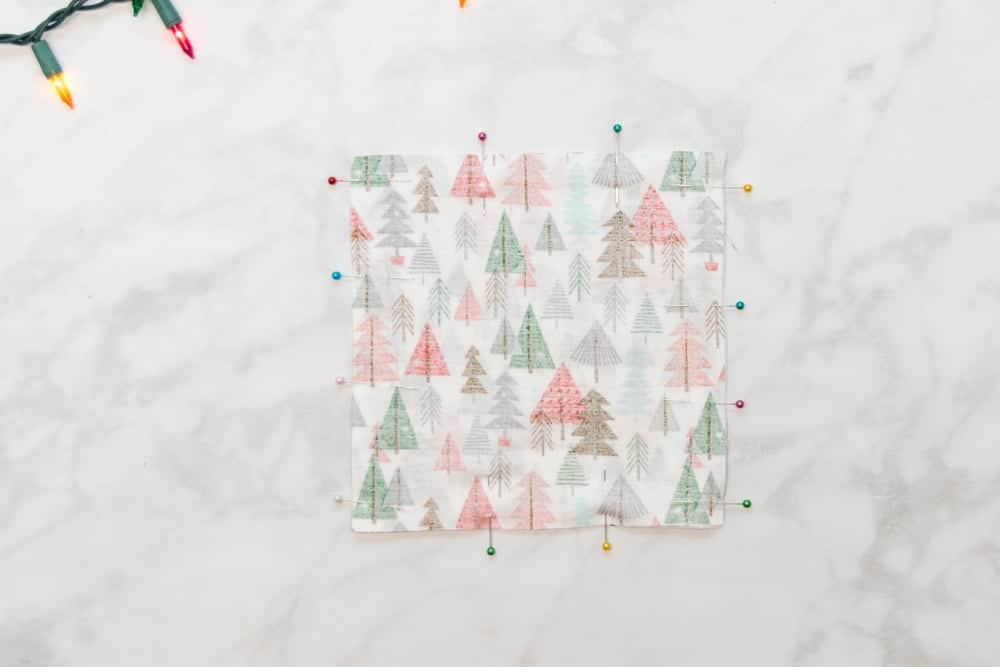
Then, stitch the Pocket pieces together, sewing around all 4 edges with a 3/8 inch seam allowance. Make sure to rotate around the corners and leave a 2 inch opening in one edge to turn the pocket through later.
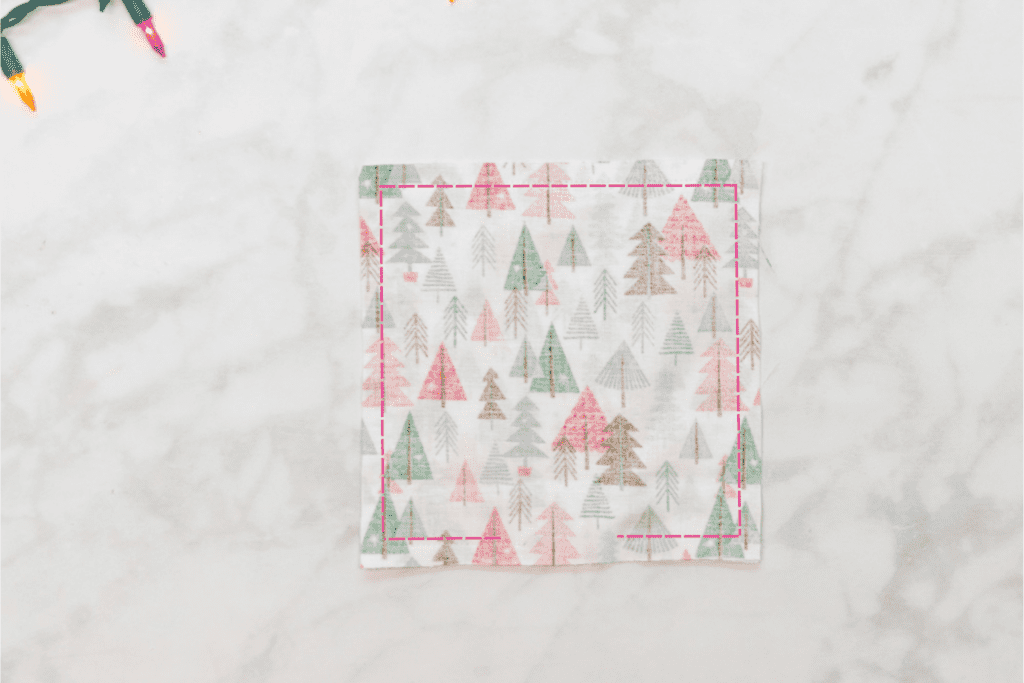
Once you've stitched the pocket, trim the seam allowances down by half.
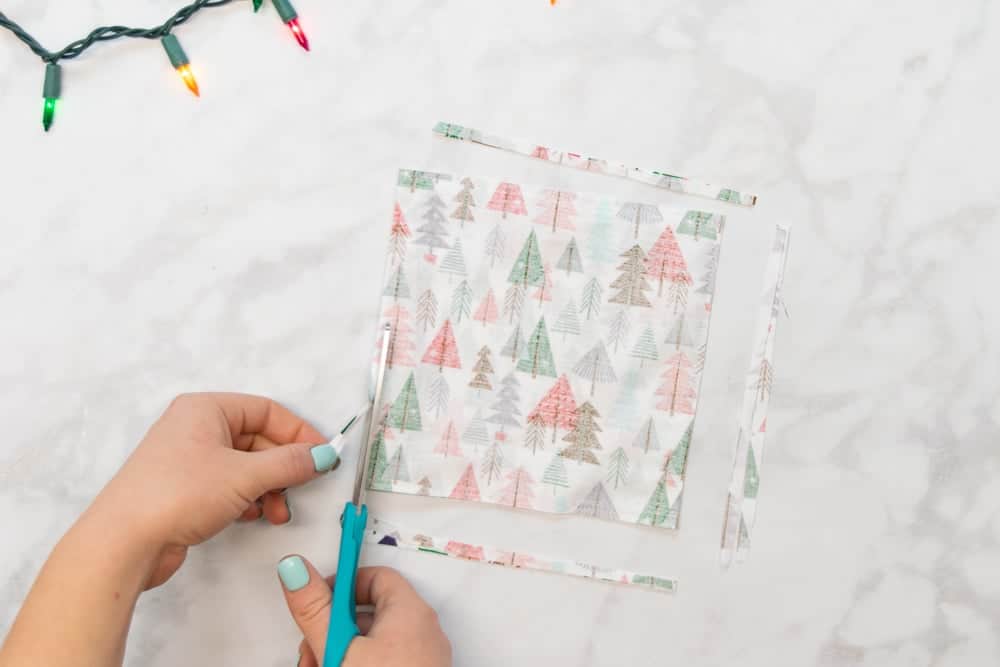
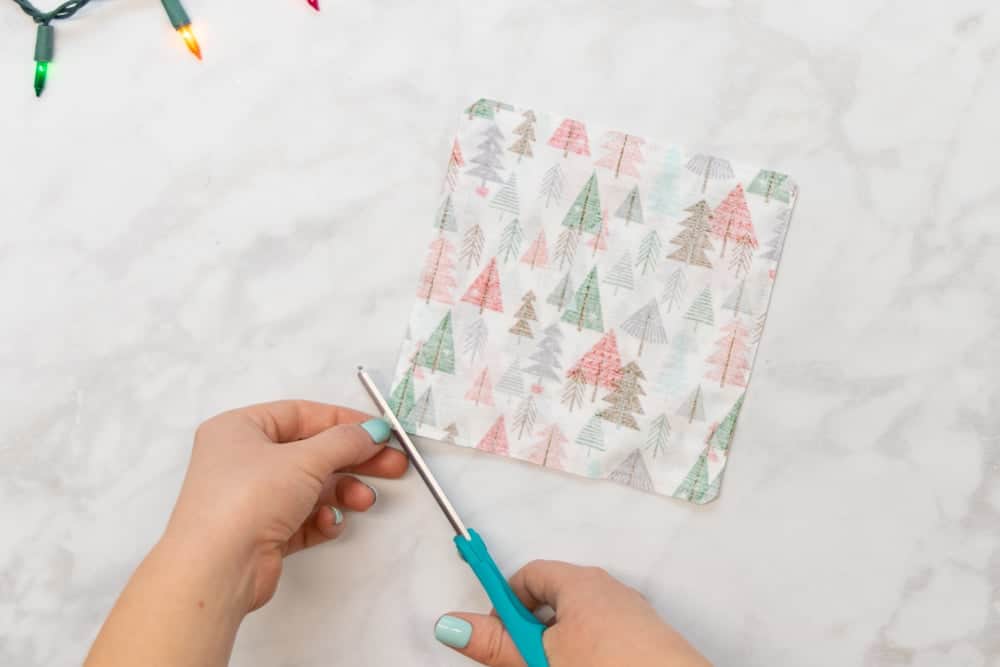
Cut the corners from the seam allowance to reduce bulk. Make sure not to cut through your stitching!
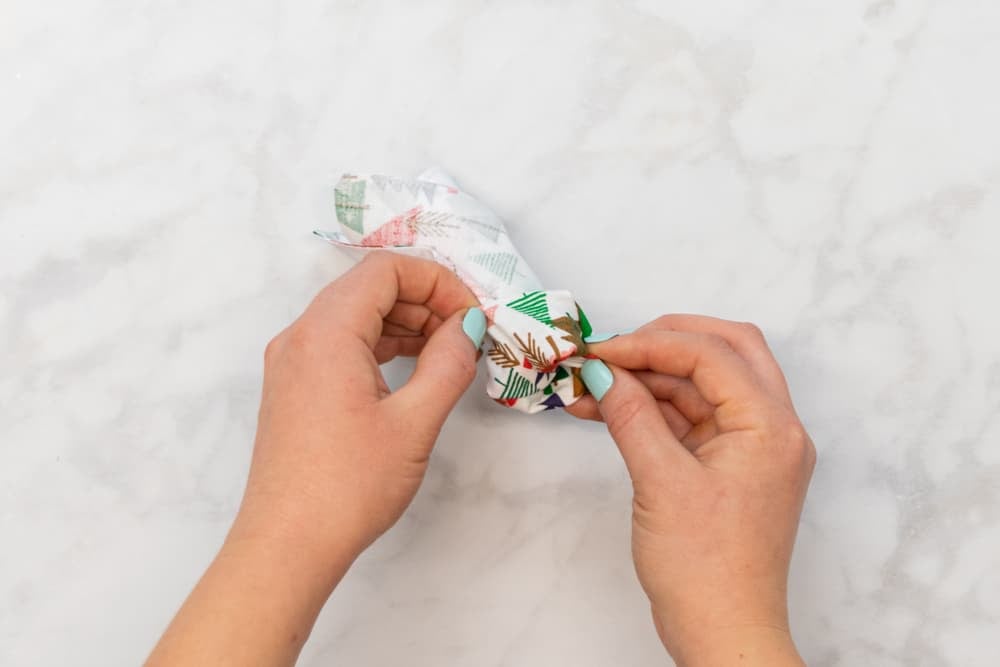
Next, turn the pocket right sides out through the opening in the seam. Then, press the pocket flat, pressing the seam allowances to the inside at the opening.
Finally, topstitch around all 4 edges of the pocket with a 1/8 inch seam allowance.
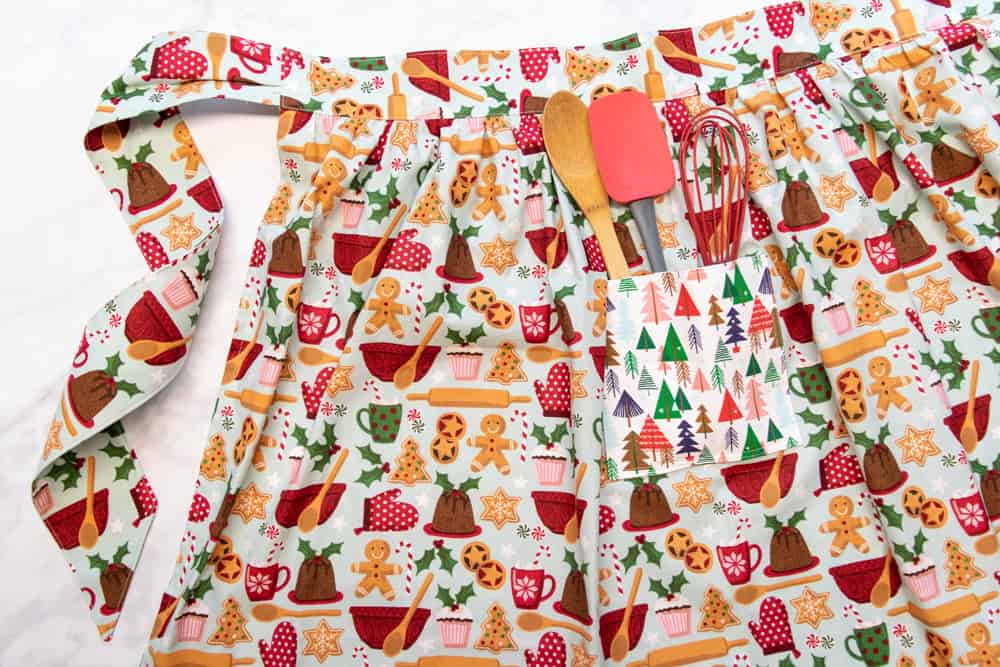
Now it's time to attach the pocket to the skirt! Line up the pocket on the Pocket Placement marking on the right side of the skirt. The interfaced side of the pocket should be facing up.
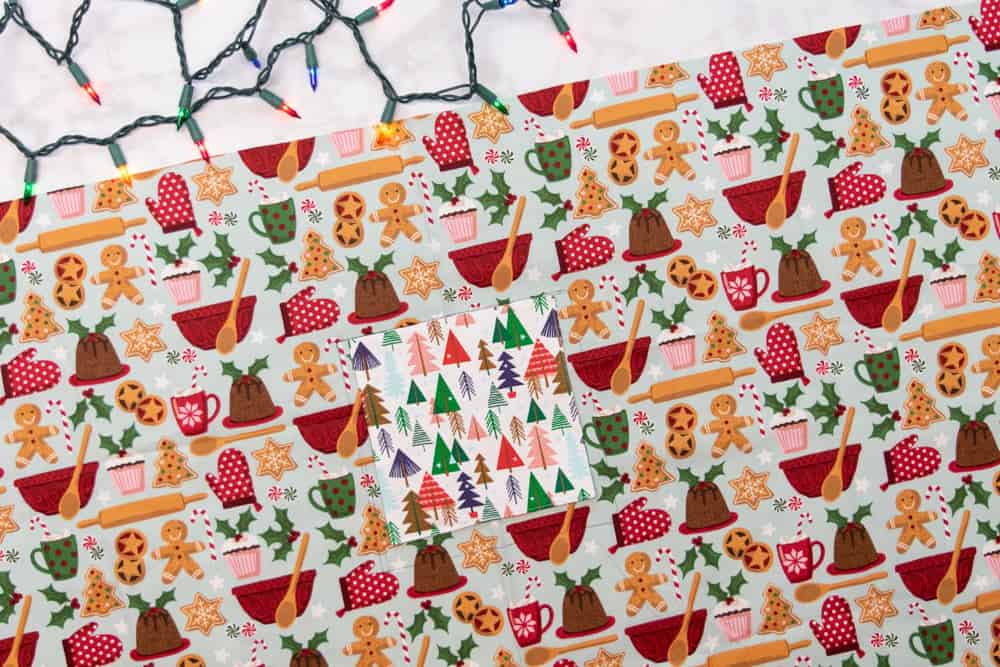
*PRO TIP: Make sure that if you're using a directional print, the print is orientated in the correct direction on the skirt!
Pin the pocket to the skirt, pinning around the two sides and the bottom. Leave the top edge of the pocket unpinned.
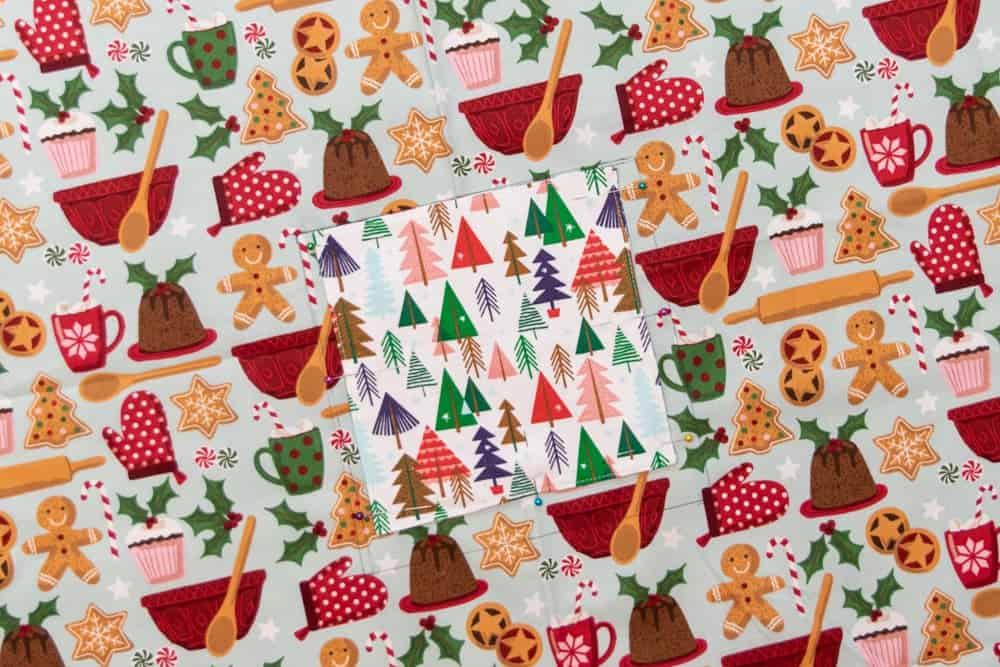
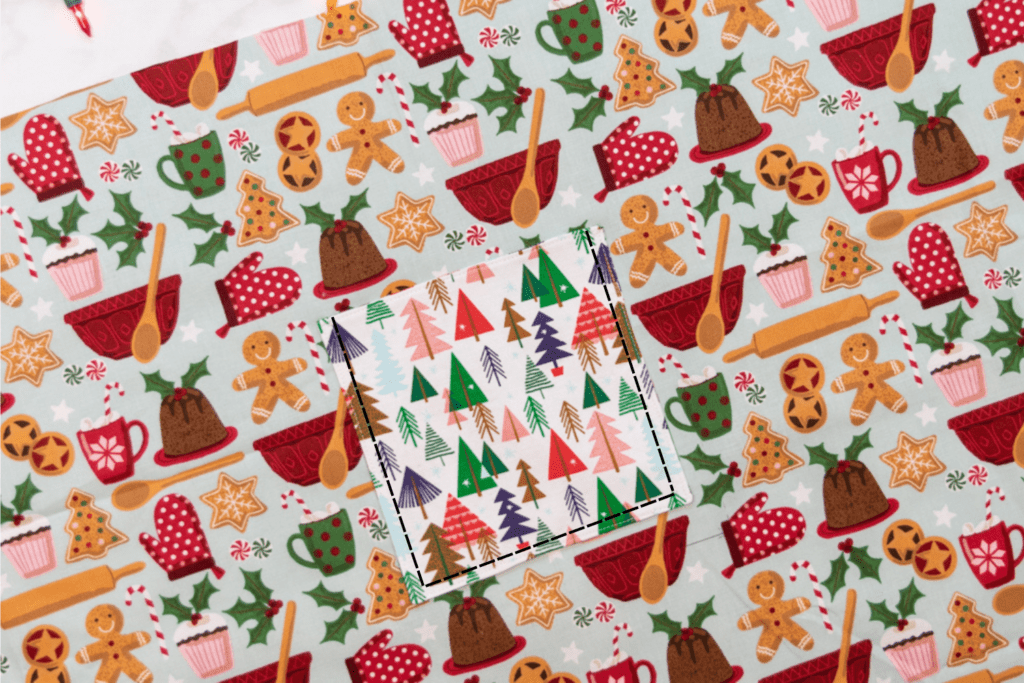
Topstitch the pocket onto the skirt with a 1/4 inch seam allowance. Do this by sewing down the first side, rotating at the corner, stitching across the bottom, rotating at the second corner, then sewing up the second side of the pocket.
Step 5: Hem the Apron
Next, we need to hem the sides and bottom of the apron. It's much easier to do this now than to wait until after gathering the skirt!
First, press each side edge of the skirt to the wrong side by 3/8 inch.
Then, press the bottom edge to the wrong side by 3/8 inch.

Next, press the side edges to the wrong side again by a second 3/8 inch. This will hide the raw edges in the fold of the fabric. Pin the side edges in place.
Finally, press the bottom edge up by another 3/8 inch and pin it in place.
Take the skirt to your sewing machine and topstitch the sides and bottom edge in place with a 1/4 inch seam allowance. Make sure to rotate at the corners!

Your apron skirt is now hemmed!
Step 6: Gather the Apron
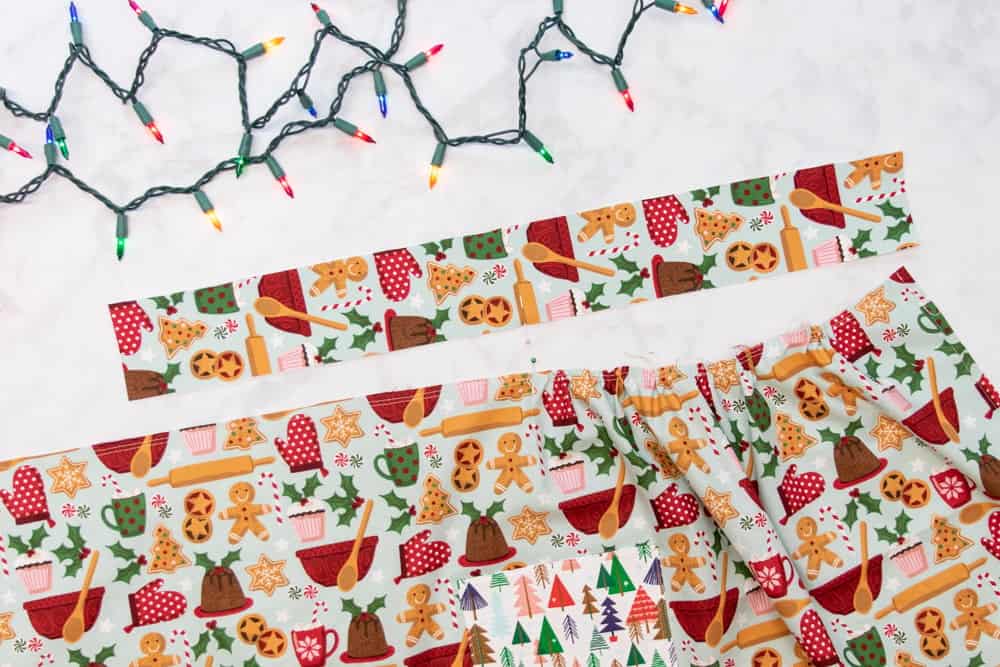
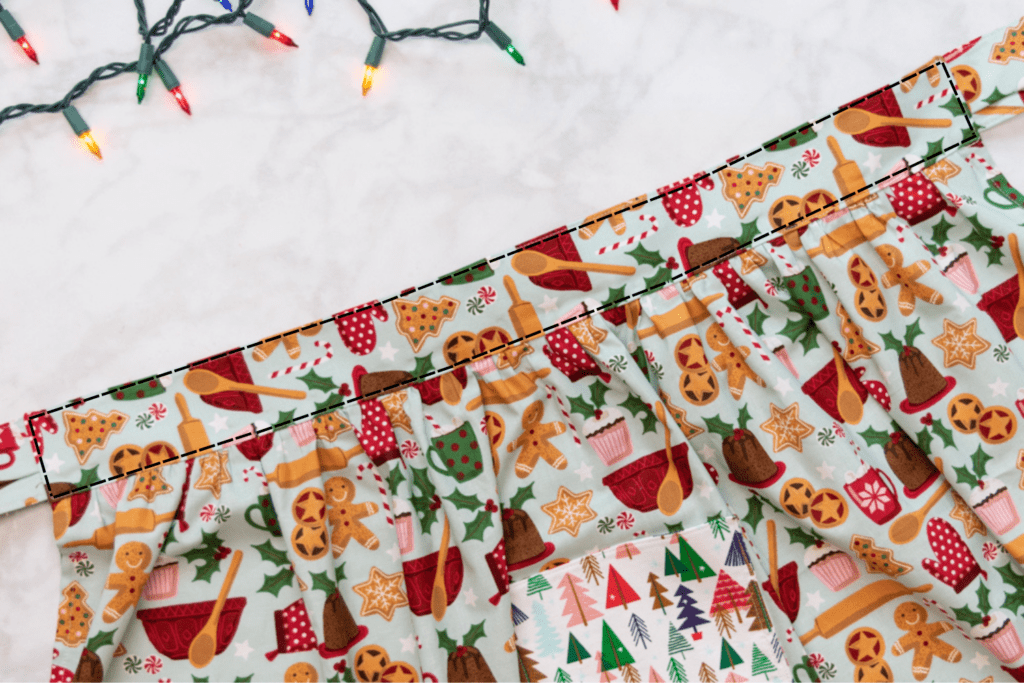
It's now time to gather the top edge of the apron. First, sew a line of basting stitches with a stitch length of at least 4.5mm along the top edge, sewing 3/8 inch from the raw edge. Make sure to leave long thread tails and don't backstitch at the beginning or end.
Repeat this process to sew a second line of basting stitches 1/8 further towards the raw edge, parallel to the first row.
Next, fold the skirt in half and place a pin along the top edge at the center fold.
Fold the interfaced waistband in half width-wise and place a pin along the bottom edge at the center fold.
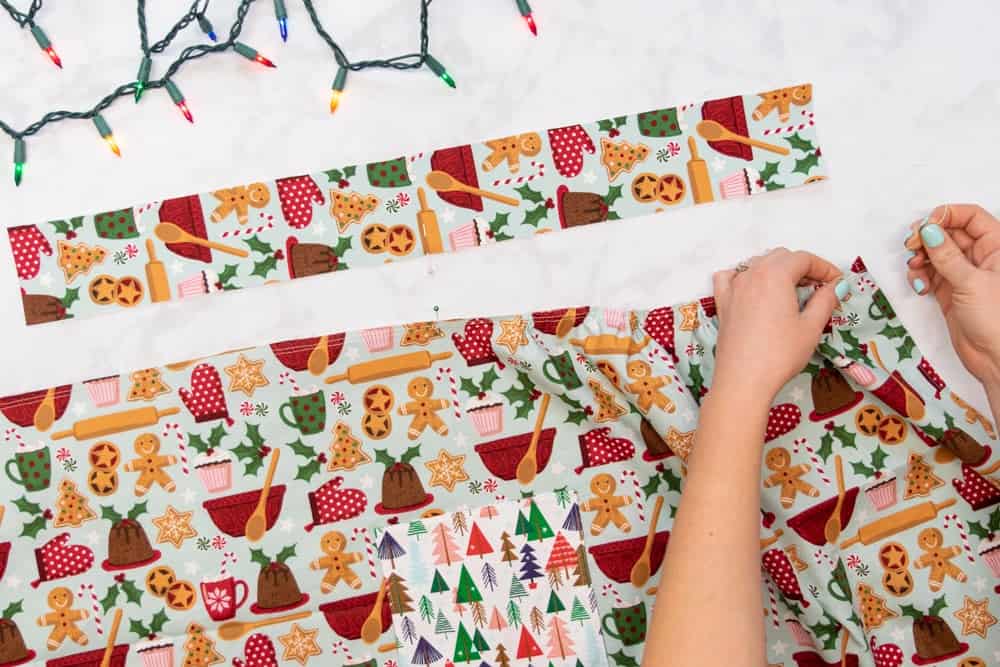
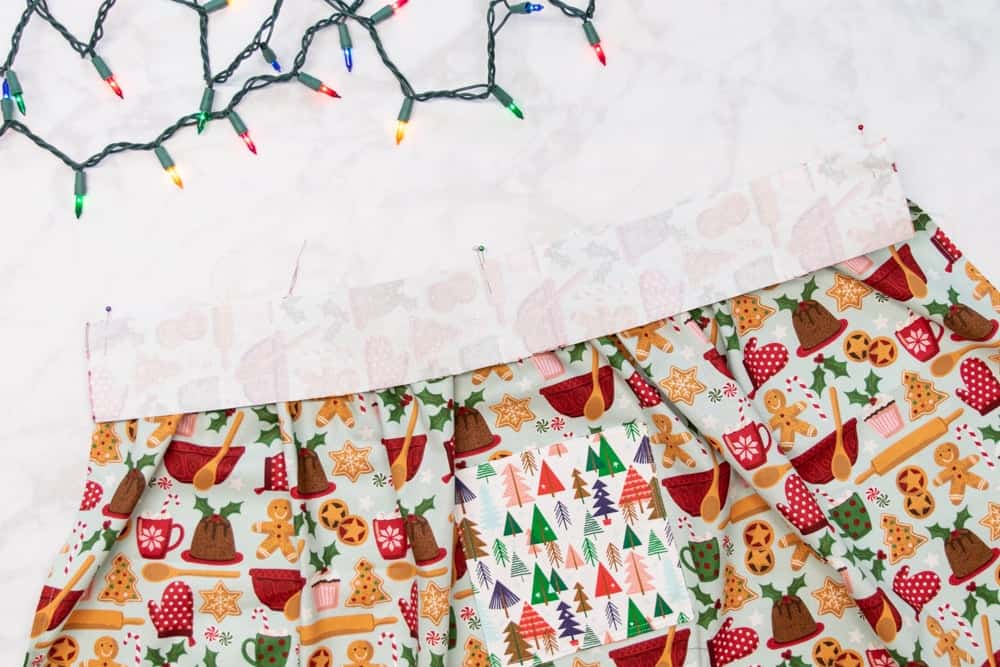
Then, place the waistband above the top edge of the skirt on your table, roughly aligning the pin in the waistband with the pin in the skirt.
Next, let's start the gathering process. For a more detailed tutorial on gathering, check out this tutorial on How to Gather Fabric.
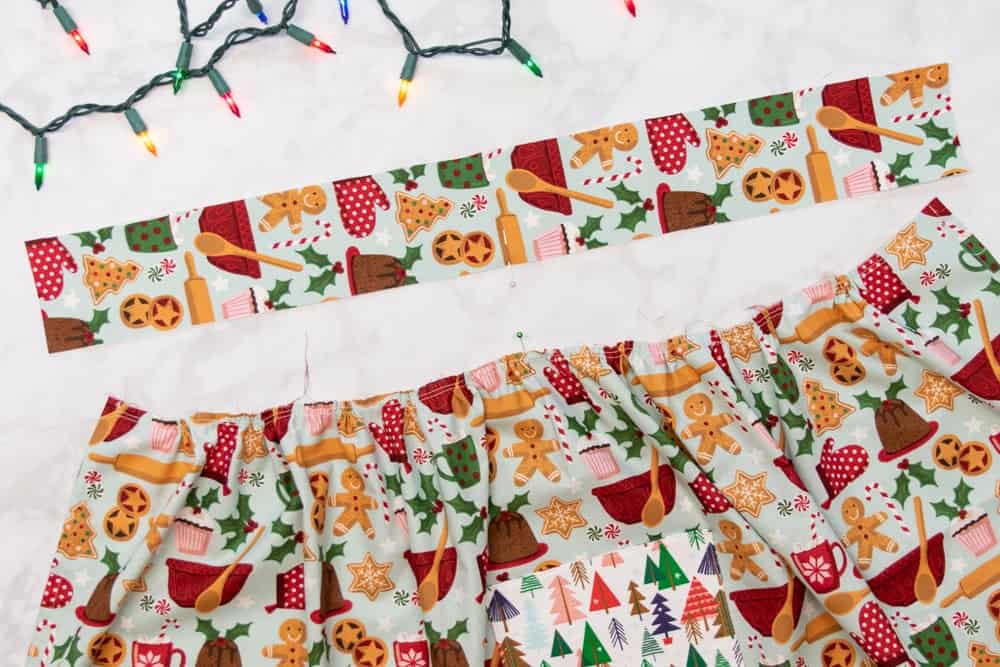
Pull on the top thread tails on one side of the top edge of your skirt, then push the fabric over the basting stitches, towards the center of the skirt. This will create bunched fabric over the basting stitches.
Continue pushing gathers onto the basting stitches from the first side until the first side of the skirt is about the same width as the corresponding side of the waistband.
Repeat this process with the thread tails on the second side of the skirt to gather this side as well.
Then, pin the center of the bottom edge of the waistband to the center of the top edge of the skirt with right sides together, making sure the centered pins match up.
Next, pin the right side of the waistband to the right side of the top edge of the skirt, making sure the waistband edge extends 3/8 inch past the edge of the skirt.
Repeat this process to pin the left side of the waistband to the left side of the skirt.
Even out your gathering between the pins by sliding the gathers left and right across the basting stitches until you're happy with their evenness. You can add or remove gathers as well until the length of the skirt between the pins is the same as the length of the waistband.
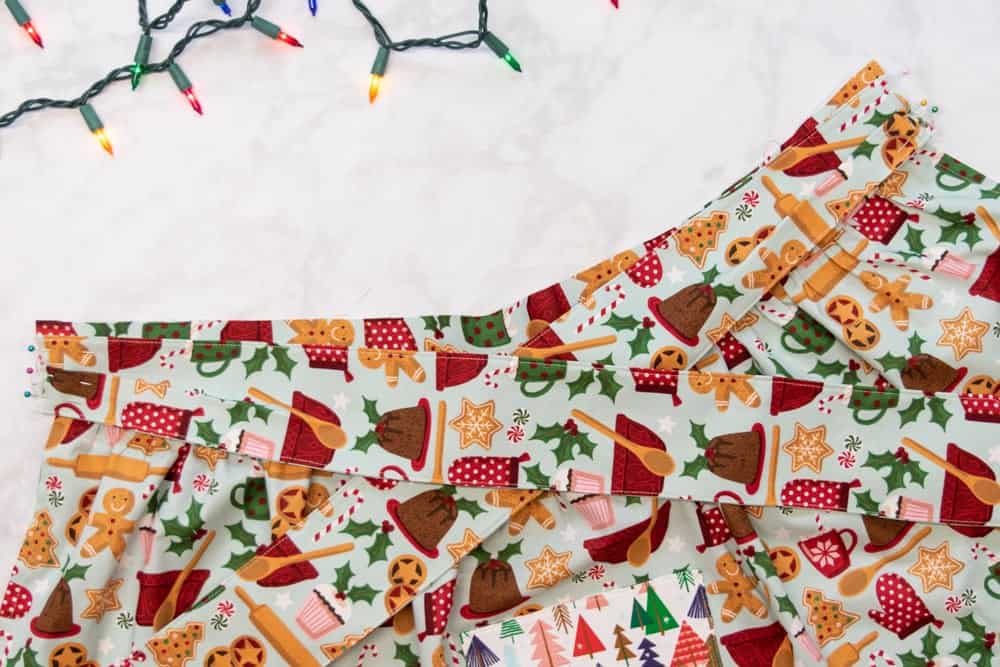
Once you're happy with your gathers, pin the remainder of the waistband to the top edge of the skirt.
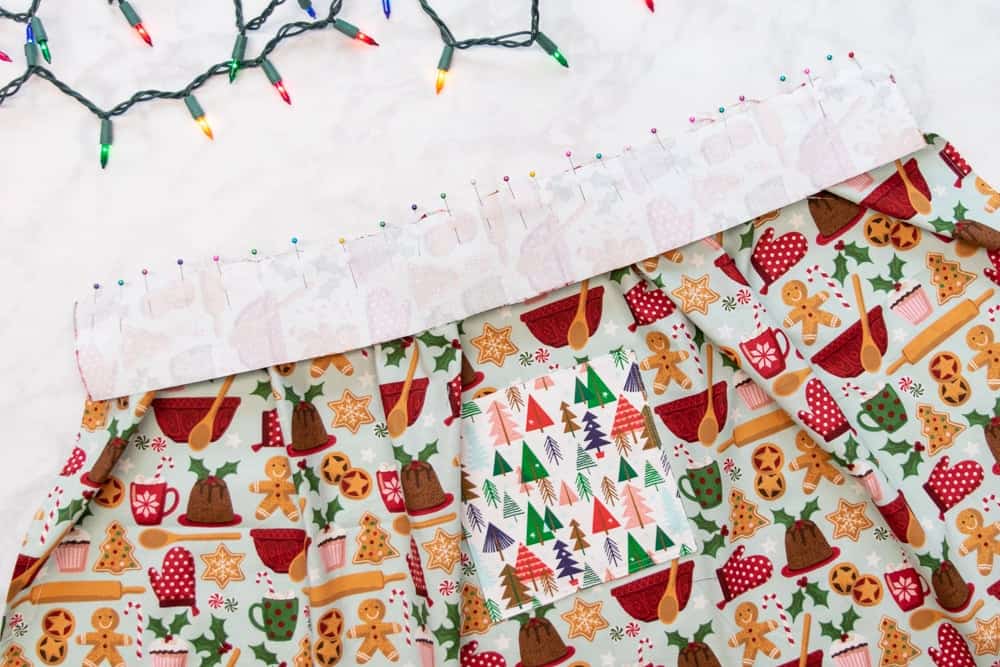
*PRO TIP: Use lots of pins! The more pins you use, the less your painstakingly evened-out gathers can shift!
Step 7: Attach the Waistband and Ties
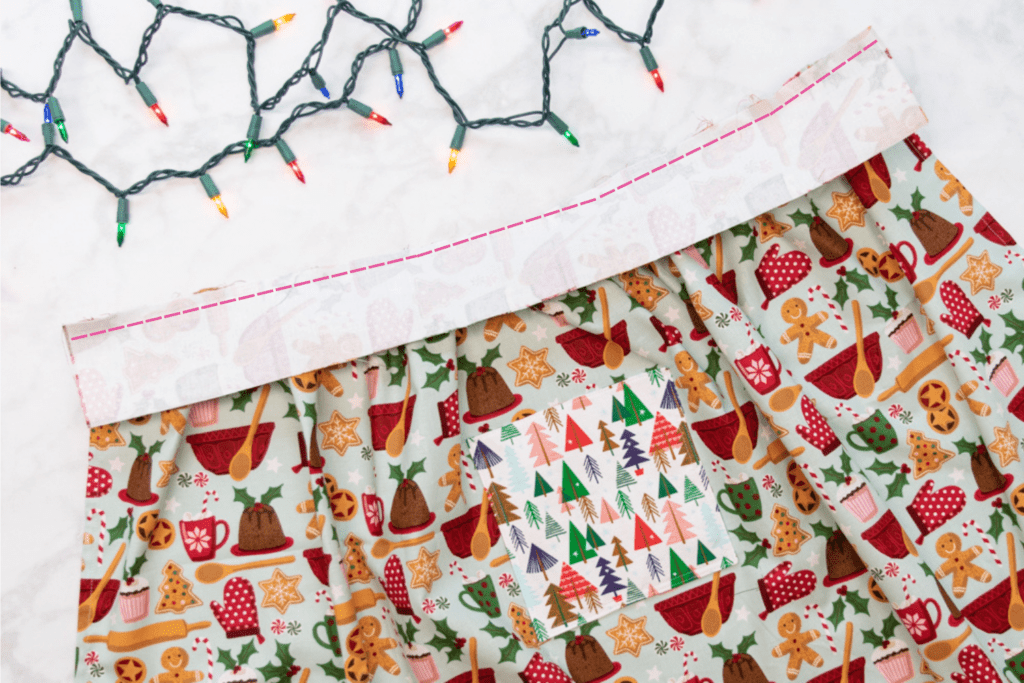
Next, stitch the pinned waistband to the top edge of the skirt with a 3/8 inch seam allowance.
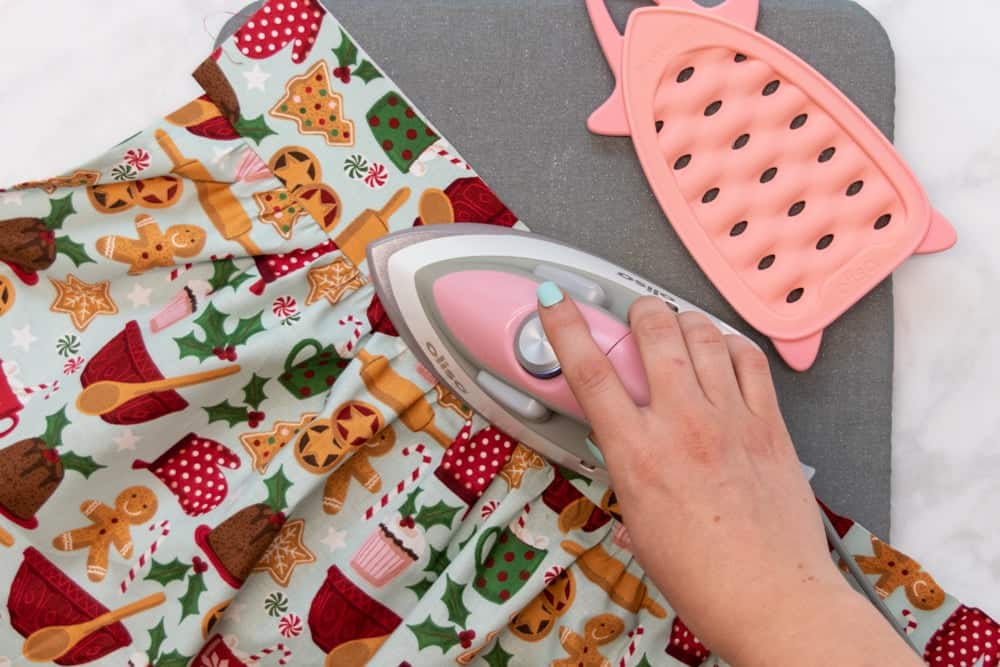
Press the seam allowance up towards the waistband, pressing the top of your gathers in place as you do.
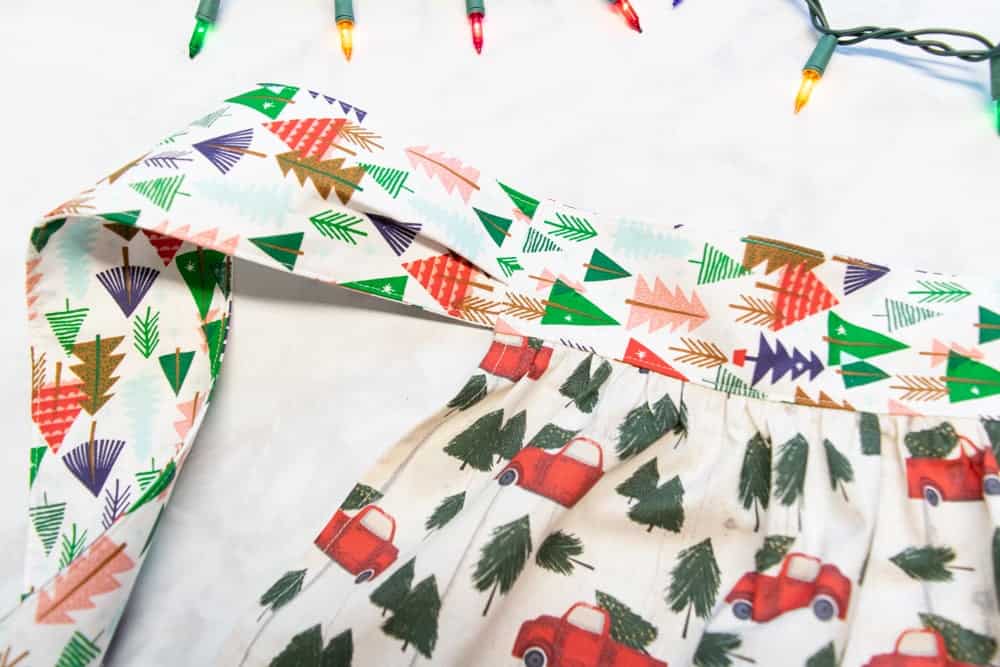
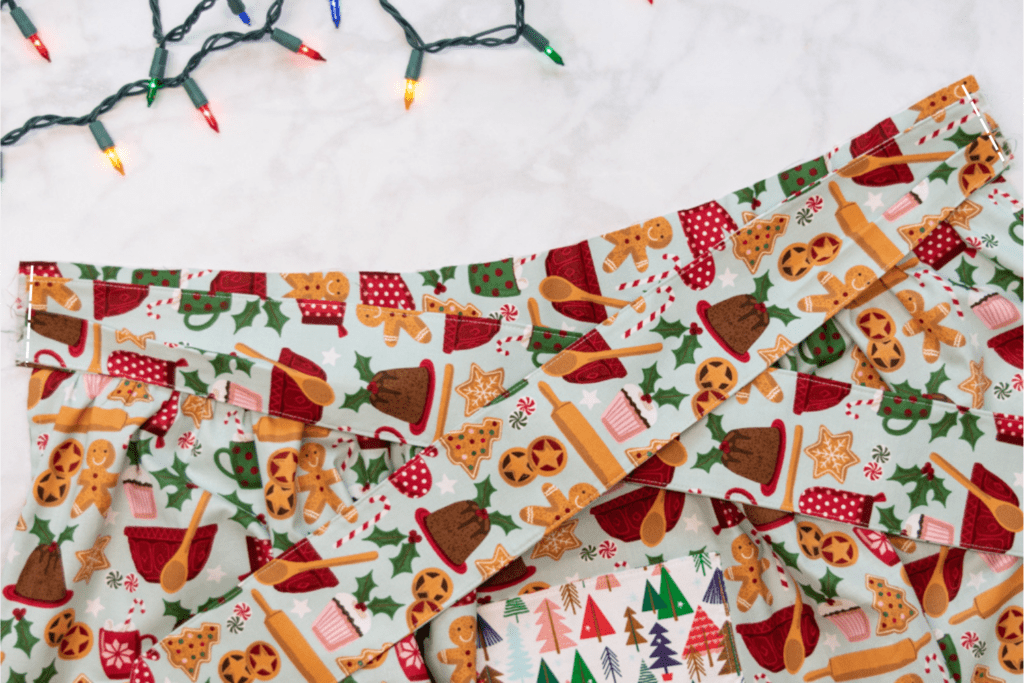
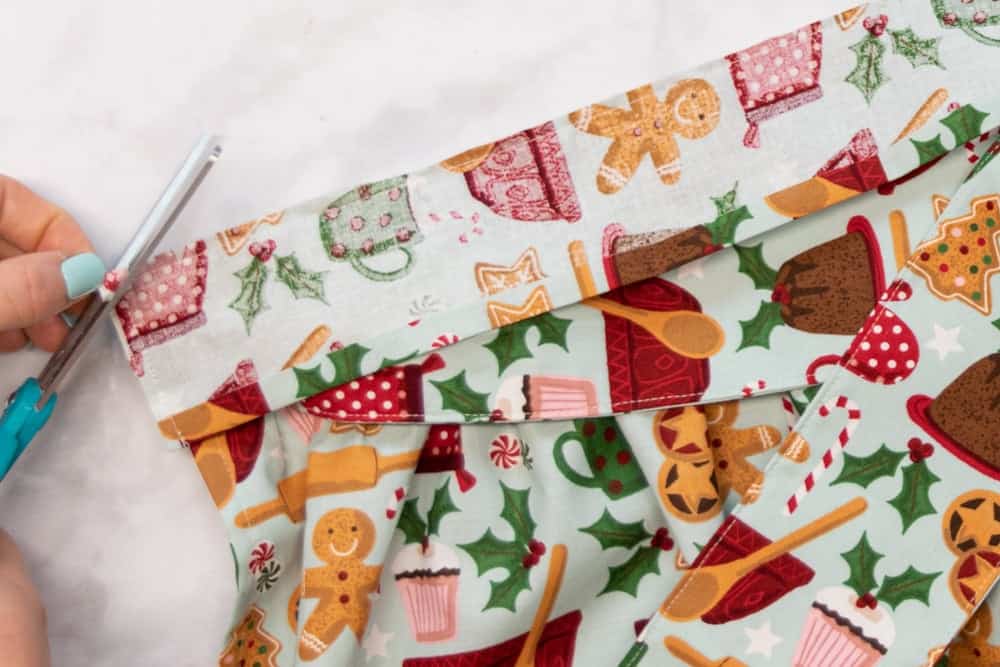
Place the skirt to the side temporarily and grab your ties. Place the ties on your table so that the longer edge is at the top.
Then, on one tie, form a 1/2 inch fold in the center of the open end of the tie.
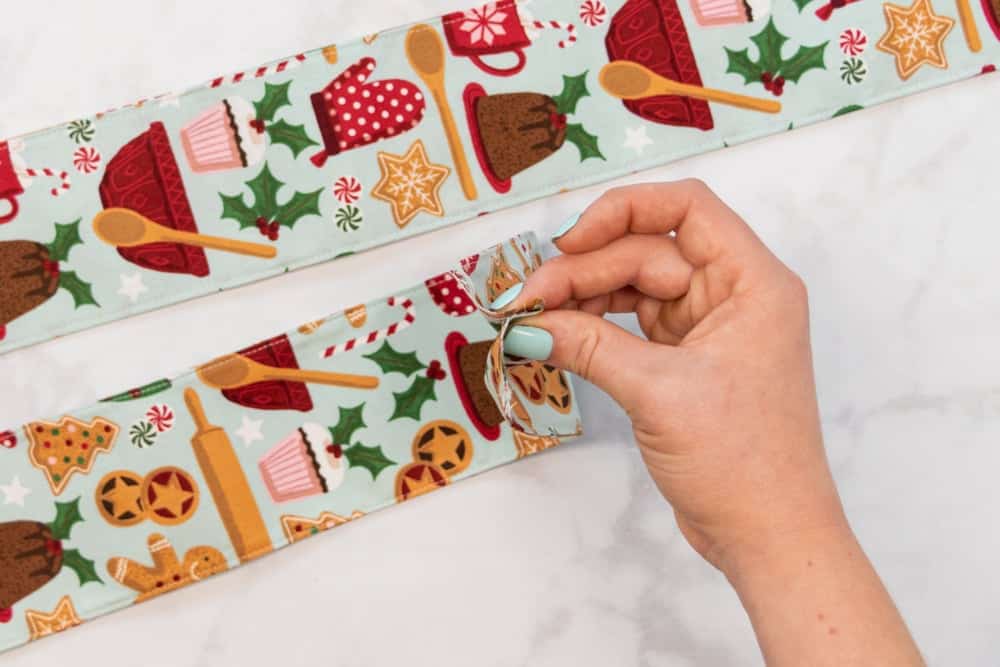
Press this folded edge downwards along the edge of the tie. This will create a cute little pleat at the unfinished end of the tie.
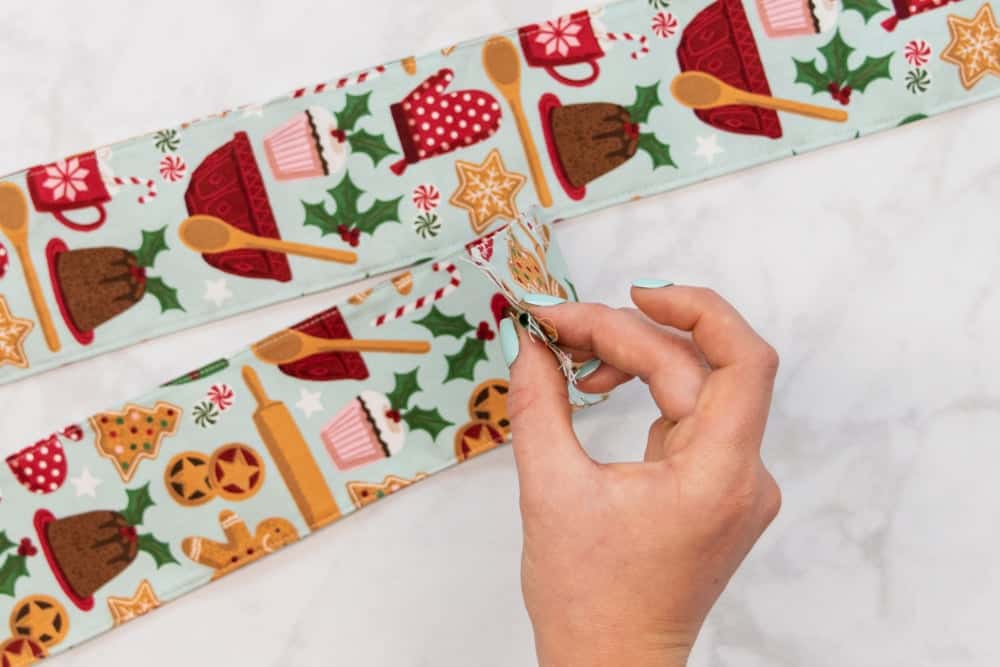
Press and pin the pleat in place.
Repeat this process to form and press the pleat on the second tie.

Next, pin the unfinished end of each tie to one of the short edges of the waistband that is attached to the skirt, lining up the bottom edge of the tie with the folded lower edge of the waistband. Make sure the long edges of the ties are at the bottom.
Stitch the tie ends to the waistband ends with a 1/4 inch seam allowance.
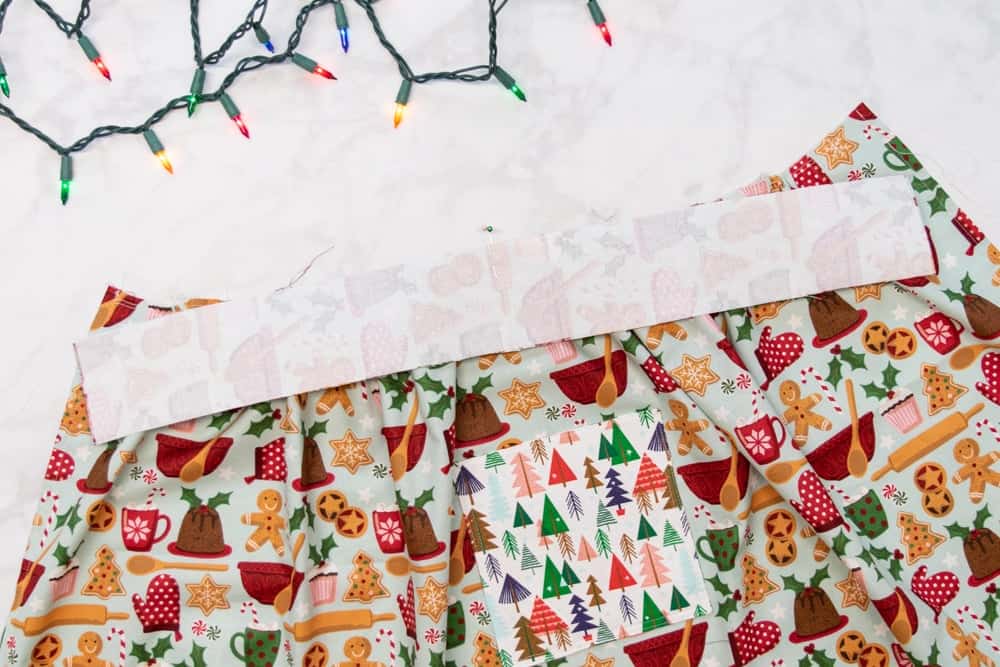
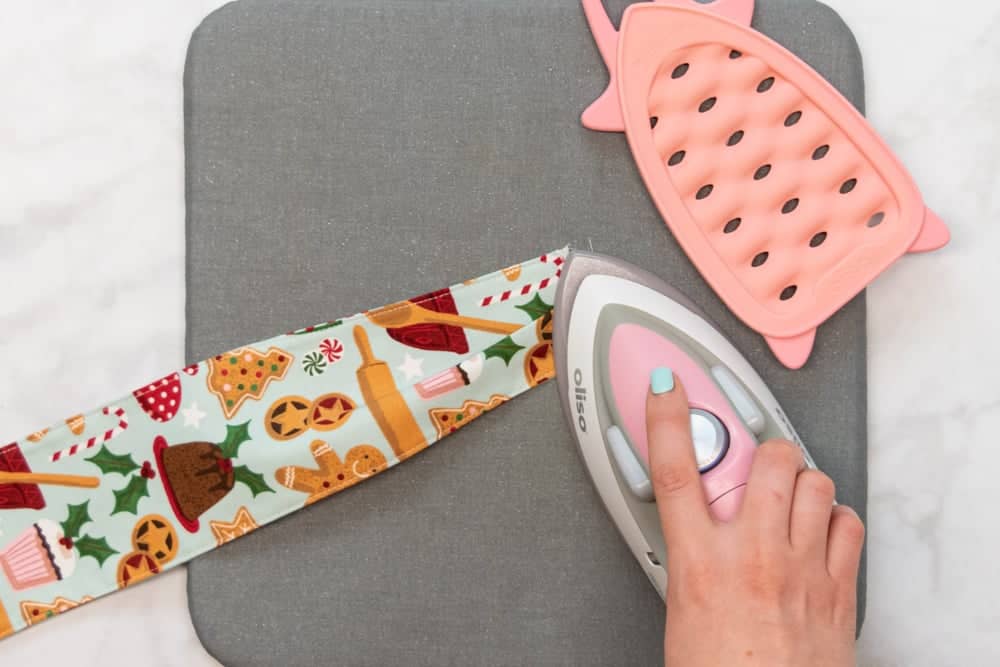
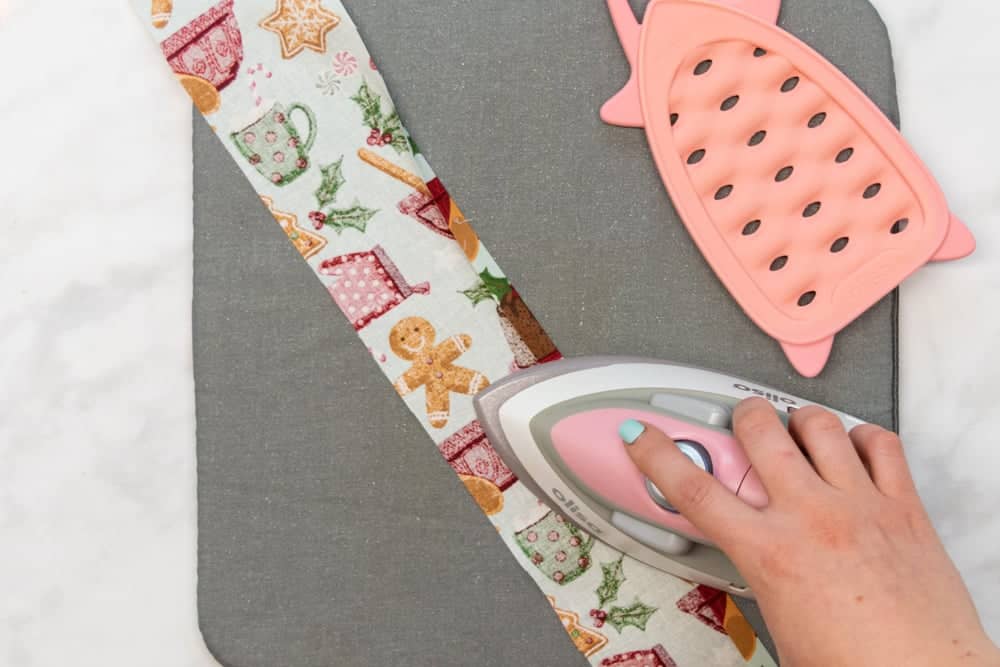
Then, grab the un-interfaced waistband piece and press the bottom edge to the wrong side by 3/8 inch.
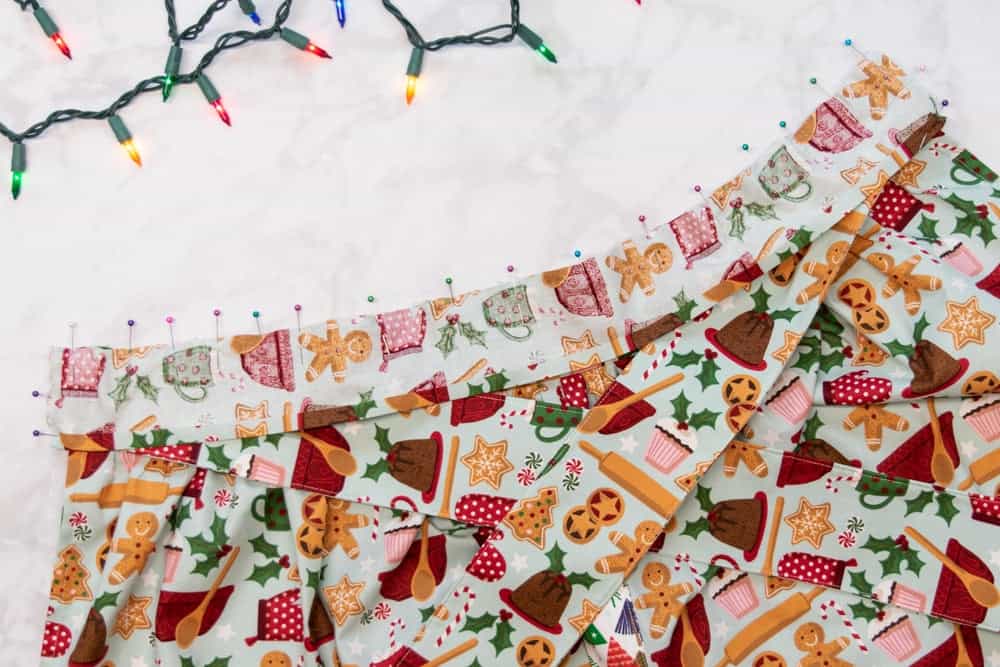
Place this waistband right sides together with the waistband that is already attached to the skirt. Pin them together along the short edges and the top edge. Make sure not to catch the ties in your pins along the top edge.
Next, stitch the waistbands together with a 3/8 inch seam allowance along the short sides and top edge. Make sure the bottom edges of both waistbands are folded up by 3/8 inch before starting your stitching. The stitching on the short ends should be right next to the finished edge of the skirt, but should not catch the fabric of the skirt.
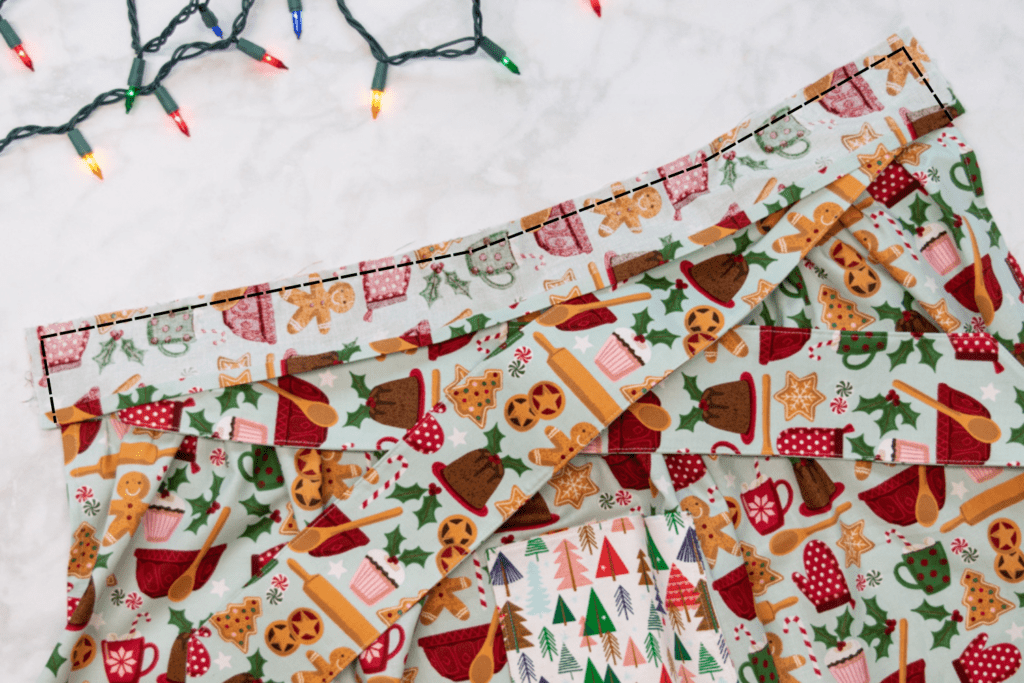
*PRO TIP: When sewing the top edge, pull the ties down to get them out of the way of your stitching. You only want to catch the ends of the ties along the short edges - they shouldn't get caught in the top edge stitching!
Trim the seam allowances down by half.
Then, cut away the 2 upper corners of the seam allowance to reduce bulk.
Flip the un-interfaced waistband up and over the interfaced waistband so that it is on the wrong side of the skirt. Pull the ties out away from the skirt to pull the waistband ends flat.
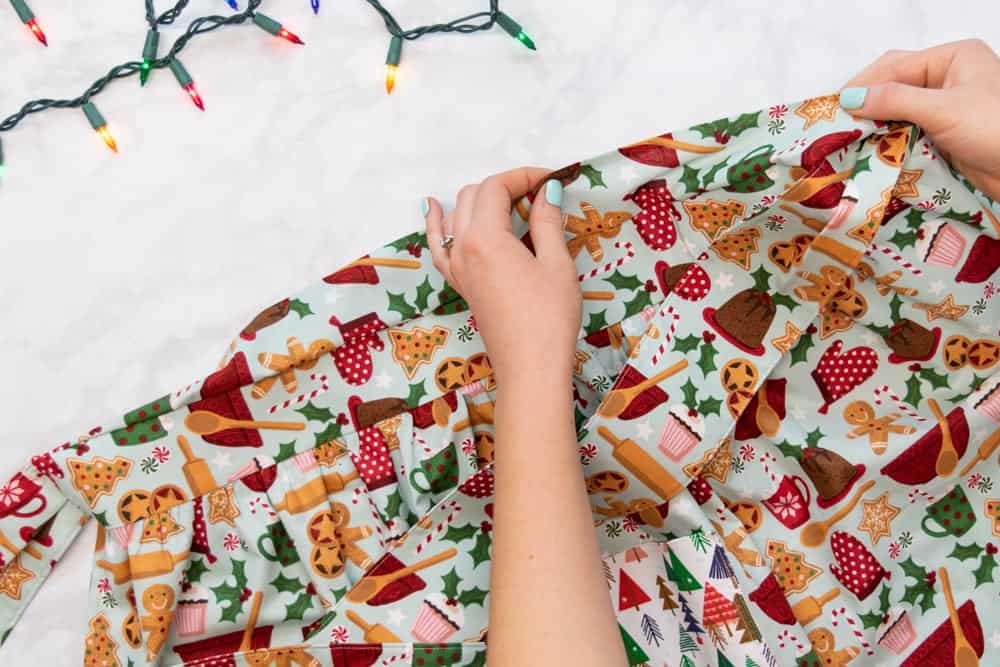
Next, press the waistband flat with your iron.
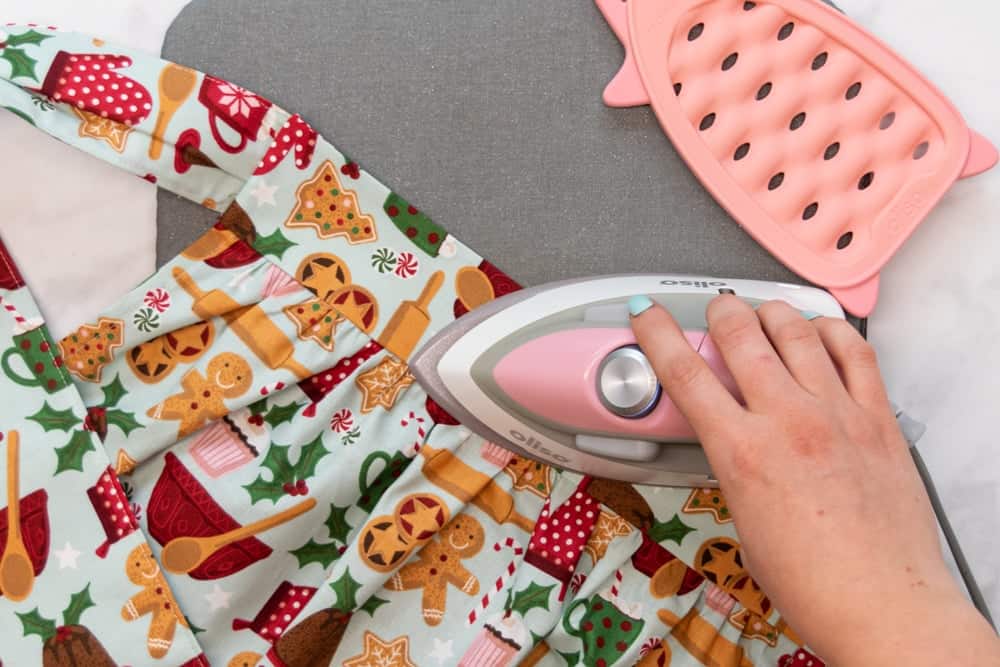
The unattached bottom edge of the inner waistband should extend to just past the waistband stitching, covering the seam allowance. Pin this inner waistband edge in place.
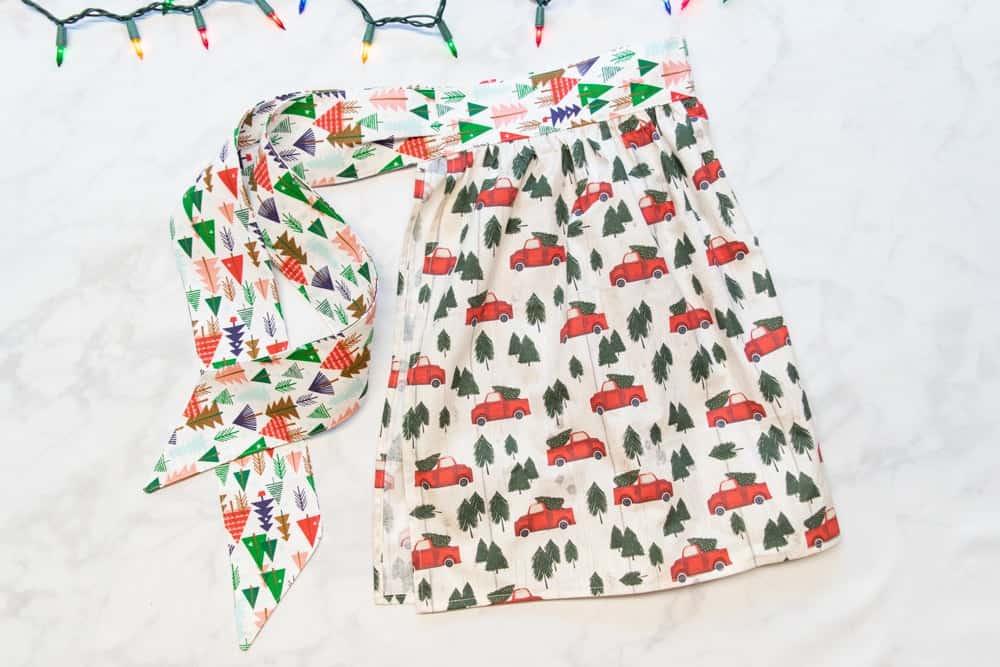
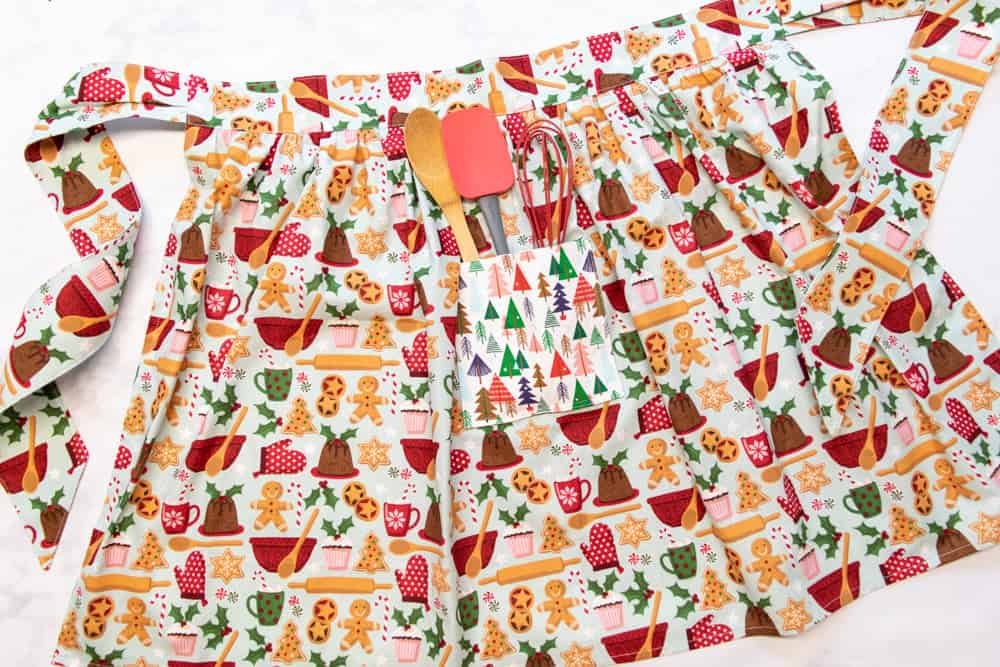
Finally, topstitch around all 4 sides of the waistband, sewing 1/8 inch from the edges of the waistband. Make sure to rotate around the corners!
Your adorable half apron is finished! I hope you enjoyed this apron pattern and get lots of use out of your new apron!
Did you sew up a cute half apron? Post a picture on Instagram with the hashtag #sweetredpoppy - I would love to see how it turned out!
Looking for more awesome, free, kitchen-friendly patterns and tutorials? Try one of the patterns below!
Don't forget to join my Facebook group where you can show us what you're making, ask questions, and learn from others.
Make sure you don't forget about this project by pinning it on Pinterest! Click here to pin this image!
Thanks for sharing !! Amazing pattern!!
How cute it would be if the family had matching aprons... grandmother, mother, daughter(s), sister(s), aunt(s), niece(s), and cousin(s).
Can’t wait to make these!
Love these, would be great to make for teachers gifts or for family members
Looks like a great project!
Fun project!
SUPER CUTE
I love this. This is the first project I learned to sew.
This is great and so simple, Thankyou
Yay!!
I love aprons!
Fast and easy --I think I can do it!!
I love the half apron idea. I usually make full aprons, but this is so cute, I think I'll make a couple for gifts.
Quick & easy project, cute gifts for all the family bakers!
This is such a cute apron. I need a new one and am getting the sewing bug. Thank you for sharing this pattern!
Can't wait to try this!
I think even I as a beginner could try this!
Cute!
I just LOVE this apron and I've been searching for a pattern exactly like this! Thank you sooo very much for sharing! Great tutorial and I will be getting the pattern in my email - I plan to make it before too long.
I love wearing aprons when I bake!
That looks so sweet
Thanks for the pattern. I'm going to make a couple of these as gifts 🙂
Thanks! Will make great gifts!
With a pattern like this one could have an apron for every holiday just by changing the fabric!
I remember my mother making aprons like these!
So cute!
This is adorable! Your directions are so easy to follow. Thanks bunches!
How cute! This would be nice for my daughter and I since I'm trying to get her to help me in the kitchen more.
Cute! The directions look so easy to follow! What a fun craft!
So cute
Cool aprons and patterns
Adorable!
My mom used to make aprons for herself.
Love love
This a simple pattern for me to follow. I can't wait to try it. Thank you!!
Great pattern!
Amazing apron!
Made one, it was easier that I thought!
Hi
These aprons are adorable.
I think I can do this my only concern is the gathered waist band area.
I am going to try to make this.
I love wearing aprons.
Looks like a easy pattern to follow, will be making later.
Joy!
I like to cook. Having a cute handmade apron would be nice.
This reminds me of my first apron made during Fashion/Sewing class.
Super Cute idea!!
Great pattern!
These aprons are so cute and the perfect gift for Christmas!
Thank you for sharing this pattern for this adorable apron.
Thank you for this cute idea!
Great instructions.
Happy Thanksgiving!
Cute idea!
Your instructions are very clear. I think even the waistband will be ok!
I love the detail of your instructions!
I can’t believe you offer This great content for free,
Kindness
I love this apron it is so simple and the tutorial and pattern are easy to follow! This would make cute little gifts!
may need to make a couple of these for Christmas!!
These would make a perfect gift for the baker in your life!
I appreciate an apron that has a pocket in such a convenient location.
What a great gift idea! A matching smaller version for the little baker also!! #sweetredpoppy
I remember sewing an apron like this years ago in 4H club. Thanks for the walk down memory lane.
Awesome
How adorable! What an amazing gift this would make.
Love the festive colors and the contrasting pocket!
Bought the material, now time to sew
Hopefully i can make the half apron on my next day off. You make amazing projects Sweetredpoppy. I am way behind on all the thing i want to make, i just need time to do them. You have a good day.
A great project!
Thank you:) Great project.
Cute apron, thanks for sharing!
Super cute apron. I want to make one of these. Thanks for sharing.
It's so cute and something I could whip up as gifts. Thanks for the inspiration!
I love those aprons. I want to make one for each holiday!
Hi! This is a super cute apron. It looks like all of the pieces are squares or rectangles. Do you possibly have the measurements for the pieces?
Thanks!
Printer broke. I can't find the measurements of this apron. I could cut it out without a pattern if you could give the measurements.