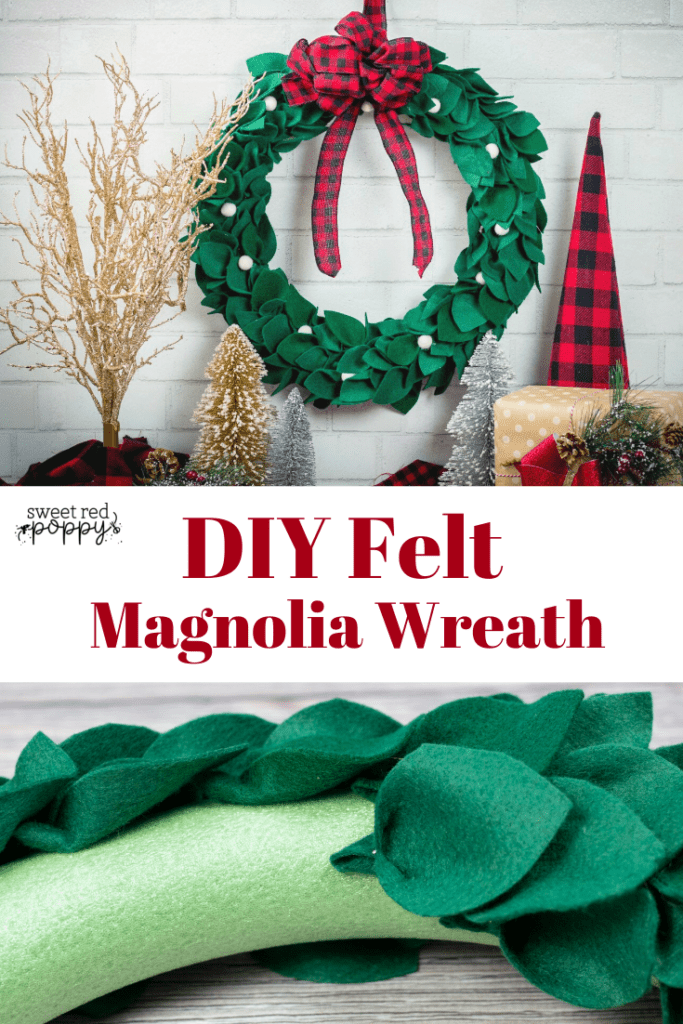
Learn How to Make This Budget Friendly Magnolia Wreath For the Holidays This Year With A Free Pattern, SVG File and A Step-By-Step Tutorial and Video.
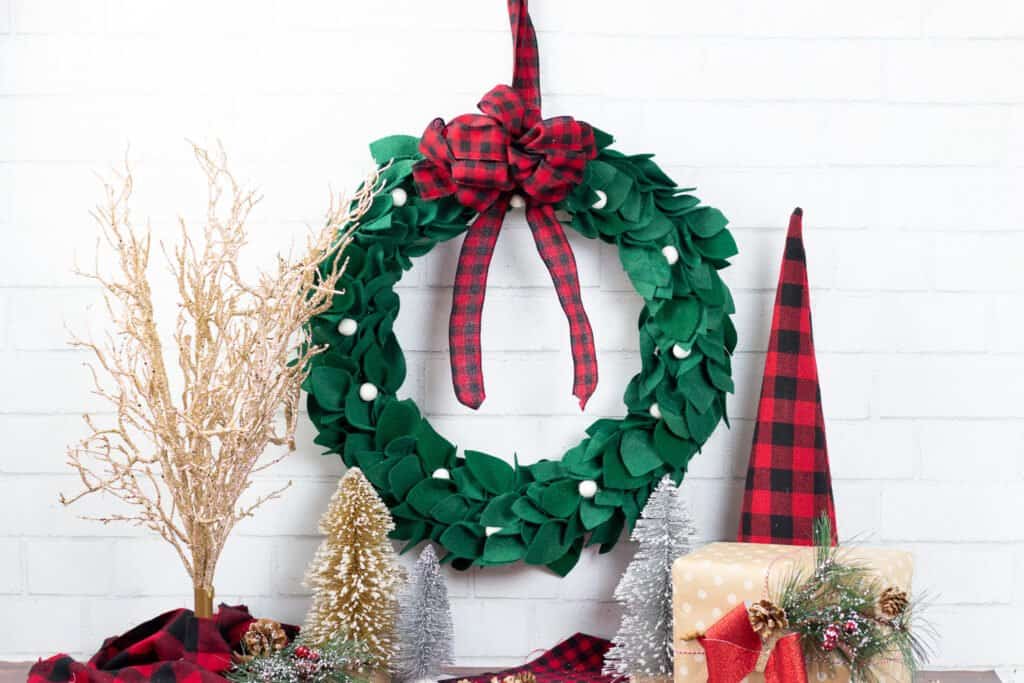
Do you love the holidays? Well, I am obsessed and this is the perfect tutorial for a budget-friendly wreath. You only need a few materials to make this wreath and you can find them all at your local craft store. This project is perfect to do while watching your favorite Hallmark movie and drinking your favorite beverage!

Table of Contents
What Felt Should I Use?
There are two different types of felt; craft felt which is typically made of recycled plastics meaning it is a synthetic fiber and wool felt made from a blend of wool and viscose which are natural fibers.
Synthetic felt is prone to pilling and can become worn looking after only a few uses. For these reasons, I'd recommend using wool felt for this design. It does cost a bit more but it will give you more longevity and if you factor in the amount of time it takes to make this wreath it's definitely worth it!

You can use just about any felt you choose for this project. If you are using your Cricut to cut the petals (and you don't have a rotary blade), I recommend using Cricut's felt which is a synthetic blend as it's stiffer and easier to cut with the machine.

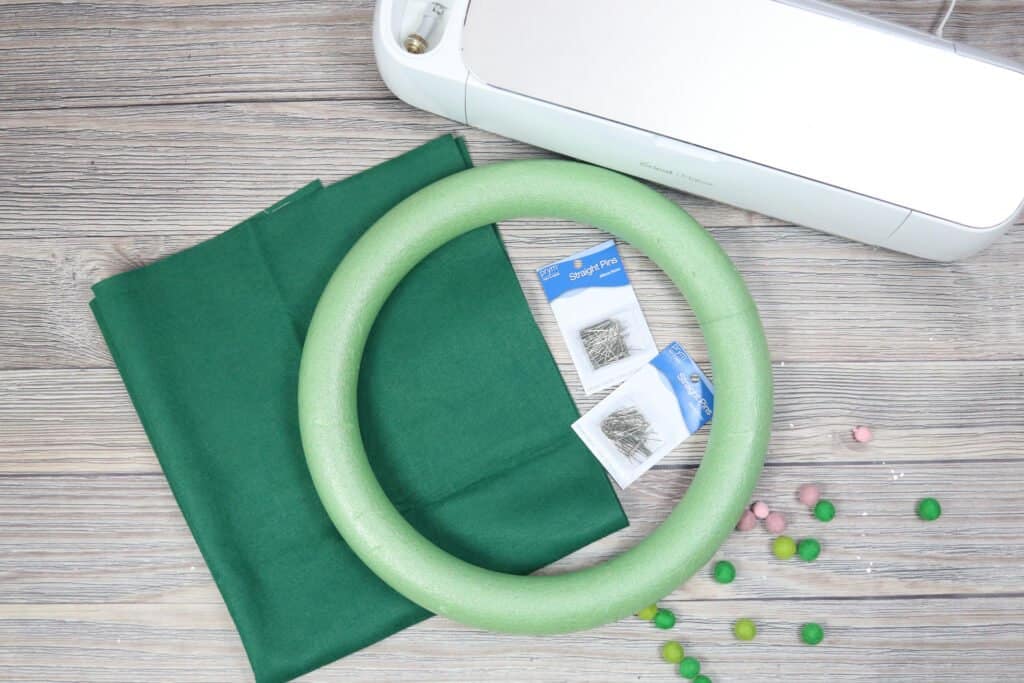
Materials Needed:
- 16" Foam Wreath
- 1 1/2 Yards Green Synthetic Craft Felt or Wool Felt (read about the differences above)
- Felt Pom Poms
- Stick Pins
- Hot Glue Gun & Glue Sticks
- Cricut Maker, Cricut Explore, or Other Cutting Machine or Scissors
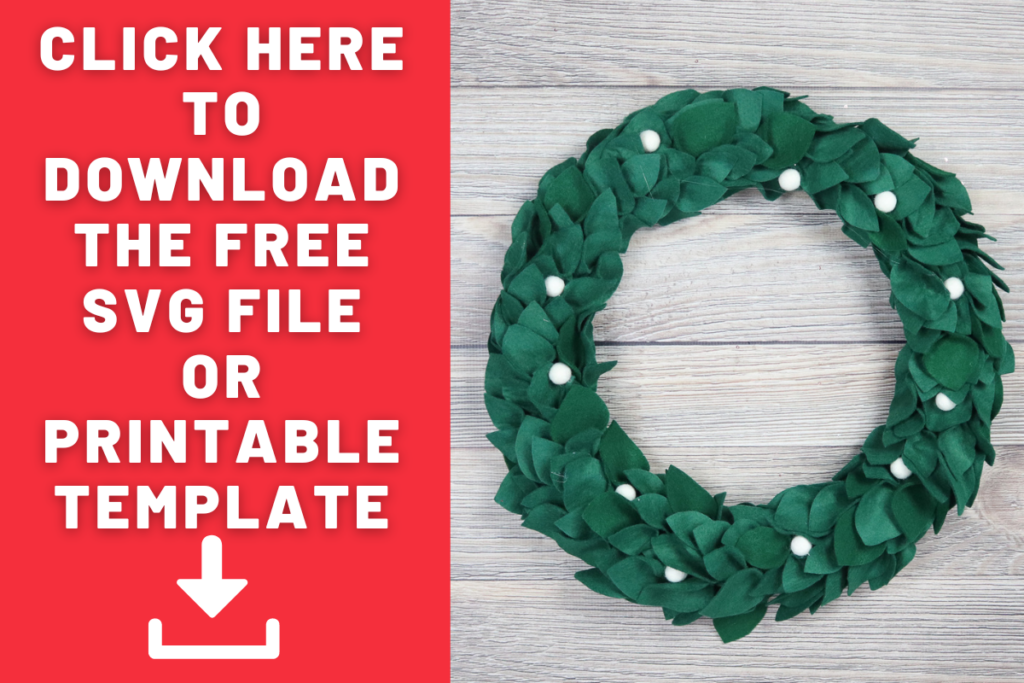
- SVG File or Pattern (scroll down to download)
Download the SVG File or Printable Template HERE!
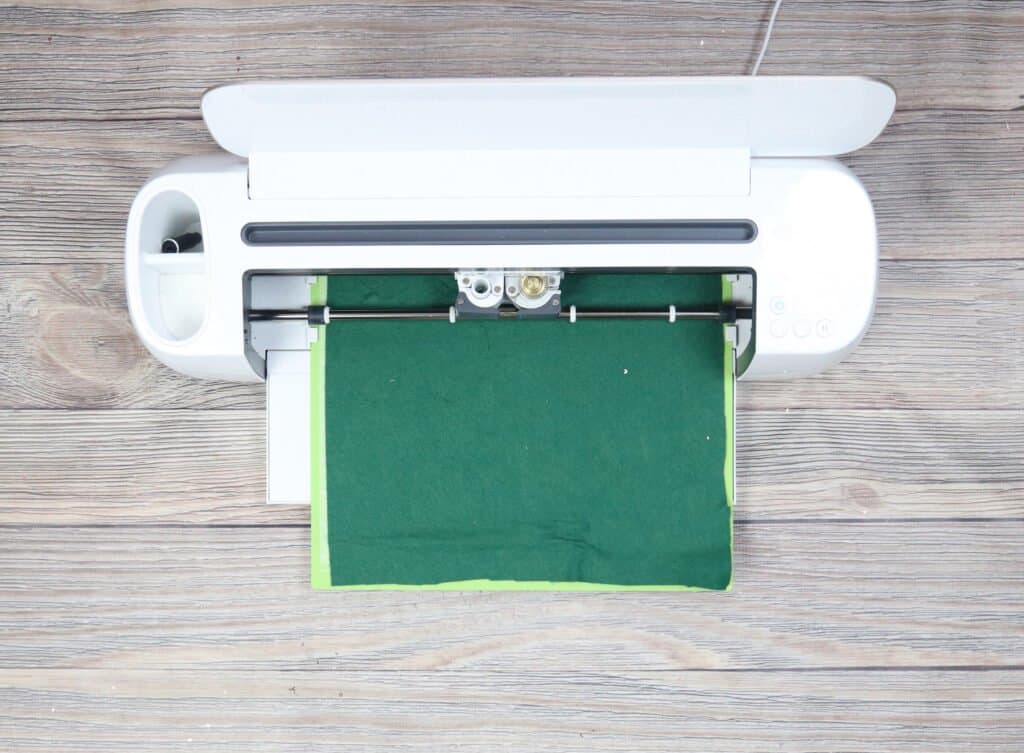
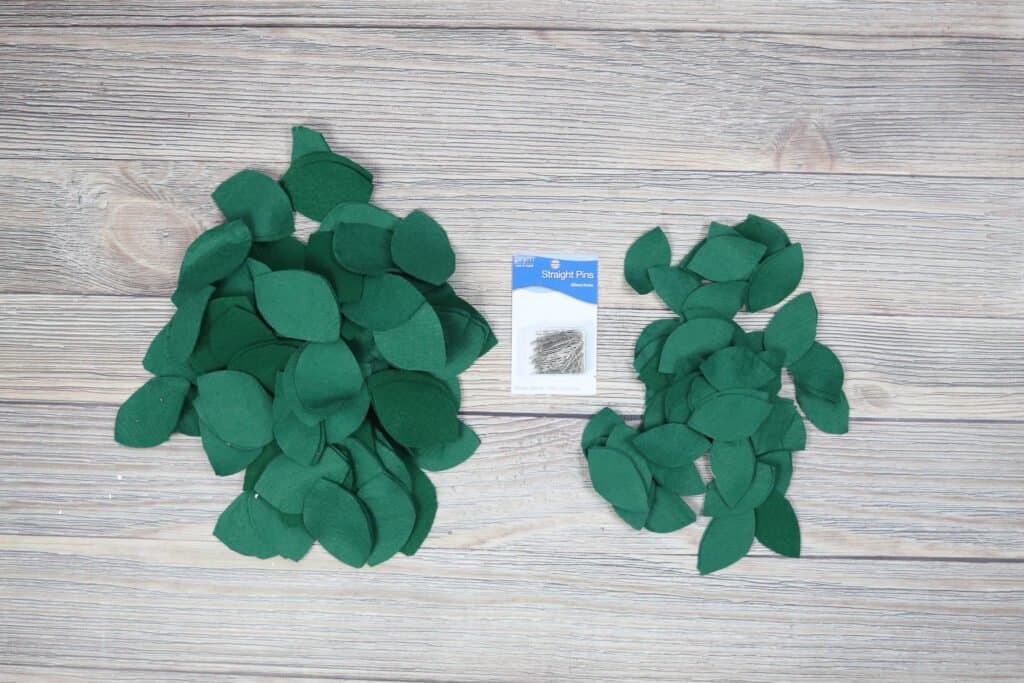
Step One: Cut out Petals
If you are using your Cricut, download SVG file above and upload it into Design Space. Cut out your petals using your Cricut machine. If you bought felt by the yard, you will have to cut it to fit on the mat. I used all 1 1/2 yards of felt for this project.
You can also cut the petals by hand using the PDF pattern I provided above. Download the PDF and print out the pattern. I recommend printing it on cardstock. I included 3 large petals and 3 small petals on the PDF so you can have extra patterns. Trace it on your felt or pin it on and cut your petals. I cut all of my 1 1/2 yards of felt for a fuller look.
Step Two: Pin Leaves to Wreath
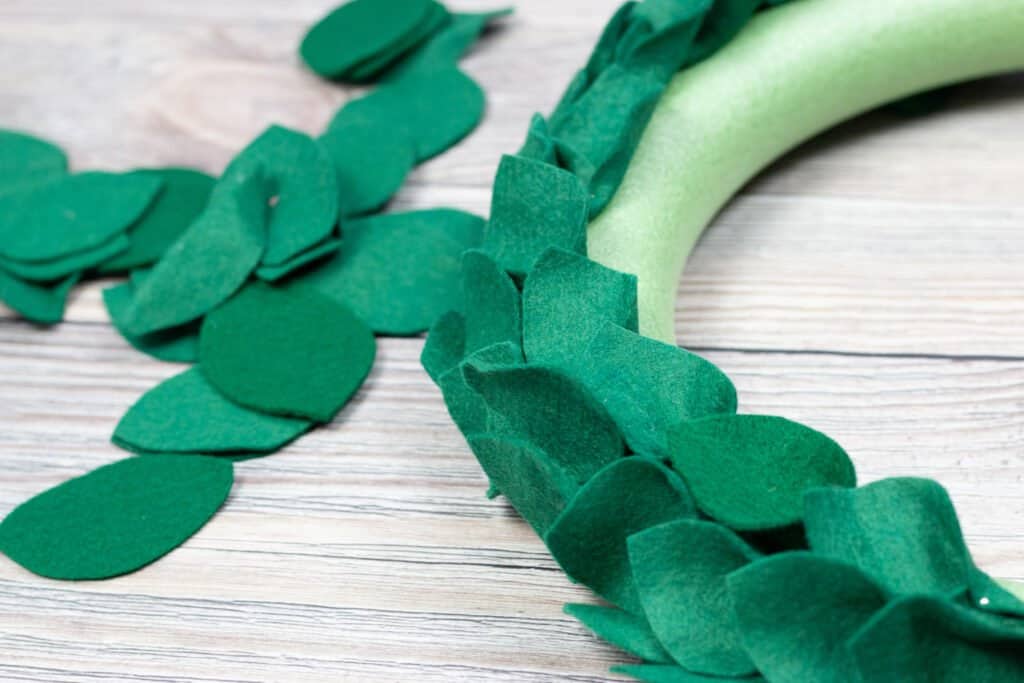
Fold the petals at the bottom and pin it into the wreath with the stick pins.
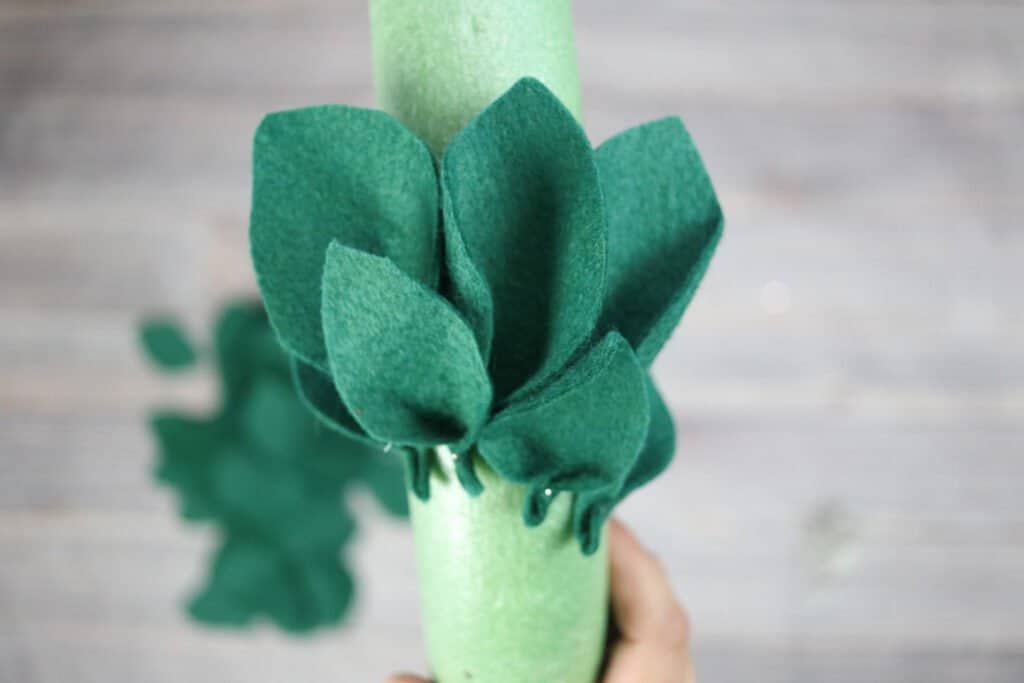
Cover the top of the wreath all the way around using both sizes of petals. There is no right or wrong way to do this so have fun with it!
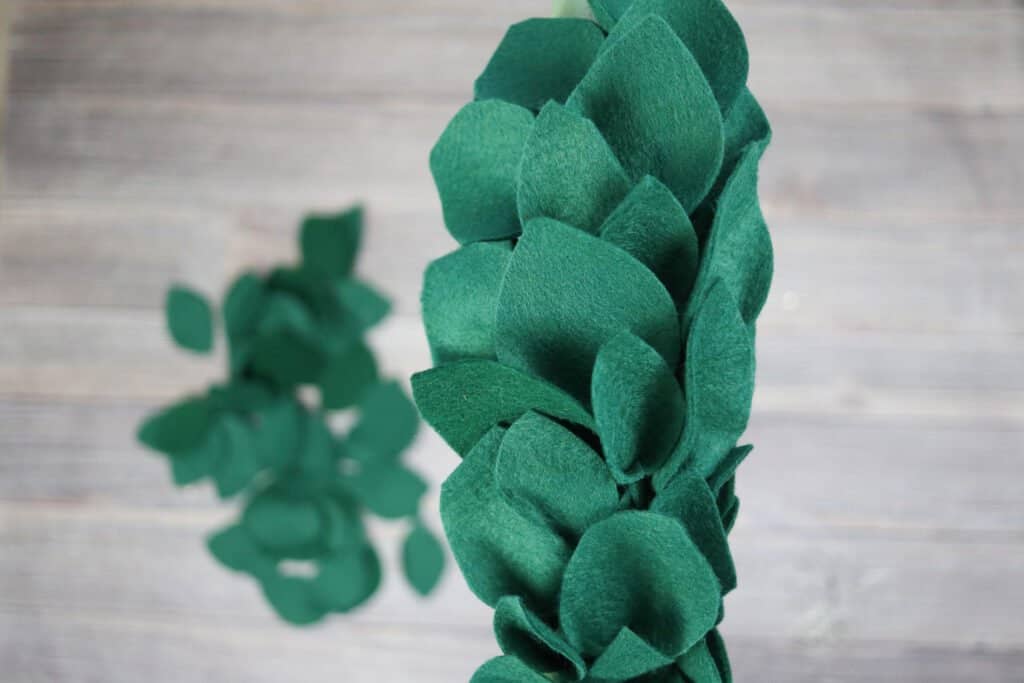
Lay it down and fill in the empty spaces. You do not need to cover the back as it will not be shown when on display.
Using your hot glue gun, glue your pom poms onto the petals and let them cool completely.

You're finished!
Tie a bow to the top to hang it or put it on a door hanger to display your beautiful handmade Magnolia wreath!

Join my crafting and sewing Facebook group where you can show us what you’re making, ask questions, and learn from others!
Looking for more tutorials and projects for Christmas decor? Click HERE!
Thanks for the awesome ideas and patterns. Can't wait to try each of them!!