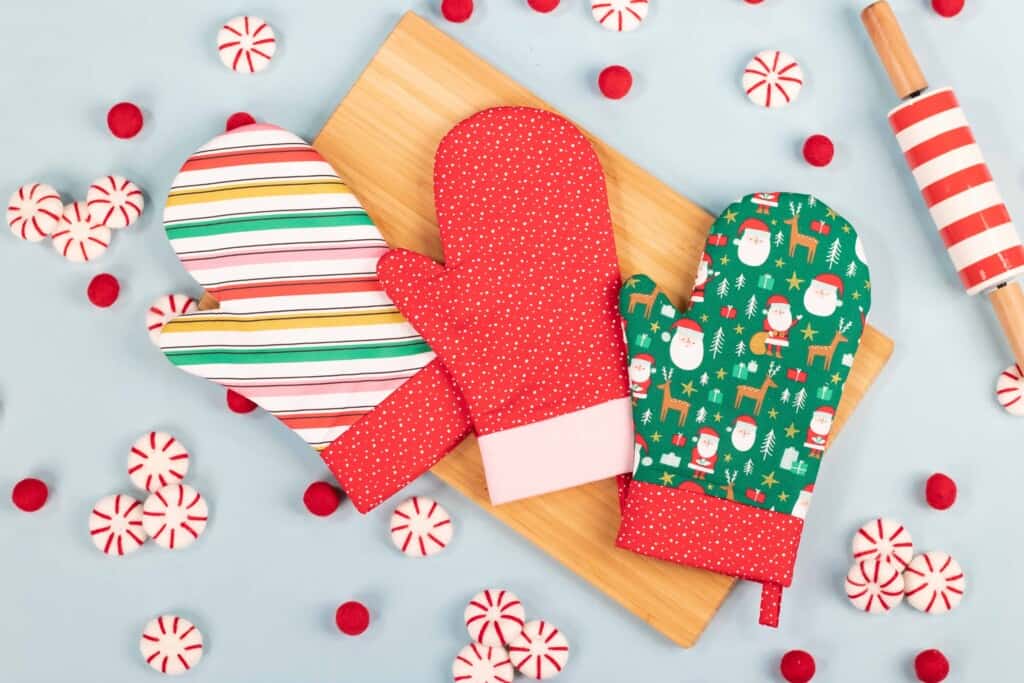
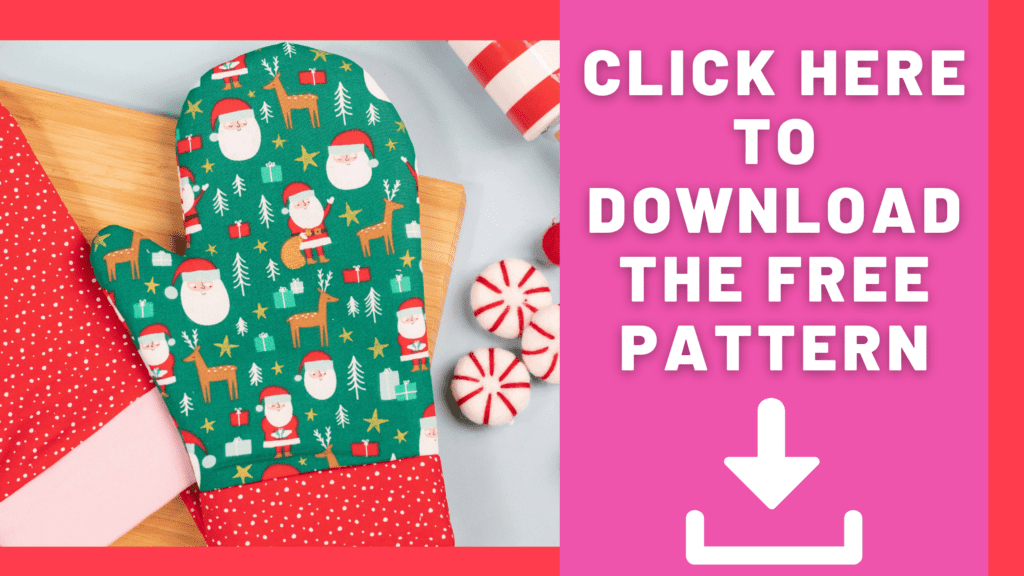
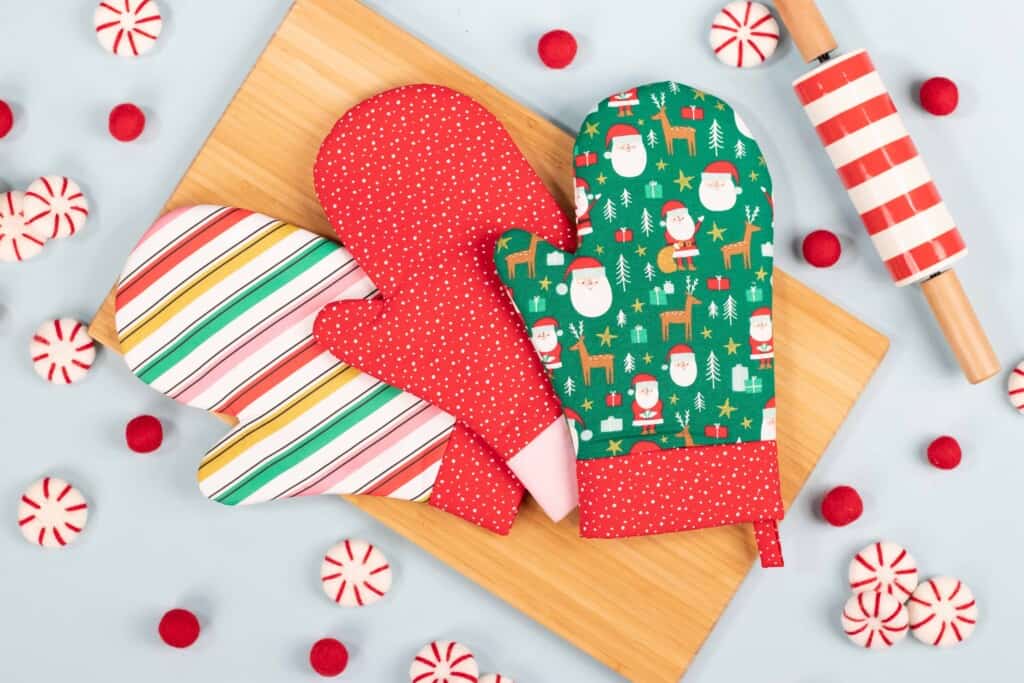
Learn How to Sew a DIY Oven Mitt With This Step by Step Photo Tutorial, Video, and Free Downloadable PDF Sewing Pattern.
My kitchen was in desperate need of some new oven mitts. With the holidays in full swing, I’ve been baking and cooking up a storm.
My last potholder pattern was such a hit that I received tons of messages asking for an oven mitt pattern to go with it. Get the potholder pattern tutorial here.
After sewing up a few for my own kitchen I just had to share the tutorial with you!
Looking for even more Christmas sewing tutorials? You're sure to love my Microwave Bowl Cozy Pattern and my Mommy and Me Aprons.
This project can be sewn in less than 30 minutes, it uses a small amount of fabric (you can use 2 fat quarters), and it makes a great Christmas gift!
Looking to personalize your holiday oven mitts? Click here to get my FREE Christmas SVG files and tutorial.
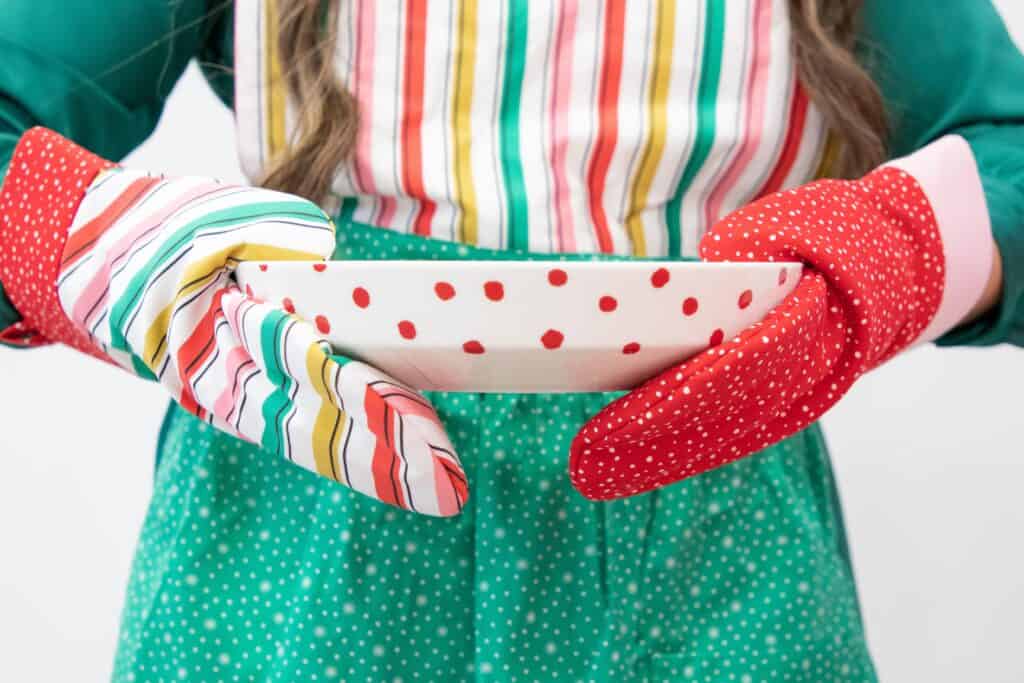
Table of Contents
Fabric Requirements
Insul Bright
Insul Bright is one of my favorite materials to use with potholders, oven mitts, casserole cover, and lunch boxes. It’s even great when used inside of a crinkly pet or baby toy.
What makes Insul bright unique is its reflective film. The material reflects energy whether it be hot or cold.
Quilting Cotton
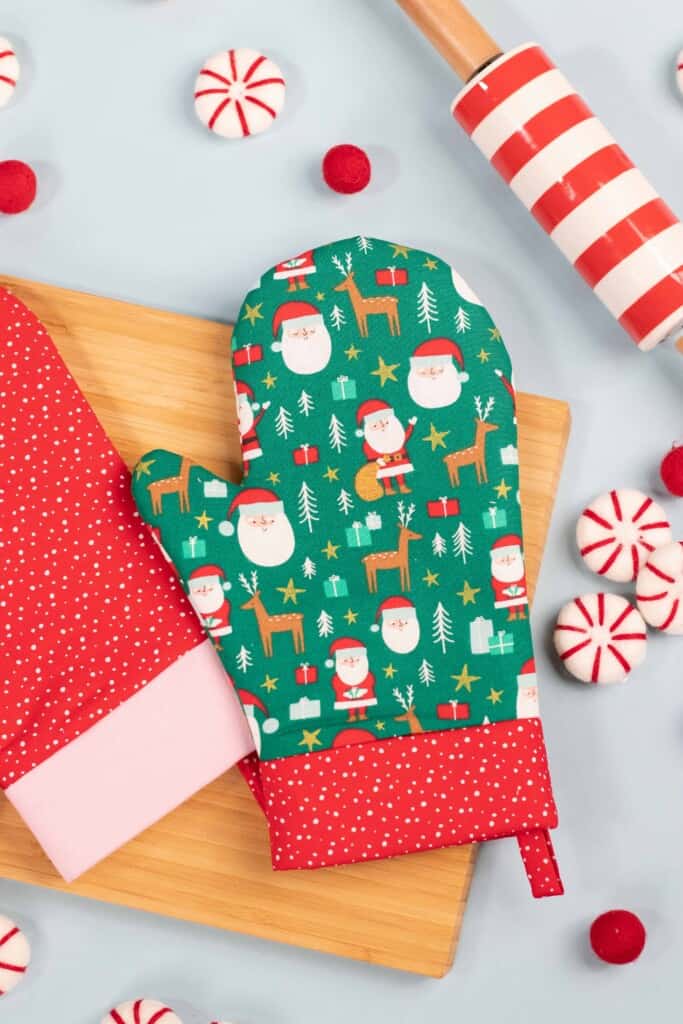
This project pairs perfectly with quilting cotton. I like to use darker colors so that stains or burns won't be as obvious after frequent use.
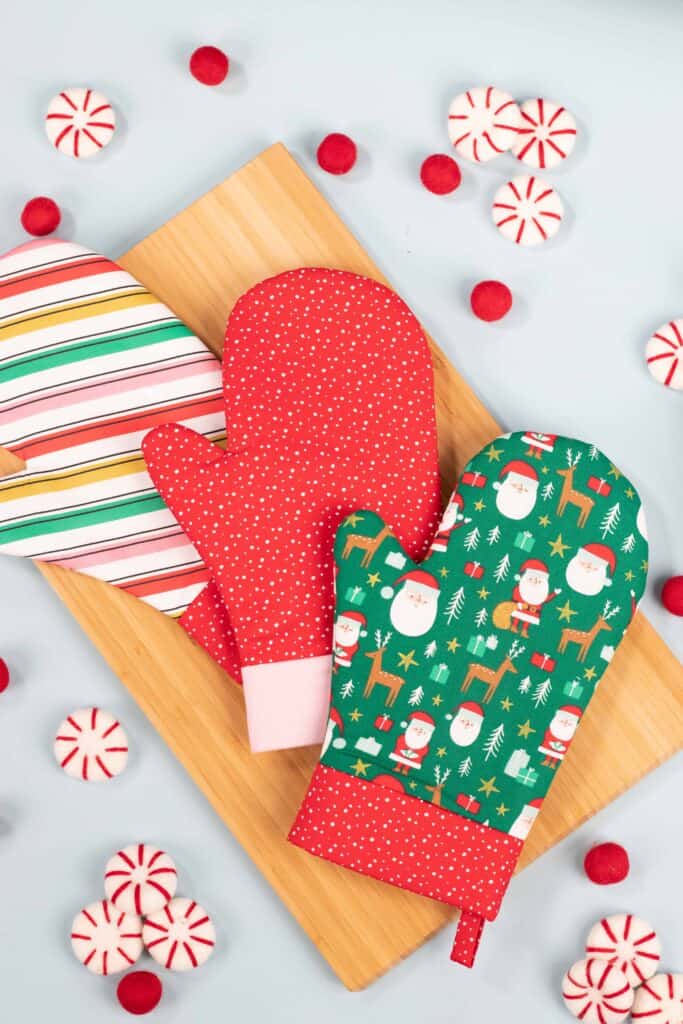
You can sew an oven mitt for every season using the holiday fabrics found at JOANN.
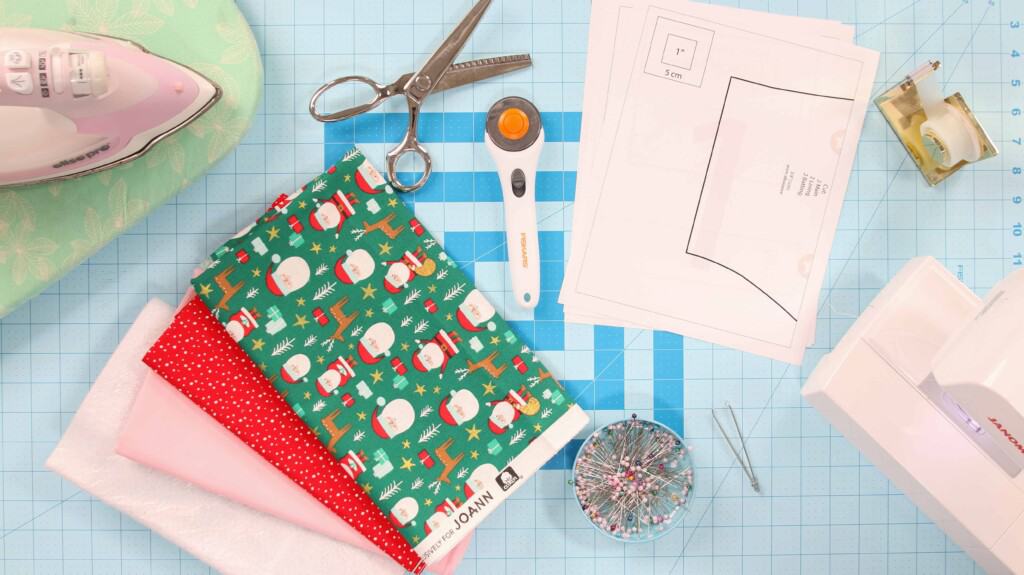
SUPPLIES
- Woven Fabric 2 Fat Quarters
- Insul Bright Batting
- Sewing Machine
- Scissors or Rotary Cutter & Mat
- Thread
- Pins
- Iron & Ironing Board
- Sewing Machine Needle
- Fabric Pen or Chalk
- Pinking Shears (Optional)
- Printer
- Printing Paper
- Tape
Download the Free Oven Mitt Sewing Pattern Here!
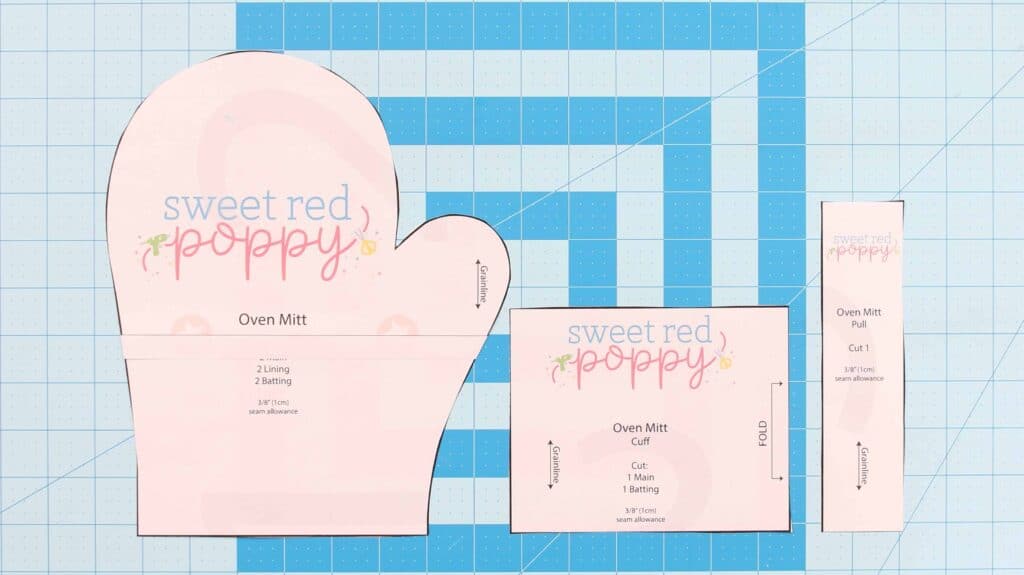
STEP 1: PRINT SEWING PATTERN & ASSEMBLE
Download the pattern to your computer and print the pattern at 100% with no scaling.
Immediately check the 1” x 1” square to ensure the pattern has printed off correctly. If the 1" square measures larger or smaller the pattern will need to be reprinted for accuracy.
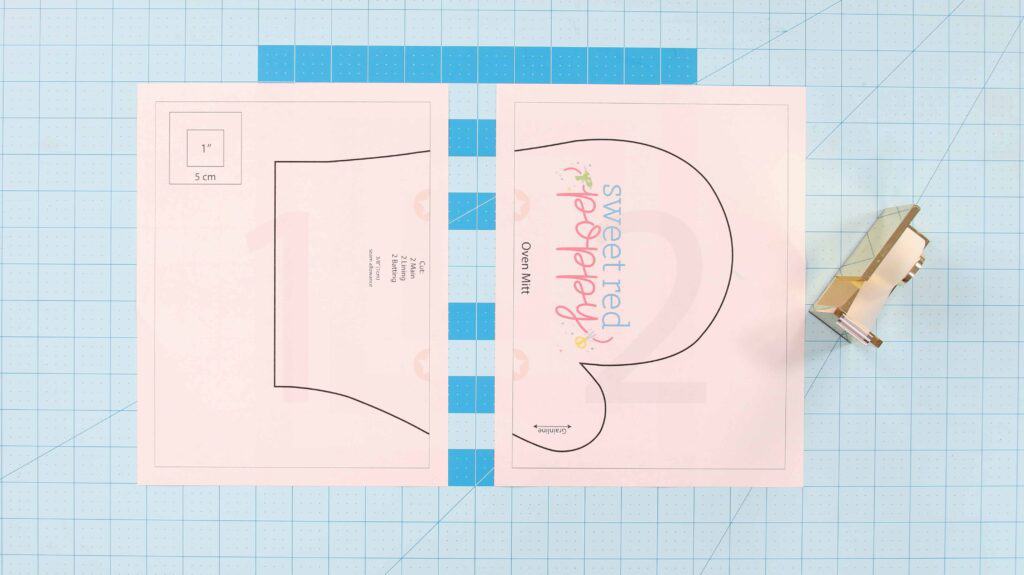
Lay the pages out in numerical order.
Align the stars of each page and the black lines and tape them in place.
Then, cut out the pattern along the black line.
* PRO TIP - Print off the pattern on cardstock so that it will last for multiples uses.
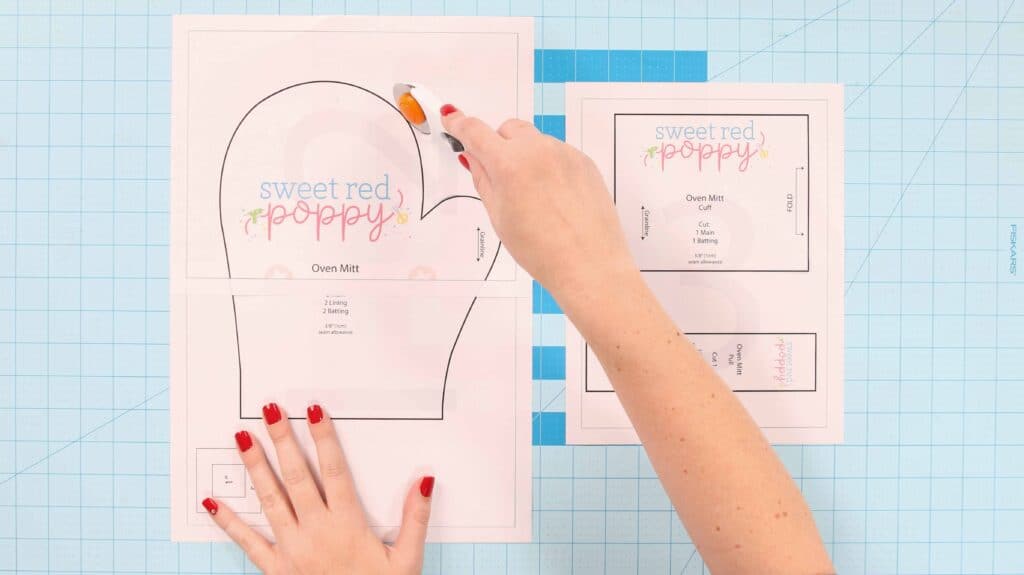
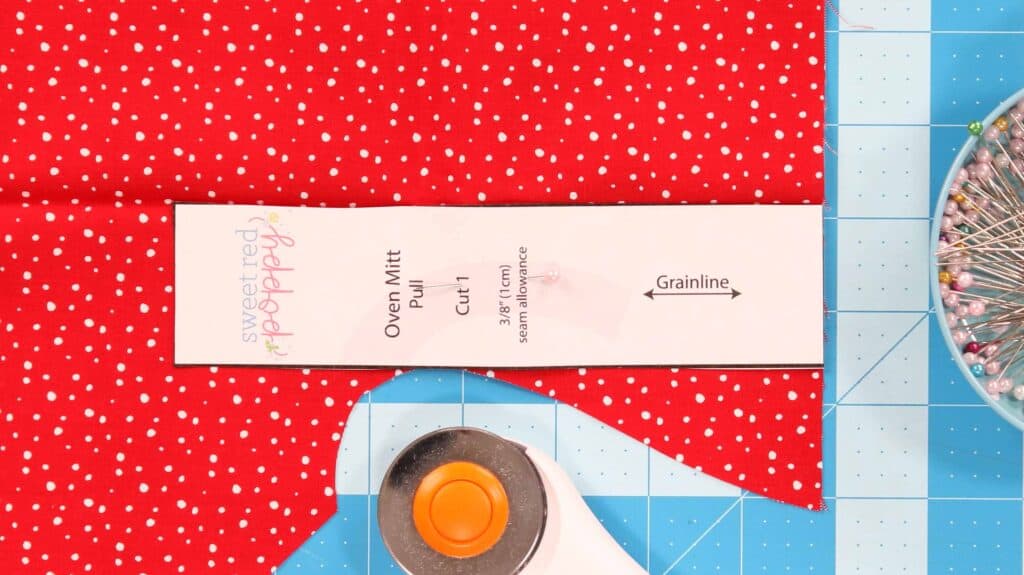
STEP 2: CUT OUT FABRIC
*PRO TIP: Make sure to iron your fabric before cutting it out to ensure the best results. This will ensure that your fabric cuts out evenly without any wrinkles or folds.
Lay the fabric out in front of you on a flat surface or a cutting mat.
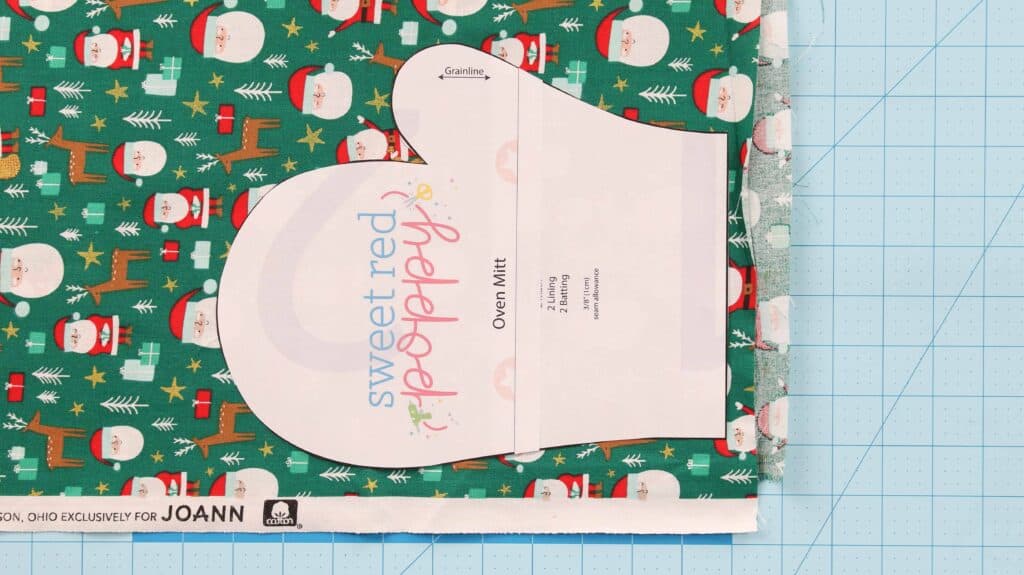
Fold the fabric in half to cut two pieces at once.
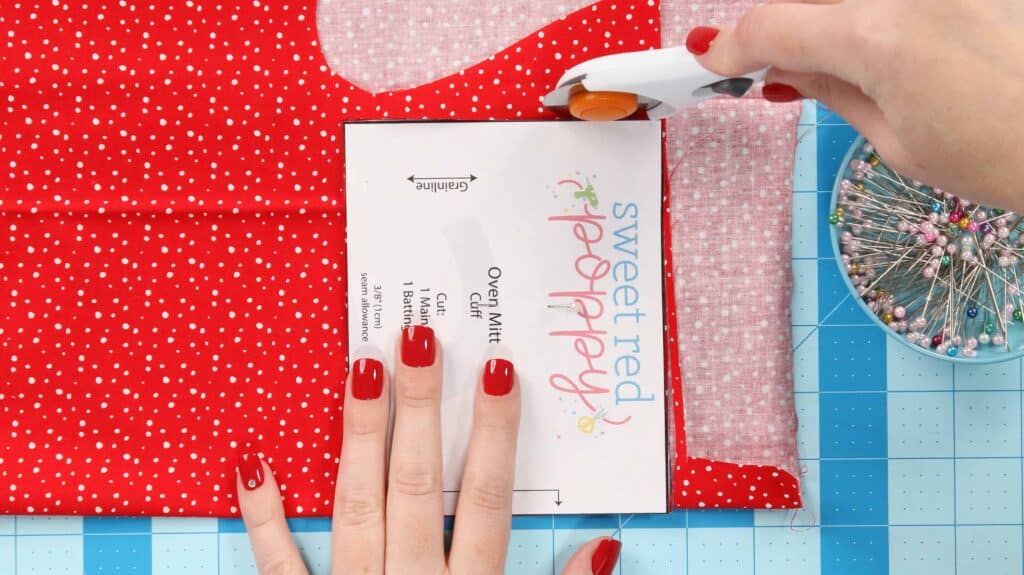
Make sure to align the grainline markings on the pattern pieces with the grainline of the fabric. The grainline of the fabric runs parallel to the finished edge of the fabric.
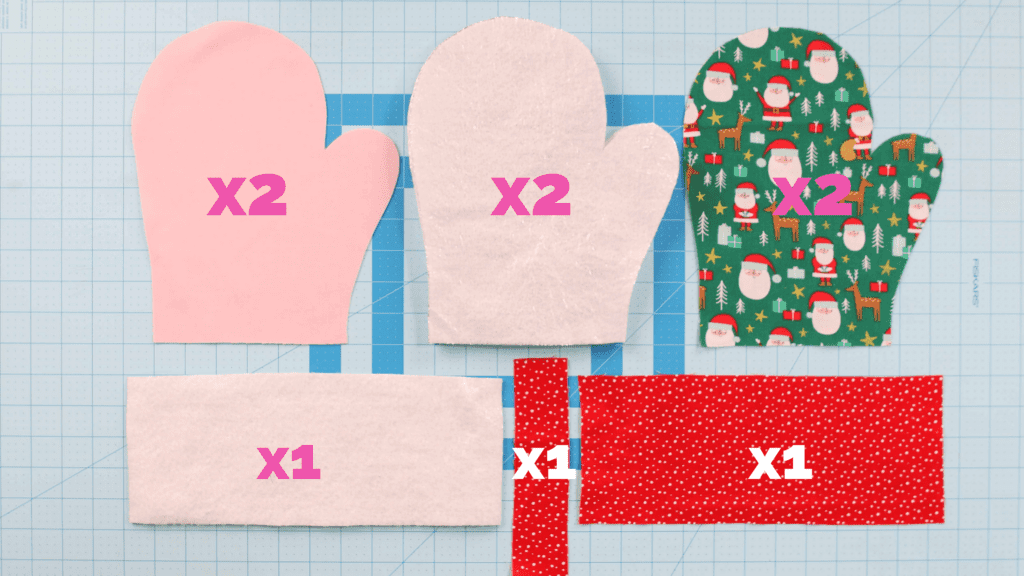
CUTTING CHART
COTTON
- Cut 2 - Oven Mitt Main
- Cut 2 - Oven Mitt Lining
- Cut 1 - Oven Mitt Cuff
- Cut 1 - Oven Mitt Pull
INSUL BRIGHT BATTING
- Cut 1 - Oven Mitt Cuff
- Cut 2 - Oven Mitt
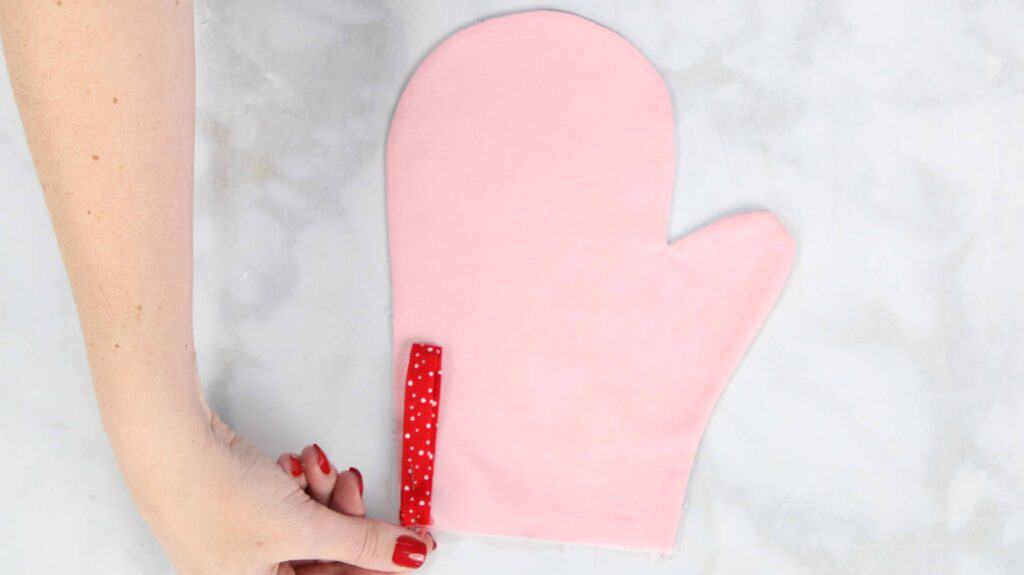
STEP 3: CREATE OVEN MITT PULL & CUFF
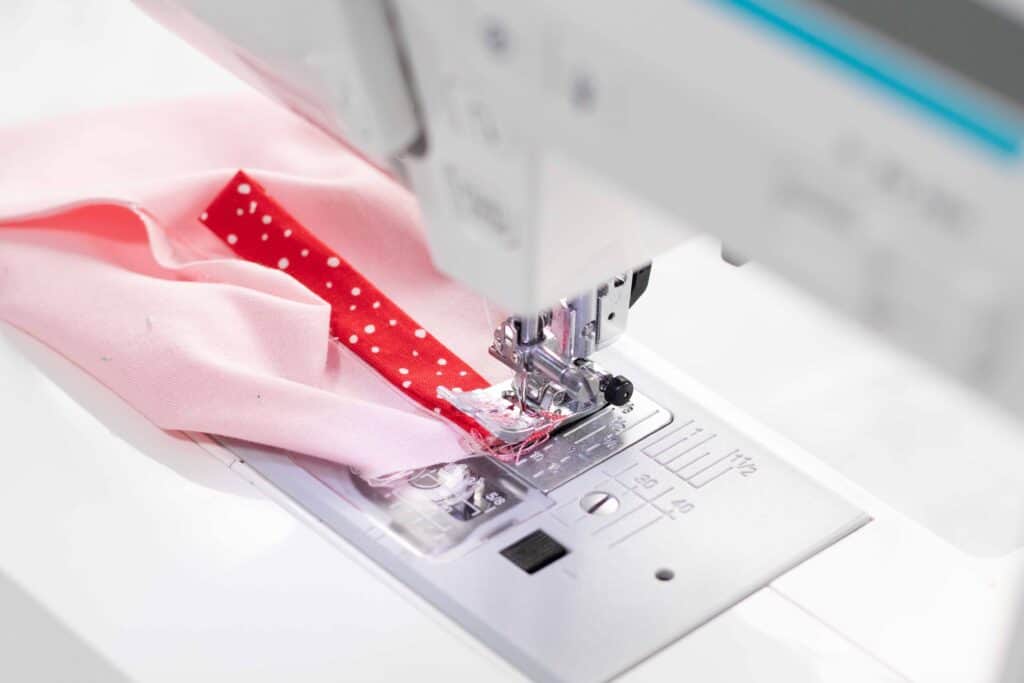
Fold the handle pull in half lengthwise with right sides together. Pin along the long raw edge.


With a 3/8" seam allowance, sew along the raw pinned edges. Don't forget to backstitch at the beginning and end of the seam.
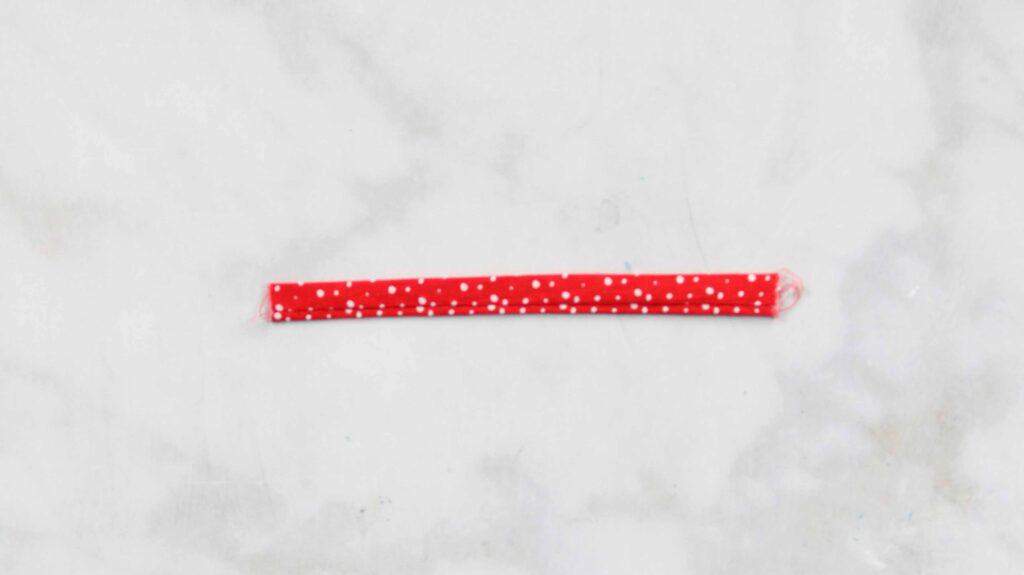
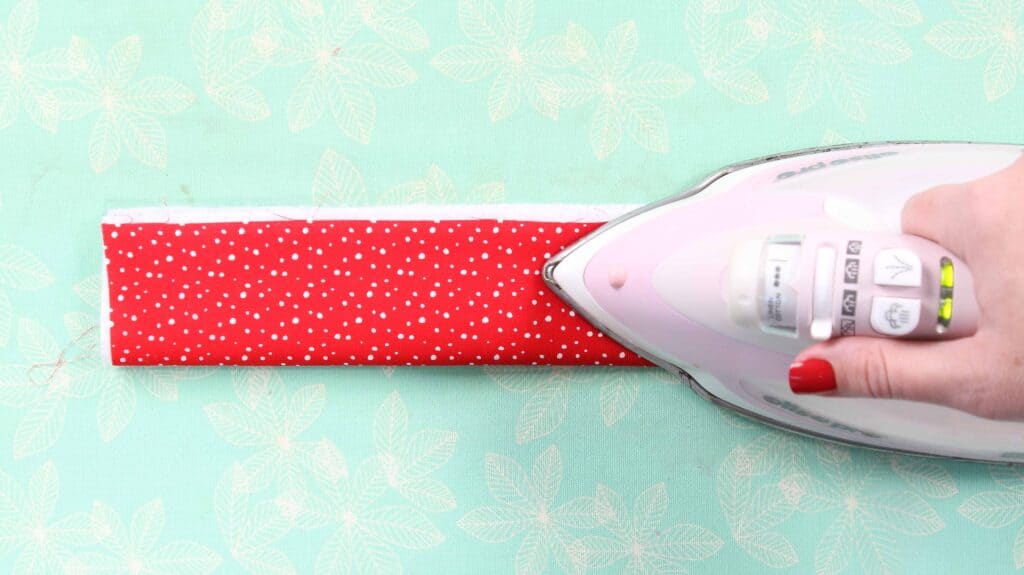
Turn the pull right side out press with a hot iron and steam.

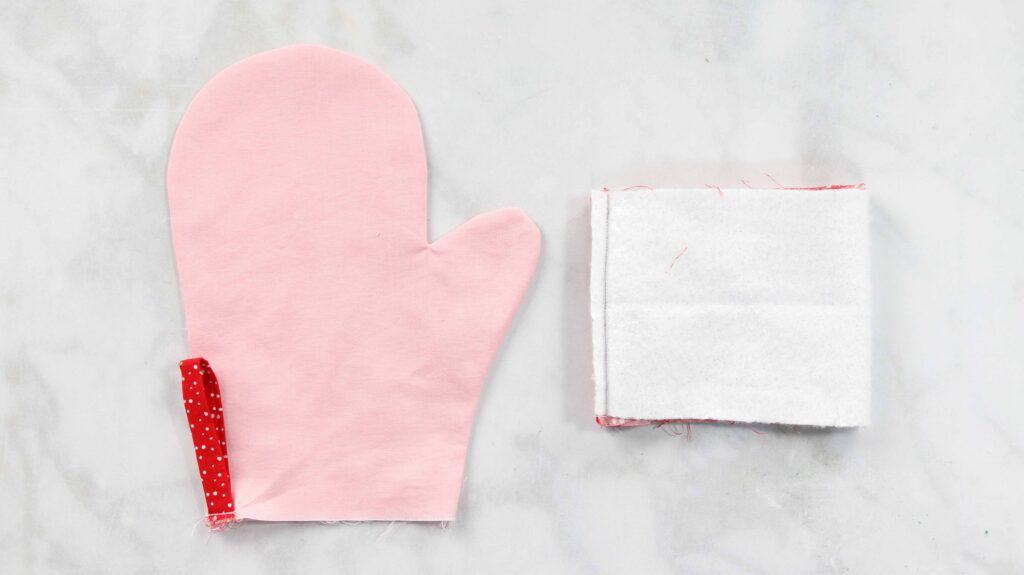
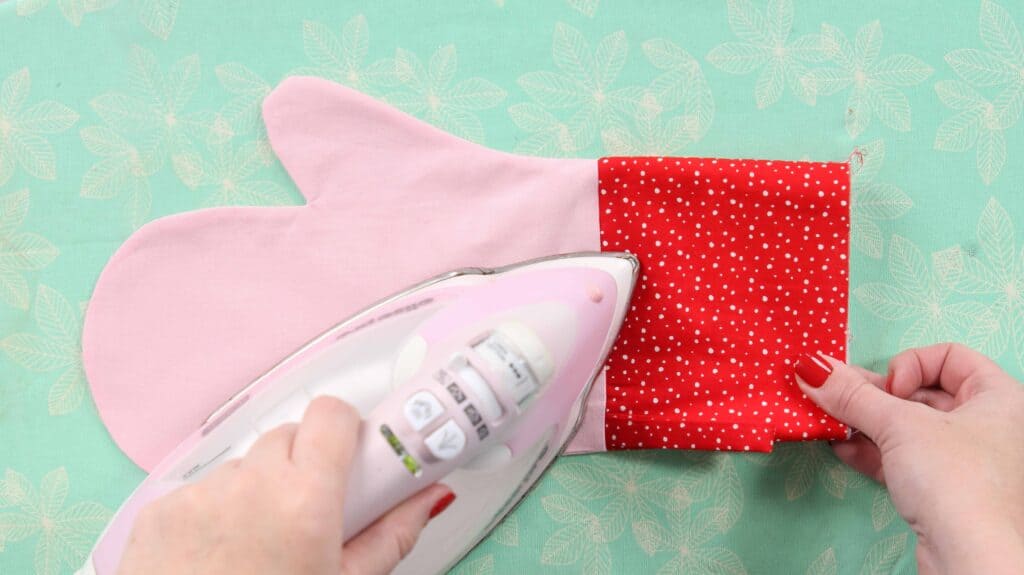
Iron the cuff in half lengthwise with wrong sides together. This is to create a nice crease for the final oven mitt.
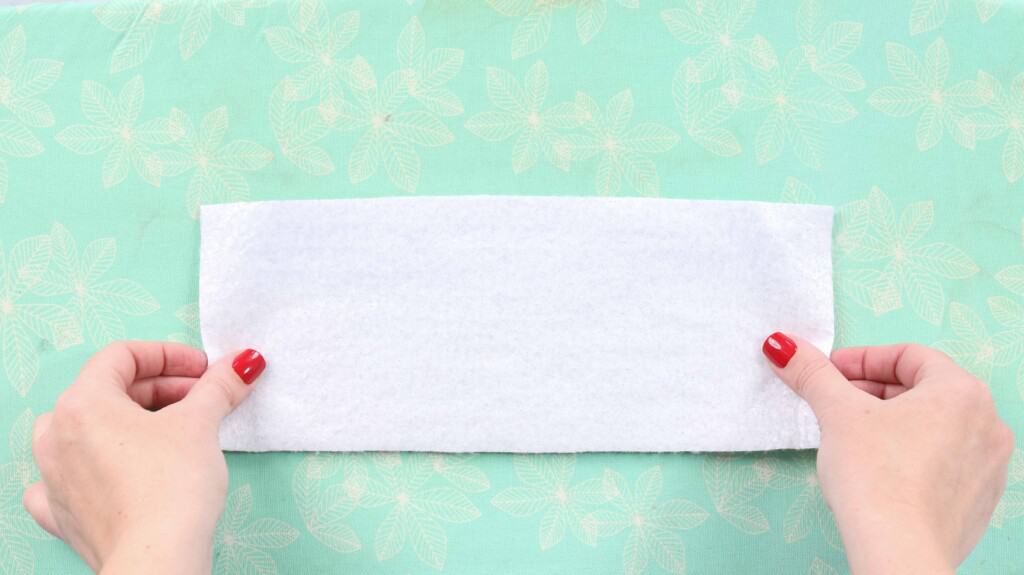
Open up the cuff and place the cuff batting on the wrong side of the cuff.
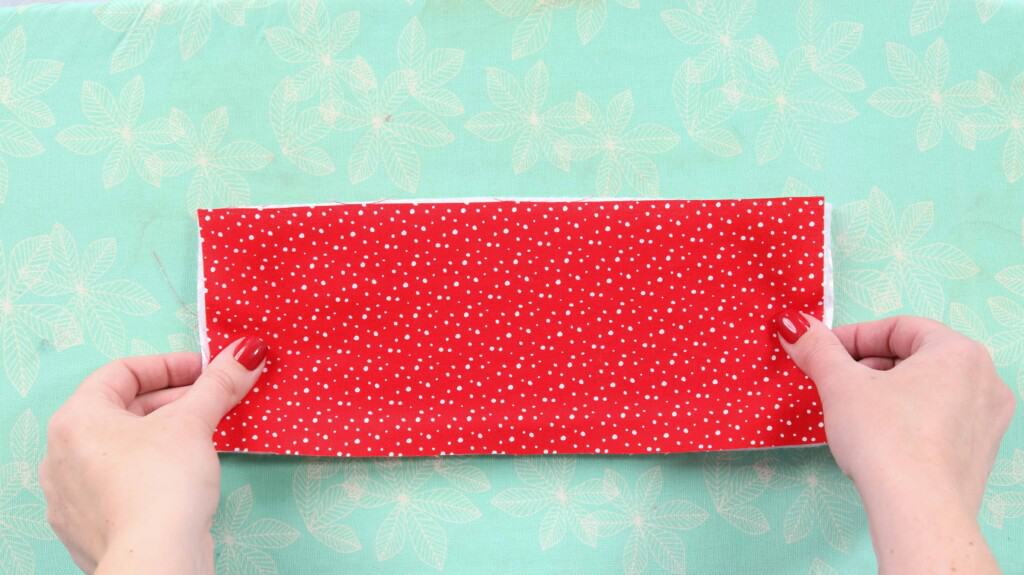
Fold the fabrics in half with right sides together.
Sew down the short side.
STEP 4: SEW OVEN MITTS TOGETHER
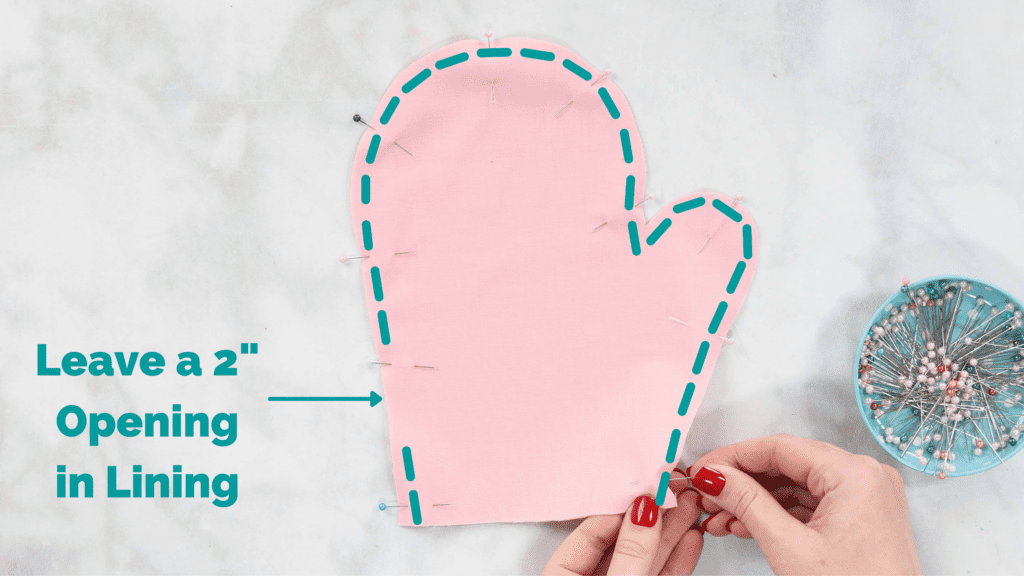
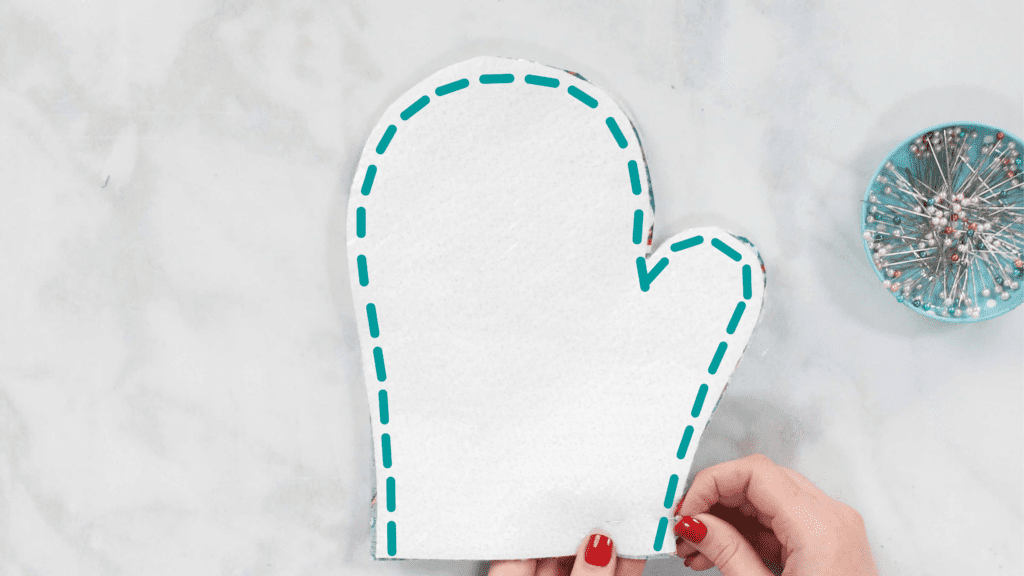
Place the lining fabric right sides together and pin around the curved edges leaving the straight edge (where the hand is inserted) unpinned.
Sew the pinned edges leaving a 2" opening for turning.
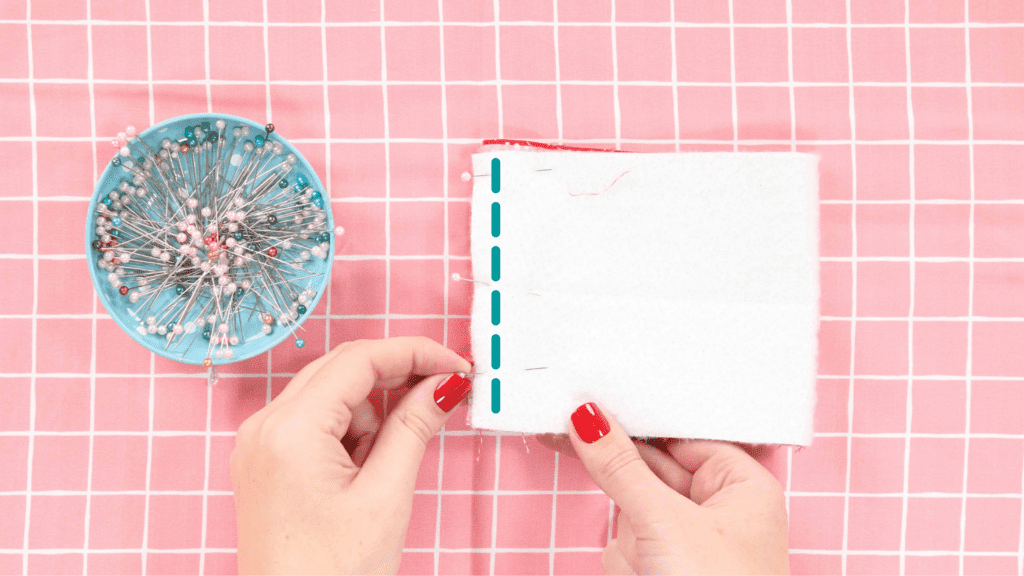
Next, layer the main fabrics and batting.
It should be layered in the following order, batting/main/main/batting. Make sure that the main fabrics are right sides together.
Sew all the way around the curved edges, leaving the bottom (where the hand is inserted) unsewn.
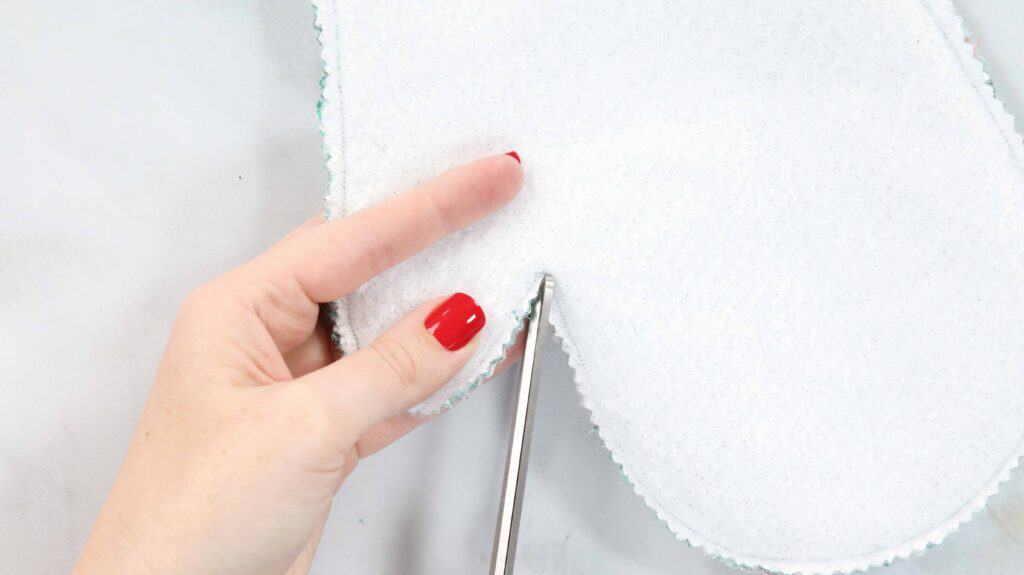
Clip the curves and the point in the thumb being careful not to cut into the stitching.
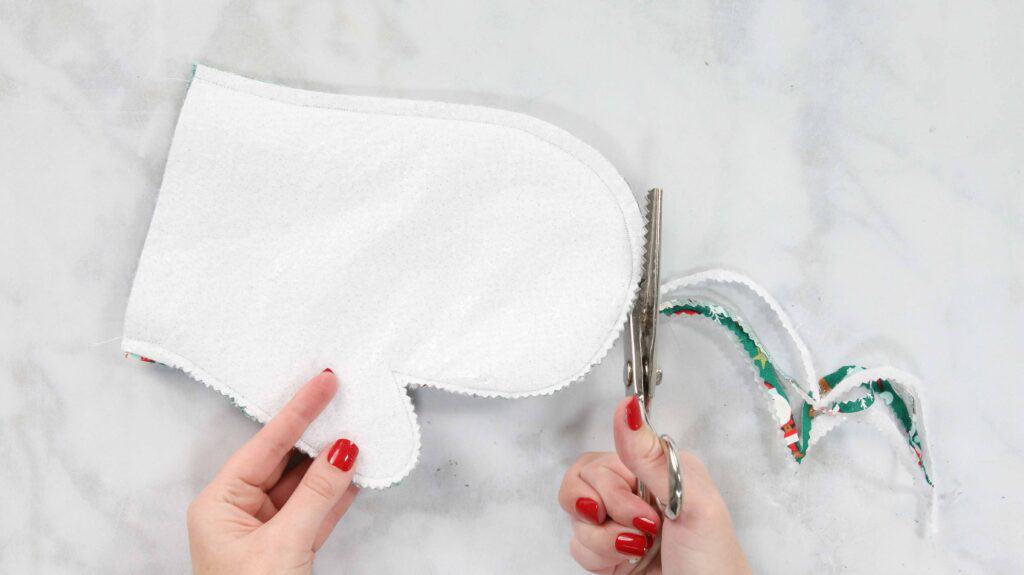
*PRO TIP - Clipping the point between the thumb and the hand will release the fabric so it doesn't pull. Cut close to, but not through the stitching.
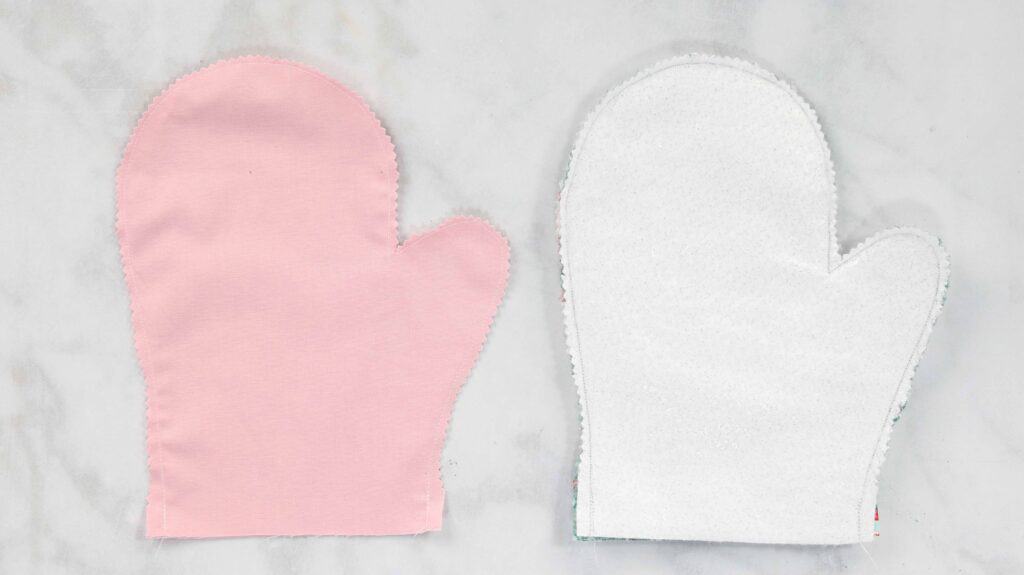
Turn right side out and press well.
STEP 5: ATTACH OVEN MITT PULL TO LINING
Fold the handle pull in half.
Pin the raw edges of the pull to the raw edge of the mitt lining. It should be right next to the outside seam. Opposite of the thumb.
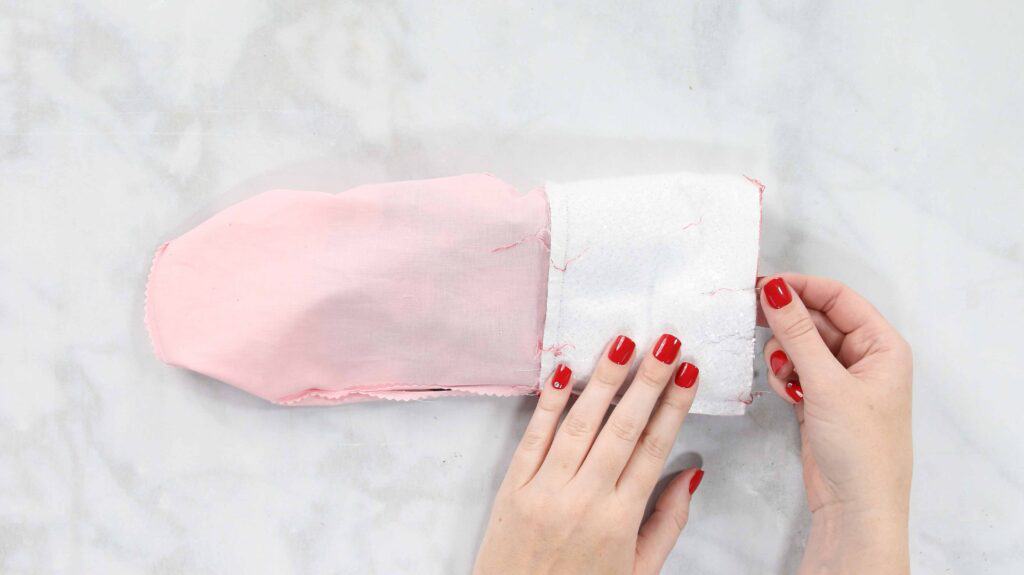
Turn the cuff wrong side out.
Place the mitt lining inside of the cuff, with right sides together.
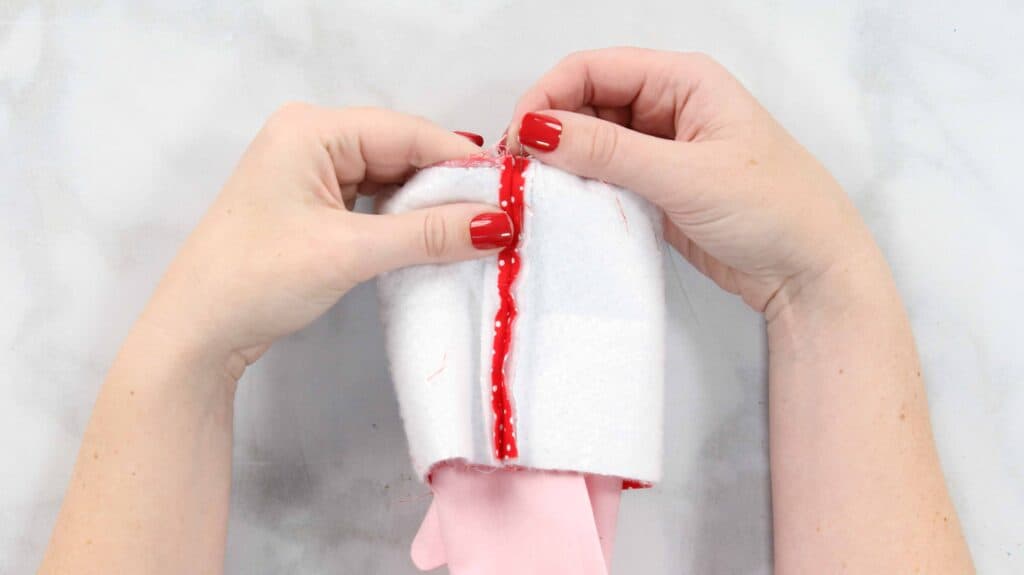
Align the cuff seam with the lining seam along the outside of the mitt and pin in place.
Sew all the way around the cuff and the lining.

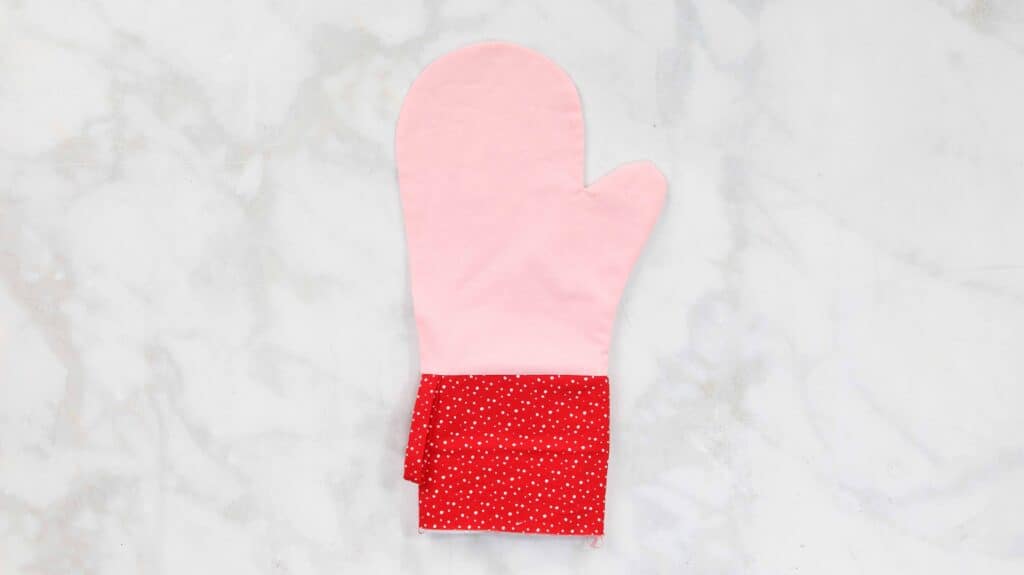
Fold the cuff upwards so the right side of the fabric is facing outward and press the seam down towards the mitt lining.
STEP 6: SEW OVEN MITT LINING AND MAIN TOGETHER
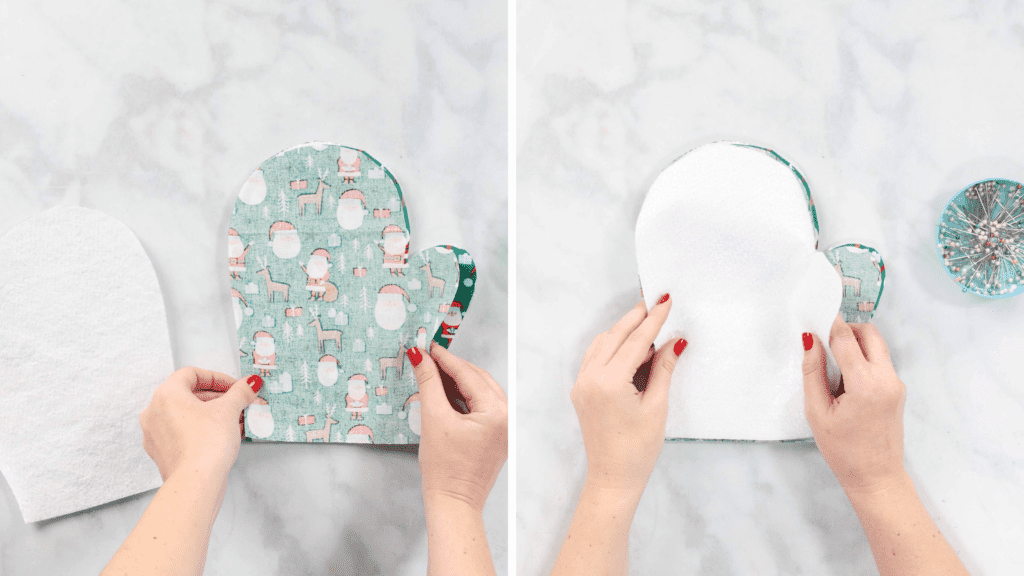
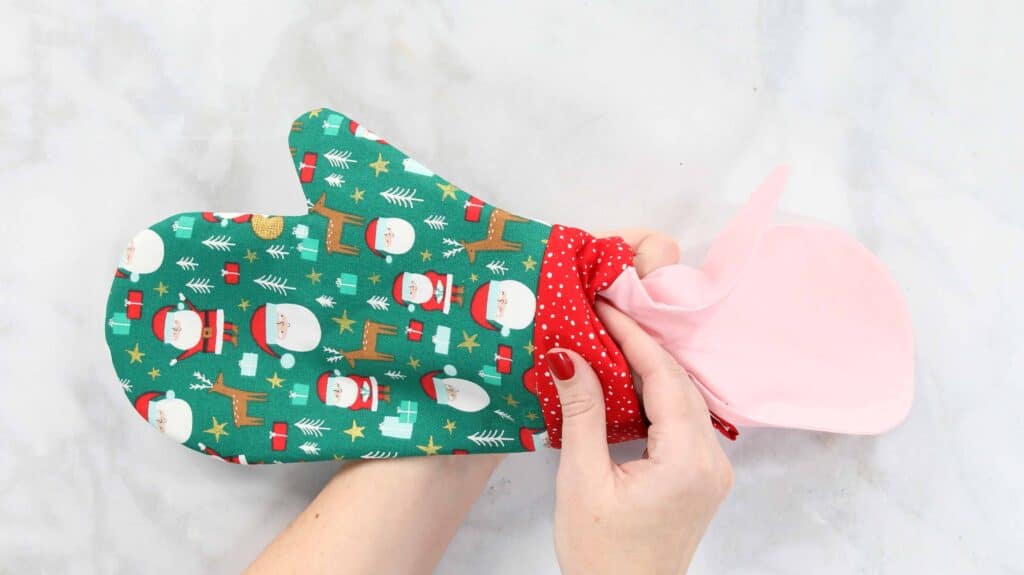
Turn the lining inside out and the main fabric right side out.
Place the main mitt inside of the lining.
The right sides of the fabrics should be facing each other.
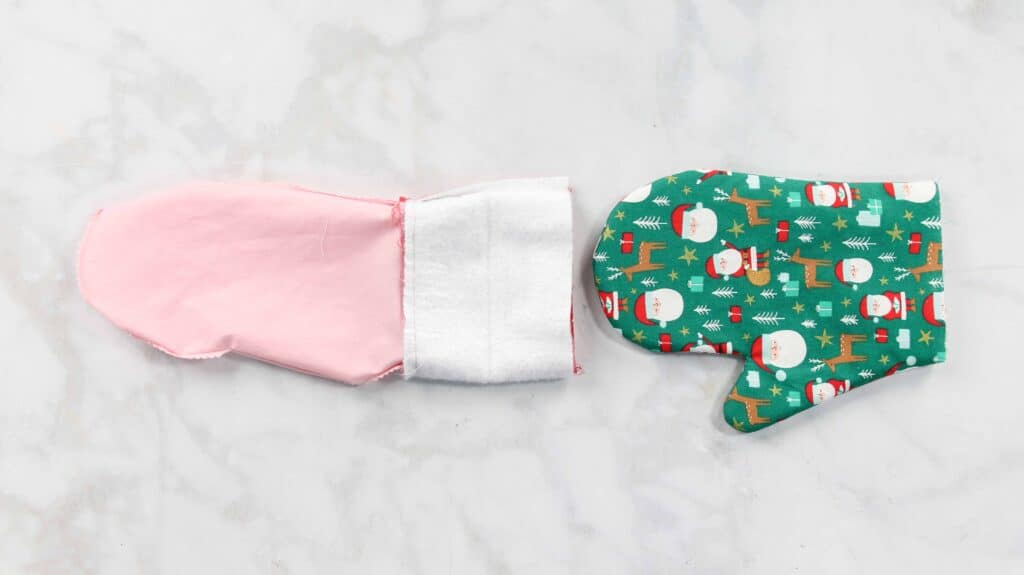
Make sure that the thumbs are aligned and the seams on either side are aligned.
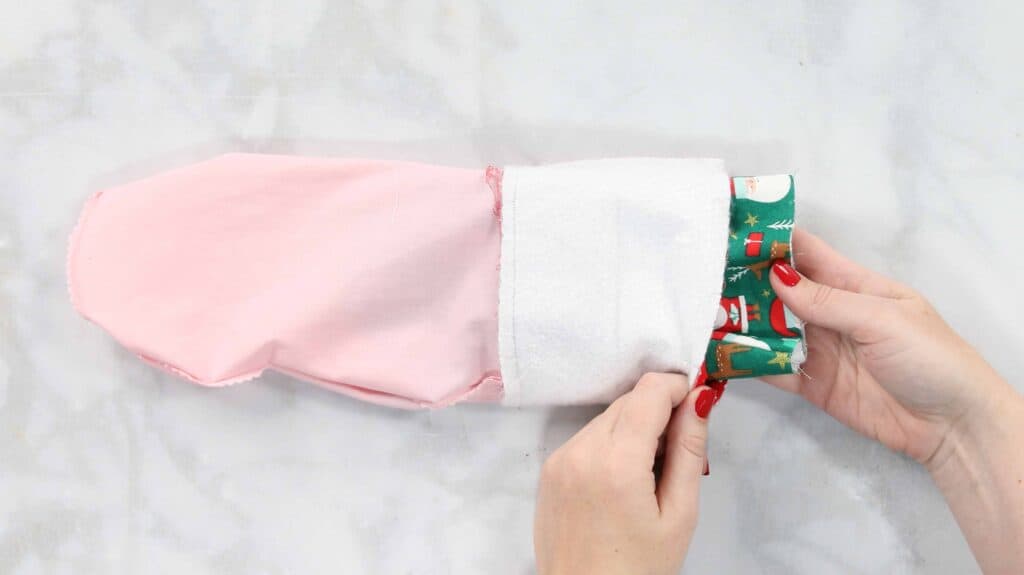
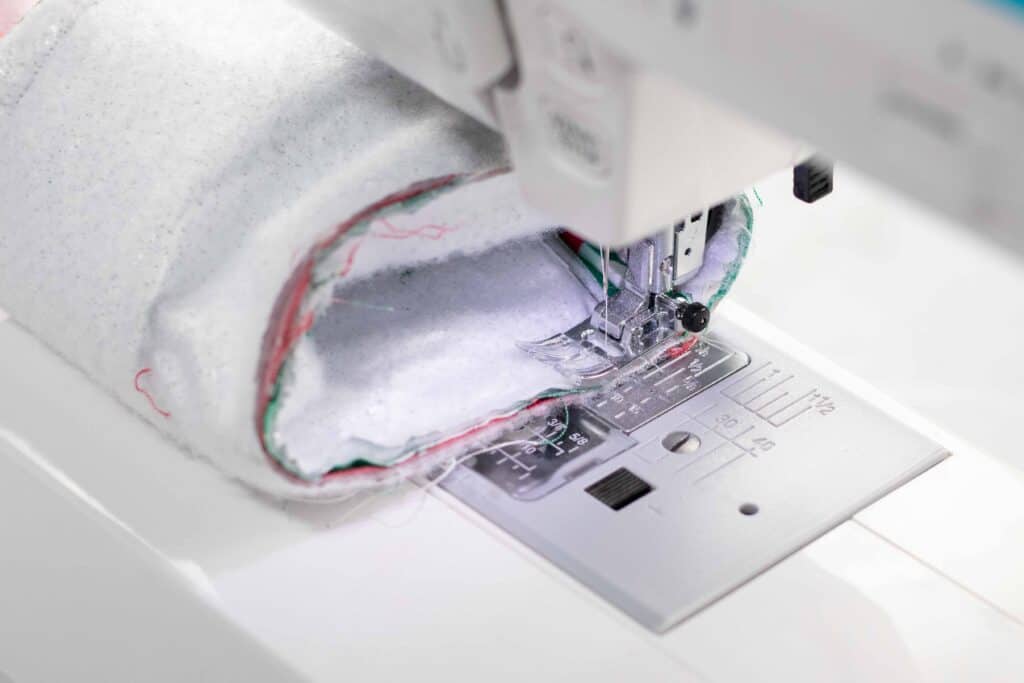
Pin the raw edge of the main oven mitt to the cuff.
Sew around the pinned edge.
PRO TIP - When sewing a cuff, it's easiest to slide the cuff under the sewing foot and sew in the round, rotating the like the photo below.
Pull the main fabric out through the hole in the lining.
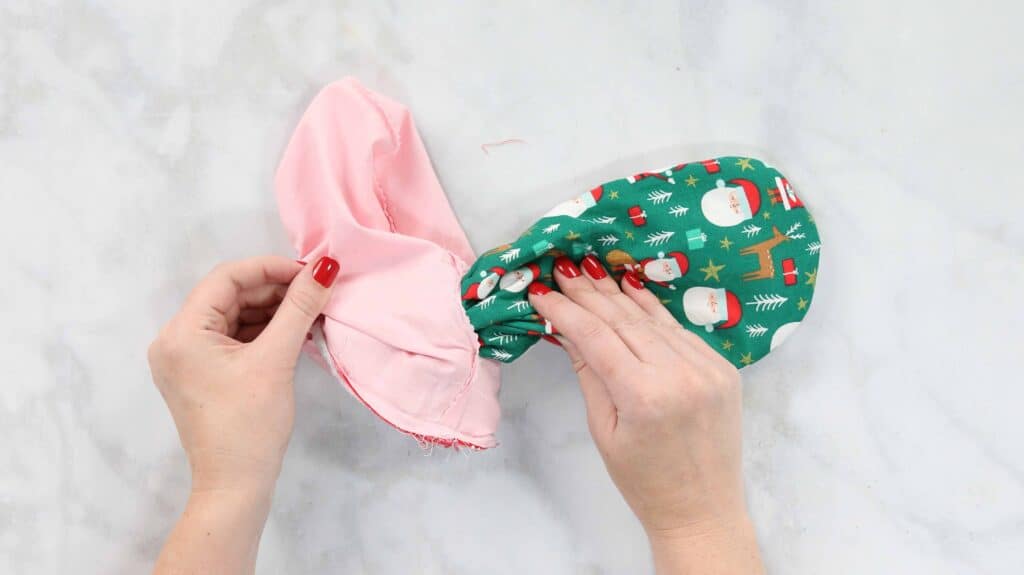
Press the seam towards the lining.
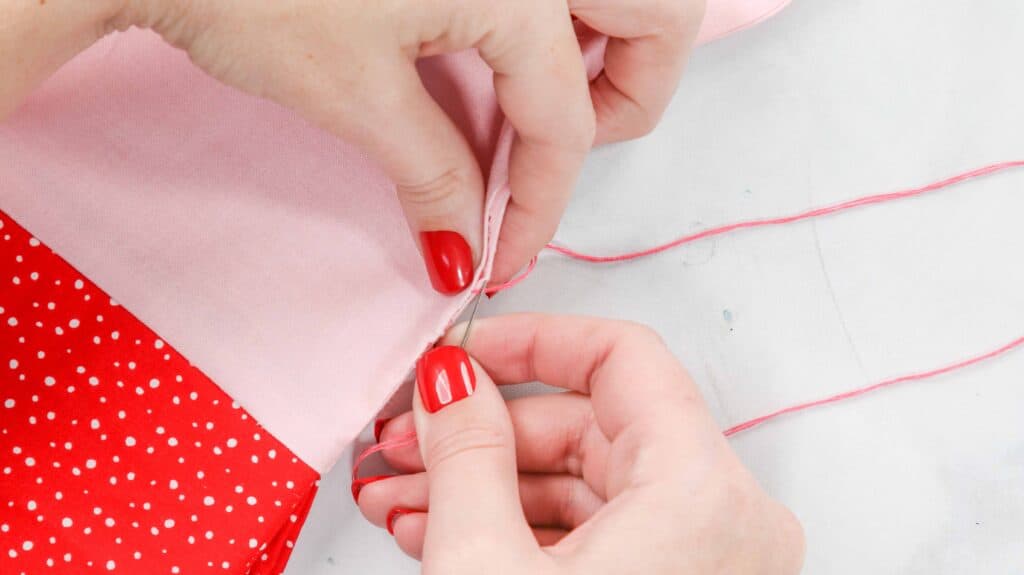
Slip stitch or topstitch the opening in the lining closed.
Push the lining back inside of the mitt and press the oven mitt once more.
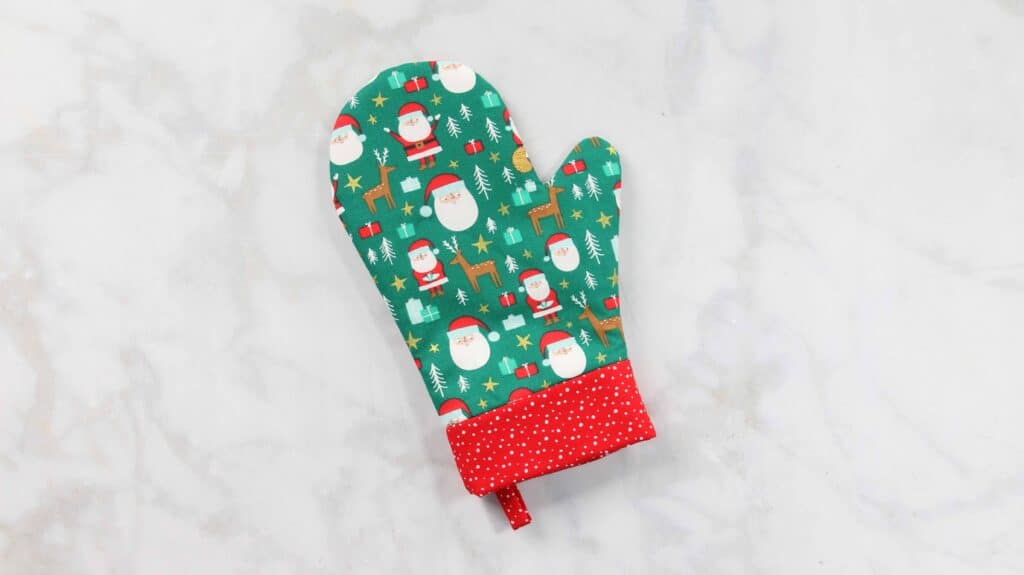
Enjoy your new oven mitt!
Don’t want to forget about this free template? Save this project for later! Click here to save this project on Pinterest.
Don't forget to order or pick up all of the supplies for this tutorial from your local JOANN.
Looking for more free sewing patterns? Check out this pot holder pattern and apron pattern.
Join my crafting and sewing Facebook group where you can show us what you’re making, ask questions, and learn from others!
I was wondering when/where to insert the Insulbright. I see it mentioned in the supplies and the cutting instructions, but I never see where to insert it in the layers.
The insulbright is the batting. I hope this helps.
IM THINKING THAT WHERE YOUR TUTORIAL SHOWS BATTING THAT IS WHERE THE INSULBRITE WOULD GO?
DOES IT MATTER WHICH SIDE OF THE INSULBRITE GOES UP?
The insulbrite is the batting. I hope this helps.
How many inches is your large cozy?
I love the idea but the mitt is far to big for my hand. How would you suggest I alter the pattern??
Hi Poppy, I really want to make these but only have teflon (the stuff you use to make an ironing board cover) fabric. Do you think I could use that instead? Or do I still need batting?
Hi Kim, Thank you so much for the clear instructions and pattern! I just finished making the oven mitt following your method. I realise just now that the company that makes Insul Bright recommends using a layer of cotton batting along with Insul Bright to absorb condensation and perhaps to increase the insulation as well. I am assuming you don’t think it is really necessary since it is not called for in the pattern. Just wondering if it might be a good idea to add cotton batting in the next ones I am making, and if the cotton batting should be closest to the skin or closer to the outside (heat source)? Thank you!
Insul bright instructions say to layer in this order…
Cover fabric right side down, insul bright, warm & natural or warm & white, lining fabric.
Hope that helps!
I made the oven mitt, but I was a bit confused about the seam allowance. The instructions say to use a 3/8" when sewing the pull, but I didn't see what the seam allowance should be for the rest of the mitt. I just used 3/8" for the entire mitt and it came out nicely. Thanks for the great idea!