Learn How to Sew a Beginner Friendly Buffalo Plaid Quilt With This Free Sewing Pattern, Step-By-Step Photo Tutorial, and Video.
Buffalo Plaid is such a lovely pattern! The best part is, that it's very easy to sew and it comes together quite quickly, so you can make this quilt in less than a day!
This is a great quilt for beginners because it uses large squares making it easy to cut, assemble, and sew.
Save this project to Pinterest here!

This buffalo plaid quilt pattern comes with directions to make 3 different sizes:
- Baby
- Lap
- Twin
This post will walk you through the process of making a buffalo plaid quilt using 3 or 4 different fabrics.
Table of Contents
How Much Fabric Is Needed to Sew a Buffalo Quilt?
Refer to the free pattern download for yardage requirements and cutting instructions.

Buffalo Plaid Quilt Supplies
REFER TO PATTERN DOWNLOAD FOR EXACT YARDAGE REQUIREMENTS & MEASUREMENTS
- 3-4 Colors of Quilting Cotton Fabric (Varying shades from light to dark look best)
- Backing Fabric
- Batting
- Bias Tape
- Basting Spray
- Scissors
- Rotary Cutter
- Rotary Cutting Mat
- Thread
- Pins or Clips
- Iron & Ironing Board
- Printer
- Printing Paper
- Tape
- Sewing Machine
- Acrylic Ruler
Download the Buffalo Quilt Plaid Pattern & Yardage Requirements
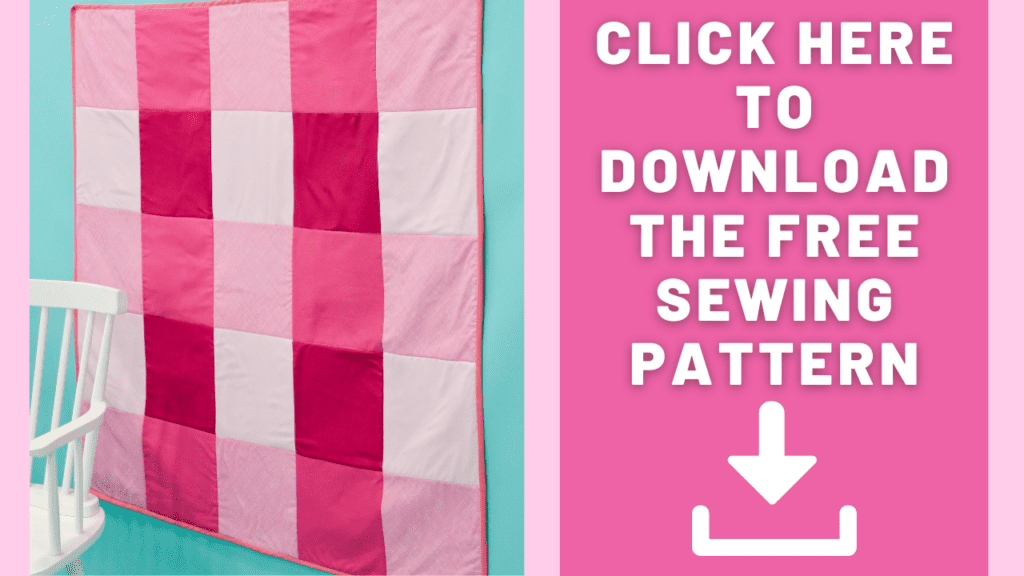
*In this tutorial, I'll be showing you how to make the baby-sized quilt.
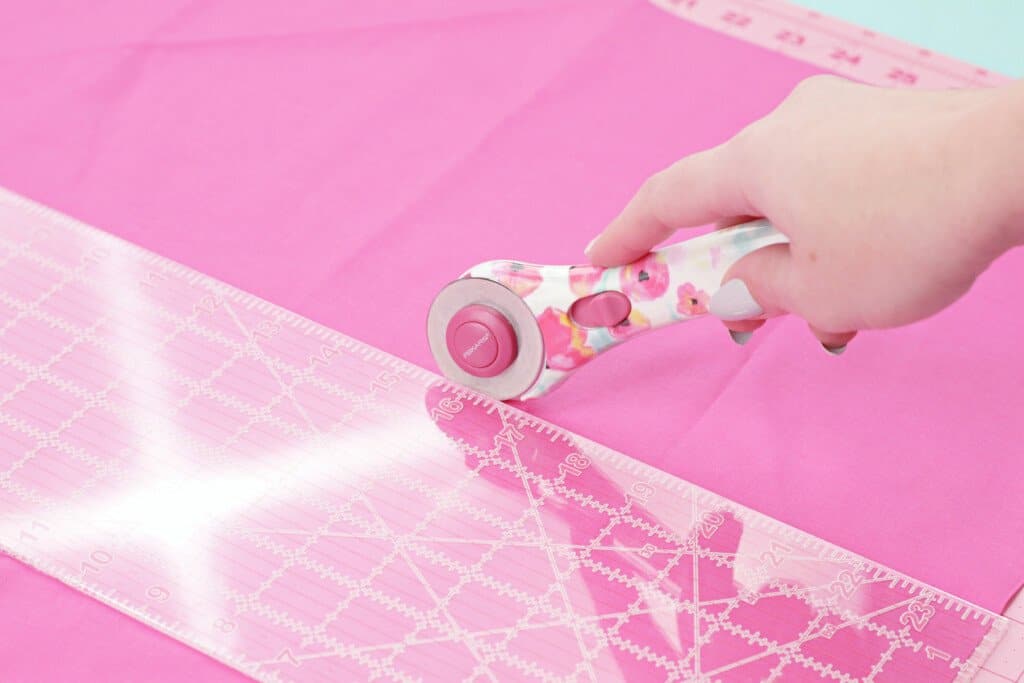
STEP #1: CUT AND SEW SQUARES
Begin by cutting your 10" squares. Refer to the pattern download linked above for a cutting guide as well as information on how much fabric you will need for this quilt.
For the baby-sized quilt, you will need a total of 25 squares. *Each size will require a different amount of squares in total. Be sure to refer to the pattern download for the exact amount.
STEP #2: CREATE THE BUFFALO PLAID PATTERN
Once you've cut out all of your squares, lay them out into rows following the chart below.
There's an option for a 3-colorway buffalo plaid quilt as well as a 4-colorway quilt.
You will have #1 rows and #2 rows.


STEP #3: STACK THE BLOCKS
Once you've laid out your quilt blocks and you're happy with the order, it's time to stack the squares together. This makes it easier to take them to the sewing machine and sew them all together.
You can take a photo of your layout so you don't forget how everything goes together. Then you can use this as a reference while you're sewing.
To stack the squares pick up the block that's furthest to the left, and place it on top of the block to its right. Continue this process down the entire row. The last block should be at the bottom of the pile.
Repeat this same process with the other rows. Keeping each row stacked separately.
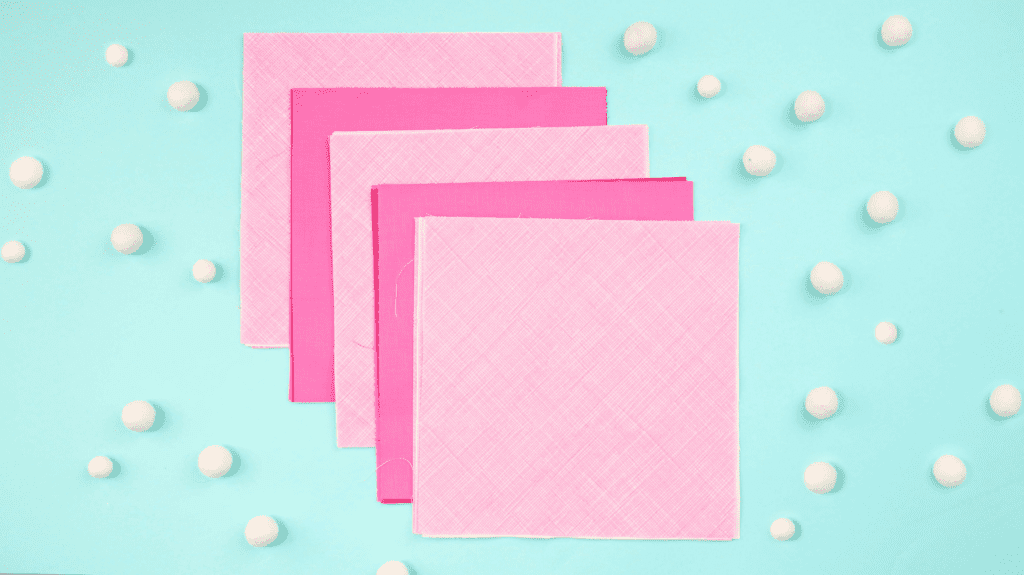
STEP #4: SEW THE BLOCKS TOGETHER
Lay the first two squares from your stack right sides together and sew along the right edge using a 1/4" (.6cm) seam allowance.
Repeat this step with the next square. Make sure to sew the squares in order of the pattern.


Once the two squares are sewn together, gently open them up to prepare for the next square. Place the next square from your stack on top of the square on the right with right sides together. Align the raw edges and sew them together.
Continue this process until the entire row has been sewn together into a long strip.
Set the row aside and repeat with the remaining rows.
STEP #5: PRESS SEAMS
To get a professional-looking finish it's important to iron all of your seams. Turn your iron to high, fill it with water, and make sure your steam is turned on.
Gently open up the fabrics and press the seam allowance to one side.
When working with light and dark fabrics, I always recommend ironing seams towards the darker fabric. This will also help the seam allowances to be offset for the next step which eliminates bulky seams.
This will prevent the darker seam allowance from showing through the lighter fabric.
Repeat this process with all of your rows.
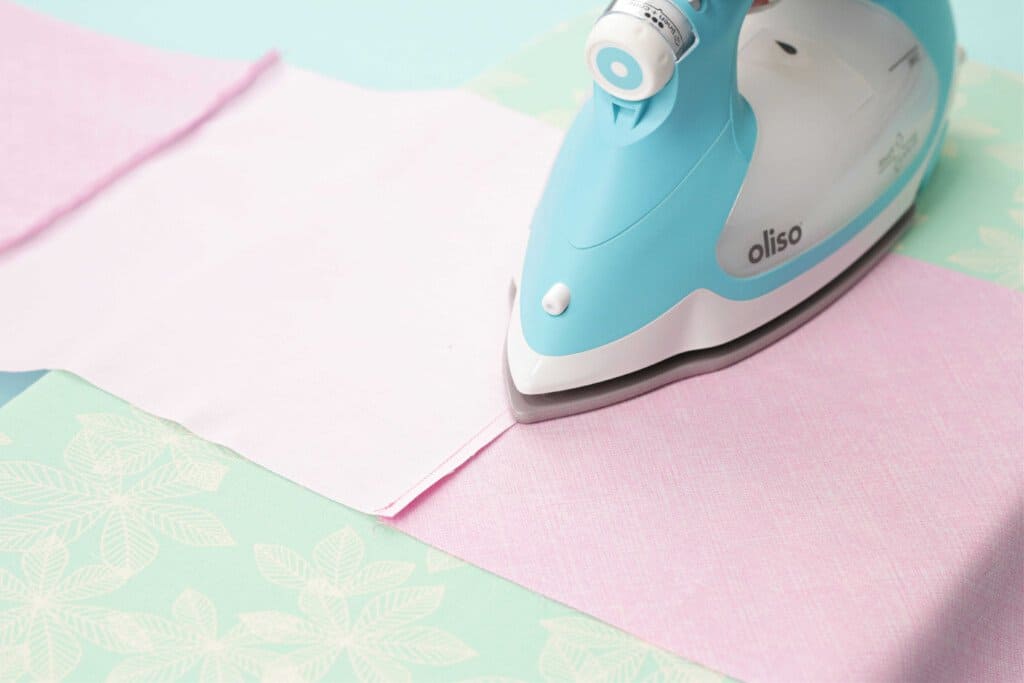
STEP #6: ASSEMBLE ROWS
Place the top row, right sides together, on top of the second row.

For a professional finish, you'll want to make sure all of your seams align. You can then pin/clip them into place.
Accurately pining your seams together ensures everything that lines up at the very end.

Ironing seams to the darker side will make them go opposite directions when aligned so that you have a less bulky seam.
Sew all the way down the length of the row using a 1/4" (.6cm) seam allowance.
Repeat this step with the other rows making sure to double-check that your rows are in the correct order.
STEP #7: IRON ALL SEAMS
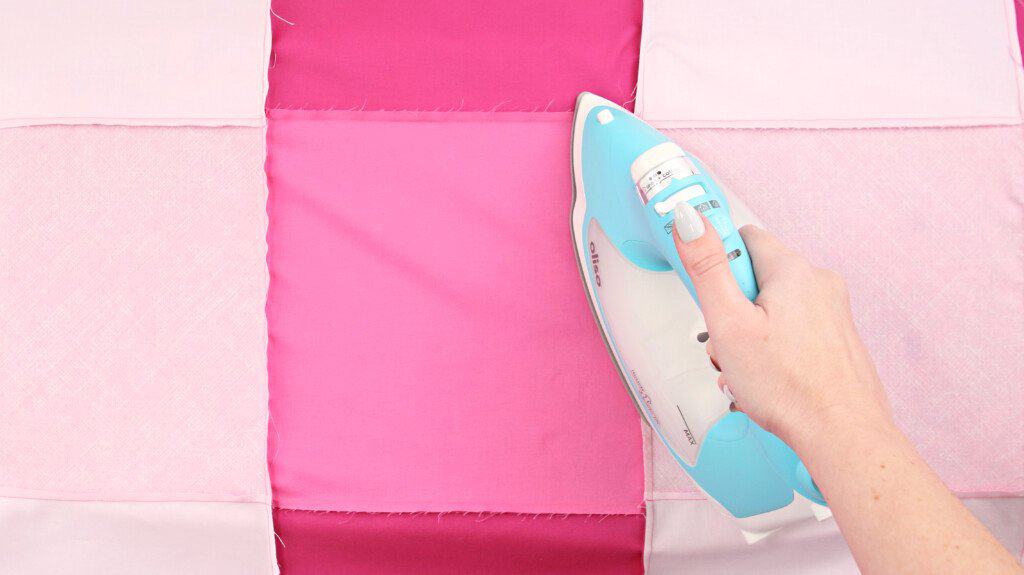
Once all of your seams have been sewn it's time to iron everything into place.
Now, I know ironing can be an easy step to skip, but it really makes a huge difference in how professional your quilt ends up looking. Take the time to press each row with plenty of steam.
Alternate ironing the seam allowances up or down with each row.
STEP #8: CUT BATTING AND BACKING
Now it's time to prepare our batting and our quilt backing!
Begin by cutting the batting and the backing 4" taller and wider than the quilt top.
You'll want a large flat surface for this next step.
Place the batting down on the table making sure to smooth it out to avoid any folds or bubbles. Then lay the quilt backing fabric on top of the batting. The wrong side of the backing fabric should be facing the batting. Smooth the fabrics out aligning the raw edges together.
Baste the backing fabric to the batting. Make sure the fabric lays flat and doesn't bubble.
Place pins/clips at the mid marks on top/bottom/ and sides of batting and quilt top.
Place the quilt top on top of the batting, with the wrong side of the quilt top facing the batting.
Take a minute to ensure that everything lines up. You can do this by checking the mid mark lines.
Baste the quilt top to the batting making sure the fabric lays flat and doesn't bubble.

STEP #9: TRIM QUILT
Now it's time to square everything up! To do this, get out your rotary mat, rotary cutter, and an acrylic ruler.
Trim the top/bottom and sides of the quilt so that batting and quilt backing match up perfectly with the quilt top.

STEP #10: QUILT THE TOP, BATTING, & BACKING TOGETHER
Use your choice of quilting to attach everything together.
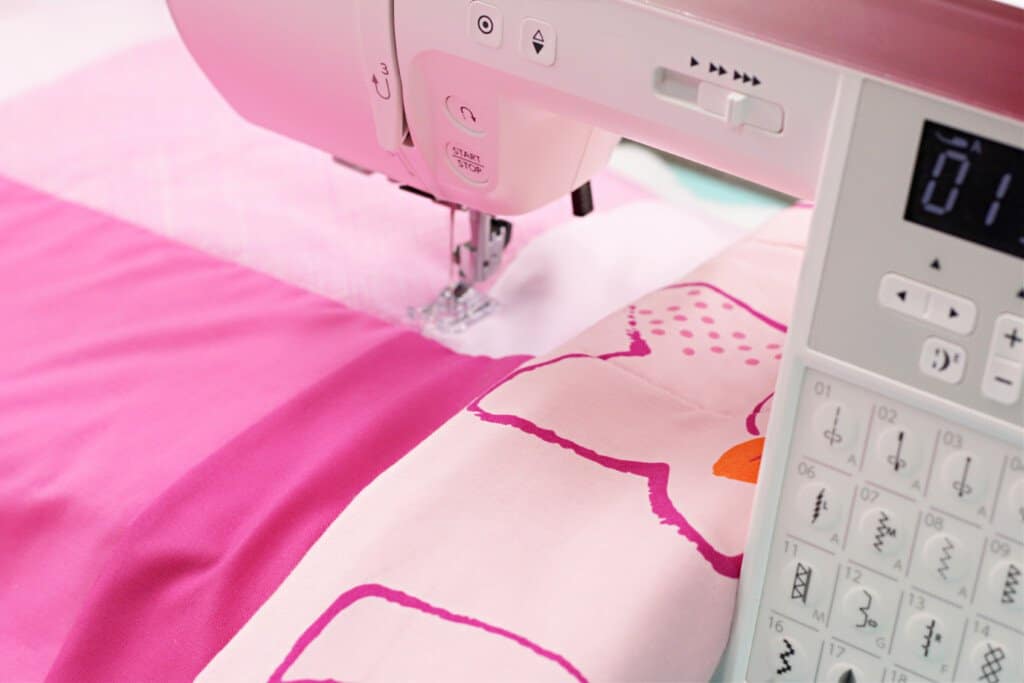
I opted to use a simple "Stitch in the Ditch" technique for this quilt. To do this, sew along the center of each seam line, rolling up your quilt as you go further down each row.
Quilting your fabric helps to keep everything together so the layers don't act as separate pieces once they are bound with bias tape. It also helps to give it a worn-in or well-loved look once it has been washed and dried.

STEP #11: BIND THE QUILT WITH BIAS TAPE
Now it's time to bind the raw edges of the quilt with double fold bias tape.
If you're new to working with bias tape, you'll want to read through my bias tape blog posts before beginning this process! Start with What is Bias Tape and How to Use it, then read How to Sew Double Fold Bias Tape and end with How to Join Bias Tape with a Diagonal Seam.
I know this might seem like a lot, but having a solid understanding of bias tape and how to use it makes a world of difference when you go to bind a quilt. It will give your quilt a professional-looking finish and make sure it stands up to lots of love and washing for years to come!
PIN BIAS TAPE TO QUILT EDGES
Unfold your double-fold bias tape. If it's shorter than the perimeter of your quilt you will need to join your bias tape pieces together to form one long length of bias tape. Use this blog post to join your tape together. How to Join Bias Tape with a Diagonal Seam.
With store-bought bias tape, one side is slightly smaller than the other. The smaller side will be sewn down first.
I like to begin pinning my bias tape along the center of the bottom edge of my quilt.
Place the right side of the bias tape onto the right side of the quilt backing aligning the raw edges together, then pin/clip the bias tape in place.
MITERED CORNERS
Once you come to your first corner refer to this post that explains How to Sew a Mitered Corner. This will give you directions for aligning your bias tape with the corners for perfectly pointed no-fuss corners. This method is a game-changer!
Pin the bias tape all the way around the quilt. Again, refer to the Diagonal Seam Method to join the end and beginning of the bias tape together.

Sew along the fold that's closest to the raw edge.
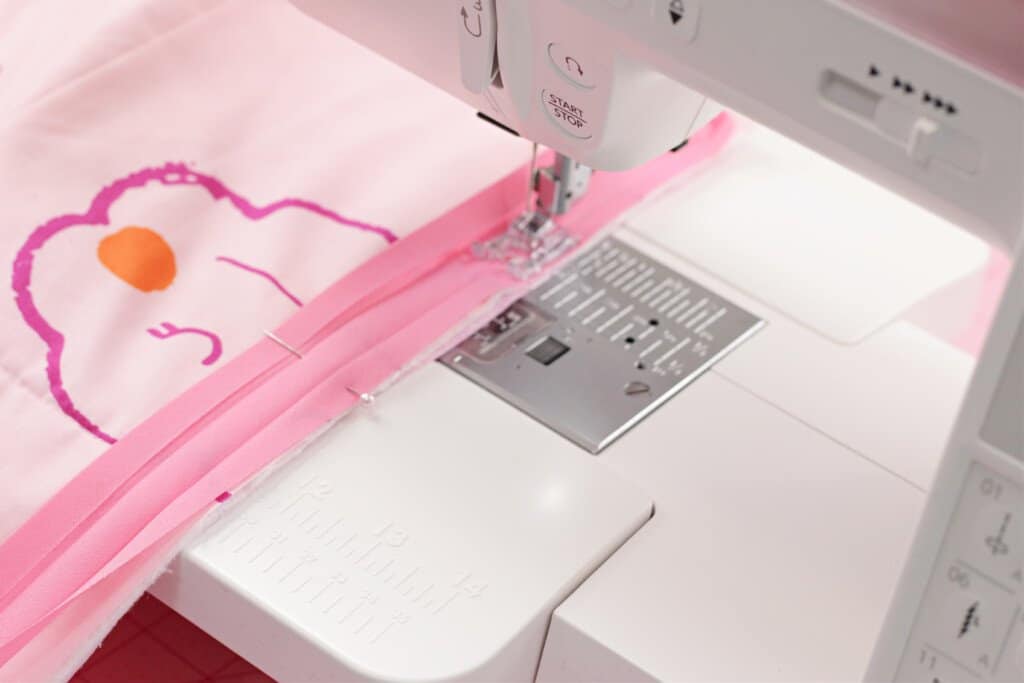
Stop sewing the width of your bias tape (also the width of your seam allowance) away from the far edge of the first corner. Make sure to push the folded fabric back out of the way if needed - you don't want to sew down the excess fabric at the corner. Backstitch to secure your stitching.
Next, lift the presser foot and needle and turn the fabric so that the next edge is in front of the needle. Push the excess fabric of the corner back away from the needle.
Start sewing a bias tape width in from the edge of the corner. Don't forget to backstitch to secure your stitches!
*Here's a photo illustrating how your bias tape should be attached on a much smaller scale.
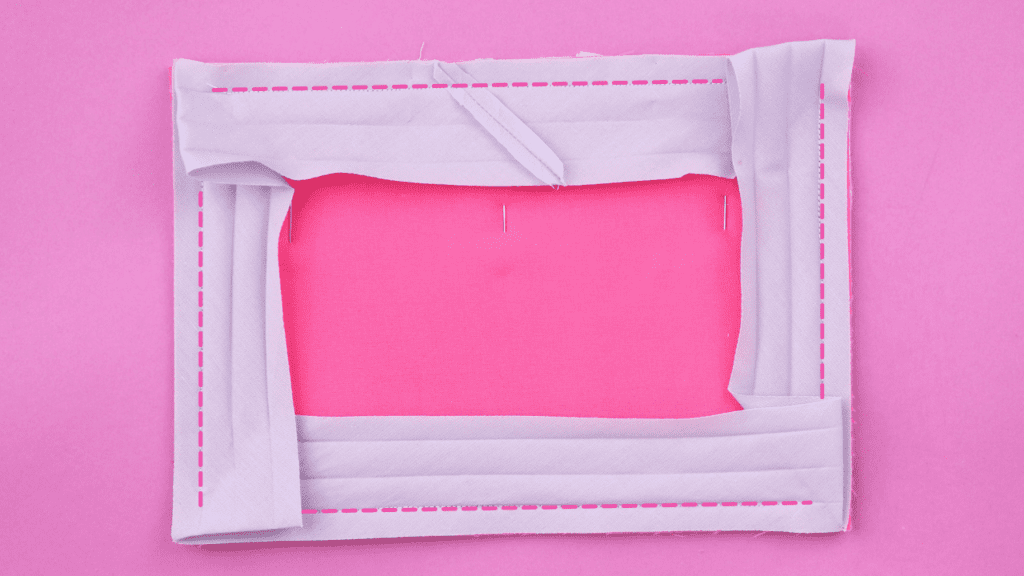
Repeat this same process with each corner.
STEP #12: SEW BIAS TAPE
Fold the bias tape over to the front of the quilt. Make sure to square the corners up well. Refer to How to Sew a Mitered Corner for additional instruction.
Pin/clip the bias tape in place.
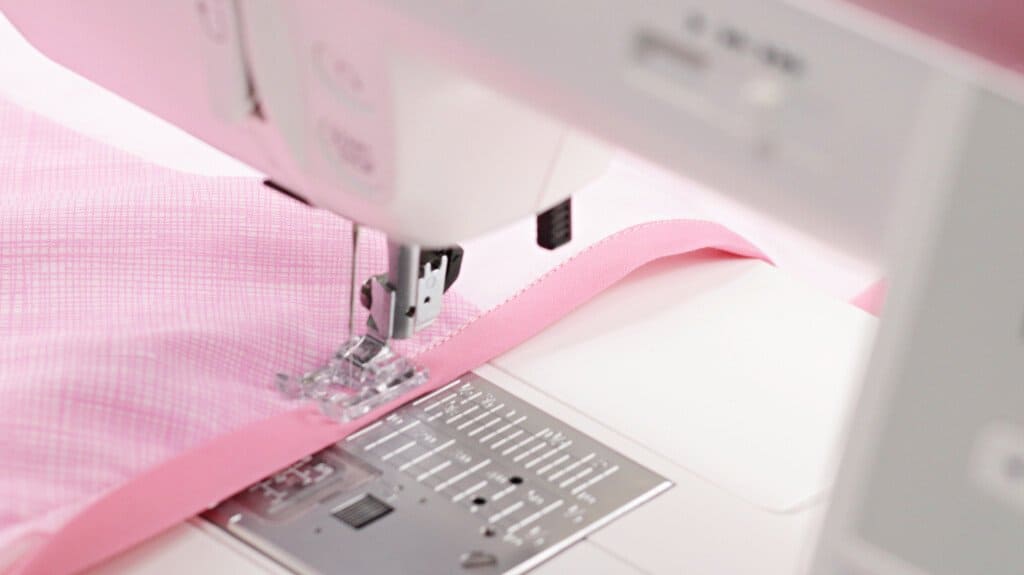
Starting at the bottom, sew all the way around the quilt along the folded edge of the bias tape to secure it to the quilt.
Backstitch at the end to secure your stitches in place. Trim any loose threads and give your quilt one final pressing with a hot, steamy iron.
Send your new quilt through the washer and dryer to soften it up!
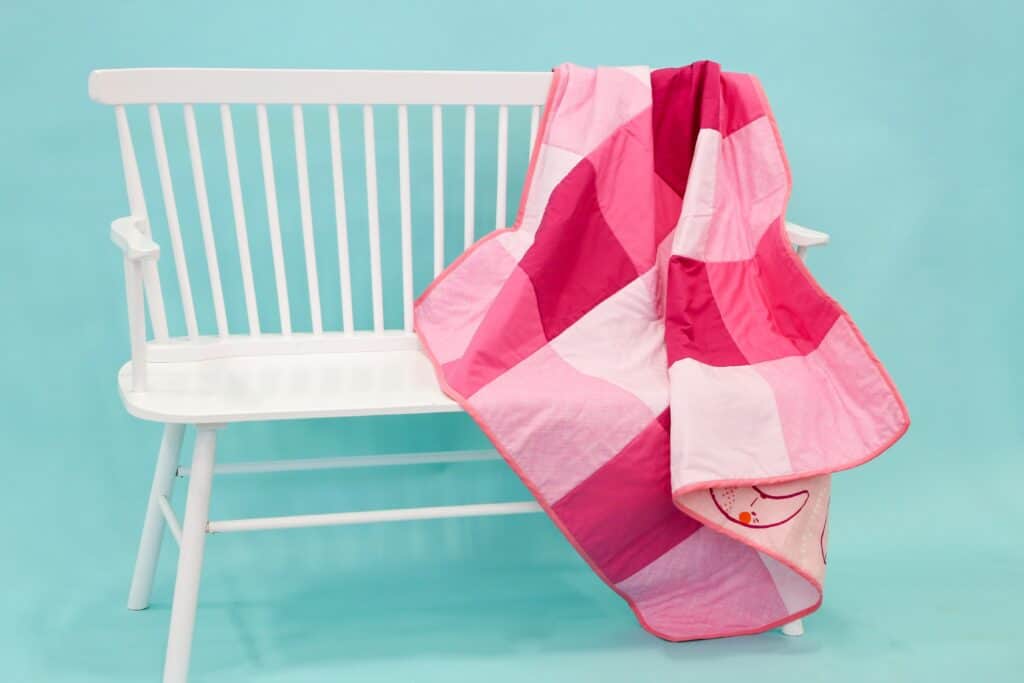
Wrap your loved one up in your cozy new buffalo plaid quilt!


I am a first time quilter. I just purchased the suggested yardage to make the 3-colorway lap quilt. You state that I only need 1 1/4 yd. each of the 3 fabrics and that equals 4 1/2 yds. for the quilt. I think there is an error because that only measures 3 3/4 yds. of fabric. Isn't there more than 1 1/4 yd. of color 2 in order to cut the required number of squares for this pattern? Please advise.
You are such an inspiration! I to am a seamstress and a couple of years ago, when I retired. I purchased a Brother Luminar embroidery machine. I have been happly busy non-stop since. But, my wish has always been to make a quilt (the one thing I have never made) for my son, daughter-in-law, and each of my grandkids. I received your post, viewed it several times, and I am now so excited to get to it...I have to get all these other projects out of the way! Lol. Thanks again for you constant inspiration and ideas...love when I see a message from you! (Even my daughter-in-law follows you and she can't even thread a needle but she love to see what is trending for her decorating and her kids)