Learn How to Easily Join Bias Tape Ends With a Pretty Diagonal Seam by Following This Simple Step-By-Step Tutorial.
Bias tape is a fun finish for a variety of different sewing projects; from quilts, to potholders, to clothing - but joining the ends can be a real pain!
There are tons of different methods of joining bias tape ends floating around the internet, each with different results.
It can be hard to find a reliable technique that makes it easy to get a smooth finish and doesn't come with endless seam ripping to get a perfect fit - but today I'm sharing my absolute favorite (and super easy) method of finishing bias tape ends.
After trying this method, joining bias tape ends will no longer be a dreaded part of the process - it'll be simple and fast!
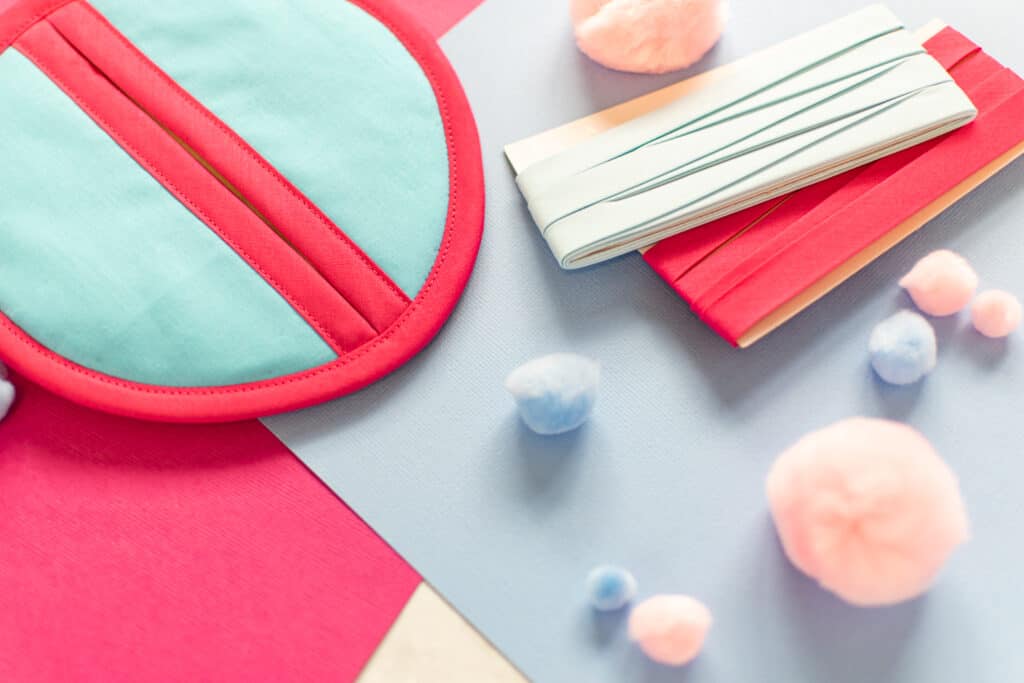
Table of Contents
When Will You Need to Join Bias Tape Ends?
If you're using bias tape to finish edges on a sewing project, you're most likely going to need to join the ends together.
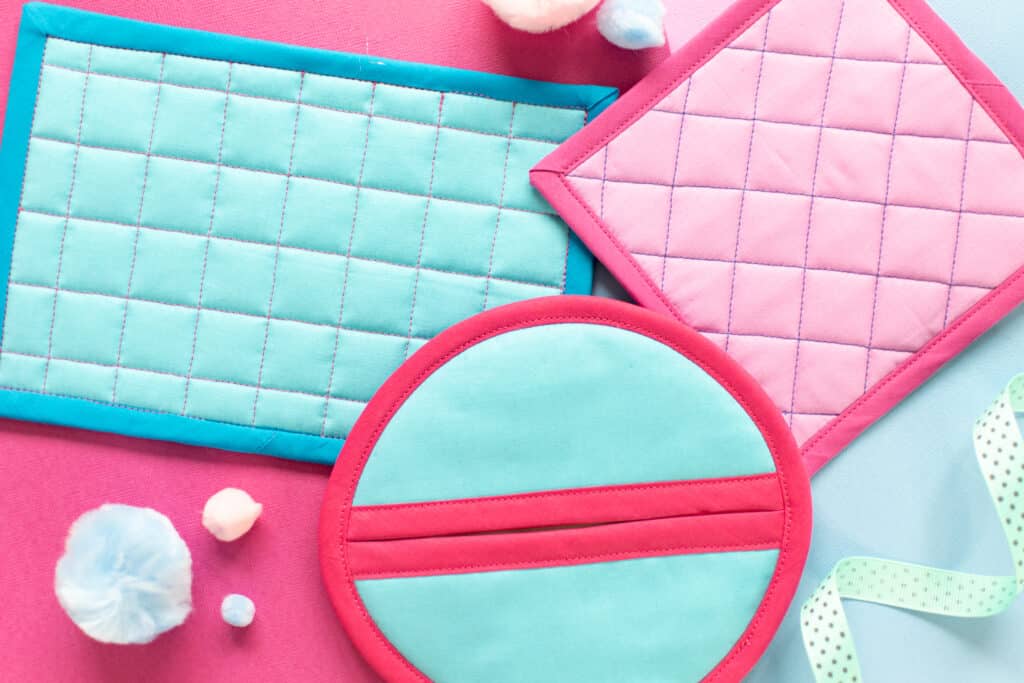
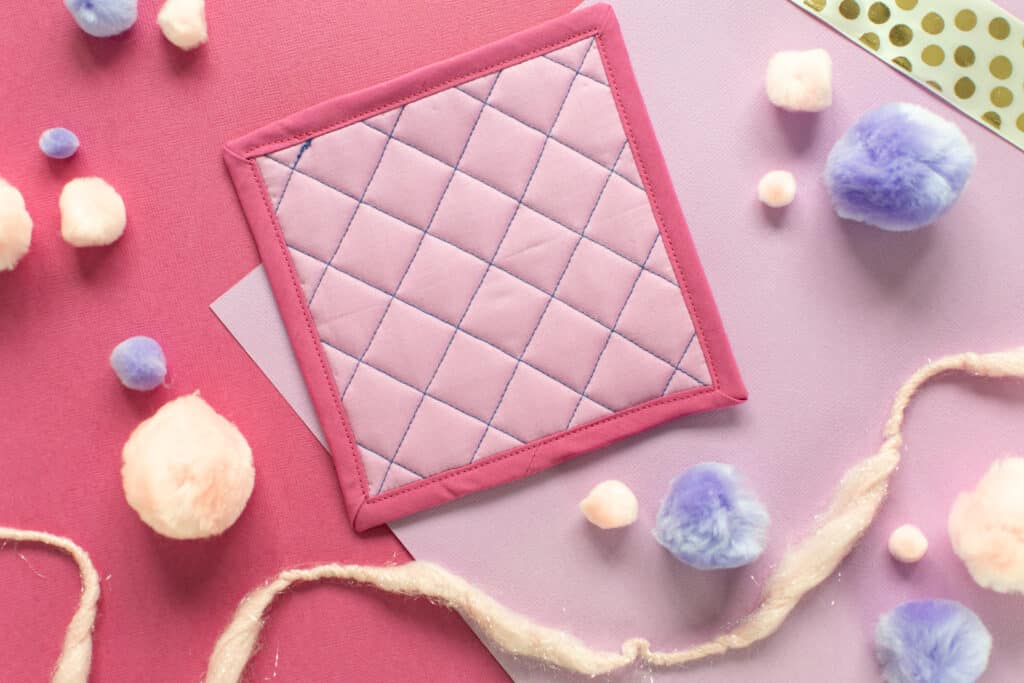
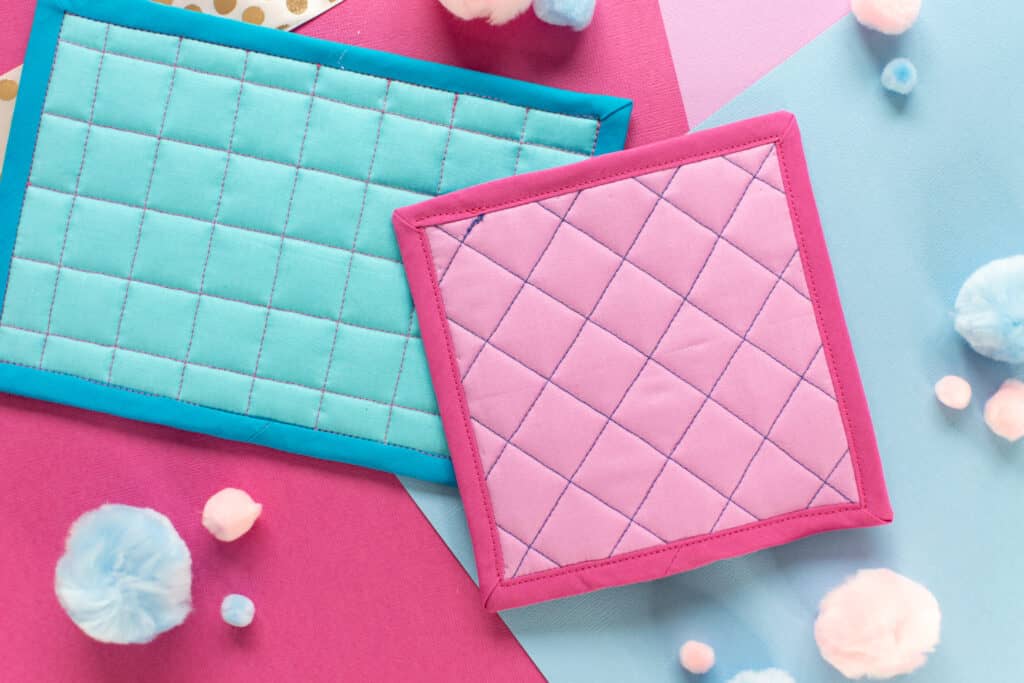
Any time you're sewing bias tape in a continuous loop, where the two ends will overlap, you'll need to find a nice way to connect the bias tape ends. This means that when finishing necklines, armholes, binding a quilt, or finishing a potholder, you're inevitably going to be joining the ends of your bias tape.
Why Use a Diagonal Seam to Join Bias Tape Ends?
Why not just sew the two ends together with a straight seam and be done with it? Easy peasy... right?
Well, it might be easy, but you'll be happier with the results if you use a diagonal seam instead of a standard straight-up-and-down seam to join your bias tape ends.
Using a diagonal seam spreads the bulk of the seam allowance out more across the surface of the bias tape, rather than concentrating the entire seam allowance in one area.
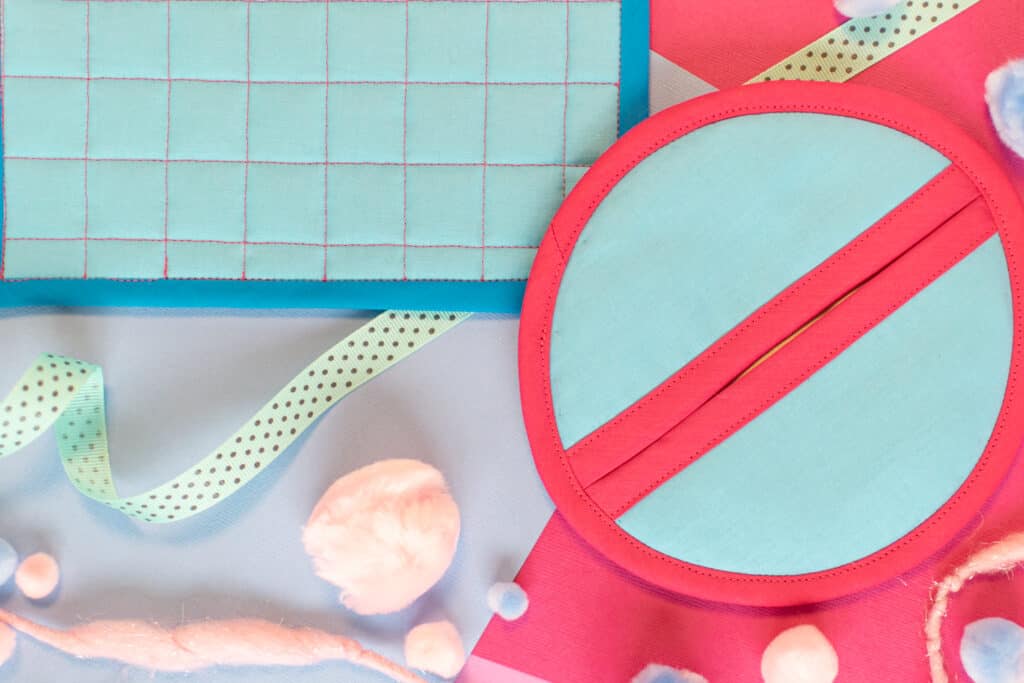
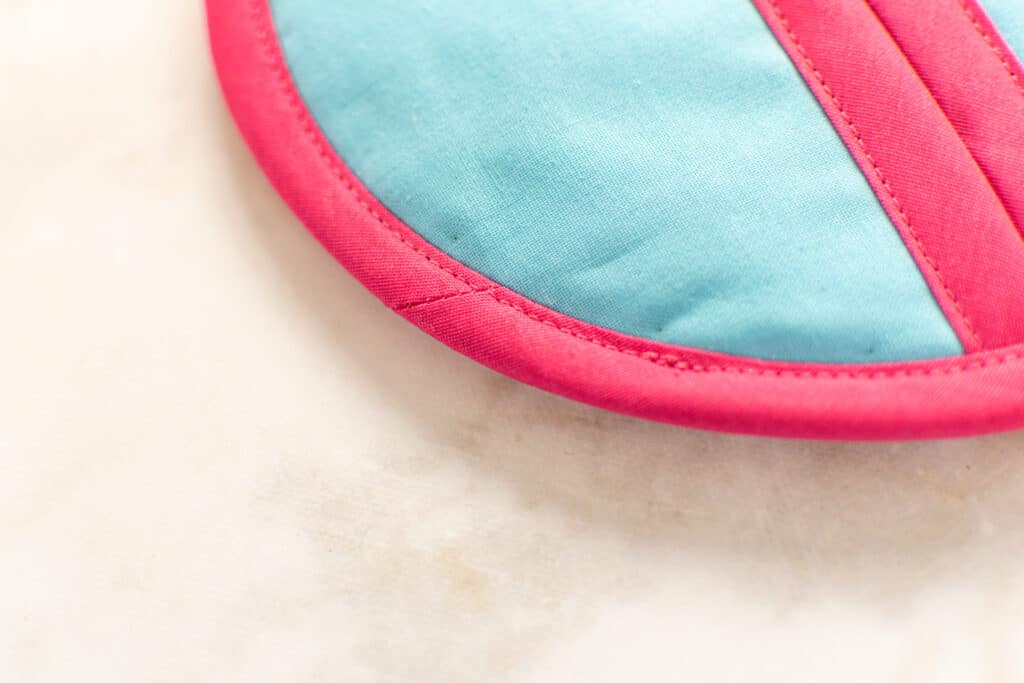
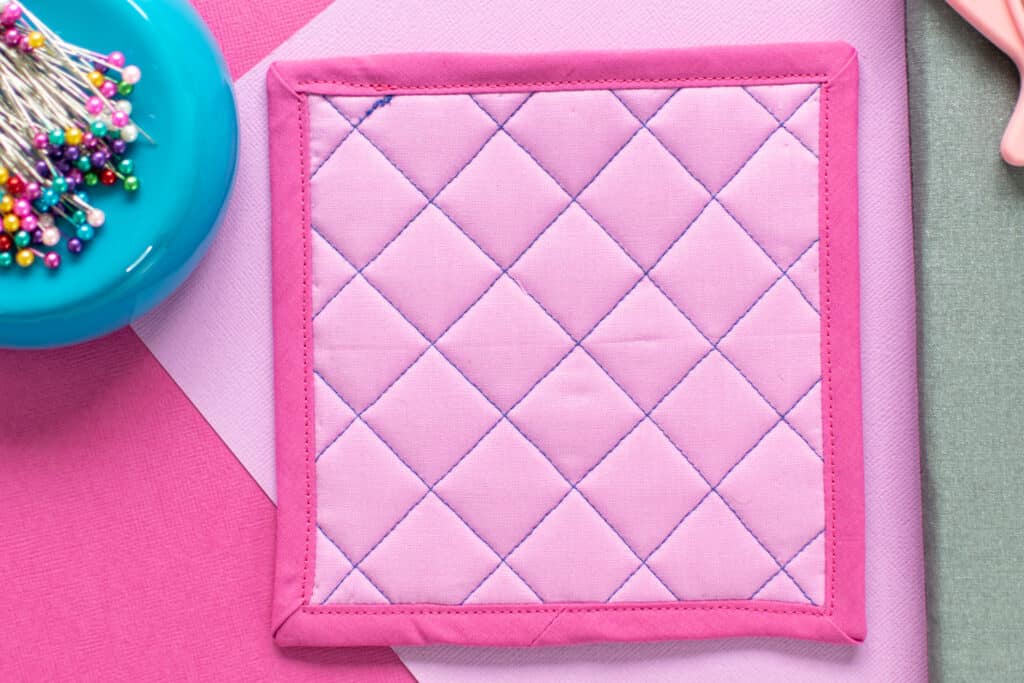
This means that when you flip your bias tape over the edge of your project and finish sewing it in place, you'll have a flatter, more professional-looking finish.
No bulky bias tape seams here!
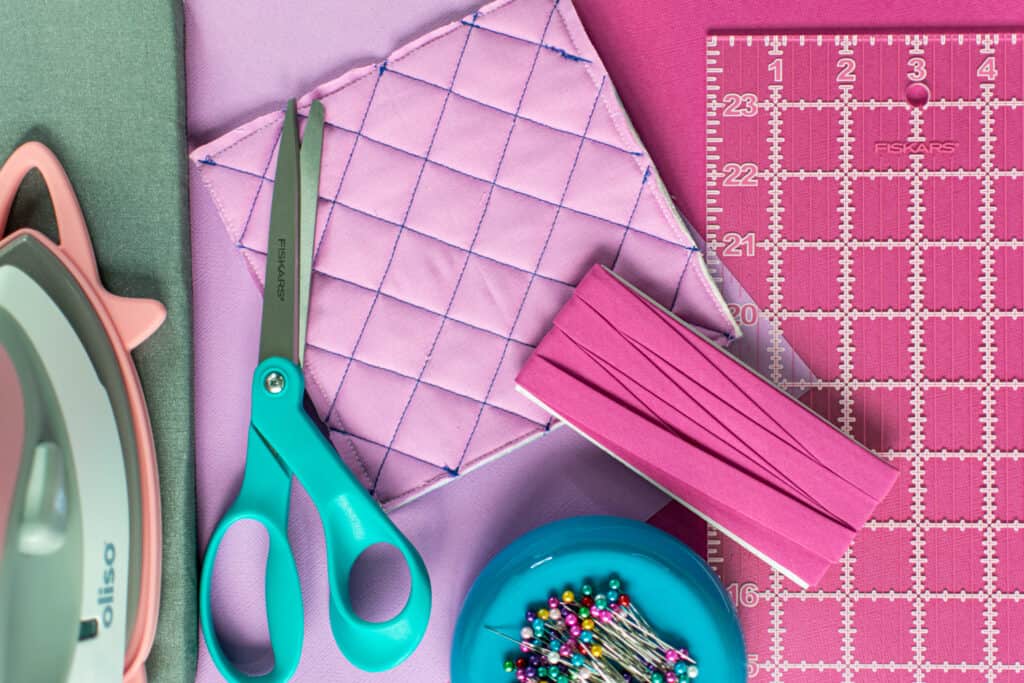
Supplies
Here's what you'll need to sew bias tape and join the ends with a diagonal seam.
- Project to be finished with bias tape
- Bias Tape
- Sewing Machine
- Rotary Cutter
- Rotary Cutting Mat
- Scissors
- Acrylic Ruler
- Thread
- Pins
- Iron
- Ironing Mat
- Sewing Machine Needle
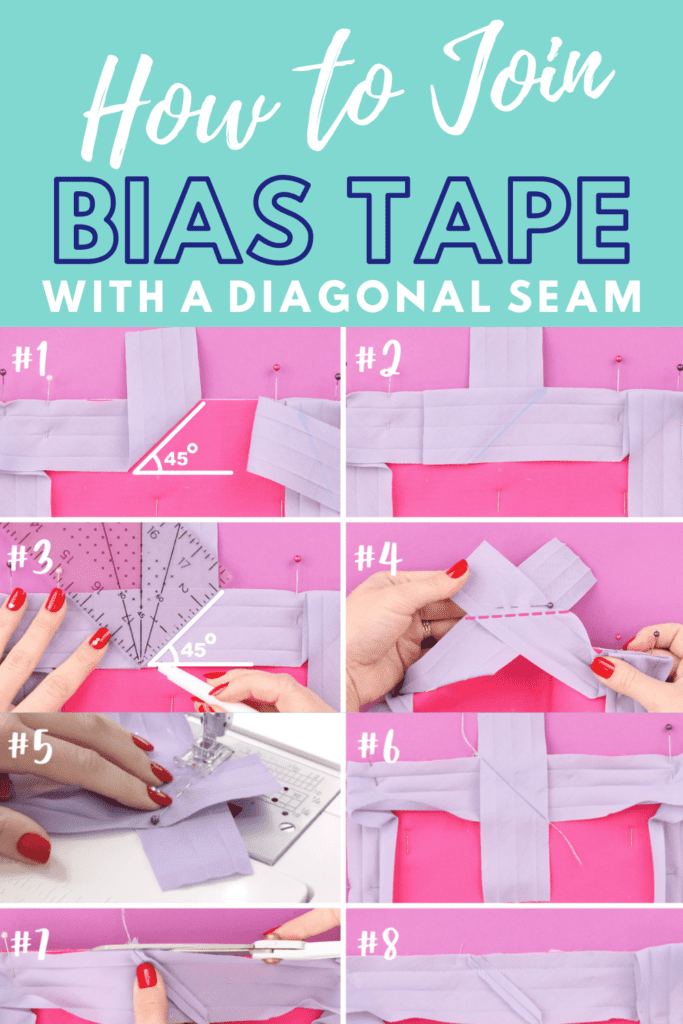
Step-by-Step: How to Join Bias Tape Ends With a Diagonal Seam
In this tutorial, I'll show you my favorite quick and easy method of joining bias tape ends - the result will be a beautiful diagonal seam and bias tape that fits your project perfectly on the first try!
This method works for both single-fold and double-fold bias tape. In the instructions below, I'll be demonstrating the technique using double-fold bias tape, but if you are using single-fold bias tape, the steps are exactly the same!
Step 1: Attach The Bias Tape to Your Project, Leaving Long Tails
First, unfold your bias tape and pin it right sides together with the edge of your project.
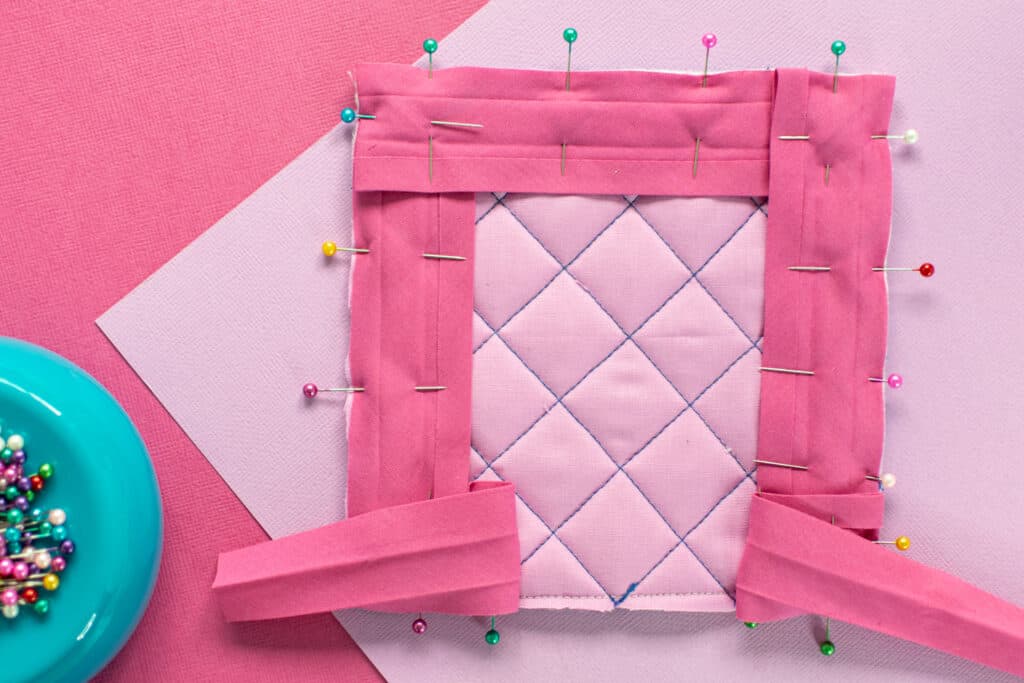
Complete your first pass of stitching to attach the bias tape to your project, leaving at least 4-inch long tails at the beginning and end of the bias tape. Stop sewing the tape to your project about 3 inches before reaching your first stitch.

If you're sewing a project with square corners, be sure to read my post on creating easy mitered corners here.
Also, if you've never worked with bias tape before, you'll want to first check out this tutorial for in-depth instructions on how to sew bias tape.
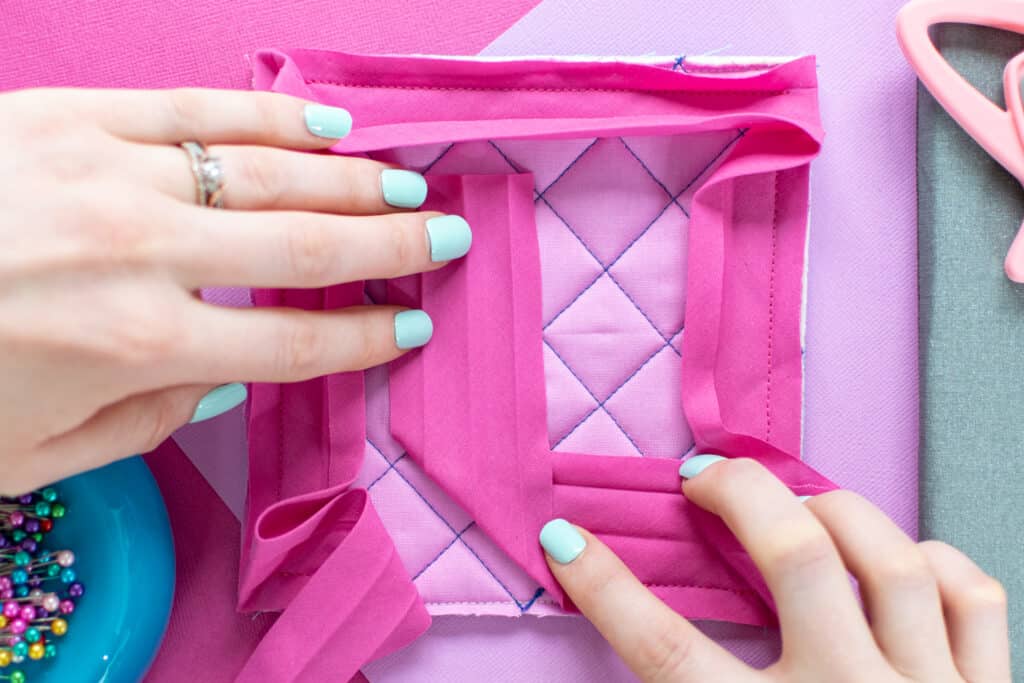
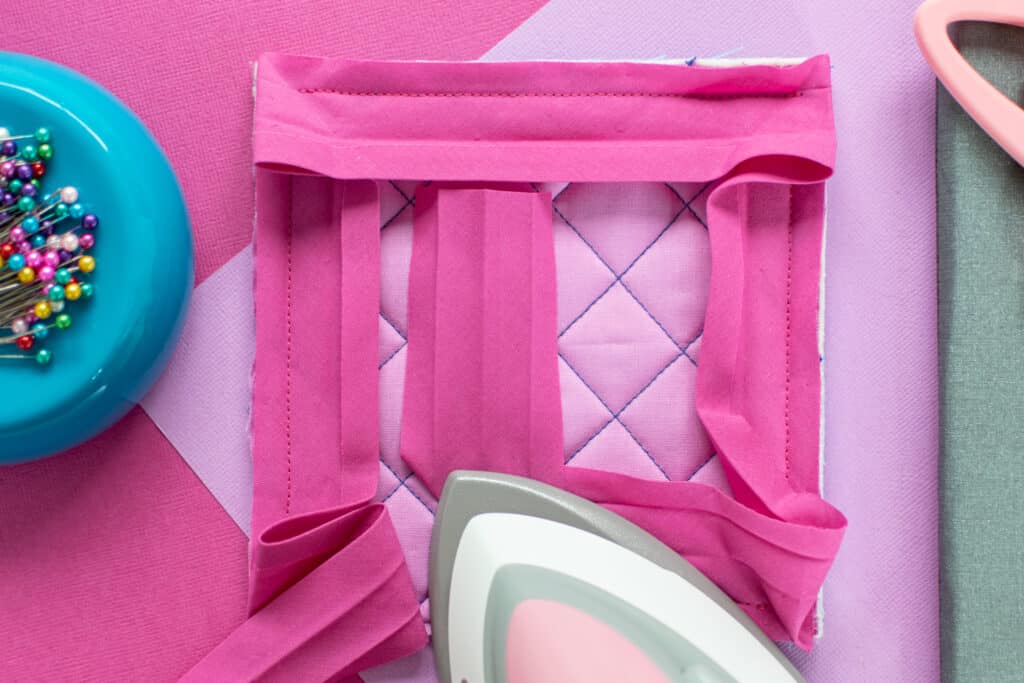
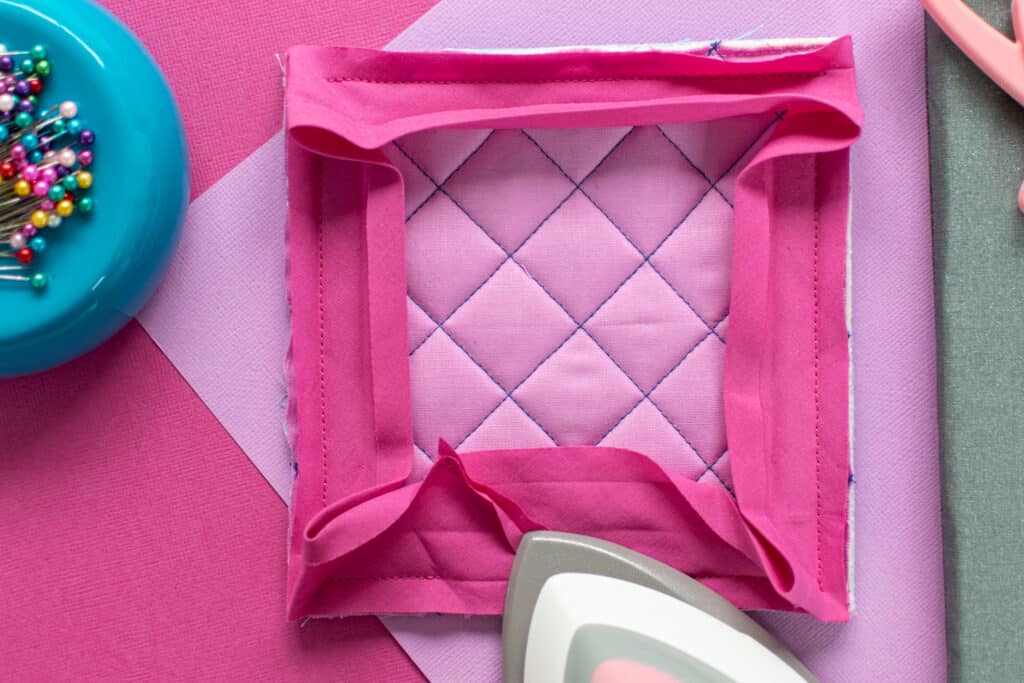
Step 2: Align the Bias Tape Ends and Pin
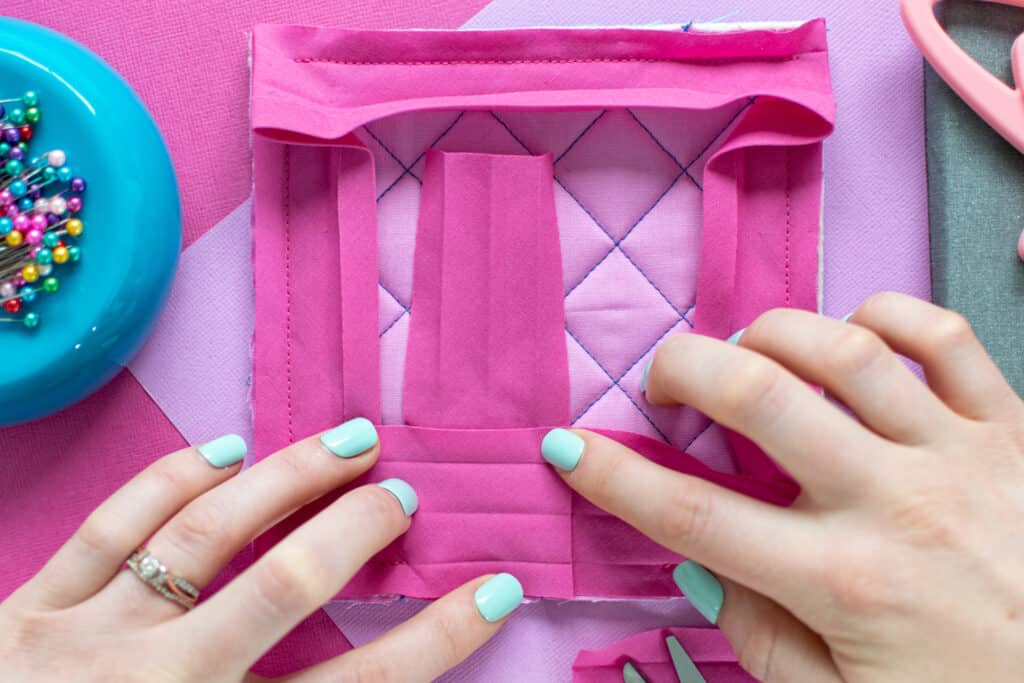
Next, with your project right side up on the table in front of you and the bias tape ends at the front, fold the right-hand bias tape tail up away from the raw edge to form a 45-degree angle, starting your fold at the center of the gap between the two tails.
If you're not confident with creating a 45-degree angle, grab a quilting ruler and use this as a guide!
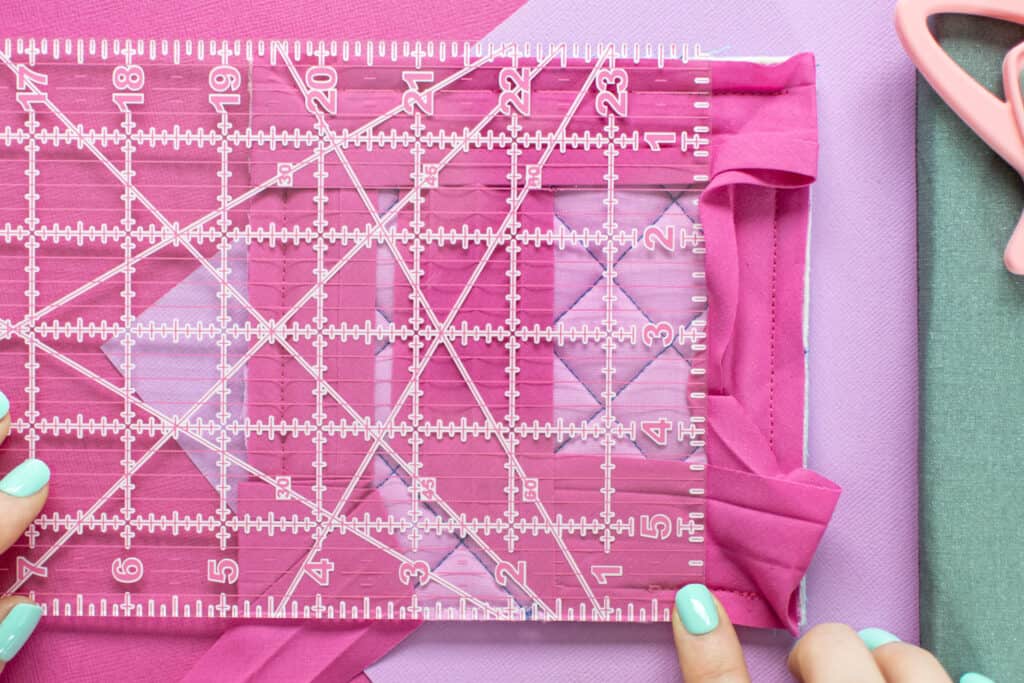
Press this 45-degree crease to make it nice and crisp; so you'll be able to see it later.
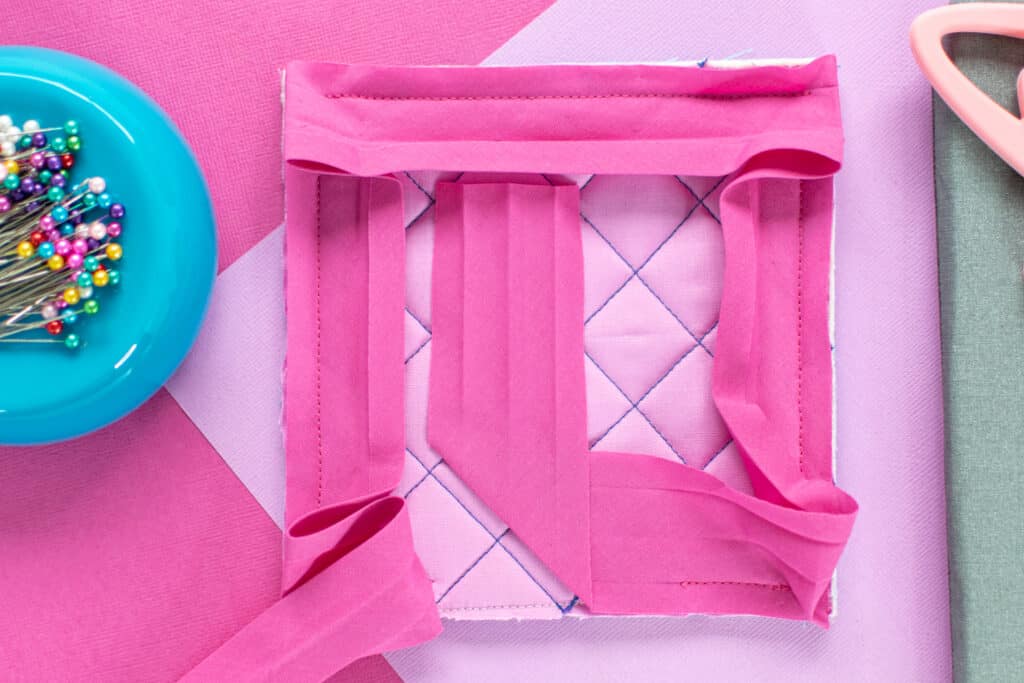
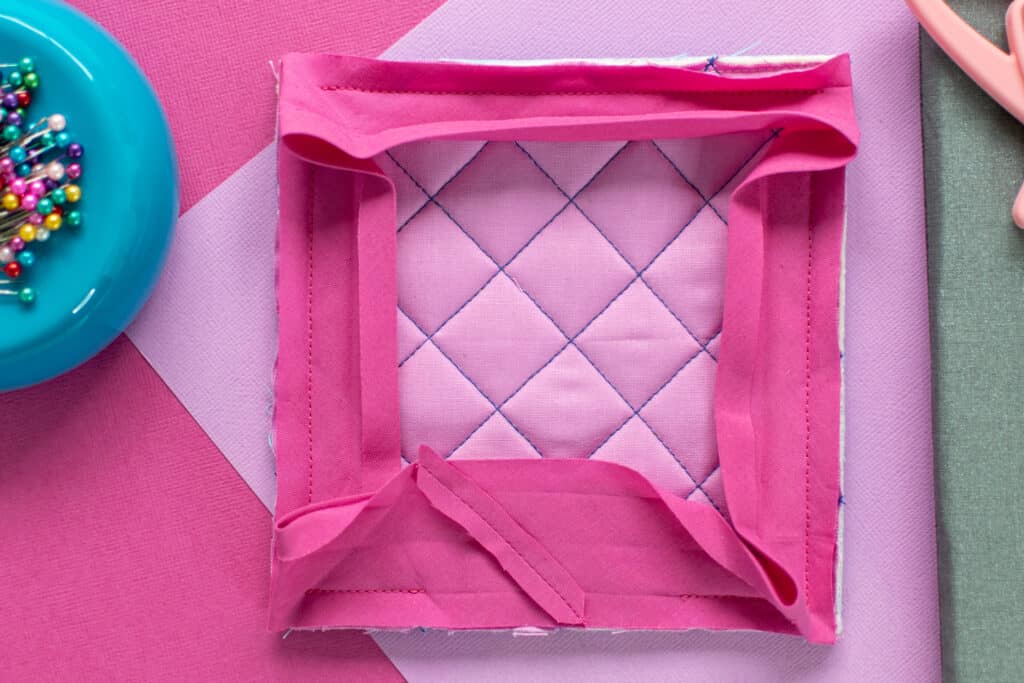
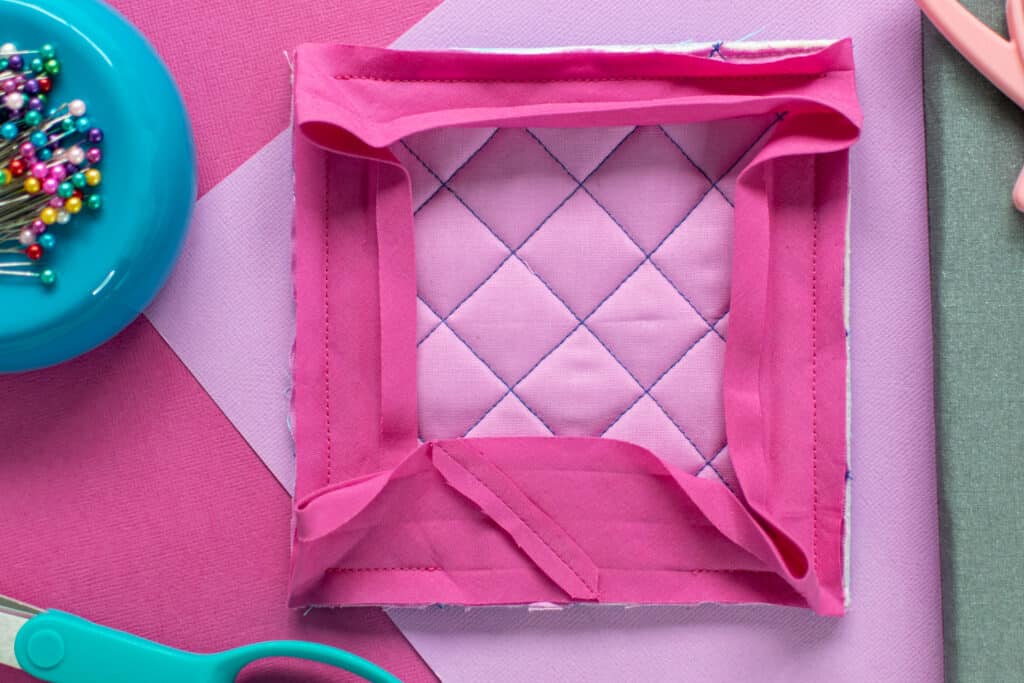
Then, lay the left-hand bias tape tail across the right-hand tape, lining it up along the raw edge of your project. It should cover the crease in the other bias tape tail.
Trim the left-hand bias tape tail straight across so that end matches up with the lower corner of the 45-degree crease in the other tail.
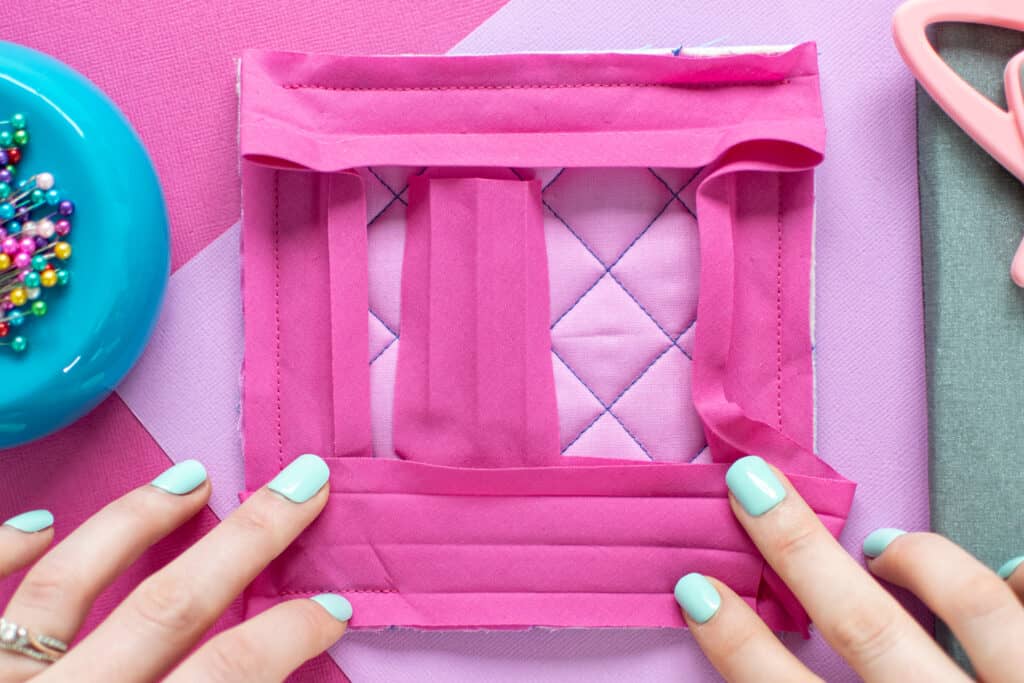
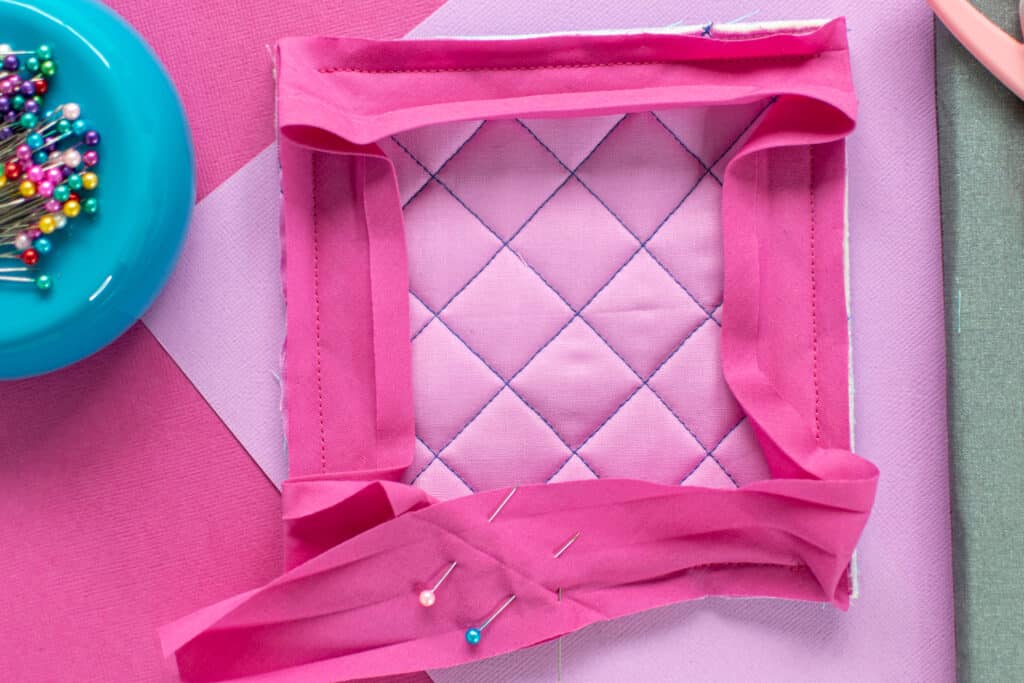
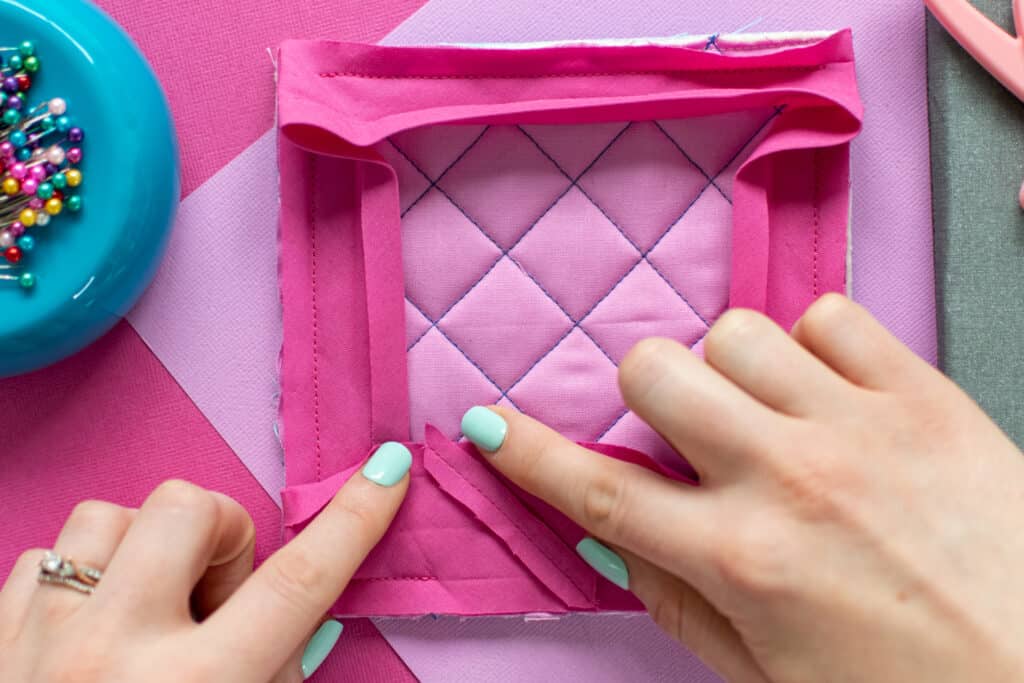
Grab onto the two bias tape tails, pinching them so that they don't come apart. Carefully and slowly lift them away from the project.

Pin the two tails together, making sure they are still lined up exactly the same way they were when laying flat.
Step 3: Join the Bias Tape Ends
Now that your bias tape ends are pinned together, all the hard work is done!
To join the bias tape ends, simply sew them together at a 45-degree angle by sewing directly in the crease that you pressed in the right-hand bias tape tail.
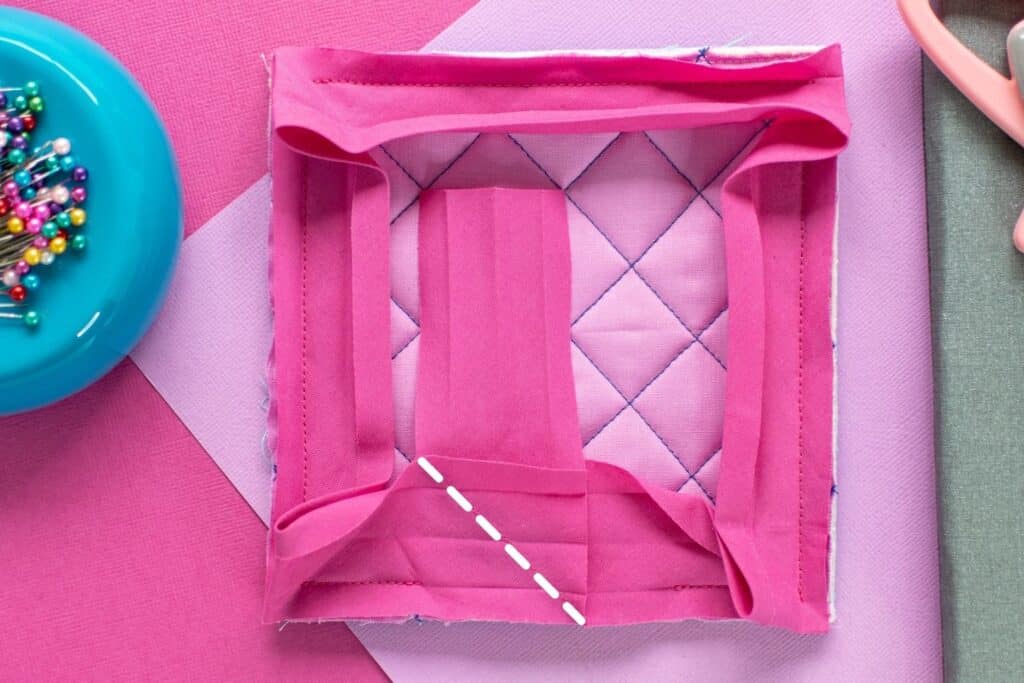
*PRO TIP - If you're using double-fold bias tape, you can double-check that your bias tape is still aligned correctly and hasn't shifted by making sure that the center fold of each bias tape tail aligns perfectly within the 45-degree crease. You can stick a pin through the center fold of the top bias tape and see where it comes out on the back of the lower bias tape to check this.
Make sure as you sew that you're pushing the fabric of your project out of the way of the presser foot - it's important to only sew through the bias tape in this step!
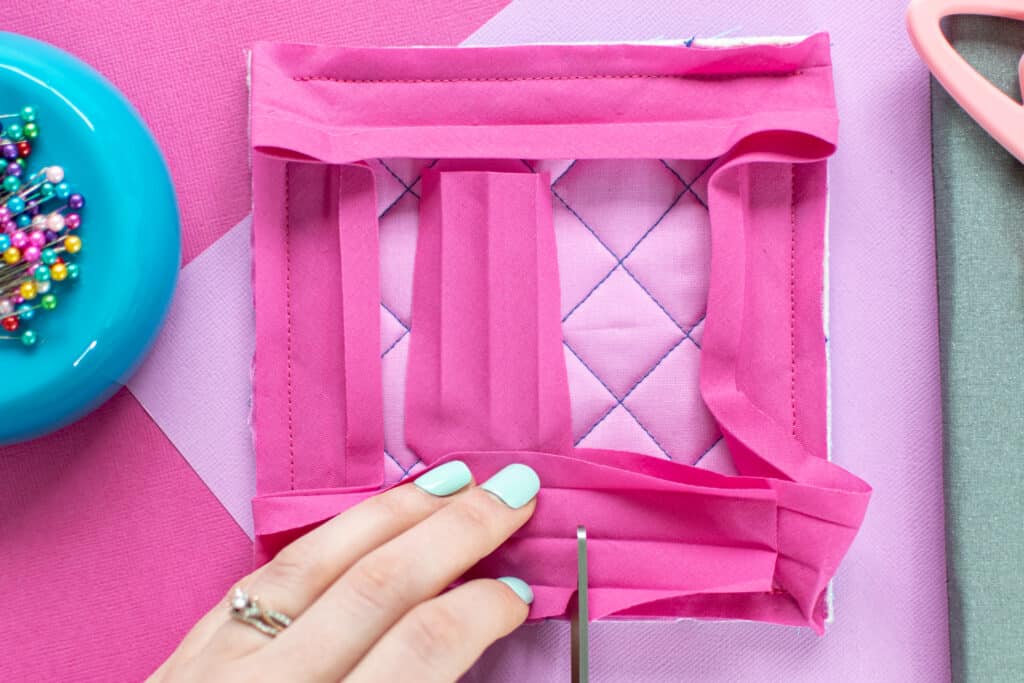
Step 4: Trim and Press the Seam Allowance
Once your bias tape ends have been joined together, the tape should be able to lay flat against your project with right sides together. As long as the tails didn't move when you pinned them, the bias tape should fit exactly in the gap that you left.
If everything looks nice and flat, trim the seam allowance of the bias tape seam to 1/4 inch.
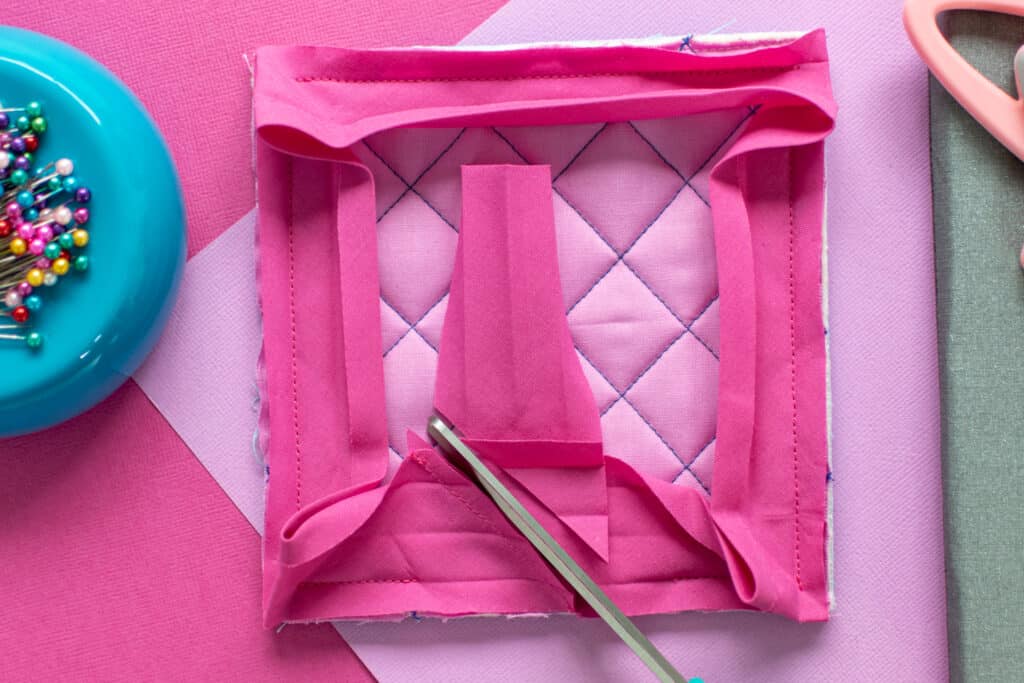
Press the seam allowance open.
Trim away the little triangle of fabric that sticks out above the top edge of the bias tape to form a straight edge.
Step 5: Finish Sewing the Bias Tape to Your Project
Finish your first pass of stitching to remove the gap you left in the seam.
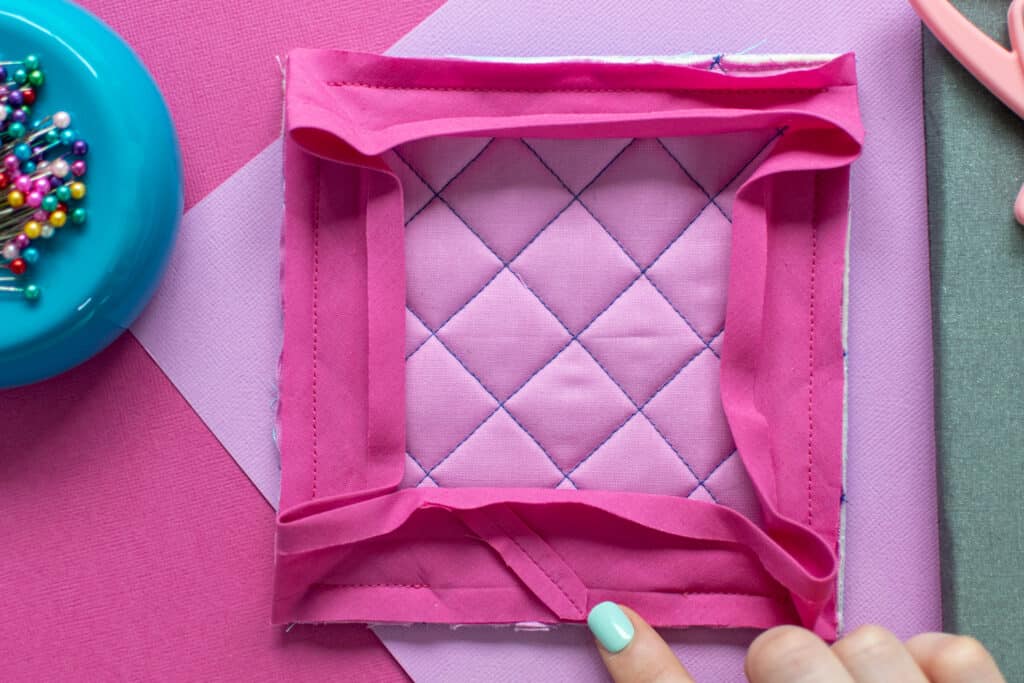
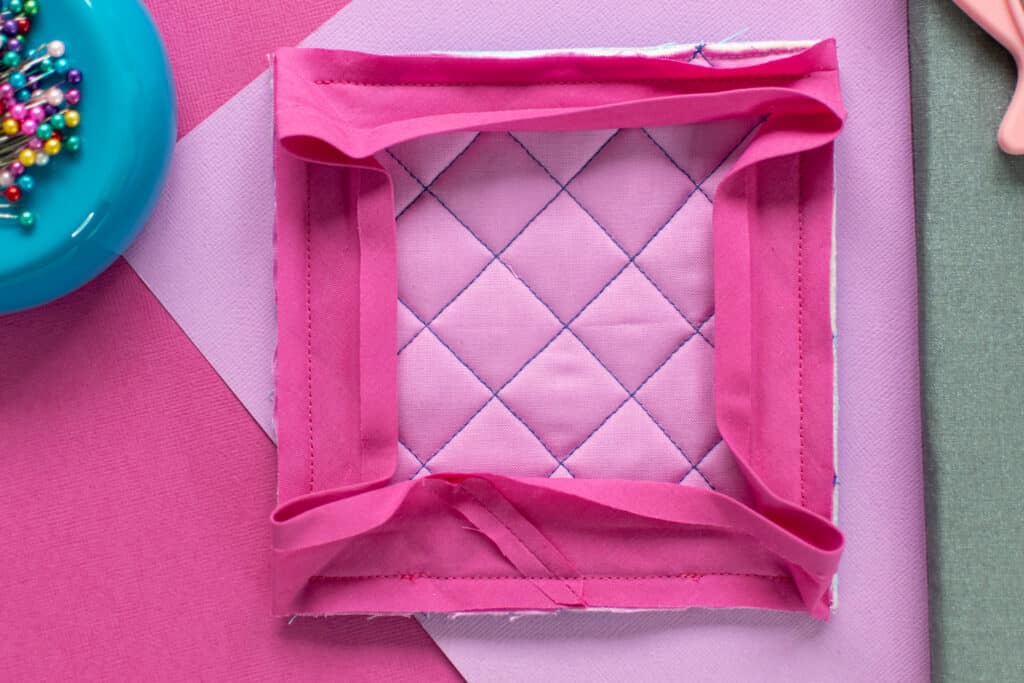
Finally, flip the bias tape to the wrong side of your project and stitch it in place - either with topstitching or by stitching in the ditch.
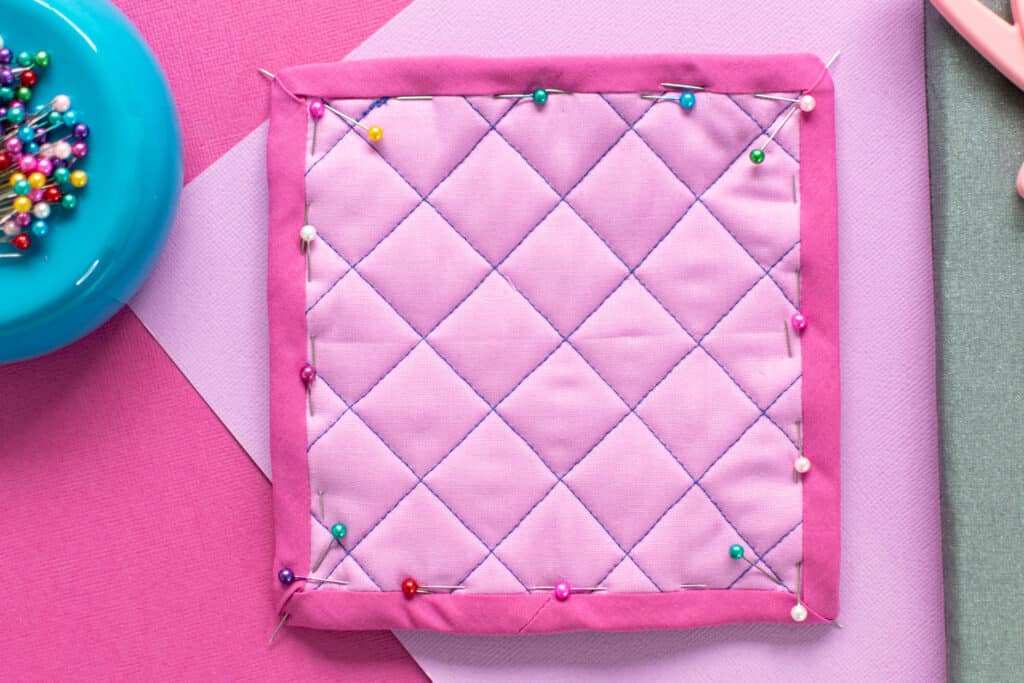
This is the only step that will differ between double fold and single fold bias tape. With double fold bias tape, you'll flip it up and over the seam allowance, encasing it in a binding. With single fold bias tape, you'll want to flip it all the way to the inside, similar to a facing.
What's your favorite method of joining bias tape ends? Let me know in the comments below!
Looking for fun projects where you can try out your new bias-tape-joining skills? Check out this free Valentines Heart Mug Rug Pattern or make this Easy Triangle Quilt!
If you've got questions, feel free to leave a comment or join my helpful Facebook group where you can show us what you're making, ask questions, and learn from others!
Thank you for laying this all out!