Bias tape is one of the most useful notions to keep on hand in your sewing space. Plus, it’s super versatile - the more often you use bias tape, the more uses you’ll find for it!
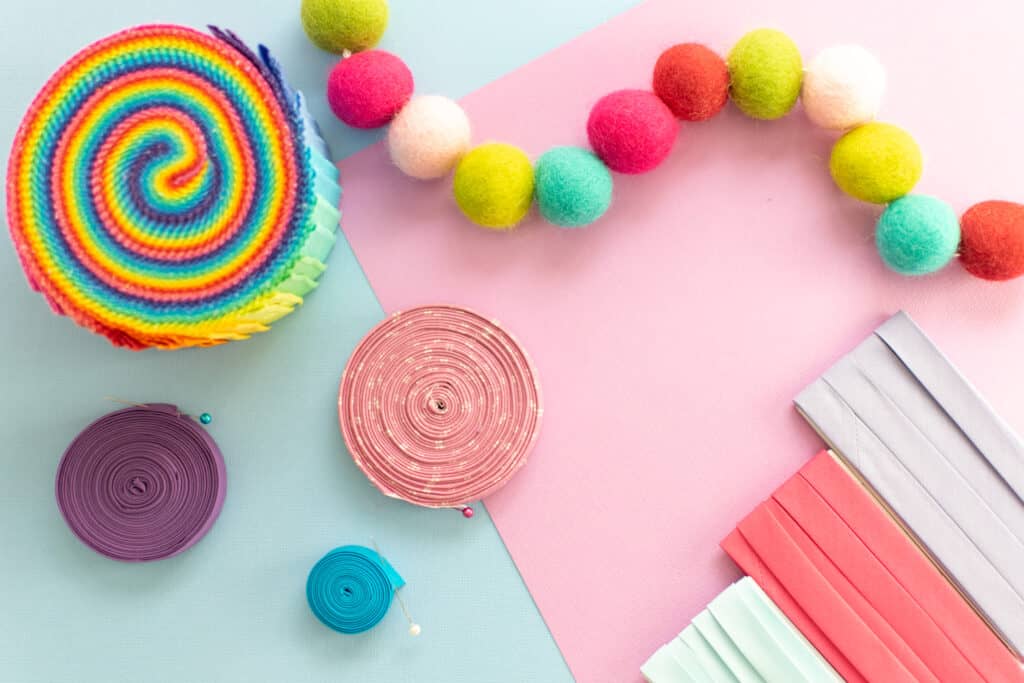
If you’ve never worked with bias tape before, it may seem confusing – but don’t worry, I’ll share everything you need to know to get started using bias tape in your sewing!
Table of Contents
What is Bias Tape?
Let’s start with the basics: what is bias tape anyways?
Bias tape is a narrow strip of fabric that has been cut on the bias with the edges folded in. It is sometimes then folded in half and pressed flat.
The bias of a fabric is at a 45-degree angle across the surface of the fabric relative to the grainline and selvage edges. A non-stretch woven fabric that doesn’t have any give on the grain. The cross-grain will have some stretch on the bias because the threads have more room for movement in that direction.
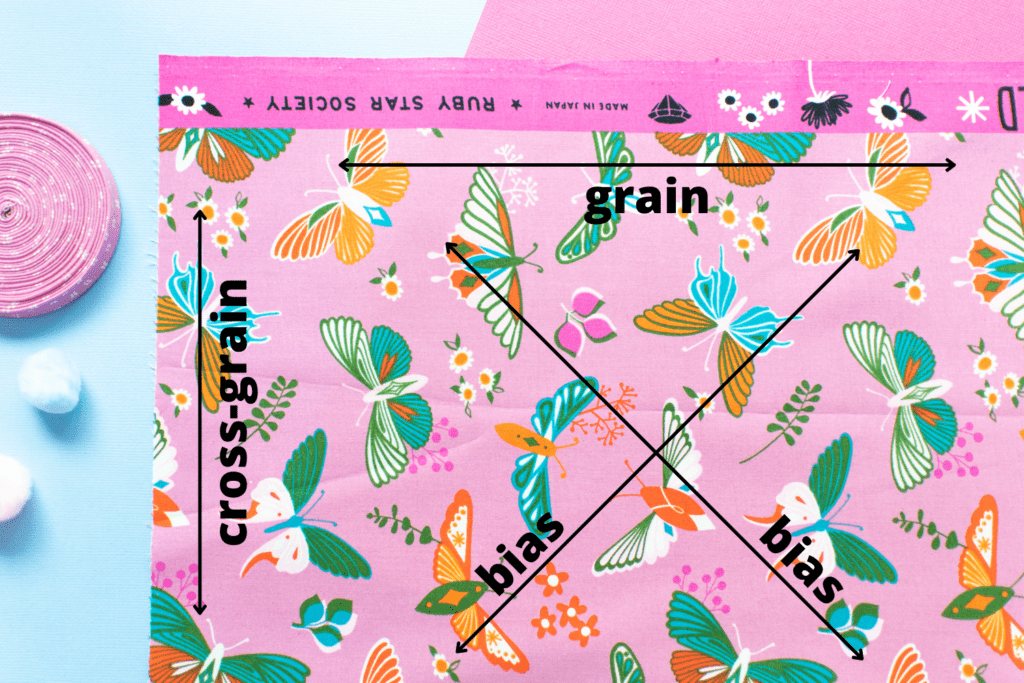
Since fabric is stretchy on the bias, this means that bias tape has built-in give, allowing it to form perfectly to curves and making it a very versatile material to use when sewing.
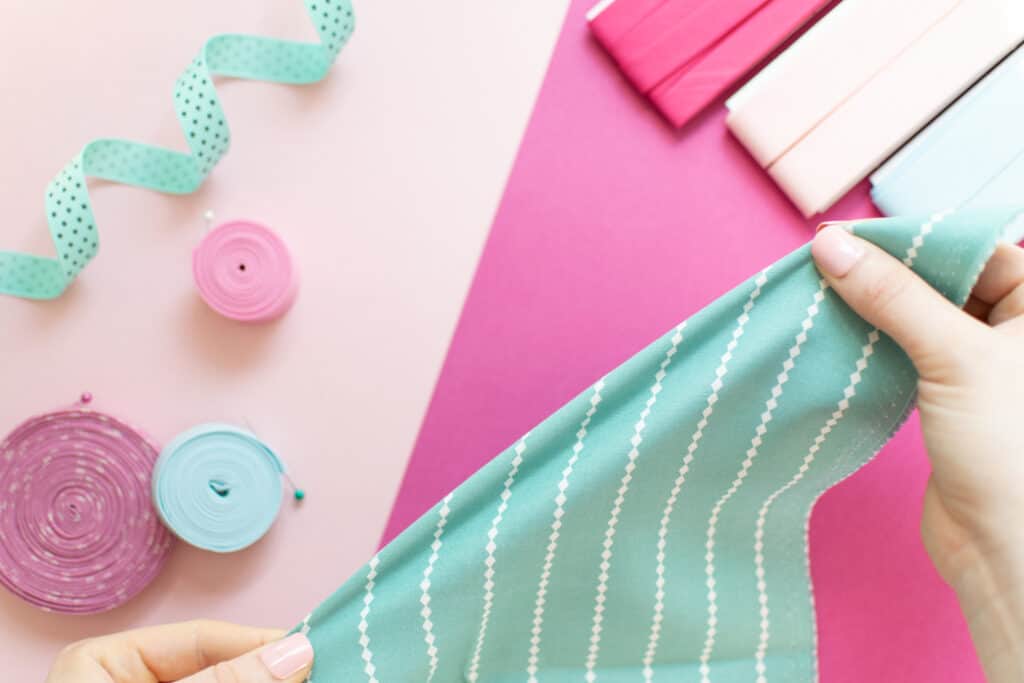
I want to note here that bias tape is generally made from and used on woven fabrics. Knit fabrics are made very differently than wovens and don’t behave in the same way.
Knits have the most stretch on the cross-grain, not on the bias. So, if you want to make or purchase a knit binding strip, it will be best if cut on the cross-grain.
Why Use Bias Tape?
Do you love sewing clothing? Bias tape will make your life a lot easier when it comes to finishing necklines, armholes, and any other curved edge.
Rather than drafting a facing, or using the bulky facing included in your sewing pattern, try finishing those edges with bias tape. The result is a professional-looking, lightweight finish without the frustrations of a wide facing that just loves to flip to the outside of the garment while you’re wearing it.
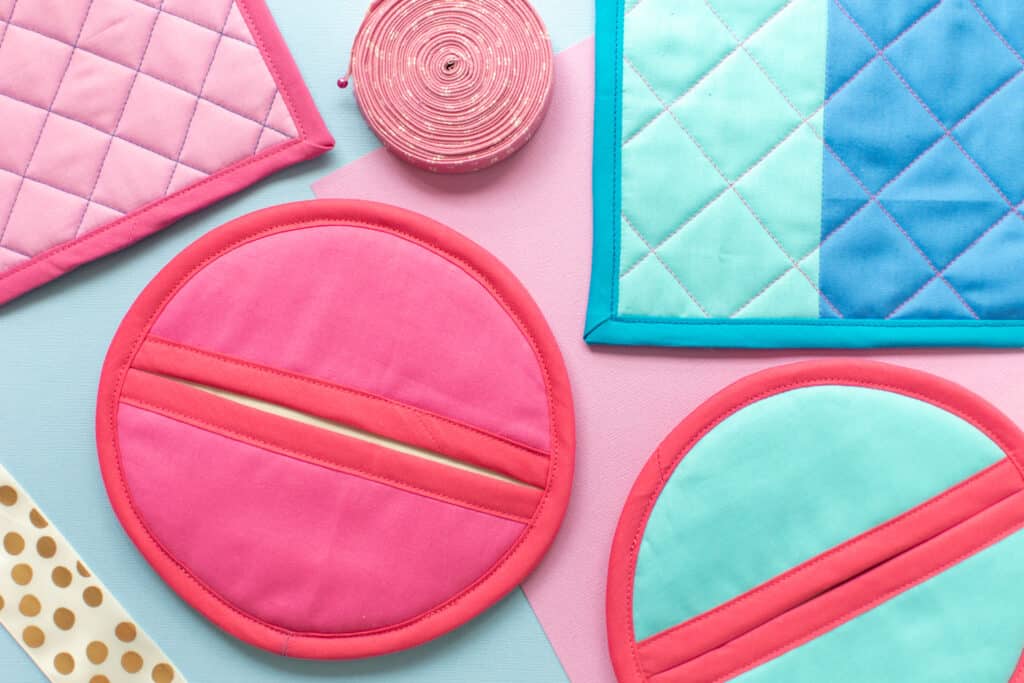
If you enjoy making accessories and home décor items – bias tape will be helpful for you as well! Sandwich the raw edges of your projects in a beautiful, contrasting binding for an eye-catching finish.
Where to Purchase Bias Tape
If you’re ready to try out bias tape, it’s actually pretty easy to find. You’ll be able to choose from a great selection of different colors and types of bias tape at your local craft store or your favorite online sewing supply retailer.
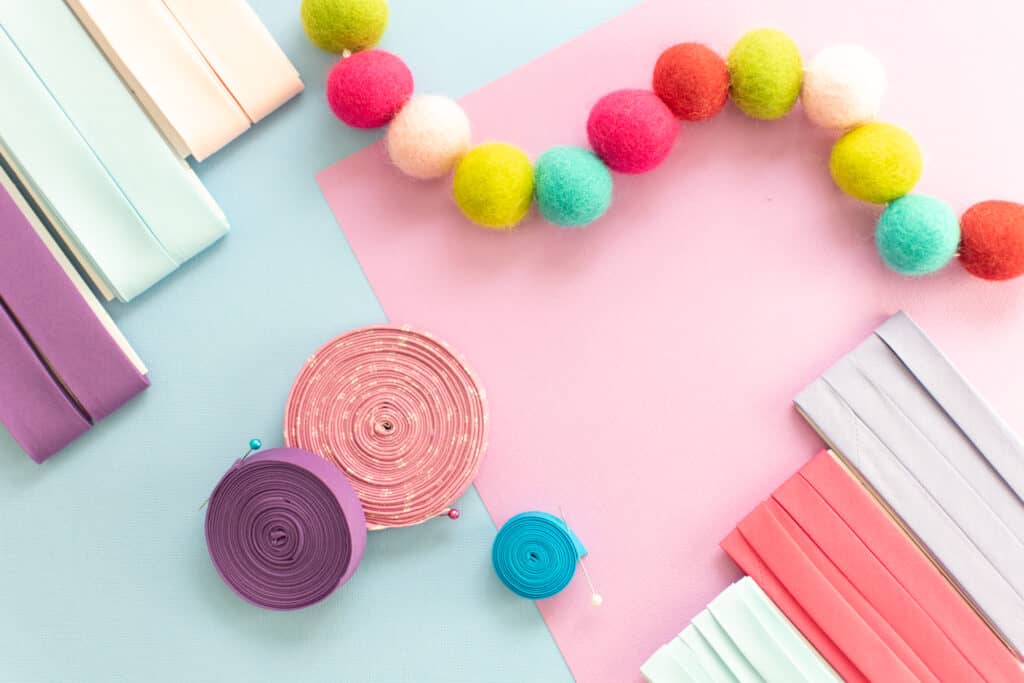
Here are some good sources for premade, ready-to-use bias tape:
But, maybe you want something really unique or you aren't seeing the fun colors and prints you want in the stores. You can actually make your own bias tape from any woven fabric in your stash!
I often use store-bought bias tape because it’s faster, but I do find that handmade bias tape tends to have more give and is easier to form to curves. Plus, the color options are endless if you make it yourself!
Types of Bias Tape
Just to add a little more complexity to the topic, bias tape comes in several different types. You’ll want to know what these types of bias tape are so you can decide which one is best for your project. The two main types of bias tape are single fold and double fold.
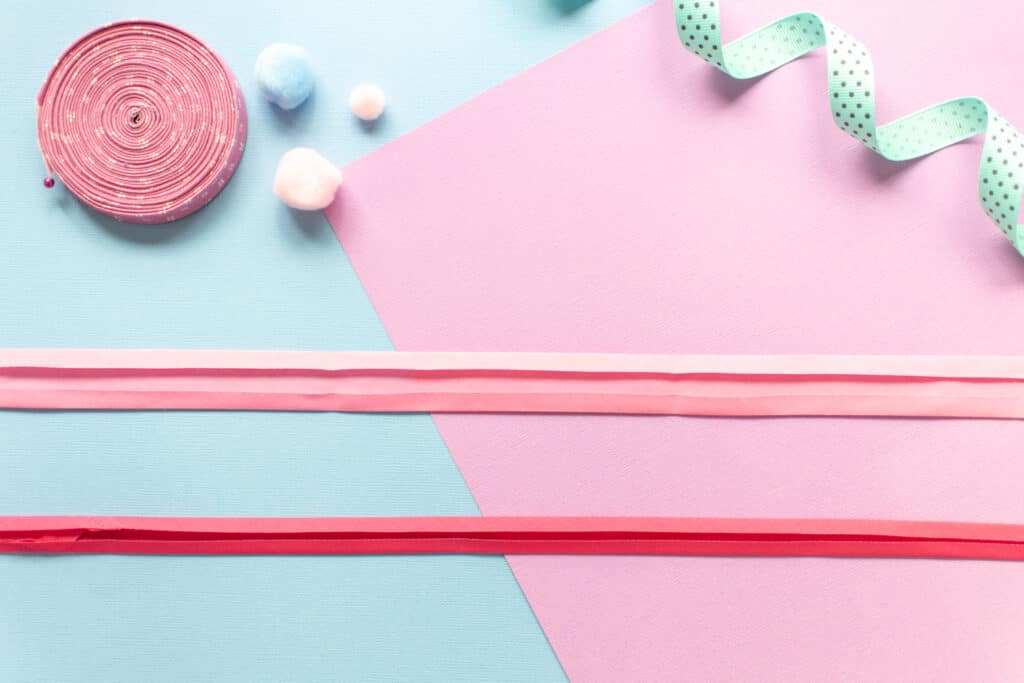
Single Fold Bias Tape
On single fold bias tape, each edge is folded to the inside only once, so that the raw edges meet near the middle.
This type of bias tape is meant to be used in a facing-like style, where the tape is sewn to the right side of the edge, then flipped all the way to the wrong side and stitched in place. With this type of finish, the bias tape will not be visible from the outside of the garment.
To learn how to sew single fold bias tape, check out this tutorial.
Double Fold Bias Tape
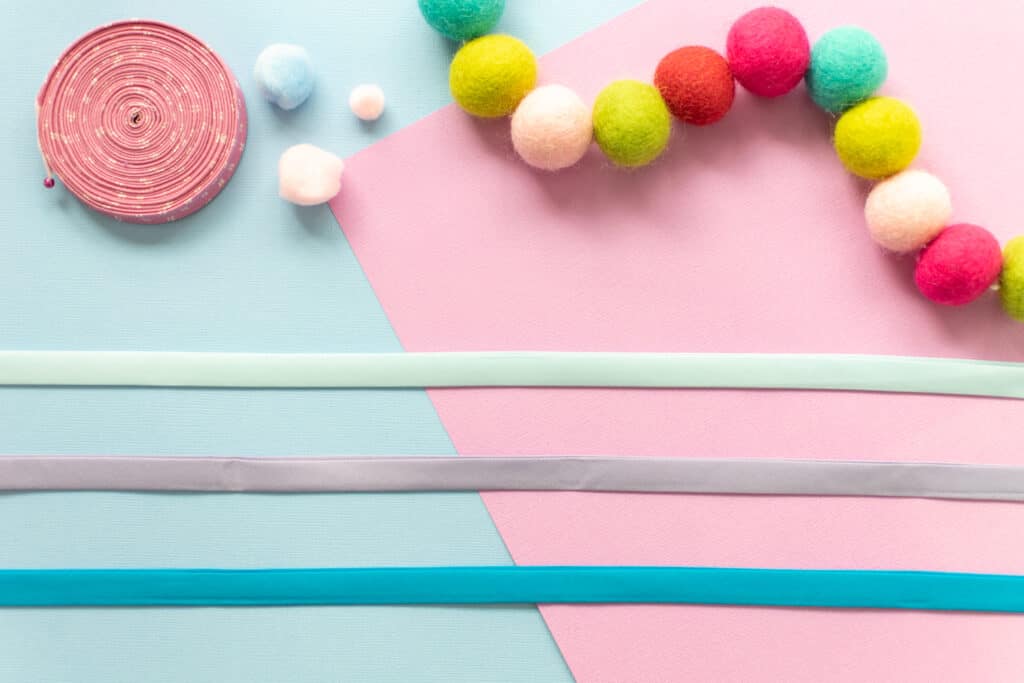
With double fold bias tape, the tape is prepared the same way as single fold, then folded in half and pressed.
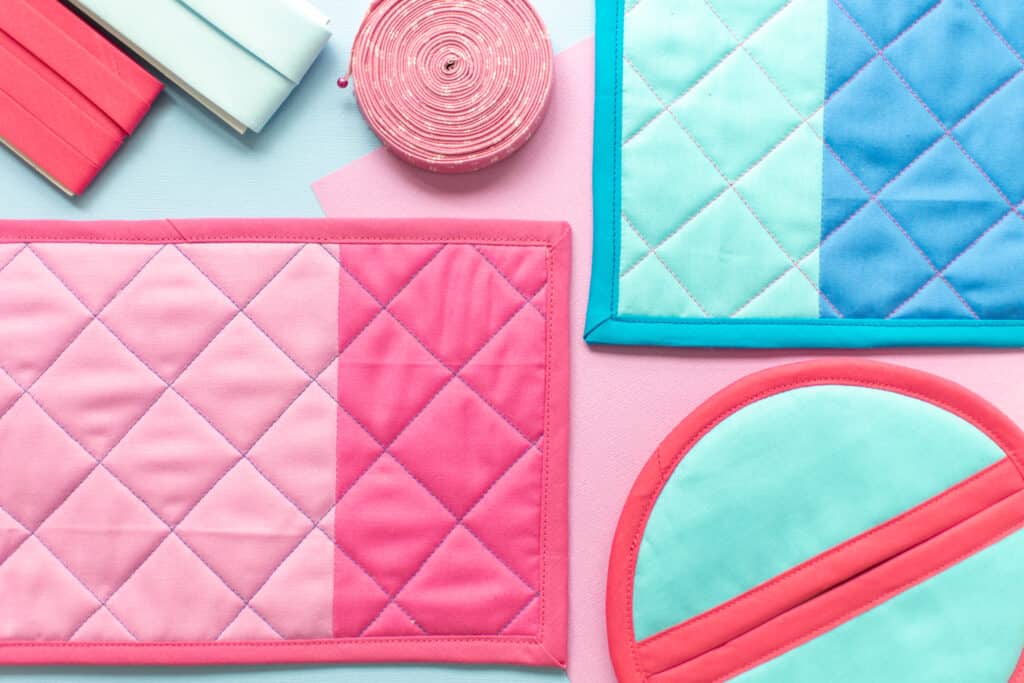
This kind of bias tape is generally used to encase the edge of the fabric. It basically makes a bias tape sandwich! The result is an edge with a visible, often contrasting, binding. This is a popular finish for bags, pillows, potholders, and other items for the home.
Sewing double fold bias tape is easier than you might think - learn how with this step-by-step tutorial.
Double Fold Quilt Binding
When shopping for bias tape, you may come across something labeled as “double fold quilt binding” that looks very similar to bias tape. But do not be fooled! Double fold quilt binding is cut and prepared the same way as bias tape, except for one key difference: it’s not cut on the bias, it’s cut on the straight grain.
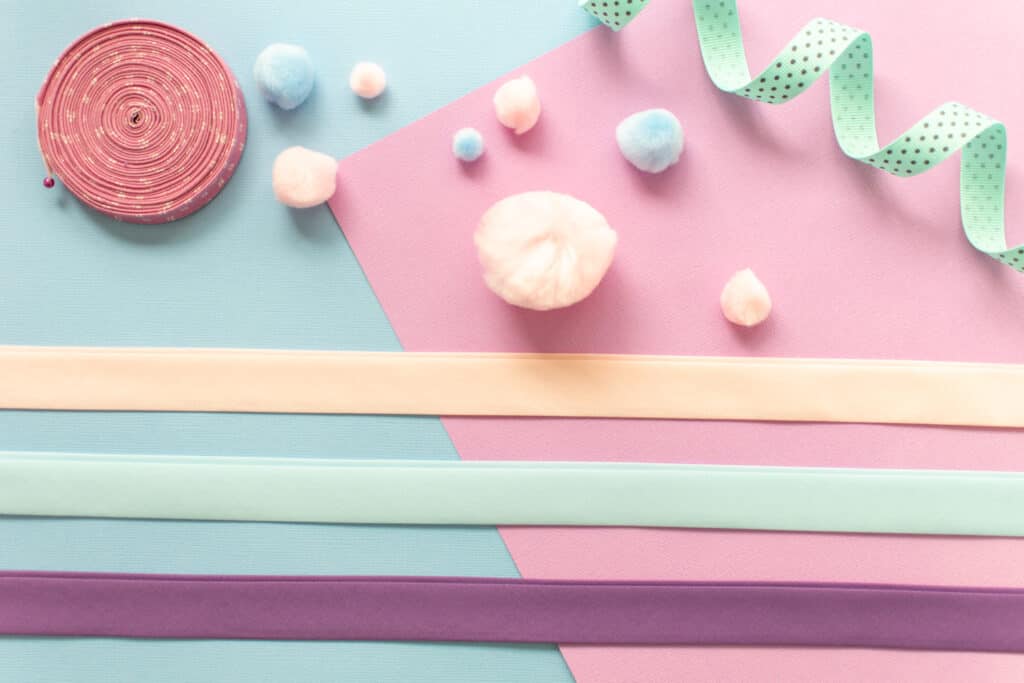
This means that double fold quilt binding will have no stretch, making it impossible to apply to curves cleanly.
Quilters often prefer their binding not to have stretch, since quilts generally have perfectly straight edges. It’s easier to attach a sturdy, non-stretch binding to a long, straight edge than one with a lot of give.
So, if you’re sewing a project with straight edges, you might want to try double fold quilt binding, but if you have any curves to go around, it’s best to avoid it.
Maxi Piping
Maxi piping is a specialized type of bias tape with a cord sewn into the folded top edge. It’s a premade piping, making adding piping accents to your seams easy.
Maxi piping is cut on the bias, so it works perfectly for adding piping into curved seams. One of my favorite seams to use maxi piping in is princess seams!
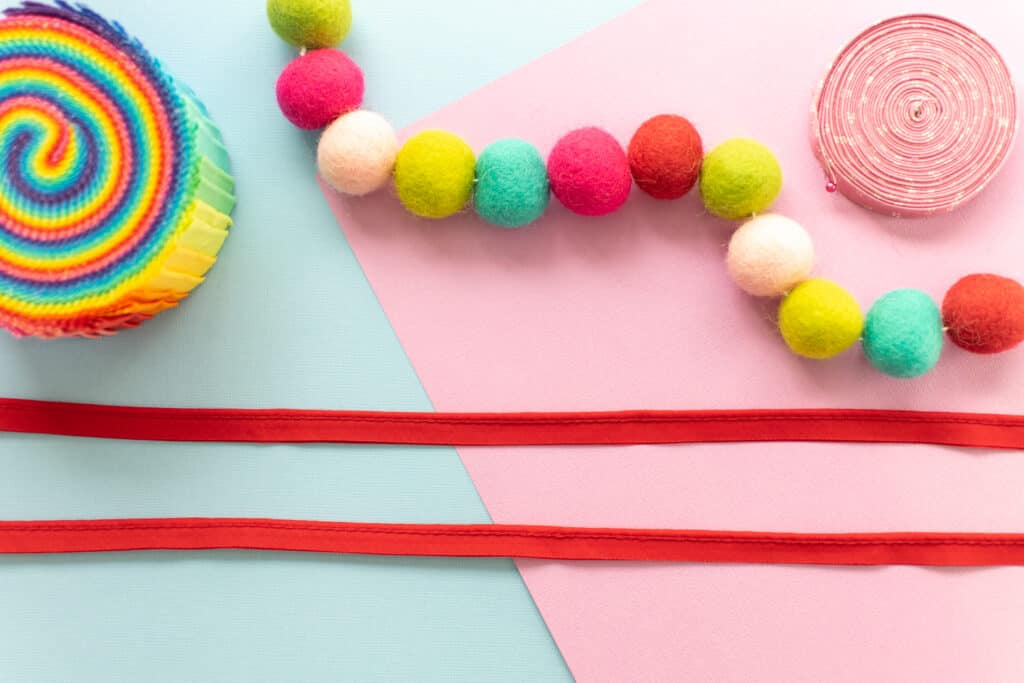
To use maxi piping, simply sandwich it in the middle of your seam, lining up the raw edges of the piping with the raw edges of the fabric. When you turn it right sides out, you’ll have a cool piped seam.
How to Use Bias Tape
While the primary use of bias tape in most people’s sewing space (mine included!) is finishing edges, here are some other ways to use bias tape.
- Finish raw edges on the inside of a project with bias tape. Try bias bound seams or Hong Kong seams.
- Add decorative elements using bias tape. Experiment with creating a design on the outside of your project using different colors of bias tape topstitched in place.
- Make cute button loops. Instead of buttonholes, make adorable little bias tape loops to secure your buttons in place.
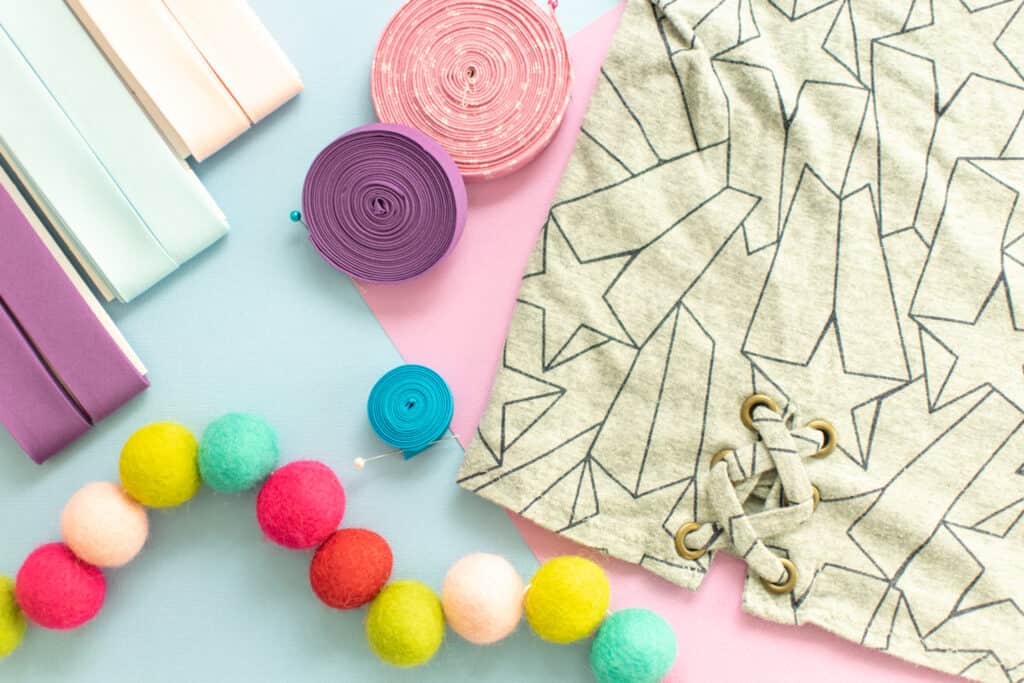
- Create loops for an edgy lace-up detail. Use bias tape to form loops for a lace-up detail on a dress or top.
- Make a tie to go with your lace-up detail. Every lace-up closure needs a tie and bias tape can make a great tie.
- Make drawstrings. Instead of purchasing a drawstring for your project, try using bias tape in a color that matches.
What are your favorite uses for bias tape? Let me know in the comments below!
Don’t forget to join my Facebook group where you can show us what you’re making, ask questions, and learn from others!
Follow me on Instagram for daily crafting inspiration and a look behind the scenes.


I use bias tape for binding small quilts,, quick and easy to do!