Learn How to Finish Your Quilt by Binding It With Bias Tape in This Step by Step Beginner Friendly Tutorial Sewing Tutorial.
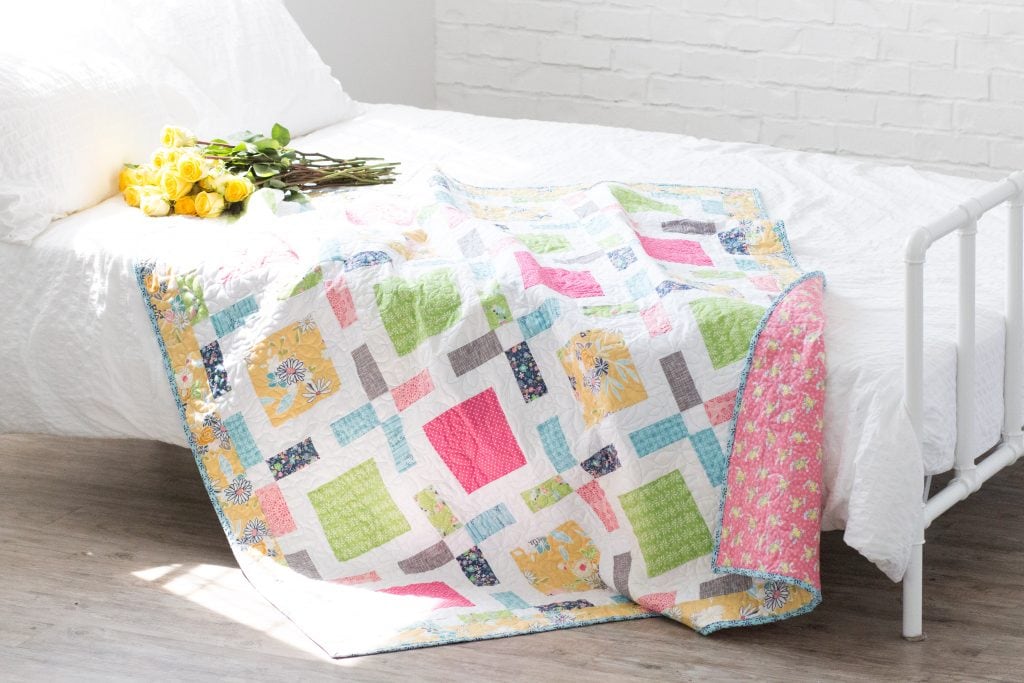
Once you've spent hours piecing and stitching a beautiful quilt, all that's left to do is finish the raw edges.
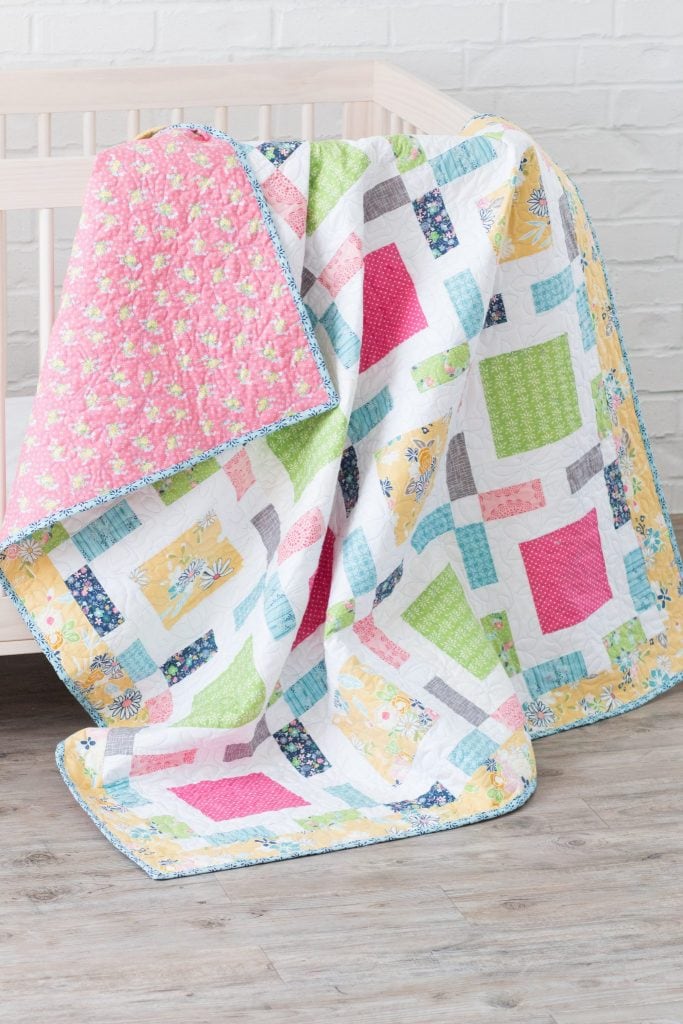
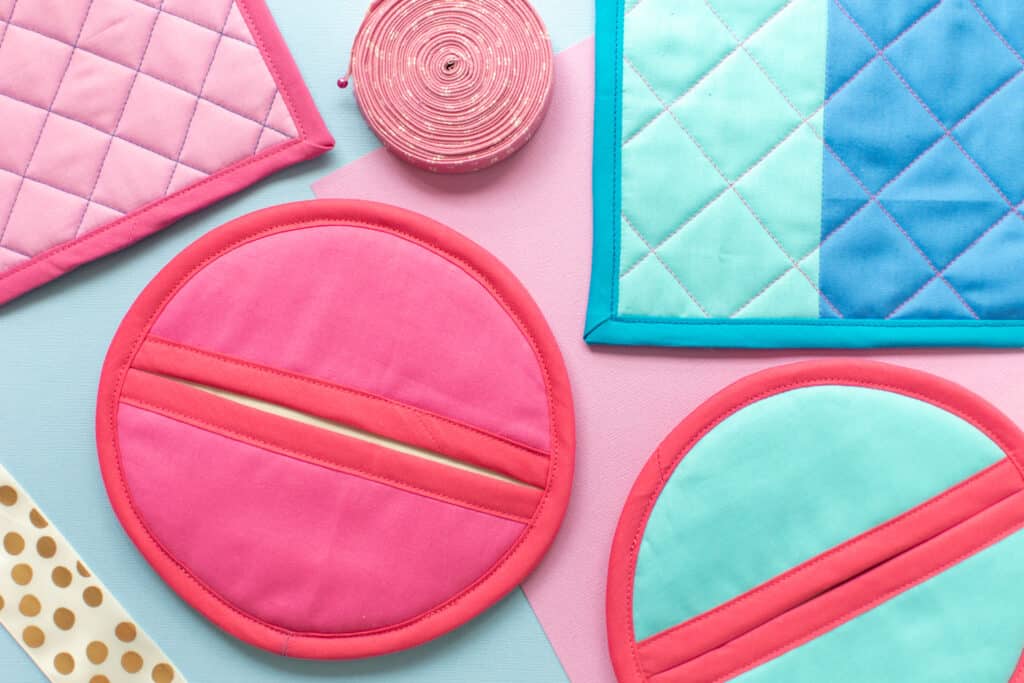
Binding the edge of a quilt with complementary or contrasting bias tape will give your finished project a professional and eye-catching finish.
The best part? Binding a quilt with bias tape is simple - I'll show you my favorite easy method below.

Use this technique with my free Buffalo Plaid Quilt Pattern.
Table of Contents
What is Bias Tape?
Click here to read EVERYTHING you need to know about bias tape!s
Bias tape is a strip of fabric cut on the bias, meaning it is cut at a 45-degree angle to the selvage. Woven fabrics have some give and stretch on the bias, so the resulting bias tape strips are flexible and can form to curves.
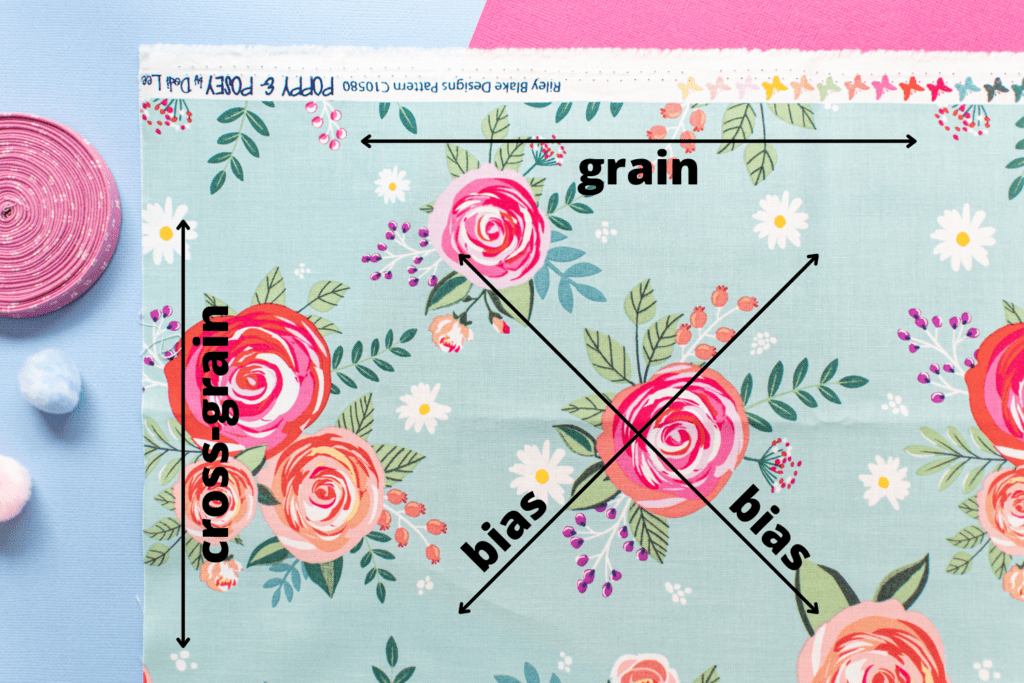
These bias strips are sewn together, then the long edges are folded in and pressed, creating strips of bias tape.
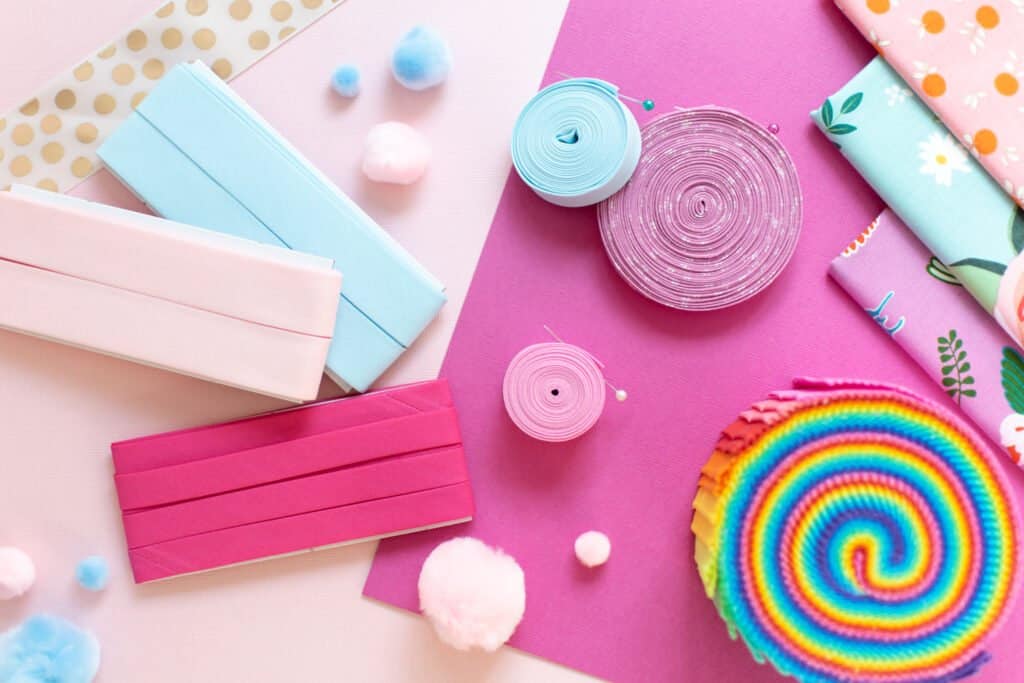
Bias tape can be made in a variety of widths and in 2 main types: single fold bias tape and double fold bias tape.
Single Fold Bias Tape vs. Double Fold Bias Tape
The difference between single and double-fold bias tape is the number of times it has been folded and pressed.
The raw edges are each folded to the wrong side once on single fold bias tape. Double fold bias tape is simply single fold bias tape that has been folded in half to encase the raw edges inside.
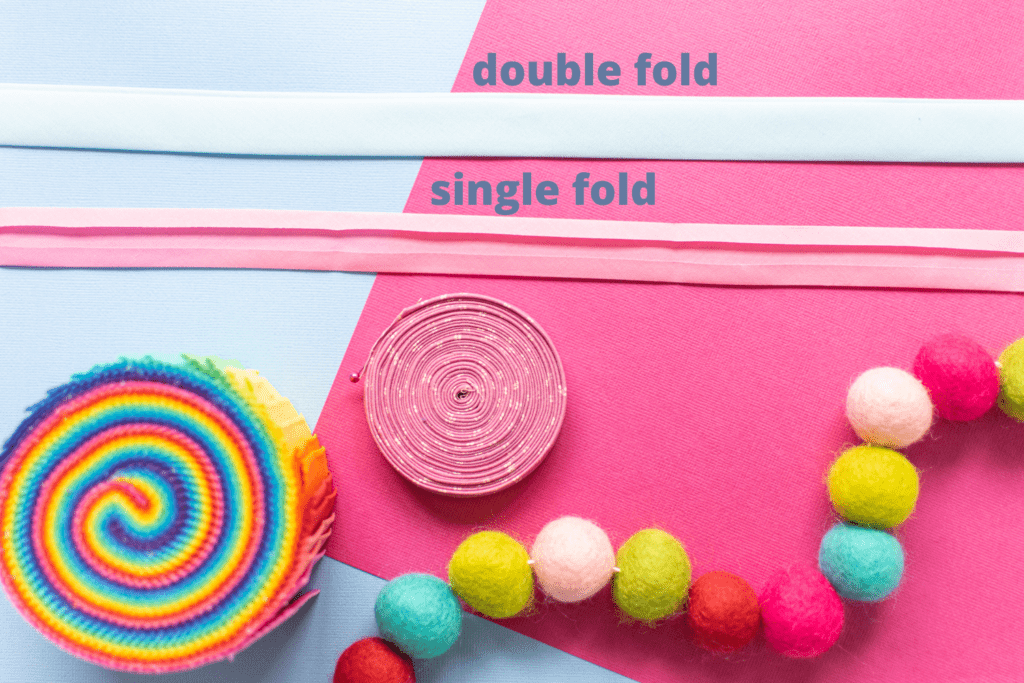
Both single and double fold bias tape can be used to bind the edges of a quilt. The tutorial I'm sharing with you today will work for either type.
If you choose double fold bias tape, 1/2 inch tape is typically a good width for a quilt. If you will be using single fold bias tape, 1 inch tape is a great choice that will give you enough width to work with.
Where to Get Bias Tape
Ready to get the perfect bias tape for your quilt? You can usually find a great selection of different types, widths, and colors of premade bias tape at your local sewing and craft store.
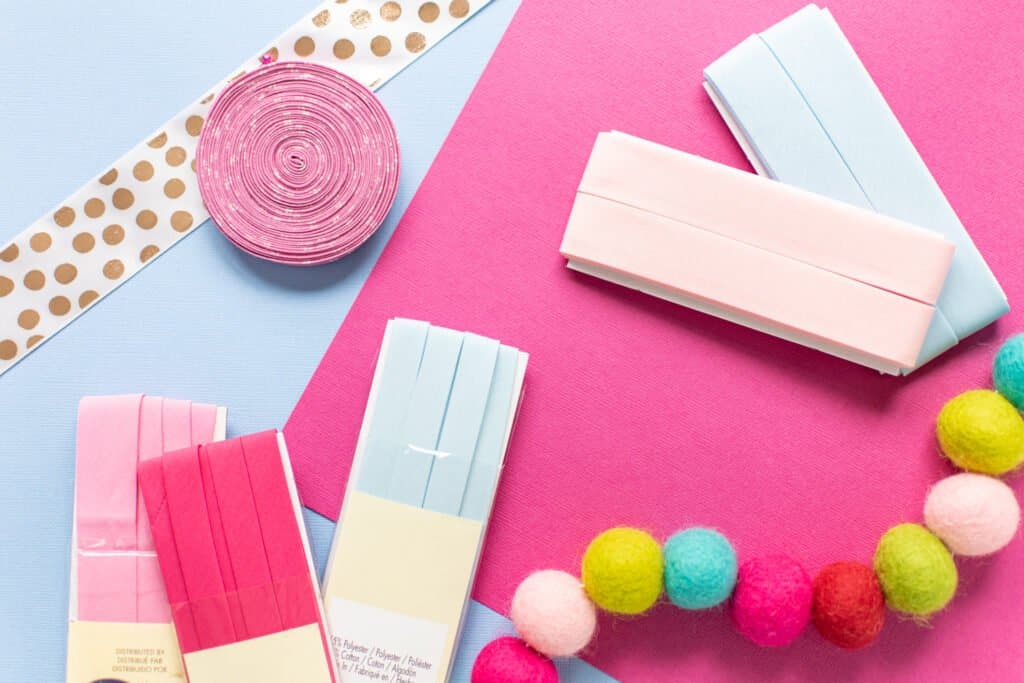
If you're looking for more selection, here are a few of my favorite online sources for bias tape:
- Michaels
- WAWAK
- Etsy
Or, if you want a unique print or color (or you're just feeling crafty) - you can easily make your bias tape from woven fabric! You can find my step-by-step tutorial for making your own bias tape here.
Bias Tape vs. Quilt Binding
When shopping for bias tape to bind your quilt, you may run across something known as "quilt binding."
Quilt binding looks almost identical to bias tape and is another option for binding the edges of a quilt. The difference is that it is cut on the straight grain, not on the bias. This means that quilt binding will have no give or stretch.
For a straight-edge quilt, either quilt binding or bias tape will work well. However, if your quilt has any curved edges, you'll want to make sure to use true bias tape - you'll need the stretch to get those curves smooth!
Advantages of Using Bias Tape
- Bias tape is flexible and can smoothly bind curves, such as rounded corners or scalloped edges.
- Bias tape is stronger than quilt binding. Straight-grain quilt binding will have a single thread running across the entire length of the edge of your quilt, taking most of the wear. Since bias tape is cut on the bias, there are different threads crisscrossing at 45-degree angles along the edge of your quilt, so the wear is distributed across more fibers.
- Bias tape does not fray. Fabric cut on the bias doesn't unravel very readily, unlike fabric cut on the straight grain.
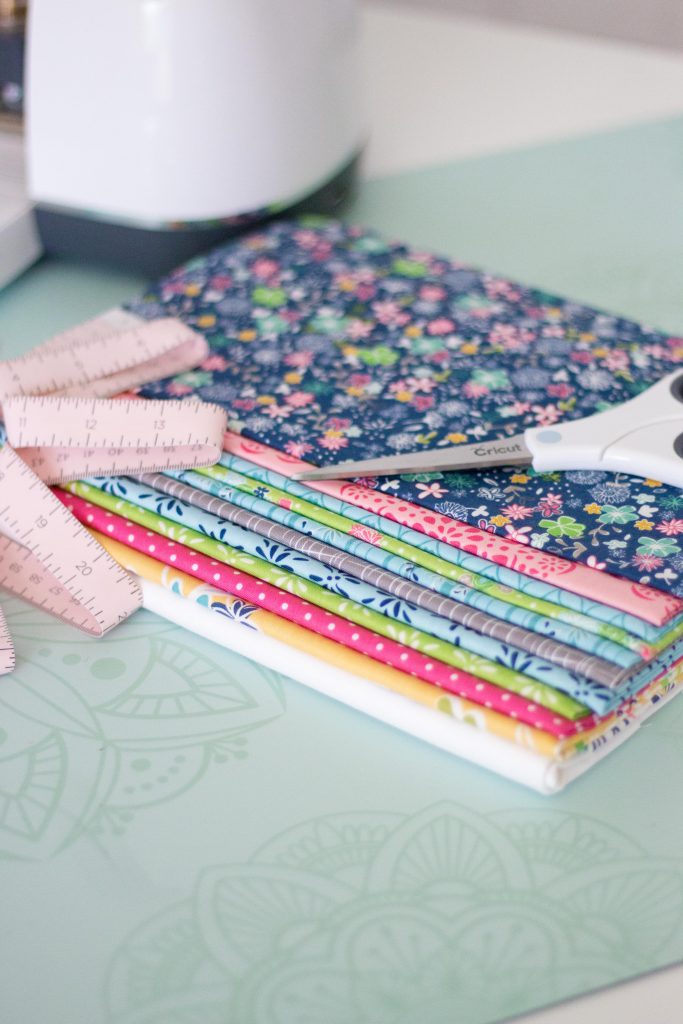
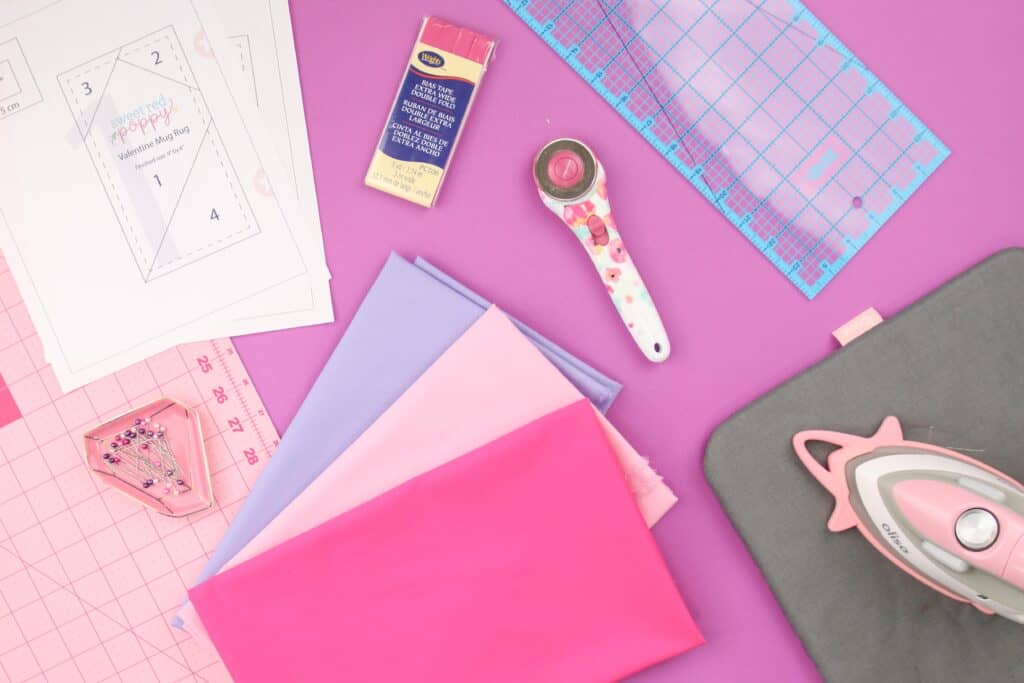
Supplies
Here are the supplies you'll need to bind a quilt with bias tape.
- Bias Tape (single or double)
- Quilt in need of binding
- Sewing Machine
- Rotary Cutter
- Rotary Cutting Mat
- Acrylic Ruler
- Scissors or Thread Snips
- Pins
- Thread
- Sewing Machine Needle
- Iron
- Ironing Mat
Step-by-Step: How to Bind a Quilt with Bias Tape
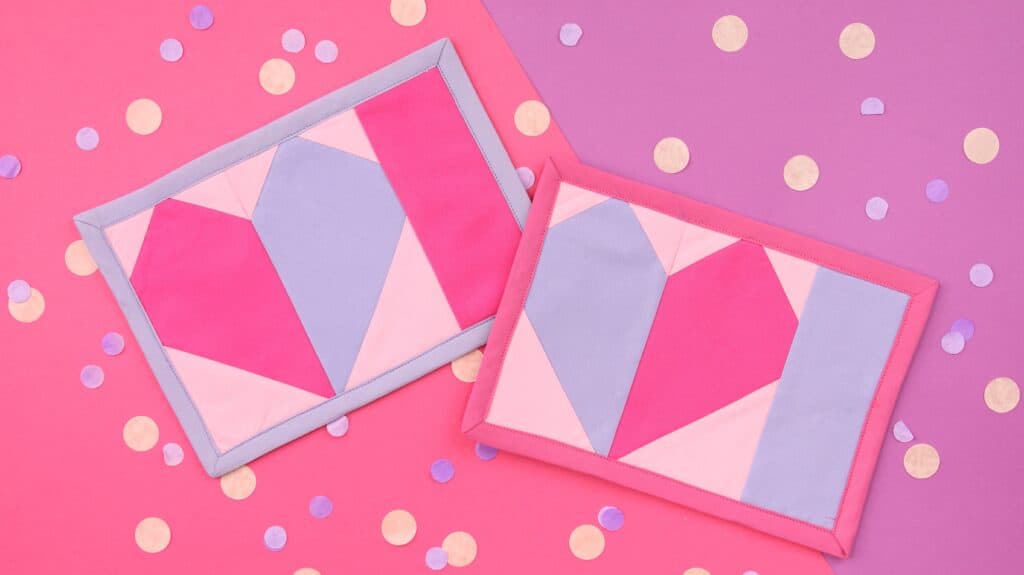
In this tutorial, I'm sharing my favorite simple method of binding a quilt with bias tape. It's quick, easy, and the result is a gorgeous bound edge to your quilt. I'll be using a mug rug so that it's easier to demonstrate this technique on a smaller scale.
You can find the pattern for the mug rug in this demonstration by clicking here.
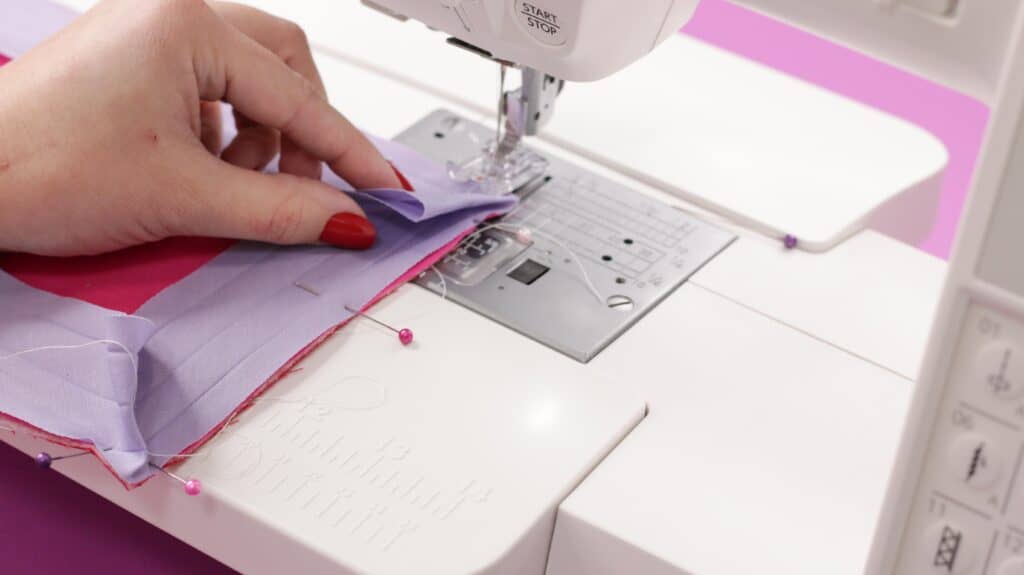
Step 1: Pin the Bias Tape to the Quilt
First, unfold your bias tape and find the shorter of the two folded-in edges. Premade, store-bought bias tape will have one shorter edge to make topstitching easier later.
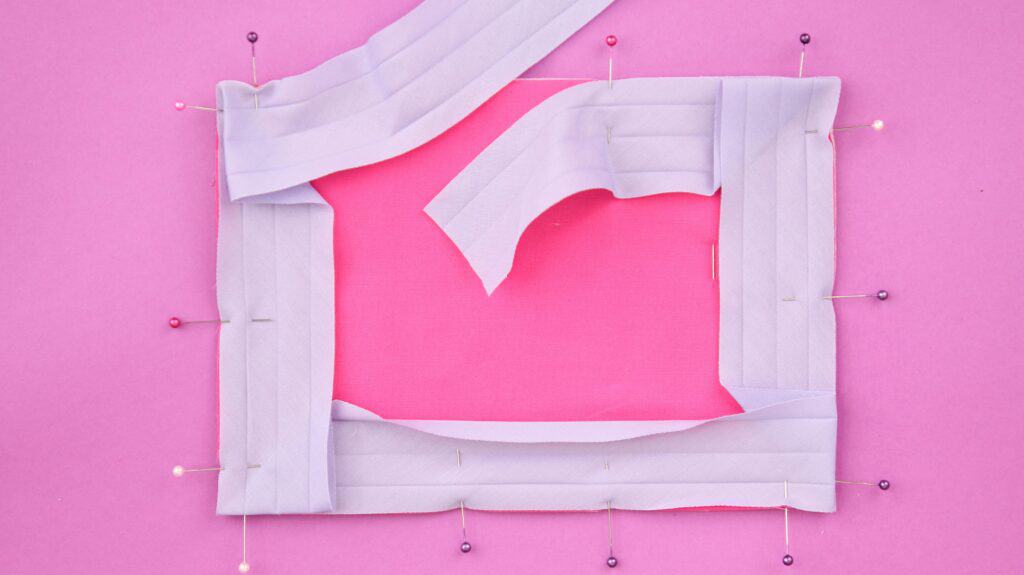
Unfold the bias tape. Then, pin the shorter side of the bias tape to the edge of your quilt with the right side of the bias tape to the wrong side of your quilt.
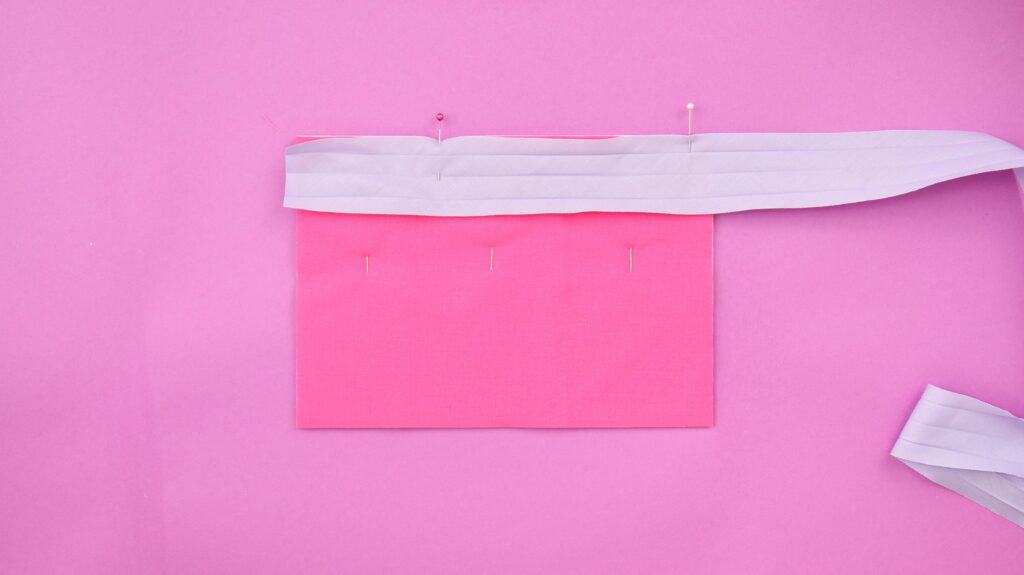
It usually works best to start pinning in the center of one of the longer edges of your quilt. Leave a 3-inch tail unpinned at the beginning of the bias tape.
If your quilt has rounded corners, continue pinning the bias tape all the way around, stopping about 2 inches from your first pin. Make sure not to stretch the bias tape around the corners - doing that will lead to puckering later. It's best to allow the bias tape to lay naturally around the corners.
Trim the end of the bias tape to leave another 3-inch tail.
If your quilt has square corners, you will need to sew mitered corners. But don't worry, it's not that difficult! I'll show you how below. If you need a more in-depth tutorial on how to create mitered corners with bias tape, check out this tutorial.
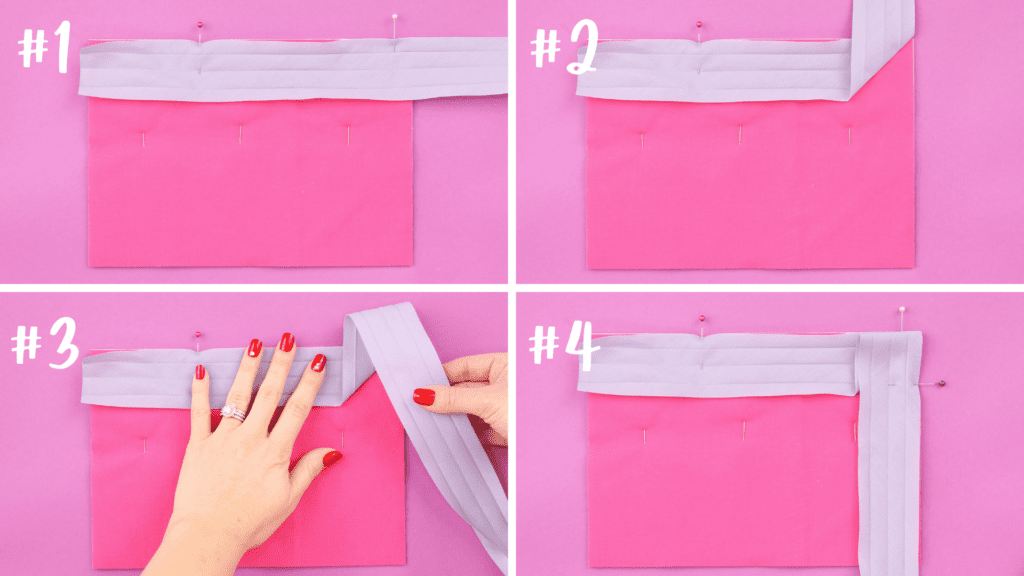
Pinning the Bias Tape for Mitered Corners
First, measure the distance between the top raw edge of the bias tape and the first crease - this is your seam allowance.
- Start pinning the bias tape to your quilt. As you approach the first corner, stop pinning a seam allowance distance away from the far edge.
- Fold the end of the bias tape up away from the quilt to form a 45-degree angle.
- Next, fold the bias tape back down along the next edge of the quilt. Line up the fold in the tape along the top raw edge of the quilt.
- Pin this corner in place.
Continue pinning your bias tape to the edge of your quilt, repeating this process for each corner. If you need to join two pieces of bias tape together refer to this post or scroll down to view step 2.
Stop pinning the bias tape about 2 inches from where you first started pinning. Trim the end of the tape to leave another 3-inch tail.
Step 2: Join the Bias Tape Ends
Once you've pinned the bias tape around all the edges of your quilt, you'll need to join the ends with a beautiful 45-degree seam.
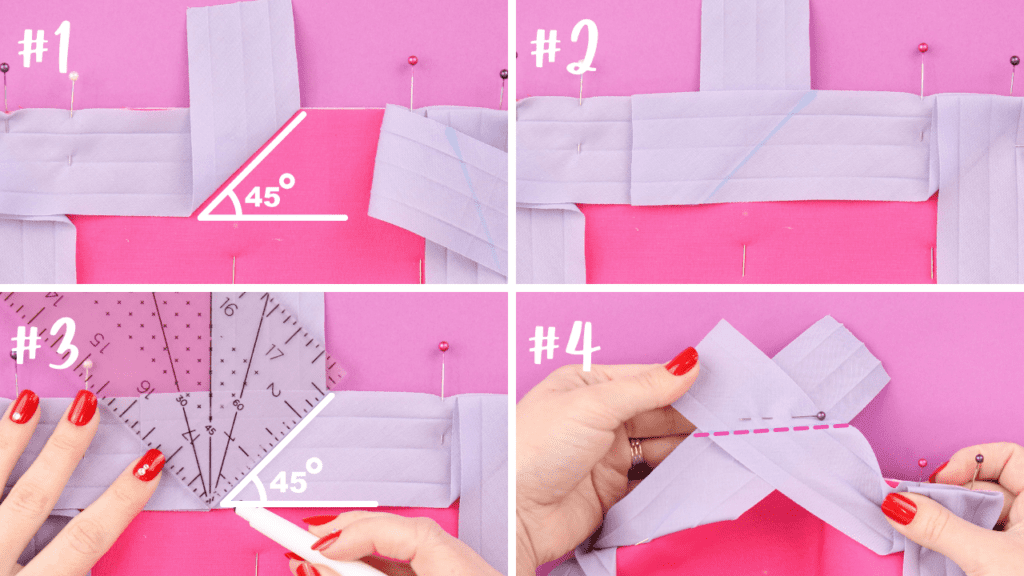
#1 - Start by folding the left-hand bias tape tail up so that it forms a 45-degree angle. If you're worried about free-handing it, you can use a quilting ruler to ensure that your angle is correct. Press this fold well.
#2 - Next, lay the second bias tape tail across the first one. Make sure to keep it lined up with the edge of your quilt.
#3 - Then, use a quilting ruler to draw a line across the upper bias tape tail at a 45-degree angle. This line should follow the fold in the lower tail.
#4 - Pinching them together to make sure the bias tape tails don't shift, carefully lift the ends away from the quilt and pin them together.
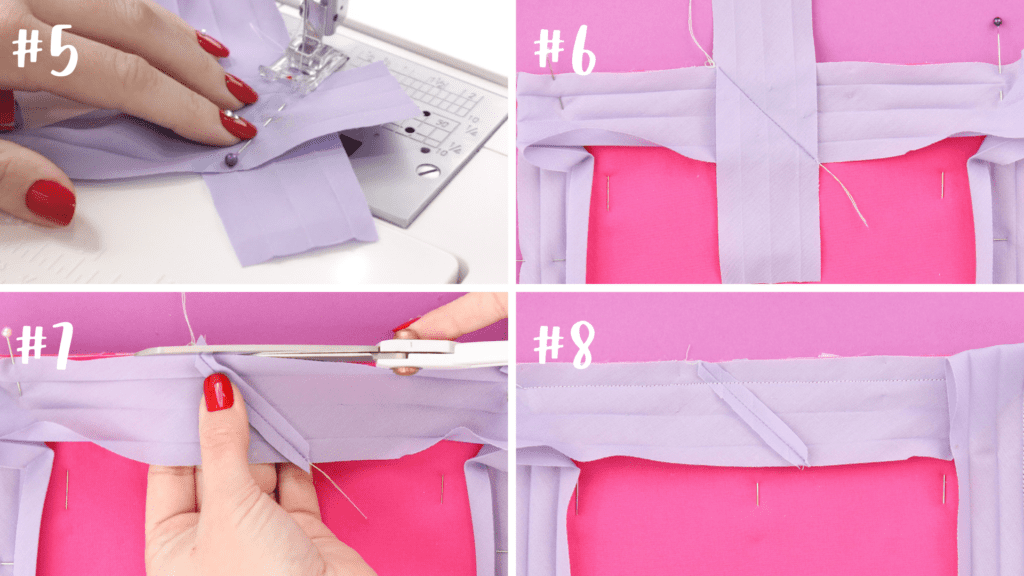
#5 - Sew the two bias tape ends together by sewing across them, following the line you just drew.
#6 - Your bias tape should now fit perfectly along the edge of your quilt.
#7 - Trim the seam allowance down to 1/4 inch, then trim away the excess seam allowance at the top and bottom of the seam. Press the seam open.
#8 - Finally, finish pinning this last section of bias tape to the edge of your quilt.
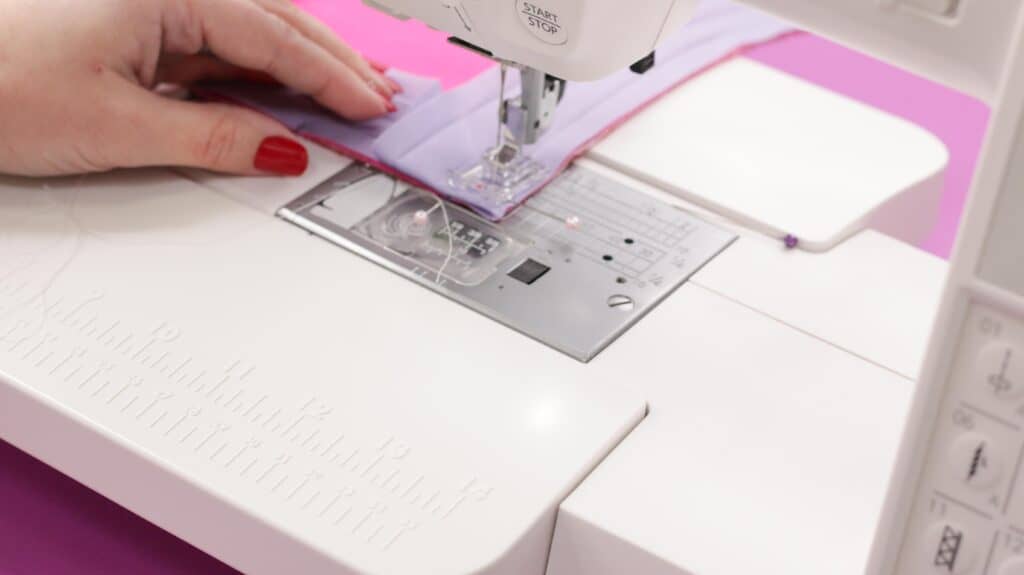
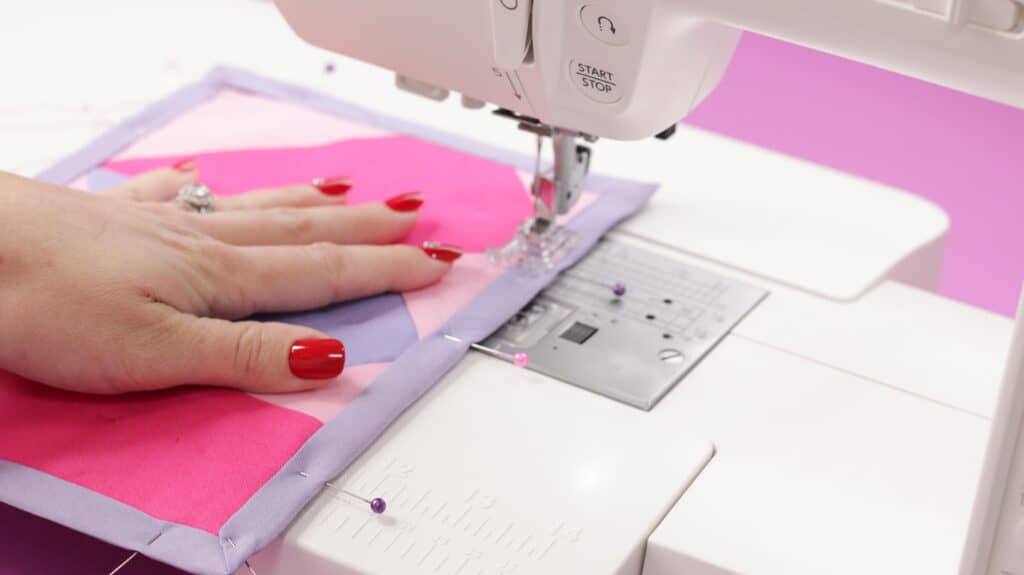
Step 3: Sew the Bias Tape to the Quilt
With your bias tape pinned to the edge of your quilt, it's time to stitch it in place!
To do this, simply sew the bias tape to the quilt by stitching in the first crease.
*PRO TIP: If your quilt has curved edges, using a walking foot can help you keep the bias tape nice and flat and avoid stretching it out.
If your quilt has square corners, here's how to stitch around those mitered corners.
First Pass of Stitching with Mitered Corners
Start sewing the bias tape to the quilt along one of the straight edges.
When you near the first corner, stop sewing a seam allowance width away from the far edge of the corner. Backstitch to secure your stitching.
Lift the presser foot and rotate the fabric 90 degrees so that the next edge of the quilt is lined up in front of the needle.
Push the fabric of the corner back behind the needle so that it won't be caught in your stitching.
Start sewing along the second edge of the quilt a seam allowance width in from the back of the corner.
Continue stitching the bias tape to the quilt around all four edges, repeating this process at each corner.
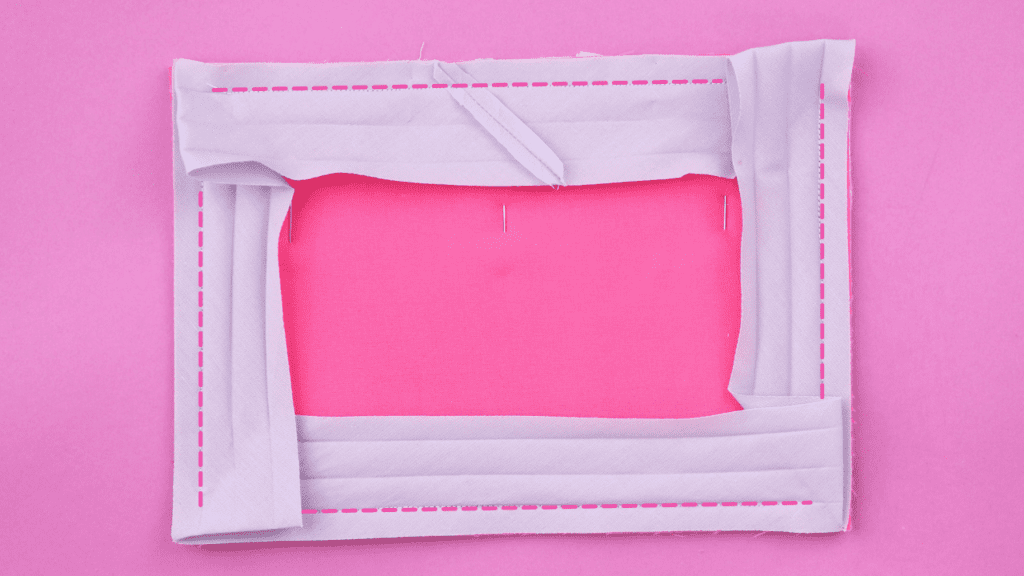
The bias tape should now be sewn to the quilt with only the corners left unsewn.
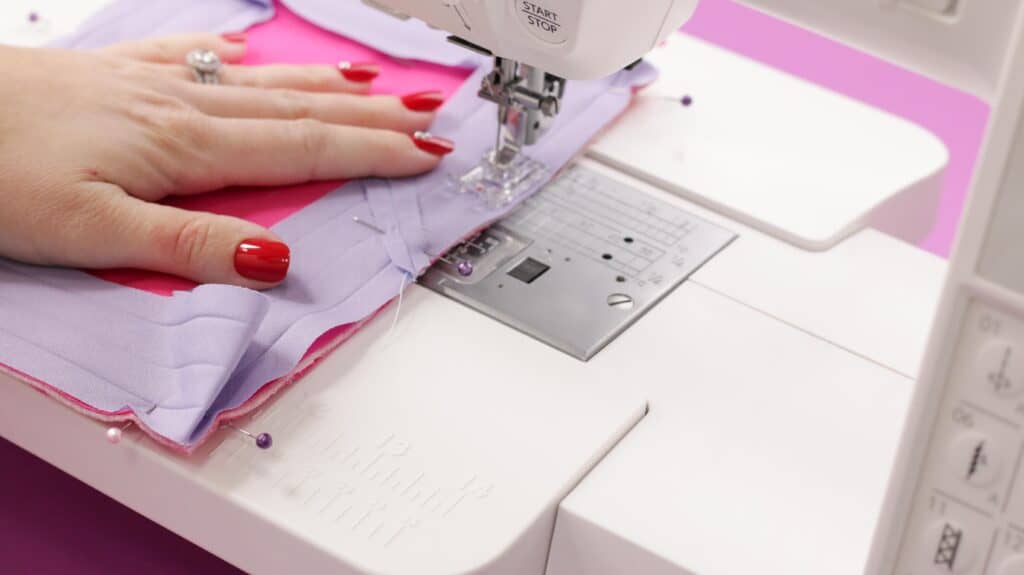
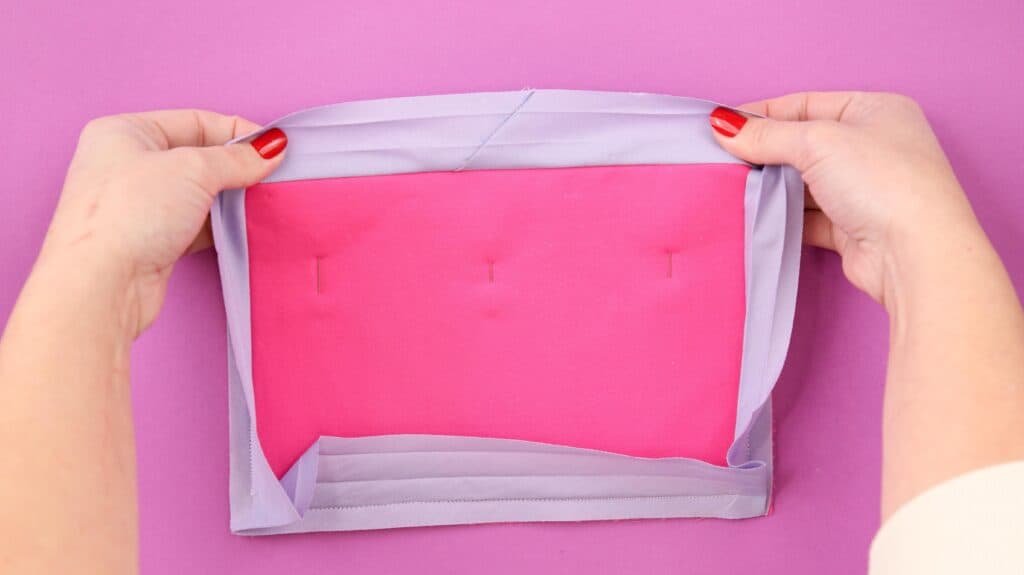
Step 4: Wrap the Bias Tape Around the Raw Edges of the Quilt
Next, fold in the outermost edge of the bias tape along the pre-pressed crease.
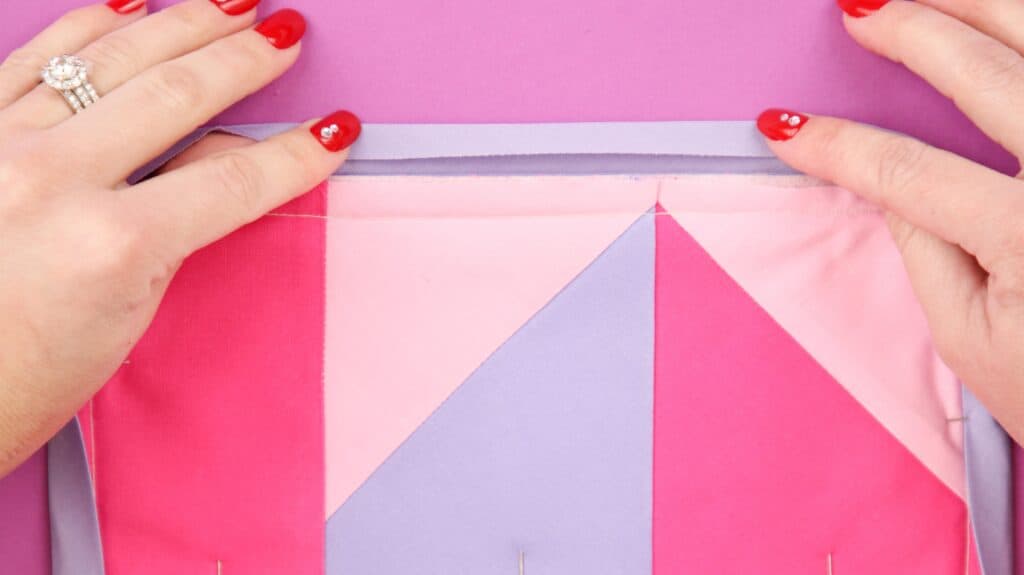
Then, flip the bias tape to the right side of the quilt to encase the raw edges.
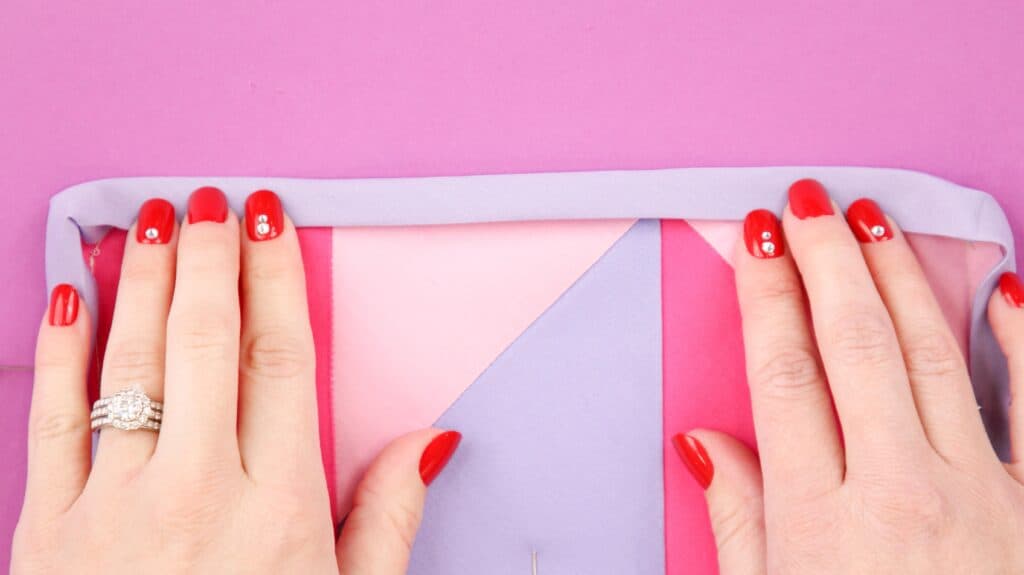
Pin it in place all the way around the quilt. Make sure the folded edge of the bias tape on the right side extends slightly past the bias tape seam on the wrong side.
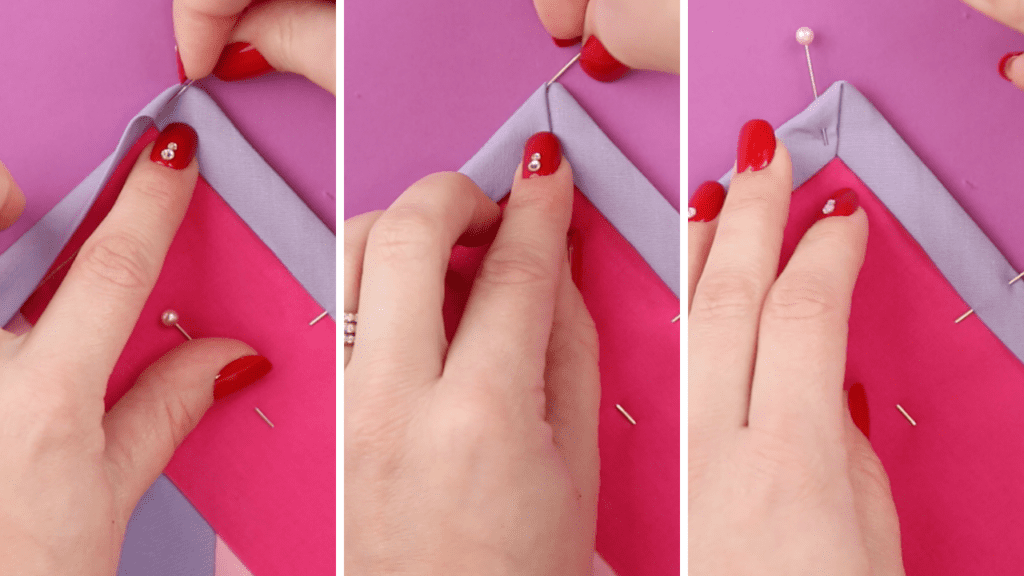
If you are sewing a quilt with square corners, fold the bias tape at each corner so that it forms a 45-degree crease up the center. Pin each corner in place.
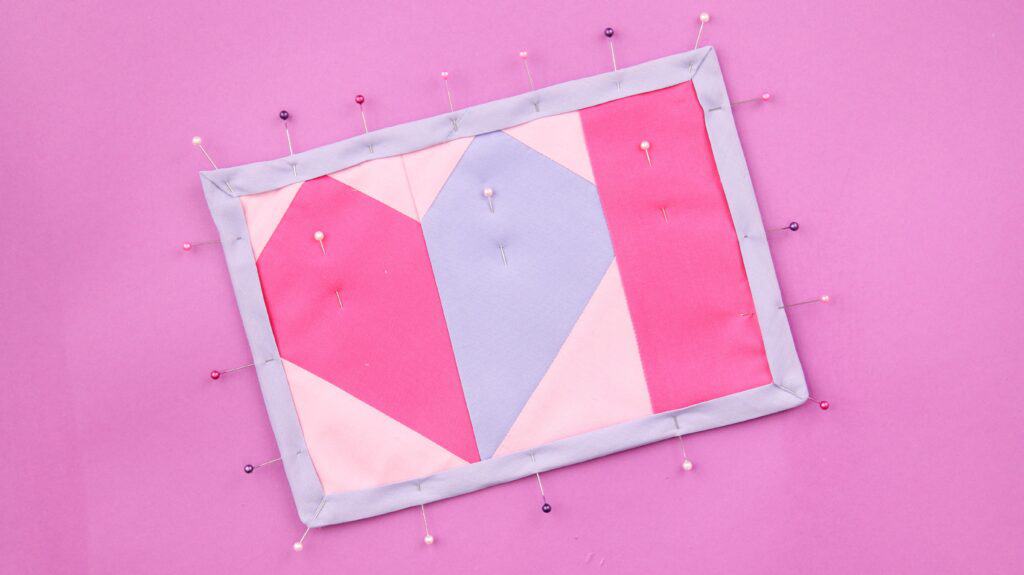
Step 5: Topstitch the Folded Bias Tape to the Quilt
Once you have the bias tape pinned in place around all the edges of your quilt, it's time for a final pass of stitching to secure everything in place.
Working from the front side, topstitch within the bias tape 1/8 inch from the inner folded edge.
If you are sewing a quilt with square, mitered corners, stop stitching at the center of the first corner. Then, leaving the needle down, lift the presser foot and pivot the fabric so that the next edge is in front of the needle. Continue sewing, repeating this process at each corner to get nice, sharp corners.
Give your quilt a final pressing and you're done!
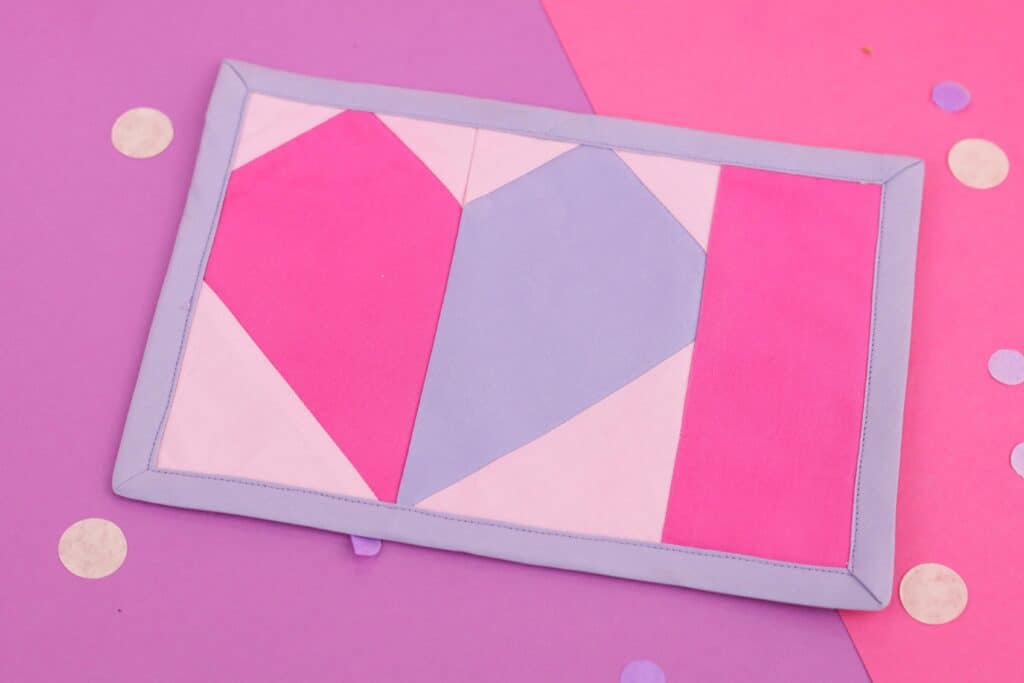
Enjoy your beautiful, handmade quilt with its gorgeous bias binding.
If you use this technique to bind your quilt, take a photo and share it with me on Instagram by using #sweetredpoppy, I would love to see how it turned out!
In need of more inspiration and help? Join my crafting and sewing Facebook group where you can show us what you're making, ask questions, and learn from others!
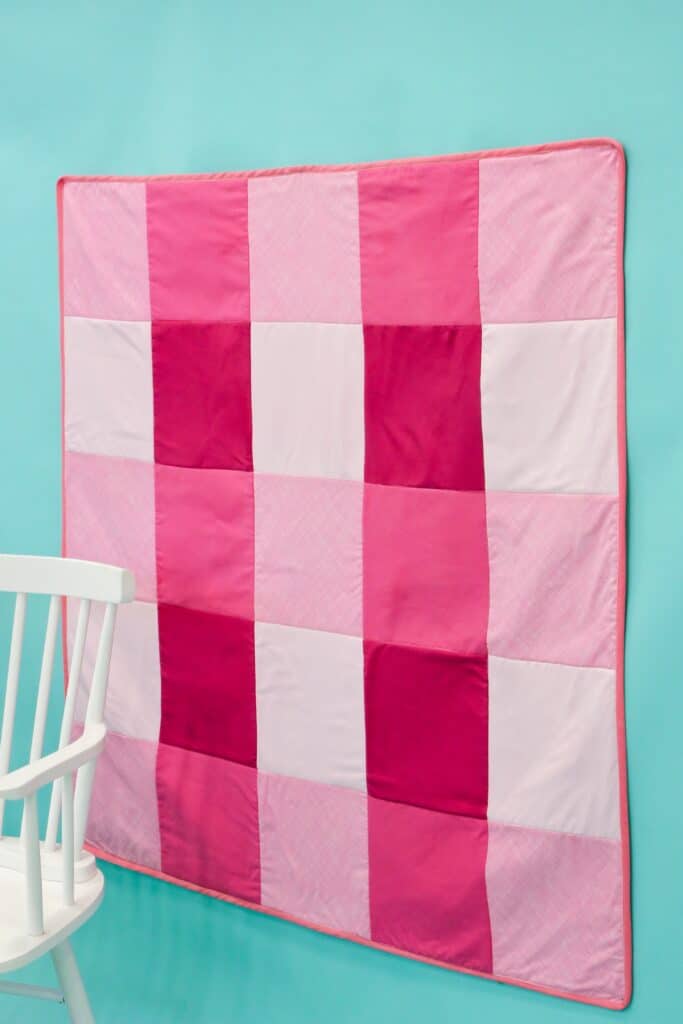
Click here to get my free Buffalo Plaid Quilt Pattern.
What is the name of the beautiful quilt pattern in your article? I would love to get it and make a quilt like that. Your article was very good as well and I will be saving it.