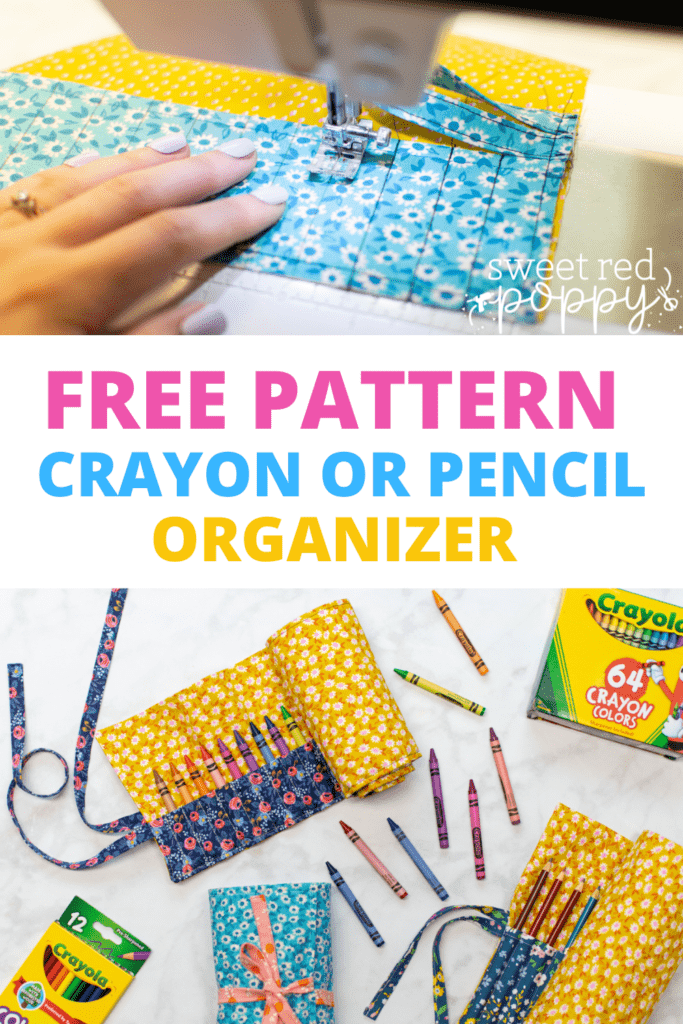
Sew a Pencil Roll to Keep Your Colored Pencils and Crayons Organized With This Free Sewing Pattern and Step-By-Step Tutorial.
We love Crayola at our house! But keeping all those crayons and colored pencils organized can be a challenge. A roll-up case is a compact and tidy way to store all your Crayola crafting supplies.
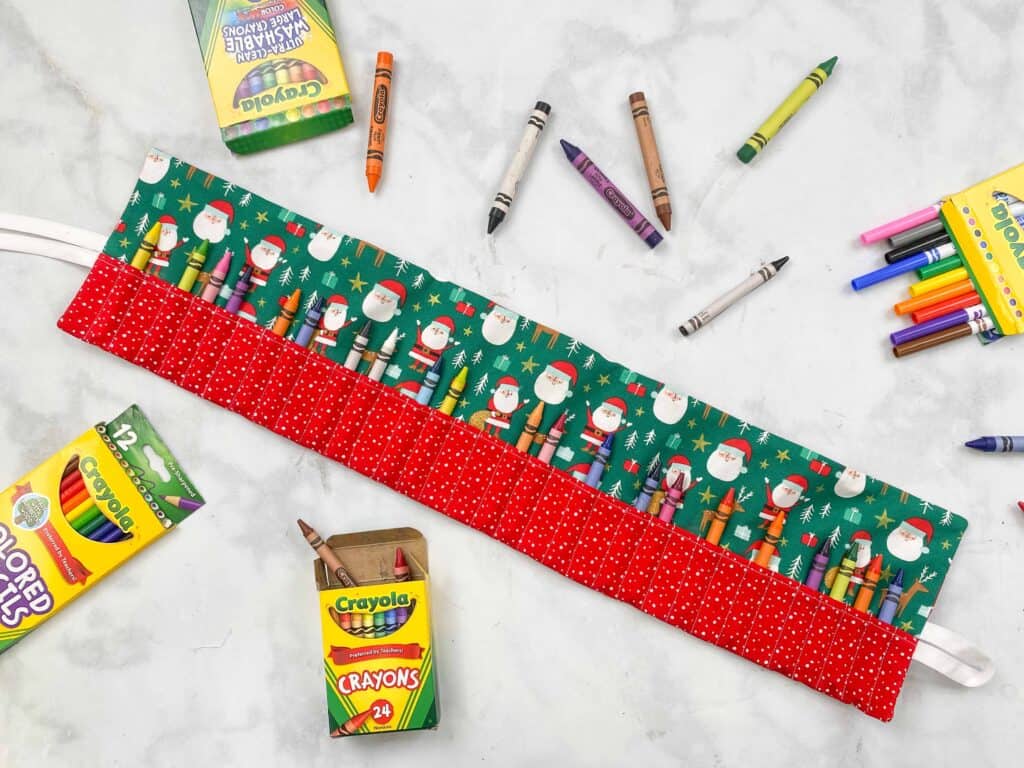
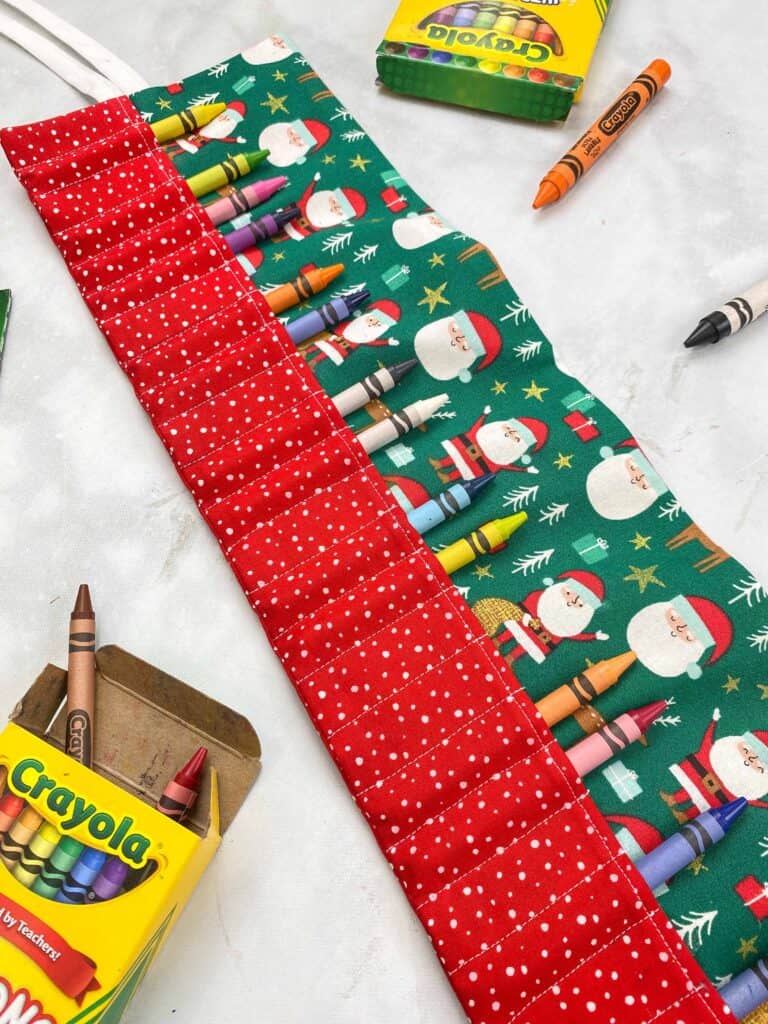
This Crayon Roll-Up even makes for a great Christmas gift because it can be easily personalized for the recipient. Add in a few boxes of Crayola Crayons or Colored Pencils and you have a thoughtful Christmas gift!
Today I'm sharing my free beginner-friendly sewing pattern that you can use to make a fun (and useful) crayon or pencil roll.
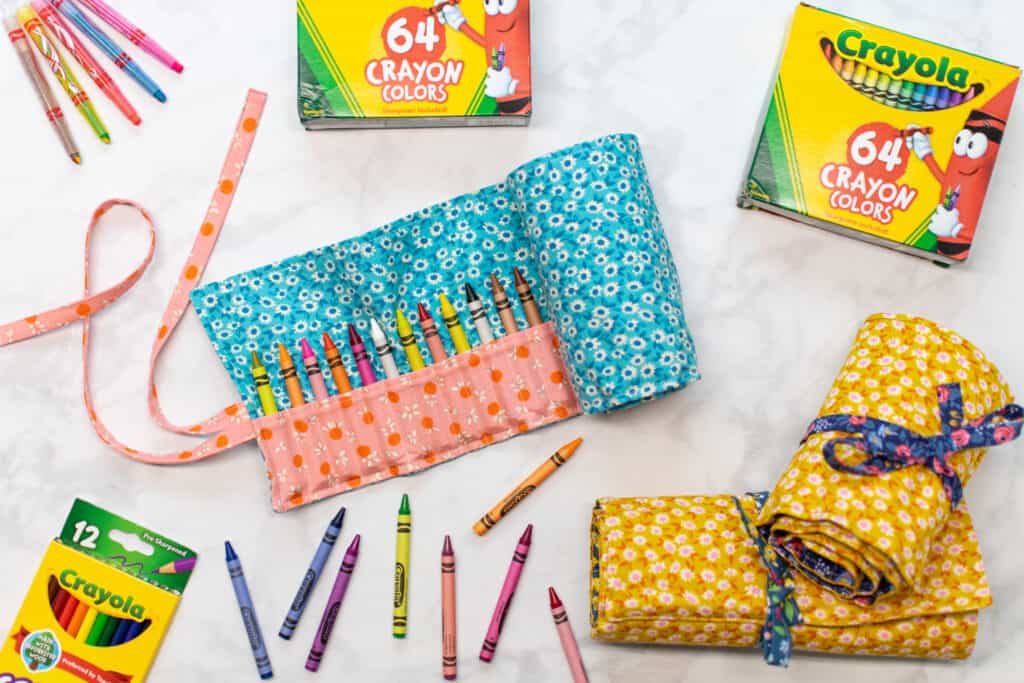
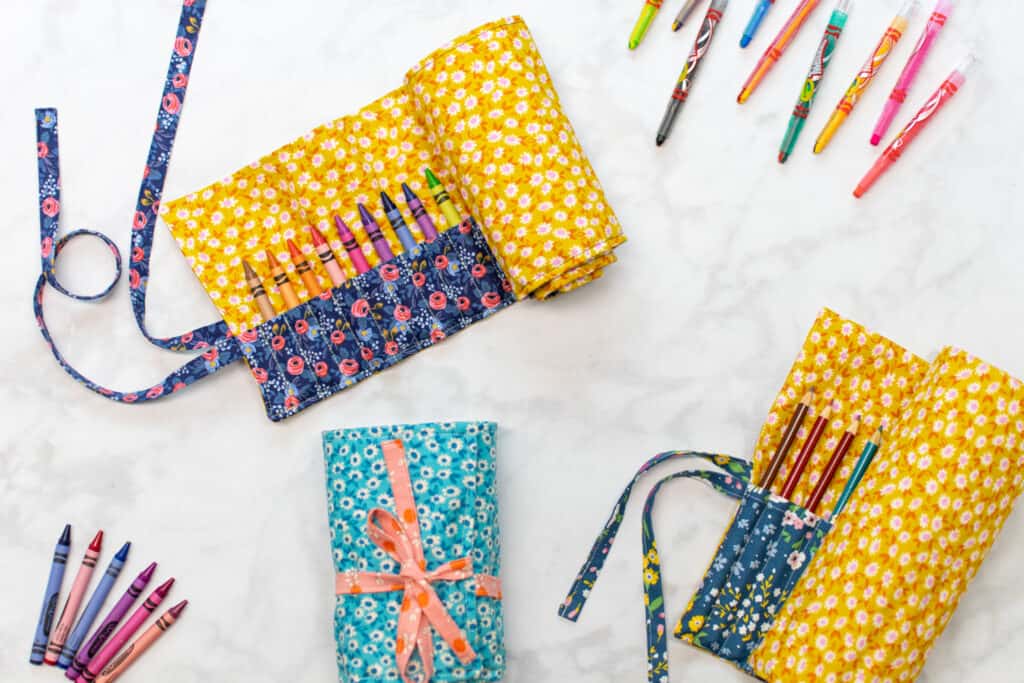
Table of Contents
What is a Pencil Roll (and Why Do You Need One)?
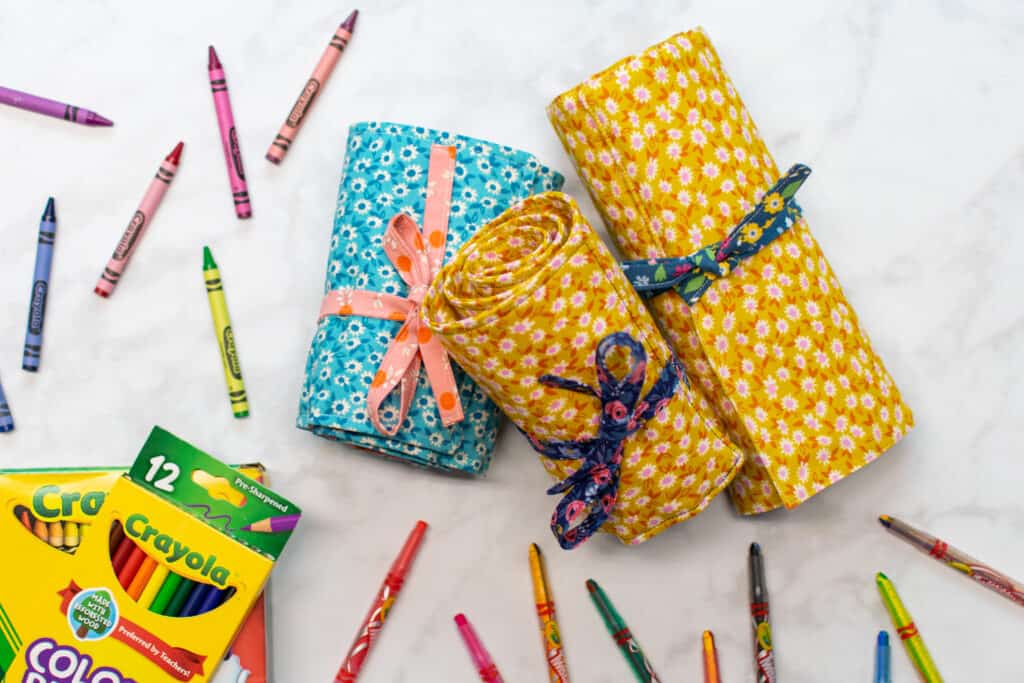
A pencil or crayon roll is a soft fabric organizer with pockets to hold pencils, crayons, paintbrushes, knitting needles, or any other narrow items you need to store. Once your pencils or crayons are placed in the pockets, the fabric is rolled up and tied in a nice compact roll.
This is a great portable way to organize crafting supplies - it's easy to throw a pencil roll into your kid's backpack or your purse. It also helps to keep all your crafting spaces clean by keeping those messy crayon and pencil ends safely out of the way inside the fabric roll when not in use.
Plus, once you've made one roll-up pencil case, you'll want to make more! They make wonderful gifts and are great stocking stuffers. And don't forget to throw in a box or two of Crayola crayons or pencils to go with the gifted roll-up case!
About the Easy Pencil and Crayon Roll Sewing Pattern
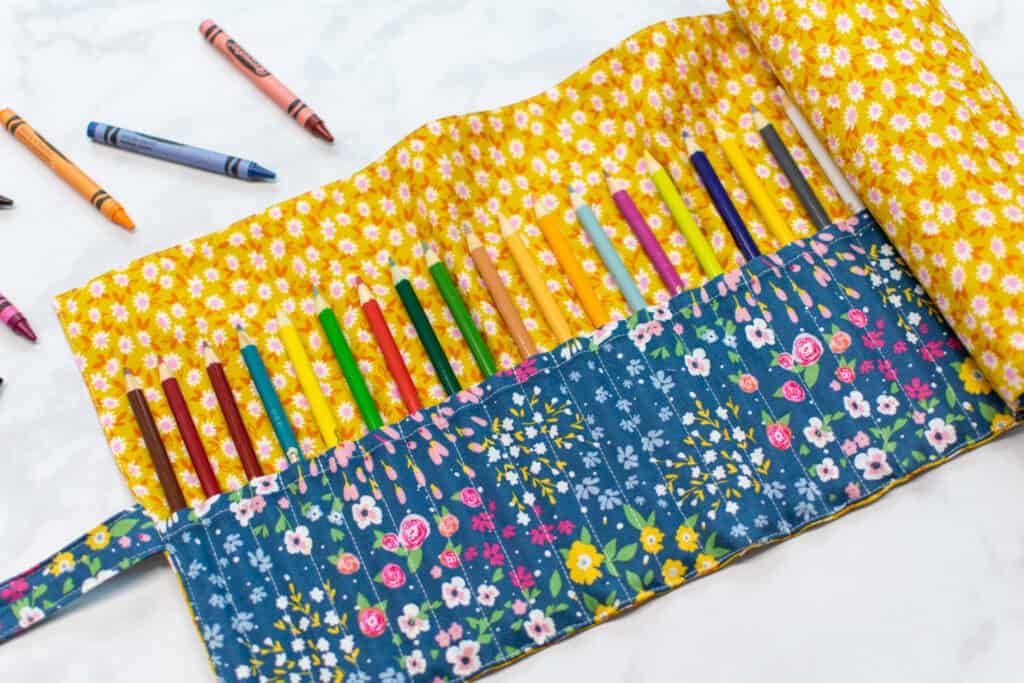
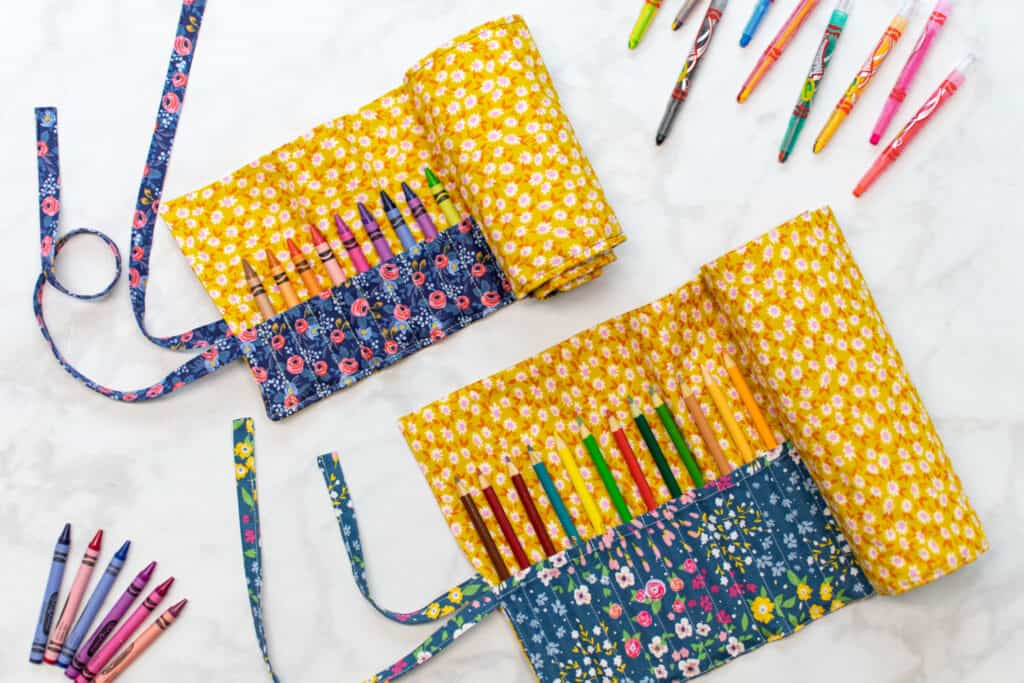
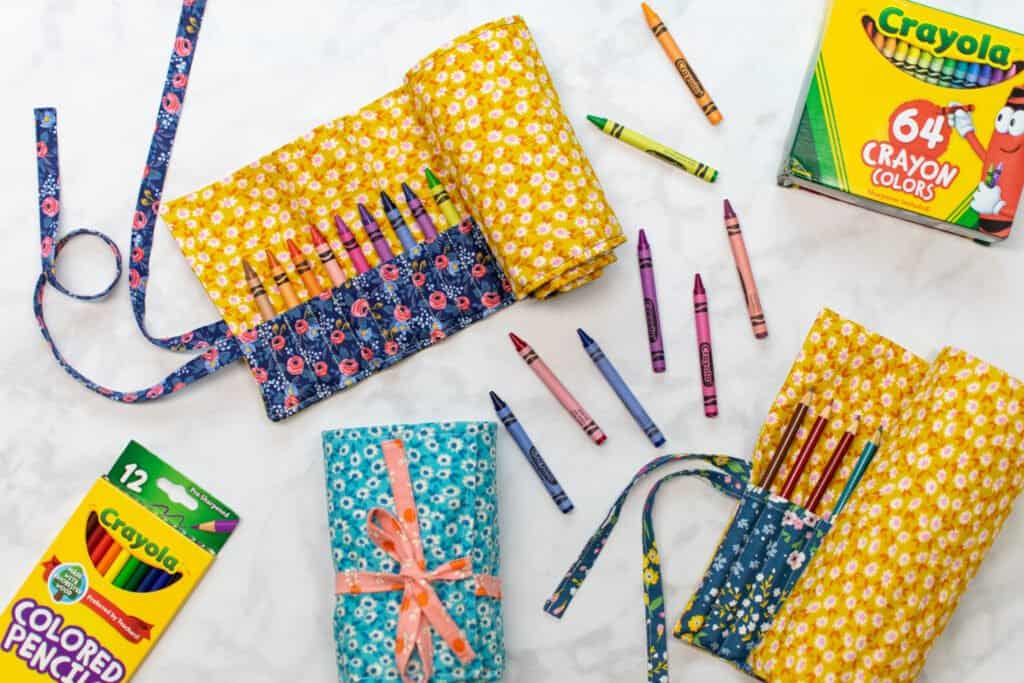
This pattern includes 2 different roll-up case sizes - one intended for colored pencils and a shorter one for crayons.
This case includes ties on the left side to hold it closed when rolled. It also has a hanging loop on the right side that the pencil roll can be hung from when in use.
Both sizes hold 36 crayons or pencils. However, if you'd like to make a roll that holds more pencils or crayons, simply add 3/4 inch to the length of the front and back pattern pieces for each additional pocket. Similarly, if you want fewer pockets, remove 3/4 inch for each pocket you want removed.
Dimensions of Finished Crayon and Pencil Roll-Up Cases
Here are the finished dimensions of the crayon version and the pencil version of the roll-up case.
- Crayon Roll Dimensions: 27.5" x 6.25"
- Pencil Roll Dimensions: 27.5" x 9.25"
Fabric Recommendations for the Pencil Roll Pattern
You can use any medium-weight, non-stretch fabric to sew your pencil roll. It's best to avoid very light-weight fabrics as they won't be durable enough to last over time. On the other hand, very heavy fabrics can be too bulky and make the case difficult to roll up.
For a beginner, I recommend a high quality quilting cotton. Quilting cotton is easy to sew and comes in a huge range of colors and prints. However, you can also experiment with other types of fabric such as mid-weight faux leather, canvas, or denim.
A medium-weight interfacing is also an important material in constructing your pencil roll. I recommend Pellon SF101 as a wonderful interfacing option.
Roll-Up Crayon and Pencil Case Sewing Supplies
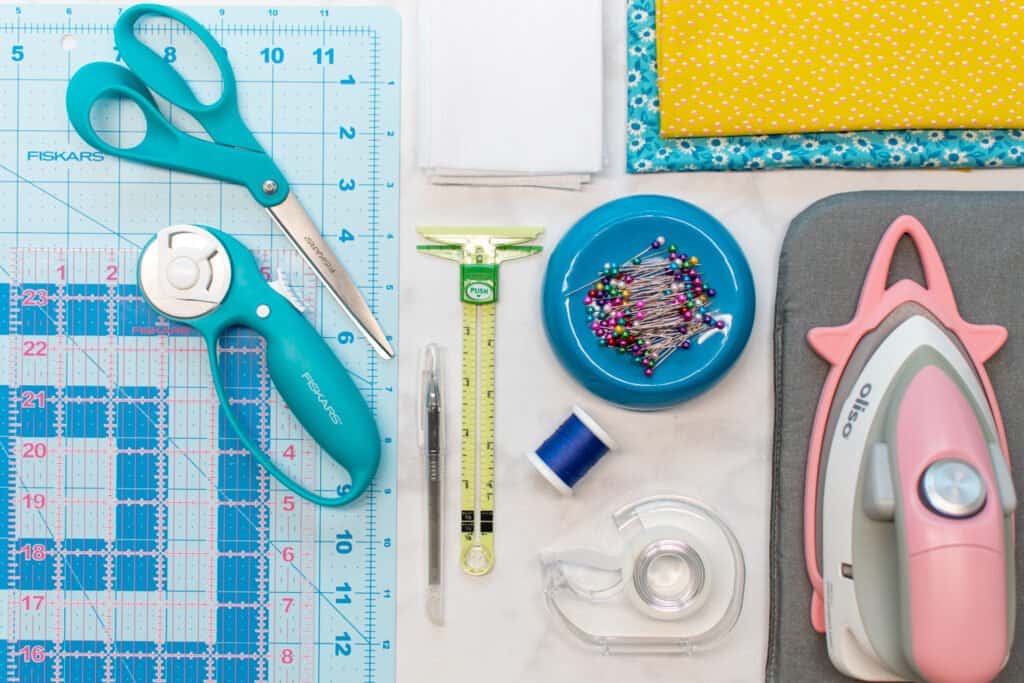
Here are the supplies you'll need to sew your new crayon or pencil roll.
- 1 Yard Mid-Weight Woven Fabric (for 60" wide fabric, 1/2 yard will work)
- 2.5 Yards 20" Wide Mid-Weight Interfacing (or 1/2 yard 60" wide interfacing)
- Scissors
- Rotary Cutter
- Rotary Cutting Mat
- Thread
- Sewing Pins
- Iron & Ironing Board
- Fabric Pen
- Sewing Machine Needle
- Sewing Machine
- Quilting Ruler
- Seam Gauge
- Tape
- Printer
- Printing Paper
Shop my favorite sewing supplies here!
Why Shop Through My Links?
When you shop through my affiliate links, it doesn't cost you anything extra, but it helps me out in a big way! I earn a small commission from those purchases, and that support allows me to continue creating and sharing free tutorials and patterns for you. Thank you so much for helping me keep this creative community going!
Click Here to Download the Free Pencil and Crayon Roll Sewing Pattern
Step 1: Download and Print the Pencil Roll Sewing Pattern
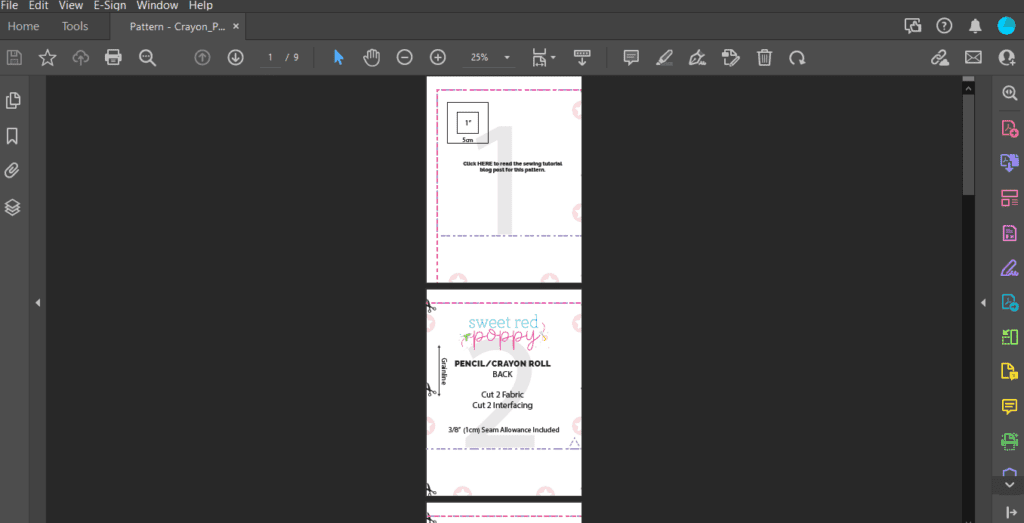
First, download the free pencil roll sewing pattern to your computer.
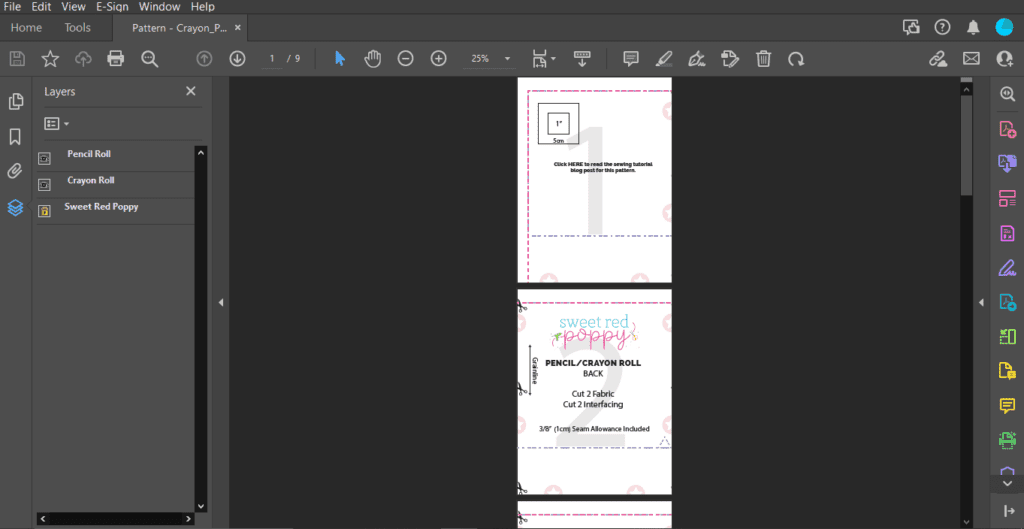
Open the pattern in your PDF reader. I recommend using Adobe Acrobat. It's important not to print the pattern from your browser because it can mess up the scaling and the border lines.
Next, click on "Print". This will open a print settings dialog box. Set the scaling to "Actual Size" or "Custom Scaling: 100%".
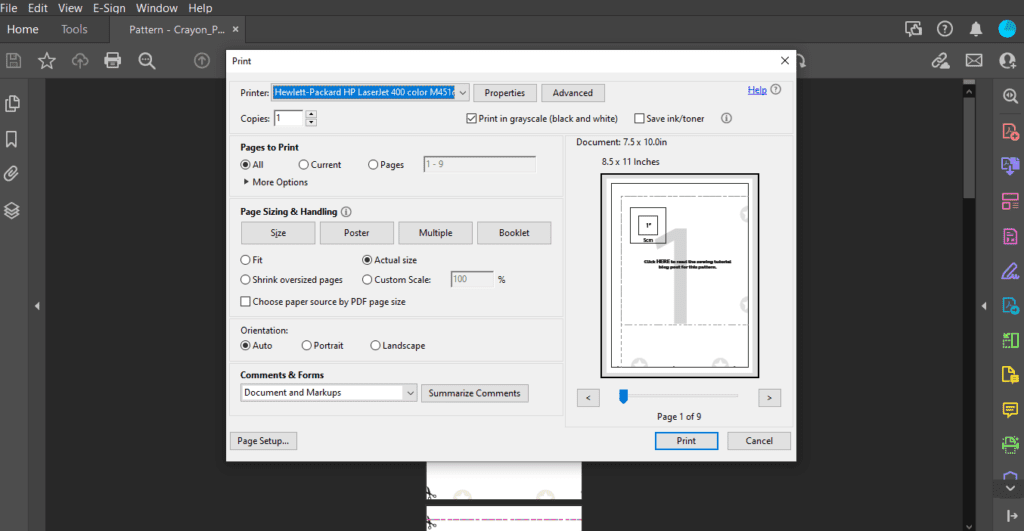
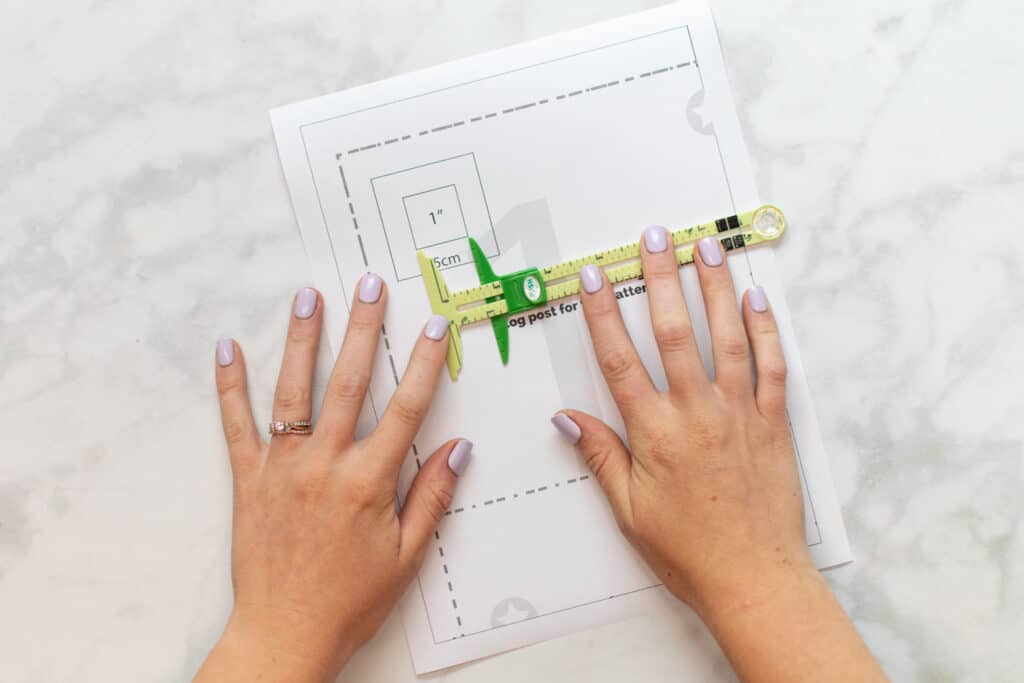
Once the scaling is set, print the first page of the pattern. This page contains a 1" x 1" test square to ensure that your scaling is set correctly.
After the first page prints, measure the test square. If it measures 1" x 1", go ahead and print the rest of the pattern. However, if it doesn't measure 1" x 1", you'll need to recheck your print settings and reprint.
In addition, this pattern features a layers option so that you can print only the version of the pattern you want to sew.
To use the layers option, click on the icon that looks like 3 stacked papers along the left-hand side. Then, deselect the "eye" icon next to the version you don't want to print.
Step 2: Assemble the Pattern and Cut Out Fabric
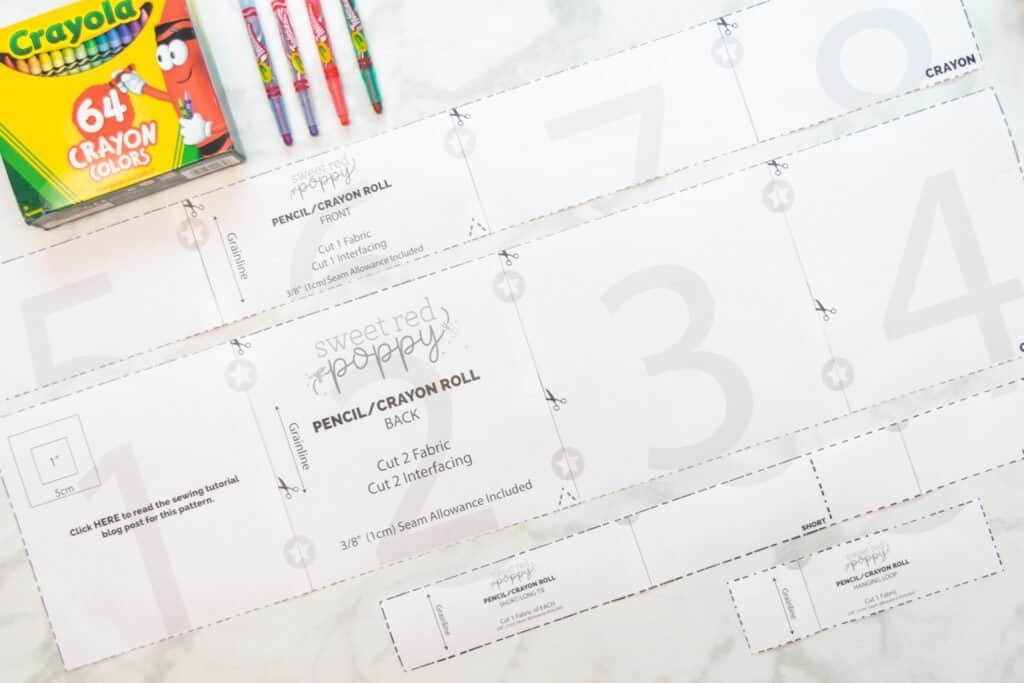
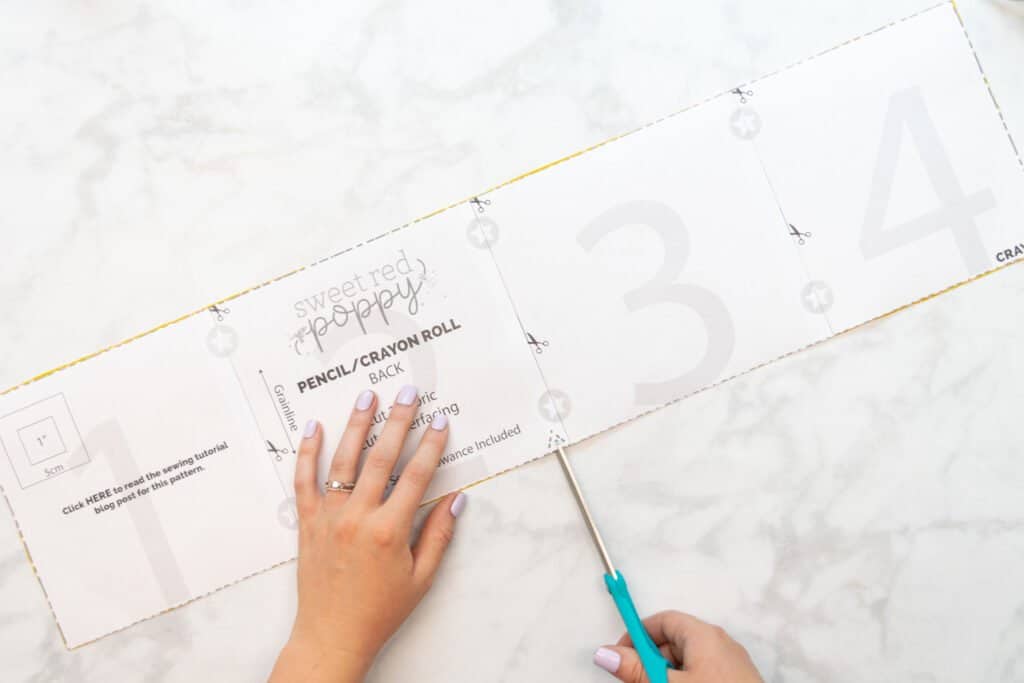
Once printed, assemble the pattern according to the pattern layout chart. There are large numbers in the center of each page to help you keep them in the correct order.
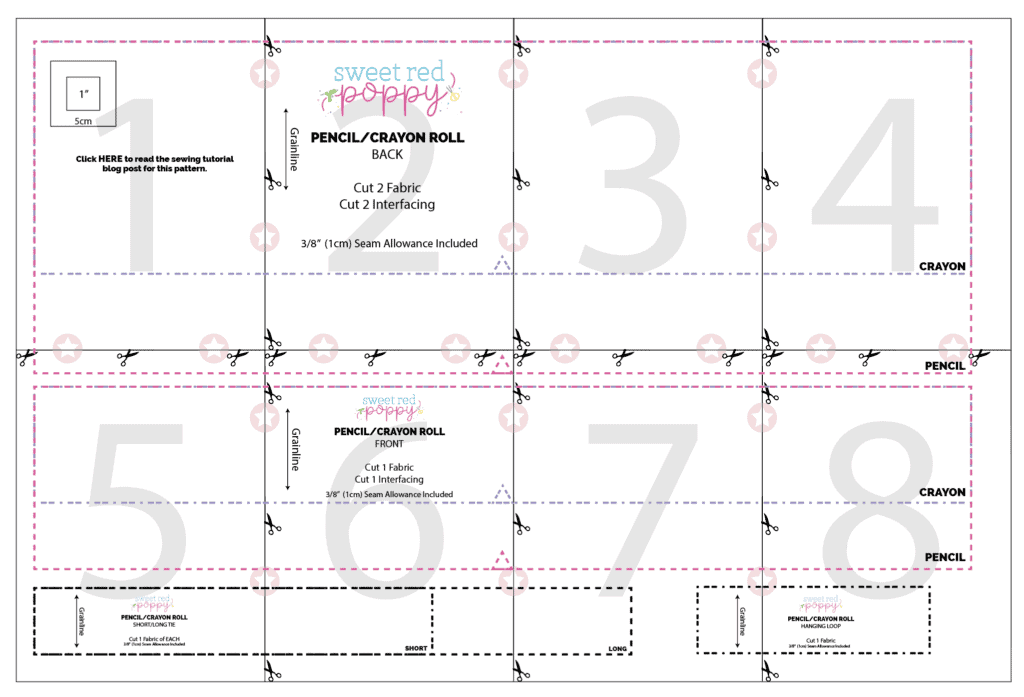
Before taping the pages together, you can trim away the excess paper along the border lines if you like. Or, you can simply overlap the papers and hold them up to a light to align the pink stars and pattern lines.
Tape the edges of the pages together, making sure that the stars and the lines of the pattern are aligned correctly.

Then, cut out the pattern pieces along the lines corresponding to the version you want to sew.
You should have 4 pattern pieces: the Back, Front, Long/Short Tie, and the Hanging Loop.
With the pattern assembled, it's time to cut into your fabric and interfacing!
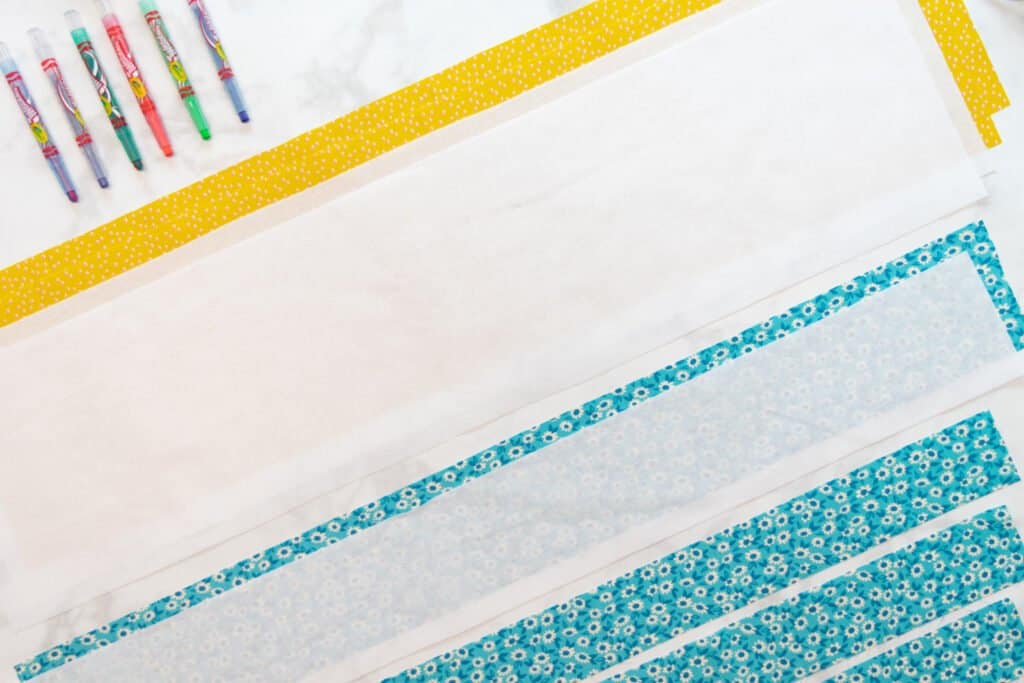
Cut out the following number of pieces from your fabric and interfacing.
Fabric
- Back: Cut 2
- Front: Cut 1
- Long Tie: Cut 1
- Short Tie: Cut 1
- Hanging Loop: Cut 1
Interfacing
- Back: Cut 2
- Front: Cut 1
Finally, clip 1/4 inch into the fabric at the marked notches at the bottom center of the Front and Back pieces.
Step 3: Apply Interfacing
With your materials cut, you'll need to apply the interfacing to the fabric pieces.
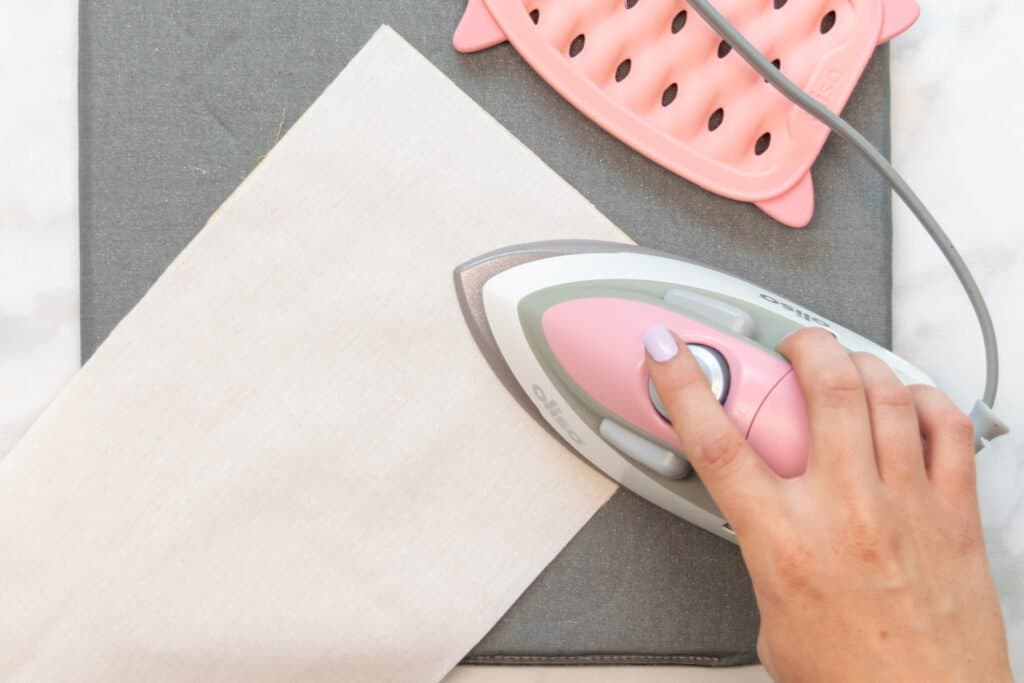
Following the instructions that came with your specific interfacing, apply both Back interfacing pieces to the wrong side of both Back fabric pieces.
Then, apply the Front interfacing to the wrong side of the Front fabric piece.
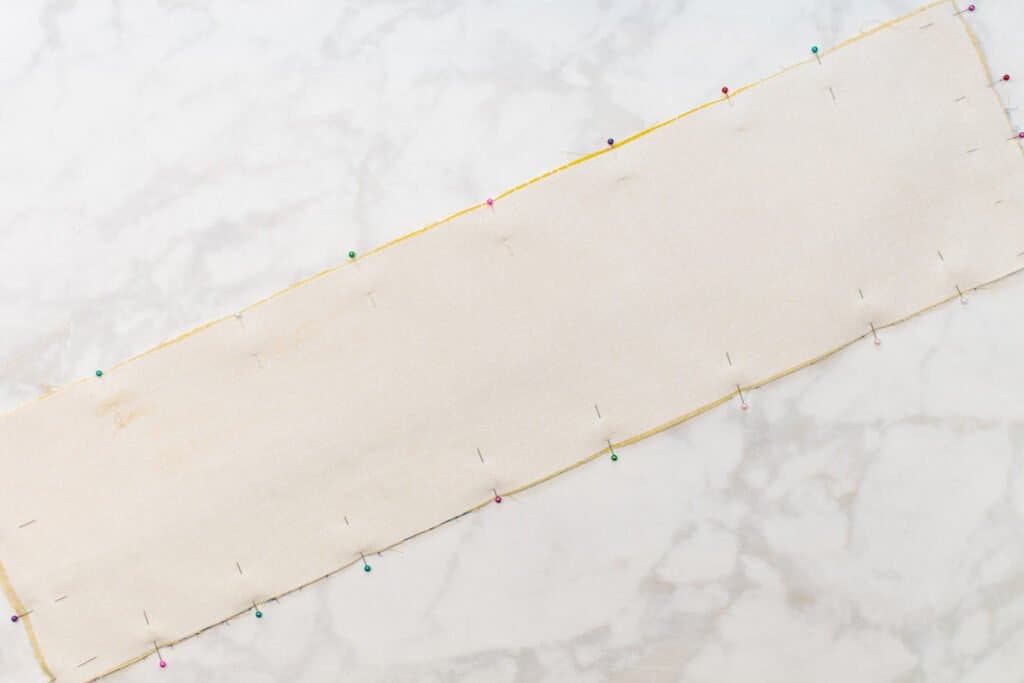
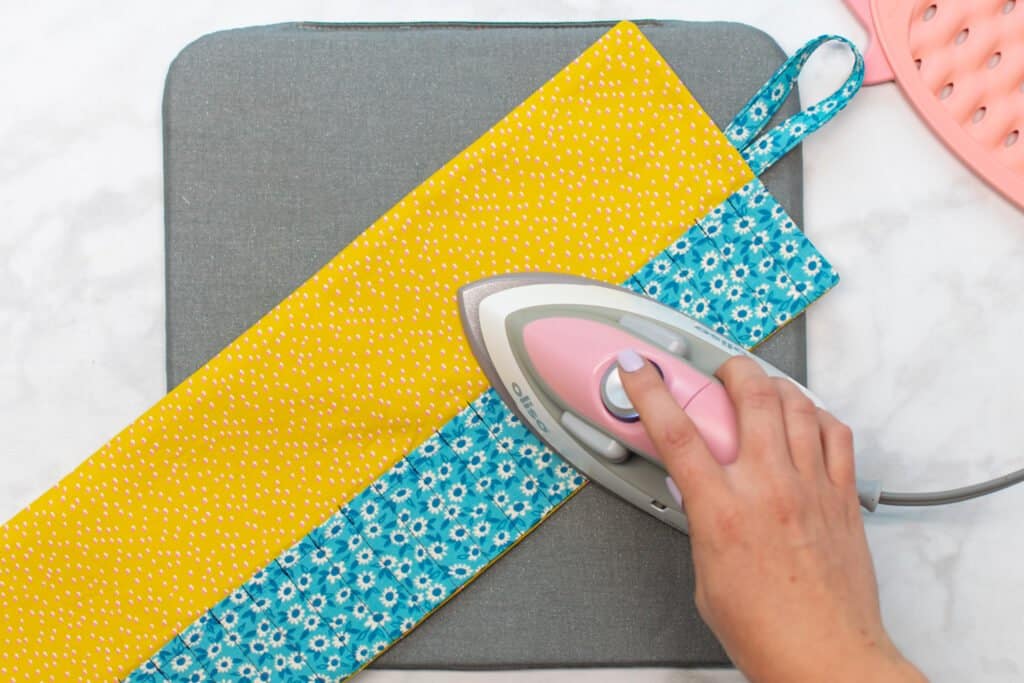
Step 4: Finish the Top Edge of the Front
Next, to prepare the front to be attached to the back, you'll need to finish the top edge.
To do this, first press the upper (unnotched) edge to the wrong side by 1/4 inch.
Then, press it to the wrong side again by another 1/4 inch and pin it in place. This will hide the raw edges inside the folded upper edge.

Stitch along the top of the front, sewing just under 1/4 inch from the folded edge.
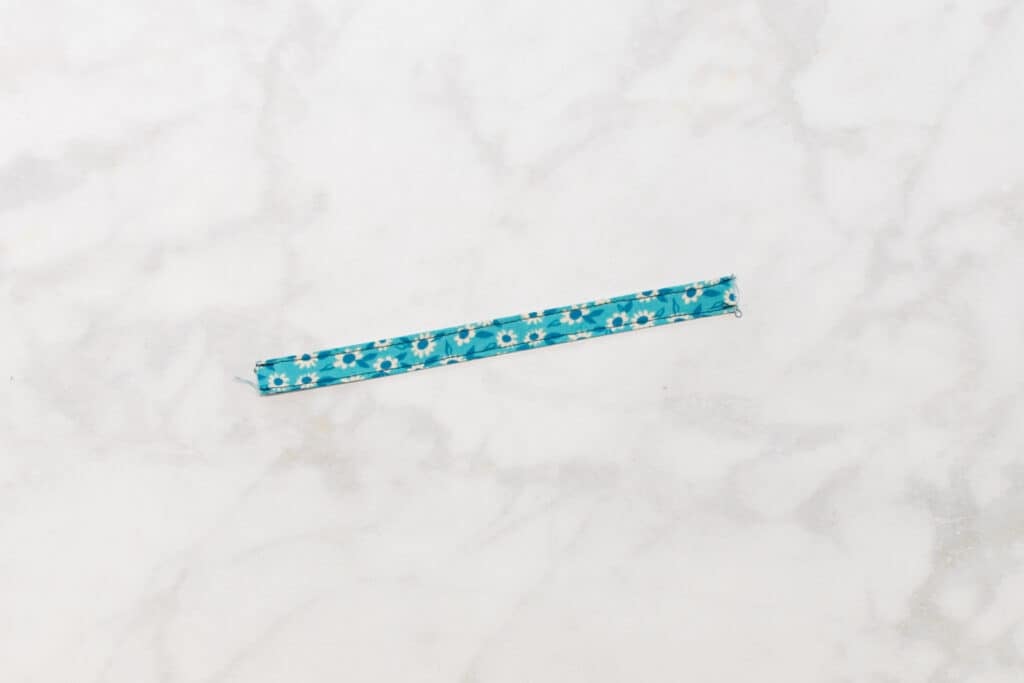
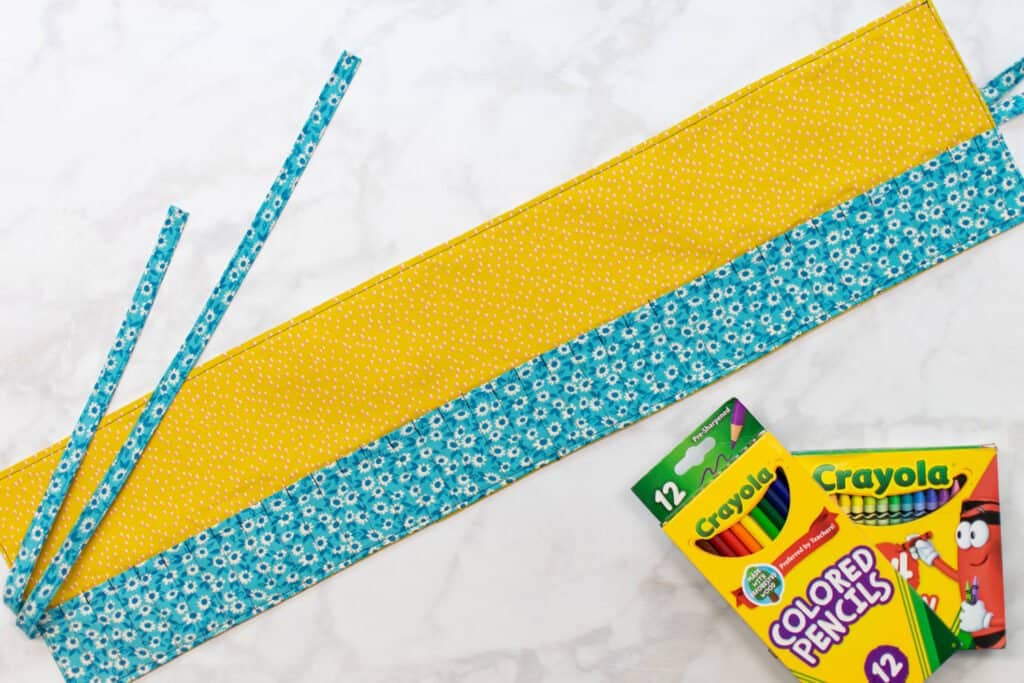
Step 5: Sew the Ties and Loop
Next, we need to prepare the ties and hanging loop.
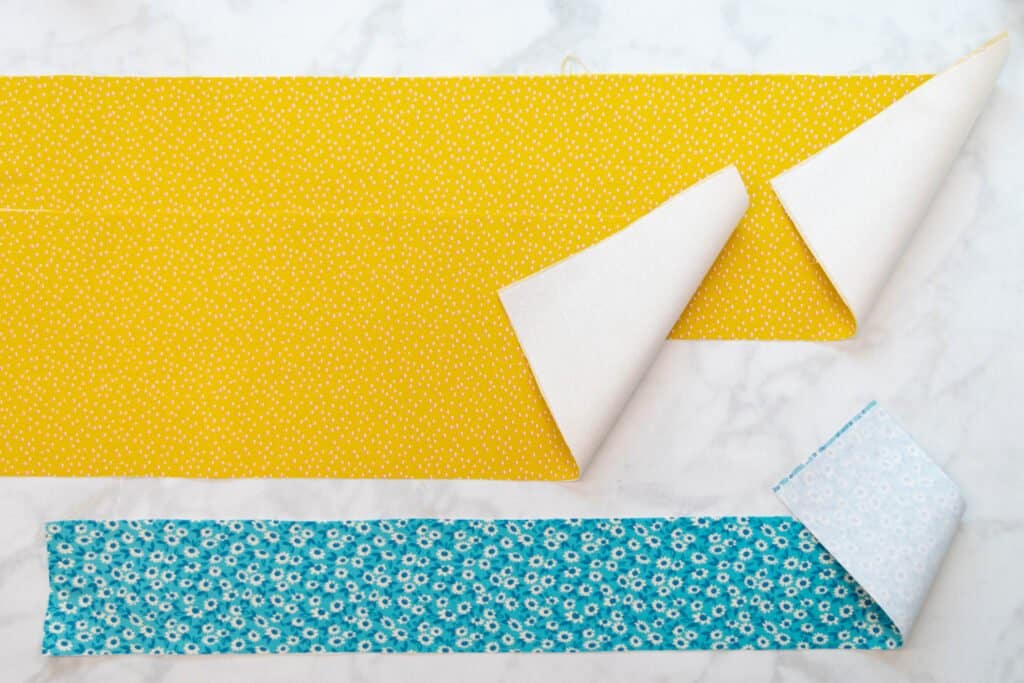
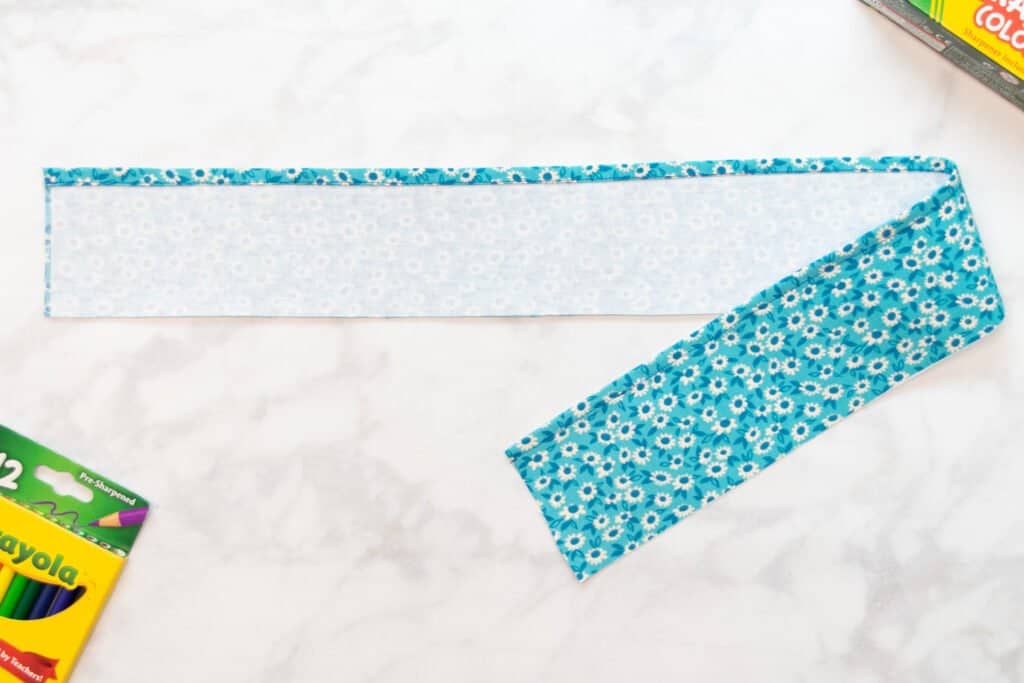
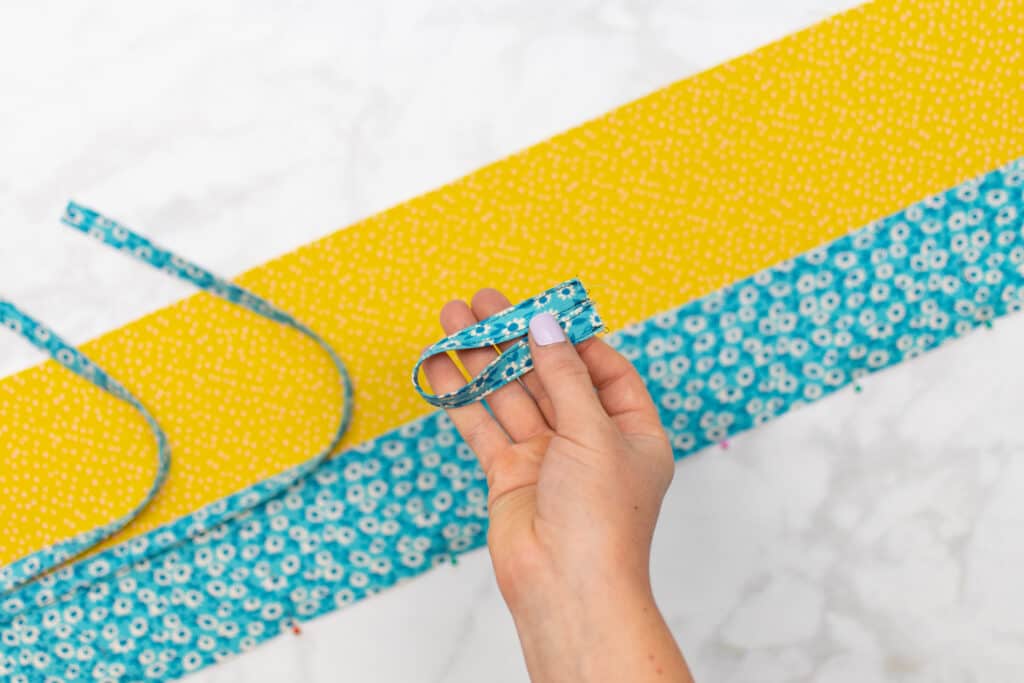
First, take one of the tie pieces to your ironing board and press it in half lengthwise with wrong sides together.

Unfold it and fold one short end towards the wrong side by 1/4 inch.
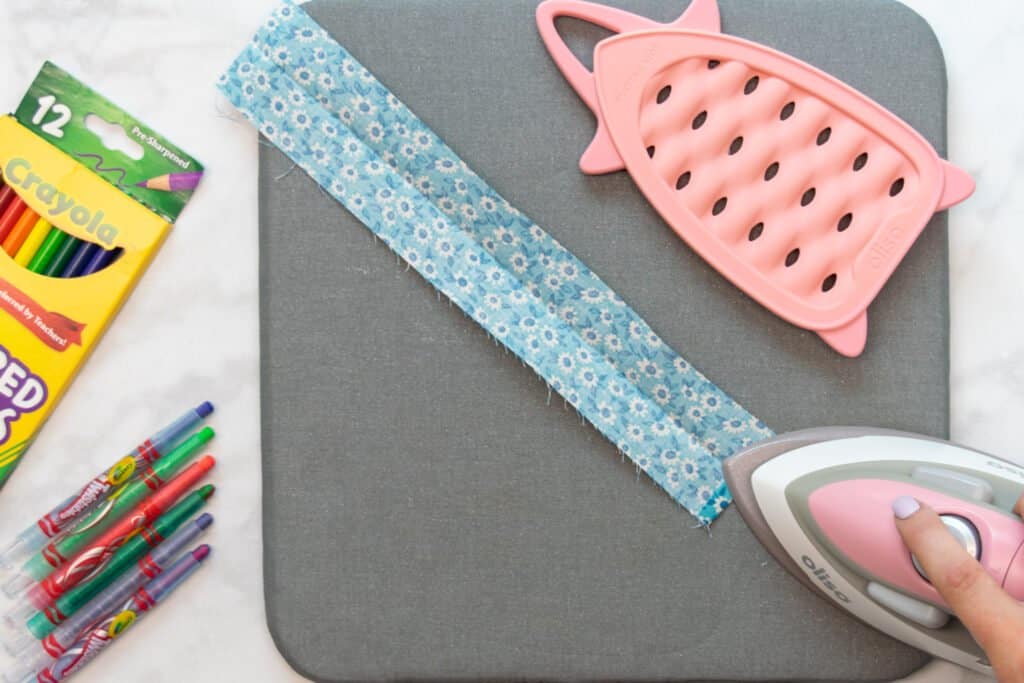
Then, fold each long edge in towards the wrong side so that they meet at the center crease. Make sure to keep that short end folded in as you complete this step.
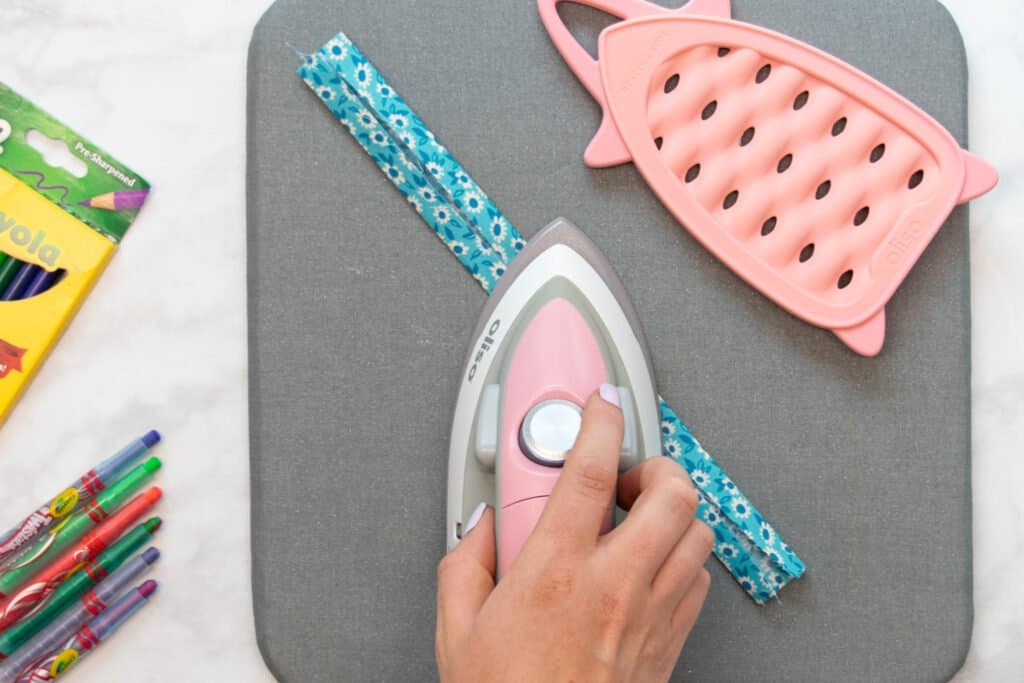
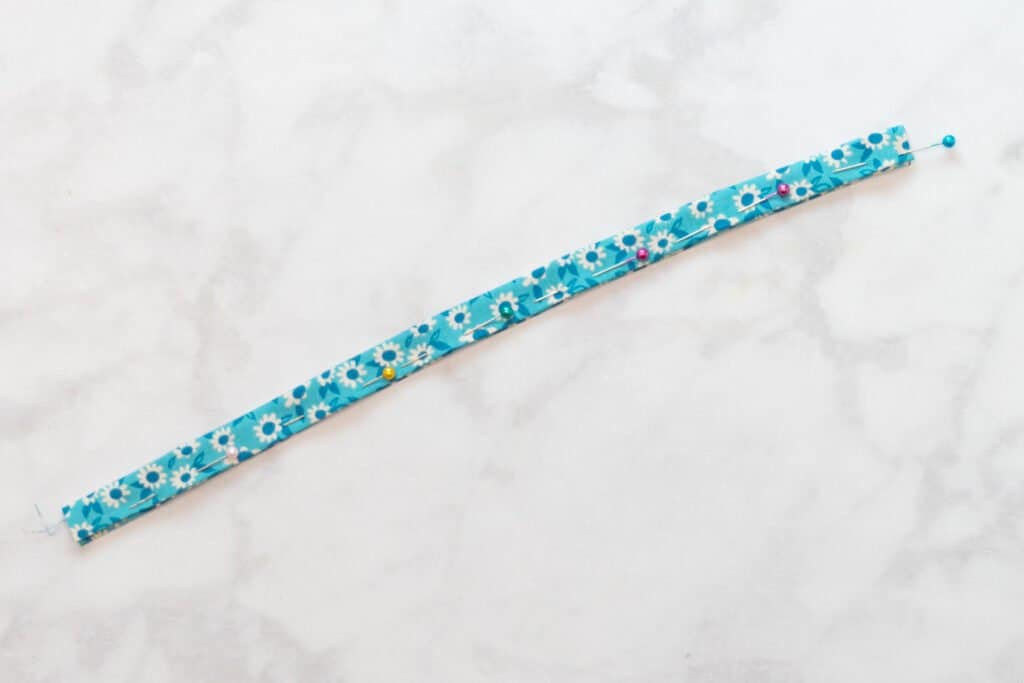
Finally, refold the tie in half with wrong sides together and pin it in place. This will keep all the raw edges neatly hidden inside the folds.
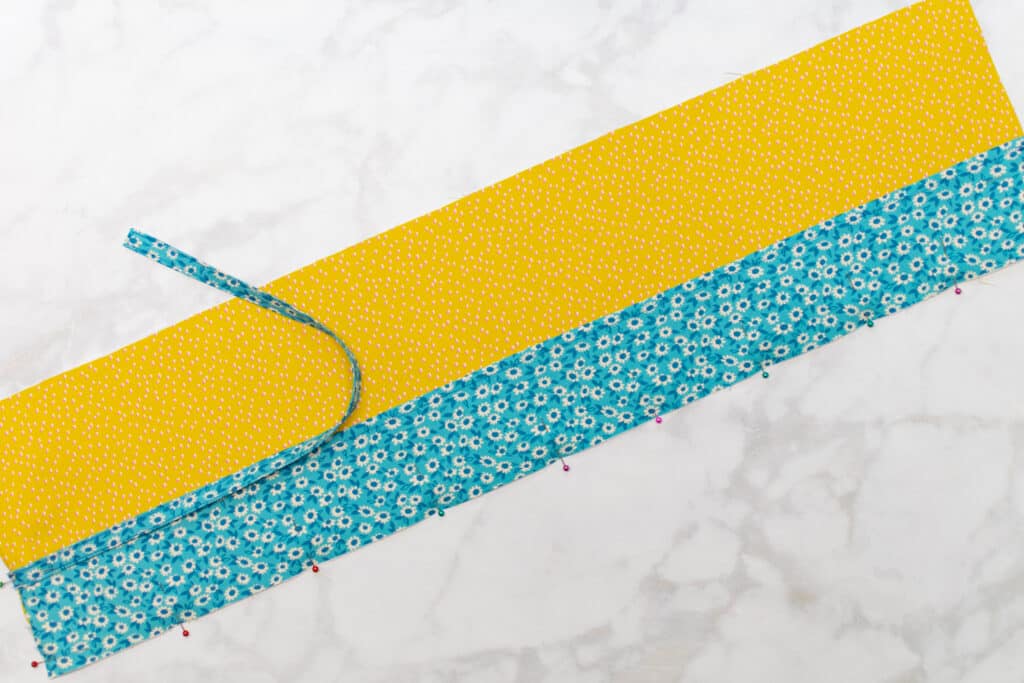
Next, stitch along one long edge, starting at the unfinished short end. Sew 1/8 inch from the folded edge.

When you reach 1/8 inch from the folded short end, stop sewing and leave the needle down. Lift the presser foot, then rotate the fabric 90-degrees so that the short end is in front of the presser foot.
Stitch across the short end, sewing 1/8 inch from the edge.
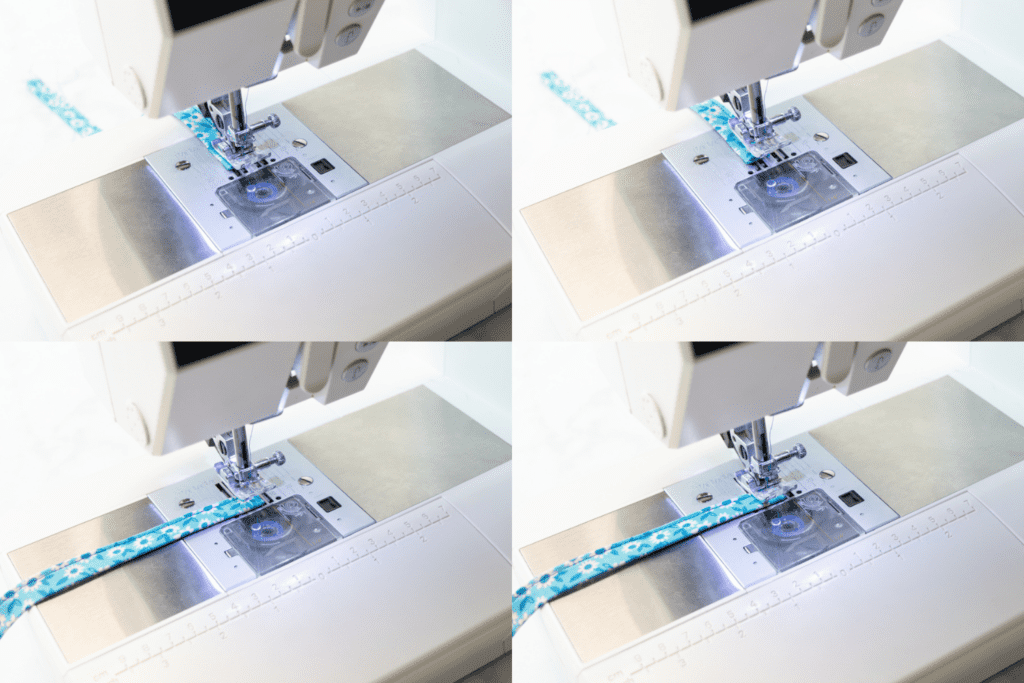
When you reach 1/8 inch from the end, rotate the fabric again so that the other long edge is in front of the presser foot. Sew down the long edge, stitching with a 1/8 inch seam allowance.
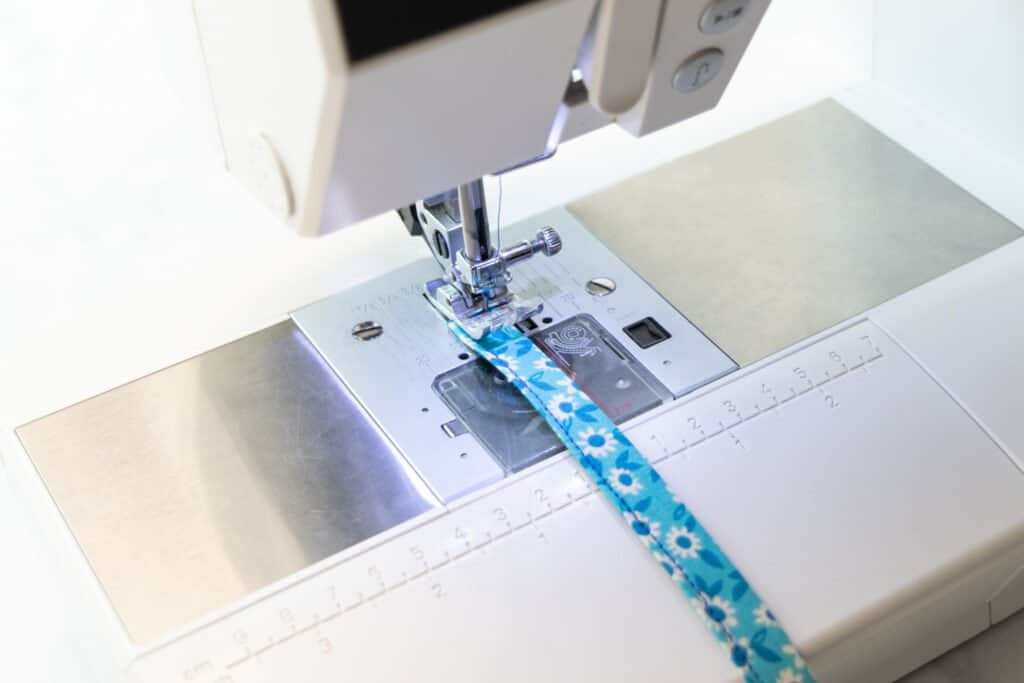
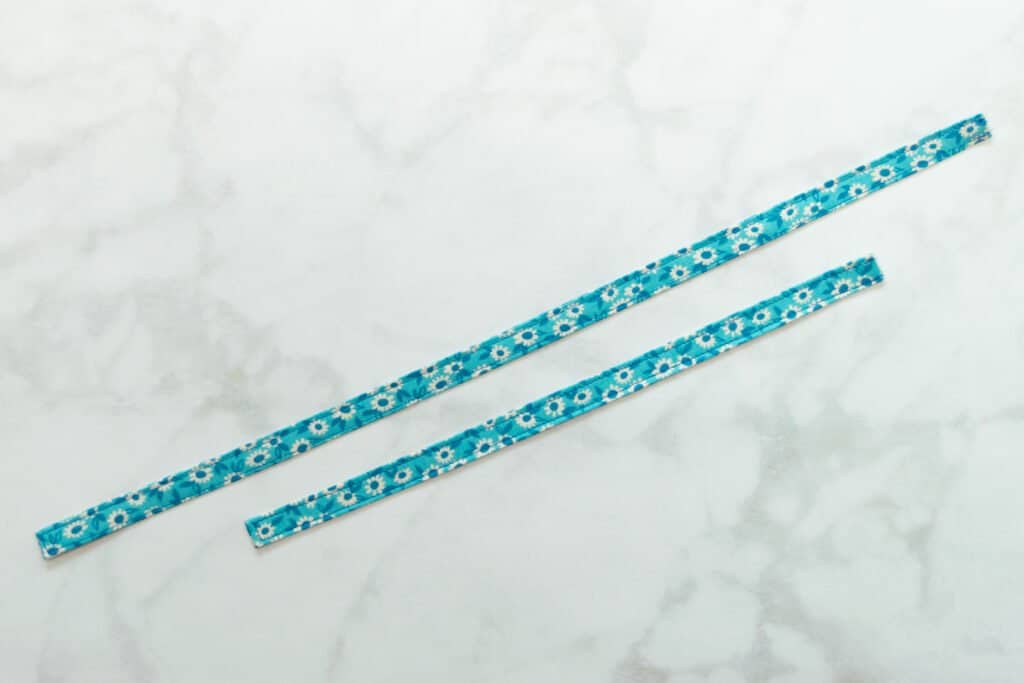
The tie should be topstitched down both long sides and across the one finished short side.
Repeat this process to fold and sew the second tie.
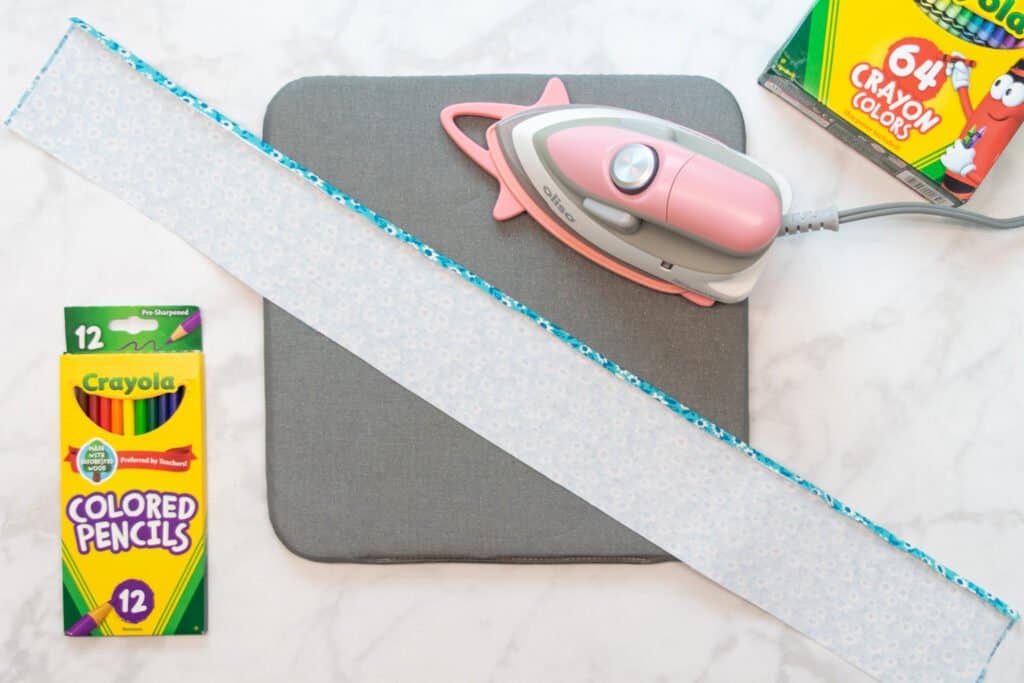
Finally, take the hanging loop piece to your ironing board. Fold it in the same way as the ties except don't fold either short end in. This piece doesn't need a finished end like the ties.
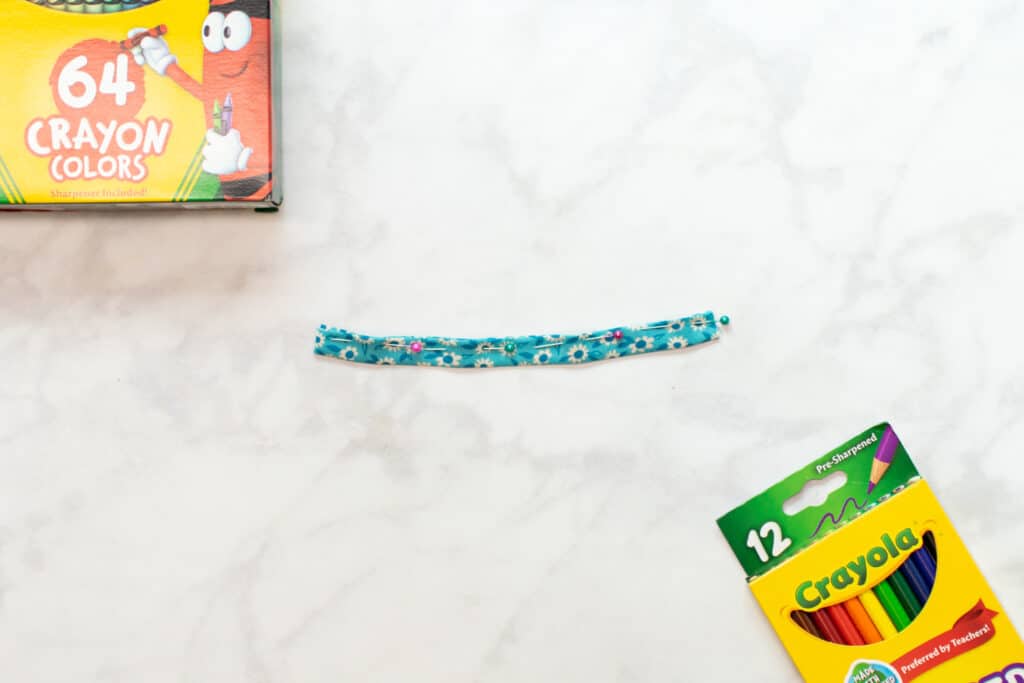
Once folded, topstitch along both long edges with a 1/8 inch seam allowance.
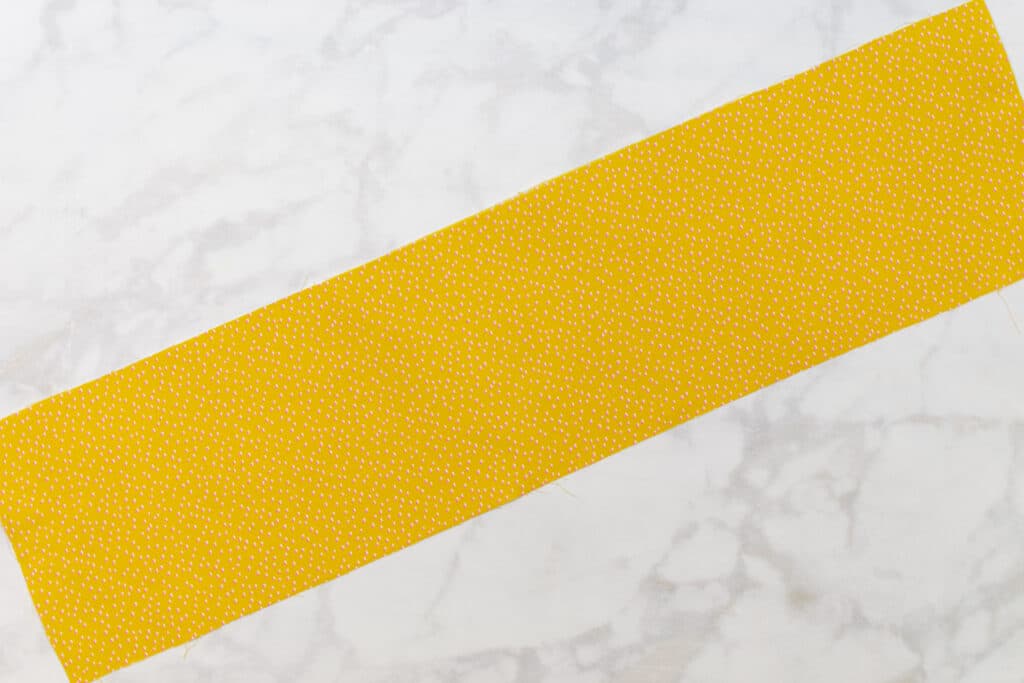
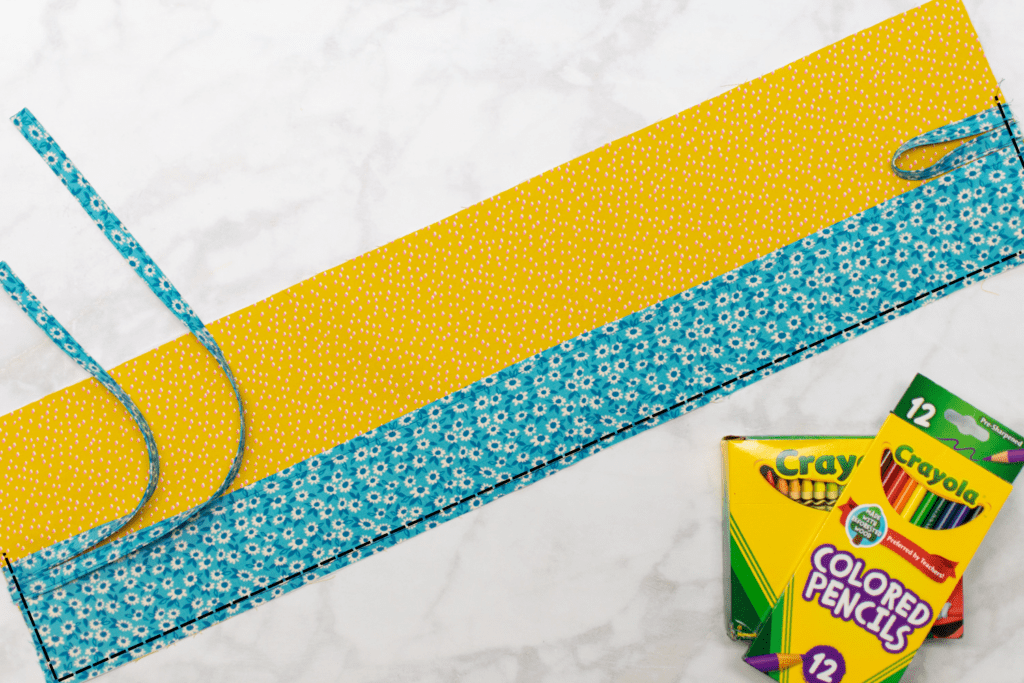
Step 6: Baste Ties, Loop, and Front to the Back
Next, lay one of the Back pieces right sides up on your table with the notched edge towards the bottom.
Place the Front piece on top of it with the wrong side down. Align the unfinished edges of the Front with the bottom and sides of the Back.
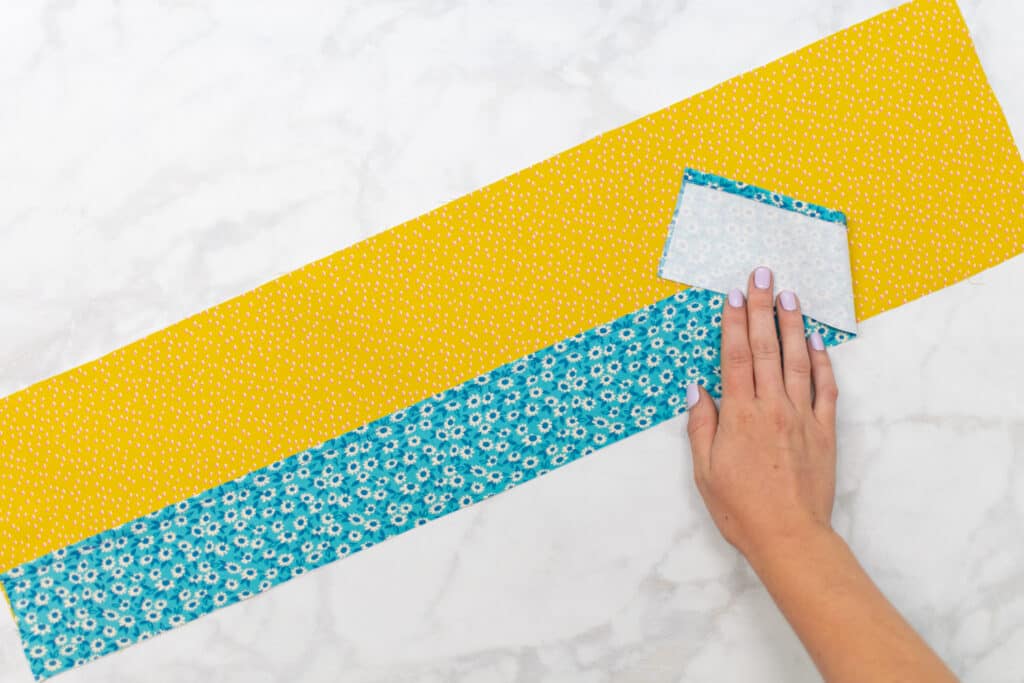
Pin the Front to the Back.
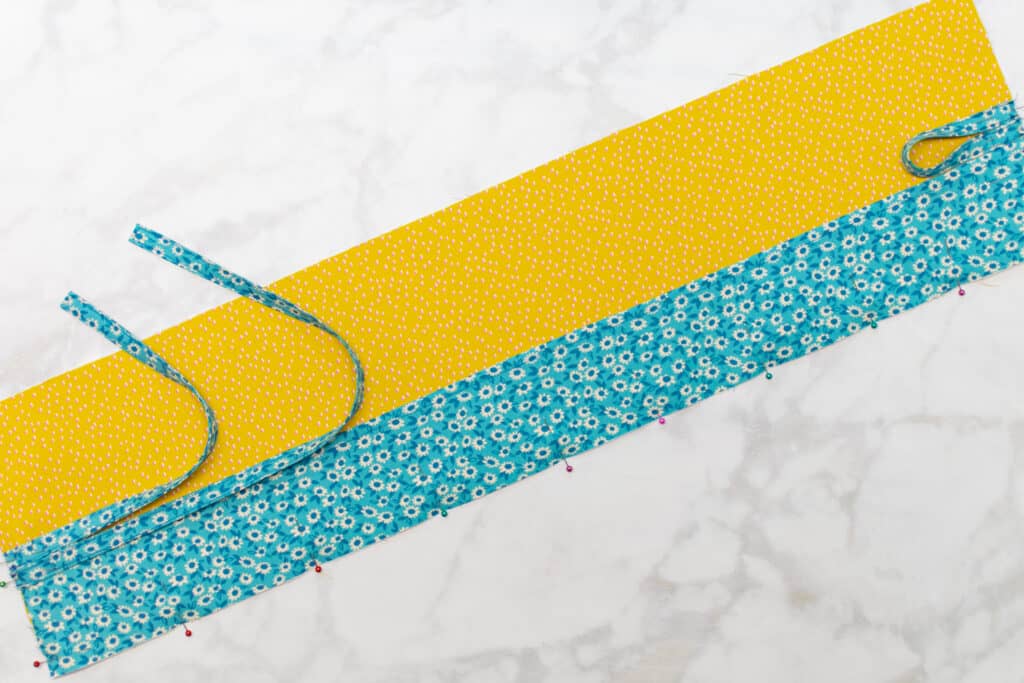
Then, pin the unfinished end of the longer tie to the left side of the Front, aligning the upper edge of the tie with the upper edge of the Front.
Next, pin the unfinished end of the shorter tie just above it, lining up the lower edge of the tie with the upper edge of the Front.

Finally, fold the Hanging Loop so that the unfinished ends are lined up side-by-side. Make sure the loop isn't twisted.
Pin the side-by-side ends of the Hanging Loop to the Back, lining up the lower edge of the loop along the upper edge of the Front.
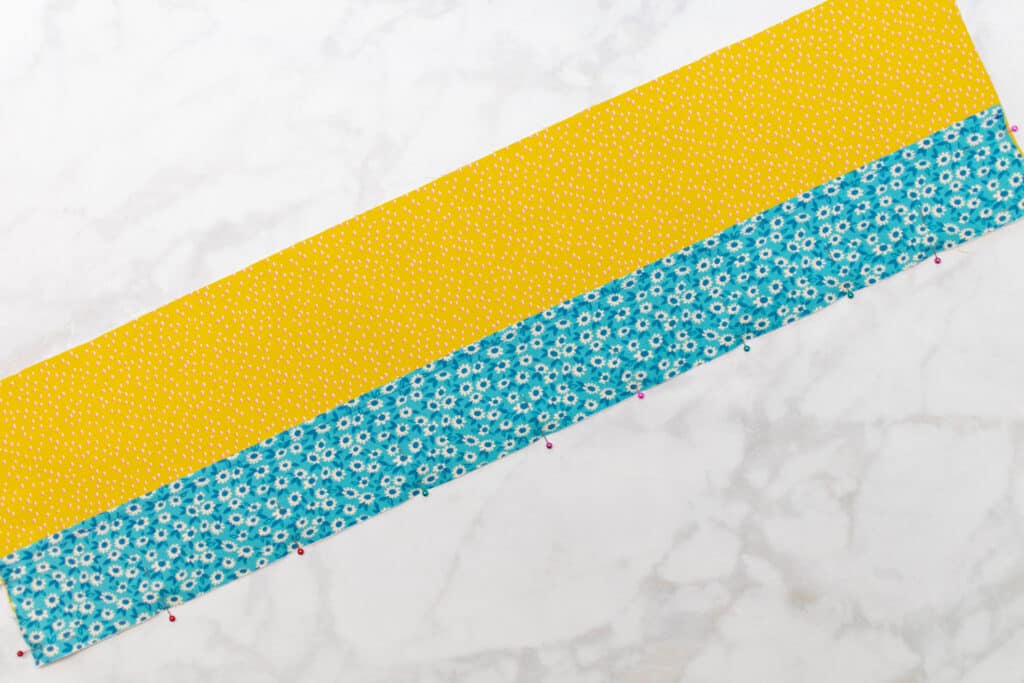
Set your sewing machine to a long basting stitch with a stitch length of 4.5mm.
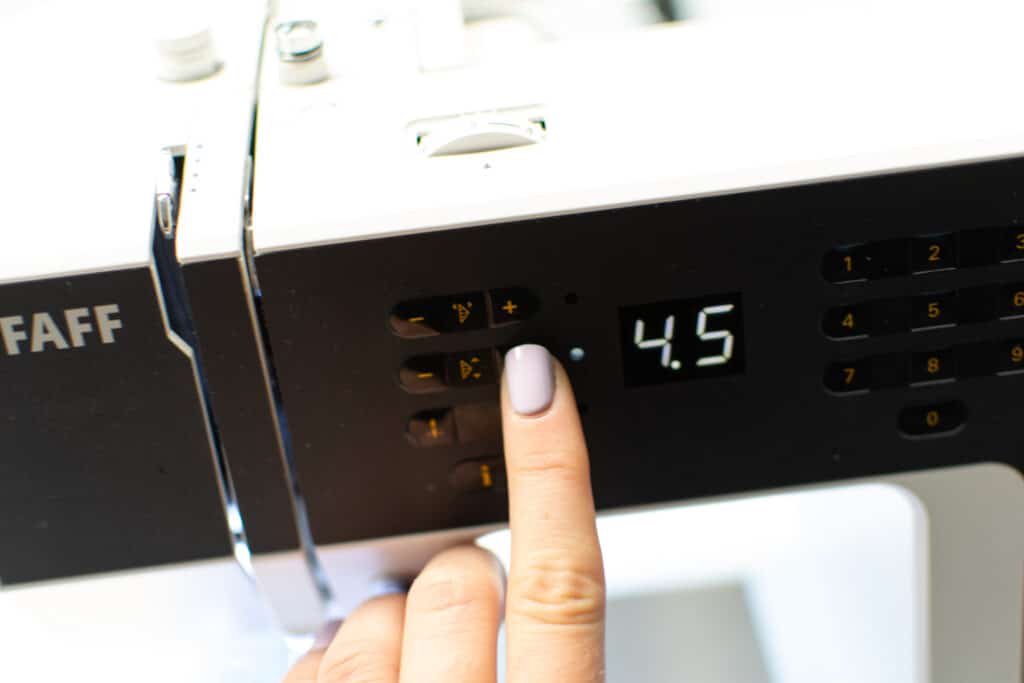
Baste across the ends of the Hanging Loop, down the side of the Front, across the bottom of the Front, up the second side of the Front, and across the ends of both ties. Stitch with a 1/4 inch seam allowance.
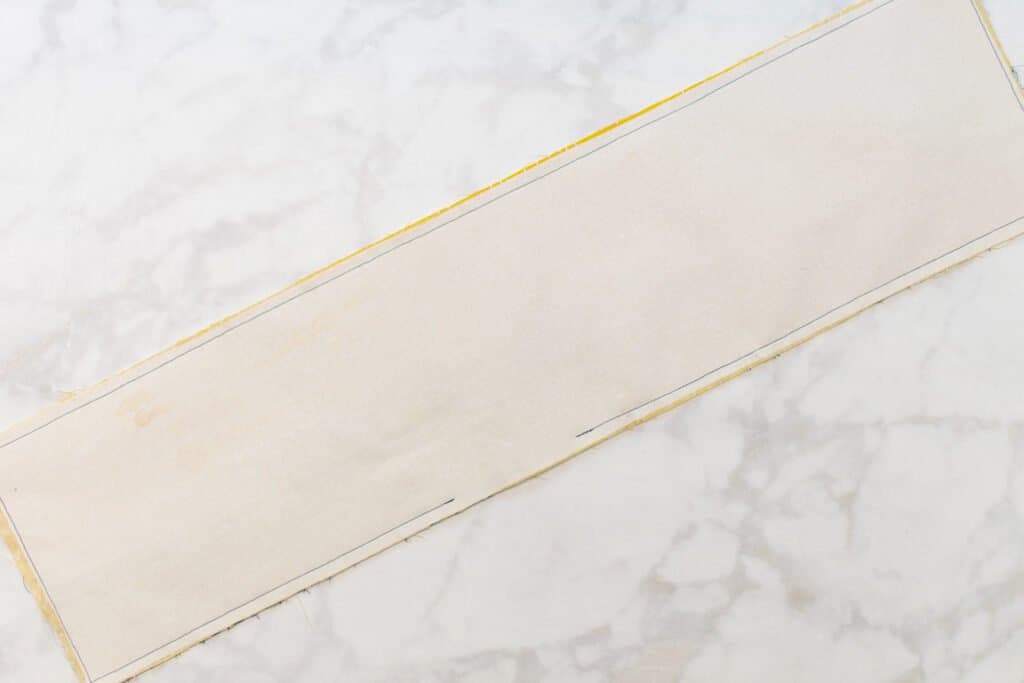
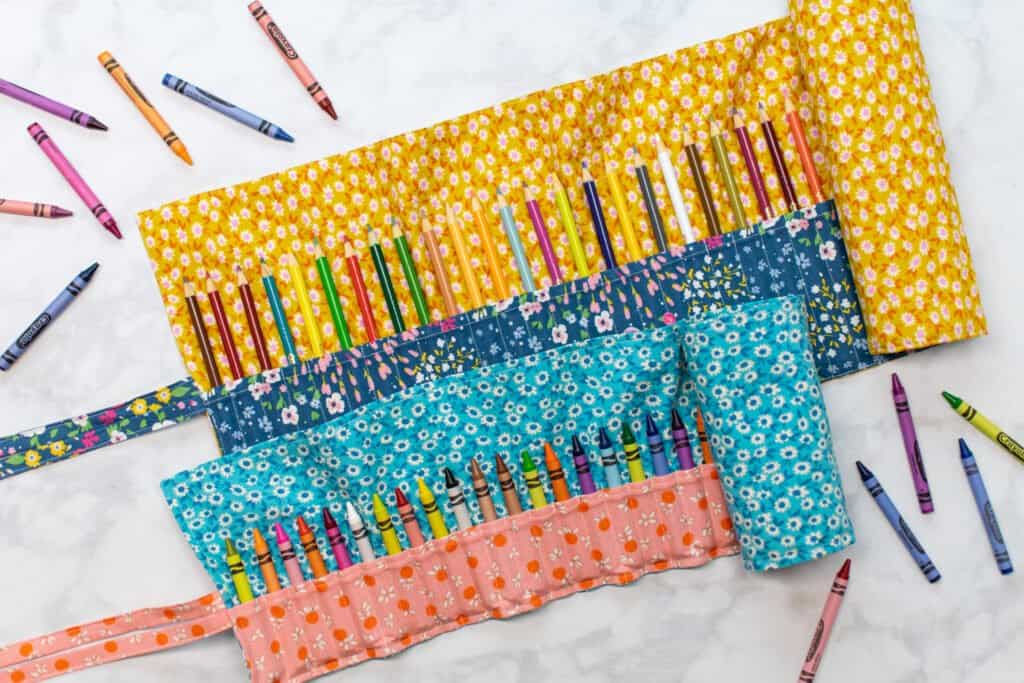
Step 7: Mark and Sew Vertical Lines for the Pockets
Next up is the time-consuming part! Marking and sewing all of the little pencil and crayon pockets.
Start by drawing a vertical line through the front at the clipped center notch.
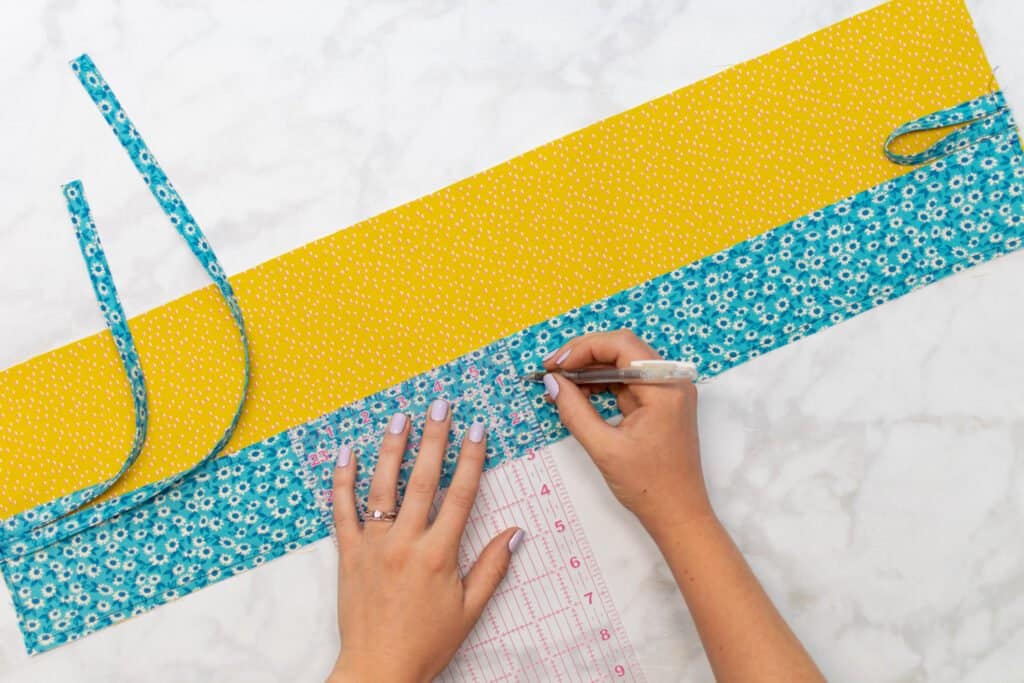
Then, use your quilting ruler to make 17 vertical lines 3/4 inch apart to the right of the center line. It's important to start with the center line and measure out from the center instead of starting from one end because it keeps your lines more accurately placed on the fabric.
Next, starting from the center line again, make another 17 lines 3/4 inch apart to the left of the center line.
Your lines on each end should be approximately 1.3 inches in from each end. If they're a little bit closer or further than this, don't worry about it - but if they're way off, you'll want to recheck your measurements.
Finally, stitch down each of the 35 vertical lines through the Front. Make sure to backstitch at the beginning and end of each line.
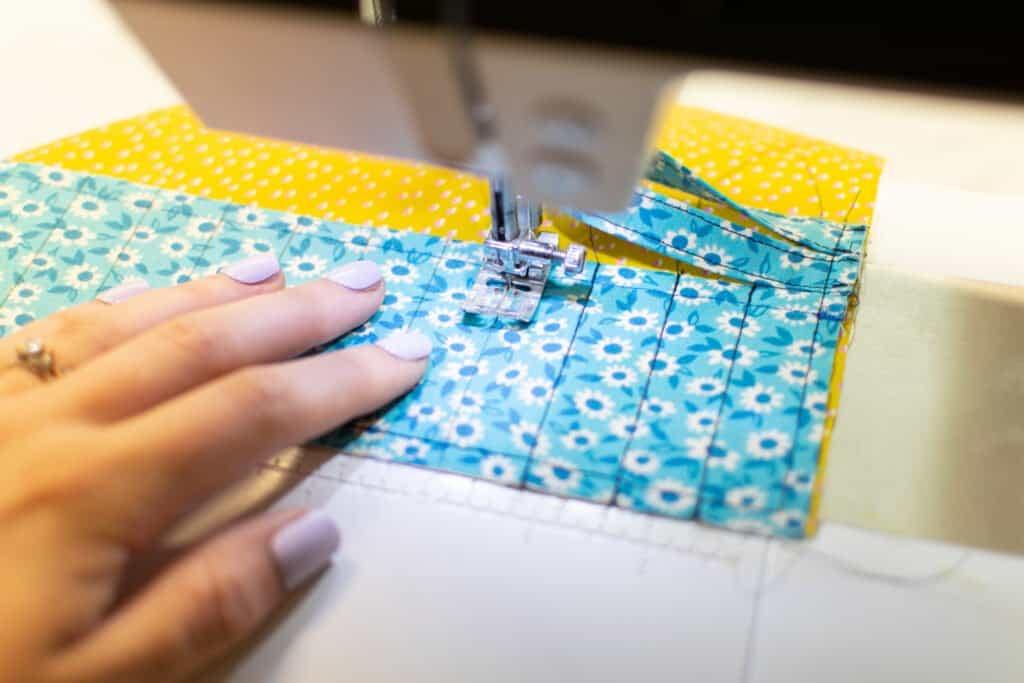
This part is a bit time-consuming, but try not to rush and focus on getting your lines as straight as possible!
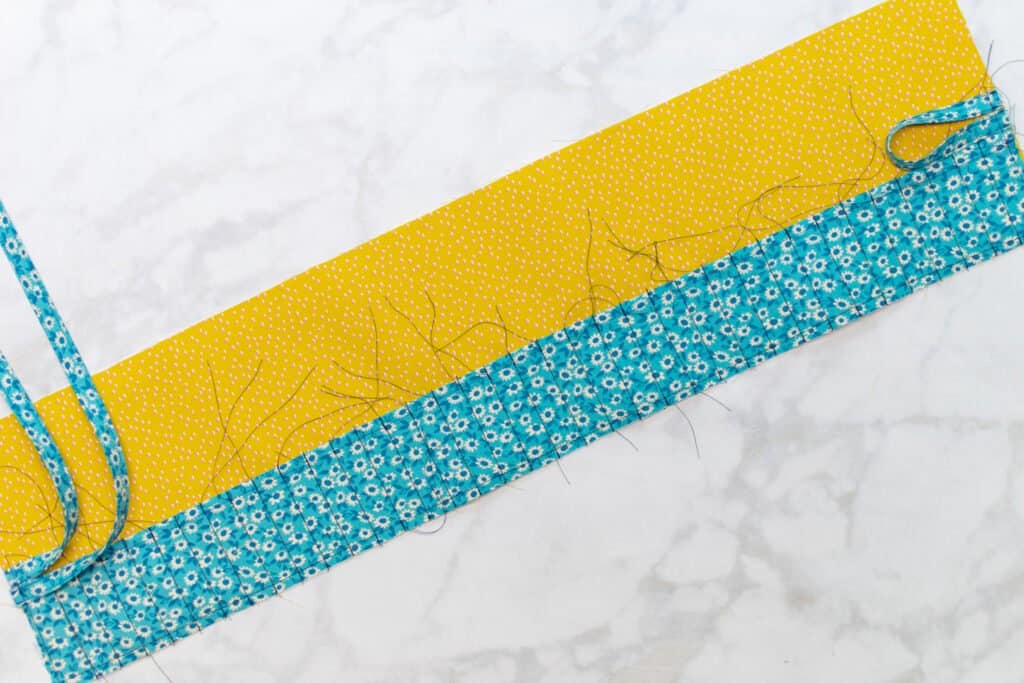
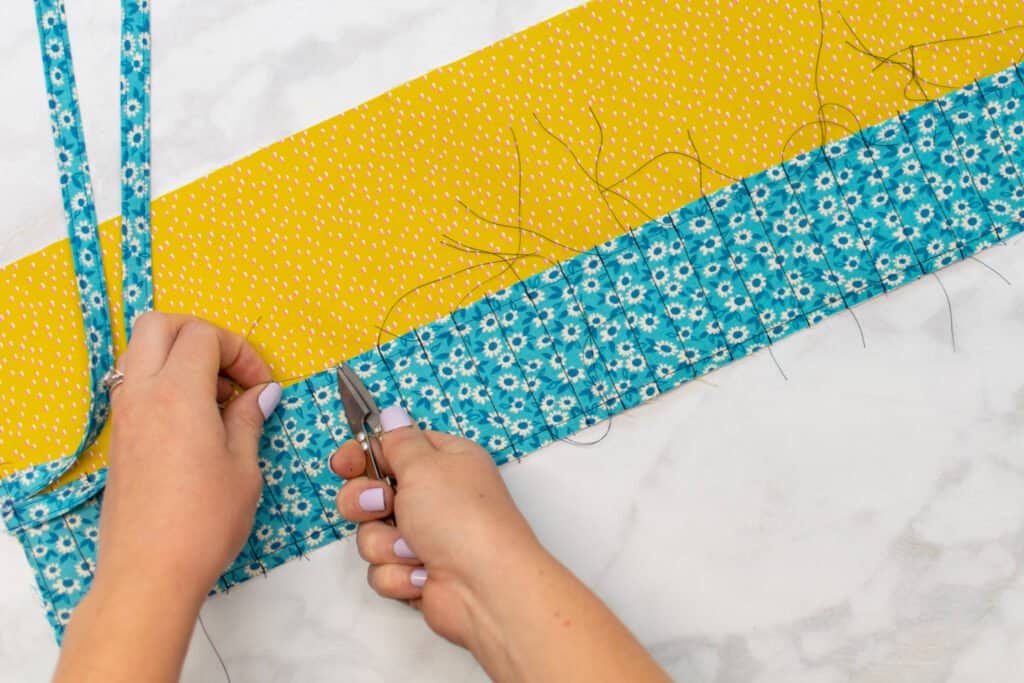
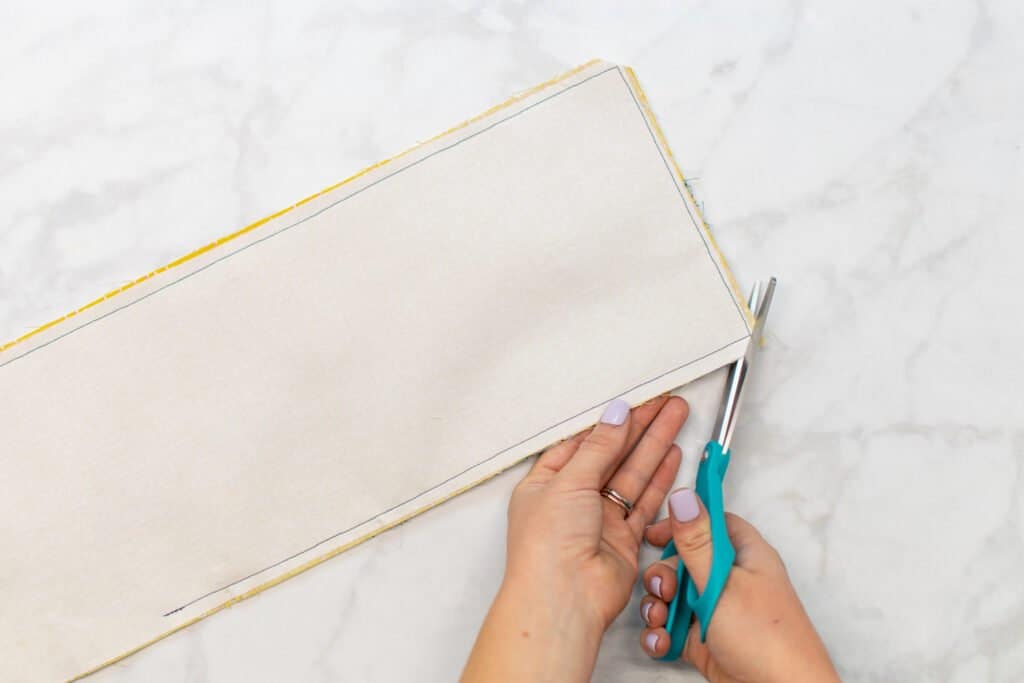
Once you've stitched each line, trim all those thread tails away close to the fabric.
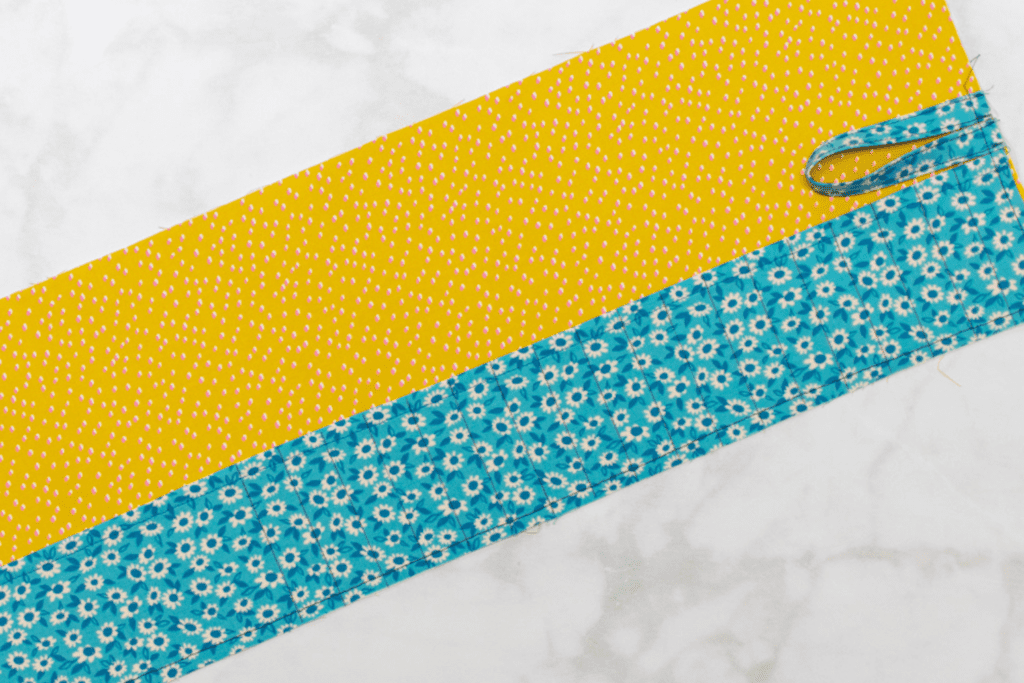
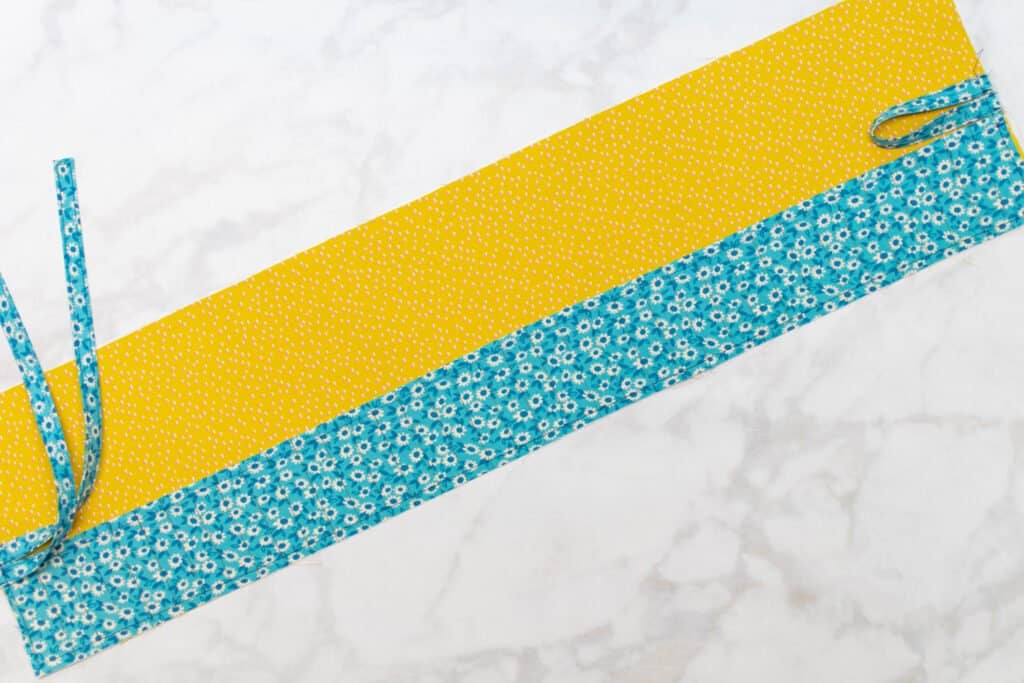
Step 8: Attach the Second Back Piece and Finish the Pencil Roll
The last step in sewing your pencil or crayon roll in attaching the second Back piece and finishing the edges.
Place the second Back piece right sides together with the assembled Back/Front.
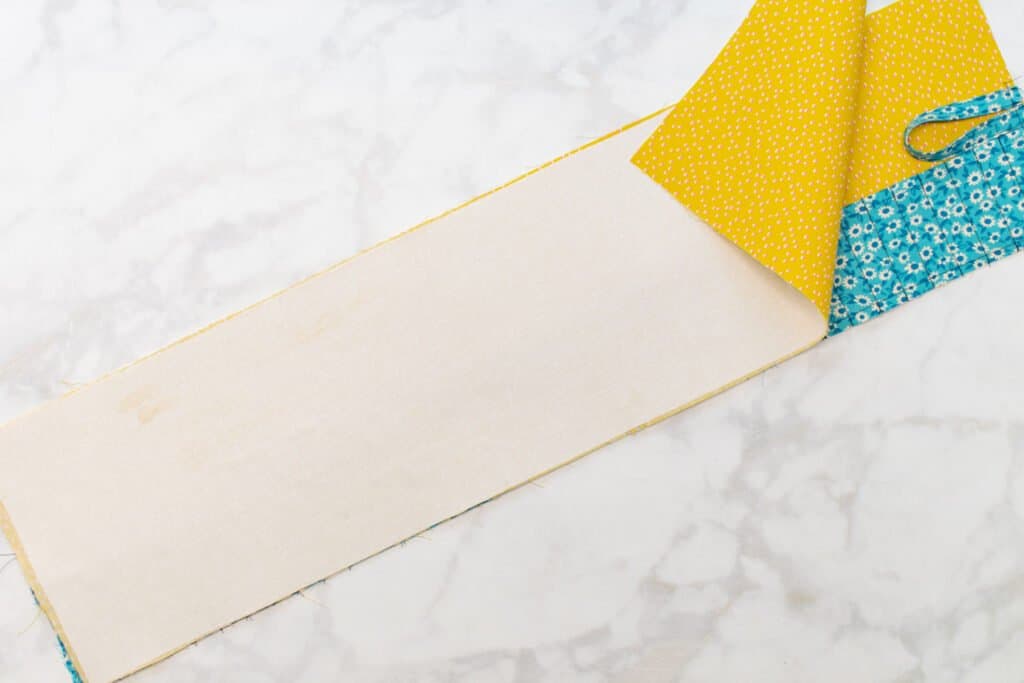
Pin it in place around all 4 edges. The ties and hanging loop should be out of the way between the 2 Back pieces.
Next, stitch around all 4 edges with a 3/8 inch seam allowance. If your end pocket lines were less than 1.3 inches from the ends, you can take a smaller 1/4 inch seam allowance along the short edges to help make up for this. Leave a 3 to 4 inch opening in the bottom edge, making sure to backstitch on either side of the opening.
Trim the corners of the seam allowance away close to the stitching. This will help to reduce bulk and get sharper corners.
Then turn the pencil roll right sides out through the opening in the seam.
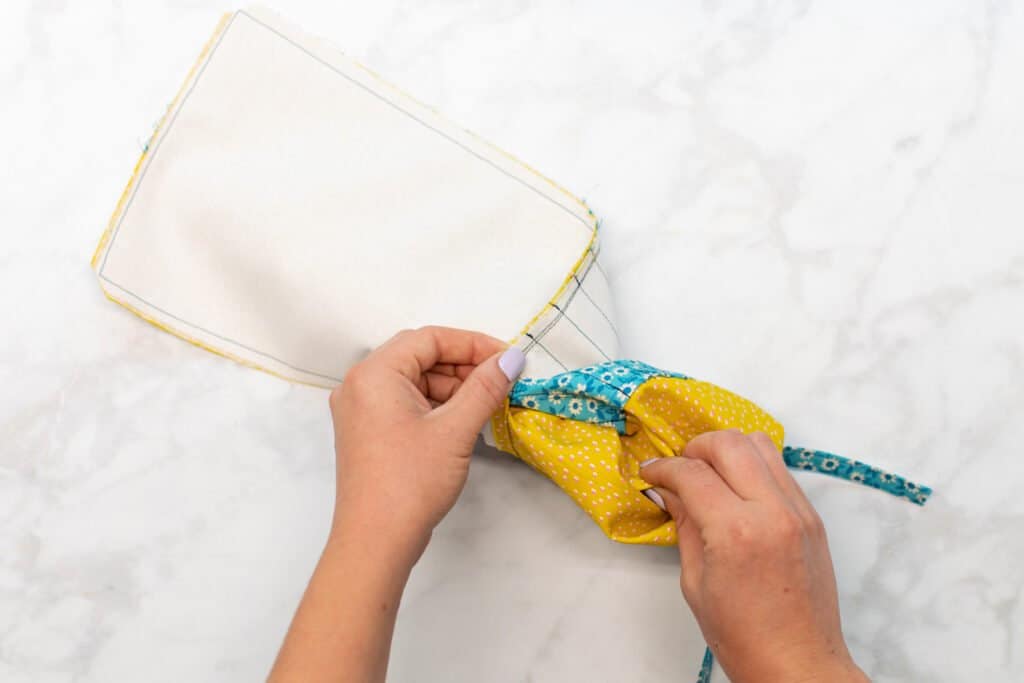
Press the roll-up case flat, pressing the seam right to the edge. At the opening, press the edges to the inside of the pencil roll so that it creates a continuous straight edge.
Finally, topstitch around all 4 edges of the roll-up case with a 1/8 inch seam allowance, rotating around the corners.
Your adorable pencil or crayon roll is finished! Go ahead and organize all your Crayola crafting supplies in your new roll-up case.
Looking for more awesome free sewing patterns? Try one of the patterns below!
- How to Sew Fabric Storage Bins
- Tote Bag Sewing Pattern
- Free Reversible Bucket Hat Sewing Pattern
- How to Sew a Baby Bodysuit
Don't forget to join my Facebook group where you can show us what you're making, ask questions, and learn from others.
Don't want to forget about this tutorial? Click here to save it on your favorite Pinterest board!
My adult daughter loves to color with pencils, this would be perfect for her.
Love this!
This will be a great gift for my nieces and nephews. They'll love it!!
I was thinking the same thing!
This would be perfect to make for my grandkids that love to color. Can’t wait to make it!
I absolutely love this and can’t wait to make it! I also plan to make tweak it a bit to make a roll-up for my paint brushes!
Great idea!
Perfect gift for my first grandbaby who loves to color, just in time for the holidays, thank you Kim!
Love this idea for a Christmas gift!
Cute!
This is absolutely perfect.
This will be perfect for my grandkids. Thanks for the pattern and tutorial!
Definitely tweaking this for my crochet needles, and paintbrushes. Ooo...wonder if I could do it for my paints. STORAGE IDEA!
Your tutorials are always filled with great descriptions! You make hard tasks easier!
Sew cute! Great for my grands church bag.
Adorable
Such a great gift for my grandson!! I guarantee he'd love it! I appreciate that you included instructions to add or subtract sections, depending on the amount of crayons or pencils used. I also appreciate the opportunity to win either a Cricut maker or a Brother serger!! Thanks so much!!! Blessings!!
These look super easy and perfect for kids to organize items that normally get thrown anywhere!
What a great idea! Love it
My Granddaughter will love this, she loves to organize, thanks for sharing.
Great project! Great and compact way to store your crayons
So Adorable!!! What a Great Idea!! Love it!! Thanks so much!!
This would be nice to make with my grandottr! She loves making things and I love making things so now we have a great project! Thank you.
I love this and you make it look so easy. I definitely need to try this. Thanks for sharing!
Doesn't look that hard. But might have to sign up for sewing workshops, just to be sure it will look right.
This is perfect for my daughter!! She has a special love for crayons☺️
These are brilliant and can be adapted to make various gifts. Think make up brushes, or screwdrivers/spanners. Maybe a bike repair kit or sewing kit. I used this idea to make school pencil rolls that also held maths kit etc.
I love the idea. It would be great to keep at my house for my grand kids. So easy to store.
Great idea!
Cute!!
This looks like a fun project. I’m going to make a couple of these for my 2 youngest grandkids. Thanks for posting such useful projects.
This is such a great idea!
Yesssss I cannot wait to make this too cute and so is your little iron
My kids NEED this. They have ripped every crayon box ever
Such a cute design! Thank you so much, I can’t wait to make it 🙂
Love this idea, great gift for crafters!
This is so cute and would be very handy. Love the detailed tutorial
My 7 y/o son is currently obsessed with coloring and drawing. This will be the perfect Christmas present! Can’t wait to try. And I might make one for crayons, markers AND colored pencils! So perfect
This will be great for traveling! Love it!
This would be an easy way to bring crayons to a restaurant, church or even just to a friends house to play.
I can't get this pattern printed and fabric bough fast enough! This is so cute!
This would make such an awesome stocking stuffer for Christmas 😀
I love this idea! My concern is the "hanging loop"...
How/when would you ever use it???
I think it's a step that I would leave out!
I would need adult materials for this.
What a great idea, not just for kids crayons. I can see this for colored pencils, markers, pens, etc. I could also modify it for sewing tools, seam ripper, snag puller, scissors, needle tube, thread, tweezers, and more. Or Cricut tools...or on and on...
THANK YOU!
This is a great storage idea!
I’m definitely using this for my pens!! Thank you!
Cute and easy project, thanks for sharing.
Such a great gift idea for my grandchildren and looks easy enough for me to try.
love this!
So cute! Love the Christmas fabric you used!! Great tutorial!
Great idea
Nice Xmas gift.
Can you make one for markers
Cute and very handy
Cool way to store crayons. The box usually breaks so having a clever way to store and transport them is great.
This would be perfect for my grandkids!
Cute!
This would be great for the artists in my family. They could keep some colored pencils in their cars for those sudden inspirations when shopping.
Why is it so much taller than the crayons is there a purpose? Also can you list the measurements rather than having a printout pattern to save paper?
I think you fold the top bit over to protect the tips of the crayons and stop them falling out. I agree about no need for a printed pattern.
Perfect for my grands! Thanks so much for sharing ❤️
So many little ones in my family I need to make these for.
I love this!
I think it is cute but I don't see kids using it for long.
Made this for my daughter, hope she likes it!
Oh I love this as a way to store my knitting needles!
So cute! Making it for several littles in my family and friends! Thank you!
What a great idea!
Such a perfect gift and so easy
This will be perfect for my paint brushes! Cannot wait to try this.
This is such a wonderful idea! I can't wait to make it ☺️ My daughter and husband like to color with colored pencils while waiting for me at the doctor. This will help greatly in keeping them together and not all over the car! Thank you so very much for sharing this
This is so Adorable!! What a great idea. Love it!!
Very interesting--I've never seen this before!
So cute for Christmas gifts. Pinned to my Sewing board.
This is great for the organized kids that want to sort everything.
My kids would love this
Love it
Such a cute idea! I love the different possibilities with different patterns!
Cute craft
Very cute idea! It is a must do.
Definitely making this for my grandkids! Gotta get that iron too
What a great project. Can be tailored to do many needs!
I love this idea, great gift too, I was wondering if I could get a printed version of the instructions no pictures? I want to print everything out and keep with my other project.
great idea!
So cute
Fun little project for my younger kids and grandkids!
Easy project and also very practical. Thanks for sharing.
So cute! Awesome tutorial. I think my granddaughter would love this.
Adorable
This would be great for traveling in the car!
Such a neat idea. This may help me keep up with the crayons after the grandkids have used them. lol
This is just ideal! I love it!
Making these for mySUnday Schoolclass
Neat idea
Great for travel!
Great project for ki d's of any age!
This is such a cute project.
IOVE this! What a great gift this will be and I may make another for my makeup brushes!
Most of all, your tutorials are exceptional for someone like me who needs them!
I bet this could be adapted to hold small sewing tools!
Getting my fabric ready for this one
I could use this for my paint brushes.
Great project.
I just finished one of these for my grandson. He loves to use markers so I increased the size of the lines to 1 1/2" and they fit perfectly. A quick and super easy little project, love it!
I am just in the process of cutting out some pencil rolls. And looking forward to making them. However, I am wondering what is the purpose of the hanging loop! Could you fill me in pleased?
thyank you
Helen
This is really cute and the instructions are so easy to follow. I do, however, have 1 question. What is the loop on the opposite end for? it seems that end is rolled up into the roll, so it isn't used for closing as far as I can tell. In the picture, you don't see it, so I was just wondering.
Thank you.
Just noticed we are both wondering about the loop!!!
I wonder why we have had no reply! Disappointing to have had bno reply.
I have left it off the ones I have made. I do not see any use for it at all.
What are the dimensions of the pieces? No need to print (waist paper).
Is there a link to print off the directions and supply list? It would be easier then to keep scrolling through the email. Therse will be perfect for my grandson's Christmas stockings