Learn How to Use the Sawgrass SG500 Sublimation Printer and Cricut Autopress to Get Vibrant, Long-Lasting Sublimation Results.
Have you heard of Sublimation? It’s the new kid on the crafting block and it’s making quite a splash! A sublimation printer and a heat press are the key to successful sublimation!
In this post, I'll be sharing how to use the Cricut Autopress and the Sawgrass SG500. This hard-working duo will make all of your sublimation dreams come true!
This is a sponsored post written in partnership with JOANN. JOANN, is my one-stop shop for all of my crafting needs.
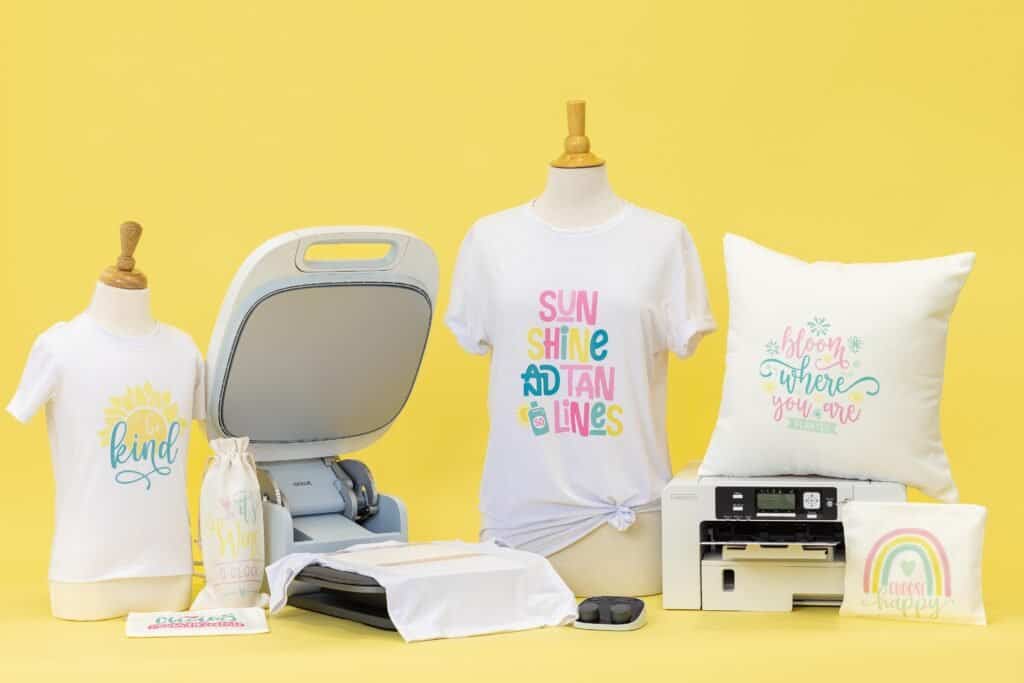
First, let me introduce you to the Sawgrass SG500, which is currently available at JOANN. Let’s take a look at what this printer is capable of and how to use it.
Table of Contents
What is Sublimation?
If you’re unfamiliar with Sublimation, make sure to check out my blog post, “How to use Sublimation Transfer Sheets.” Sublimation is the process of turning a solid (in this case, ink) into a gas, using a heat press at a temperature of at least 400 degrees.
The process of sublimation allows the dye to become embedded into the fibers of the fabric. This means your image will not fade, crack, or peel over time. A true DIY dream!
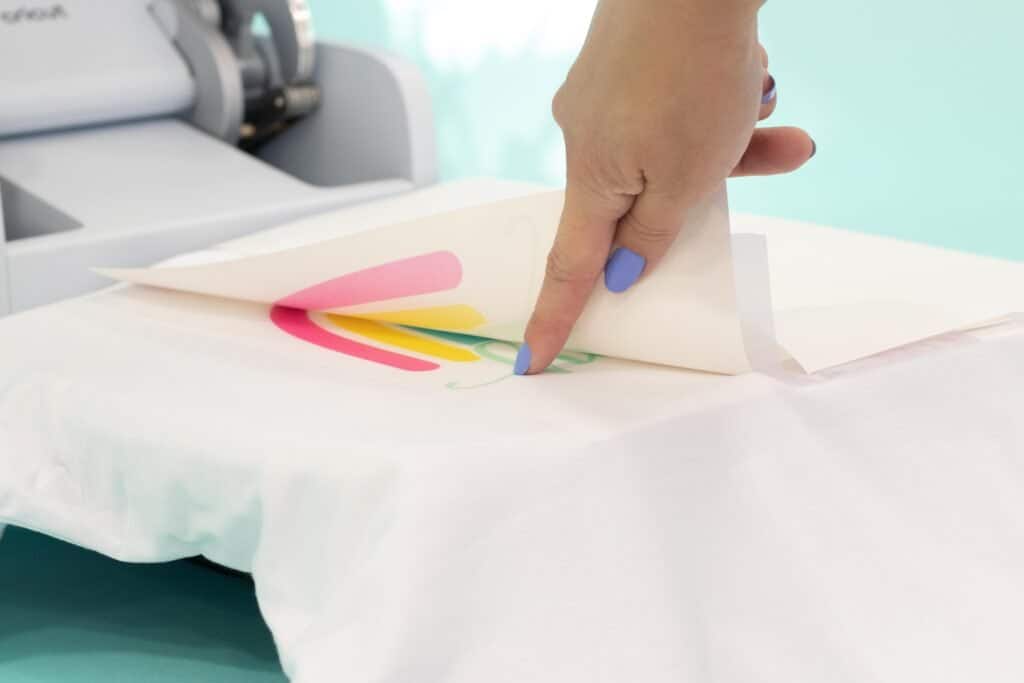
Sublimation can be used on polyester fabrics or on hard materials with a polymer coating. Sublimation-ready “blanks” such as mugs, trays, coasters, etc., are readily available to purchase, offering endless possibilities.
If you want to sublimate it, chances are you can find a polymer-coated option online!
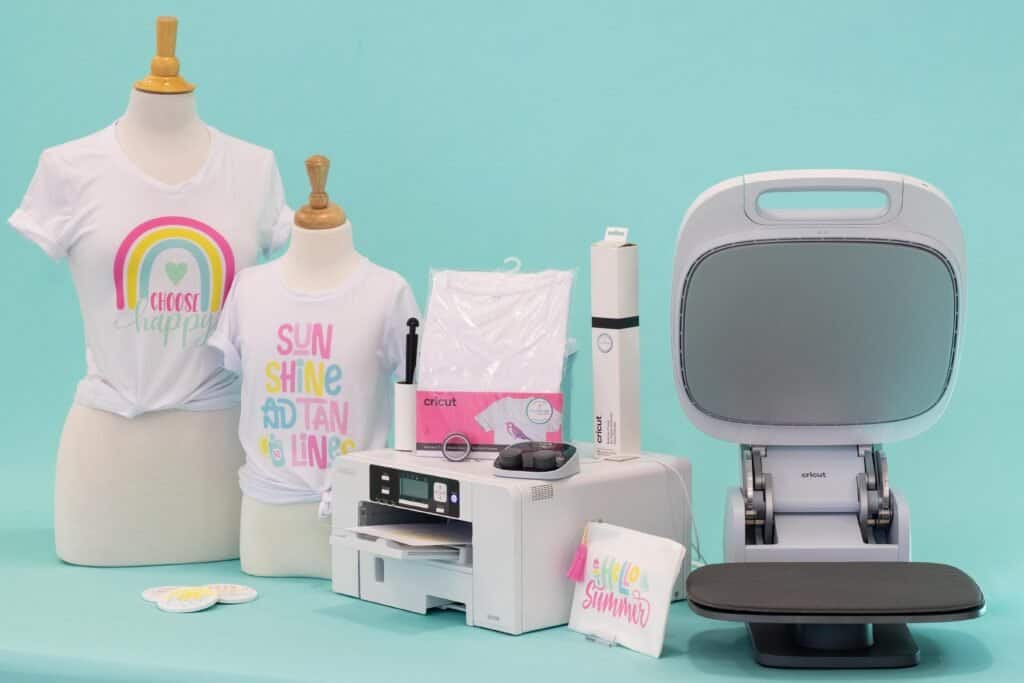
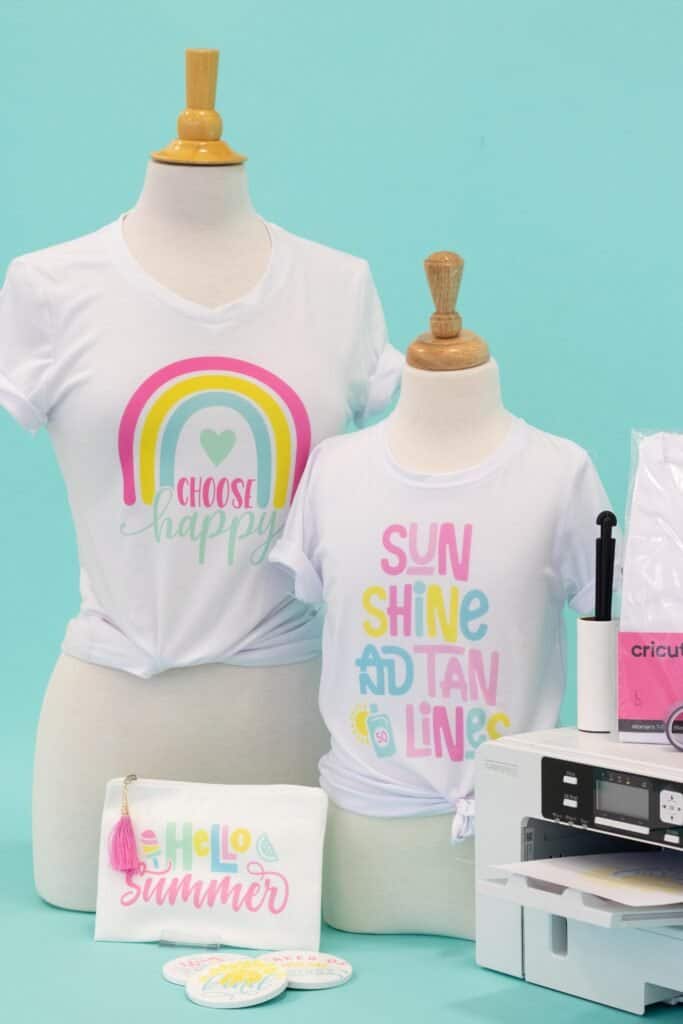
My personal favorite sublimation blanks are the ones that are offered by Cricut which can be purchased in-store or online from Joann. All of the projects I created in the photos of this blog post use Cricut's Infusible Ink bases.
Cricut offers t-shirts (in a variety of sizes & styles), pillowcases, wine bags, coasters, cosmetic bags, and more.
What's so Special about the Sawgrass SG500?
To achieve the most successful sublimation prints, you’ll need the appropriate ink and printer to achieve a quality and lasting image. Your basic at home printer, traditional ink, and copy paper will not do the job.
This is where the Sawgrass SG500 comes in. The Sawgrass SG500 is the only desktop printer designed specifically for sublimation.
Because sublimation transfers ink into a surface rather than on top of it, you want the highest quality supplies. Sawgrass inks and printers are designed with sublimation in mind, guaranteeing the best results at the lowest price possible.
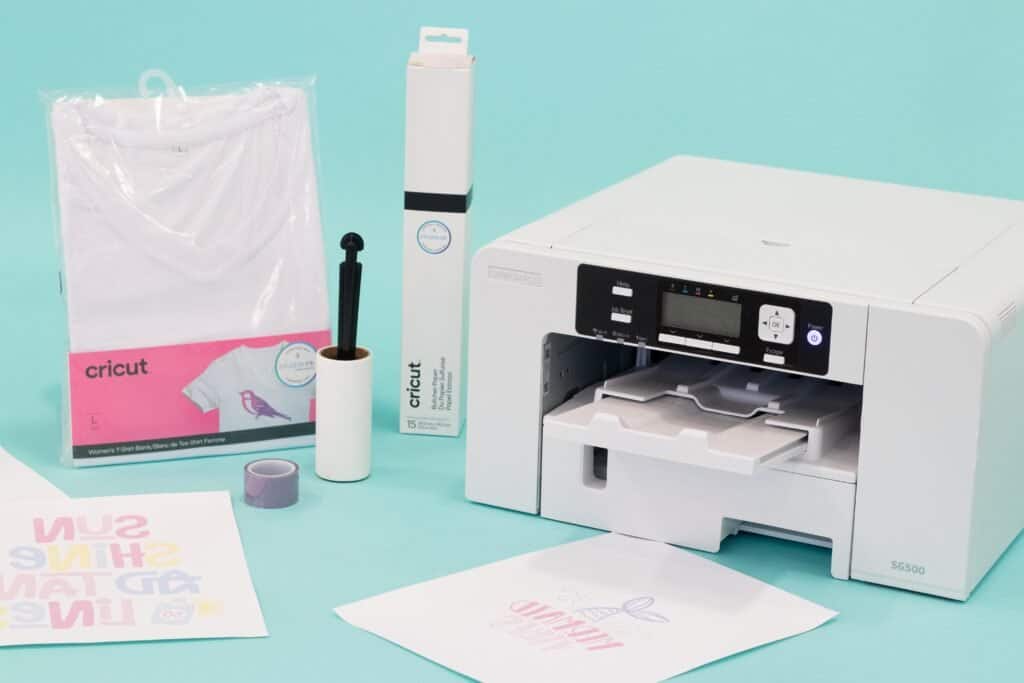
Sawgrass provides an entire system that allows you to create a unique sublimated item, beginning with ideation and ending with a beautiful image designed to last a lifetime. Their specially designed graphics program, inks, printer, and print management software are top of the line and streamline the sublimation process.
The Sawgrass SG500 is a compact desktop unit and allows you to print images up to 8.5” by 14”. It offers Wifi connectivity allowing you to easily connect with your software on multiple devices. With your purchase of the printer, you gain free access to their sublimation software, CreativeStudio, making it easier than ever to start sublimating.
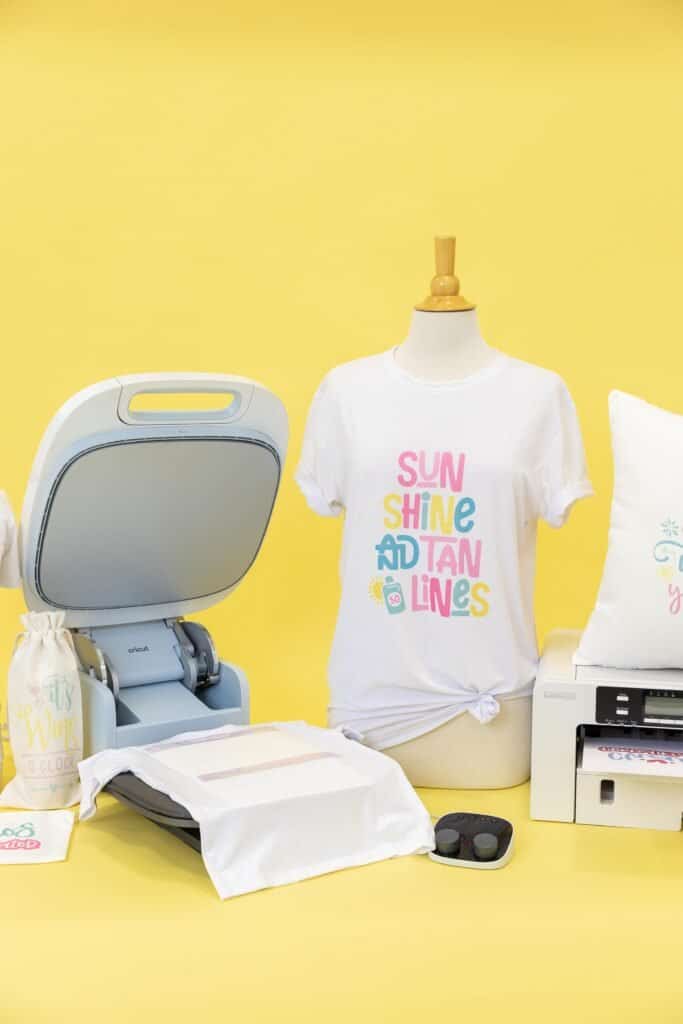
The printer boasts an automatic maintenance cycle, a 2-year warranty, and lifetime technical support. If that doesn’t put your mind at ease I don’t know what will!
This model also includes an Ultra-fine Photo Mode, which guarantees you’ll be more than satisfied with the sharpness and detail of your images.
Things to Keep in Mind regarding Sublimation Printing
- Use White or Light Colored Items.
- Because sublimation is a dying process, you need to make sure you're using a white or light colored polyester fabric when sublimating fabric. You cannot print white ink, so if there is any white space on your design, it will take on the color of the fabric you’re sublimating. Further, if you try sublimating on a dark or black fabric, it won’t show up because you can’t dye dark colors lighter. The dye will still transfer, but you just won’t be able to see it!
- Polyester or Polymer Base
- I mentioned earlier that sublimation requires polymers to work. This means, the higher the polyester content in your fabric, the brighter and bolder the design! If you have a 50% cotton and 50% polyester t-shirt, your sublimation design will have a much more faded or vintage appearance. You want at least 50% polyester for your sublimation ink to transfer. If you want to use a base that doesn't have polyester, you can use EasySubli HTV.
- Heat Enhances the Color
- Heat changes the look of sublimation inks. Meaning, when you first print your sublimation image on the transfer paper, the colors are going to look much different than your design on your software. But don’t worry! This is normal! Once you apply heat to the design with your heat press and sublimate the image to your fabric or substrate, the heat changes the design and it will look just as it did in the original.
- 400 Degrees is Required
- You will need a heat press for sublimation. Sublimation printing requires a minimum of 400 degrees and no movement to the image when being heated, so an iron just won’t cut it.
How to Sublimate a T-Shirt with Sawgrass
Now let’s see how sublimating really works! I’m going to walk you through how to create a sublimated image onto this Cricut t-shirt. In addition to the Sawgrass SG500, you’ll need the appropriate inks, paper, and a heat press to achieve your sublimation print.
Sublimation T-Shirt Supply List
- Sawgrass SG500 Sublimation Printer
- Sawgrass Sublimation Transfer Paper
- Cricut Autopress or Cricut EasyPress
- Cricut Auto Press Mat
- Heat Resistant Tape
- Cricut Infusible Ink Base
- Polyester T-Shirt, Pillowcase, Tote Bag, Etc.
- Scissors
- Butcher Paper
Download the Free Sublimation Files Here

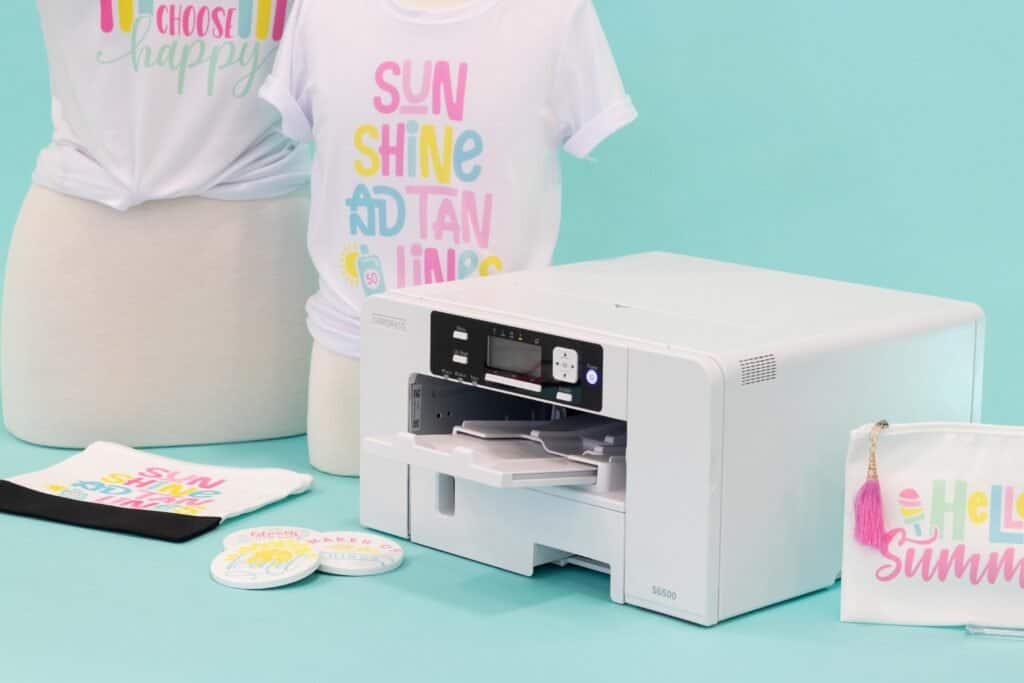
The Sawgrass SG500 accepts three different types of ink: Sublijet HD or UHD, Chromablast HD or UHD, and EasySubli.
I'm using EasySubli Ink because that's what comes with this machine.
You will need to print onto sublimation transfer paper. There are a few different brands out there but Text-R and A-sub sublimation papers are the most popular, and will be the options that appear in the Sawgrass Print Manager.
I'm using Sawgrass Truepix sublimation transfer paper which comes with the machine.
Step One: Create and Print Image in Creative Studio
First, we’ll start by visiting Sawgrassink.com. This will be your home base for printing.
Click the link for CreativeStudio, the graphic software provided by Sawgrass. You’ll also want to open the Sawgrass Print Manager system, which should automatically download onto your computer when you set up your printer.
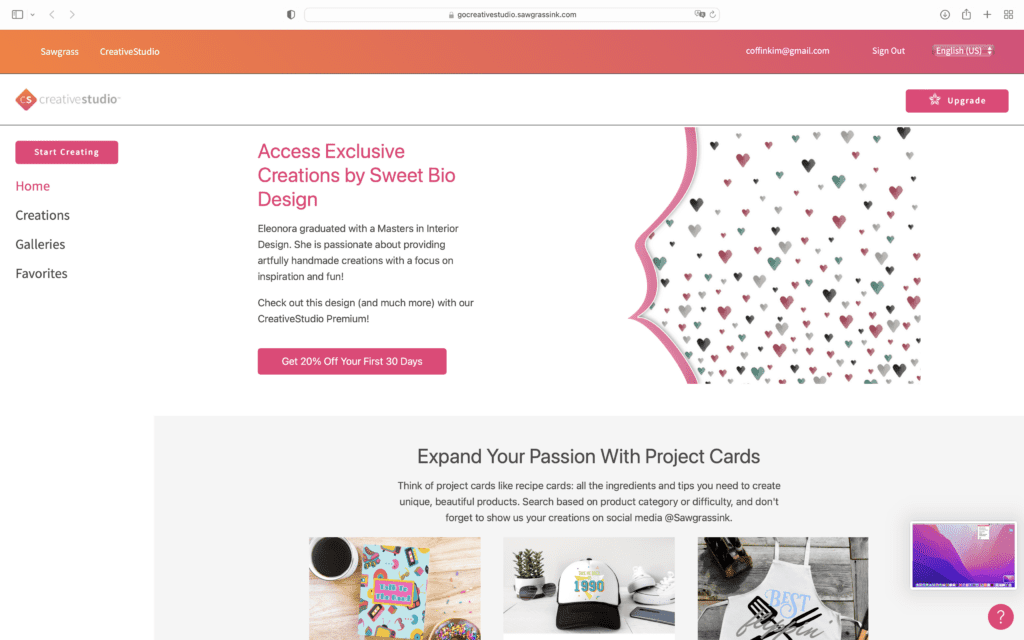
Back to CreativeStudio! You’ll sign in with your account, which you’ll create when you set up your printer. CreativeStudio offers templates and artwork from a global network of designers, with so many fun images to choose from. You can also upload your own designs, or create designs within the software.
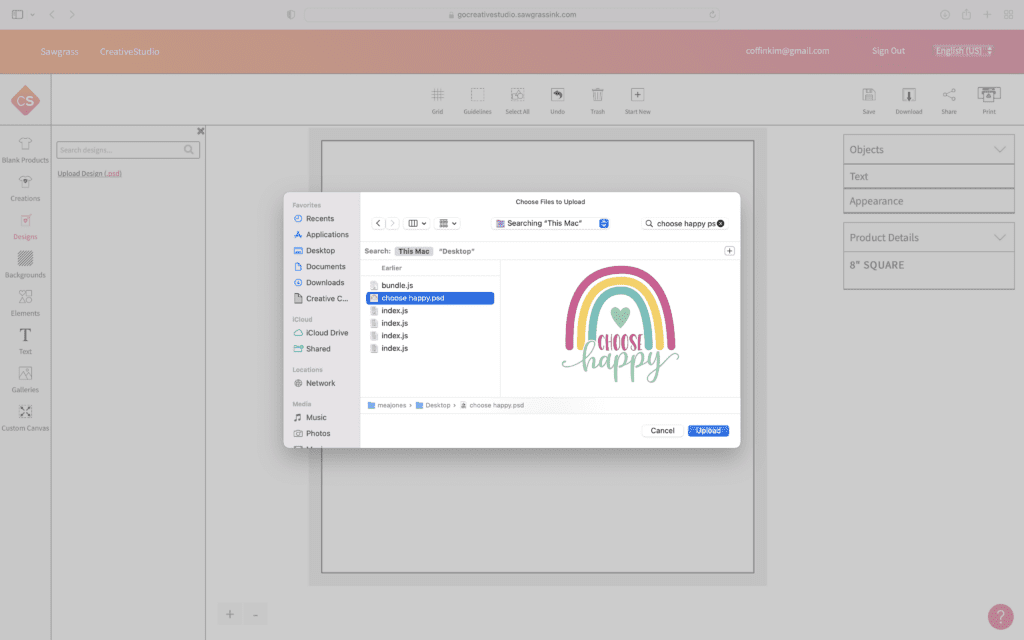
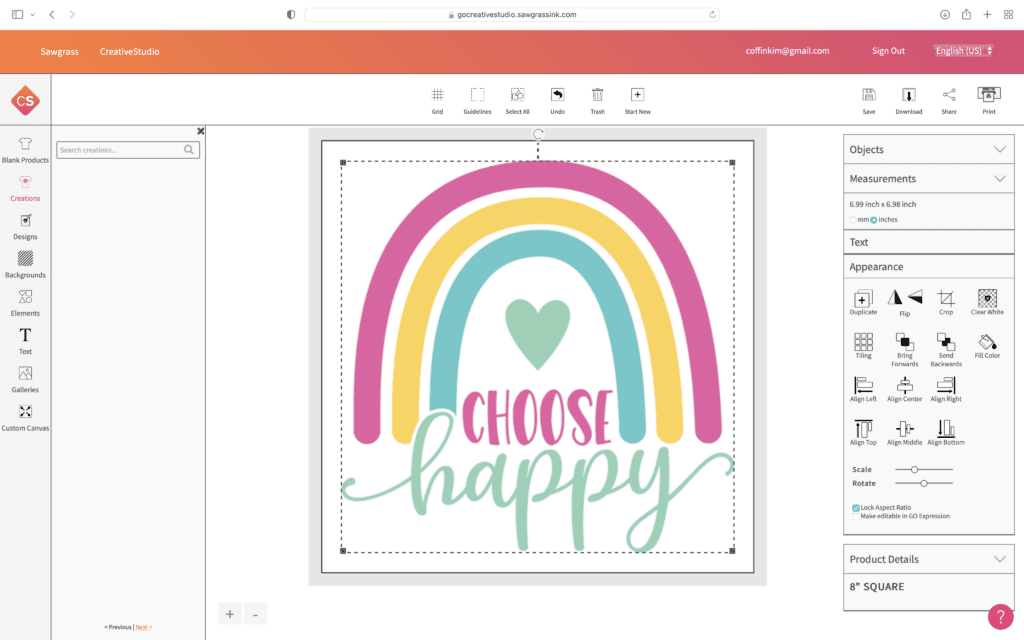
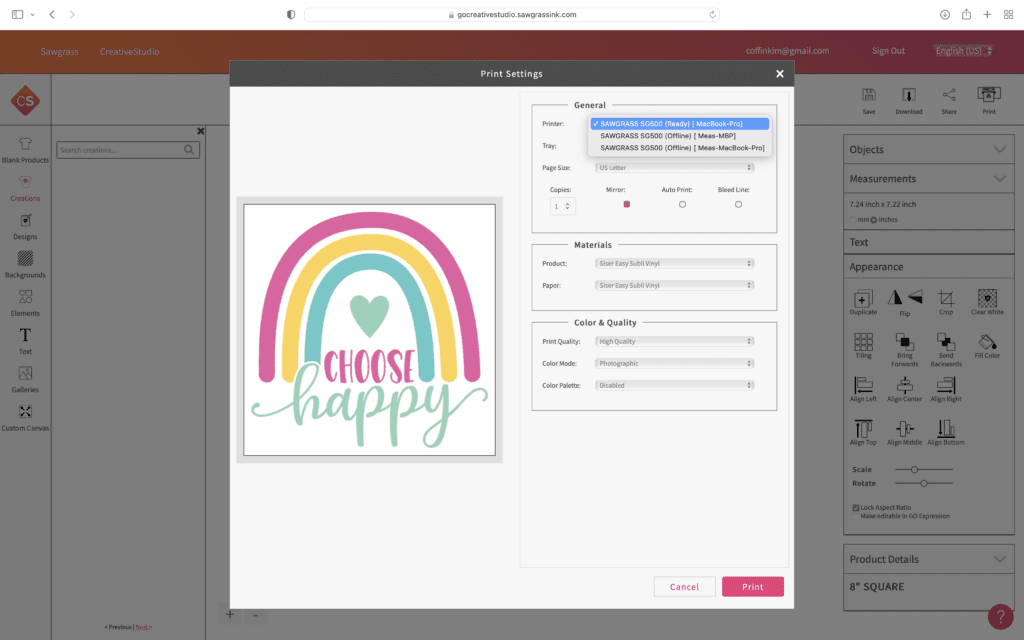
Size the artwork in the software within the appropriate size restrictions of the SG500, 8.5” by 14”, as well as the item you’re sublimating on. Click print and select all the appropriate options regarding settings, material, and color. If you have multiple printers, ensure you’ve selected your Sawgrass sublimation printer. Hit print once you’re sure all your settings are correct.
Now, toggle back to the Print Manager software. Your print should be waiting in a cue on the software. Here you’ll again make sure all the appropriate settings are marked with the correct paper, colors, quality, etc..
The Sawgrass print manager software walks you through all the necessary steps to get you through the process. It includes a color communicator that ensures the correct colors from the software are passed to your printer. This is such a great feature of Sawgrass printers since accurate colors are so crucial to designers! Be sure that you load the paper in the correct way following the instructions for your specific paper!
Sawgrass TruePix sublimation paper has a right and a wrong side and using the wrong side will create a faded transfer that's not as vivid.
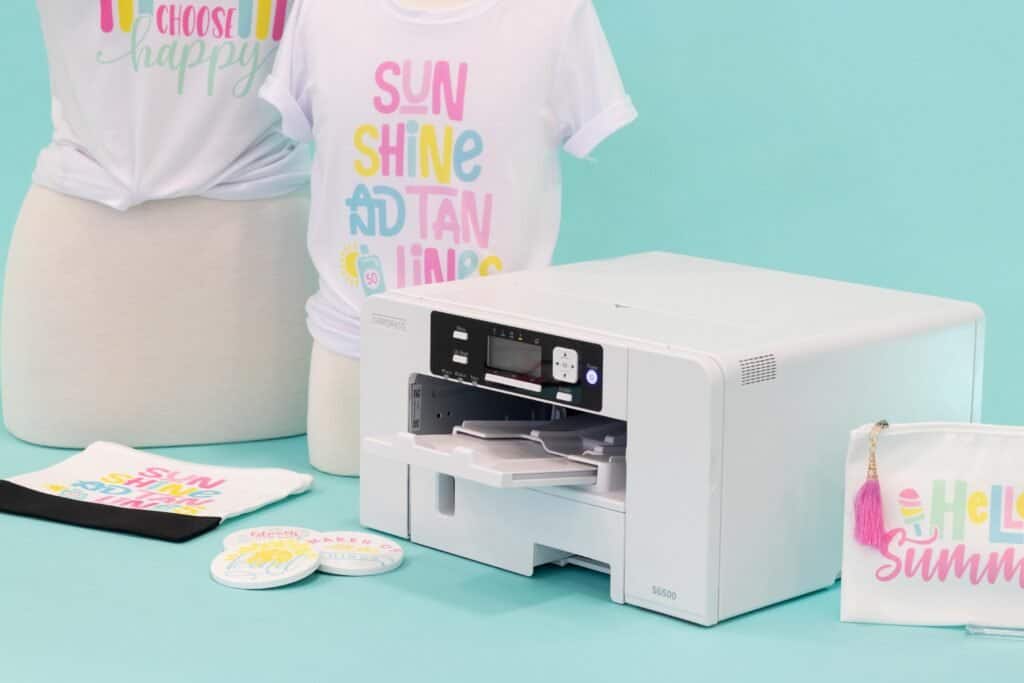
Once your image is printed, you’ll notice the coloring may not seem as vibrant as the image on your software, like I mentioned earlier. Again, this is normal! Once the ink is treated with heat from the heat press, the colors will become richer and brighter.
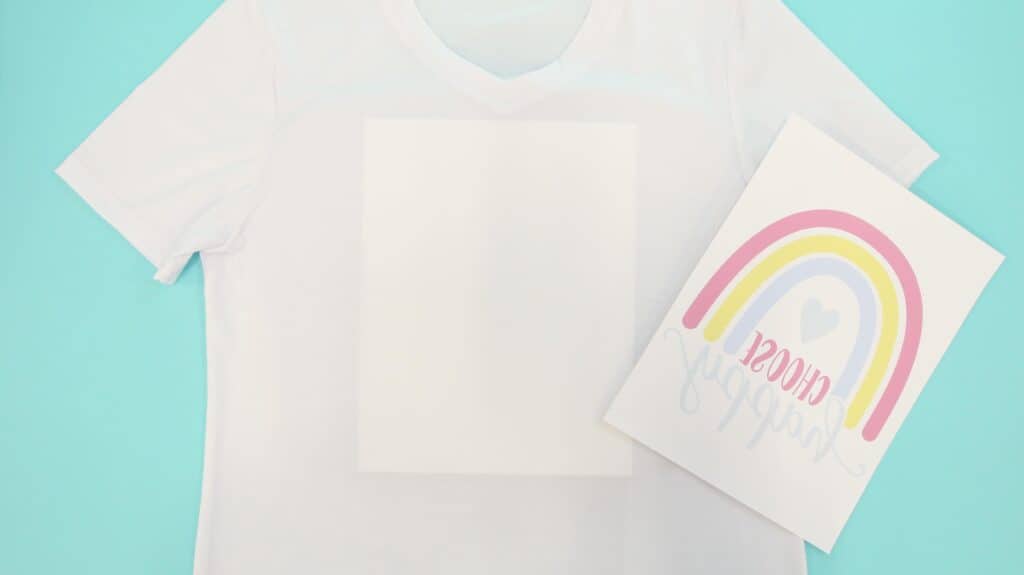
*PRO TIP - A quick tip before sublimating your image is to cut loosely around the image to avoid a harsh square outline on your shirt. This doesn’t always happen when sublimating, but cutting around the image softens the edges and helps avoid a “box” outline around your image.
Step Two: Preheat Your Heat Press
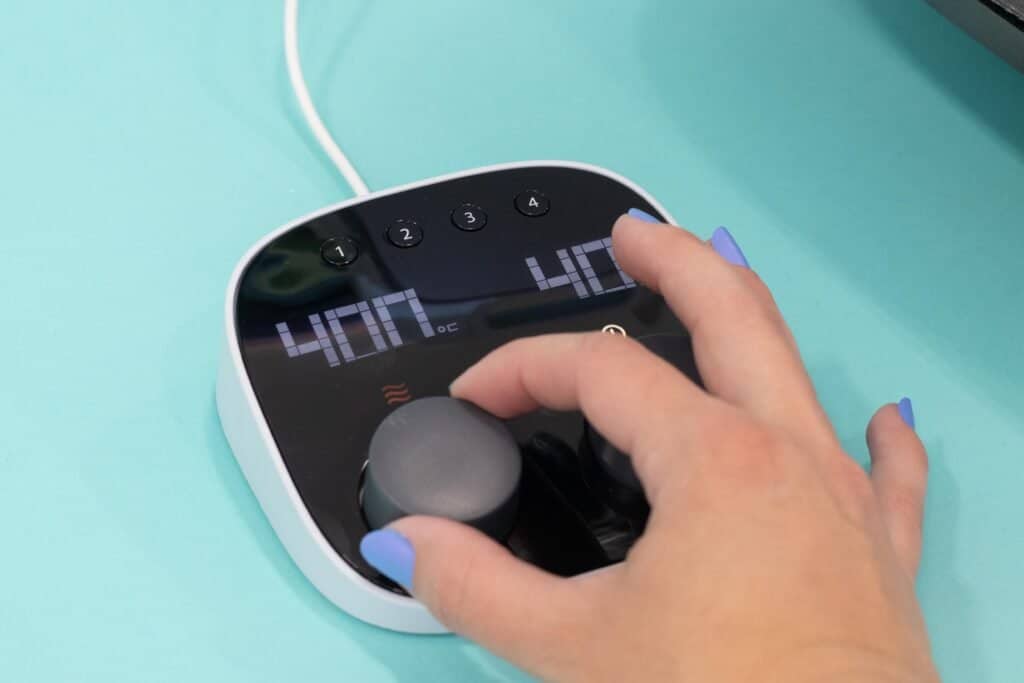
Go ahead and heat up your heat press so it has time to preheat while you prep your shirt. I'll be using the Cricut Autopress to complete this sublimation process. You can read more about the Autopress here. You can also use the Cricut EasyPress, click here to read more.
I'm setting my temperature to 400 degrees for a press time of 40 seconds.
Step Three: Prepare Your Base (Lint Roll & Preheat)
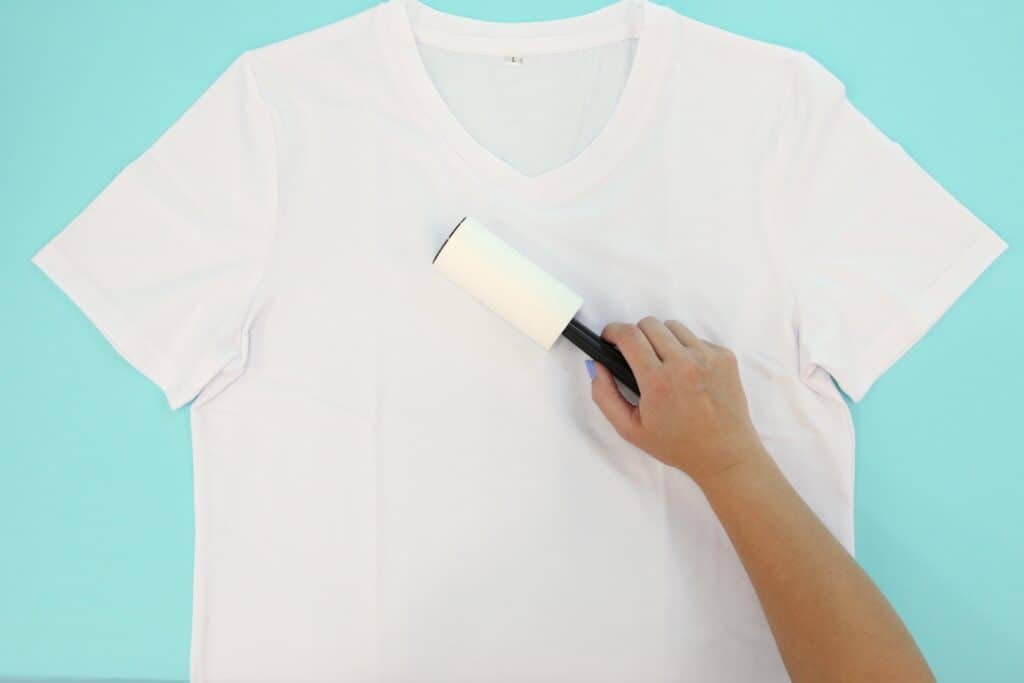
Prepare your shirt to be sublimated by using a lint roller to get rid of any stray fuzz or threads. Most of the time these specks aren't even visible to your eye but they can cause blue dots to appear after pressing or imperfections if they aren't removed.
Then either thread your shirt onto the press, meaning only one side of the shirt will be exposed to the heat, or place a piece of parchment or butcher paper inside the shirt to act as a barrier. Otherwise, the dye will seep through to the other side.
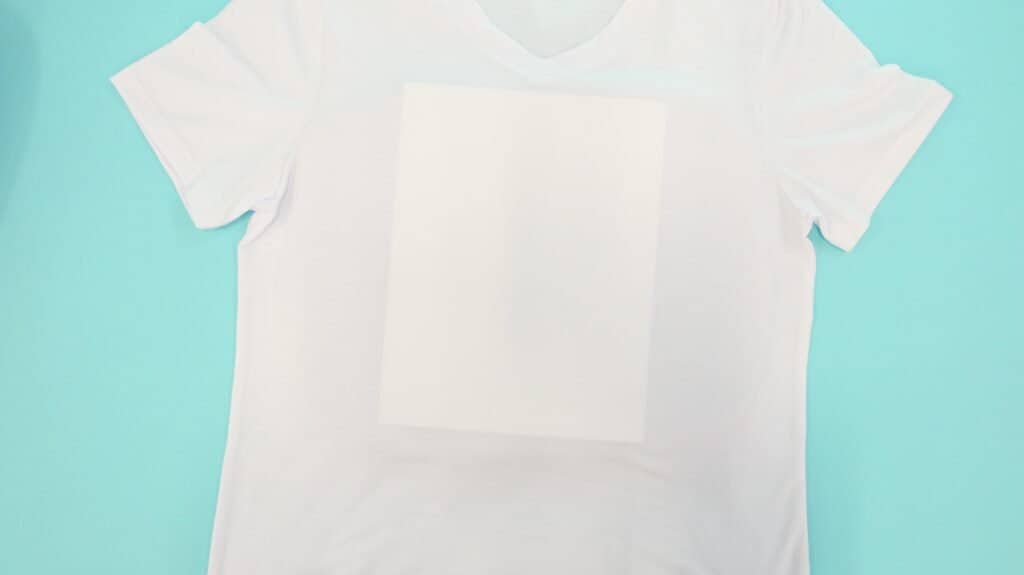
Place your shirt on top of the pressing mat, cover it with a sheet of butcher paper, and preheat your blank for 5-15 seconds. Preheating your base material removes moisture, flattens the surface, and prepares it for the sublimation transfer process.
*PRO TIP - To prevent ghosting, allow your t-shirt to cool down for 30 seconds before placing the transfer on the surface.
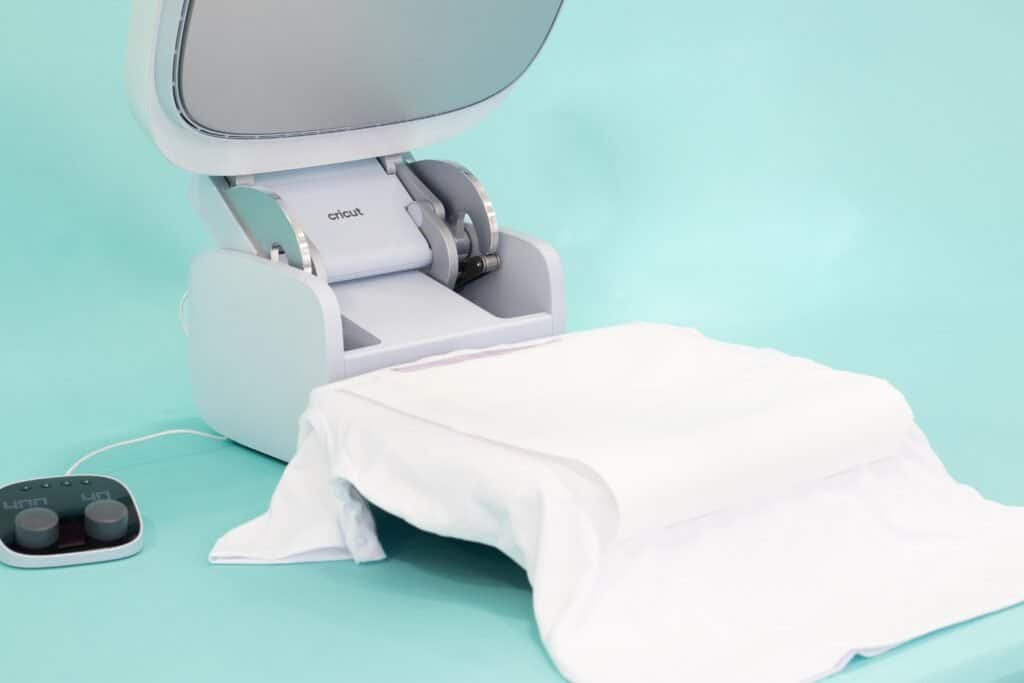
Step Four: Center Image, Tape, & Press
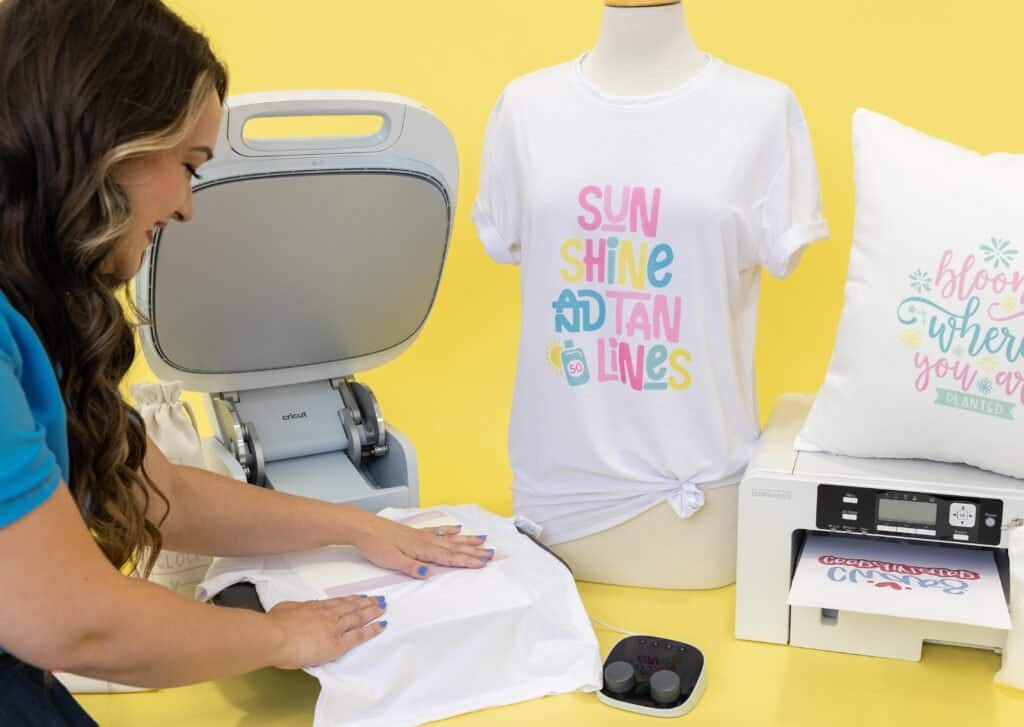
Center your sublimated image onto your shirt, with the image facing down onto the t-shirt. Use heat-resistant tape to secure the transfer sheet in place.
*PRO TIP - Heat-resistant tape or spray adhesive is an integral part of this process. This prevents the transfer from shifting during the sublimation process which can cause ghosting.
You’ll also want to protect your heat press plate by placing a piece of butcher paper over the printed design. This prevents the image from bleeding or transferring ink to the heat plate.
*PRO TIP - Preheating your base removes moisture. Moisture can negatively interact with the ink causing inconsistent transfers. Using a sheet of butcher paper can absorb moisture during the pressing process.
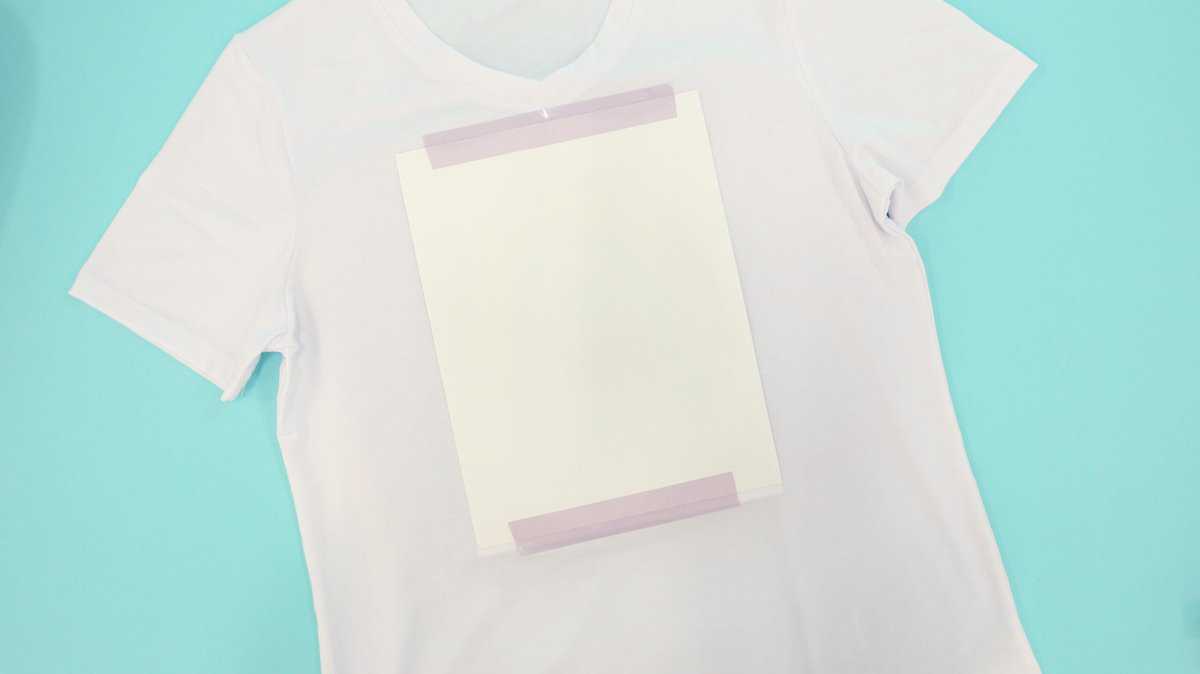
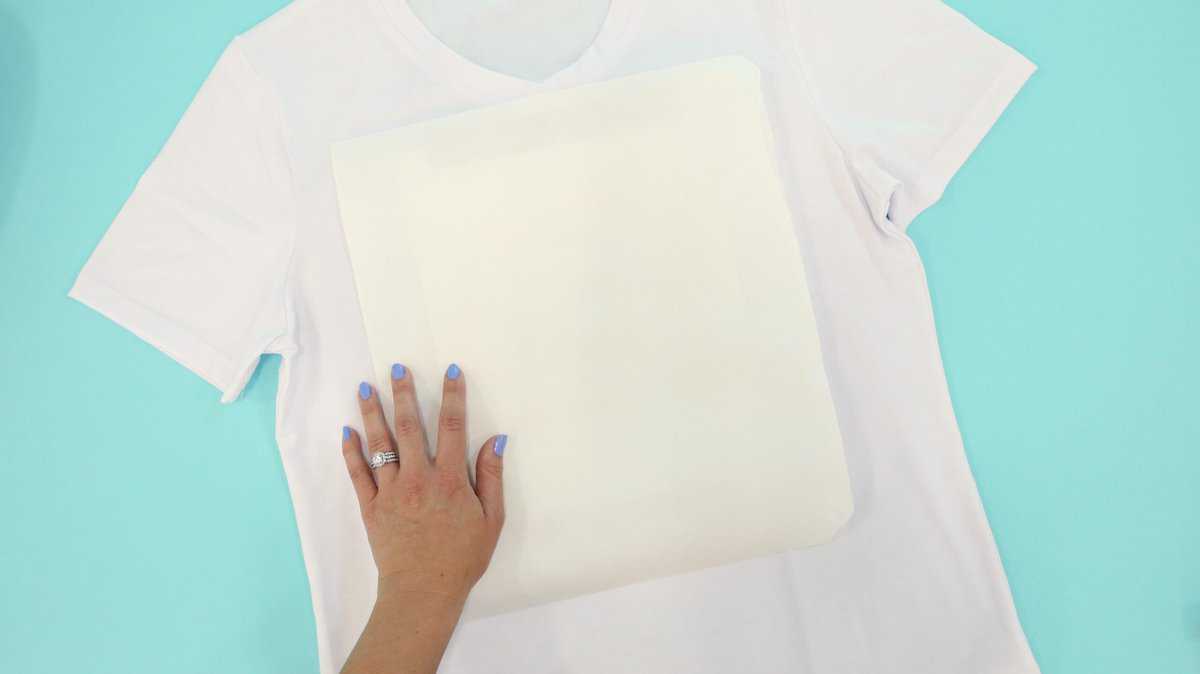
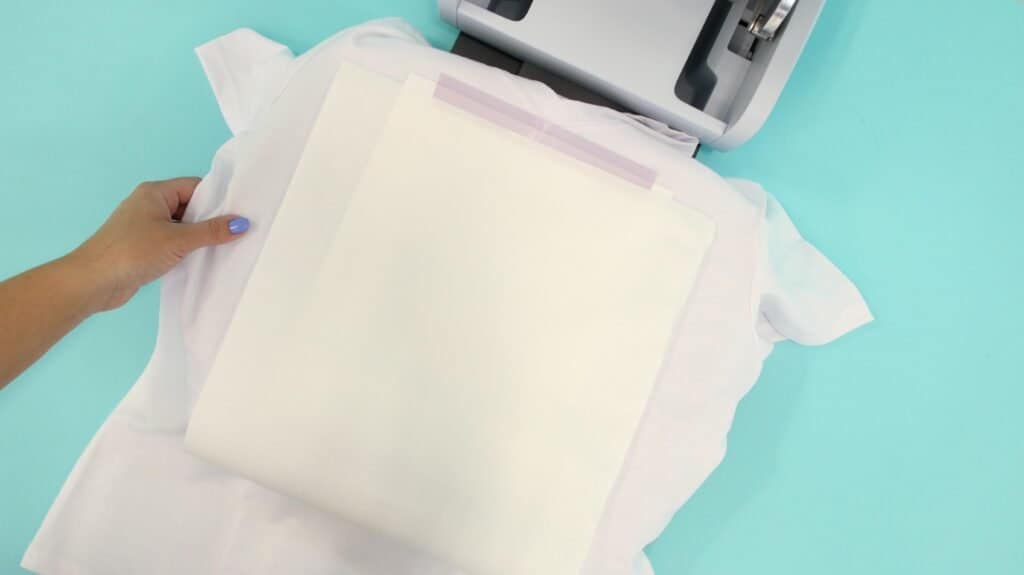
I am going to press this at 400 degrees for about 40 seconds (this setting will depend on your base material).
Once everything is secure and protected, close your heat press and wait for the magic!
Step Five: Remove the Sublimation Transfer Sheet
After 60 seconds, remove the transfer immediately, but be careful as it is going to be hot!
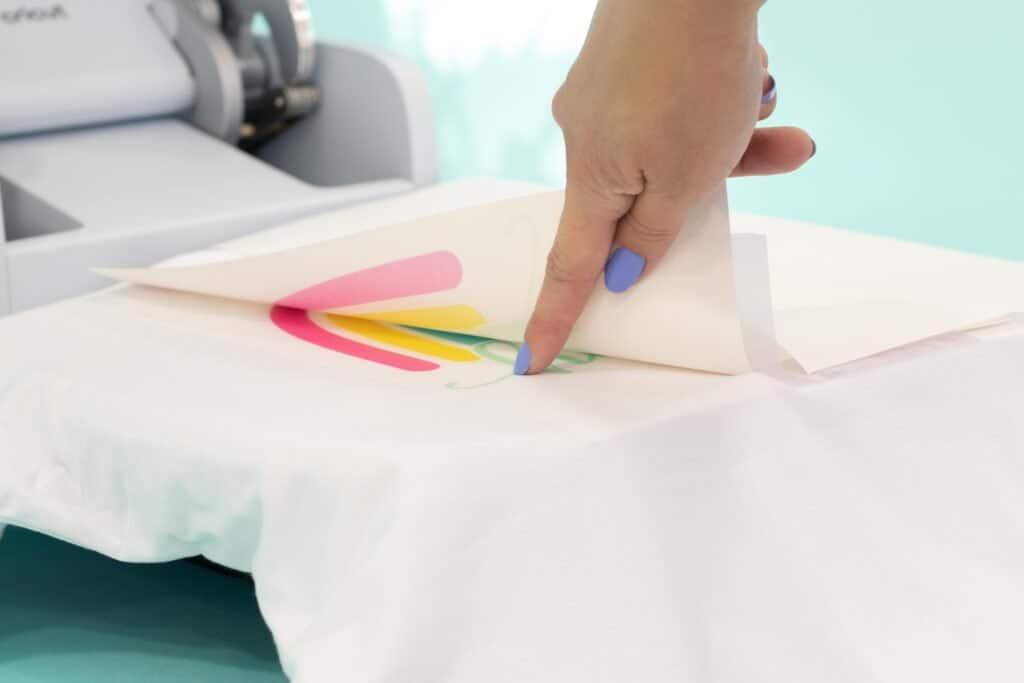
Now I have this beautiful t-shirt with a permanent, vibrant image on it that has no texture and won’t fade!
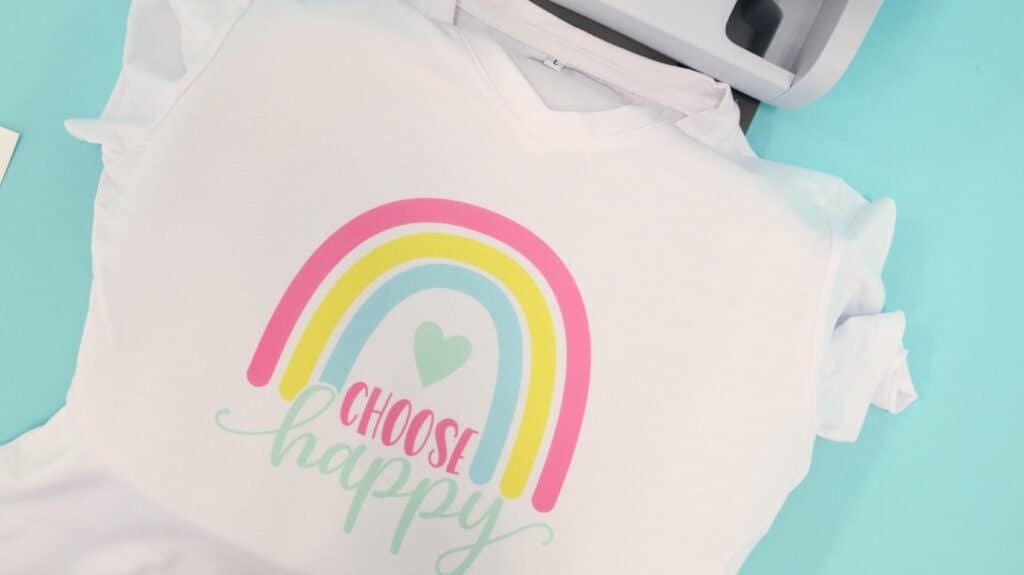
It looks like I could have bought this as a store, except it’s even better since I designed it myself.
The Sawgrass SG500 is a dream to work with and ensures I have beautiful sublimation transfer images every time.
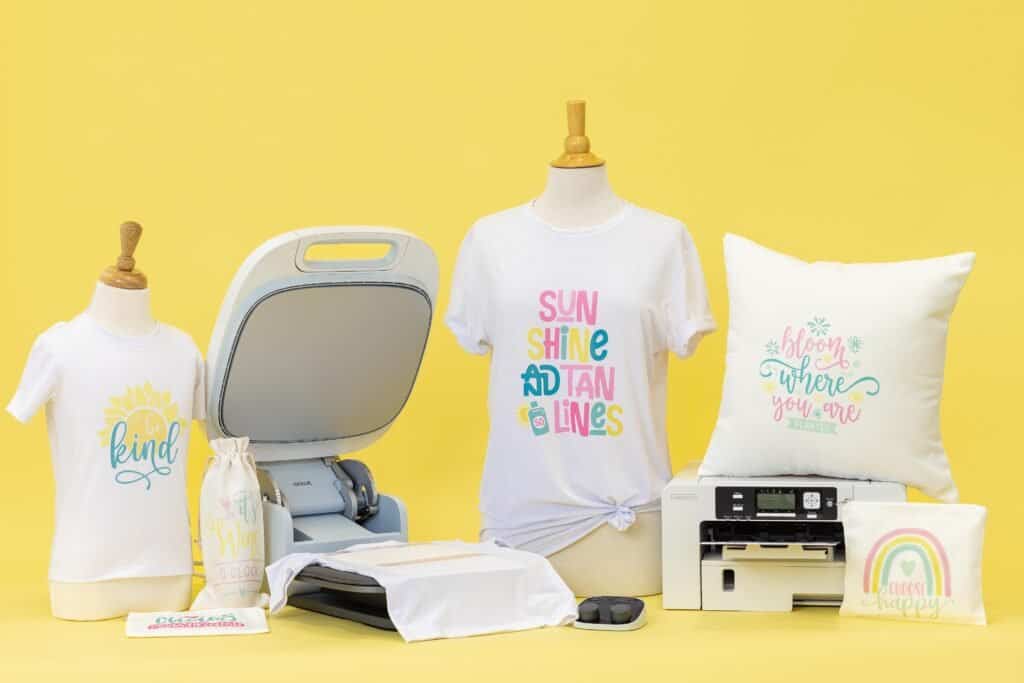
I hope this inspires you to try your hand at sublimation printing!
Let me know if you have any questions about the Sawgrass SG500 printer or the sublimation process below.
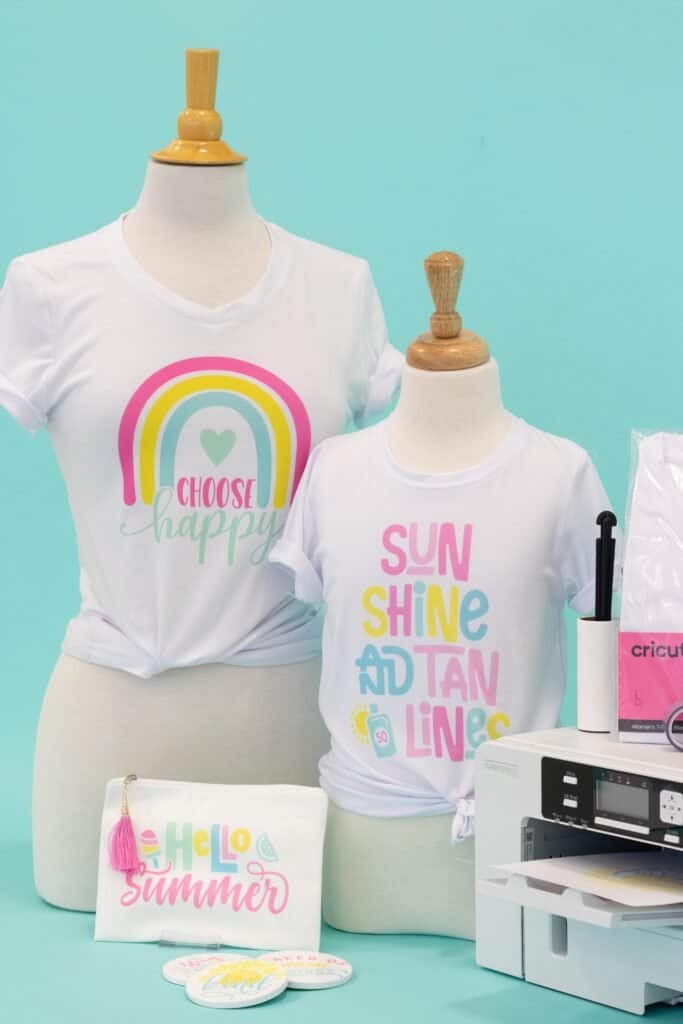
Don't forget to order or pick up all of the supplies for this tutorial from your local JOANN.

This sounds like a very easy fun way of doing 'imprints' on things.
Before I think about getting the accoutrements for doing sublimations, how eco-friendly is it? It doesn't seem very eco-friendly and, if it isn't good for the planet, I won't be trying it.
But I would like advice from someone who has used the process.
Thank you for your time in reading and replying to my question.
I seem to have issues printing from Cricut to PM on my sawgrass. I installed Cicut and re-connected and it seemed to work for one day. Now it's not working again. Creative Studio is ok when you have a basic images to print but if you are trying to size a particular shape to exaxt measurements you are restricted.