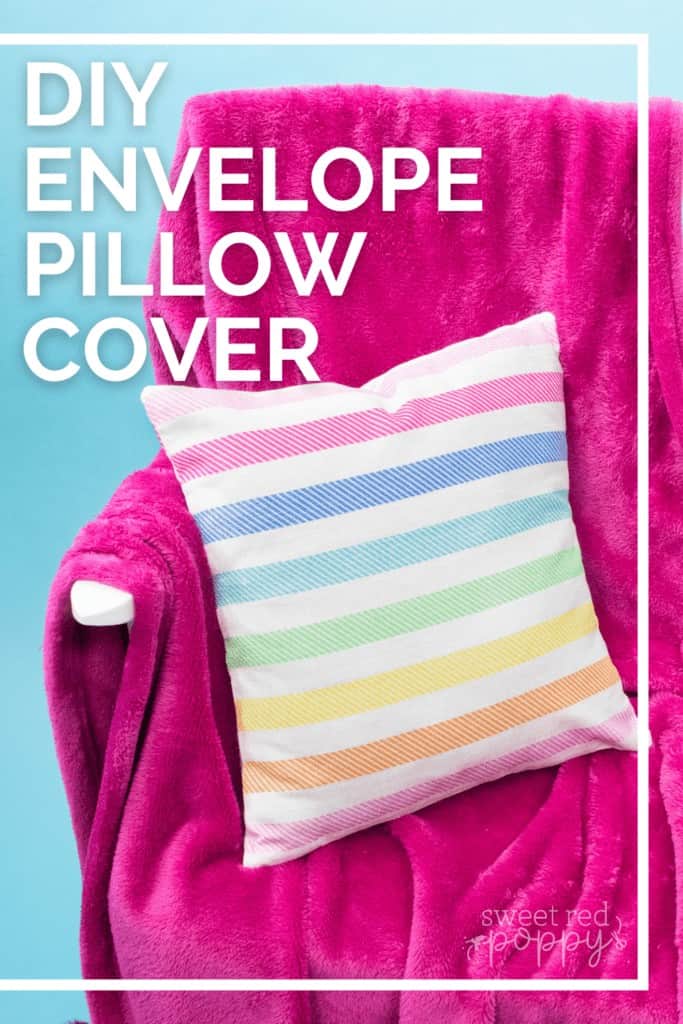
Making an Envelope Pillow Cover Is Easier Than Ever With This Simple Step-by-Step Tutorial and Video Guide! Learn How to Make an Envelope Pillow Cover with one piece of fabric in Less Than 15 Minutes!
You probably didn't know that sewing an envelope pillow cover only takes 15 minutes!! The best part, you don't need a zipper for this project. It's easy enough that a beginner seamstress can make this because it's all straight lines!
Learn how to make Halloween Make-a-palooza DIY Pillows Cricut Maker here.
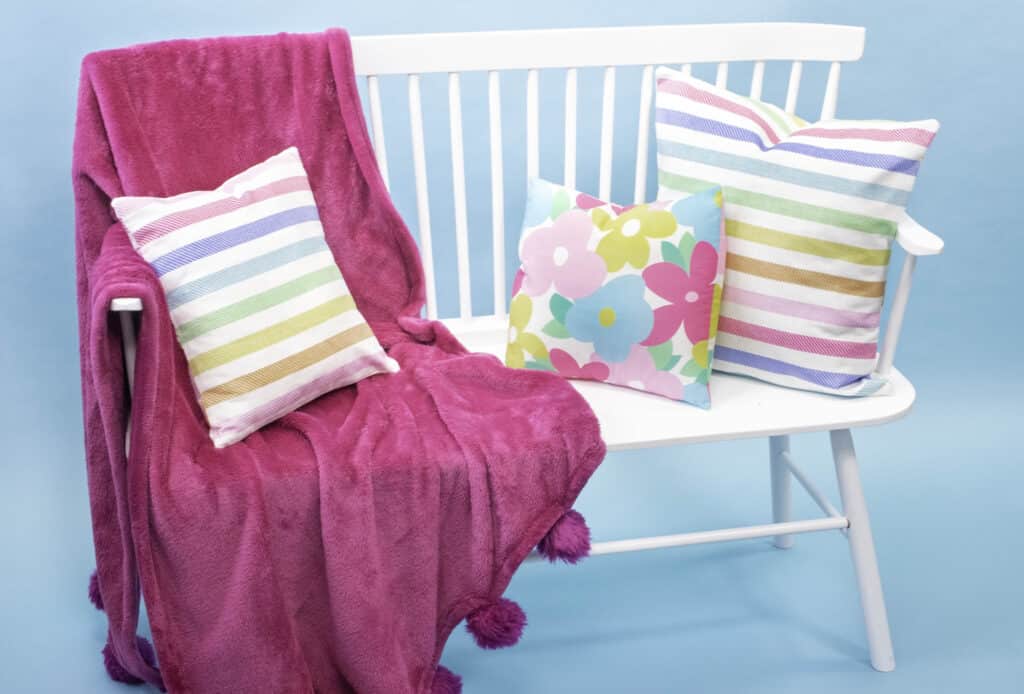
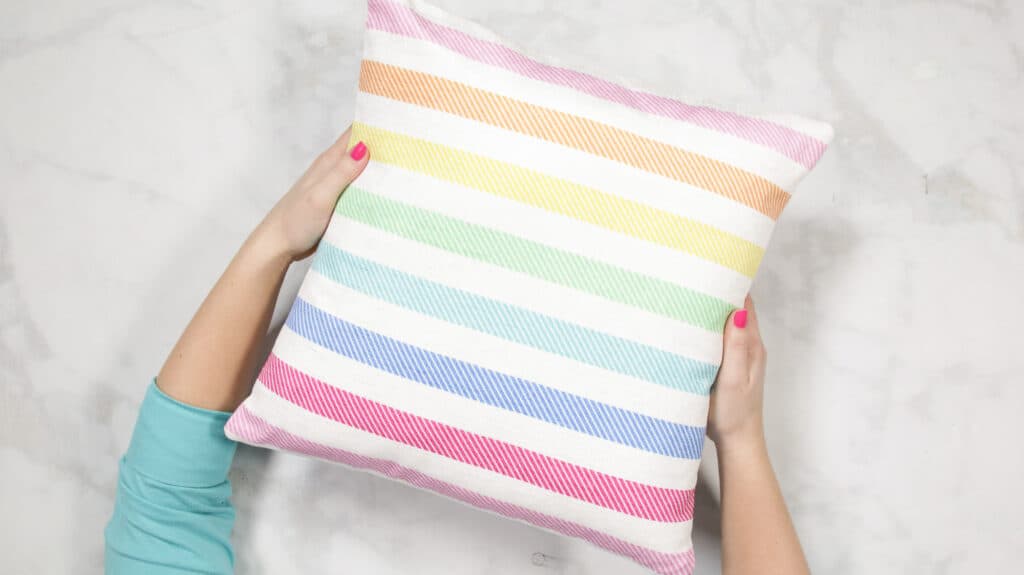
Look at these adorable fabrics I customized! I love how I can choose the exact shade I want in order to create a fabric that's a perfect match for my project!

Now Let's make some adorable Pillow Covers!!
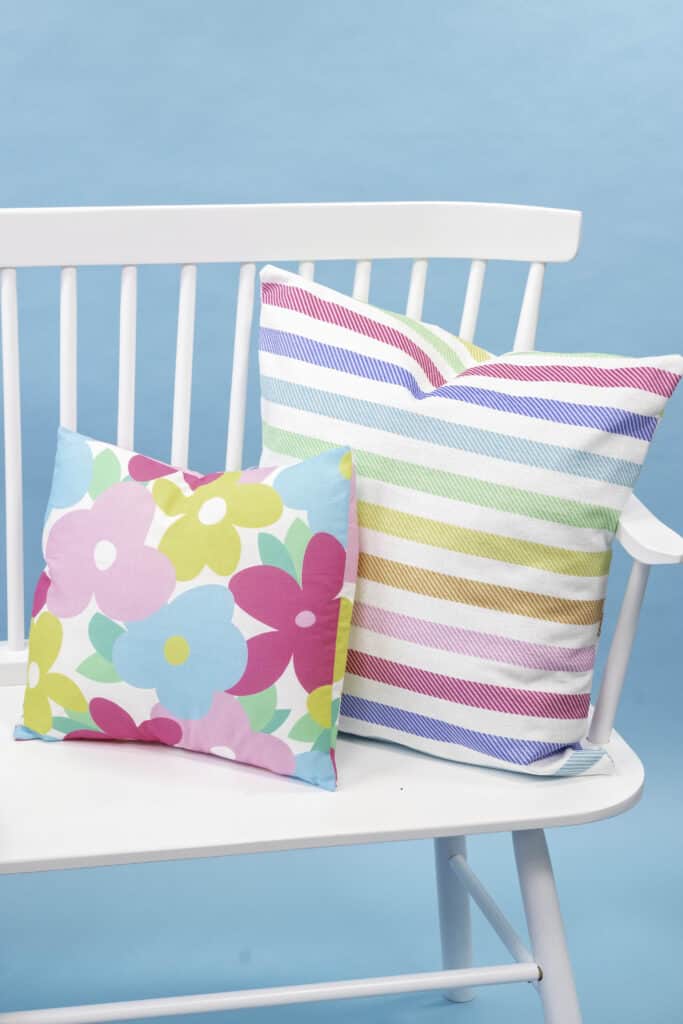
Table of Contents
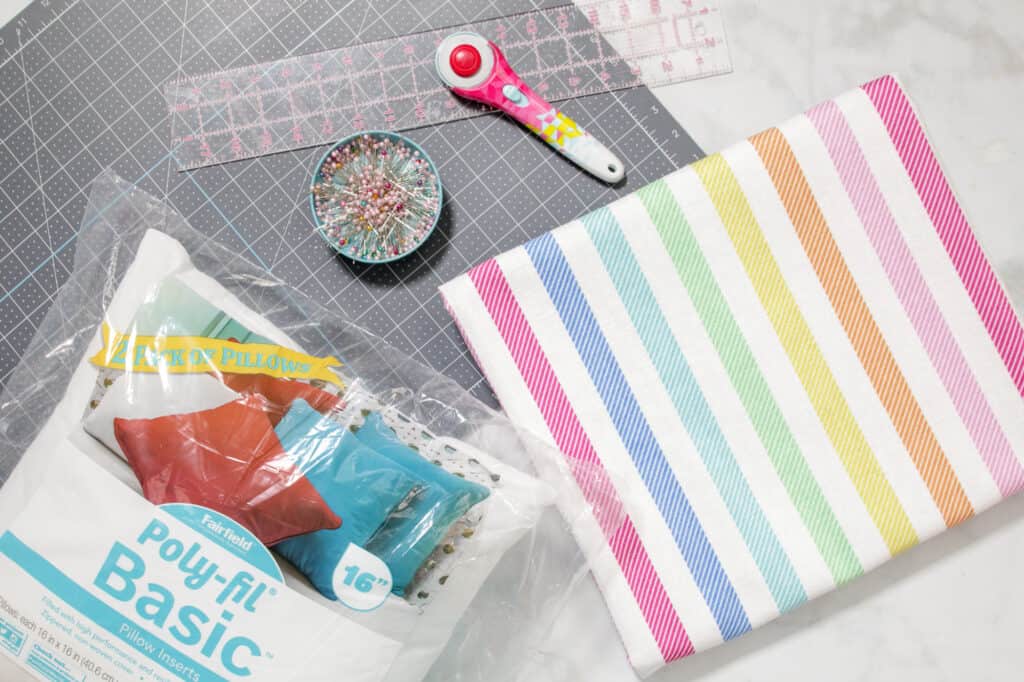
Pillow Cover Supply List
- 1/2 Yard Fabric
- Pillow Form
- Sewing Machine
- Scissors or Rotary Cutter & Mat
- Ruler
- Thread (Optional Eloflex)
- Pins
- Iron & Ironing Board
- Hemming Tool
Why Shop Through My Links?
When you shop through my affiliate links, it doesn't cost you anything extra, but it helps me out in a big way! I earn a small commission from those purchases, and that support allows me to continue creating and sharing free tutorials and patterns for you. Thank you so much for helping me keep this creative community going!
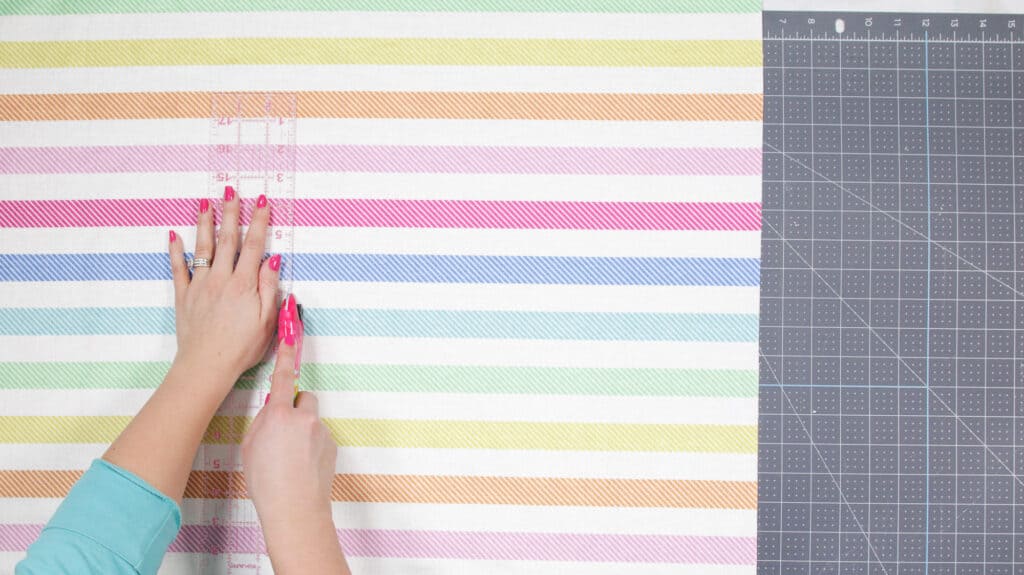
Step 1 - Cut out Fabric
Pillow Cover Fabric Cutting Chart
- 14 x 14 Pillow - Cut 1 14" x 14" Cut 2 14" x 10"
- 16 x 16 Pillow - Cut 1, 16" x 16" Cut 2 16" x 11"
- 18 x 18 Pillow - Cut 1 18" x 18" Cut 2 18" x 12"
- 20 x 20 Pillow - Cut 1 20" x 20" Cut 2 20" x 13"
- 24 x 24 Pillow - Cut 1 24" x 24" Cut 2 24" x 15"
Measure your pillow form and find the coordinating cutting measurements listed above.
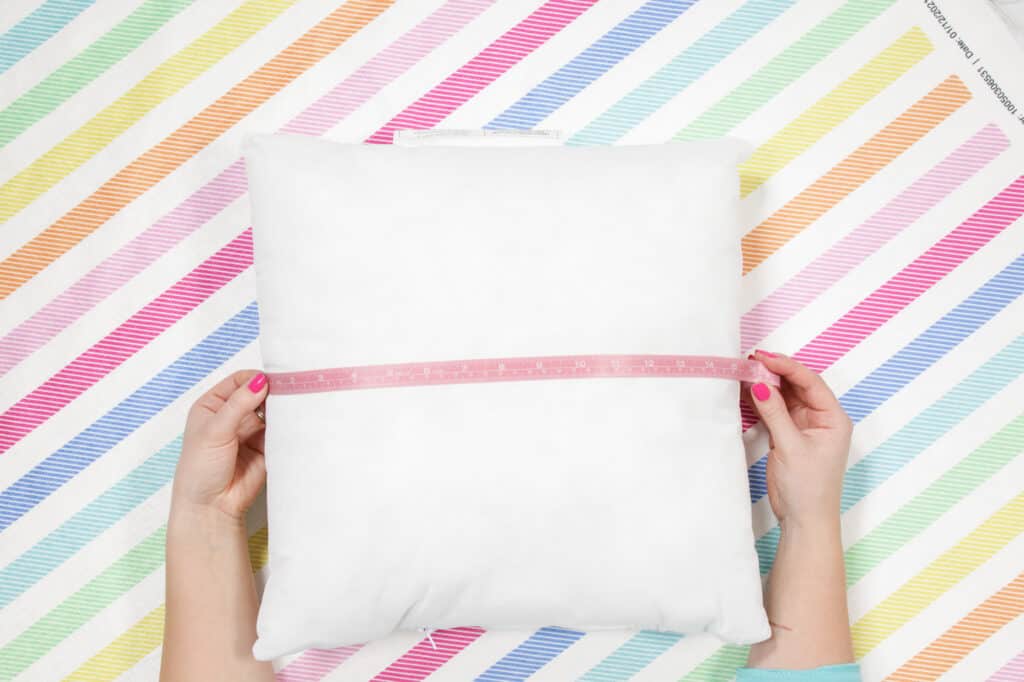
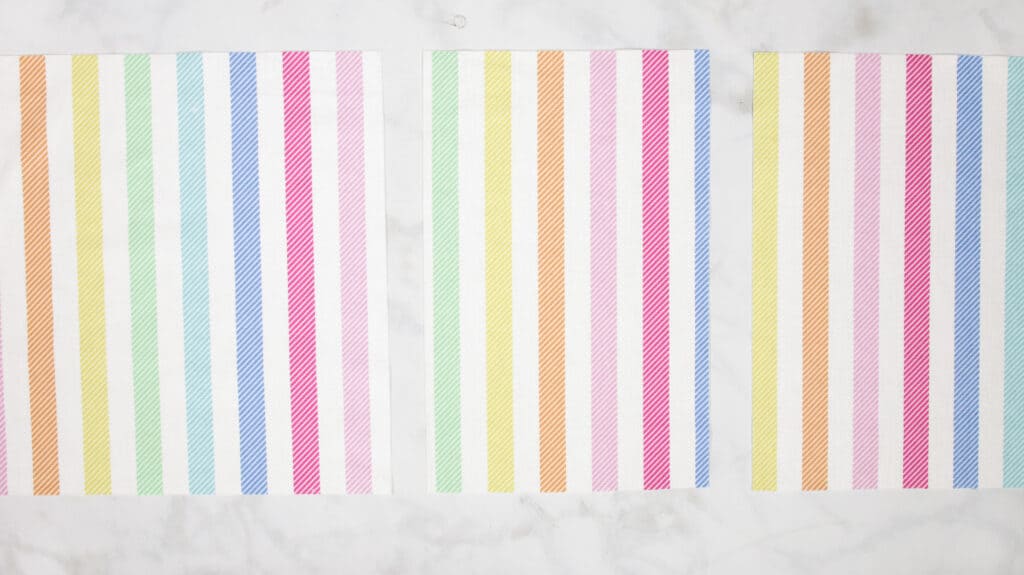
Cut out one square piece of fabric for the front of the pillow and two rectangles for the back. View the cutting chart above. If you are making a different sized pillow cover, the front should measure the same as the pillow. The back pieces should be the full width of the pillow and half the height of the pillow plus three inches to account for the overlap.
Step 2 - Iron and Sew Folded Edges
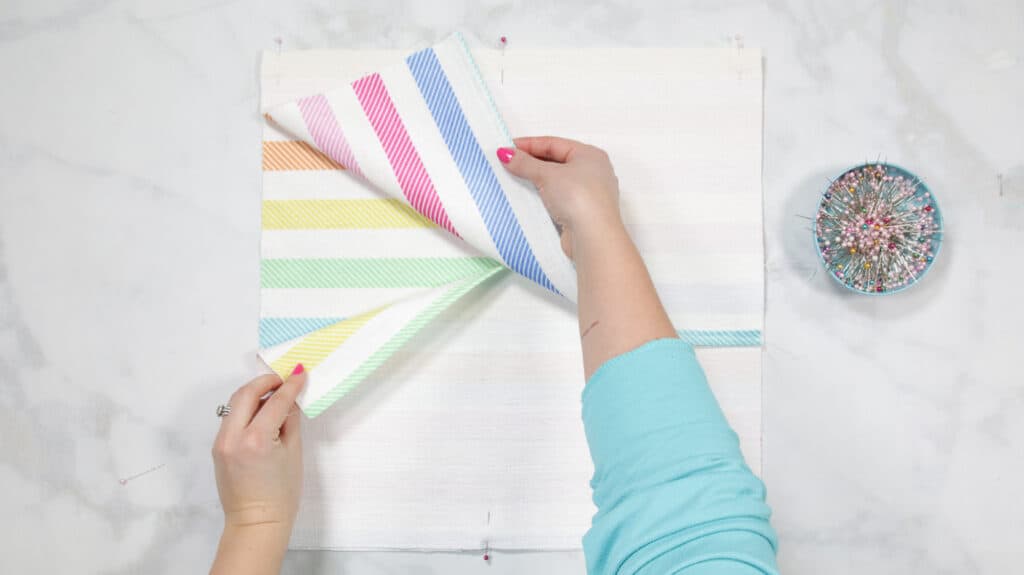
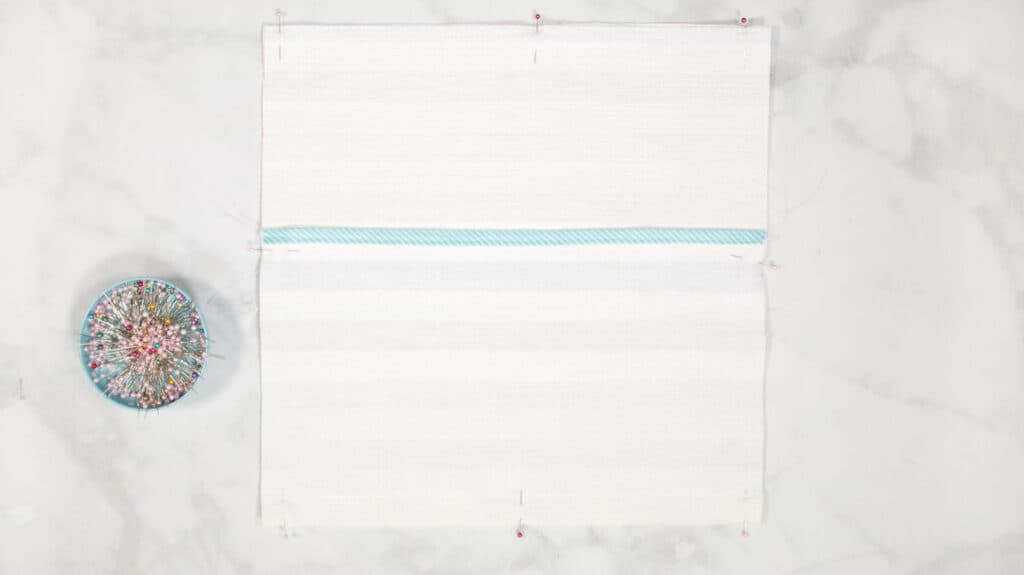
Take one of the rectangular pieces of fabric and fold one long edge under 1/2" and press. Fold it under 1/2" again and press in place with plenty of steam. Repeat on the second piece of fabric.
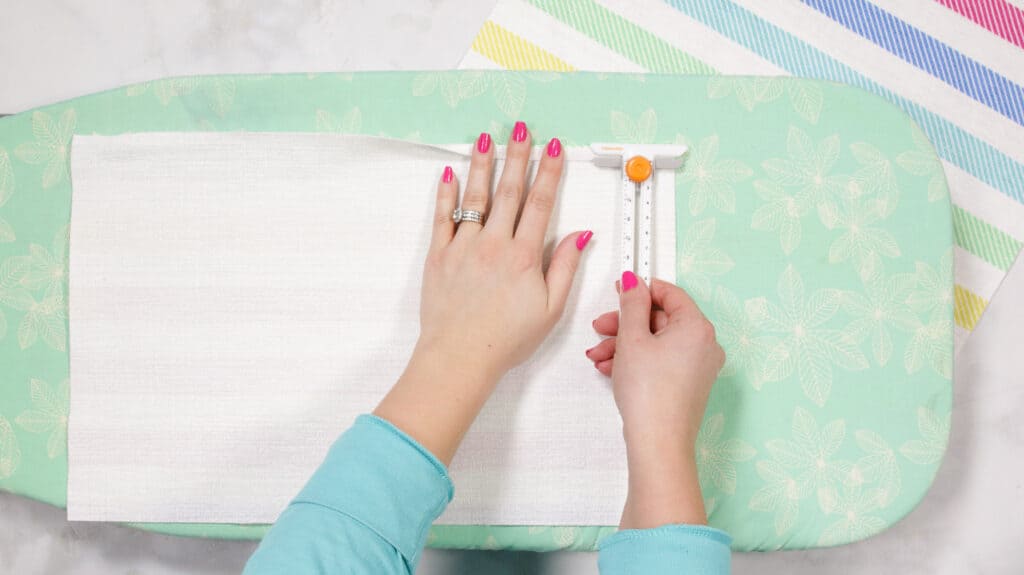
Sew along the middle of the fold 1/4" from the folded edge of the fabric.
Step 3 - Pin Front and Back Together
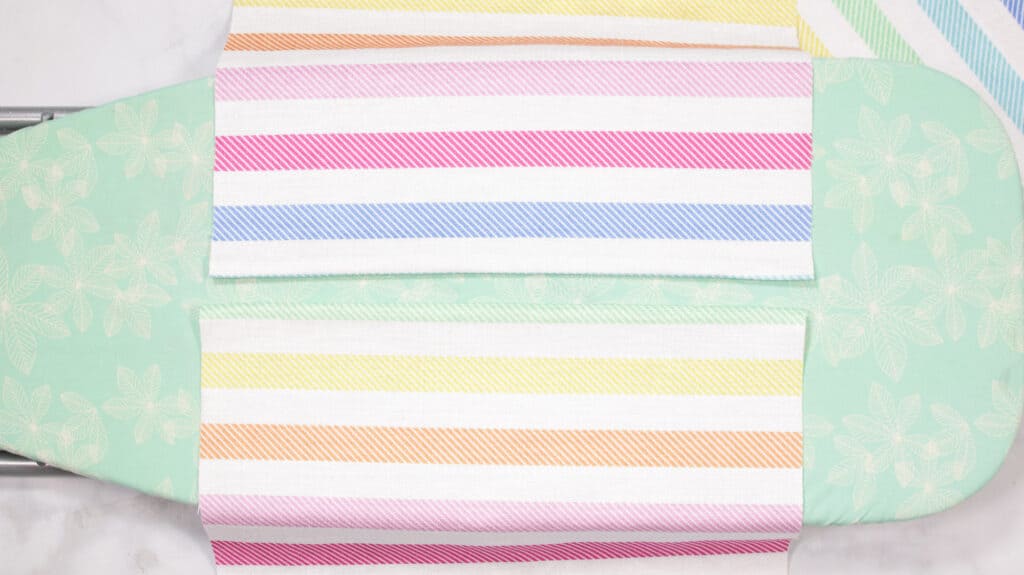
Lay the front pillow cover fabric on a table in front of you with the right side facing upwards. Lay the rectangular pice of fabric on top aligning the raw edges together.
Layer the third piece of fabric on top. The back pieces of fabric will overlap each other by a few inches. Pin around the perimeter of the fabric.
Step 4 - Sew Around Entire Pillow Cover & Finish Edges
With a 3/8" seam allowance, sew around the entire pillowcase.
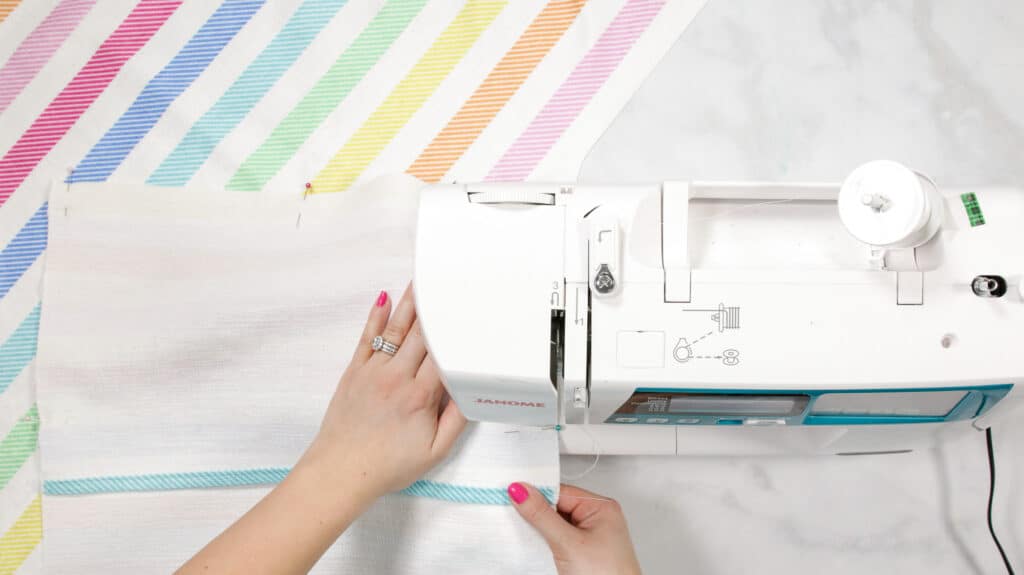
Finish the raw edges of the pillow cover with a zigzag stitch or a serger to prevent the fabric from fraying.
Step 5 - Turn Right Side Out & Insert Pillow Form
Turn the pillow cover right side out and use a turning tool to push the corners outwards to create sharp corners.
Insert the pillow form into the pillow cover and enjoy your new pillow!
Click here to customize your own fabric at JOANN.com!
Share your finished pillow covers with us in the Sweet Red Poppy Crafting & Sewing Group!
Don’t want to forget about this free template? Save this project for later! Click here to save this project on Pinterest.
Looking for even more sewing tutorials? Click Here!
Learn how to sew a pillowcase with an invisible zipper here.
Find out how to make a pillowcase with tassels here.
Do you have any other questions about how to make an envelope pillow cover with one piece of fabric? Let me know in a comment below!
I am b
having a difficult time seeing clearly (bad eyes).. How can I enlarge the photos?
Great tutorial. I love the chart for different sized pillows. Thank you.
love the colors
This is exactly what I needed. Thank you so much!!!
I tried to post in the Facebook group but could not. Thank you for this tutorial. I was looking for a slip cover to cover pillows on my porch. I wanted to change over from Xmas to valentines. Your pattern was fantastic at the right time. I added a ban with snaps to attach it to my rocking chairs so they don’t blow off. I am so happy with your easy to follow directions. To make it more perfect I purchased my 50% clearance red fabric at Joann’s. Thank you again you are lovely
I wish I could share a photo!
I can't wait for the weekend so I can try this!!!!
His do you print the instructions
I found the webpage for the .pdf file. It cost $2.00 to download it. Below is the link. I looked and did not see where it is free. I hope this helps.
https://sweetredpoppy.shop/products/envelope-pillow-cover-pdf-tutorial
What is the hemming tool you have in the video?
I live on Spain but follow yo on the internet. Good Job! Today I have reupholstered my husband’s office chair and have made a cushion to match following your very easy pattern instructions. My husband is absolutely delighted with is “man chair”!
Fabulous pillows, thanks for sharing. They are now on my to do list
reparacion de calefones 097 371 390
How can fabric for front be same size as pillow form as you sew 1/4" on all sides? No room left for pillow?? Shouldnt fabric be cut an 1/2" or 1" larger then pillow?
It needs to be the same size so the pillow will fit snugly. The overlap on the back allows extra space within the case for the bulk of the pillow. Trust the process. 🙂
Thank you for this amazing tutorial. I now know how to make my own pillowcases. I have made 3 so far, and plan on making many more!
The PDF pattern for the Envelope Pillow is not free.