Learn How To Make No-Sew Sock Gnomes with this Step-By-Step Blog Post and Video Tutorial
Looking for ways to make your house more festive or a project to make with your family this season? These No-Sew Gnomes are an adorable addition to your holiday decor and are so fun to make!
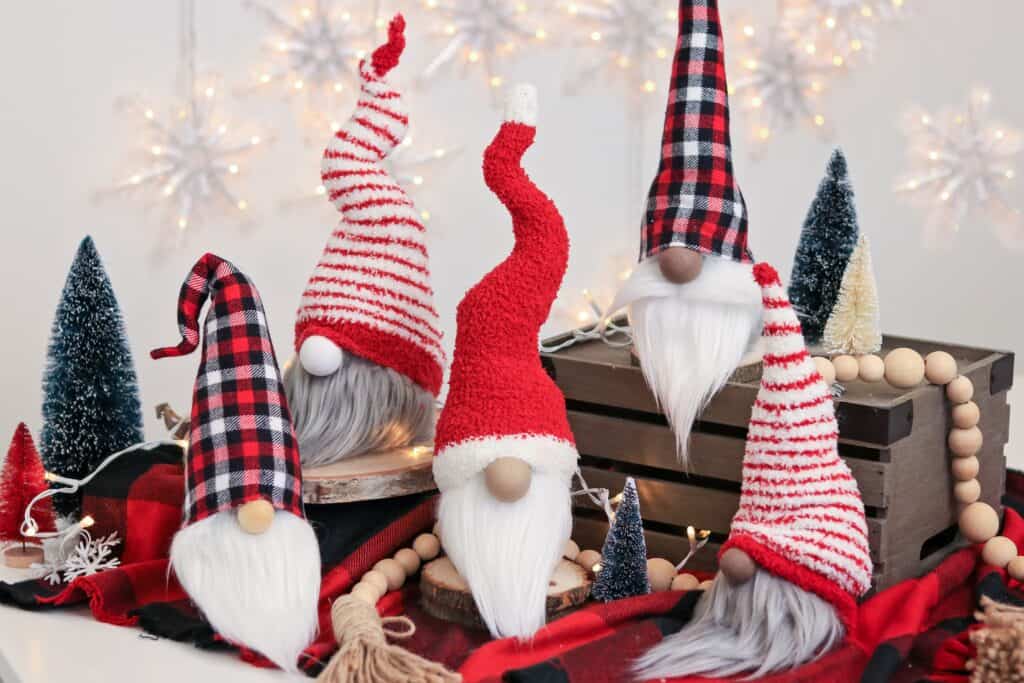
These bearded characters make for a fun, festive activity with your family and friends this holiday- no sewing machine required. They're so easy to make I can't stop making them!
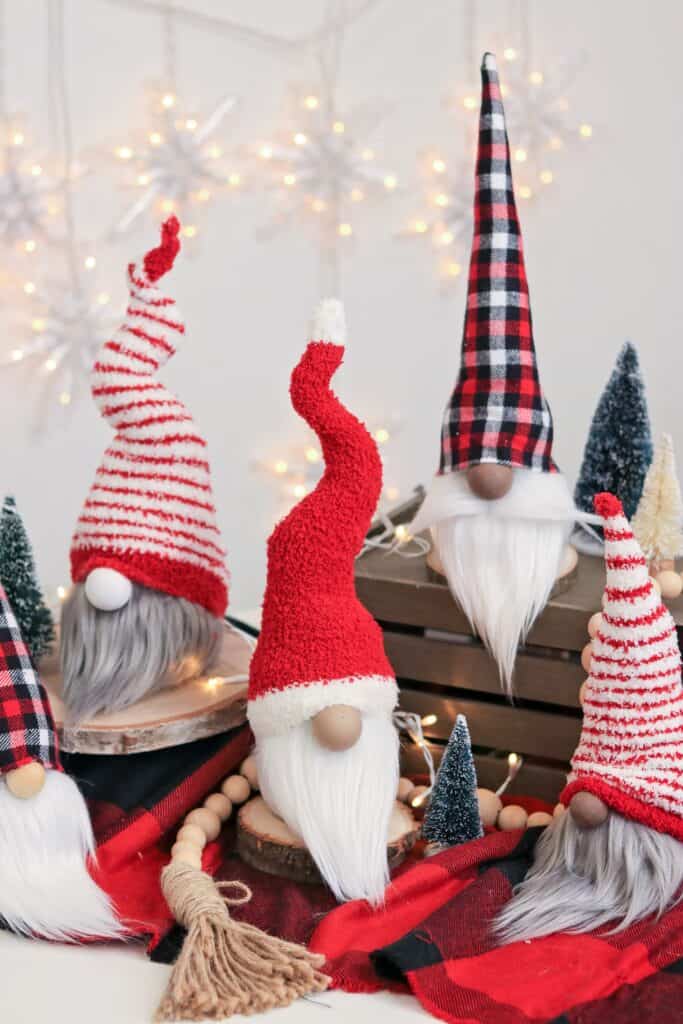
During the winter season, you can spot these popularized gnomes everywhere. But really, you can make these gnomes for anytime of the year. You can use traditional or untraditional colors or add accessories to personalize them.
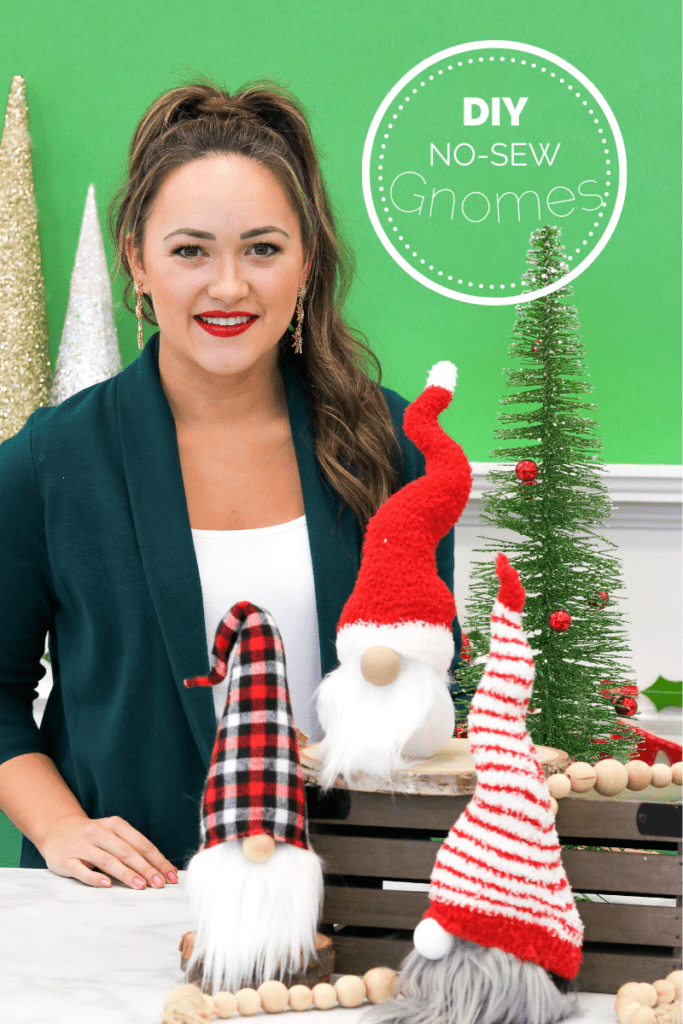
I made these gnomes out of red-striped and checkered cozy crew socks for the hats, and for the base, I went with more neutral-colored socks. For the beard, I used white and grey faux fur fabric.
I highly suggest watching or listening to a holiday classic while making this craft. So, without further ado, put on your favorite holiday classic, get cozy, and let's get started!

In this tutorial, I will show you how to make a gnome with a red checkered hat and white beard.
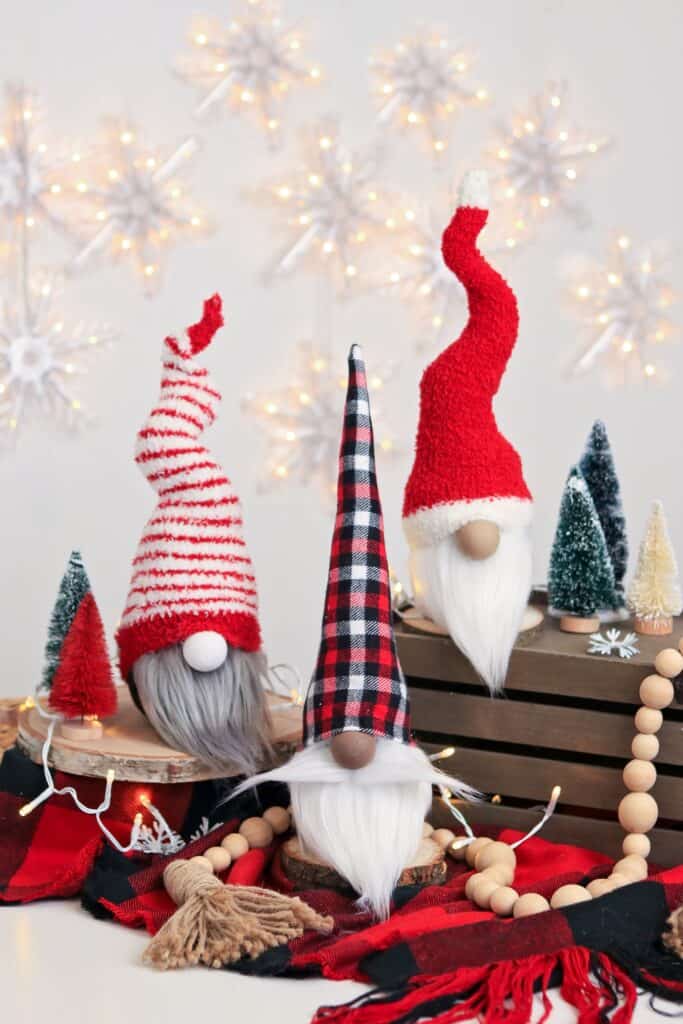
Sock Gnome Supply List
First, we need to gather the supplies needed for this project.
The essential supplies you'll need for this project are two pairs of cozy crew socks (one for the base and one for the hat), a wooden bead, fur fabric, stuffing, and rice.
- Cozy Crew Socks
- Round Wooden Knobs
- Faux Fur Fabric
- Hot Glue Gun
- Hot Glue Sticks
- Fiber Fill
- Rice or Poly Pellets
- Fabric Scissors
- Wire Stems
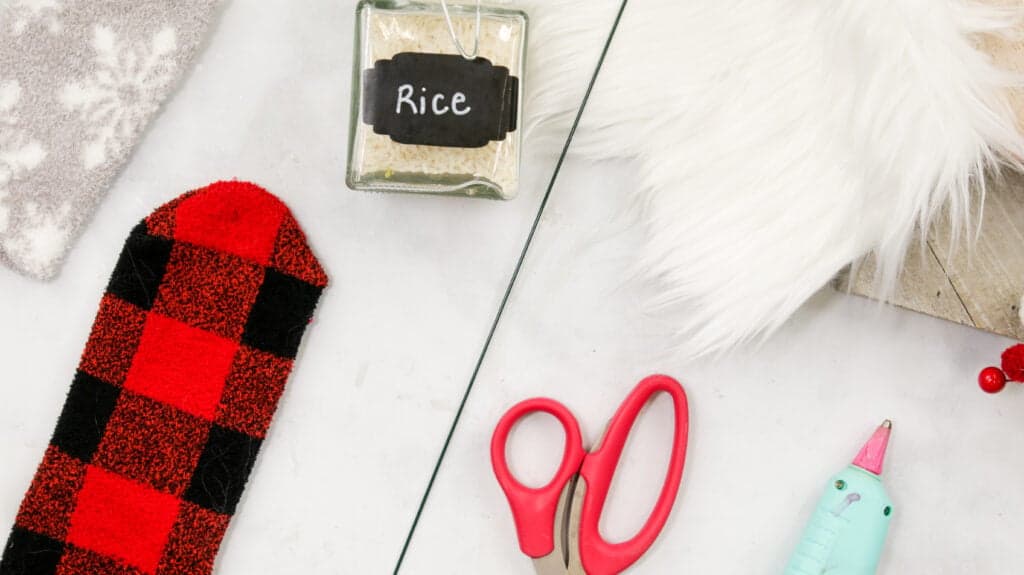
Table of Contents
DOWNLOAD THE FREE PRINTABLE TUTORIAL HERE!

I teamed up with JOANN to bring you this tutorial and help you find all the supplies you'll need for this project. JOANN is my one-stop shop for all of my sewing needs.
How to Make Sock Gnomes Step-by-Step Tutorial
Step One: Fill Sock with Rice
Fill the sock you're using for your gnome base with 1 1/2 cups of rice.
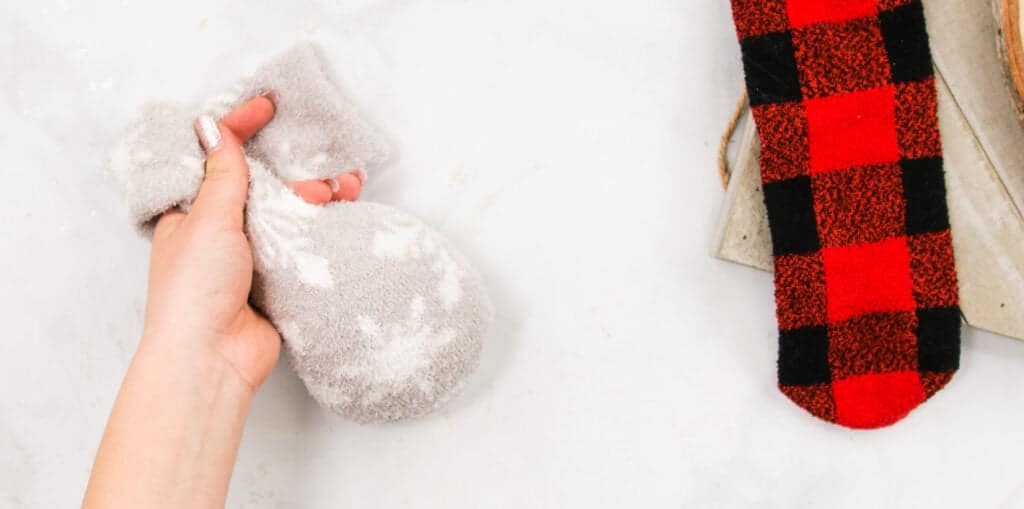
Pro tip: Fill a drinking cup with rice, place the cuff of a sock over the brim of the cup and tip it over.

Step Two: Tie Knot
Tie the sock in a knot at the top to seal the rice in the gnome base. Then, shape it. You can have it triangular or leave it stubby. A triangular-shaped base will make some steps easier later in the process.
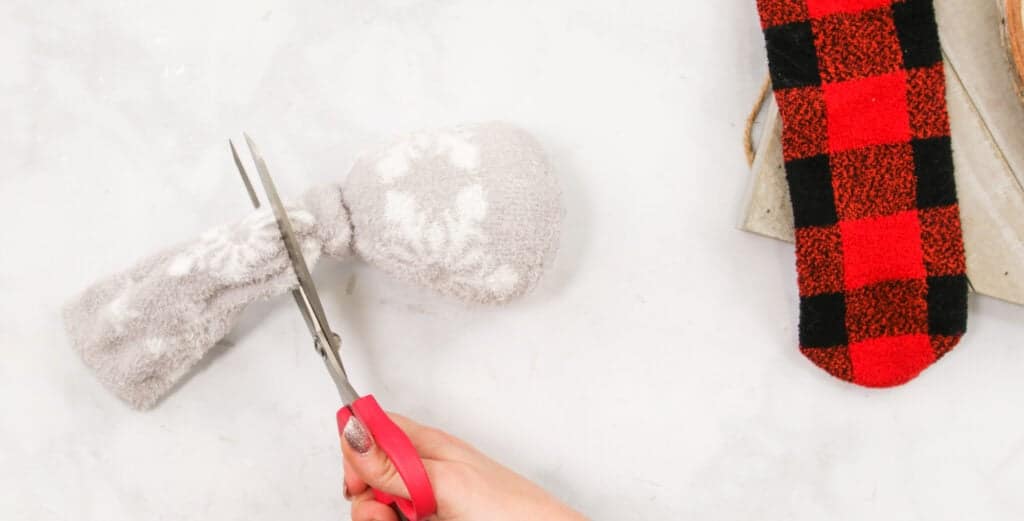
Once you've tied a knot and shaped your base, go ahead and cut the excess fabric above the knot.
Step Three: Cut Sock
For the hat, take your sock and turn it inside out. Draw 2 inches from the cuff and cut a diagonal line to the opposite side to the top (this will make the tip of the hat have a point).
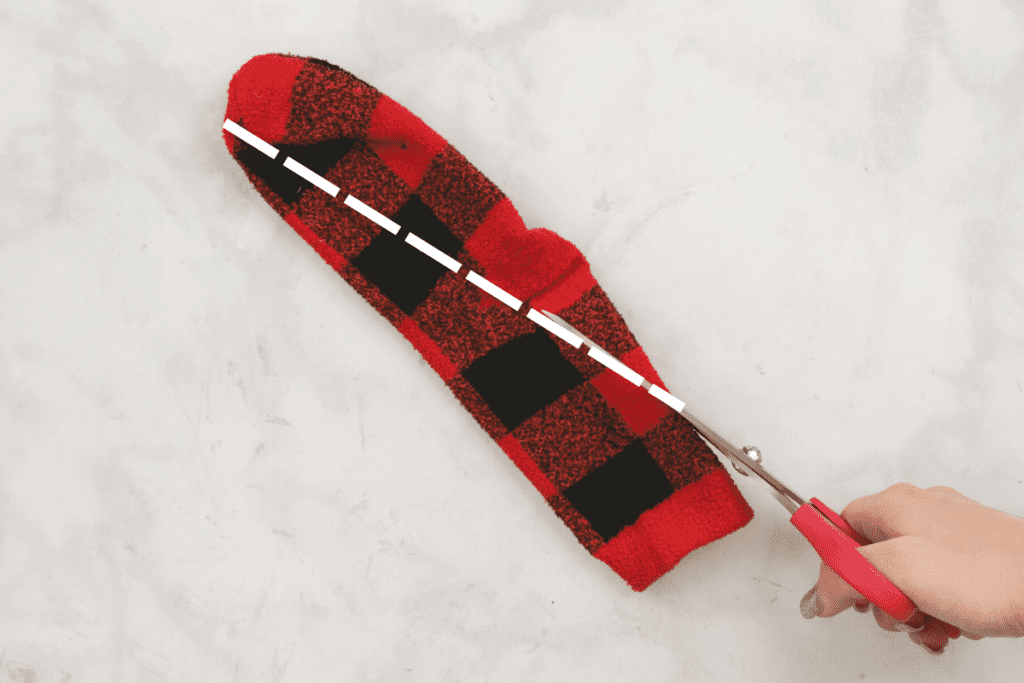
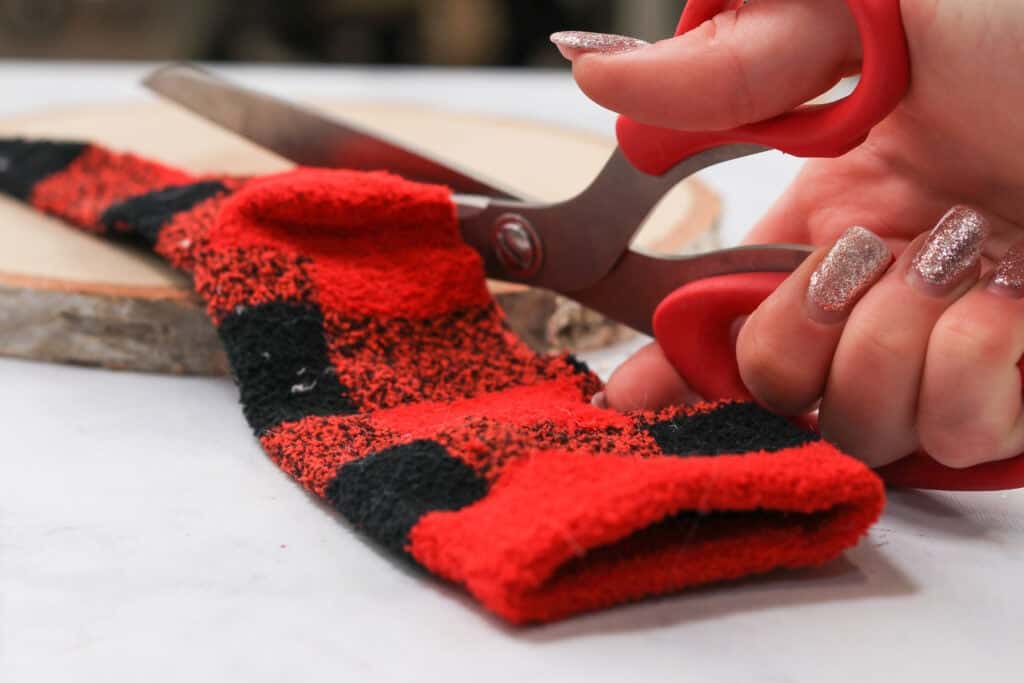
Step Four: Seal Diagonal Cut
Seal the diagonal cut with hot glue. Pinch the edges of the sock along the long cut line and let it completely dry. (If you don’t have 3rd-degree burns you did it wrong, lol).
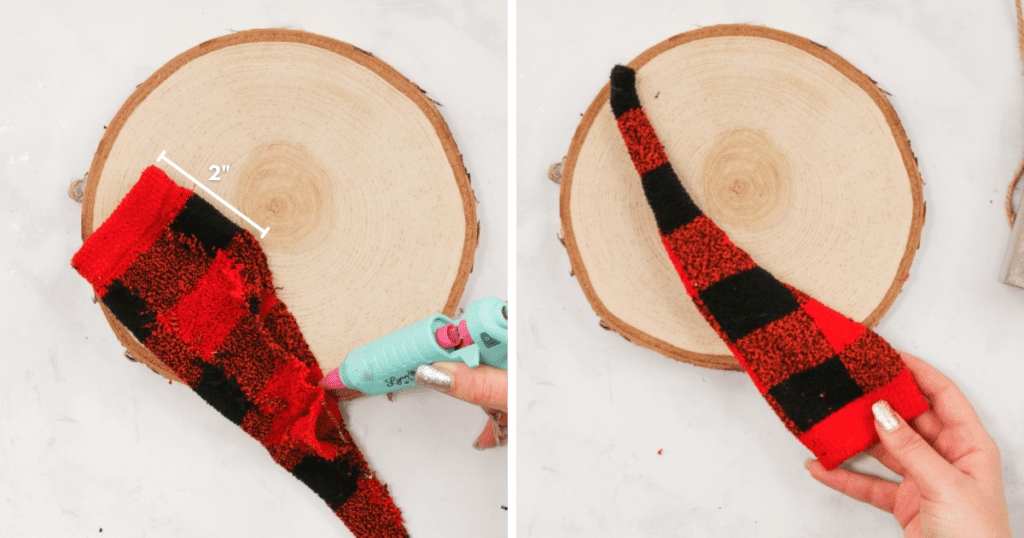
Once cut is sealed, turn the sock right-side out.
Step Five: Fill with Stuffing
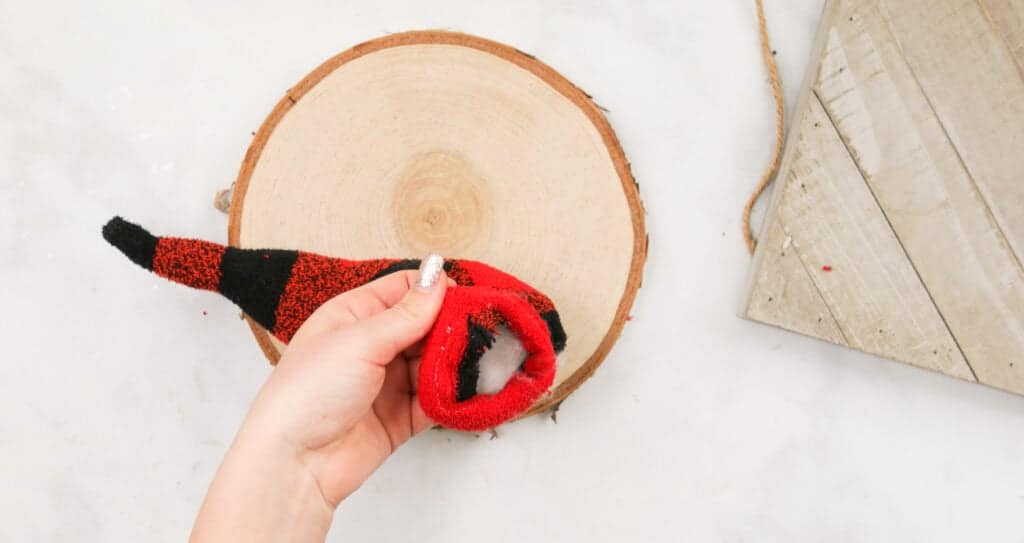
Fill the sock with Fiber Fill stuffing until leaving the cuff unstuffed.
Step Six: Add Metal Wire
Then, take your metal wire and bend the last few inches of it over (if you cut it, it will poke the sock, so bending it over is best).
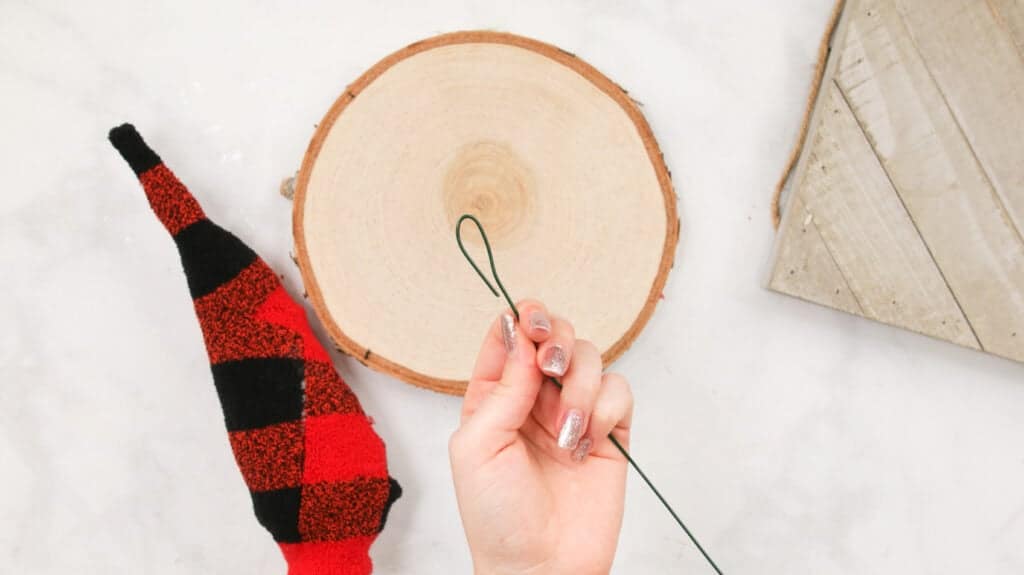
Stick your bent end into the stuffing to the very tip of the sock. Then, you can start bending and curving the hat every two inches.
Step Seven: Cut Faux Fur
Next step, draw a triangle on the back of your fur. It should be about 5 inches wide and 4 inches tall.
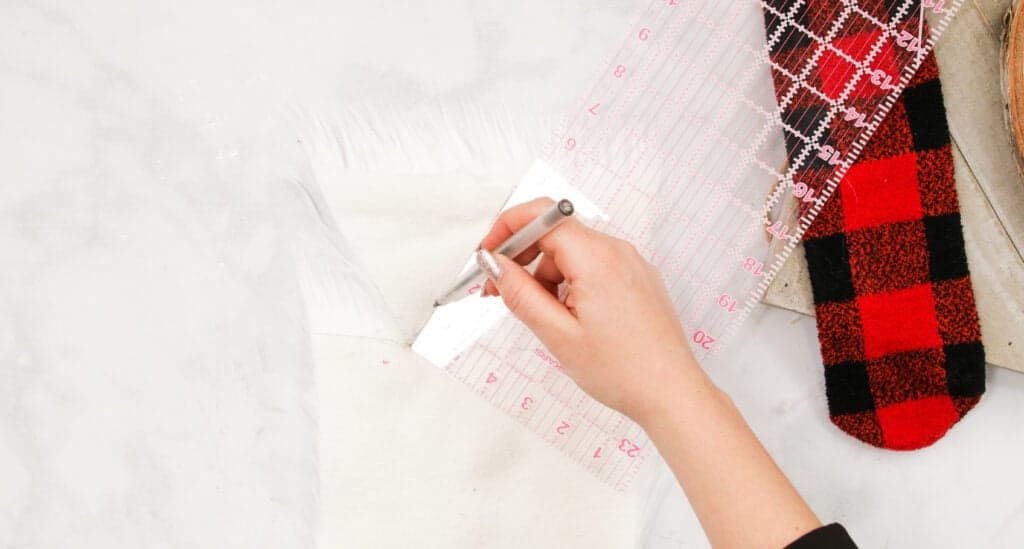
The narrow part of the triangle should follow the direction that the fur pile lies, pointing downwards.
With scissors, take short, shallow snips- only cut the backing- not the actual fur pile.
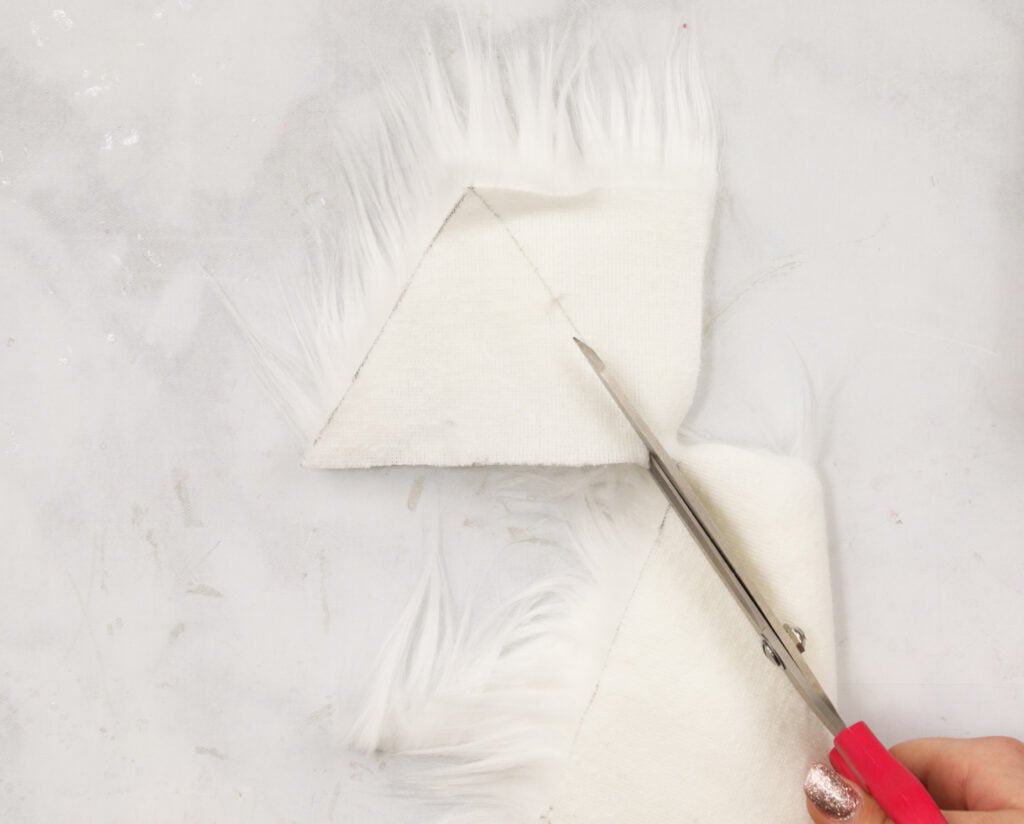
Pro Tip: You can use an Exacto knife to cut through just the backing of the fur without cutting into the actual fur hairs. If you don't have an Exacto knife on hand, you can use scissors.
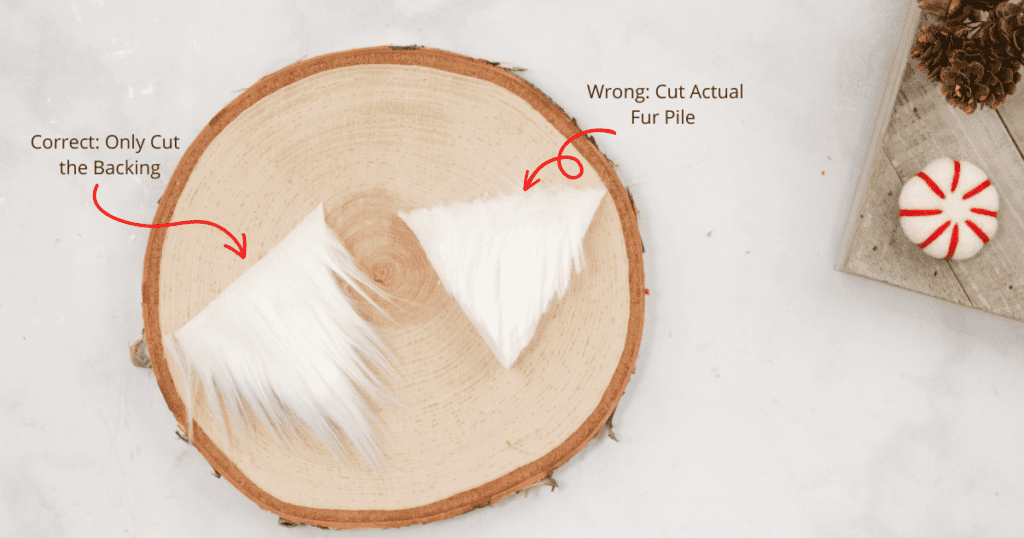
If you cut the actual fur pile with large snips, you will most likely end up with a chunky fur triangle.
Step Eight: Add Fur to Gnome Base
Draw a line of hot glue along the back side perimeter of the triangle and place it on the sock base.
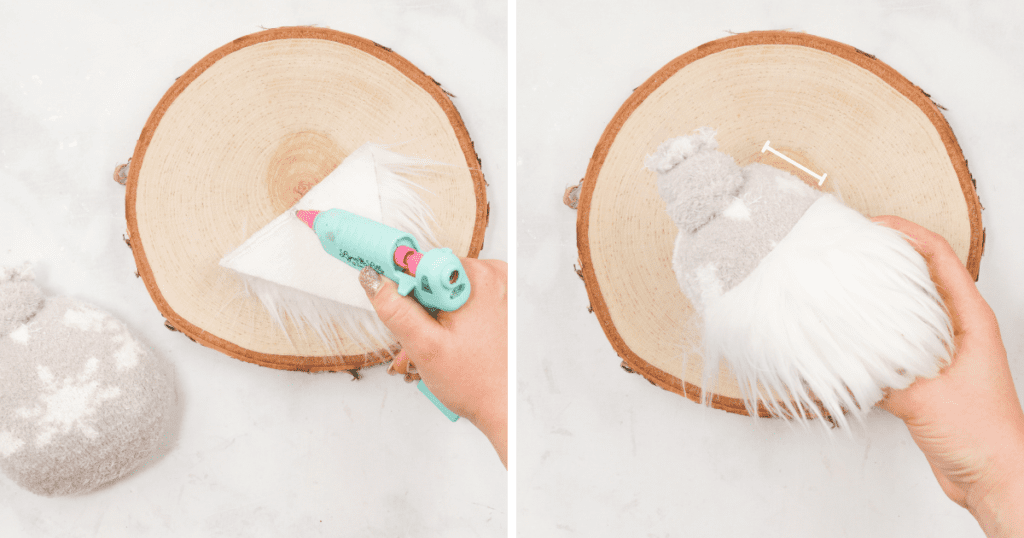
Place ⅔ on the body (It should cover more than half of the body). Leave the bottom half unglued so the bottom of the beard will eventually lay flat on the surface you will place your gnome on.
Step Nine: Add Gnome Hat
Add the hat by sticking the end of the metal wire into the base of the body. You can secure it with a little hot glue if you need.
Stretch your cuff to fit around the body of the gnome. Leave 2 inches above the applied beard.
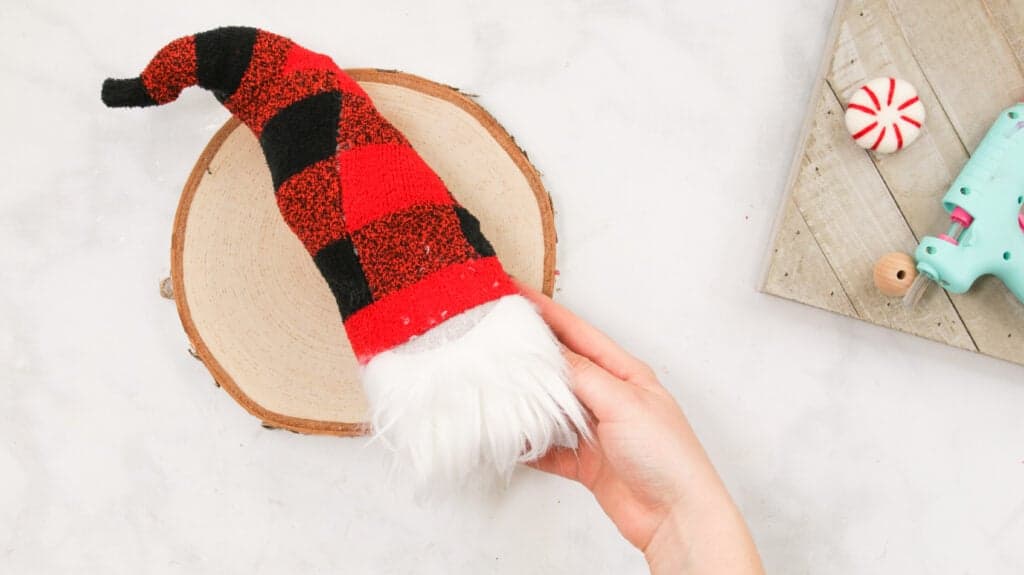
The back of the cuff should be at the bottom of the base; the front should have a space above the fur.
Flip your gnome over so the back side is facing upward. Draw a line of hot glue at the bottom of the base. Then, pull your cuff over, press, and secure.
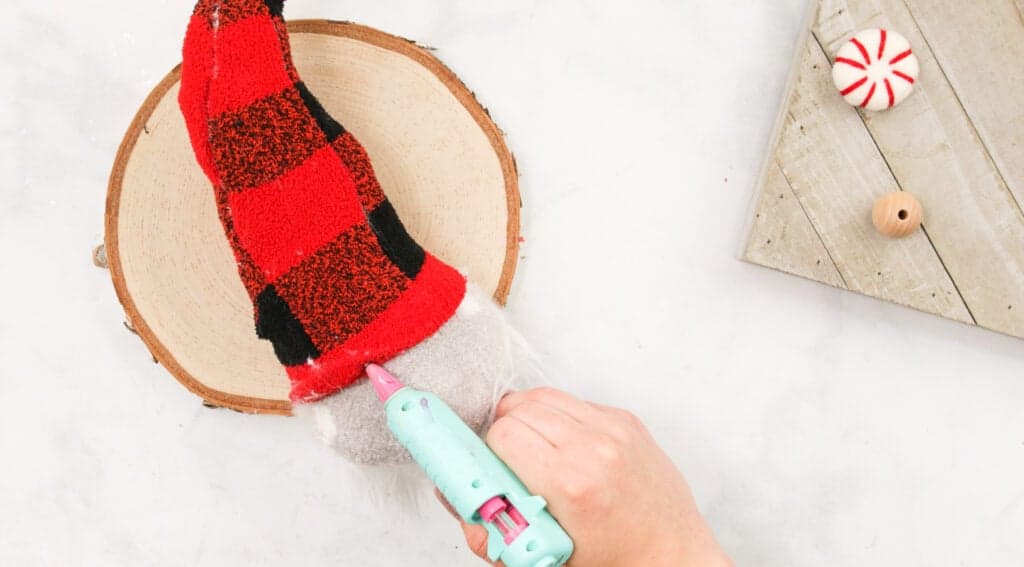
Glue your sides down, ensuring the sides of the cuff cover part of the beard
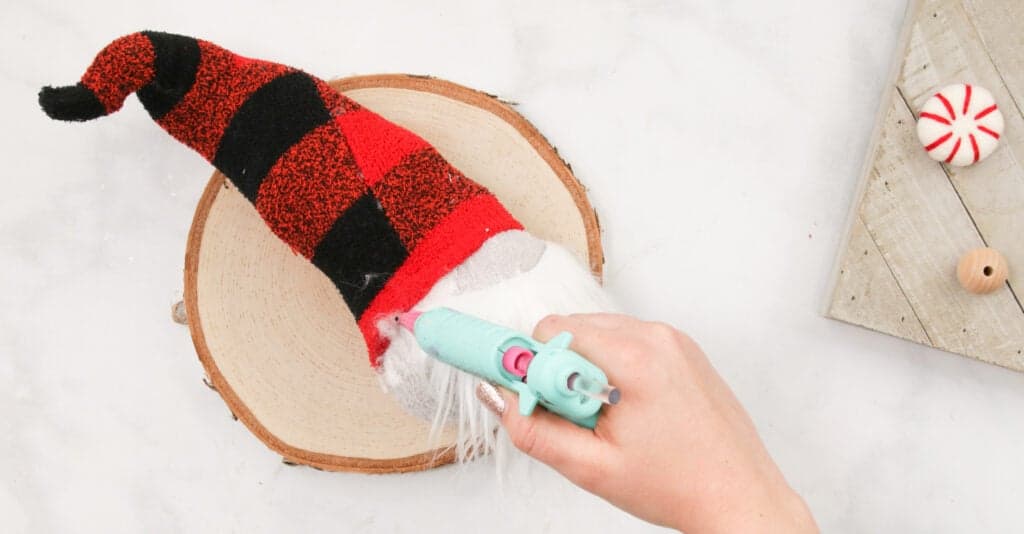
Add a little stuffing to the front of your sock if you need to do that -go ahead and do that now. Leave a small unglued space on the cuff above the beard.
Step Ten: Add Wooden Bead to Gnome Base
Apply hot glue to the back of your wooden bead.
Center it on the beard (place it a little bit below the edge of the beard.)
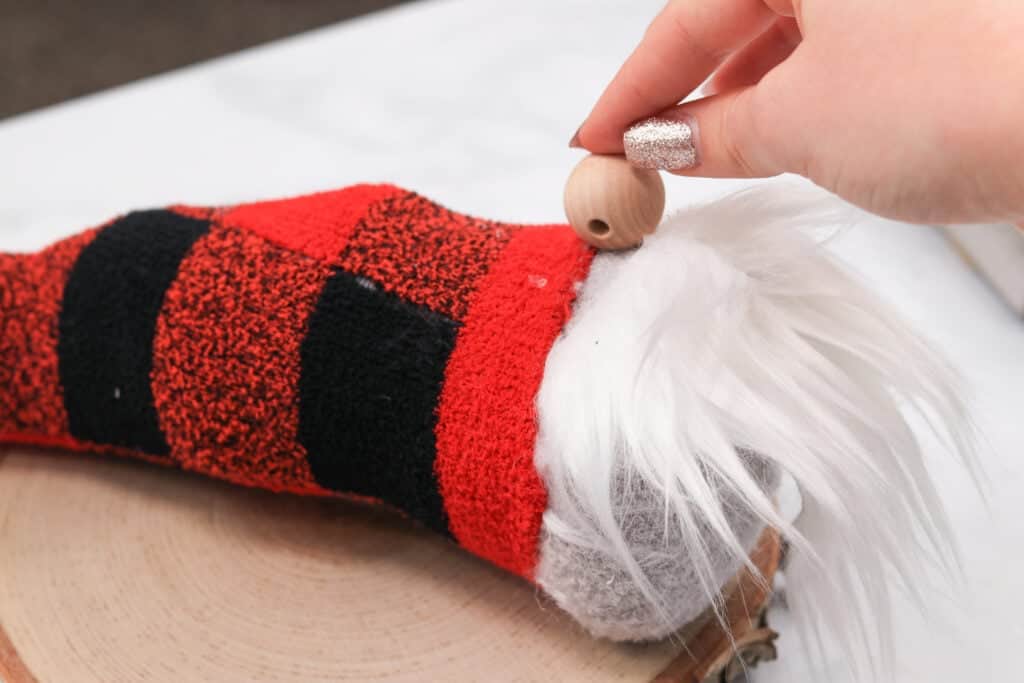
Pull the portion that is not attached to the wrong side. Add a stripe of glue, and press it into place.
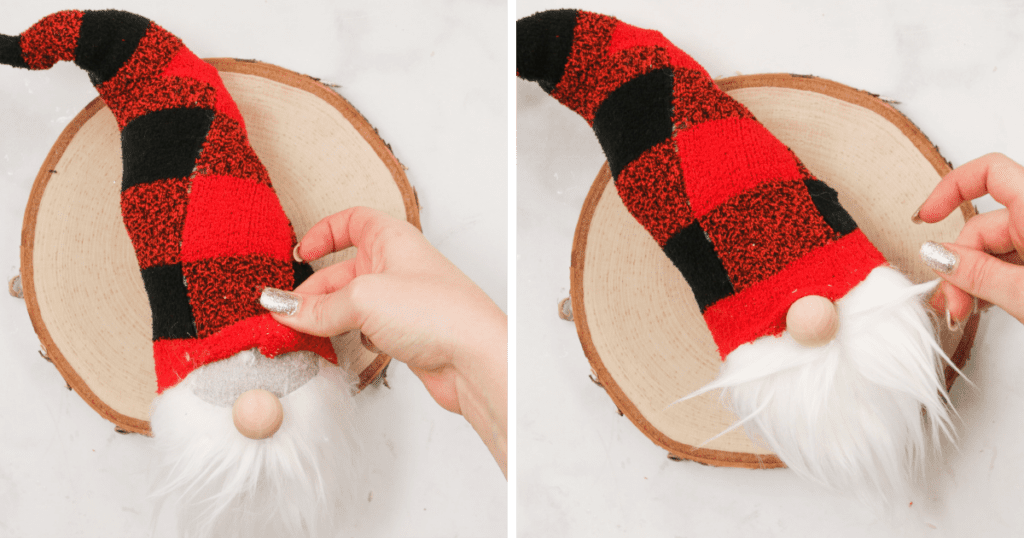
Finished No-Sew Gnome
Firmly press the gnomes base on a hard surface, moving the rice. Doing this will help it sit flat.
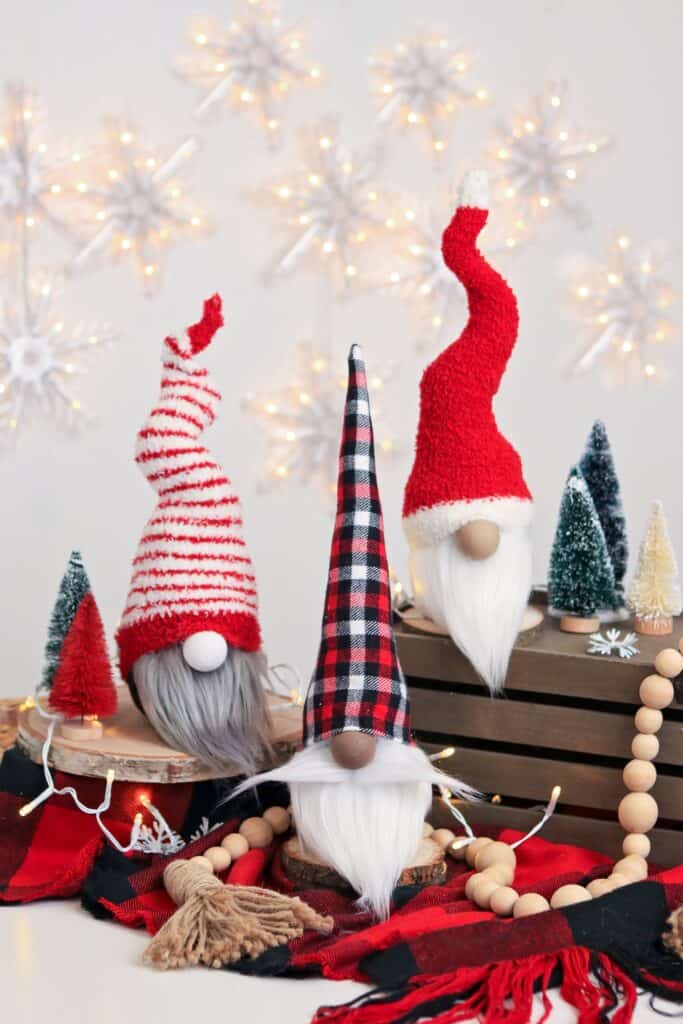
You're gnome is ready to be displayed! You can add more details to your gnomes to personalize them such as more beads, applying a name with vinyl or iron-on; or decorating the hat by putting a cotton ball at the end of it.
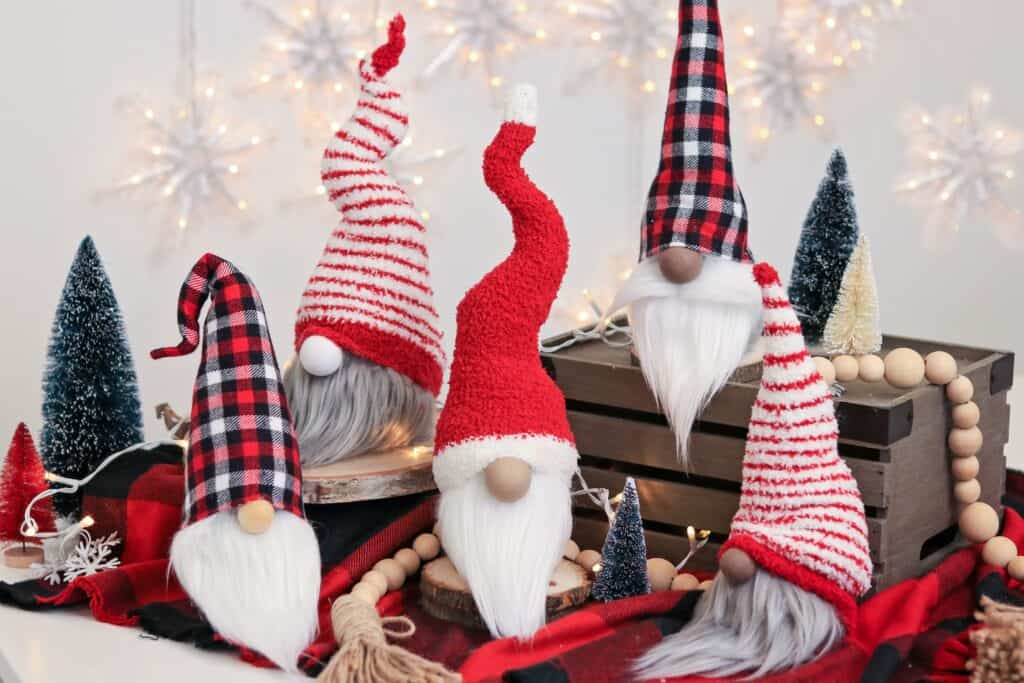
Display these characters on your mantle, beside your tree, or in an empty space that's lacking an extra festive decoration.
Join my crafting Facebook group where you can show us what you’re making, ask questions, and learn from others!


How do I get less ads on these emails? Love the newsletter ideas but usually don’t watch because the ads are so annoying. The gnomes look fun and I will likely try to make some with my grandkiddos while they are on Christmas break with me.
I downloaded the gnome pattern. I do not understand how you attach the wire on the hat.. do you put it inside the hat vertically or horizontally?