Find Out How to Wrap a Gift or Present, Make a Gift Bag Out of Wrapping Paper, Wrap a Cylinder, and Wrap a Gift With Not Enough Paper.
Christmas is weeks away, which means the wrapping rush will soon begin! If the thought of wrapping gifts makes you buckle at the knees, I’m here to help!
In this step-by-step photo and video guide, I’m sharing all of my tips and tricks to help you gift wrap like a pro! After reading this post, you’ll be able to impress your loved ones with beautifully wrapped presents and gifts.
In this tutorial, you'll learn the following;
- How to Wrap a Gift Box
- How to Wrap a Cylinder
- How to Make a Gift Bag Out of Wrapping Paper
- How to Wrap a Gift With Not Enough Paper
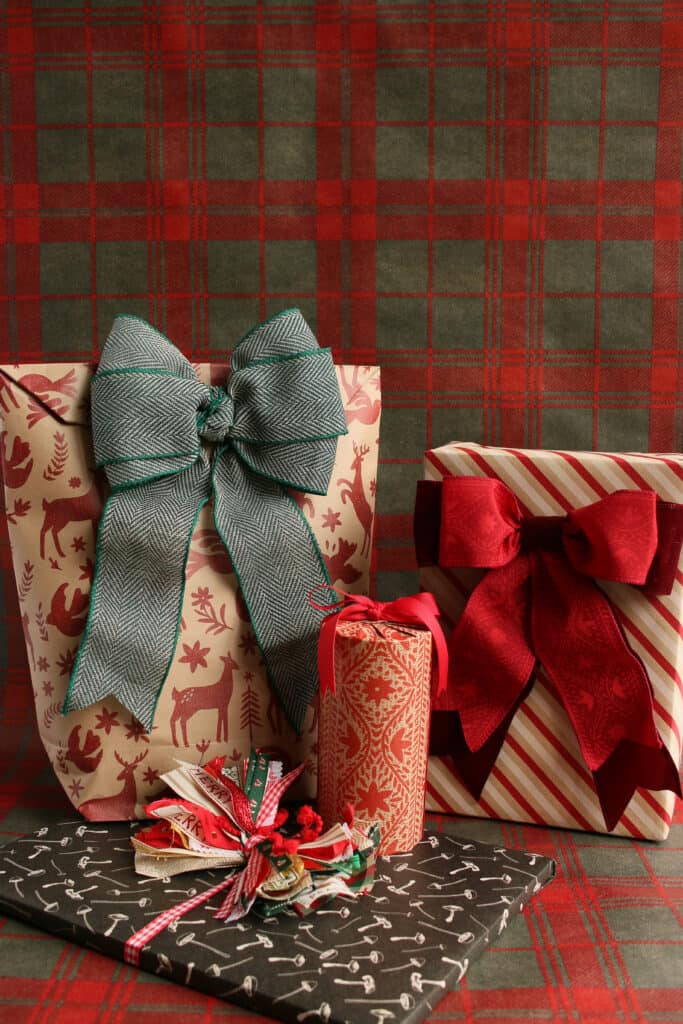
Once you learn the basics of wrapping a present, you’ll be ready to wrap any gift that comes your way! With a little bit of practice, and this step-by-step gift-wrap tutorial, you’ll be a gift-wrapping pro in no time at all!
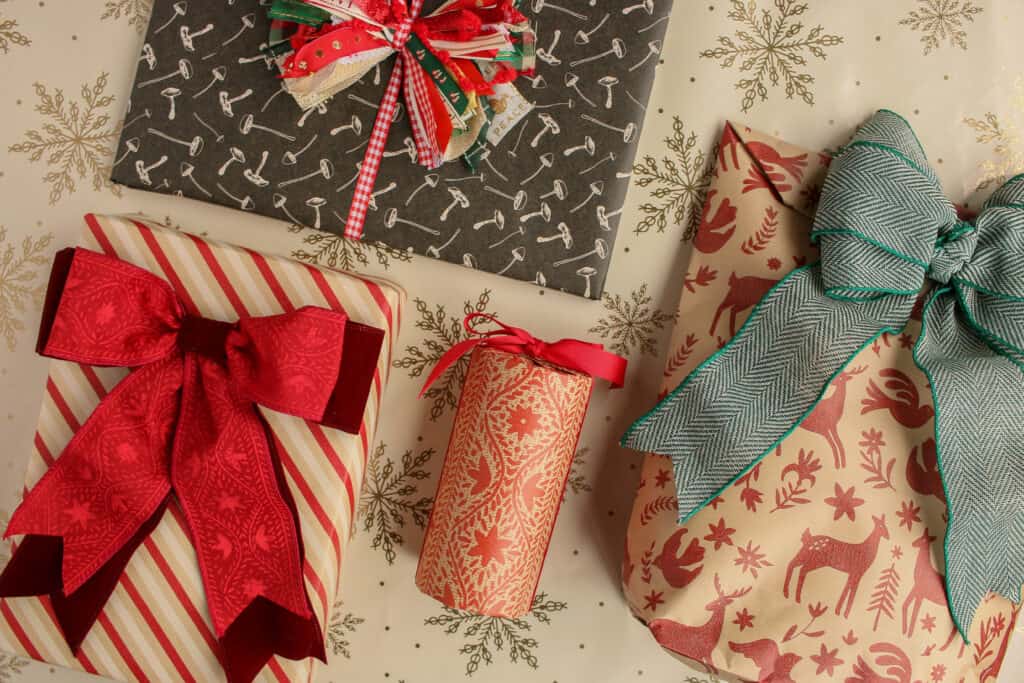
Wrapping should mirror the care of the contents of your package. You want the experience of receiving and opening the gift to be as special as the gift itself!
I have a handful of tried and true tactics for wrapping that I hope will make this holiday season a little easier on you. From getting those crisp sharp corners to cutting the perfect amount of paper, your presents will look professional in no time.
Table of Contents
What Kind of Wrapping Paper Should I Use?
I recommend looking for a thicker wrapping paper. A more sturdy paper is much easier to work with and will create sharp corners that hold a crease and is not as quick to tear when you’re pulling the paper taut.
I purchase my wrapping paper from JOANN and from Amazon.
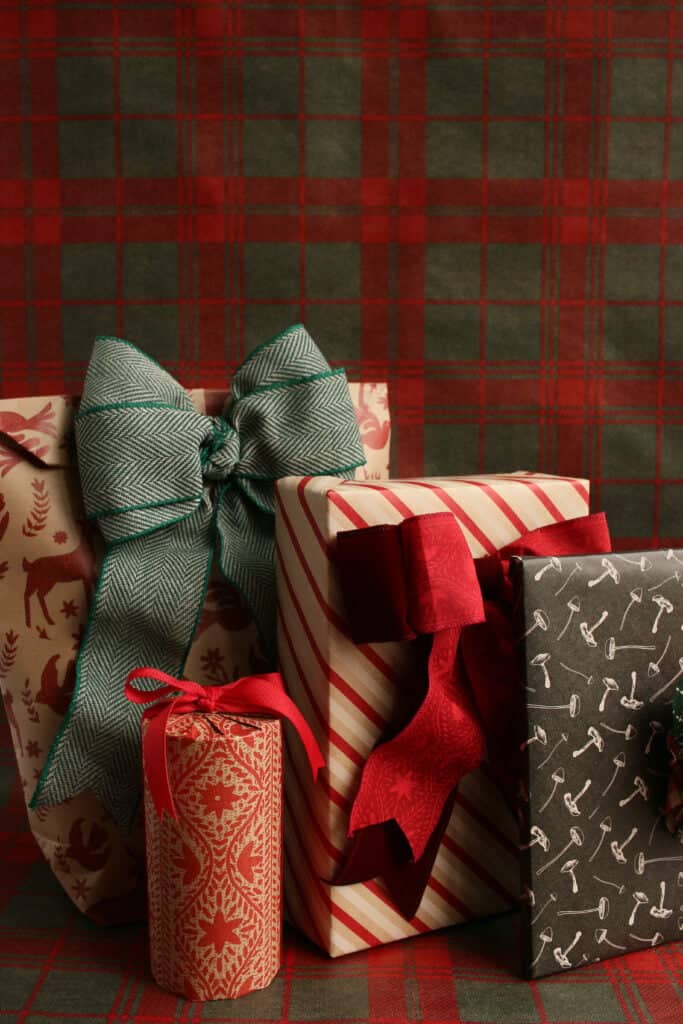
I also love wrapping paper with a printed grid on the underside. It makes cutting straight, even lines so easy!
Brown craft paper or solid color is a great choice to have on hand because you can use it all year round and easily customize it for any occasion.
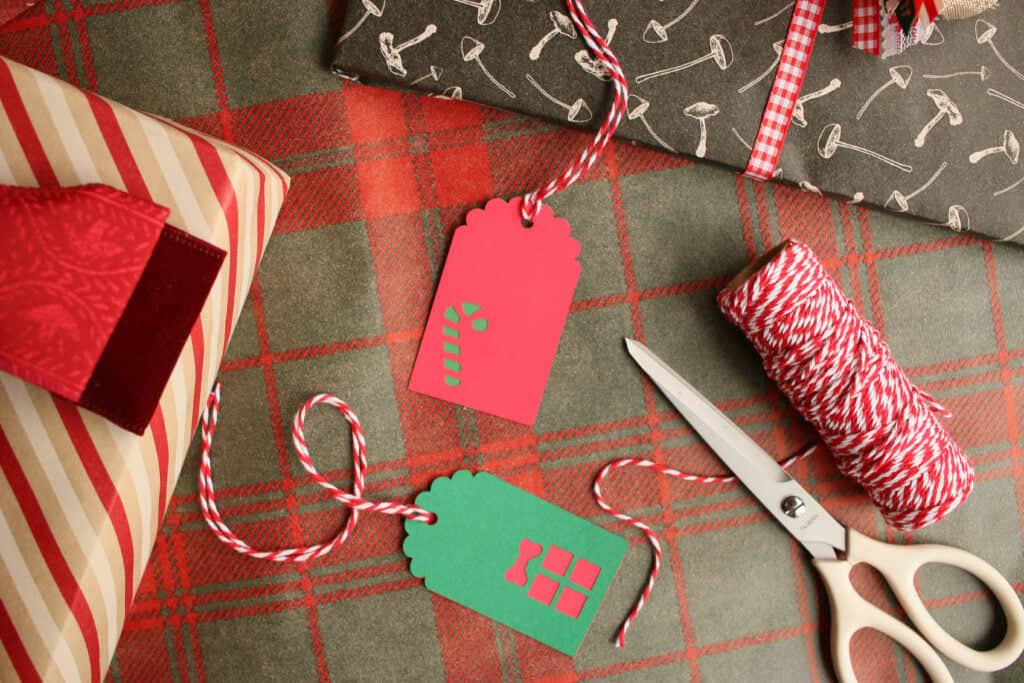
PRO TIP: If you need some gift tags, I have a dozen adorable Cricut-ready tags HERE. They add the perfect finishing touch!
What Kind of Tape Should I Use?
When it comes to taping up a gift, less is more. You want to use as little tape as possible while still ensuring that your gift wrap is secure.
My two favorite varieties of tape for wrapping gifts are Gift Wrap Tape or Double-Sided Tape.
Gift Wrap Tape has a crystal clear finish so it’s less visible on your package and won’t leave a white film or any bubbles like regular tape will once you apply it.
Double-Sided Tape allows you to completely hide your tape underneath your wrapping paper which is a really nice look.
Magic Tape can also be used if you already have it on hand, but it's not ideal since it's slightly opaque.
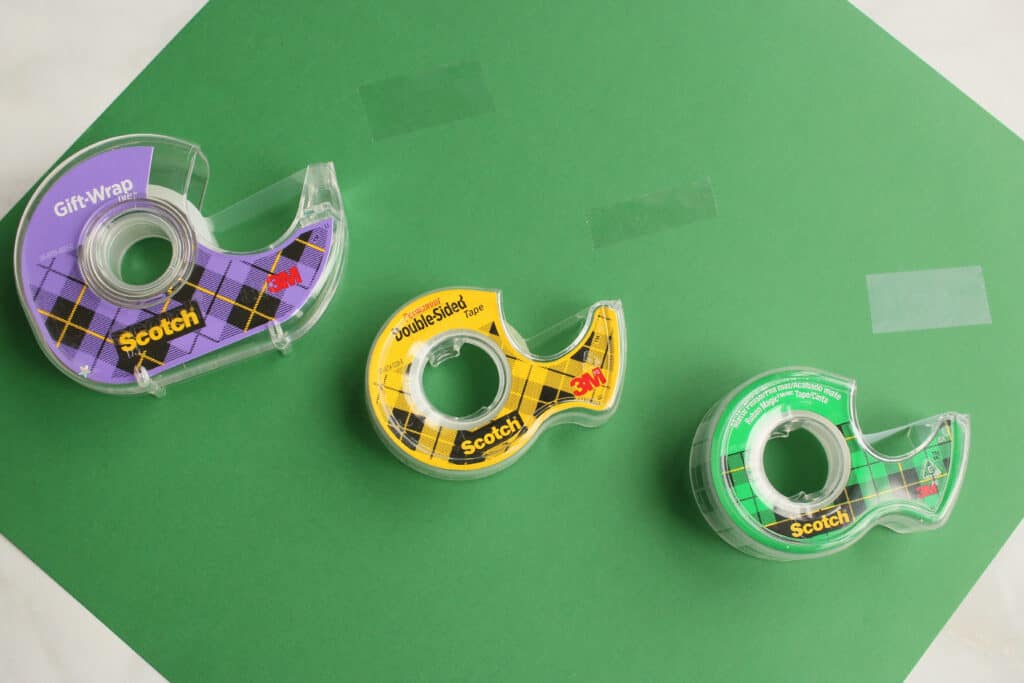
Washi tape is super cute but has very weak adhesive strength, so I wouldn’t recommend using that for wrapping unless it’s purely for decoration.
How Do I Tie a Perfect Bow with Ribbon?
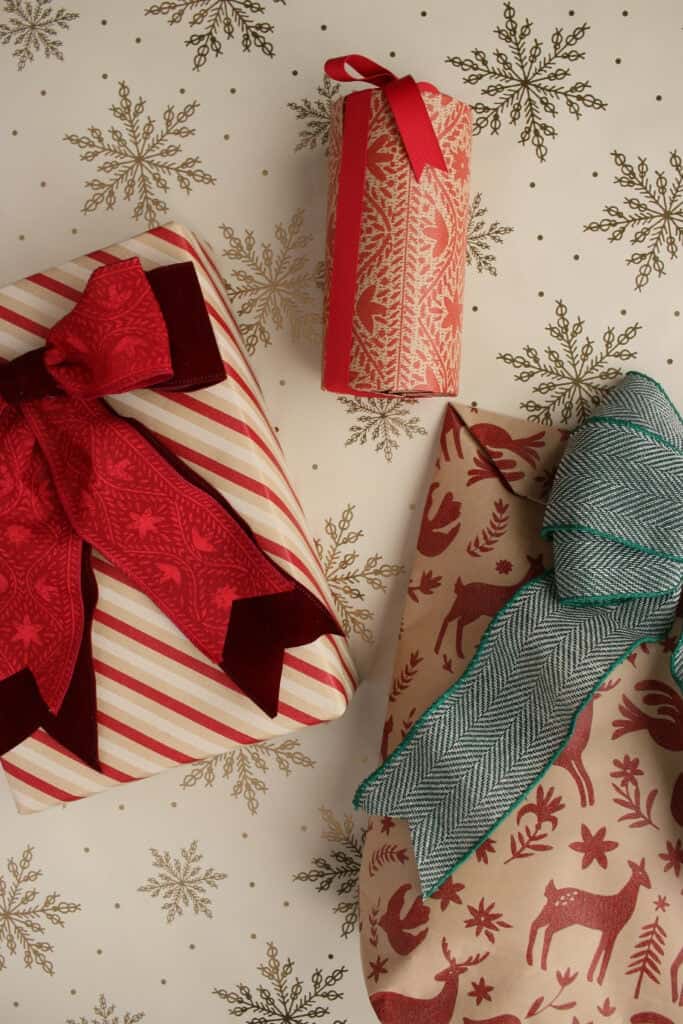
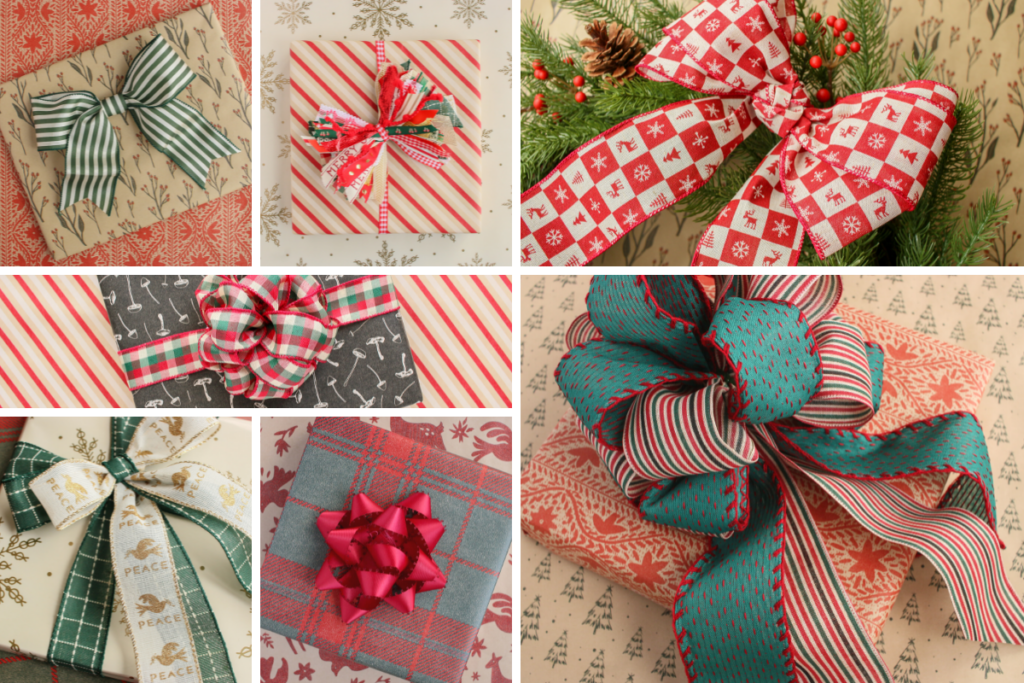
Make sure you check out my blog post on How to Tie the Perfect Bow- Seven Ways! I walk you through how to create a variety of ribbon bows for a handful of unique looks.
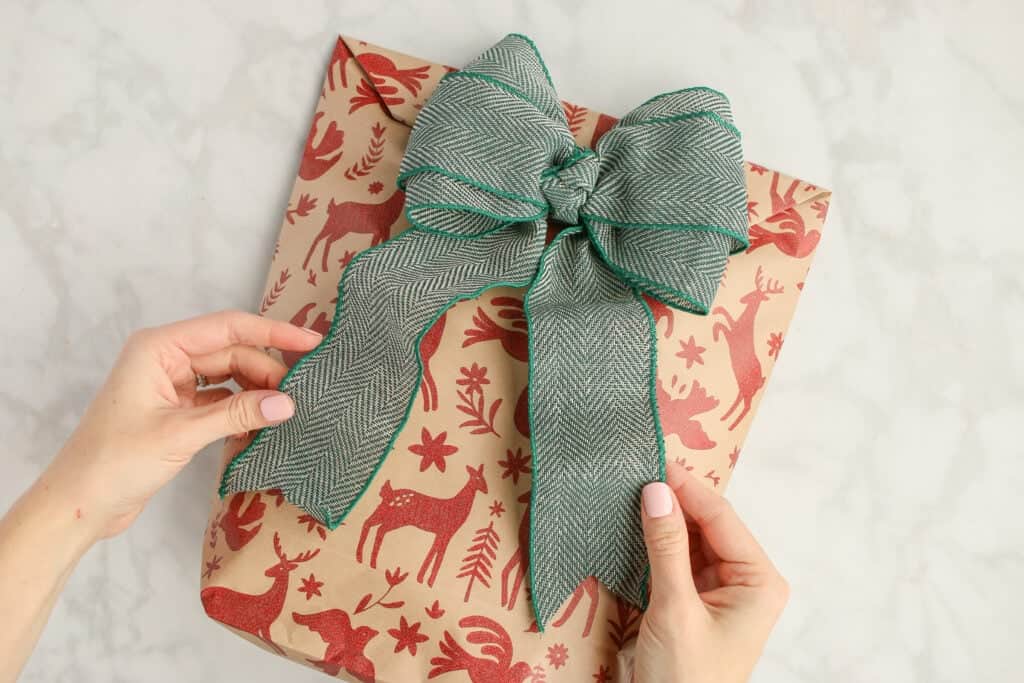
Adding a bow to a gift is the icing on the cake! No gift is complete without a bit of ribbon. A bow takes your present to the next level by adding a bit of sophistication and a wow factor.
What Supplies Do I Need for Gift Wrapping?
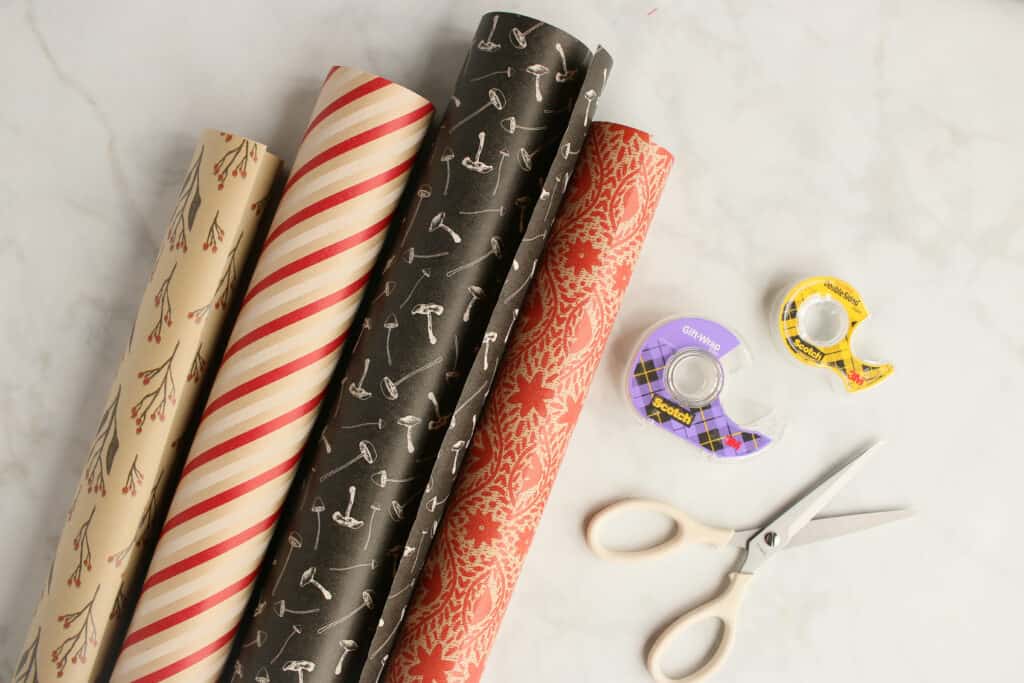
While you can get away with pretty basic supplies, as a gift wrap pro, I do have a few tools of the trade that make this process even easier! Be sure to check them out below. These products make this process even easier and will last for years to come!
View the entire list on Amazon HERE.
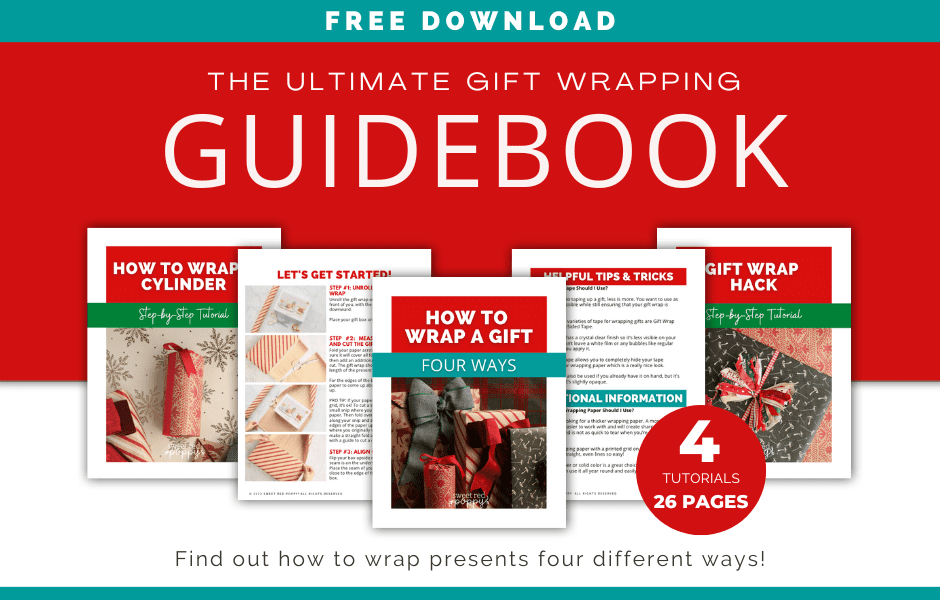
DOWNLOAD THE FREE PRINTABLE GUIDE
How to Wrap a Gift Box Step-by-Step
The fool-proof guide to wrapping a gift with crisp and precise edges and corners!
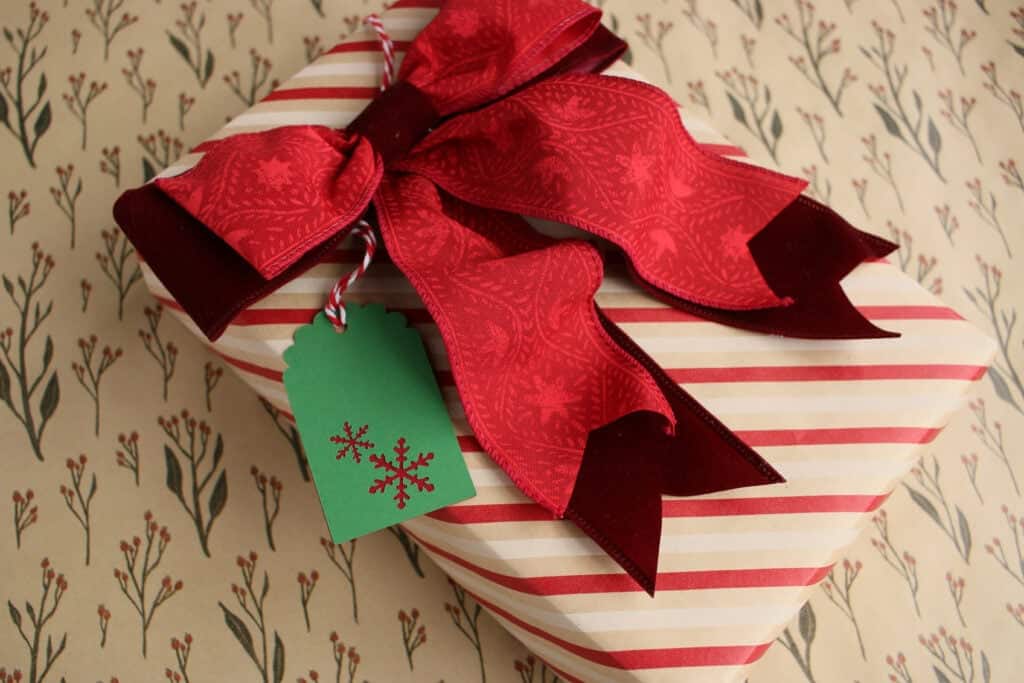
It's important to cut the perfect amount of paper: Too much paper and you end up with too much bulk to work with and too little paper will leave you with gaps on your present!
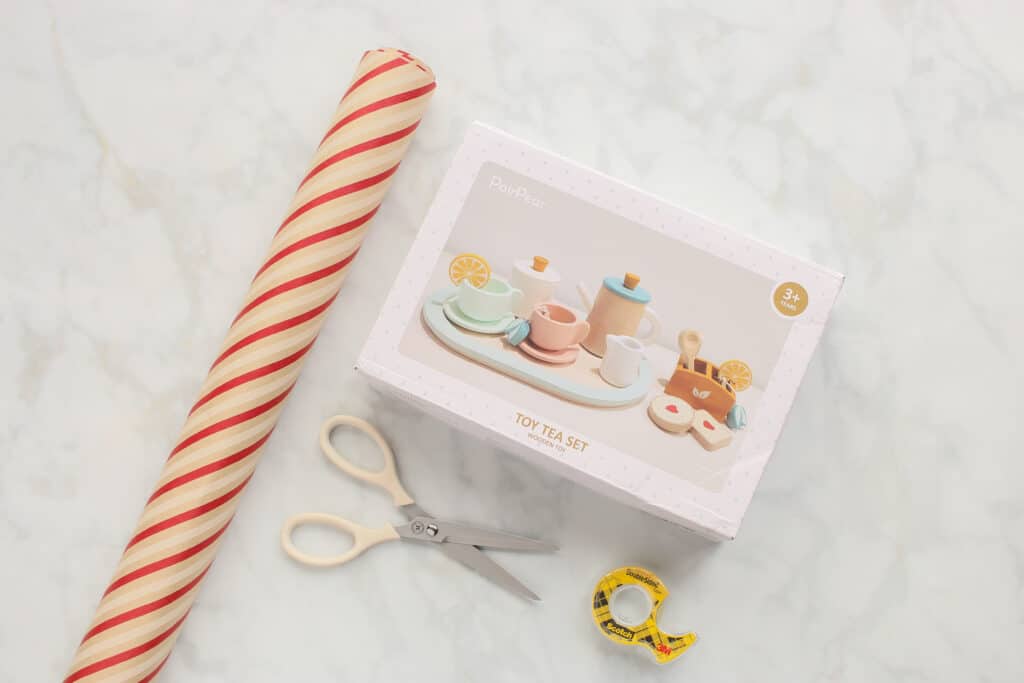
Step One: Unroll the Gift Wrap
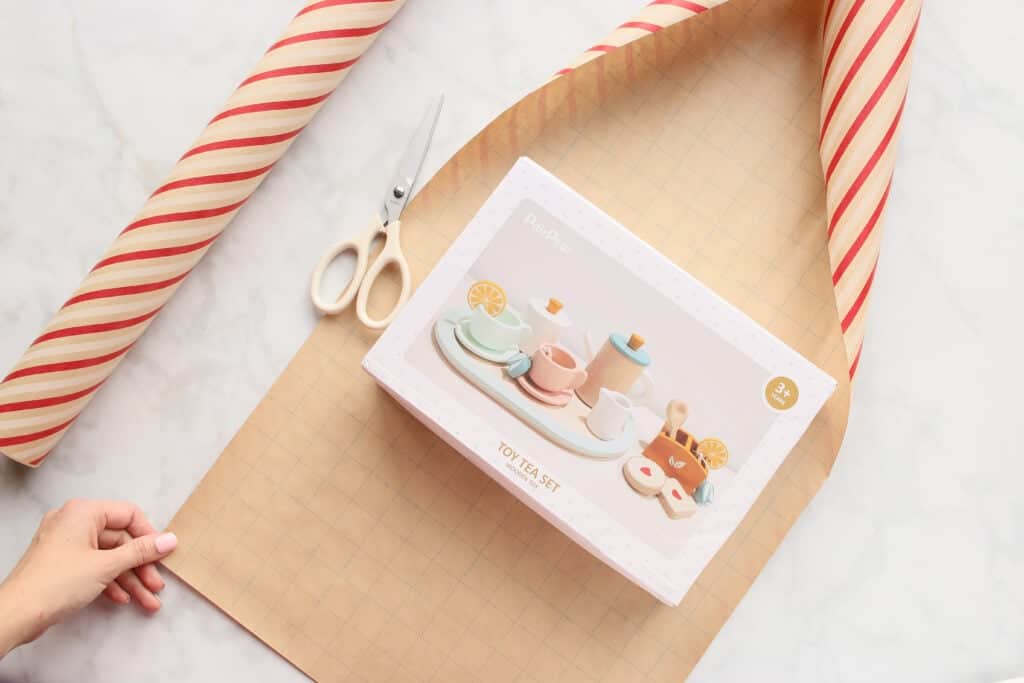
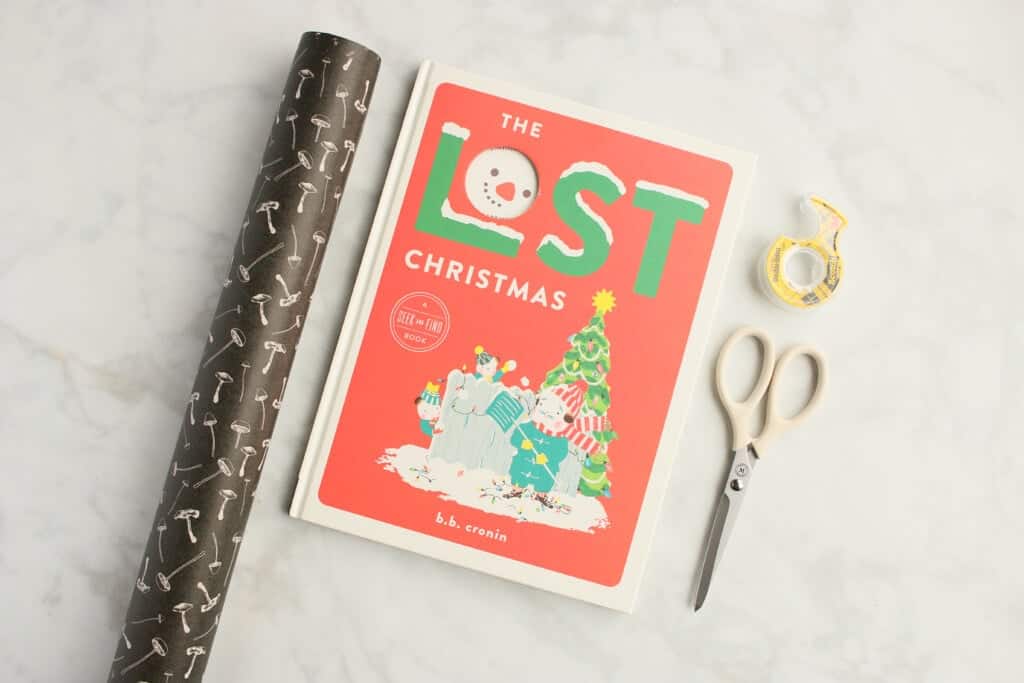
Unroll the gift wrap on a flat surface in front of you, with the pretty side facing downward.
Place your gift box onto the gift wrap.
Step Two: Measure the Gift and Cut the Gift Wrap
PRO TIP: My favorite wrapping paper has a grid printed on the underside of the paper. This makes cutting straight lines a cinch!
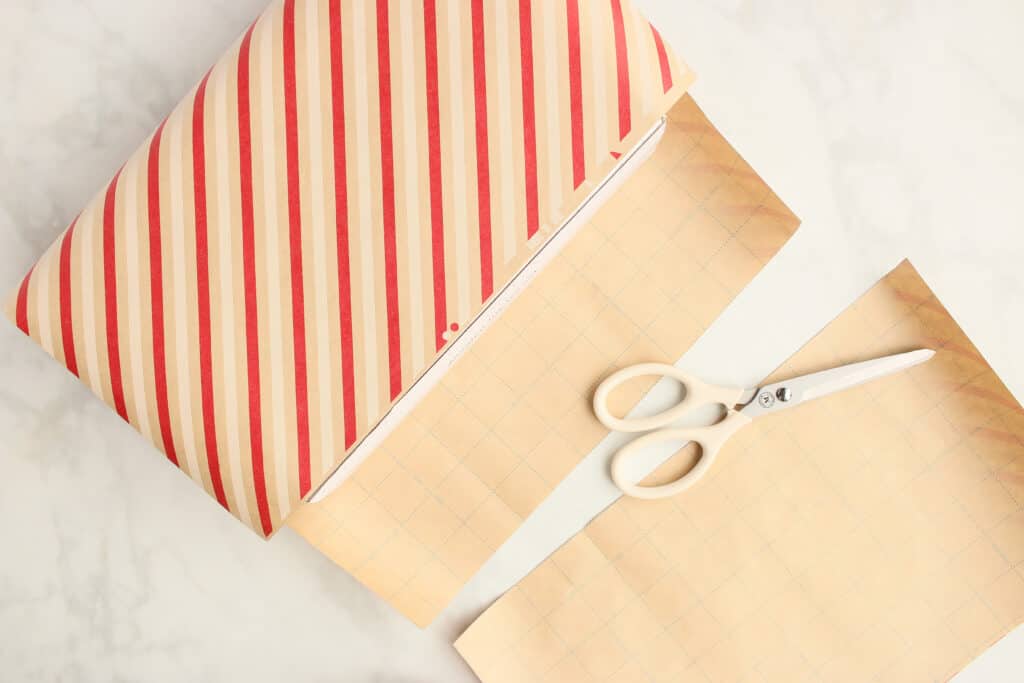
Fold your paper across the box, making sure it will cover all four sides of the box, then add an additional 1-2 inches and cut. The gift wrap should be twice the length of the present you are wrapping.
For the edges of the box, you want the paper to come up about ⅔ of the way up.
If your paper doesn’t have a grid, it’s ok! To cut a straight line, make a small snip where you want to cut your paper. Then fold over the extra paper along your snip and align the bottom edges of the paper up. Now create a fold where you originally snipped. This will make a straight fold and provide you with a guide to cut a clean, straight line.
Step Three: Wrap and Tape the Gift Box
Flip your box upside down so that your seam is on the underside of the box.
Place the seam of your wrapping paper close to the edge of the bottom of your box.
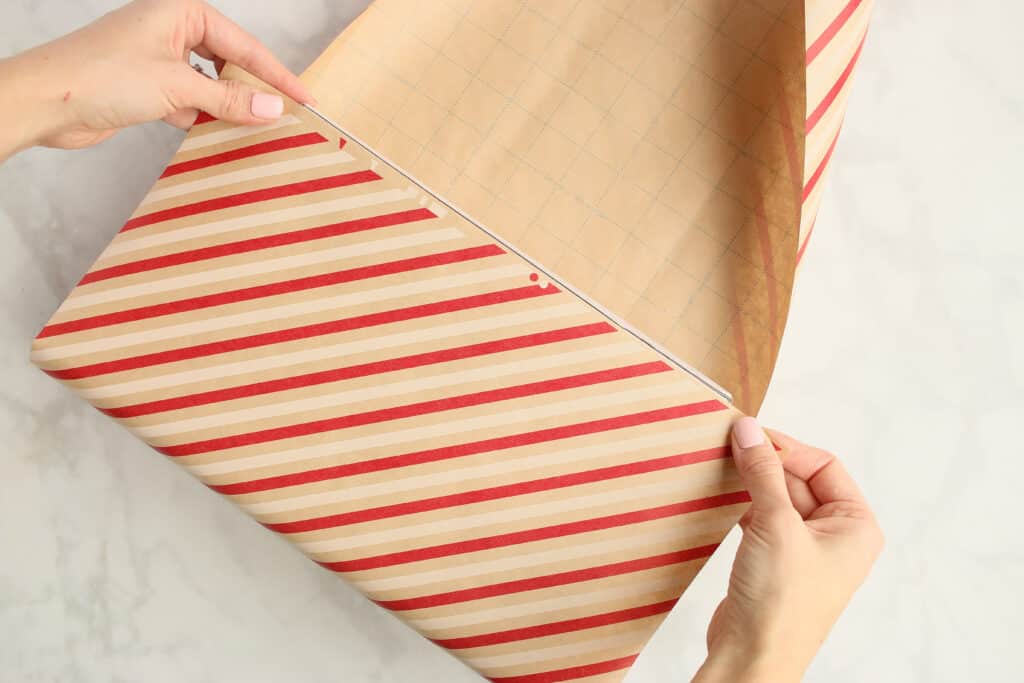
Secure the wrapping paper edge to the box with tape.
PRO-TIP: Use as little tape as possible, but when you do use tape, use double-sided tape or gift wrap tape for your box to avoid seeing a white film or any bubbles in the tape.
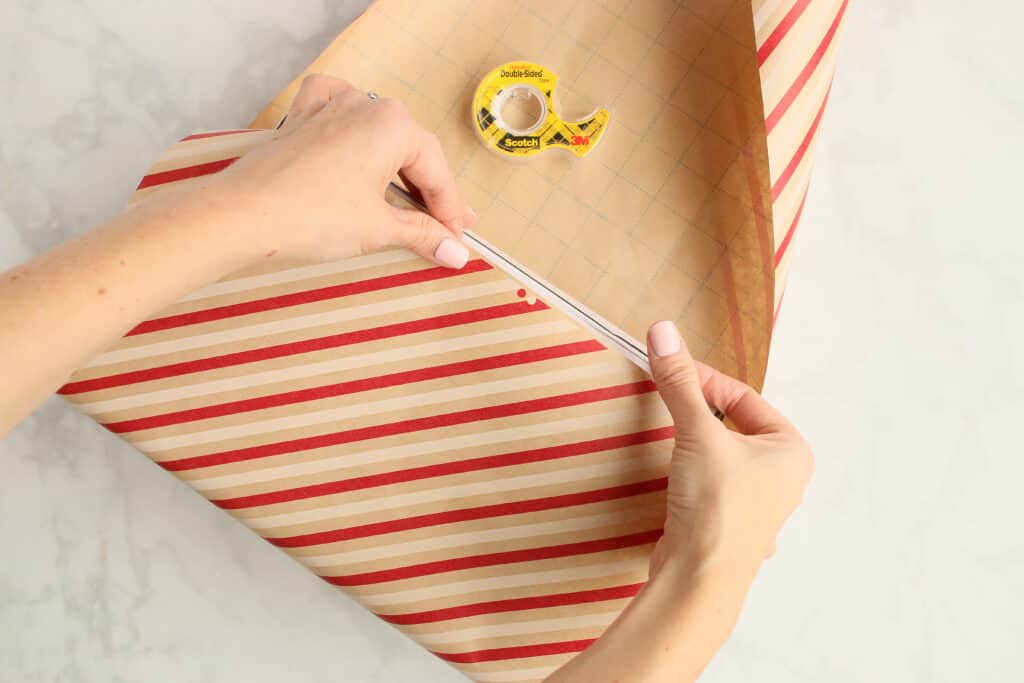
Now on the other flap, fold under the raw cut edge inward for a straight, smooth finish. This hides the raw edge of the wrapping paper and gives you a professional-looking result.
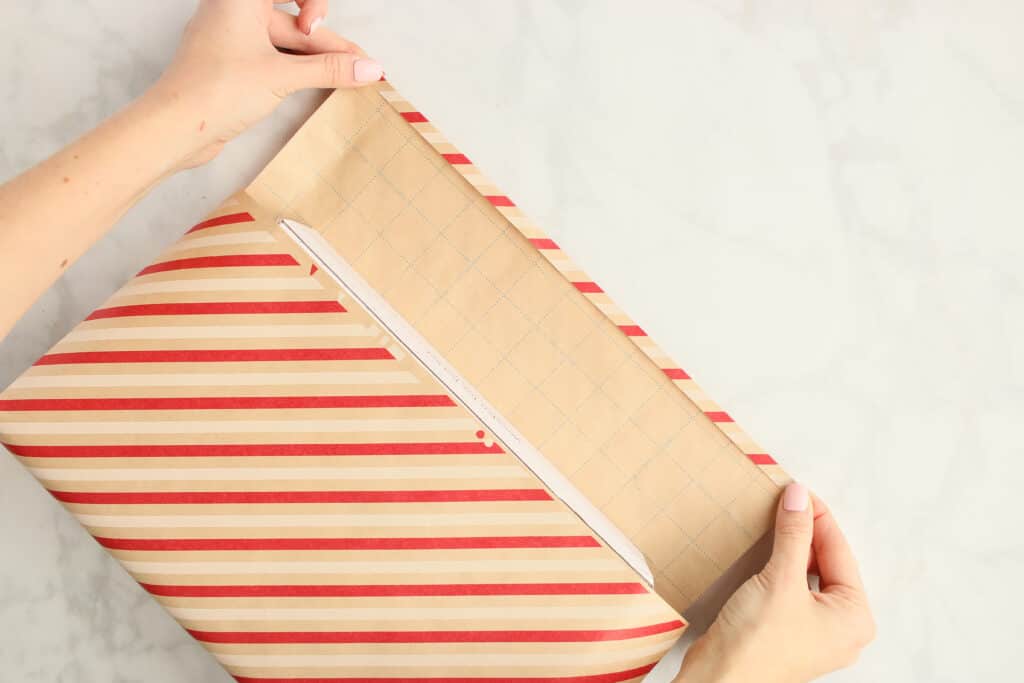
Use double-sided tape to secure the folded edge. It should line up close to the edge.
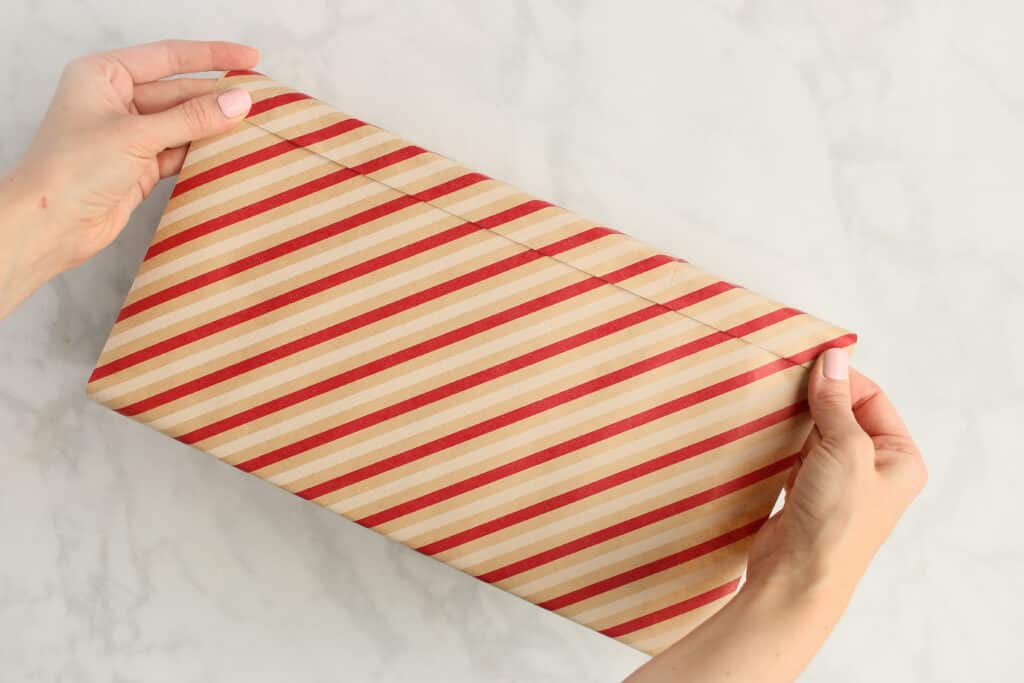
Step Four: Crease the Sides
Now let's work on the sides. Fold the top flap down, pulling it taut. Make a triangular crease on each end to do this.
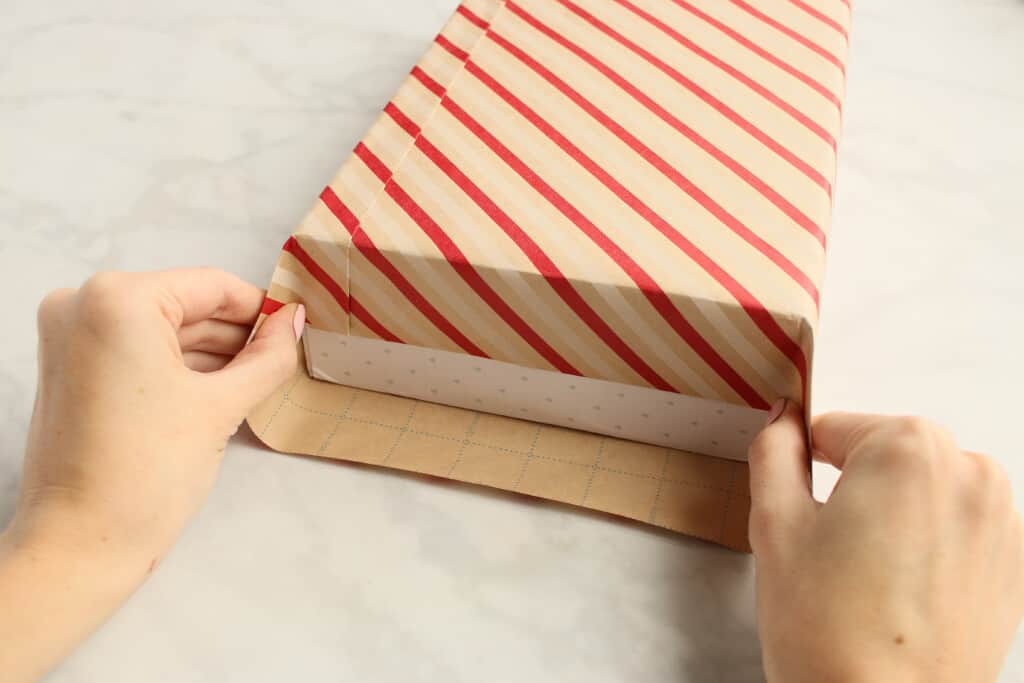
Fold in the two corner folds that you just made.
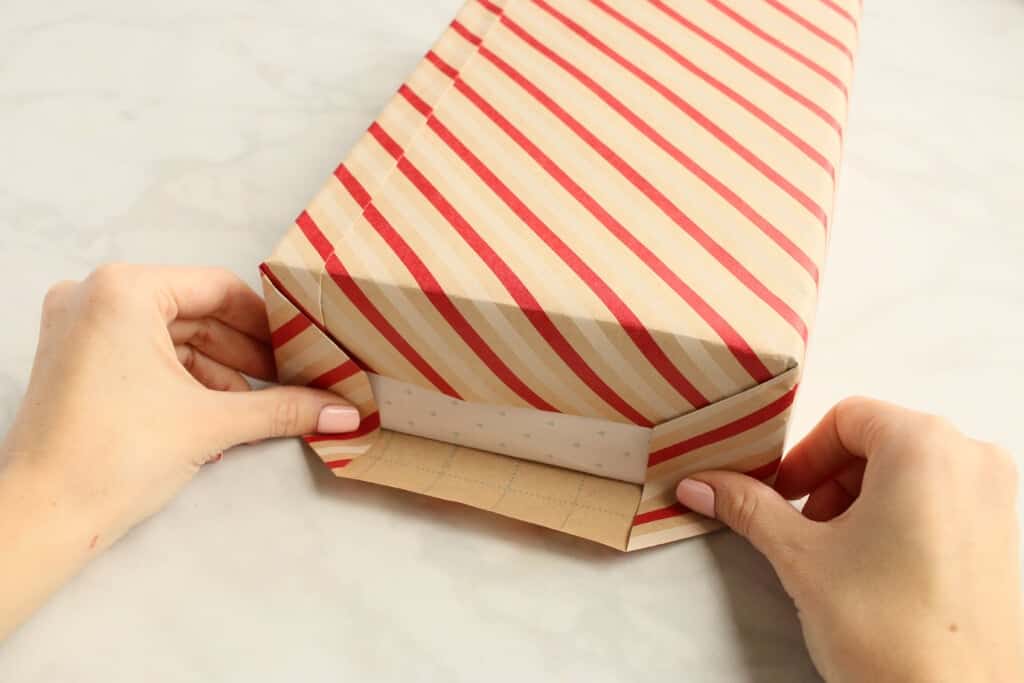
Now fold up the bottom flap tightly and secure it with double-sided tape applied to the wrong side of the paper. Press the gift wrap firmly to secure it in place.
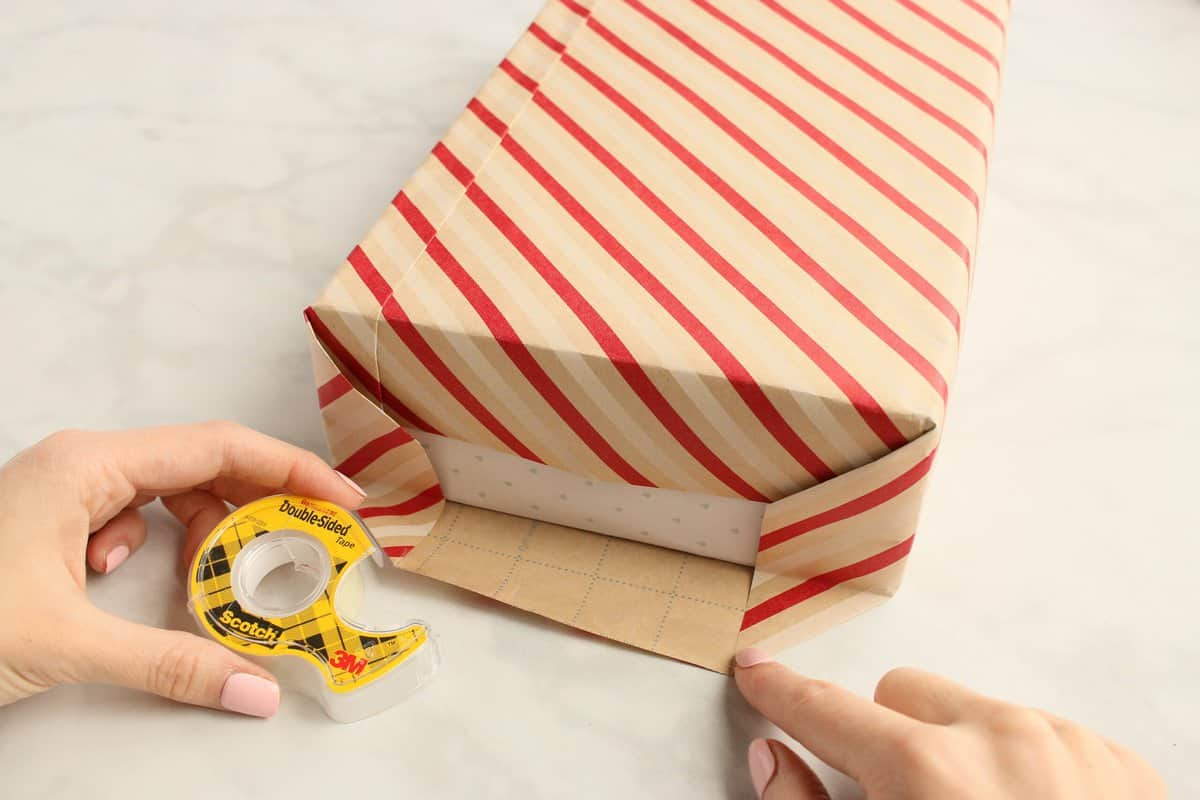
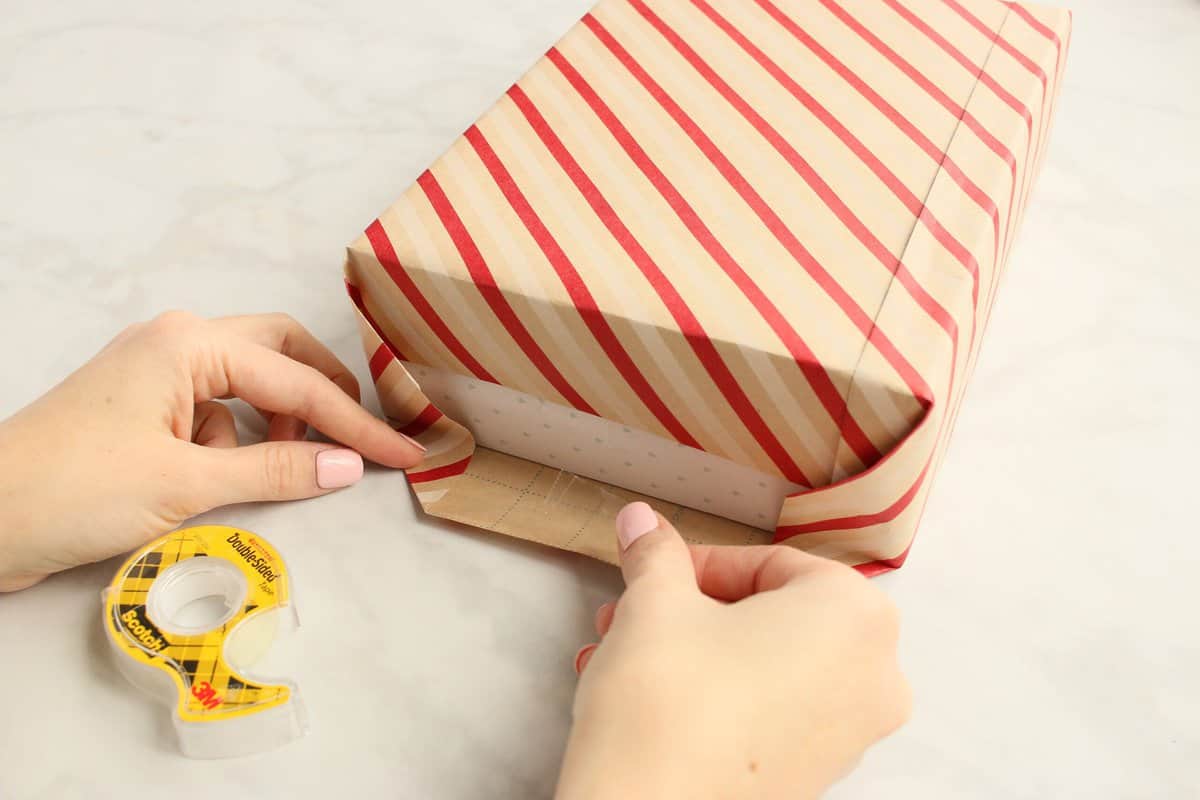
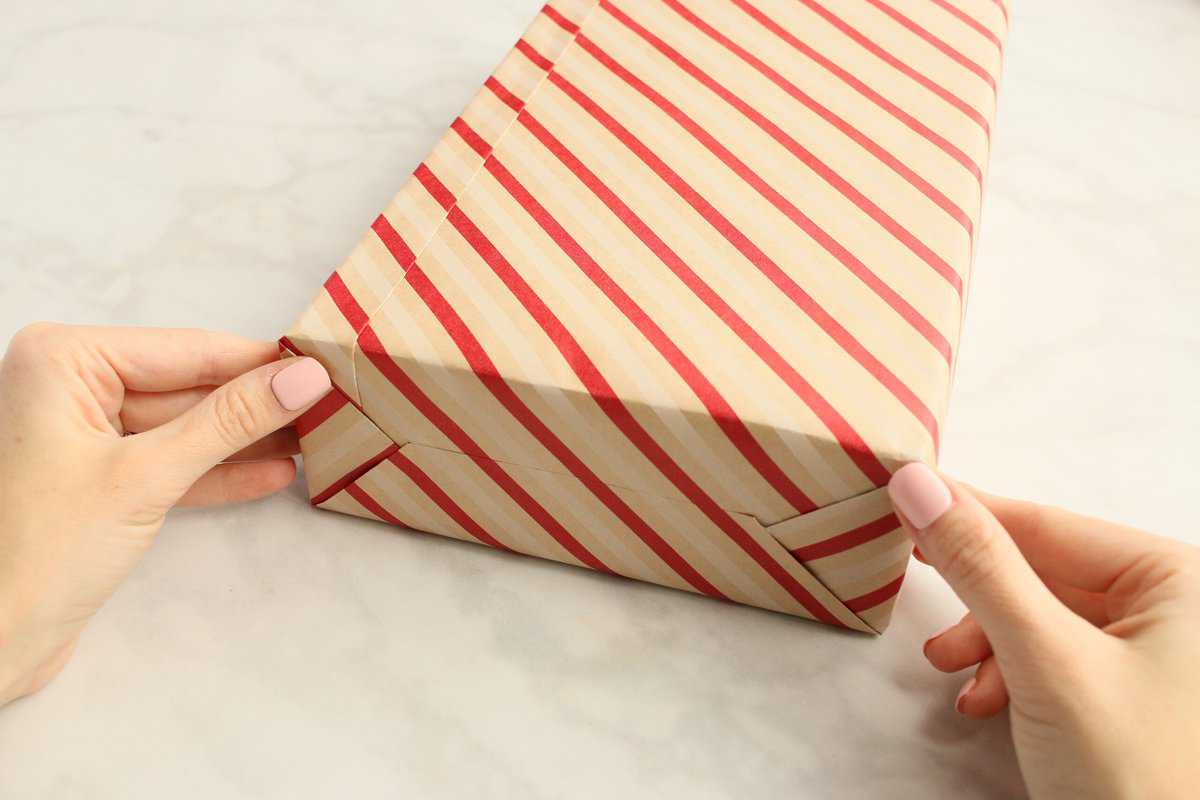
Repeat this process for the other end of the box.
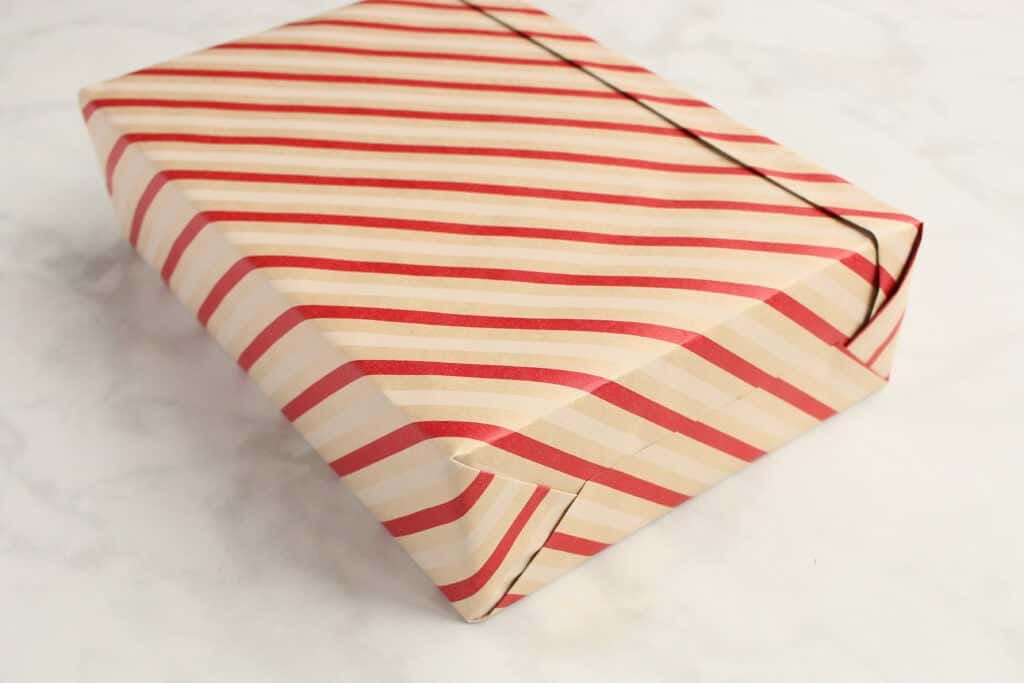
Make sharp creases along all the edges of your box for a crisp, professional looking finish.
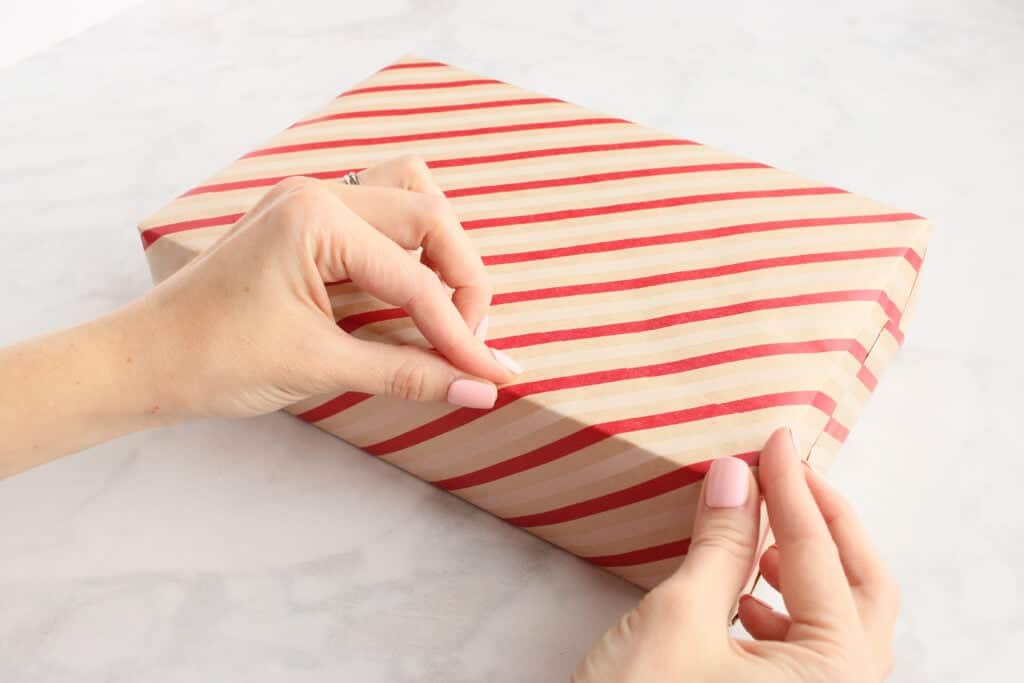
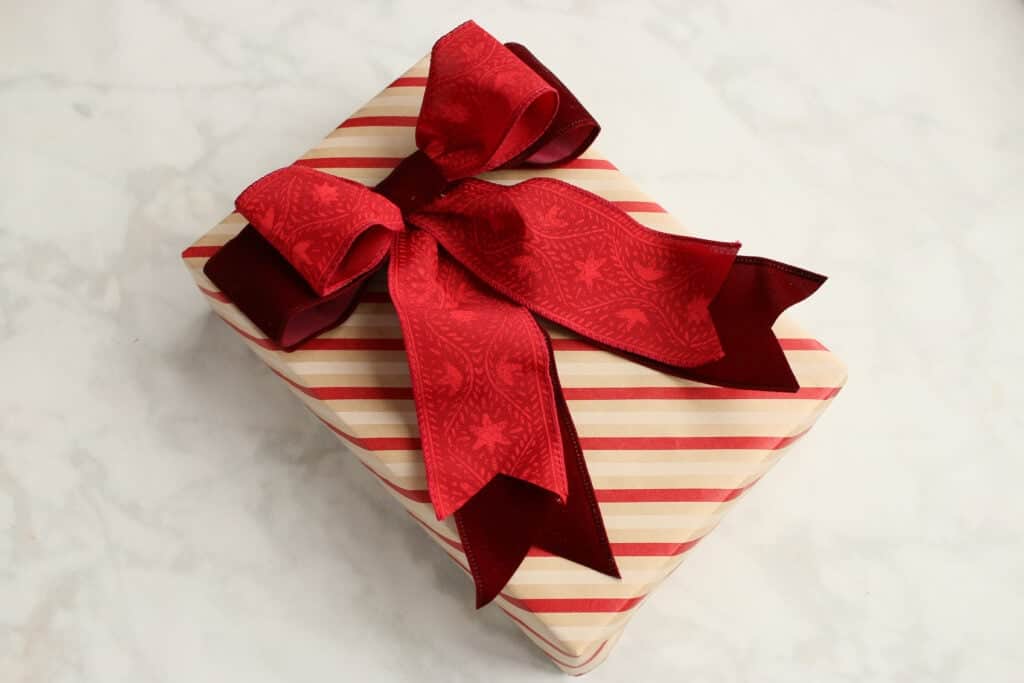
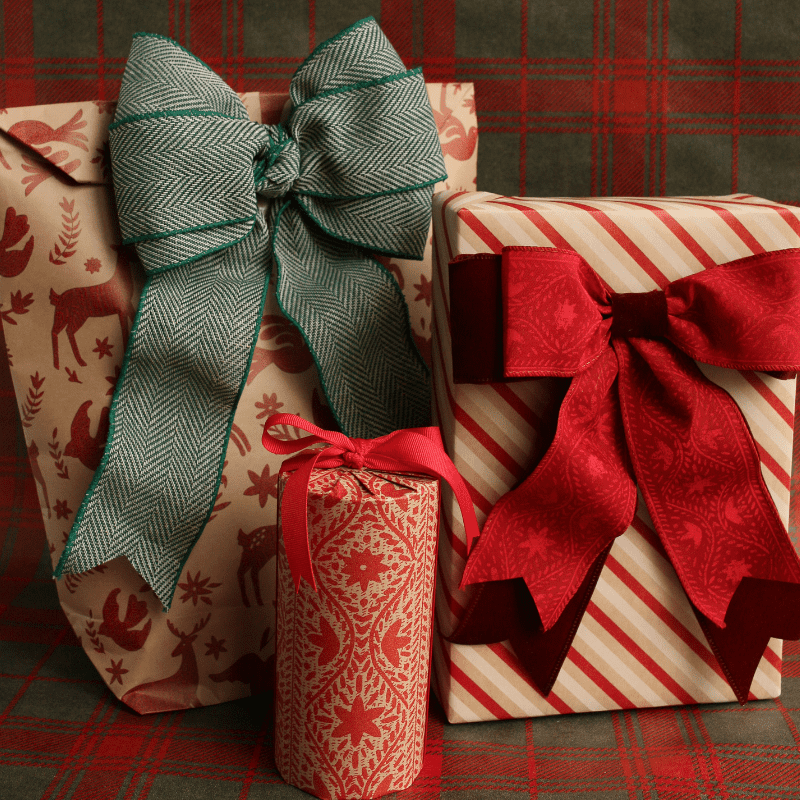
Top with a bow and voila!
Click here to read my blog post, How to Tie the Perfect Ribbon Bow Seven Ways.
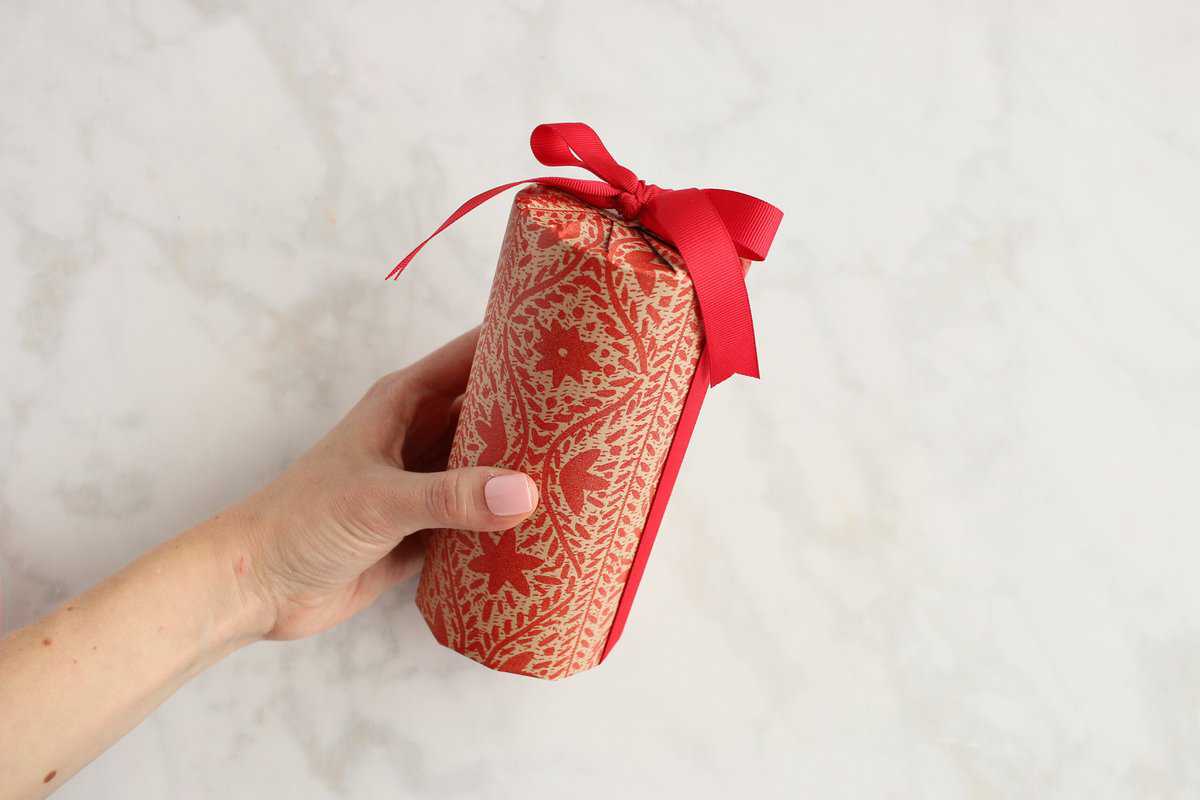
How to Wrap a Cylinder Present or Gift
Have you ever wondered how to wrap a cylinder present? It's not as hard as you might think!
For posters, canisters, candles, and jars, this step-by-step tutorial is your secret weapon!
PRO-TIP: It’s important to use thick wrapping paper with this shape of a present, or it will tear.
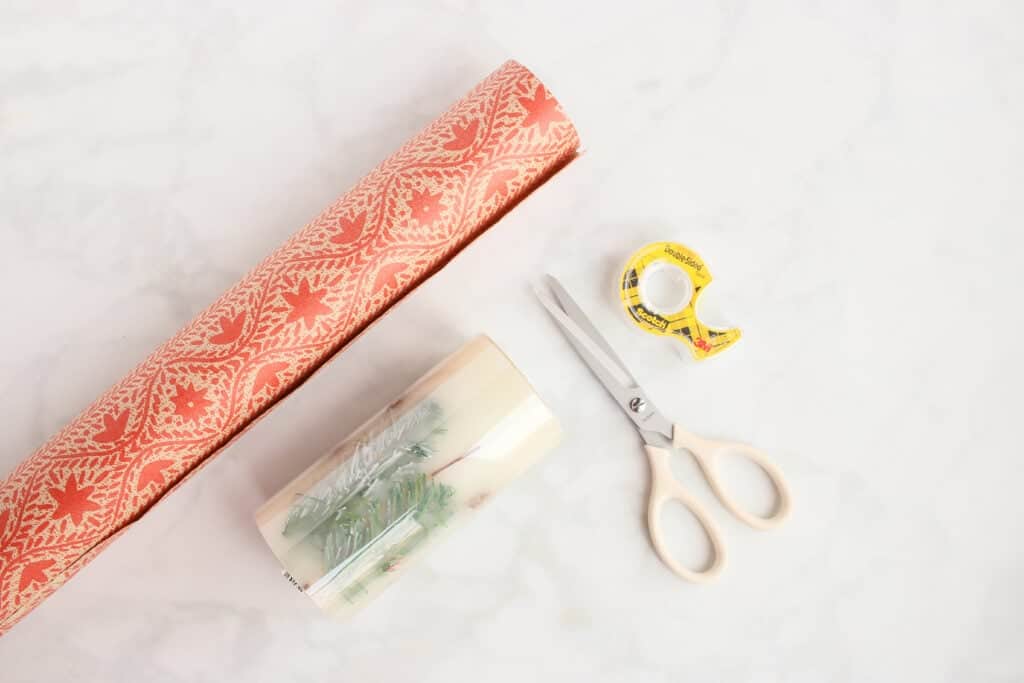
Step One: Measure and Cut the Gift Wrap
The paper should cover the width of the cylinder plus one inch for overlap.
The paper should extend to the middle of the cylinder's top and bottom.
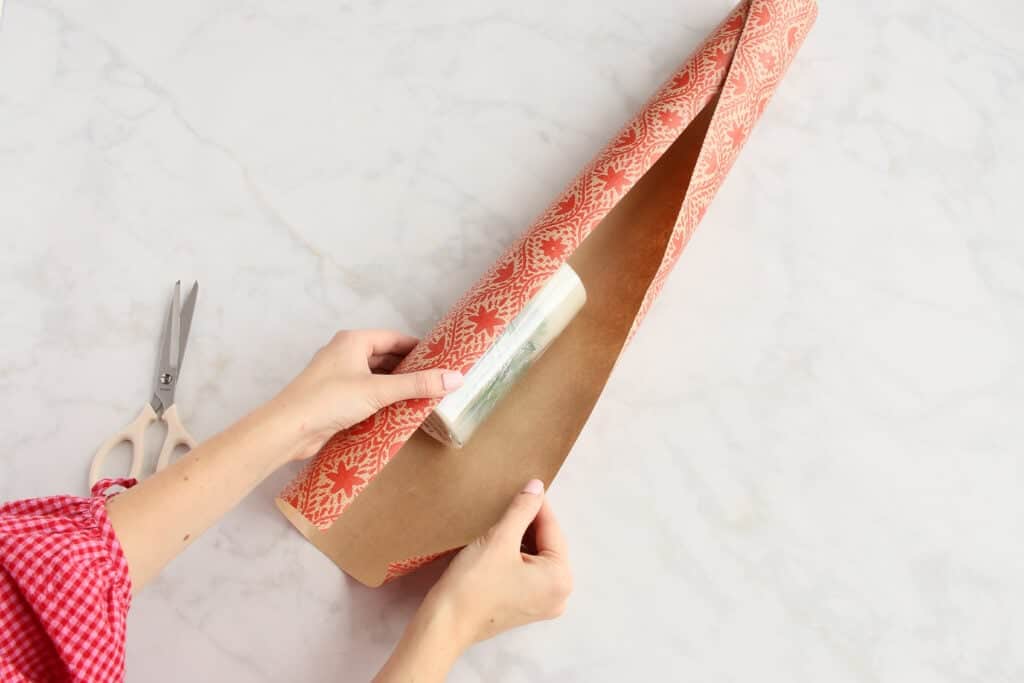
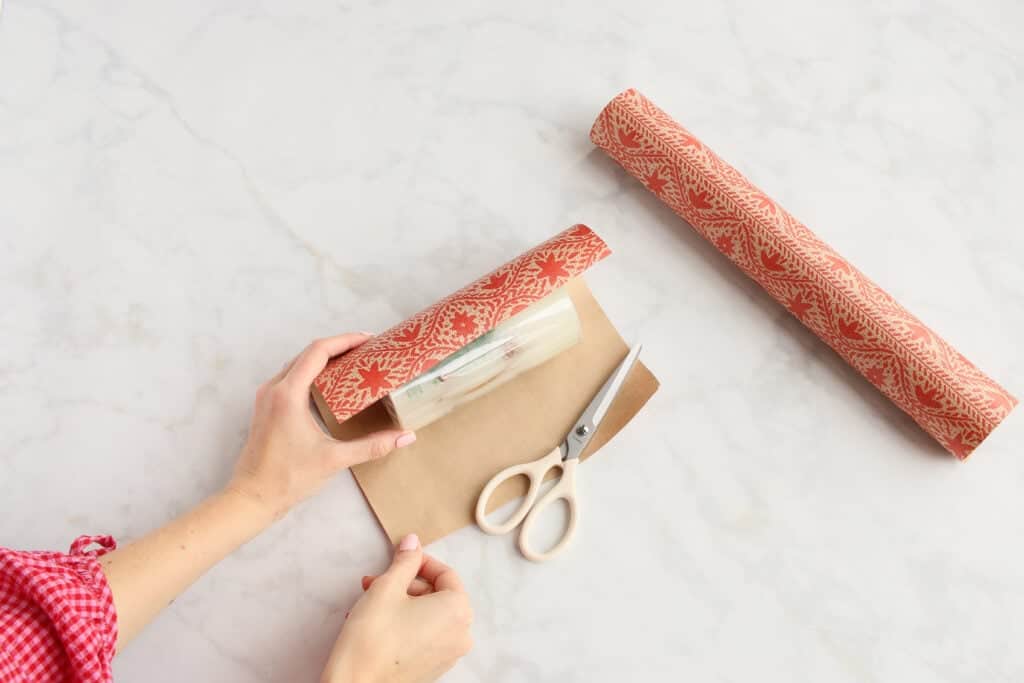
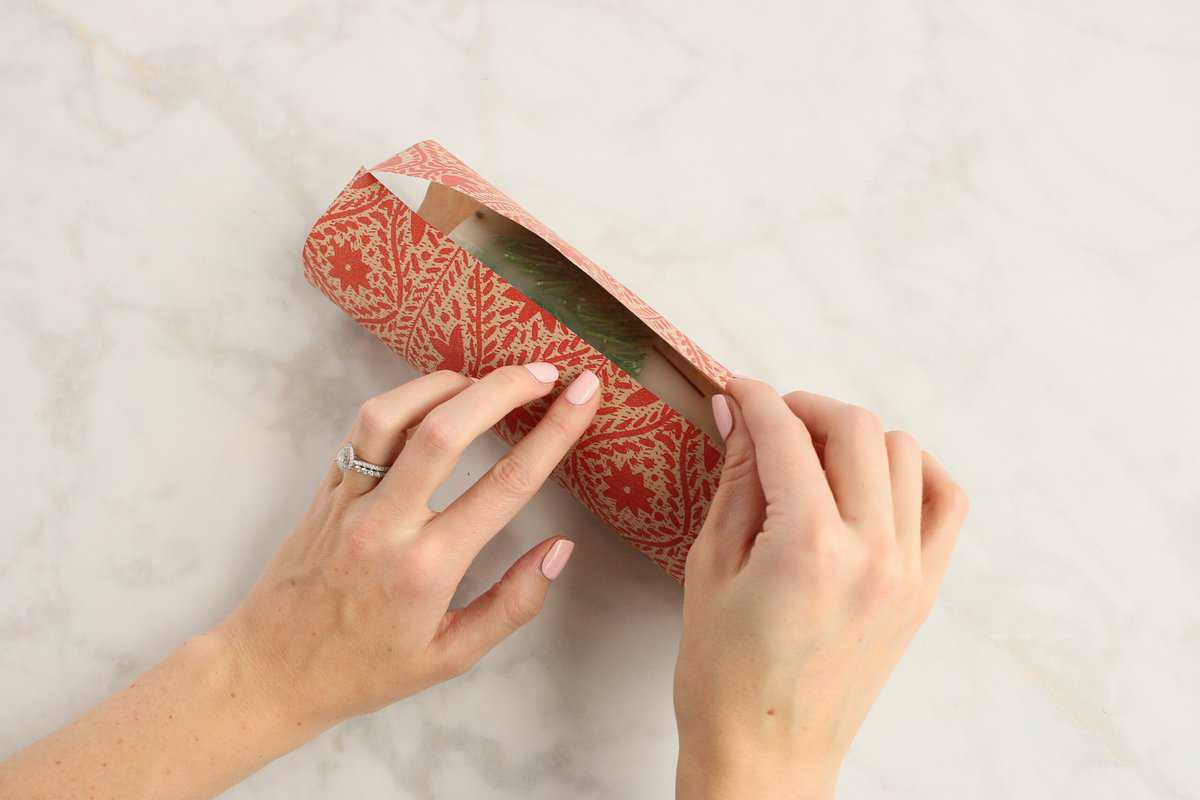
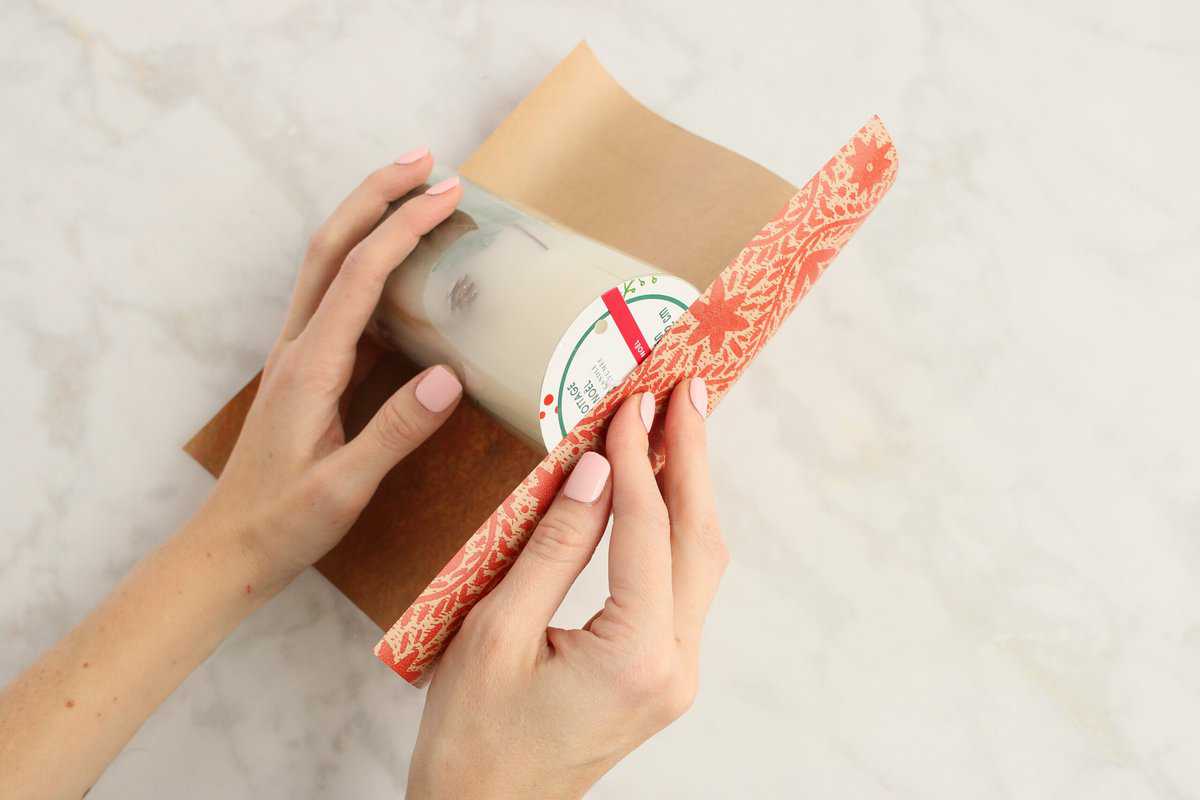
Step Two: Wrap the Cylinder with Gift Wrap
Place the cylinder in the center of your paper and secure the long edges in place with tape.
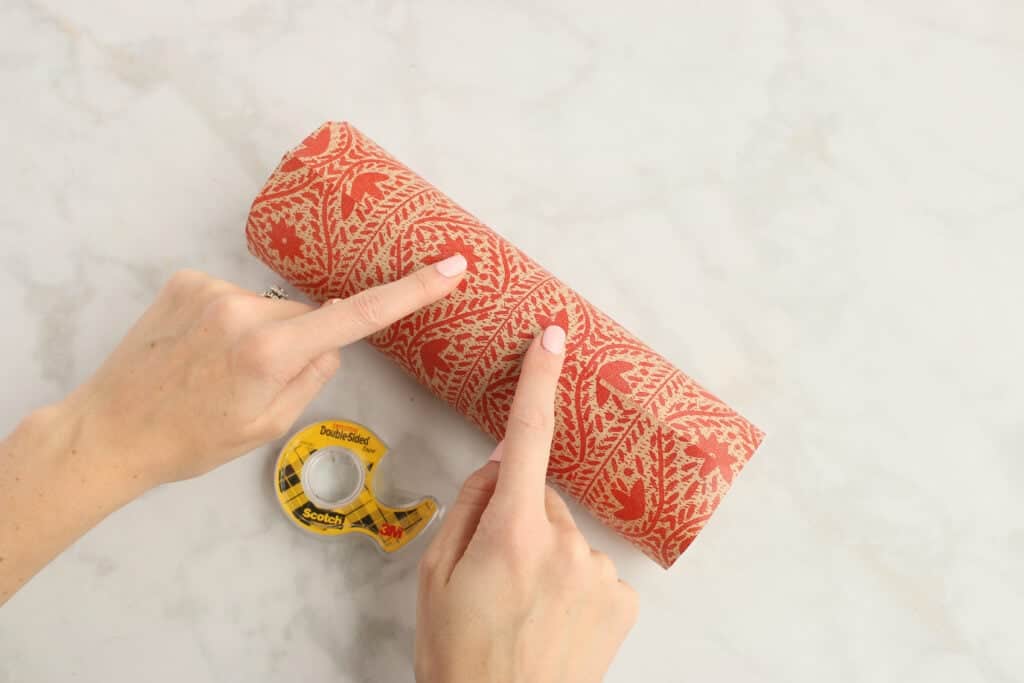
Step Three: Fold the Edges Inward
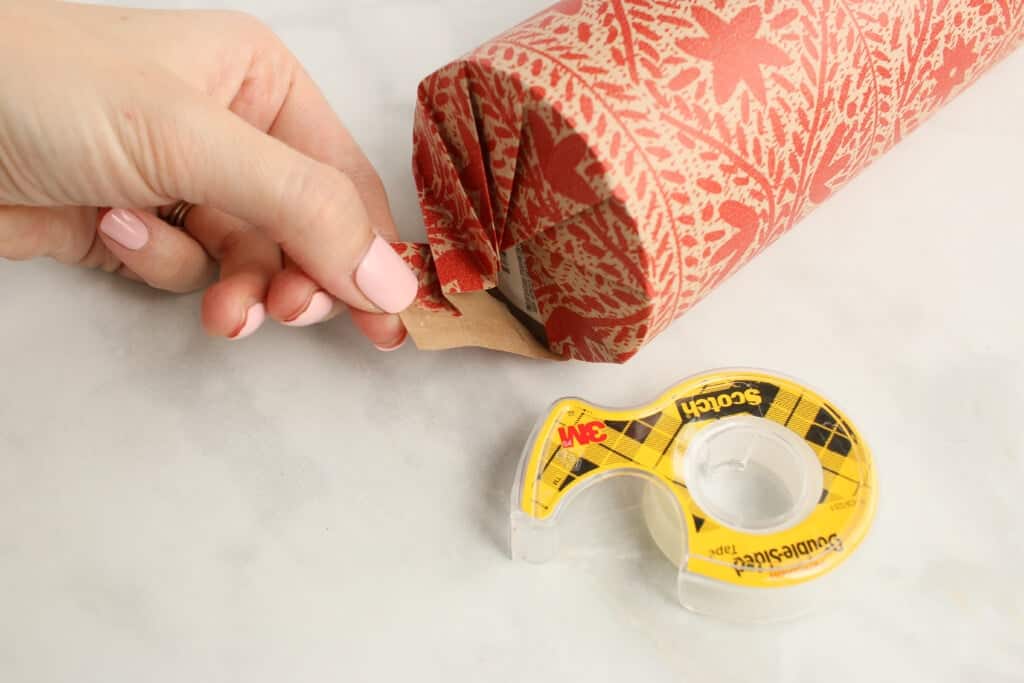
Start on one end. Fold over the raw edge to make a slight angle.
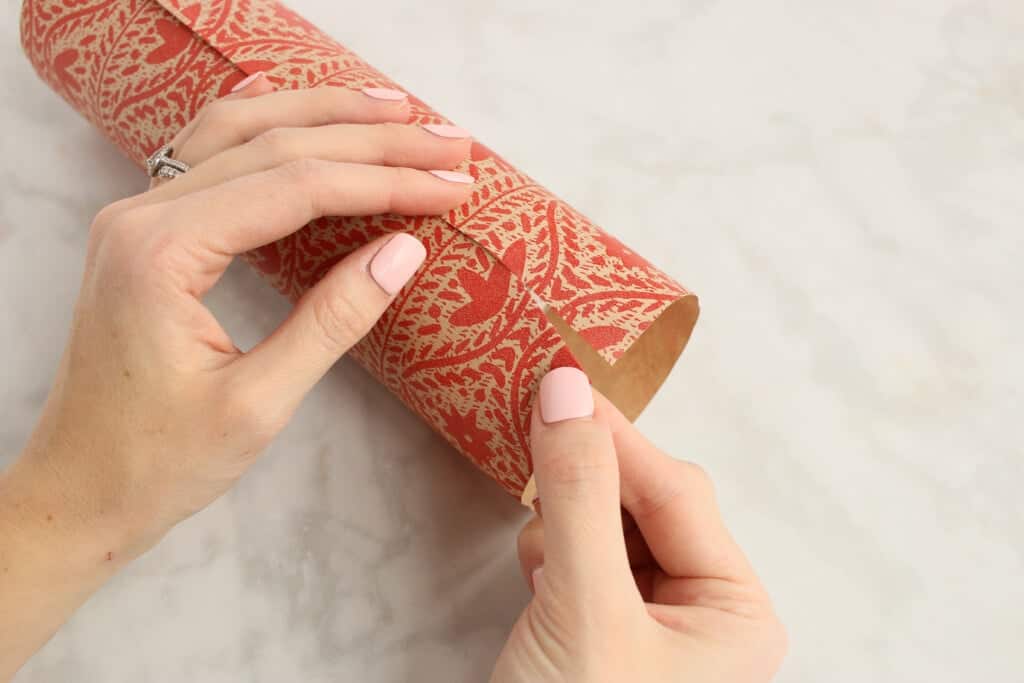
Pull the newly folded edge tightly toward the center.
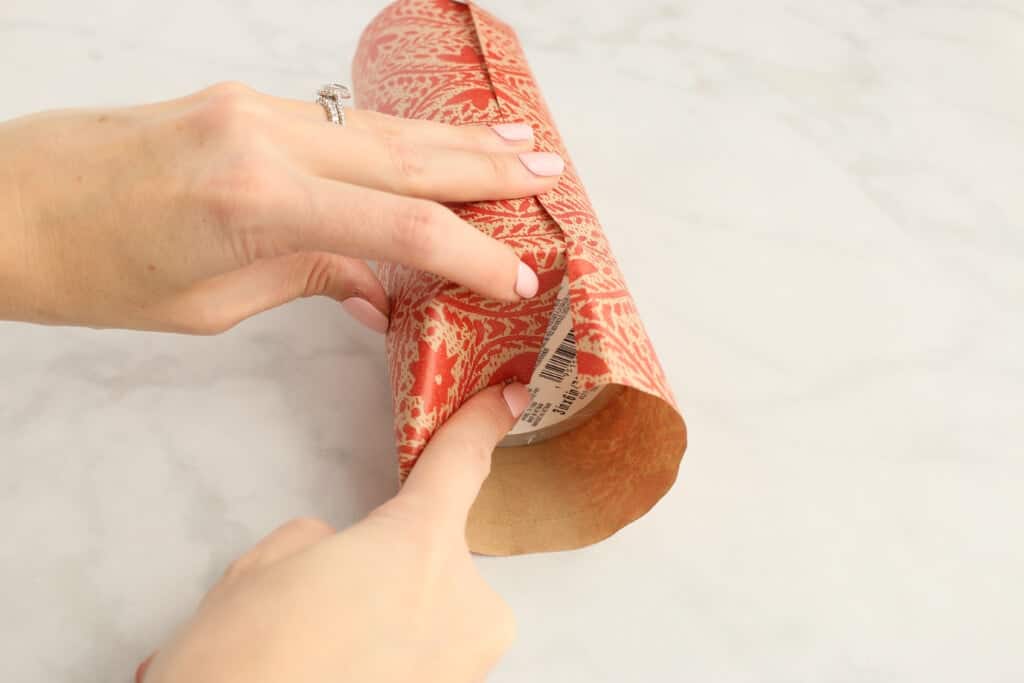
Now move your fingers over and pull the next section towards the center, creating a small fold to move around the curve. Repeat again.
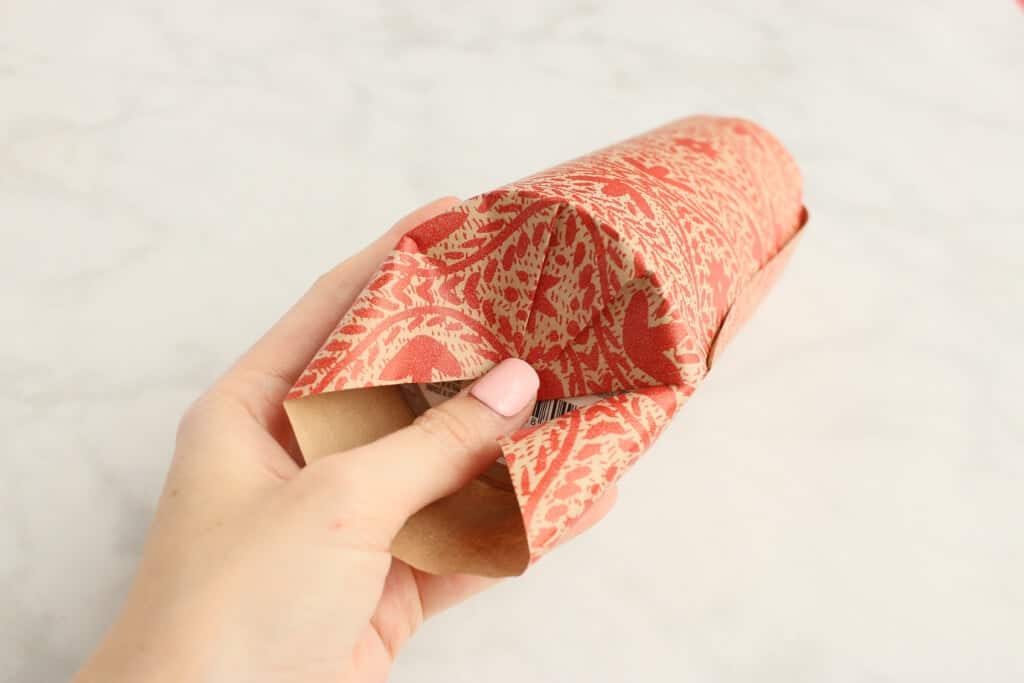
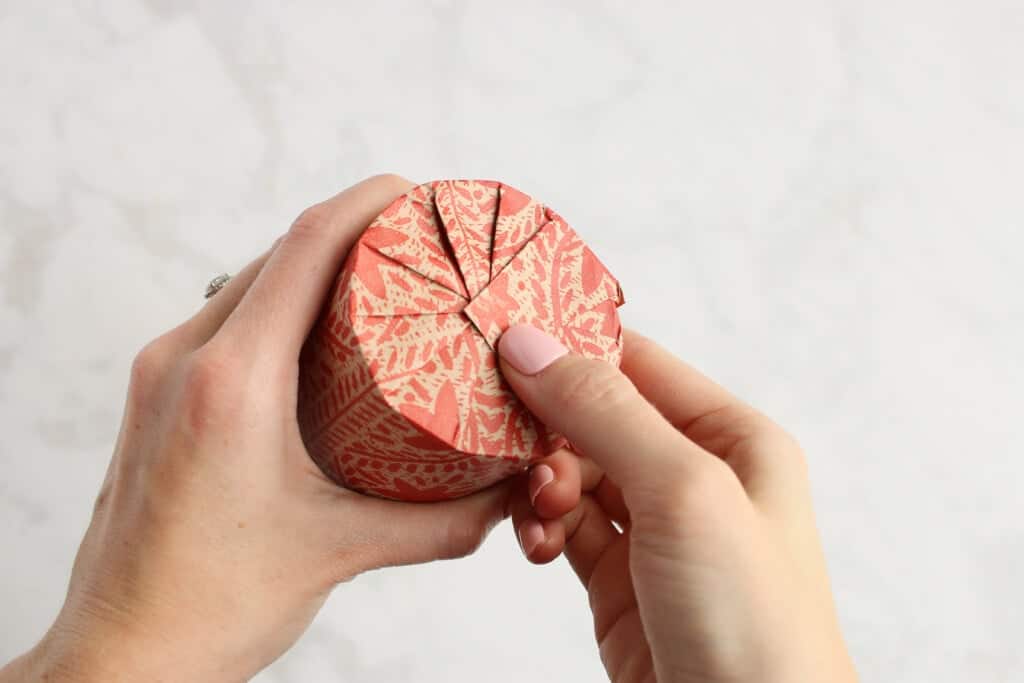
Continue creating these small folds all about the circumference of the cylinder, always pulling tightly and folding towards the center mark.
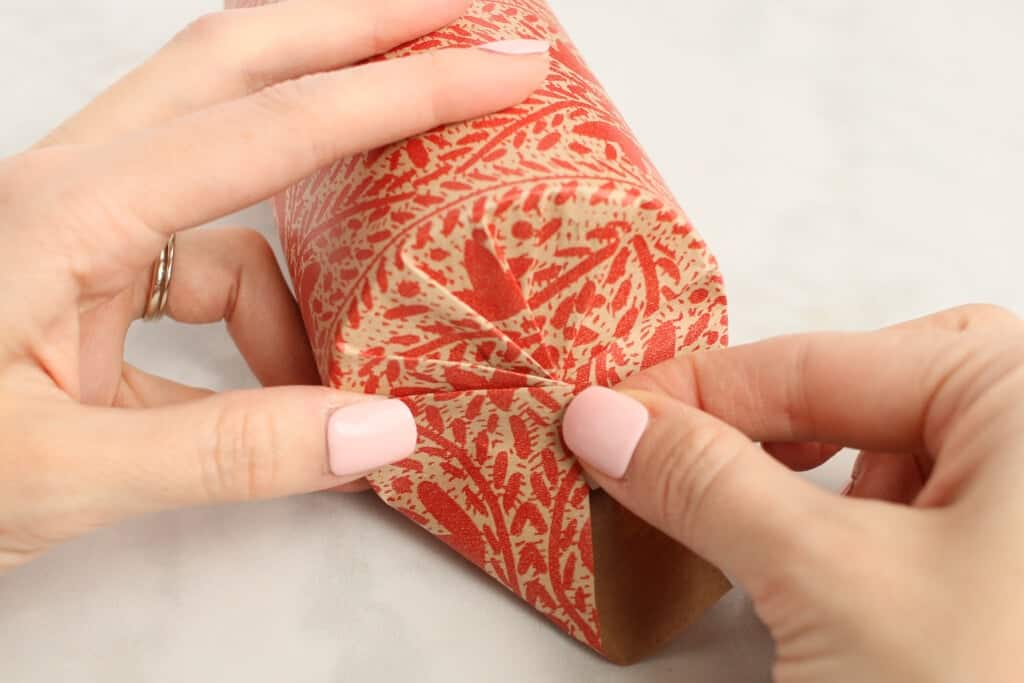
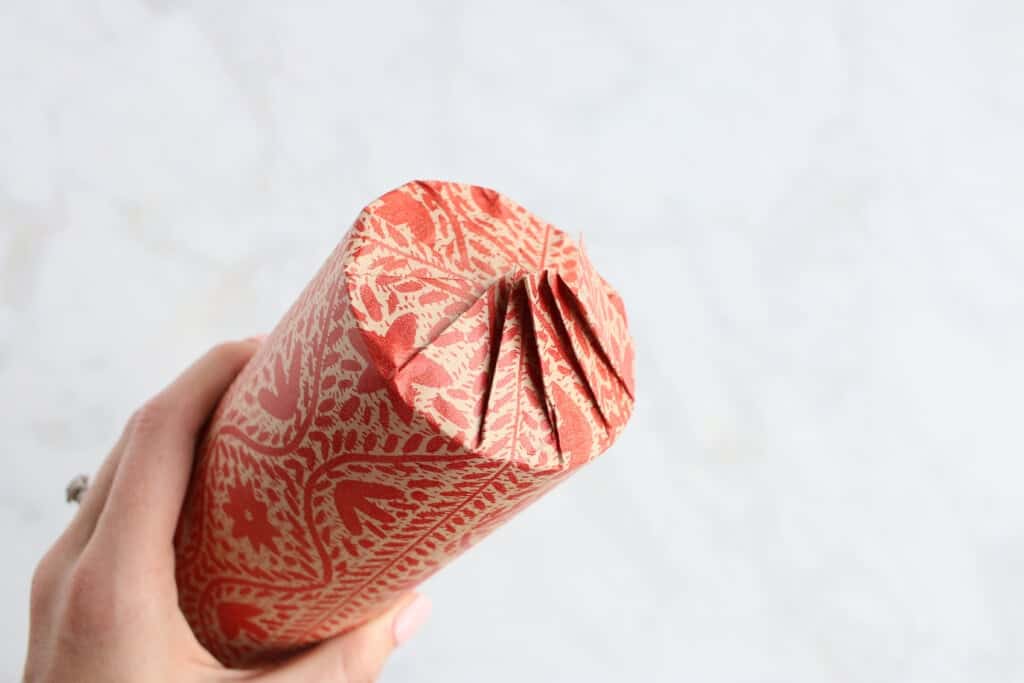
Secure the last section of the paper with a piece of double-sided tape applied to the underside of the gift wrap. Press the gift wrap firmly towards the present to secure it into place.
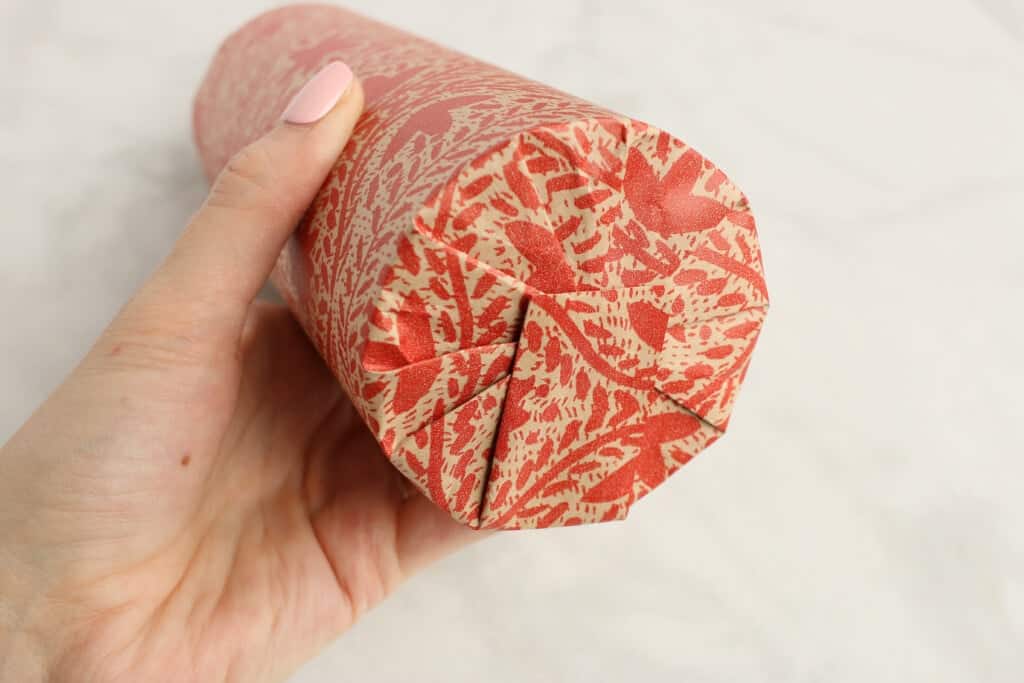
Repeat this process for the opposite end of your cylinder.
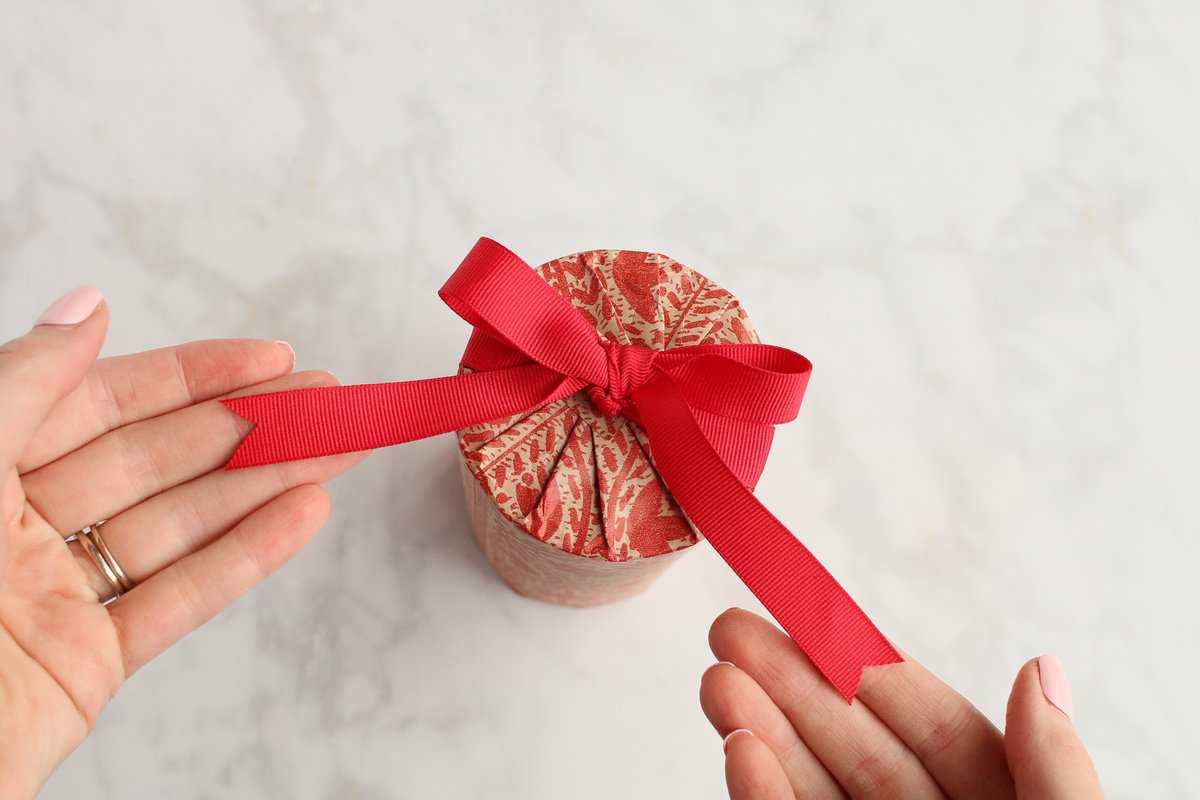
Step Four: Add a Bow
Tie with a ribbon and your package is ready to go!
Click here to read my blog post, How to Tie the Perfect Ribbon Bow Seven Ways.
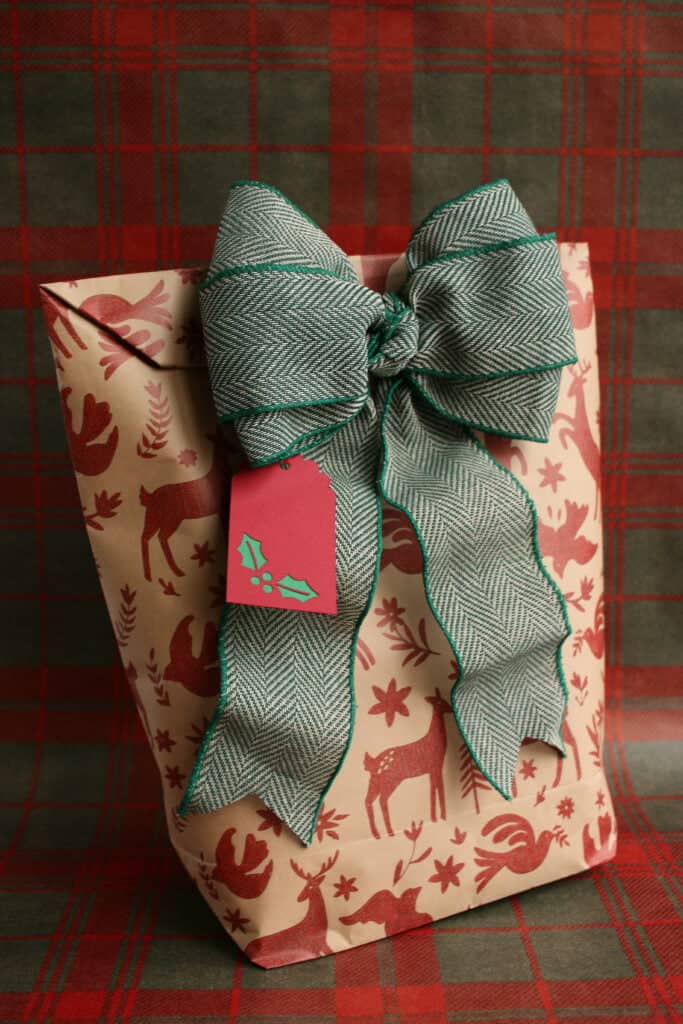
How to Make a Gift Bag Out of Wrapping Paper
If you have an unusually shaped gift or have run out of boxes or bags, this is a way you can easily turn some wrapping paper into a gift bag!
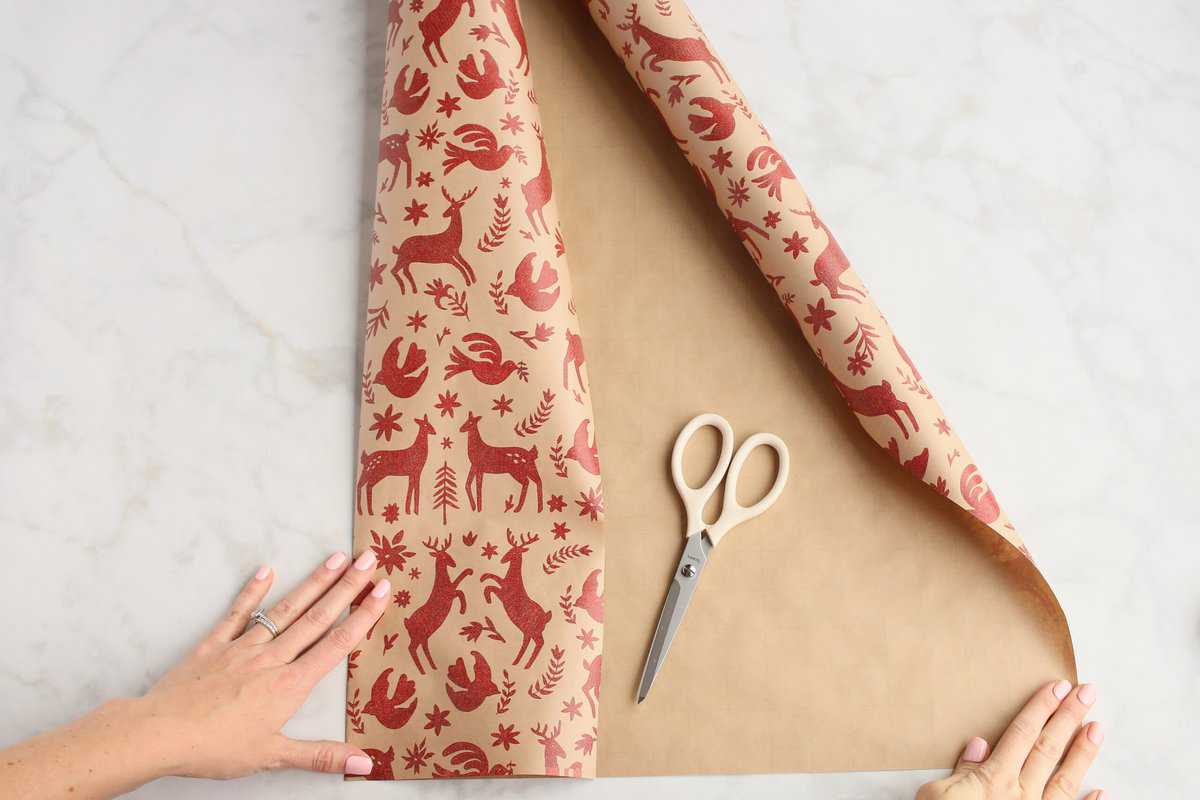
Step One: Measure and Cut the Wrapping Paper
Cut a piece of wrapping paper large enough to cover your gift, using the same tips I gave for cutting paper for the perfect gift.
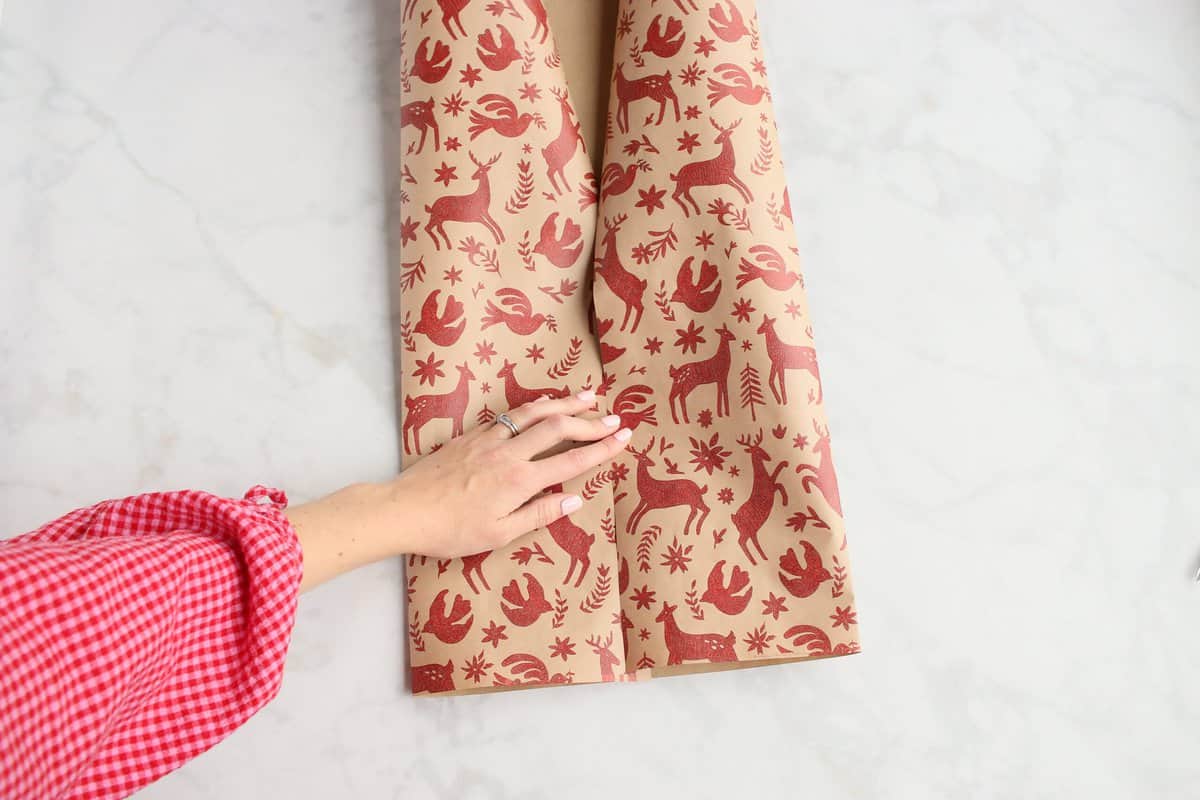
Step Two: Secure the Gift Bag with Tape
Fold over the long edges, overlapping and securing the seam together with tape.
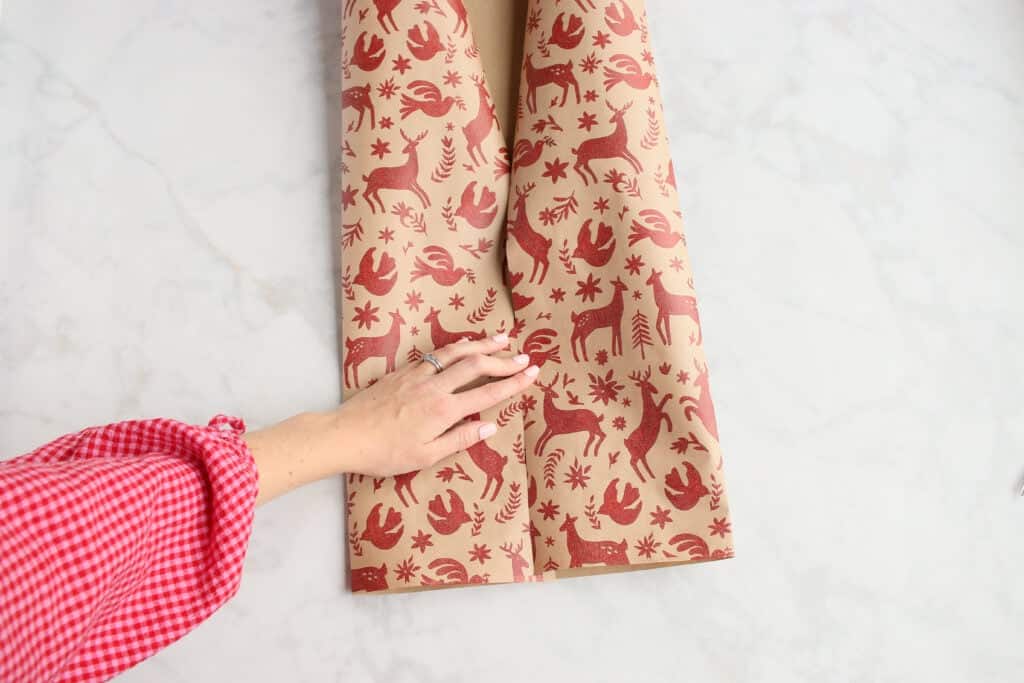
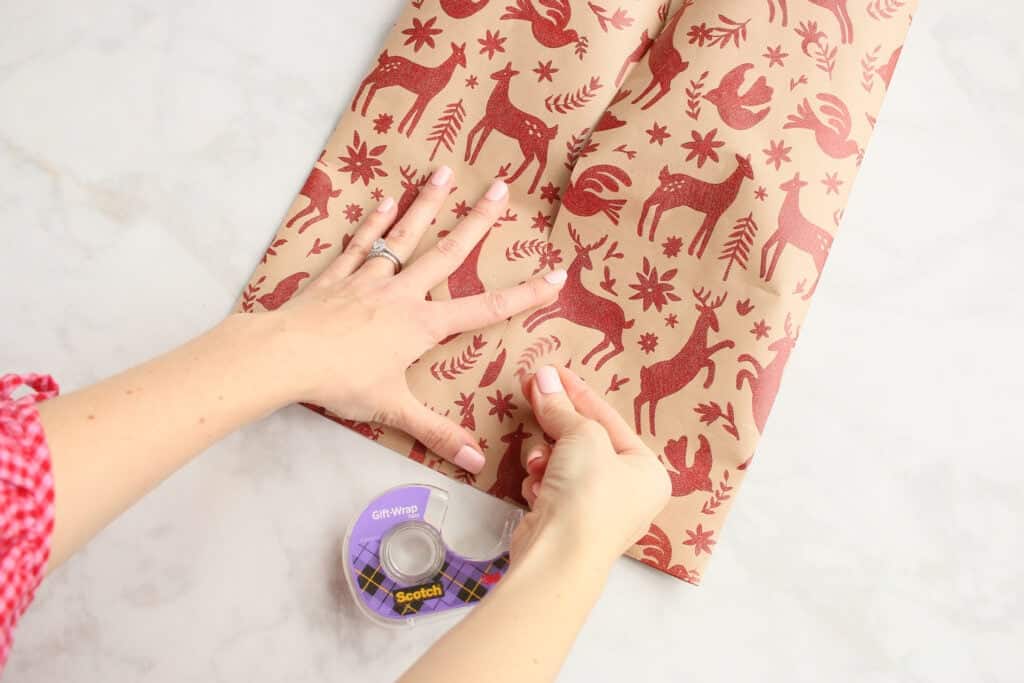
Now fold the bottom edge of the wrapping paper up, making sure it’s wide enough to hold your gift.
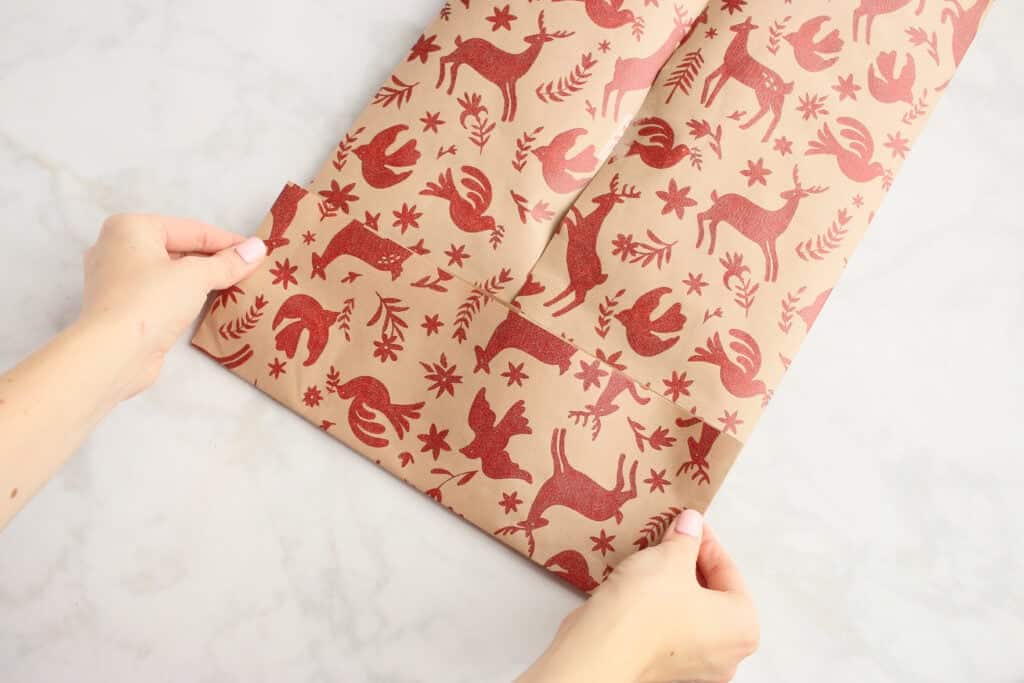
Step Three: Create a Diamond Shaped Bottom
At the bottom of your gift bag separate your wrapping paper and flatten out the two corners, creating a diamond shape.
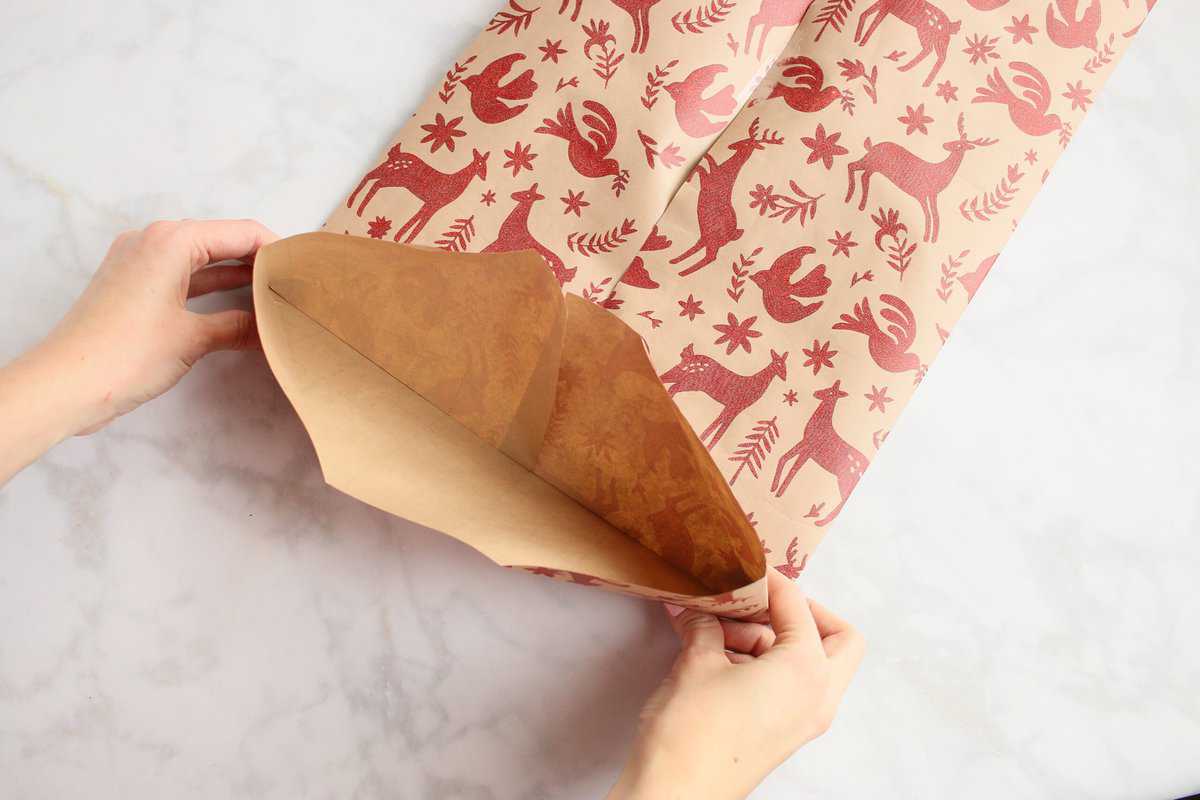
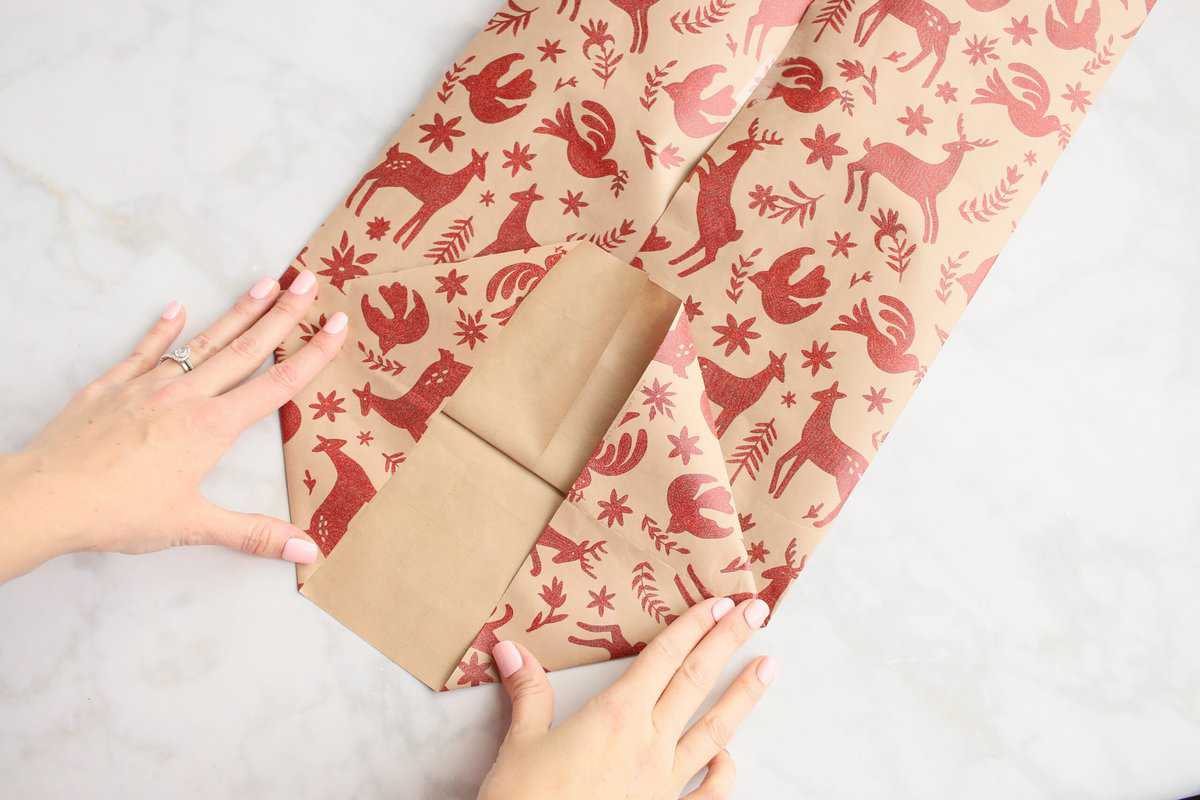
Take the bottom edge of your diamond shape and fold it up towards the center.
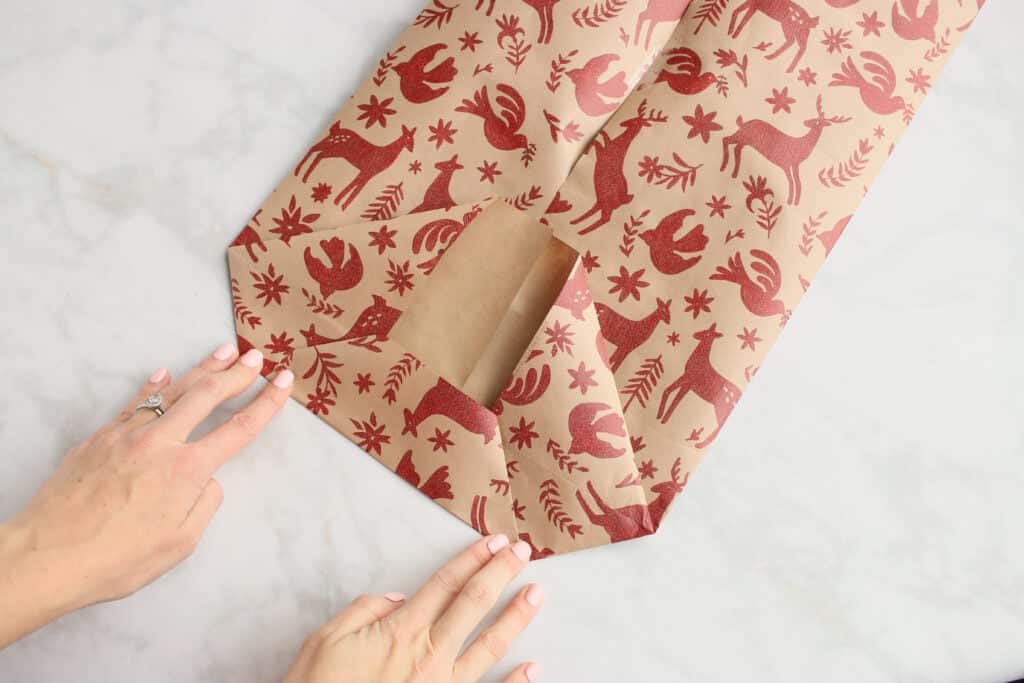
Now take the top edge and fold it down toward the center, slightly overlapping the bottom edge. Secure with tape. The base of your bag is now complete!
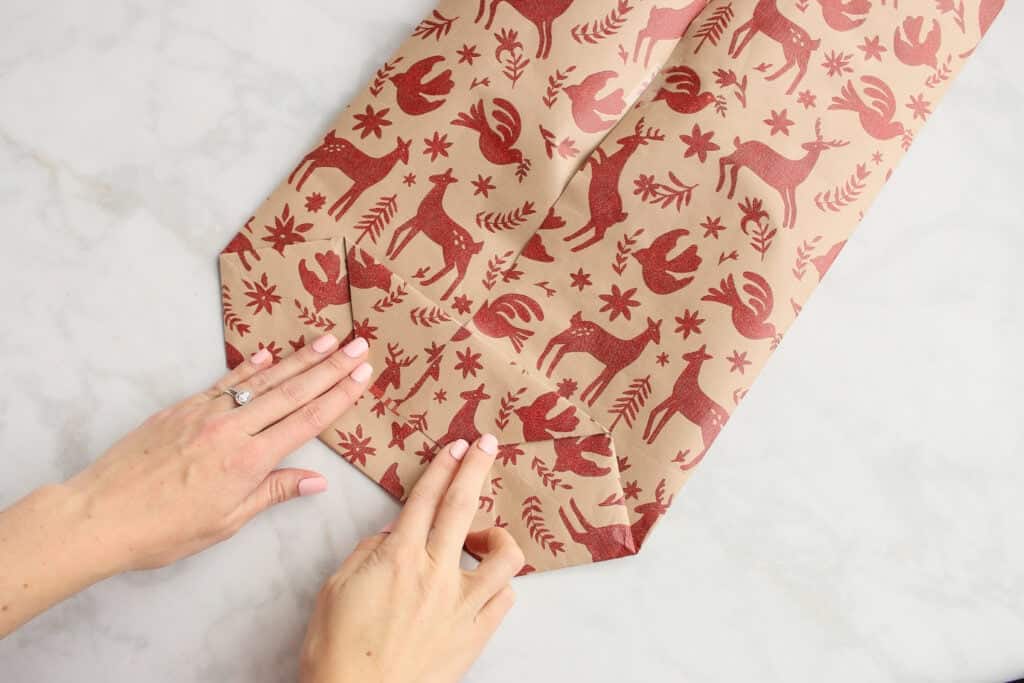
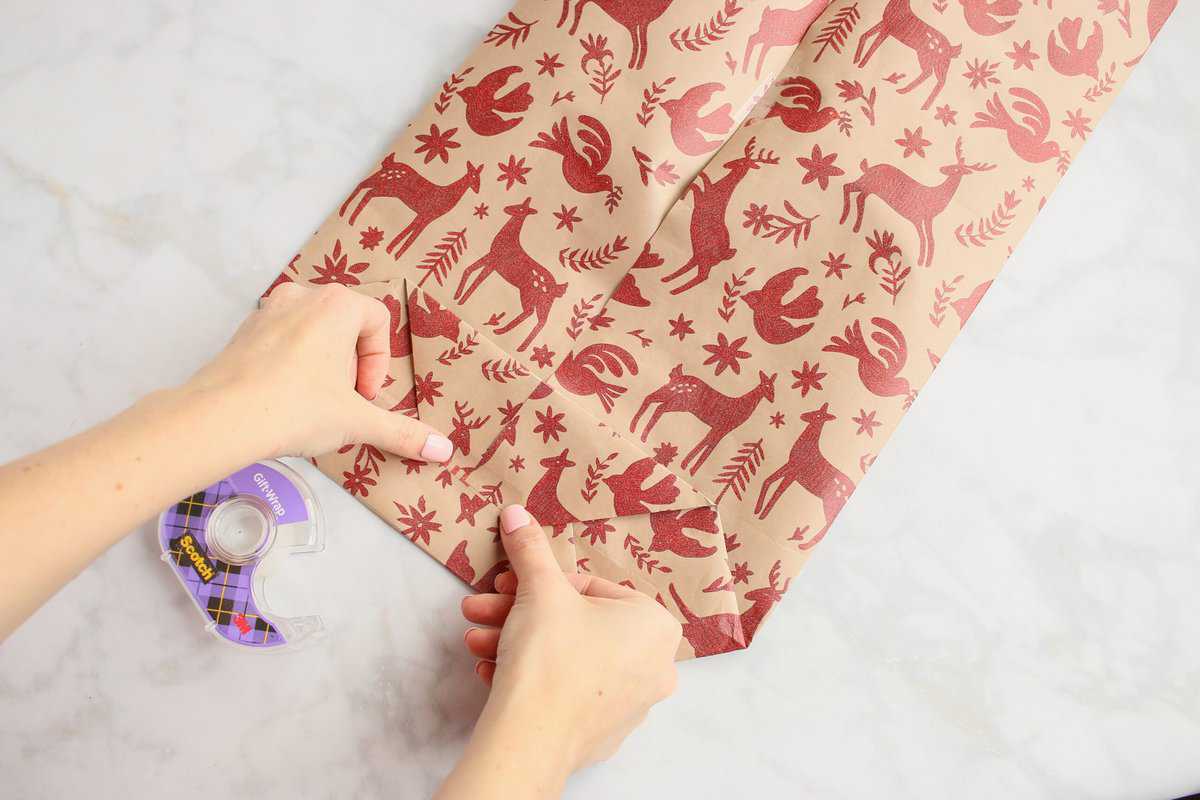
Cut off any excess from the top of your bag, if needed.
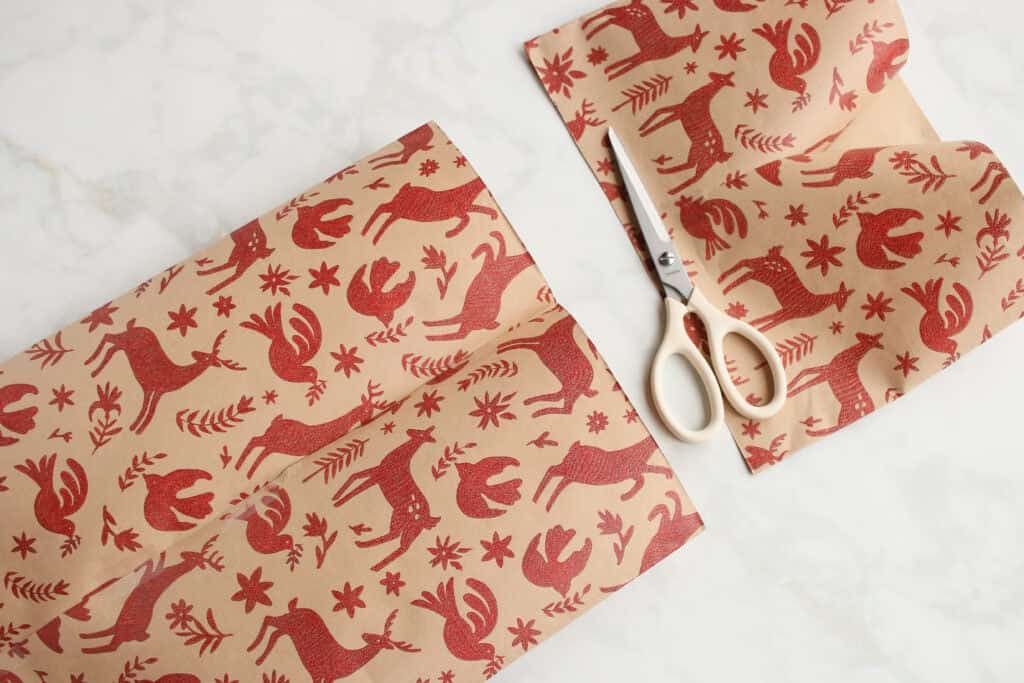
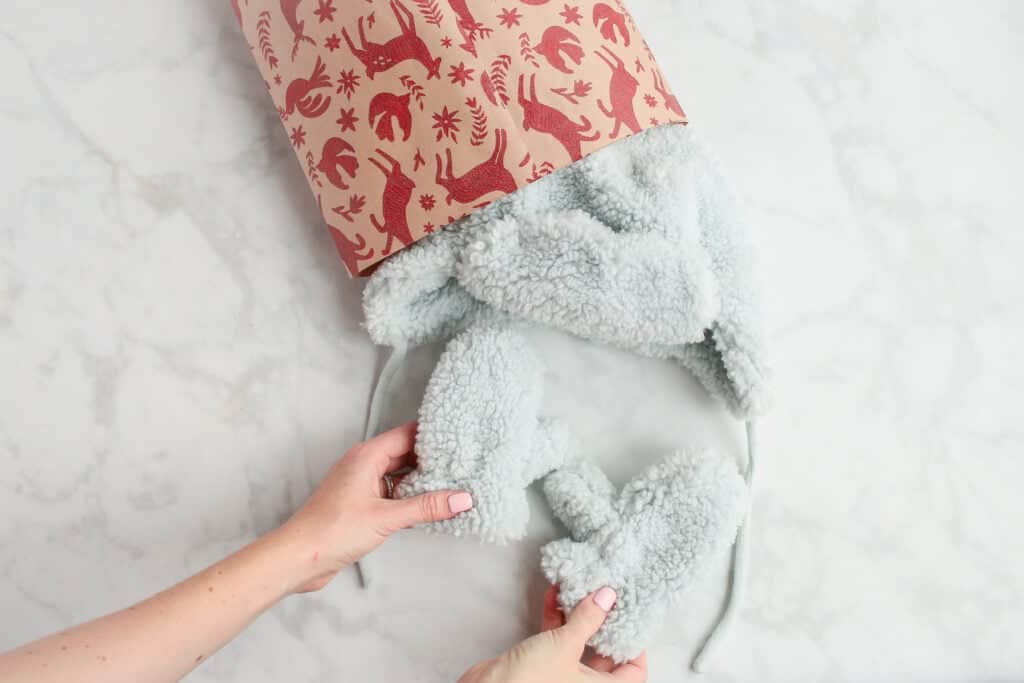
Step Four: Insert the Gift
Flip it right side up and insert your gift.
PRO-TIP: Place a piece of cardboard inside the bag to add extra strength or stability if your gift requires it.
Step Five: Fold and Secure the Top
Fold in the top corners of your bag inward.
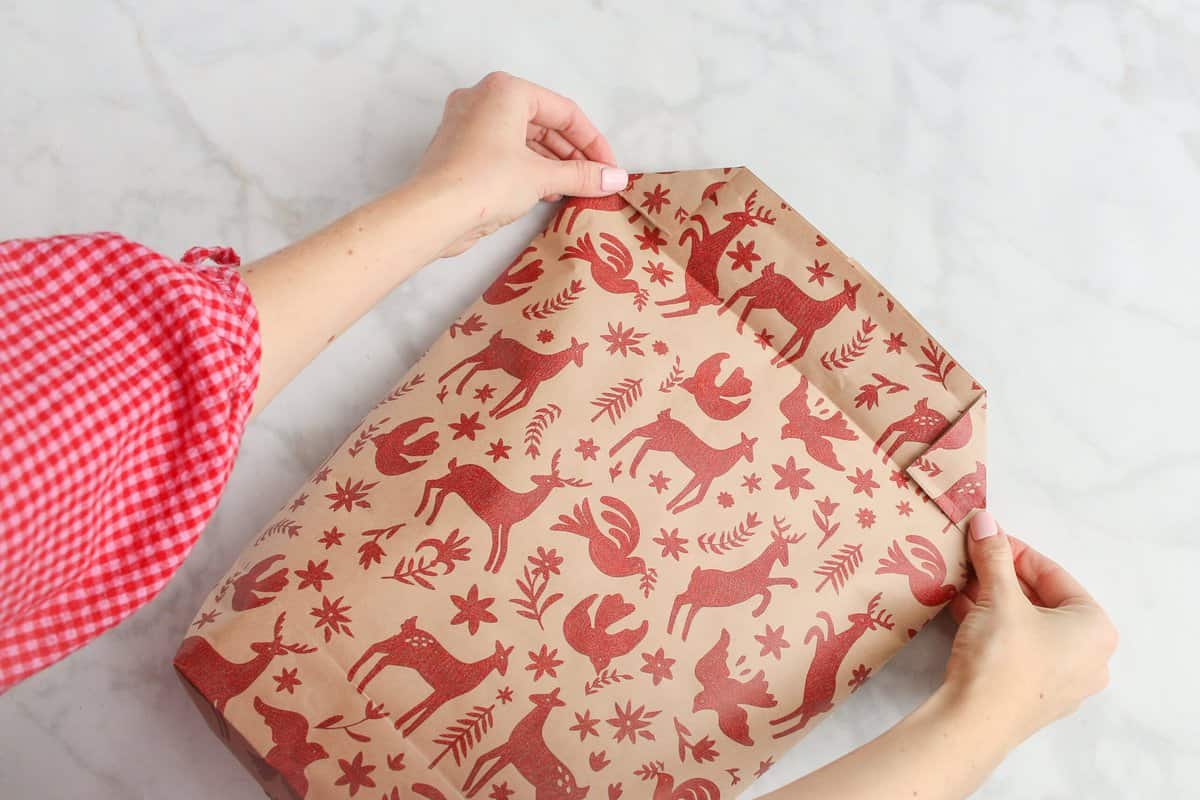
Now fold over the top of the bag, making another small fold on the raw edge to give it a clean finish.
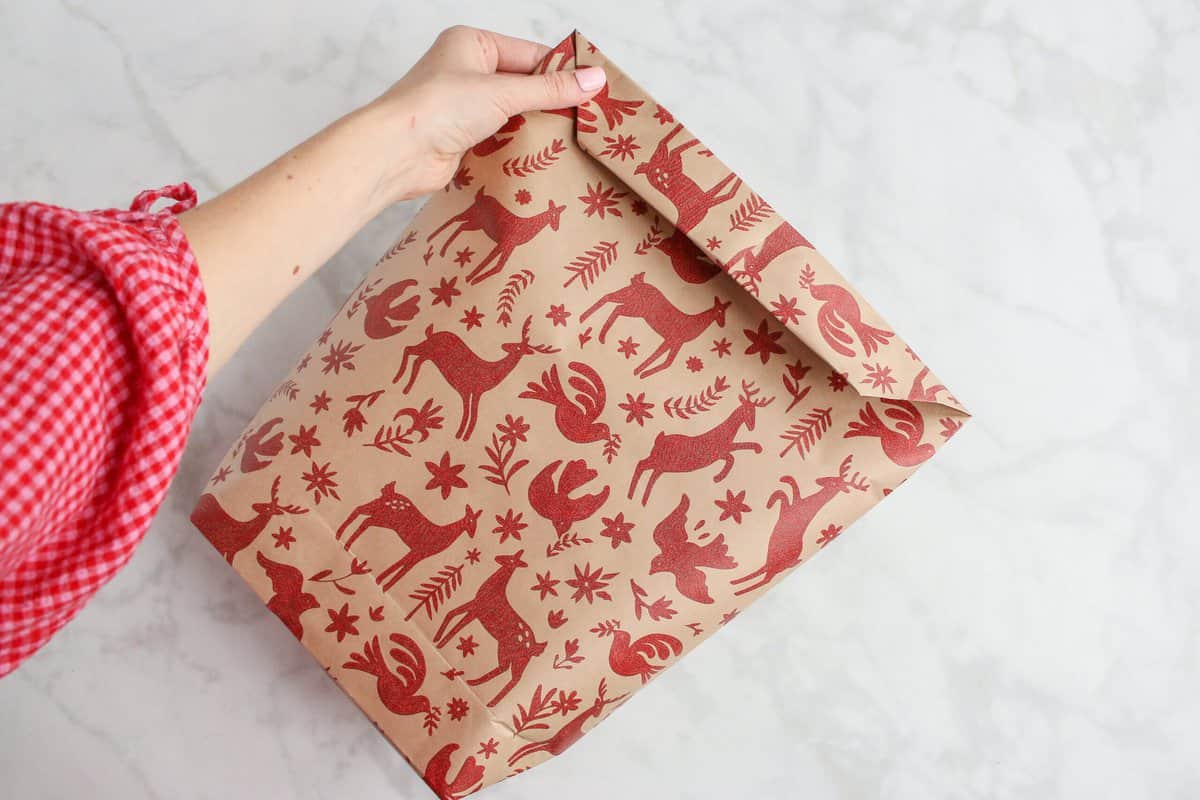
Tape the gift bag closed and add a bow! You can also punch two holes through the fold and thread a ribbon through to tie a bow.
Click here to find out how to tie a bow seven ways.
How to Wrap a Present When You Don’t Have Enough Wrapping Paper
Do you ever cut a piece of wrapping paper that is just barely too small? Or maybe you have a scrap piece of paper you want to use but there’s not quite enough to cover the box. Well fear no more! This tutorial is sure to help with some of those frustrating scenarios.
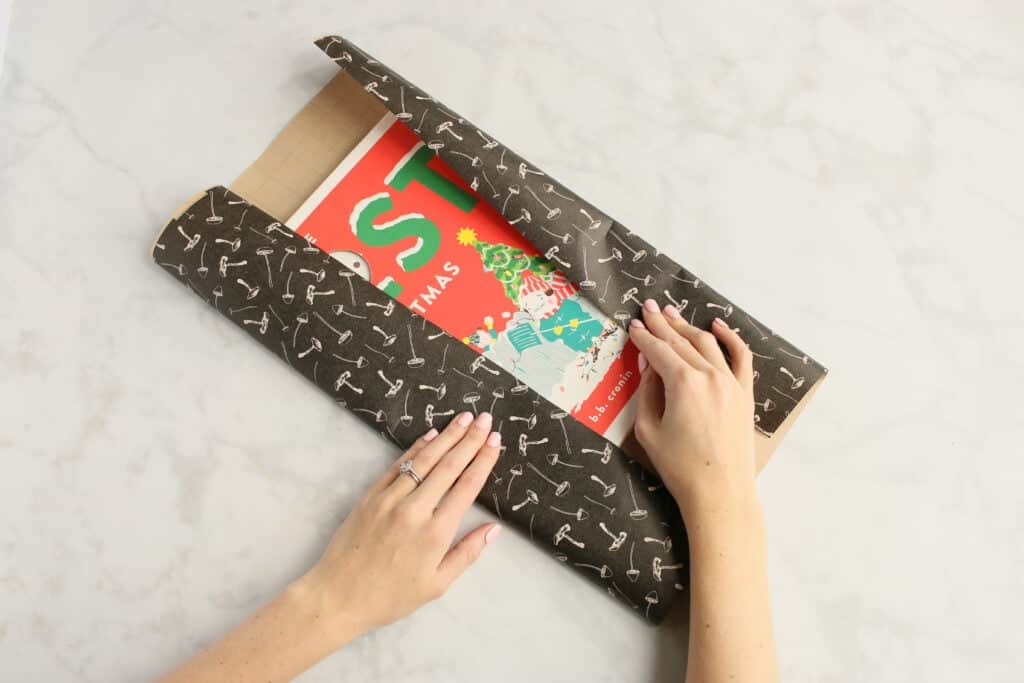
Step One: Position the Gift Wrap Diagonally
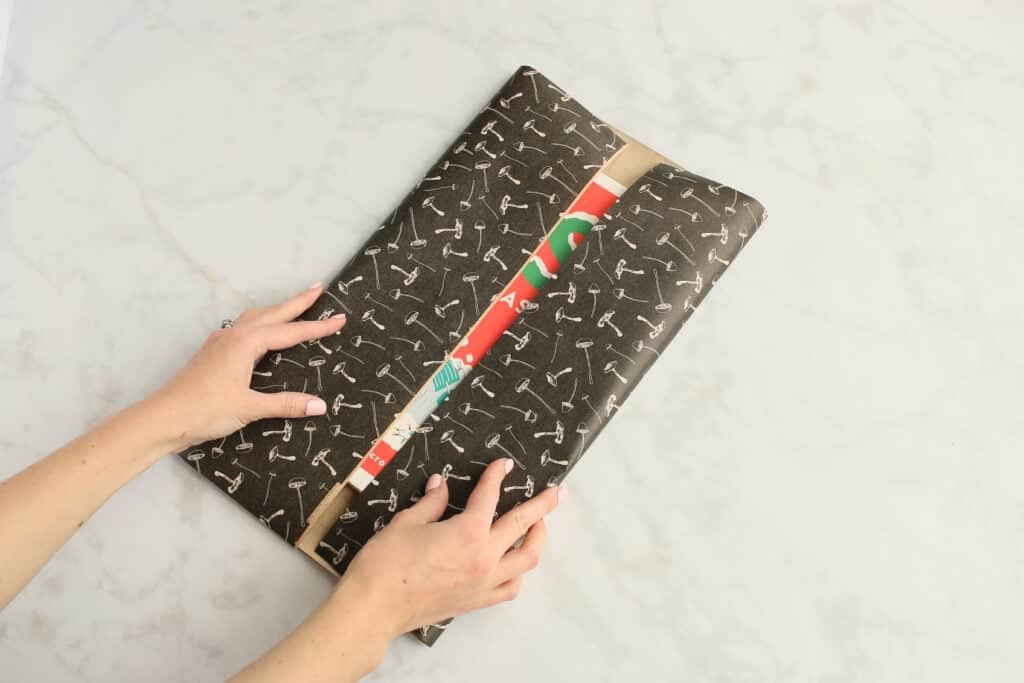
Instead of lining your gift up with your paper horizontally or vertically, you want to position your box diagonally, making sure the paper covers all four corners.
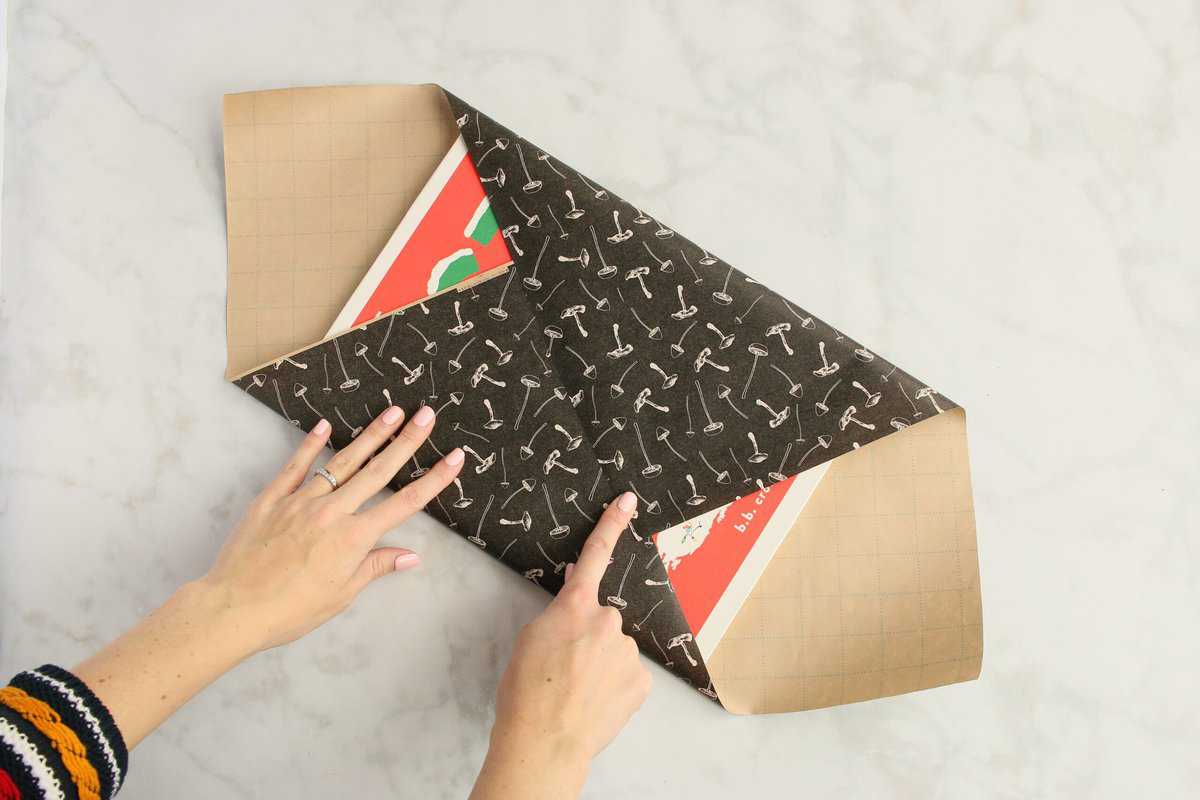
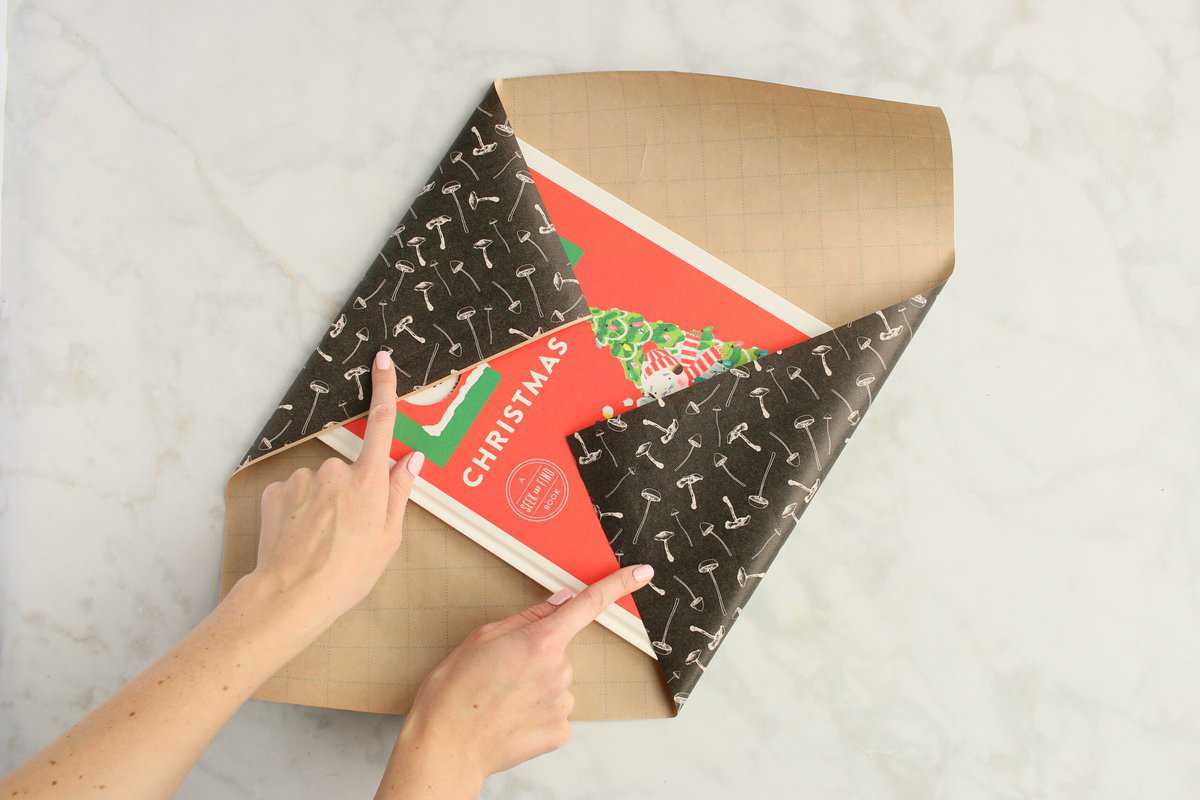
Step Two: Fold the Edges and Secure with Tape
Start with one long side and bring it up and around the box. Secure with tape.
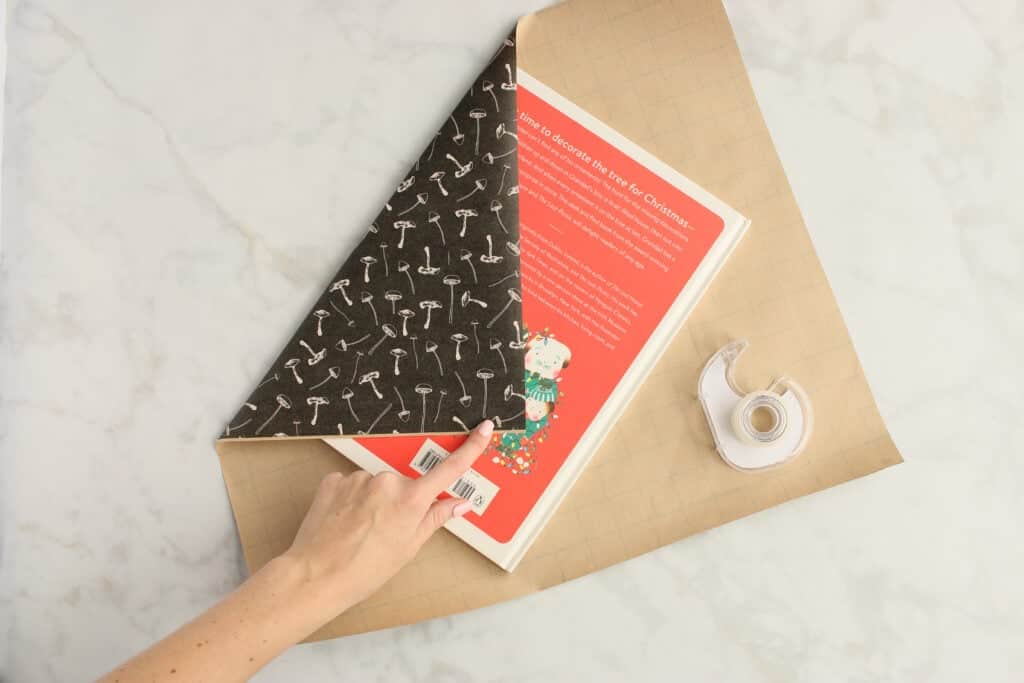
Now move to one corner. Fold the corner just enough so that the paper lines up flush with the edge of the box.
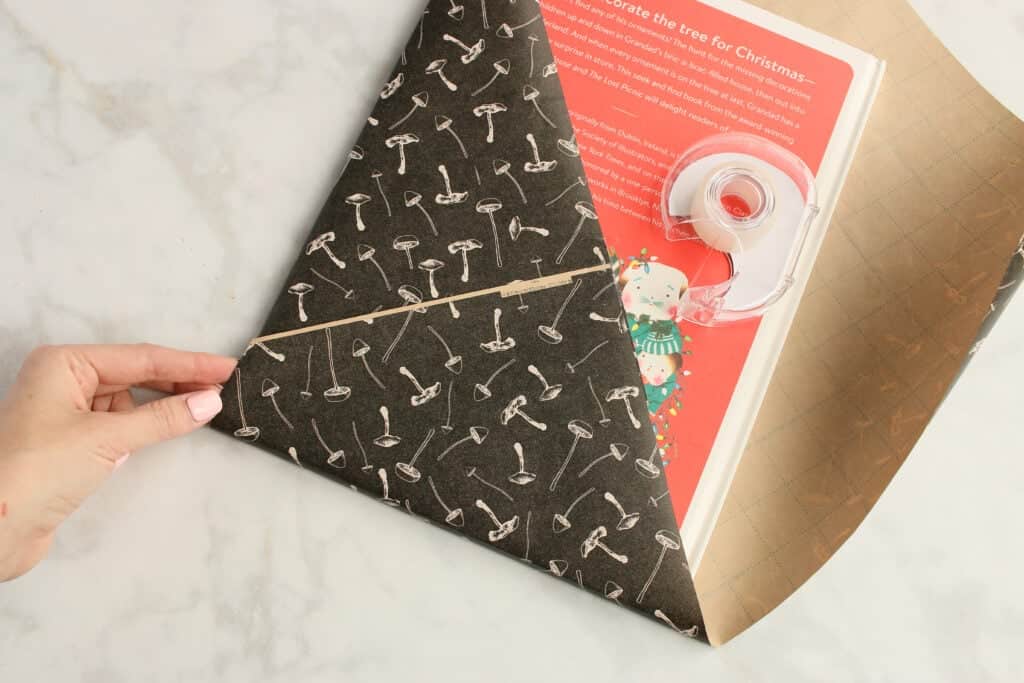
Repeat this process with the other corner of your gift.
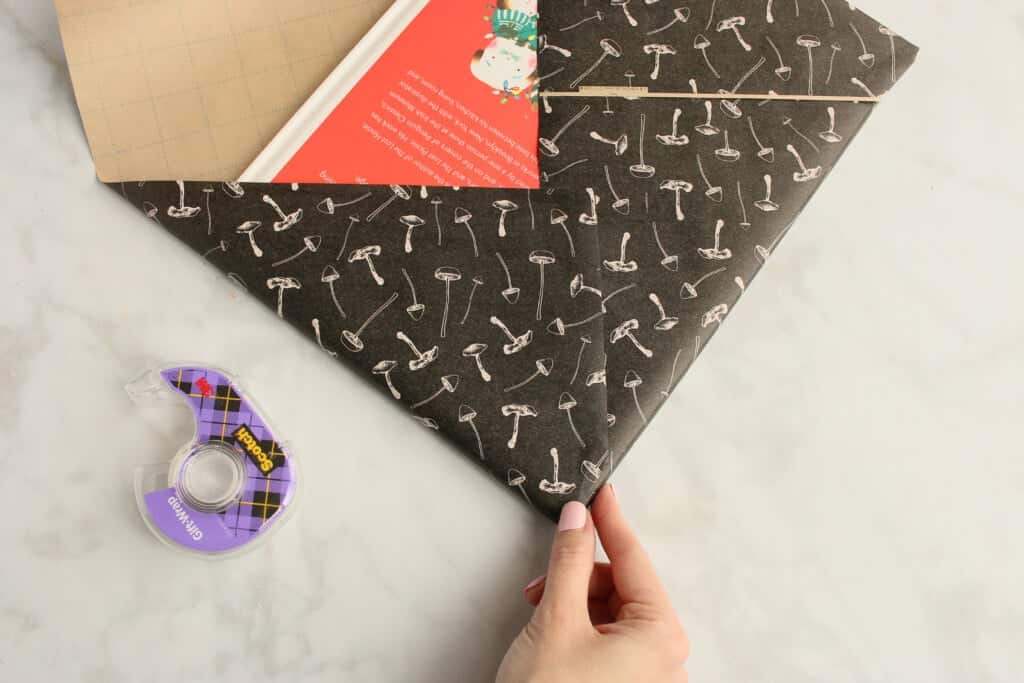
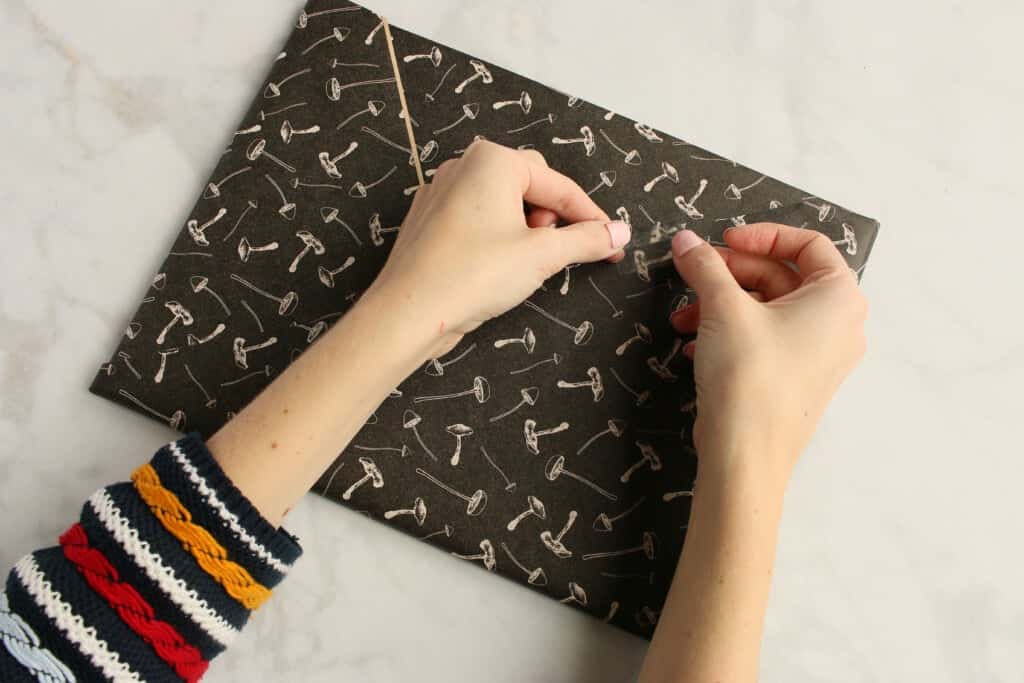
Now move to the last side and again, fold the paper in just enough to create a straight vertical edge parallel with your box. Secure with tape.
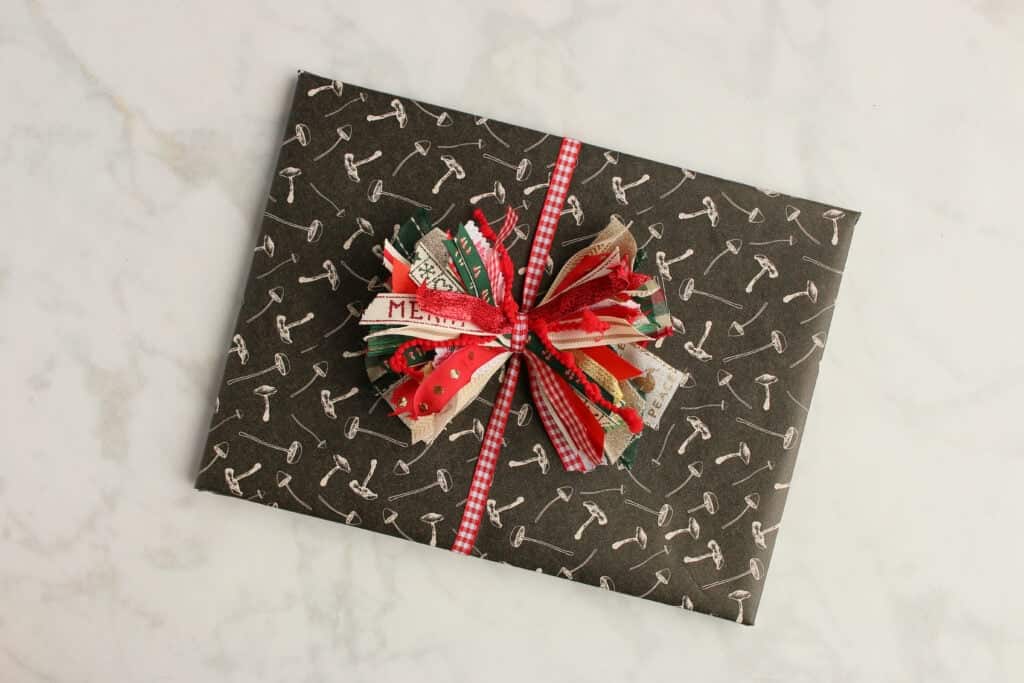
Step Three: Add a Bow
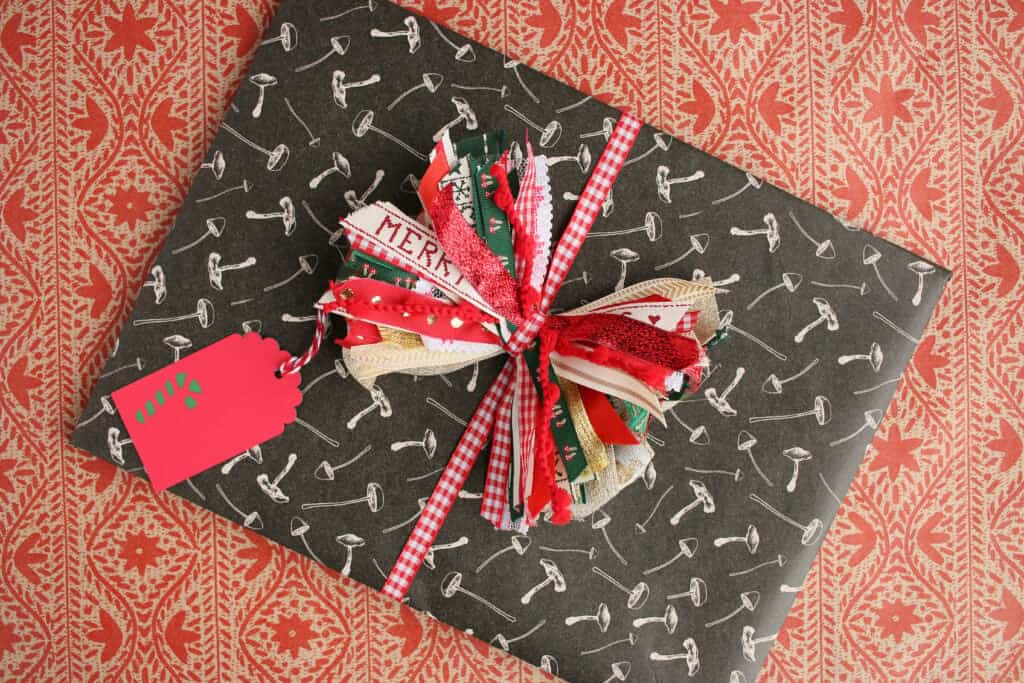
Now doesn't it feel so satisfying to use up that scrap of paper! Add a bow and you're good to go!
Learn how to make a ribbon bow with my guide here.
Now you can wrap just about any shape gift imaginable and do it impeccably!

Have any other gift-wrapping tips or tricks? Drop them in the comments!
Click here if you want to make more Christmas crafts.
Join my crafting Facebook group where you can show us what you’re making, ask questions, and learn from others!
Don't want to forget about this project? Be sure to pin it on Pinterest by clicking HERE!

Leave a Reply