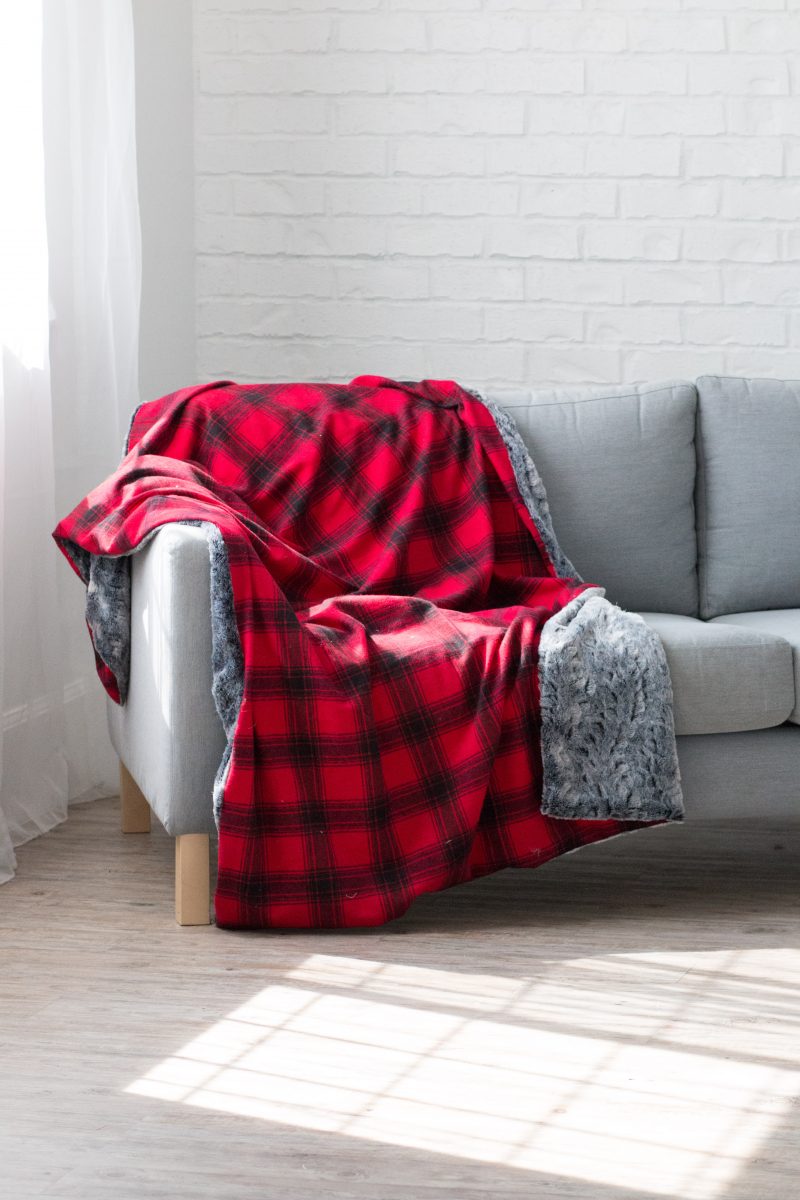
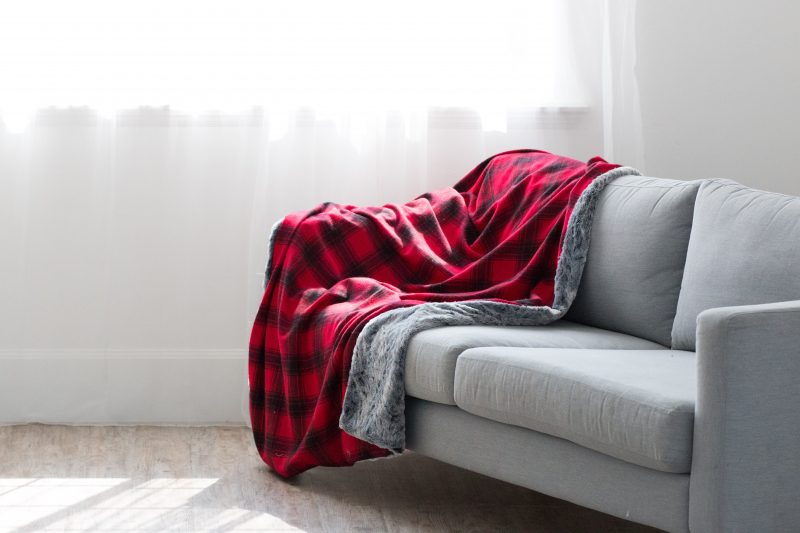
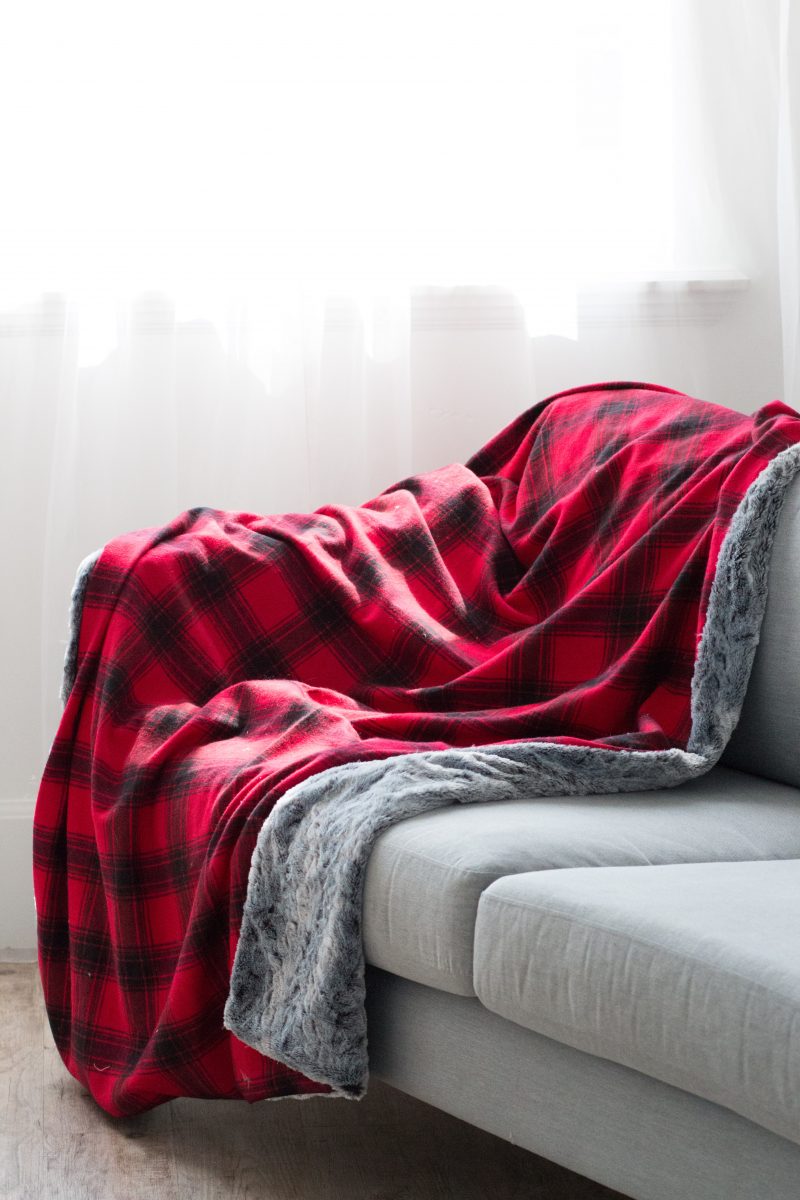
There's nothing better than snuggling up by the fireplace with a warm blanket on a chilly fall day! While I love the heat of the summer, I'm so ready for the crisp chill in the air that fall brings. Sewing these blankets was the perfect way to prepare for the cold winter months that are coming soon!
I teamed up with JOANN to create this super easy blanket sewing tutorial. Their selection of faux fur right now is seriously drool-worthy! I can't count how many blankets I've made using this tutorial and faux fur. My friends and I even had a blanket-making party this past week because this fabric is so amazing! It's a good thing there's no such thing as having too many blankets, right?
Why Shop Through My Links?
When you shop through my affiliate links, it doesn't cost you anything extra, but it helps me out in a big way! I earn a small commission from those purchases, and that support allows me to continue creating and sharing free tutorials and patterns for you. Thank you so much for helping me keep this creative community going!
Table of Contents
Supplies
Shop my favorite sewing supplies here!
2 1/2 yards Flannel
2 1/2 yards of Faux Fur
Sewing Machine
Thread
Scissors
Pins or Clips
Hand Needle
(Optional) Basting Spray or Fabric Glue
SELECT YOUR FABRIC
I've rounded up a few of my favorite prints that would be perfect for this tutorial!
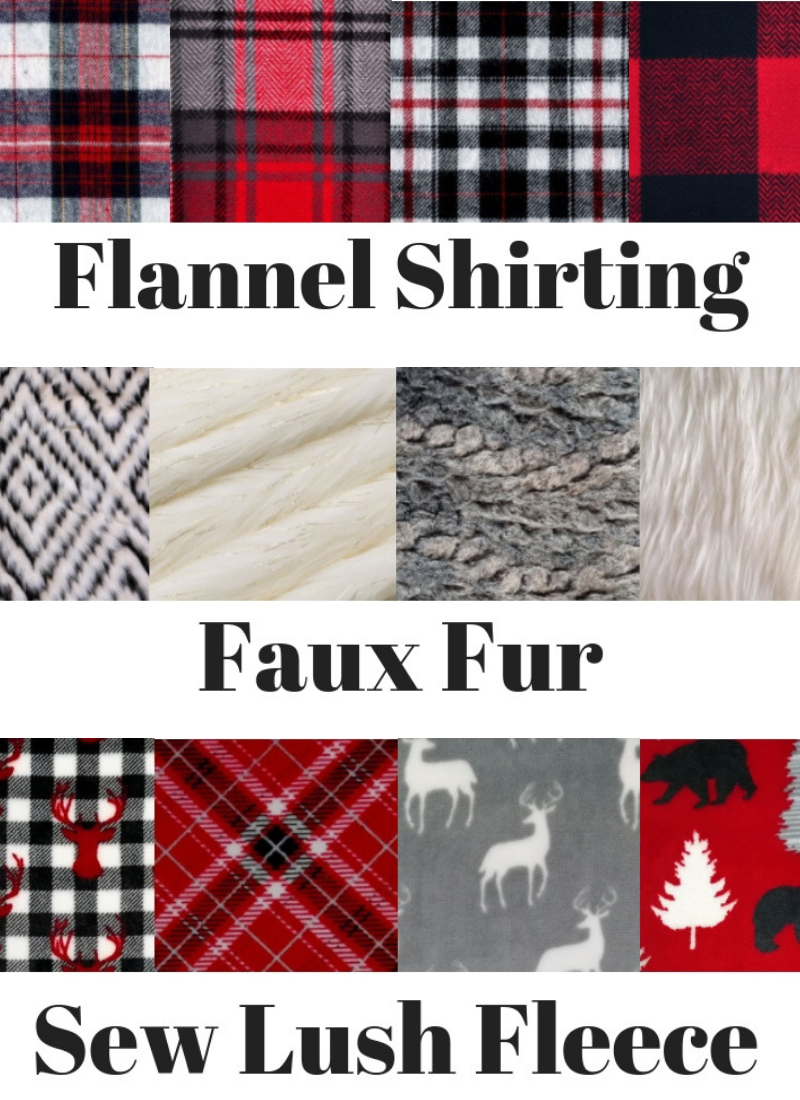
CLICK BELOW FOR THE FABRIC
FLANNEL PLAID SHIRTING, FAUX FUR & SEW LUSH FLEECE
PREP THE FABRIC
Begin by prewashing both of your fabrics. If you are sewing with two different types of fabric this is a really important step because they will both shrink slightly to different sizes and it's better to have the shrinkage happen before you sew them together!
Once they have been washed and dried (make sure to follow the instructions listed on the bolt), lay them on top of each other, with the right sides facing each other, and trim them down so they are both the same size.
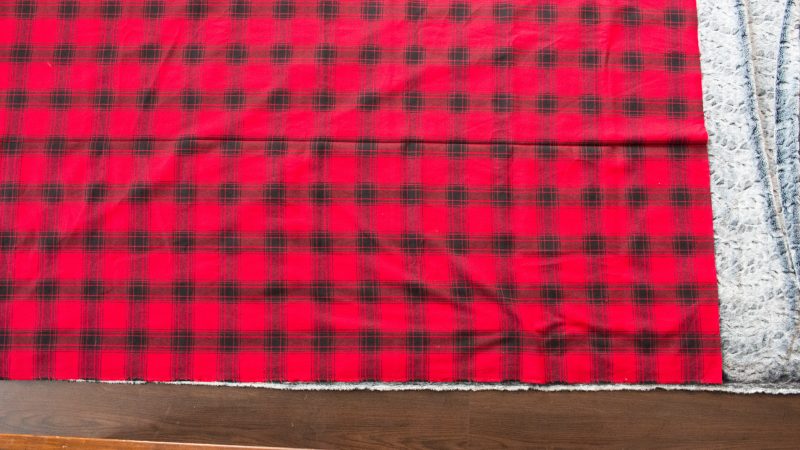
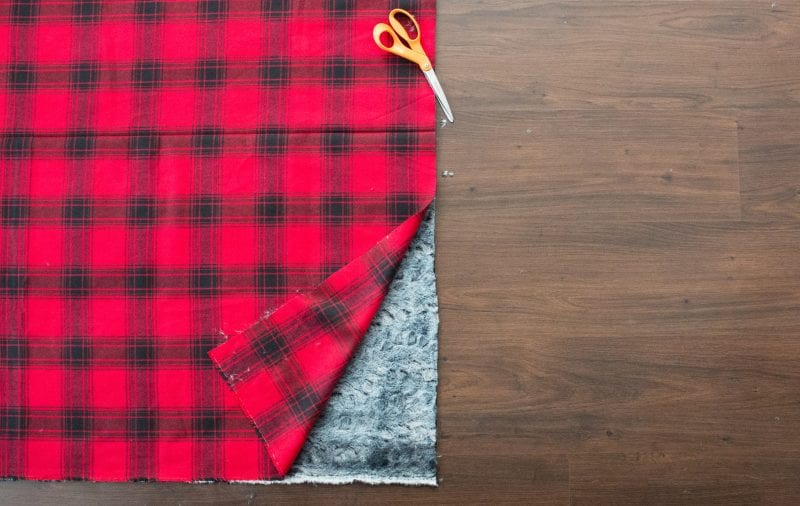
PIN OR CLIP THE FABRICS TOGETHER
*If you are using a Sew Lush fabric or faux fur, you may want to throw it in the dryer for a few minutes to get rid of the excess fluff. Trust me you will thank me for this tip!
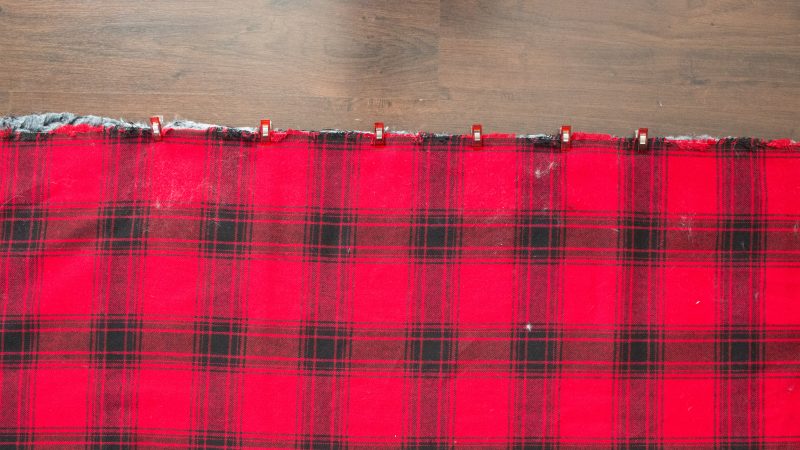
With the right sides together, pin both fabrics all the way around the blanket. I used clips to secure my fabrics together. Don't be afraid to use too many clips! The fabric will definitely shift around while you are sewing it so the more pins/clips the better!
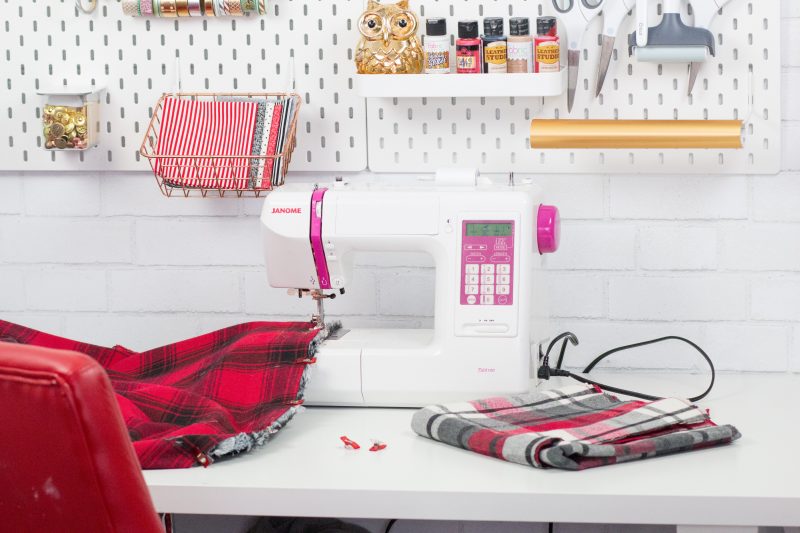
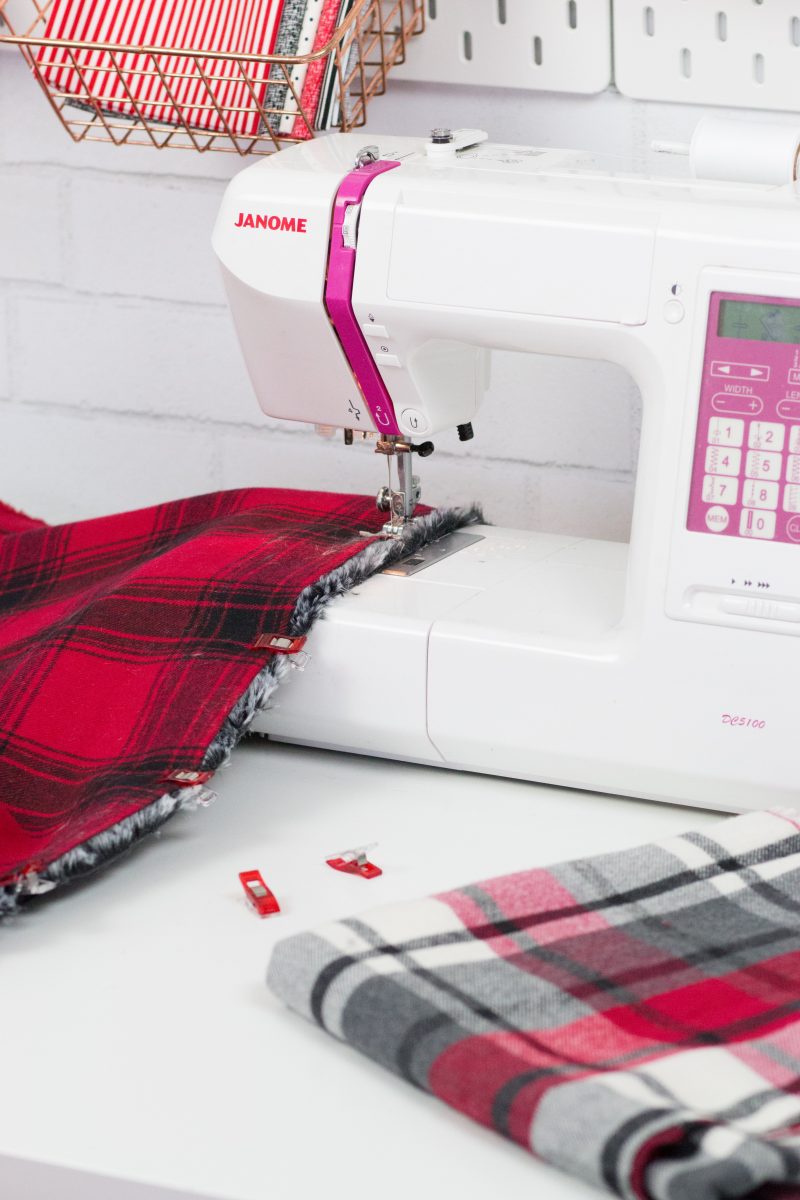
USE A WALKING FOOT
If you have a walking foot, now is a great time to use it! Sewing with thick fabrics can be a bit tricky because they like to shift around. The walking foot will help feed both of the fabrics evenly which makes your job easier!
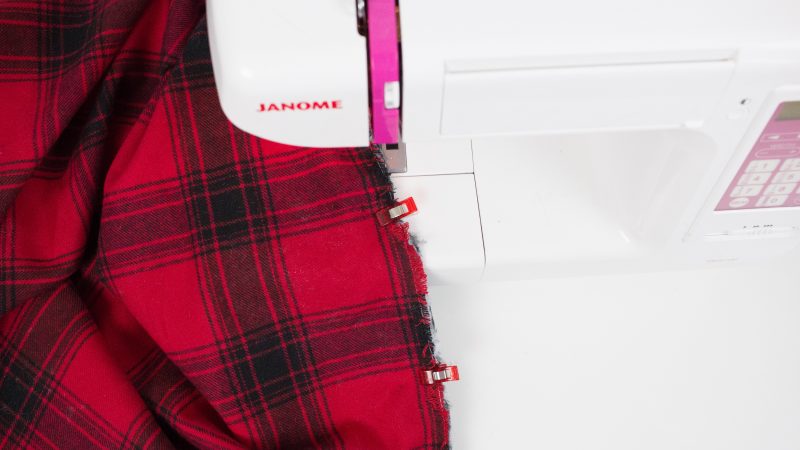
SEW THE BLANKET
Using a 1/2" seam allowance sew around the entire blanket. When you reach a corner, put your needle in the down position, lift the presser foot and pivot the fabric. Lower your presser foot and continue sewing. When you are nearing the beginning of your stitching leave a 5-6 inch (larger if you are using a heavy fur) opening for turning. Don't forget to backstitch at the end and the beginning of your seam! This will lock the stitches in so that they don't unravel while you are turning your project right side out.
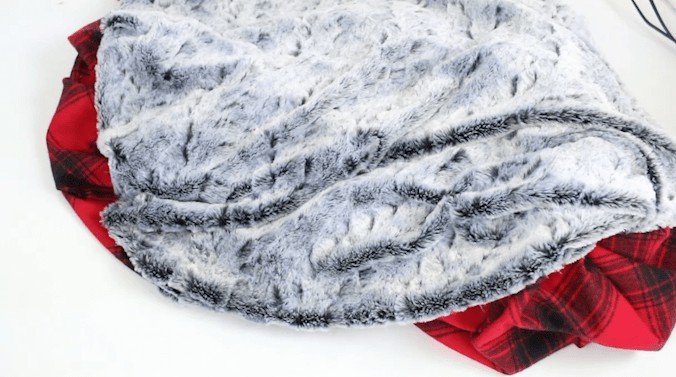
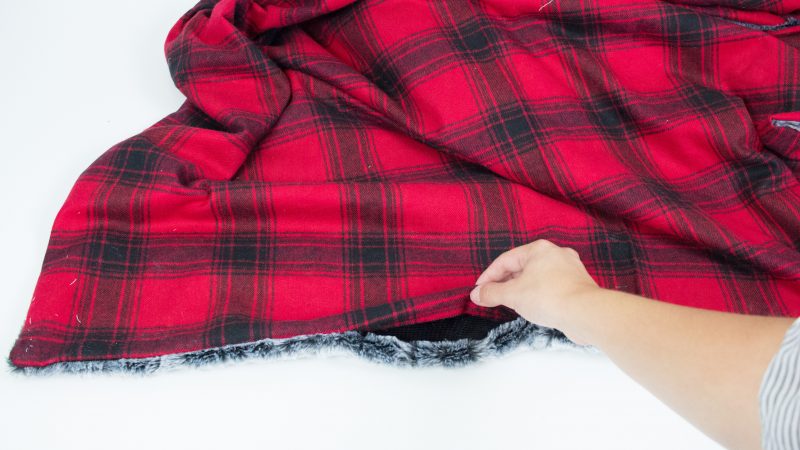
TURN RIGHT SIDE OUT
Push your hand through the opening and grab the furthest corner, pulling it through the opening to turn the blanket right side out. Use your pointer finger to push each corner out from the inside.
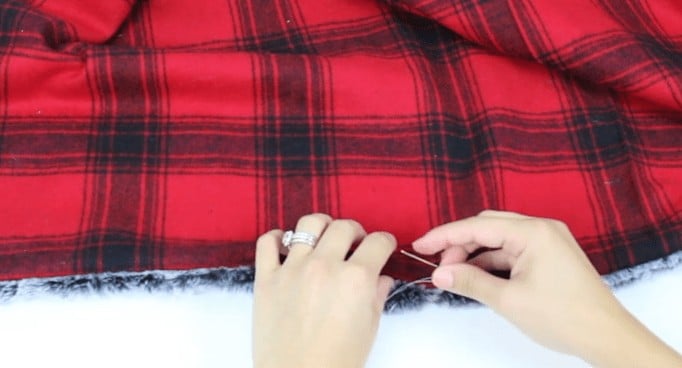
CLOSE OPENING
You can use a basting spray or fabric glue to help secure the fabrics together before you sew them. Thread a needle and hand-sew the opening closed using a ladder stitch. Or you can just sew right over the fabric with your sewing machine!
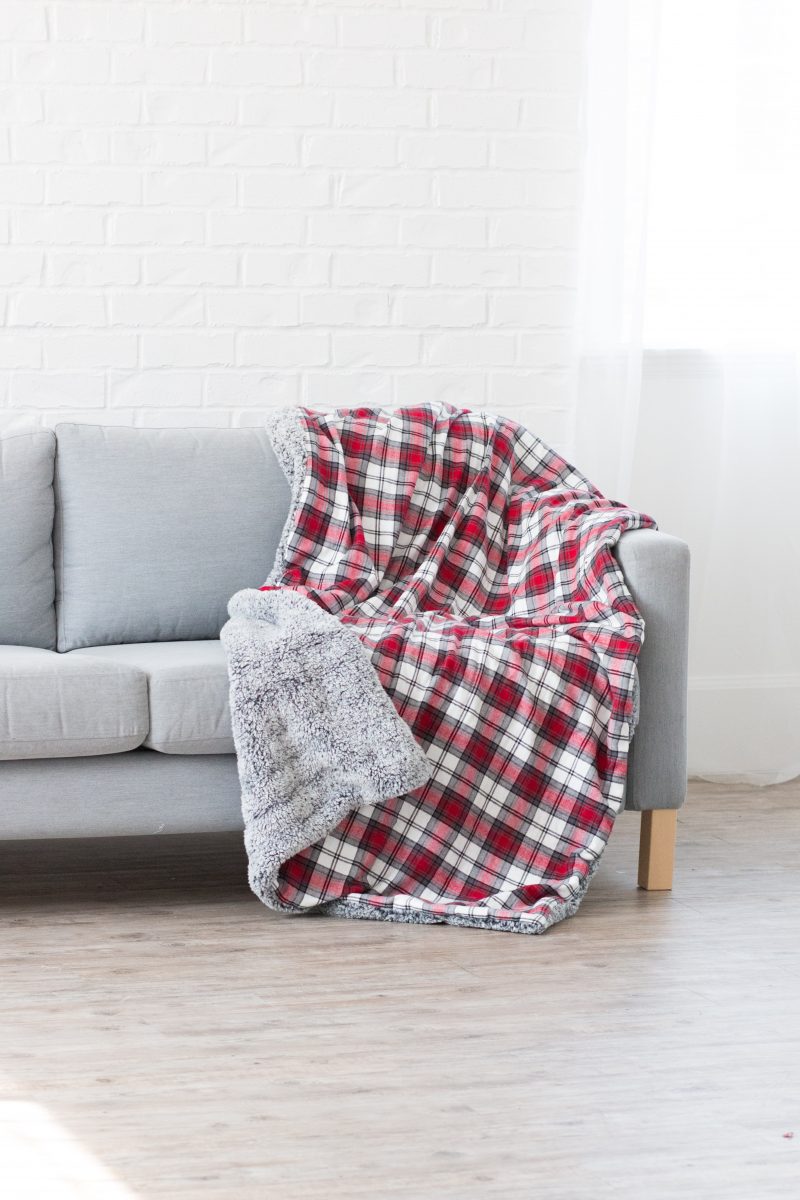
Wasn't that simple? You can make this blanket in a variety of different fabrics and even add something fun to it like pom-pom trim.
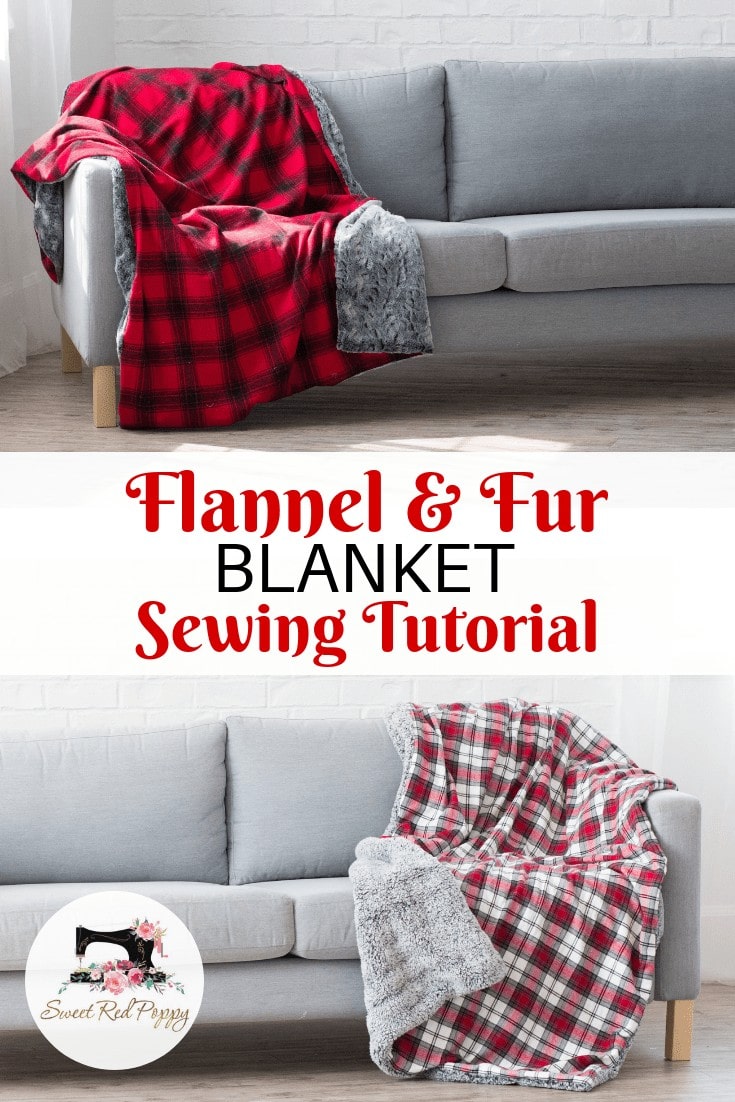
 Don’t want to forget about this free template? Save this project for later! Click here to save this project on Pinterest.
Thanks for the great tutorial!
I am an average skilled sewer and started this project over the weekend. I used the 108” wide flannel, which is a blessing ( no seams) and curse (difficult to lay flat). There is one step missing after you wash your materials….the need to square up the edges. Other than that, I love this project!
Do you find the fabric shifts when you are using the blanket?
Can I make this as queen size bed how much would I need to make this
wouldn't it need to be "quilted" so the two sides don't separate during use?
Clean, modern design and easy to navigate—great job on the website! Everything is well-organized, and the layout is visually appealing. I had no trouble finding what I needed. It's a smooth and enjoyable browsing experience from start to finish.
Could you add batting to this to make it a bit thicker? Thanks.