Are you feeling limited by the boring bias tape color options in the stores? Or maybe you’re tired of making the trek to your local craft shop every time you run out of bias tape? Perhaps you’re looking for that perfect color match to your project?
You’re in the right place! Today I’ll be showing you just how easy it is to make your own bias tape. Your color and print options are limited only by the fabric in your stash!
Table of Contents
What is Bias Tape?
First, let’s briefly touch on the basics in case you haven’t worked with bias tape before.
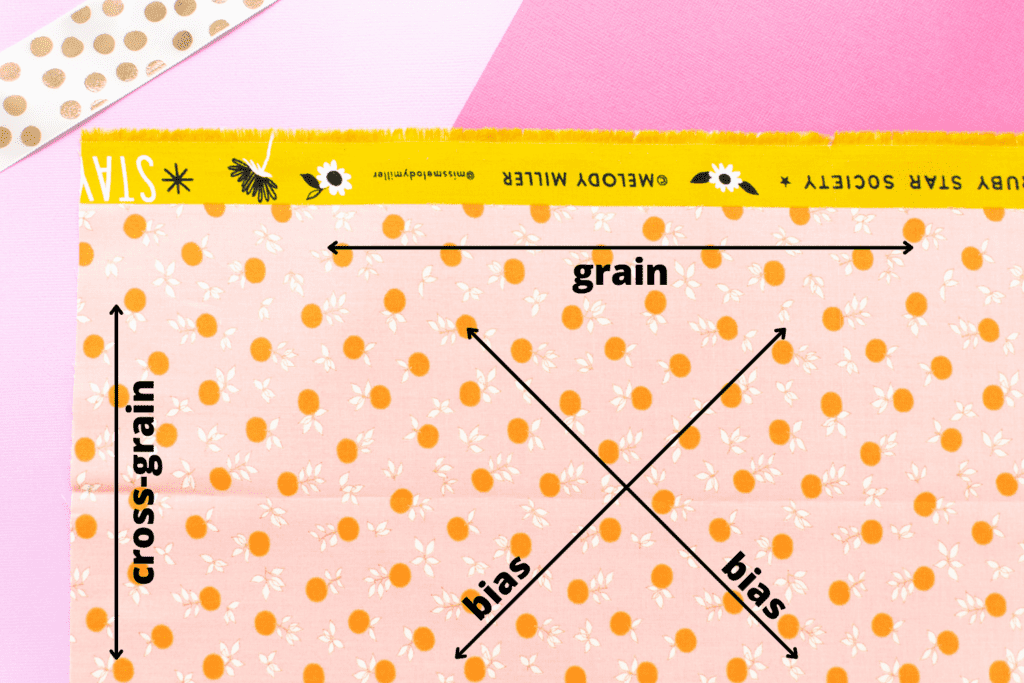
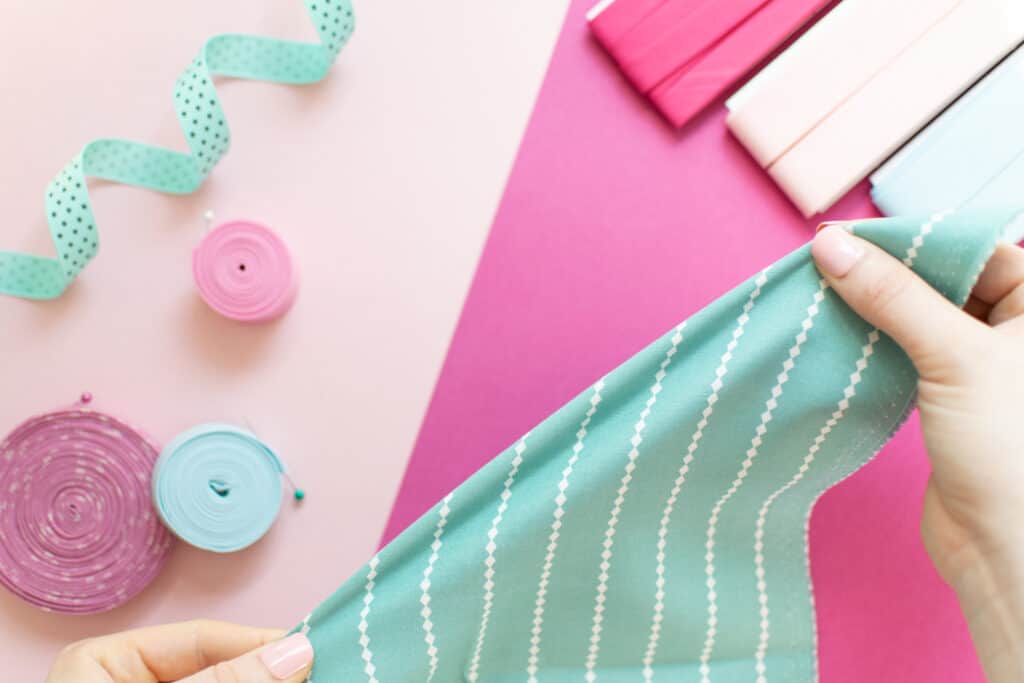
Bias tape is a strip of fabric cut on the bias, at a 45-degree angle across the fabric. Because it has been cut on the bias, it will have a bit of stretch. This makes it perfect for forming to curves.
The edges of this strip of fabric are then folded in and pressed to create a versatile notion ready to sew onto your projects. If you’re looking for more detail on what bias tape is and how it can be used, check out this post.

There are two main types of bias tape – single fold and double fold bias tape.
Single Fold Bias Tape
Single fold bias tape is created by folding in each edge of the bias tape once so that the edges meet up in the middle. This tape is half the width of your original strip of fabric.
Single fold bias tape is typically used as an alternative to a facing; it’s sewn to the edge of the fabric, then flipped all the way to the inside of your project and topstitched in place.
To learn how to sew single fold bias tape - check out this tutorial.
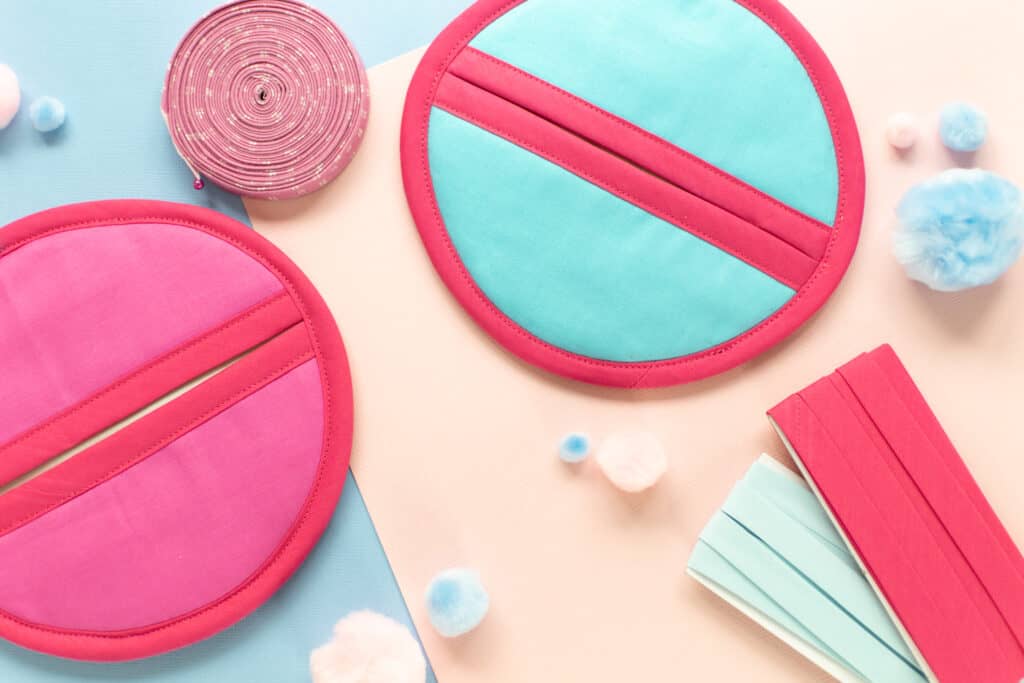
Double Fold Bias Tape
Double fold bias tape is simply single fold bias tape folded in half lengthwise. It will be one quarter the width of your original strip of fabric.
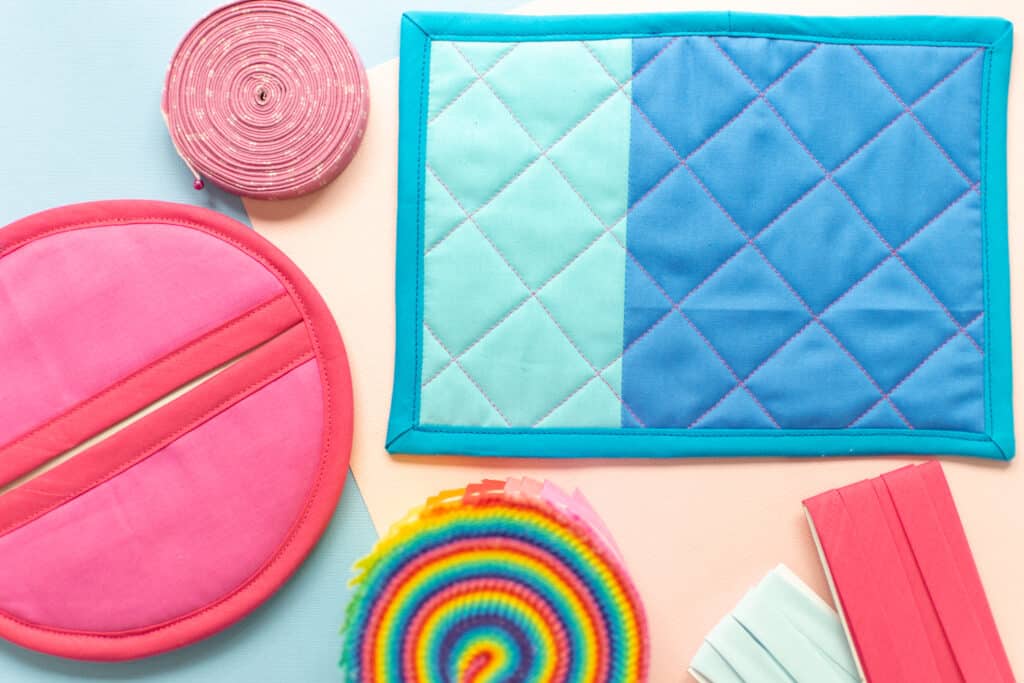
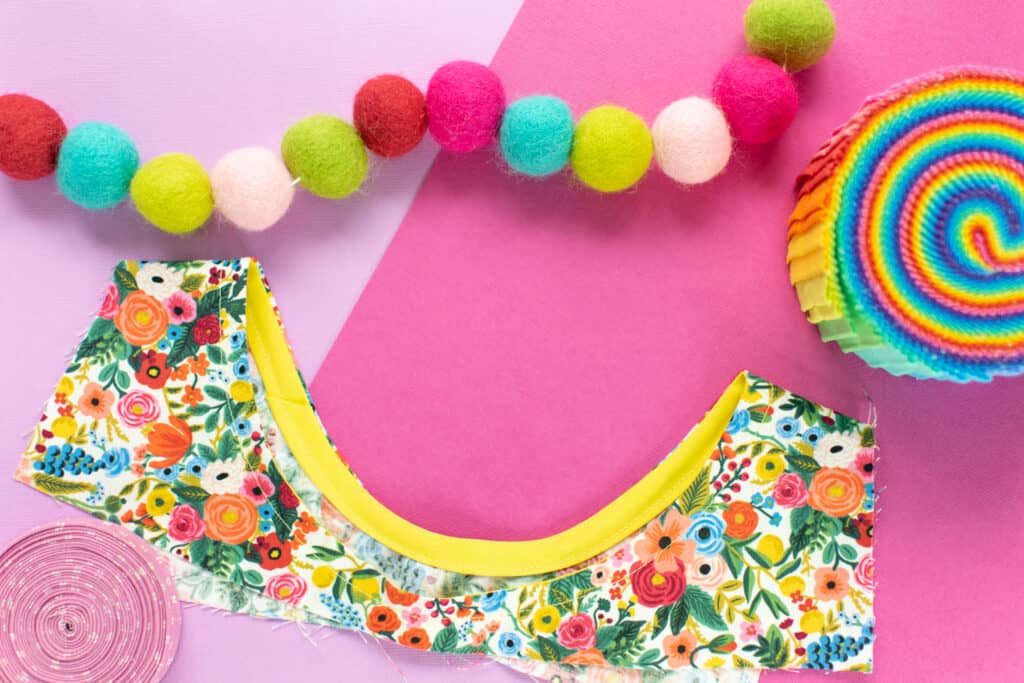
This type of bias tape is generally used to finish edges by sandwiching them in the tape. The result is a beautiful (often contrasting) edge to your project. This is an especially popular finish for home items such as potholders and throw pillows.
Learn how easy it is to sew double fold bias tape with my detailed step-by-step tutorial!
What Fabric is Best for Bias Tape?
You have a lot of options when it comes to fabric for making your own bias tape. Really, bias tape can be made from any woven fabric.
*NOTE: Knits behave differently from wovens and have more stretch on the cross-grain than on the bias, so for knit bindings it’s best to cut strips on the cross-grain.
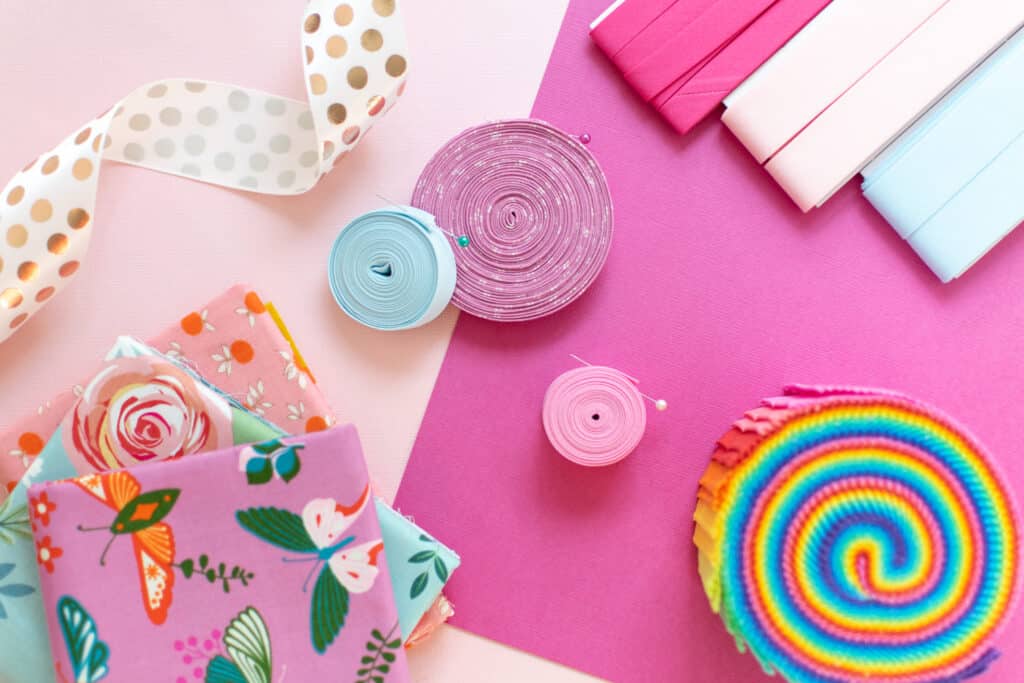
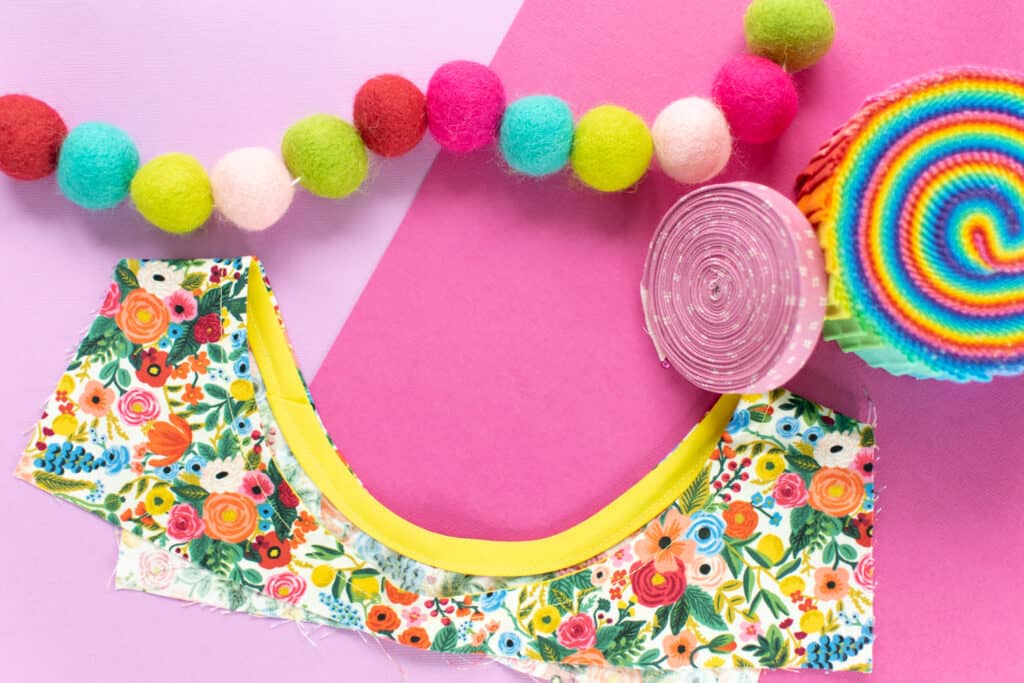
The most popular type of fabric for bias tape is quilting cotton; it’s easy to work with, lightweight, presses well, and there are tons of beautiful colors and prints available. However, you can use other types of woven fabrics as well – just keep these 4 tips in mind.
- Try to avoid heavy, bulky fabrics. Since bias tape is narrow and will need to fold over the edge of another fabric, using bulky bias tape will make getting a clean finish difficult. A light or medium weight fabric is your best bet for bias tape success!
- Silky fabrics are hard to work with. You can make bias tape from silky, slippery fabrics – but you may not want to! It’s hard enough to work with such a narrow, fiddly piece of fabric, and a slippery fabric makes it even harder.
- Choose a fabric that presses well. Some fabrics just don’t hold a press very well – these are best avoided when it comes to making bias tape. Your bias tape will need to be folded and pressed, so try to make your life easier by going with an easy-to-press fabric.
- A smaller print usually looks better. Since bias strips are narrow, a large print is likely to get lost; so, for best results stick with smaller prints.
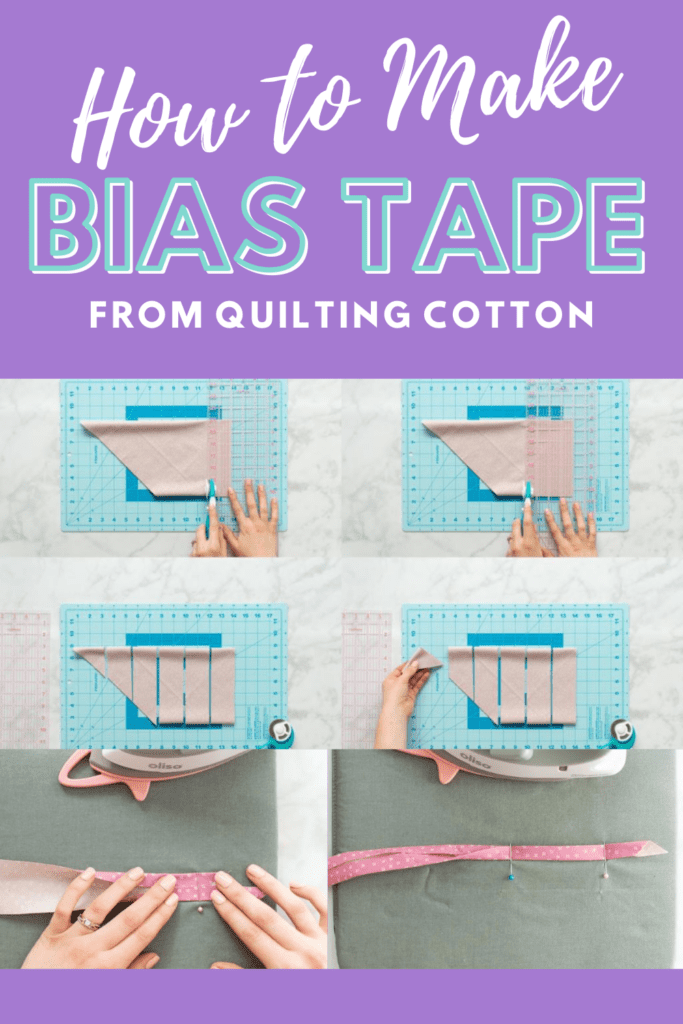
How to Make Bias Tape (no bias tape maker needed)
In this tutorial, I’ll show you how to make both single fold bias tape and double fold bias tape – you’ll be covered for all your bias tape needs!

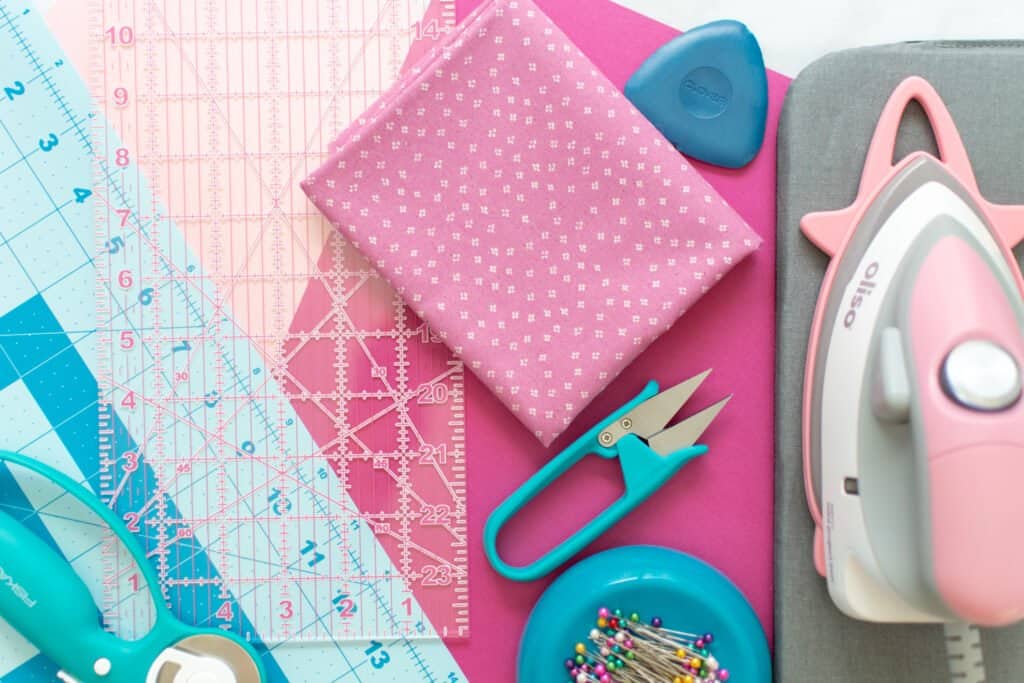
Supplies to Make Your Own Bias Tape
Here’s what you’ll need to make your own bias tape.
- Square Piece of Quilting Cotton (any size will do, but the larger the square, the more bias tape you'll get)
- Bias Tape (make your own here)
- Sewing Machine
- Rotary Cutter
- Rotary Cutting Mat
- Scissors
- Acrylic Ruler
- Seam Gauge
- Fabric Pen
- Thread
- Pins
- Iron
- Ironing Mat
- Sewing Machine Needle
- Optional: Spray Starch
Watch the Bias Tape Video Tutorial Below!
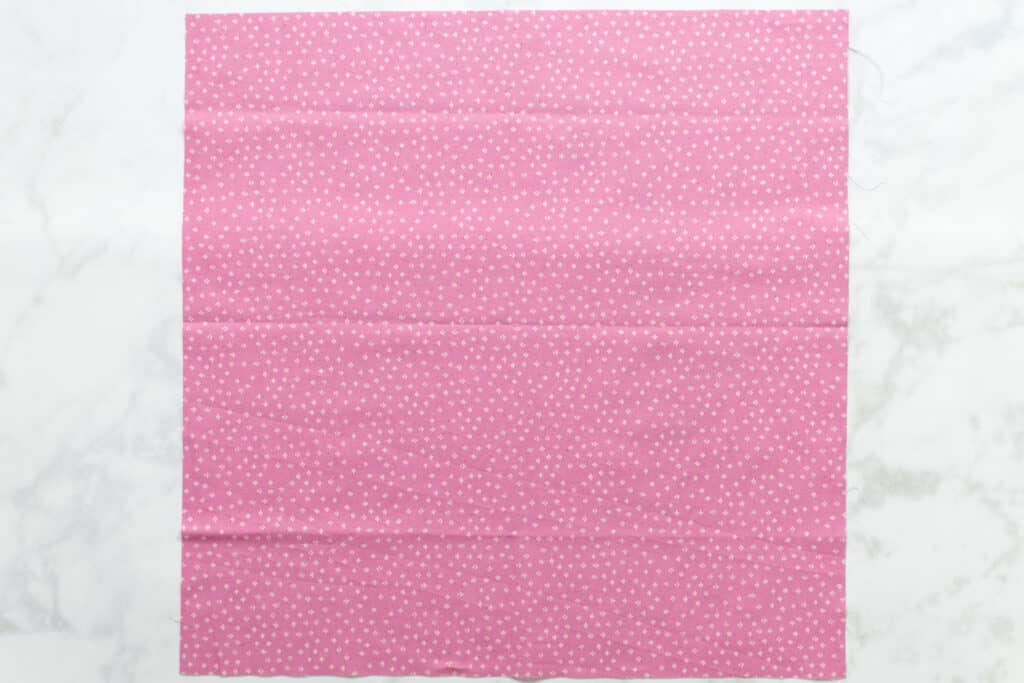
Step 1: Prepare Your Fabric
First, cut a perfect square from your fabric. This square can be any size; just remember that the larger the square, the more bias tape you will get.
*PRO TIP: If you want to use quilting cotton for your bias tape, fat quarters work great! They are 18 x 21 inches, so you’ll just have to cut 3 inches off of the long edge to turn your fat quarter into a perfect square.
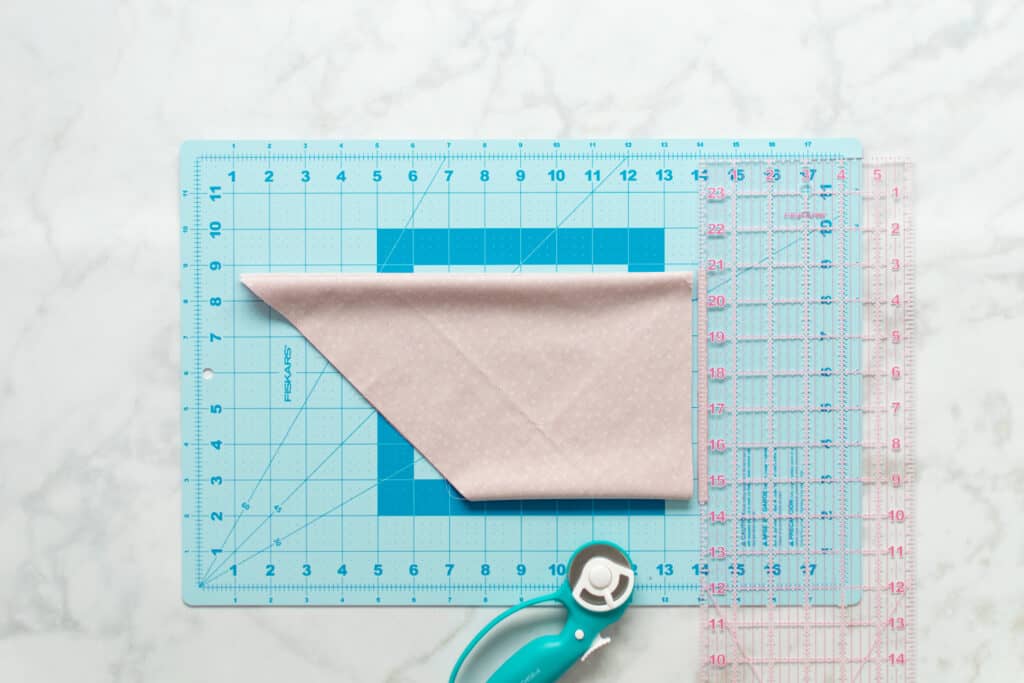
Once you have your square of fabric cut, lay it on your table with the right side facing up. Fold the lower left corner up to match the upper right corner.
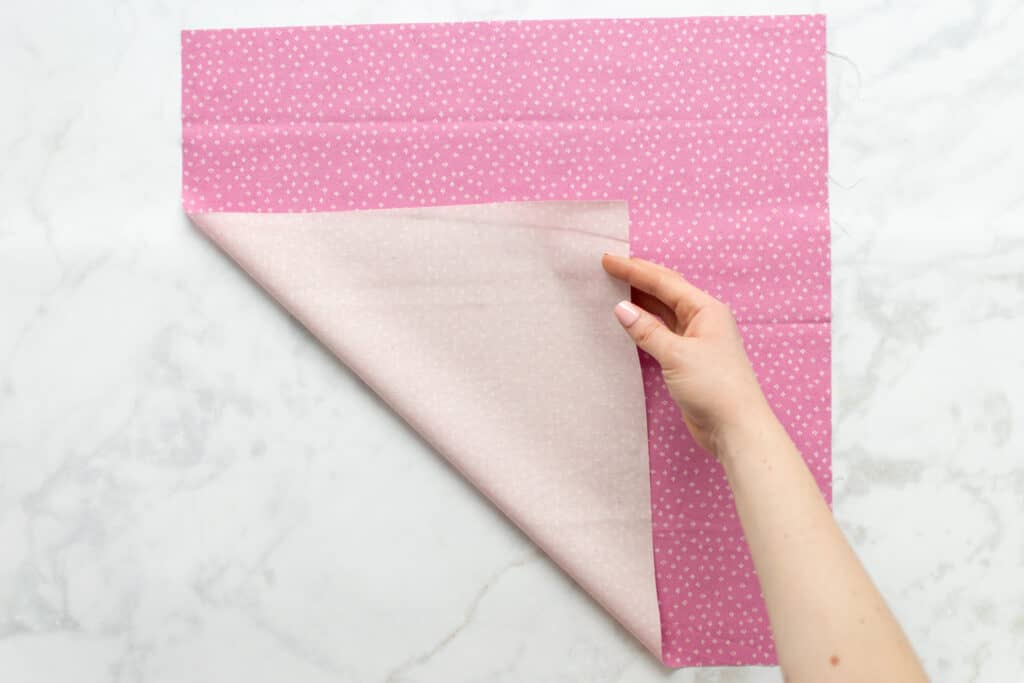
You will now have a large triangle.
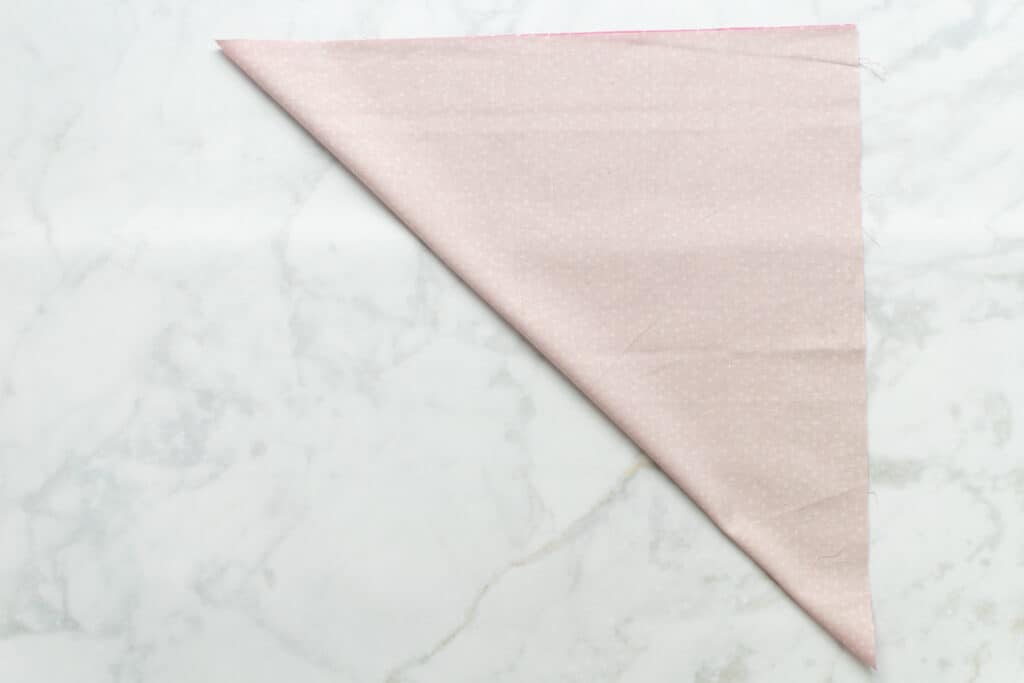
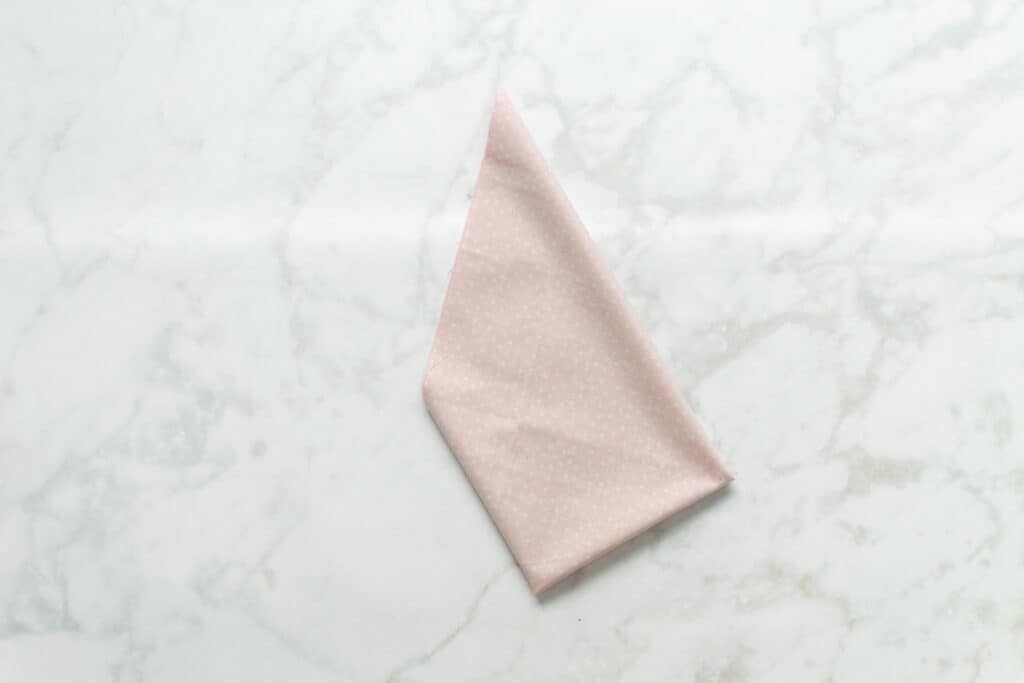
Next, fold the lower right corner up to match the upper left corner.
You should now have a smaller triangle of folded fabric.
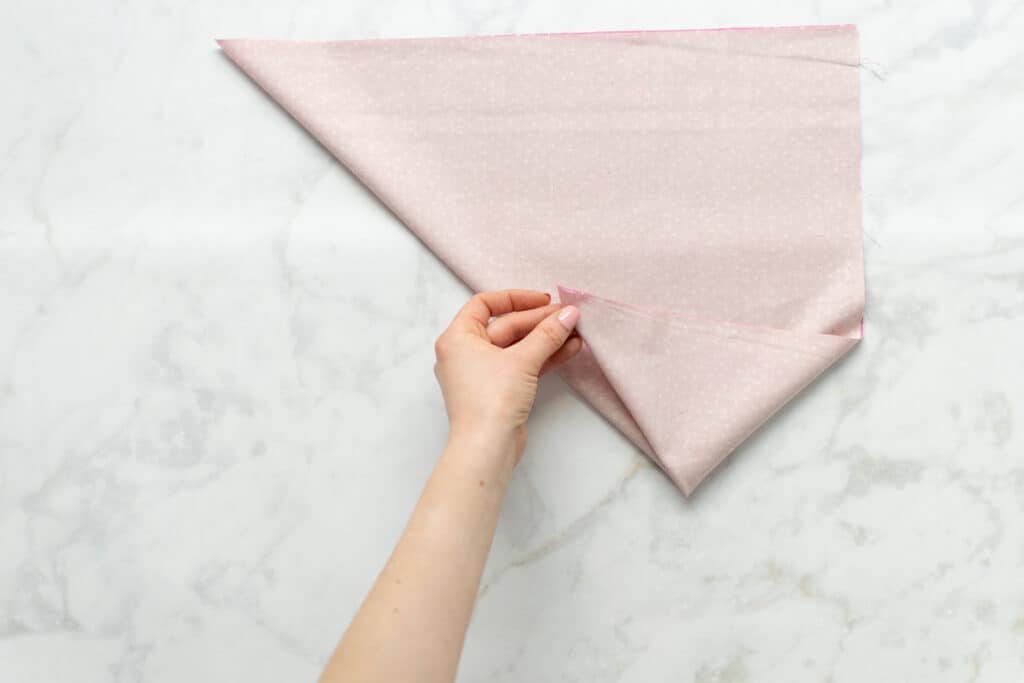
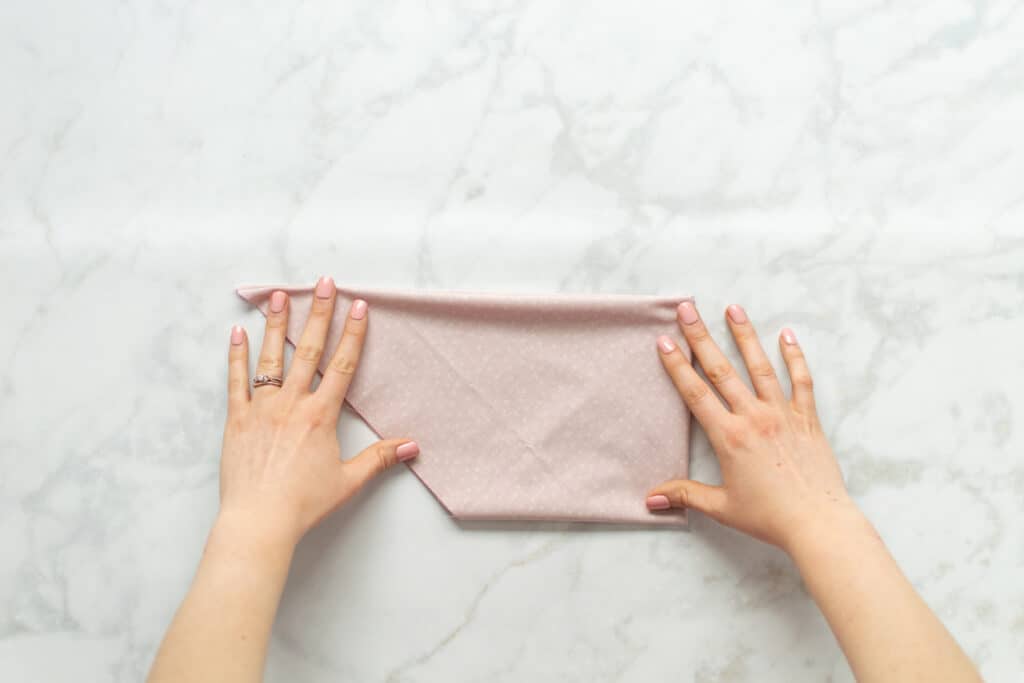
Then, fold the lower corner up towards the upper right corner, matching up the folded edge of fabric on the right-hand side.
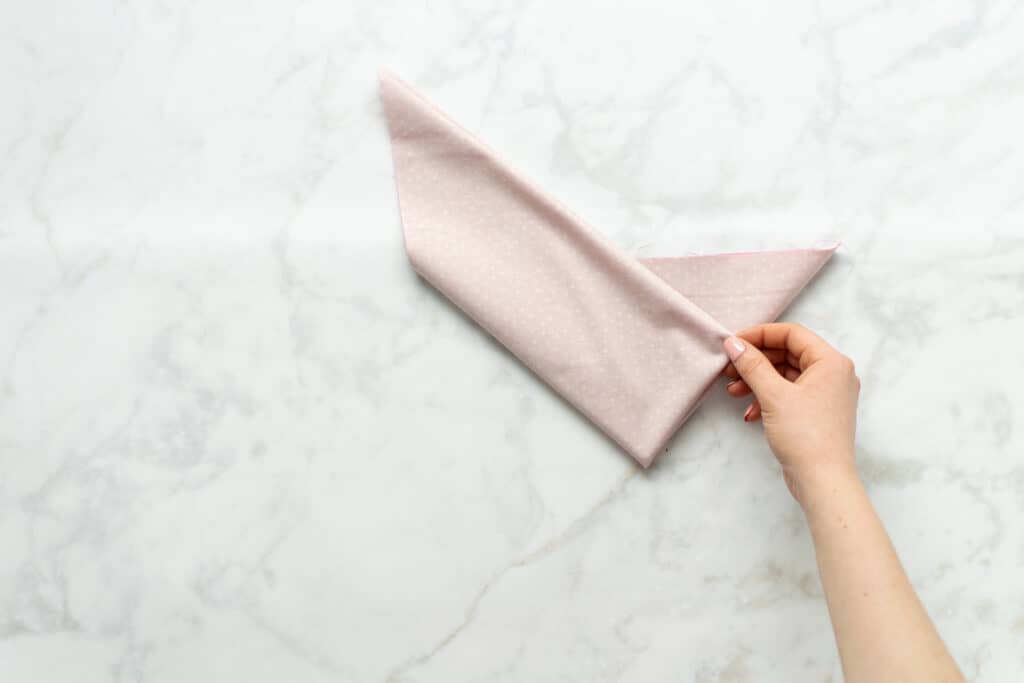
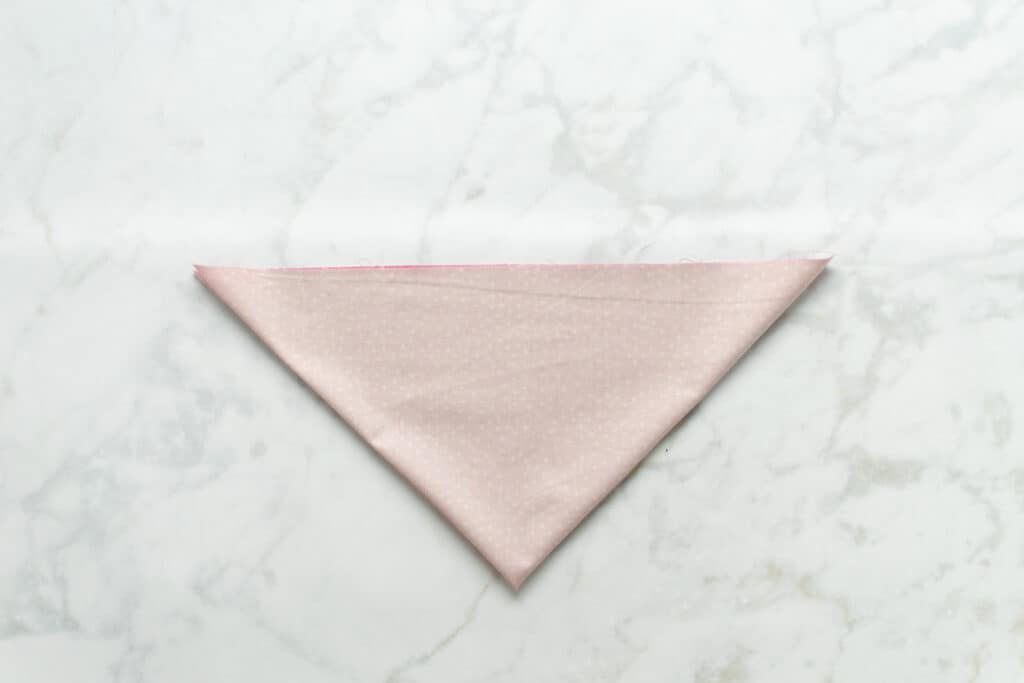
Finally, rotate the fabric so that the long straight edge is at the top and the folded edges are to the right.
Trim away about ¼ inch of fabric along the folded edge on the right-hand side. Make sure to use your ruler and get this cut as straight as possible.
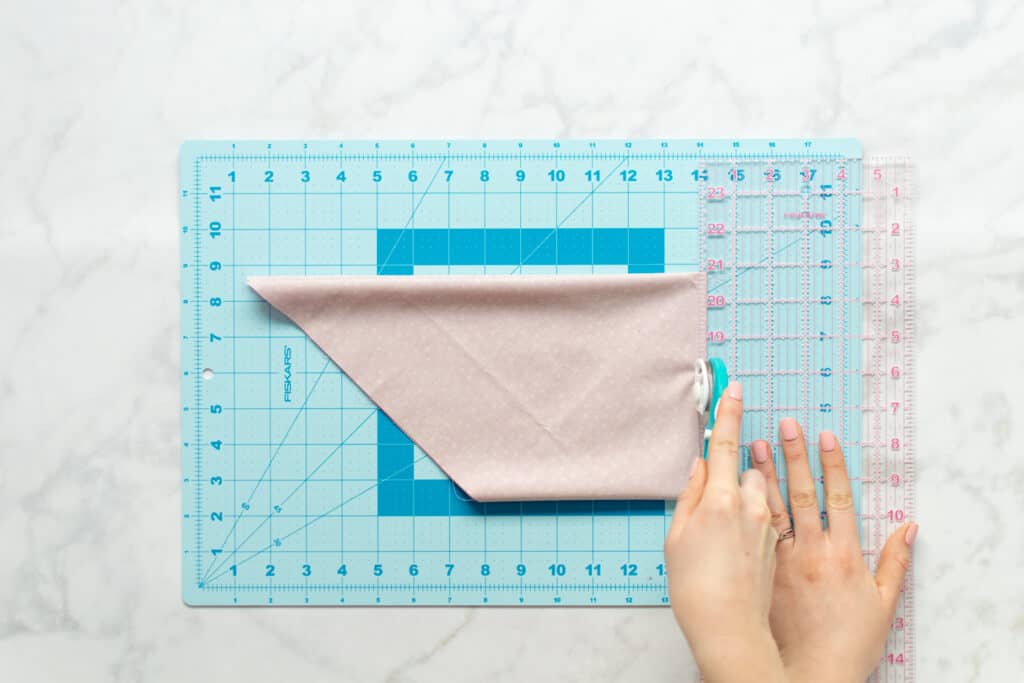
Step 2: Cut Your Bias Strips
It’s time to start cutting your bias strips! Starting from the right-hand side, cut even, vertical strips from your fabric until the entire piece of fabric has been cut. You can set aside the last, very small piece of fabric - it's not usually enough to bother using.
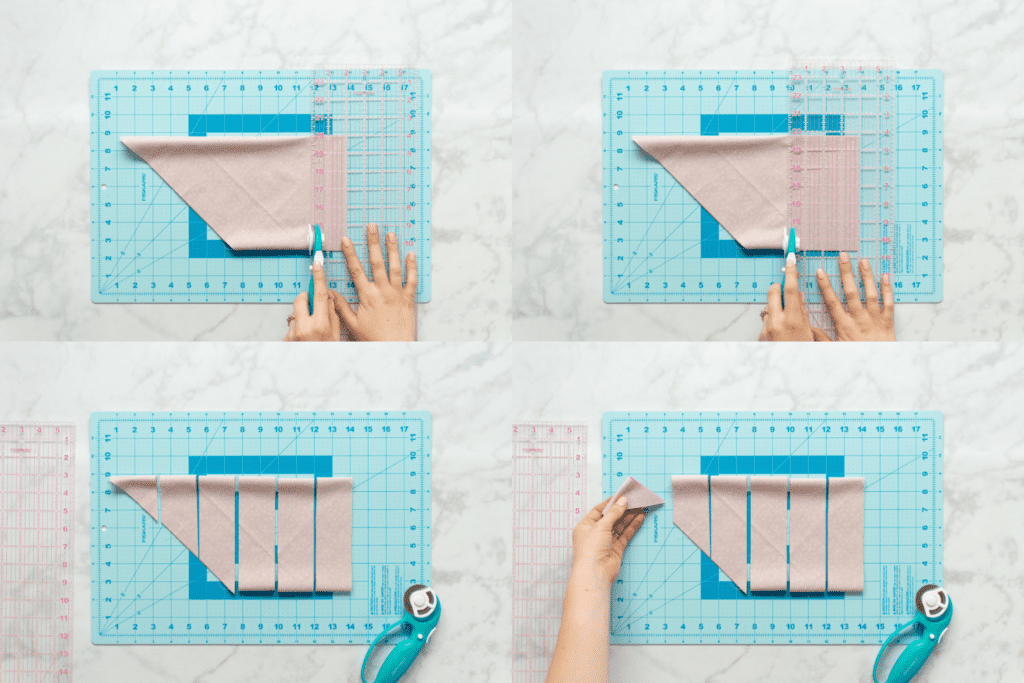
*PRO TIP: A clear sewing ruler will make this process quick and easy!
The width you cut your strips to depends on the size of finished bias tape you want to make. Below is a guide to help you decide what width to cut your bias strips.
| Cut Bias Strip Width | Finished Single Fold Bias Tape Width | Finished Double Fold Bias Tape Width |
| 3/4 inch | 3/8 inch | 3/16 inch |
| 1 inch | 1/2 inch | 1/4 inch |
| 1 1/2 inch | 3/4 inch | 3/8 inch |
| 2 inches | 1 inch | 1/2 inch |
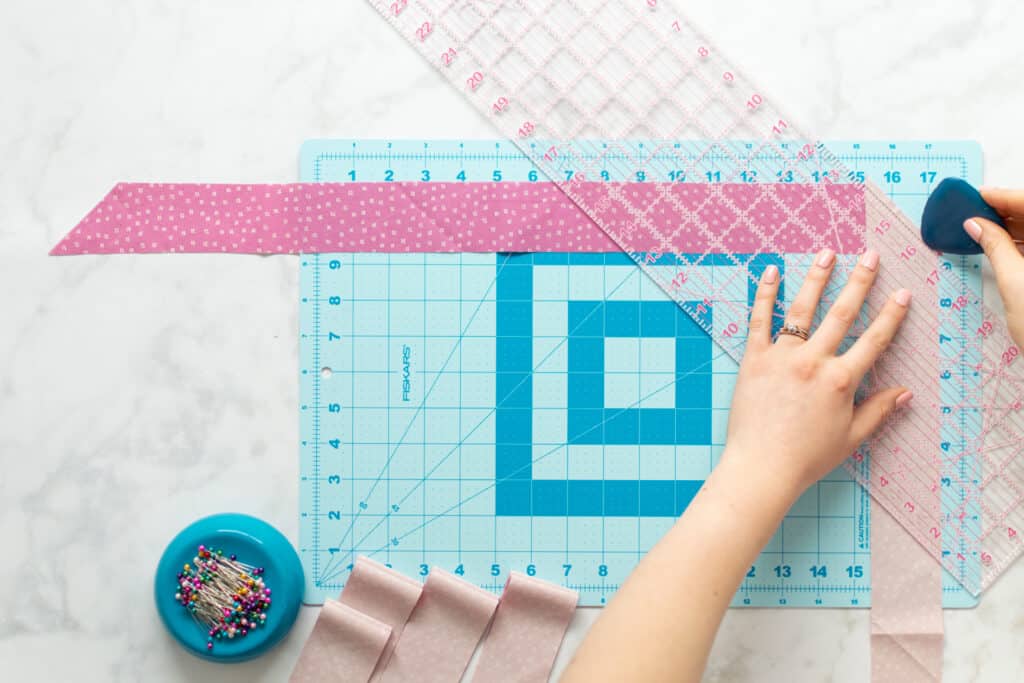
Step 3: Sew Bias Tape Strips Together
Next, you’ll need to sew each of your individual bias strips together to form one long piece of fabric.
Lay your first strip of bias tape on the table in front of you with the longer edge at the bottom.
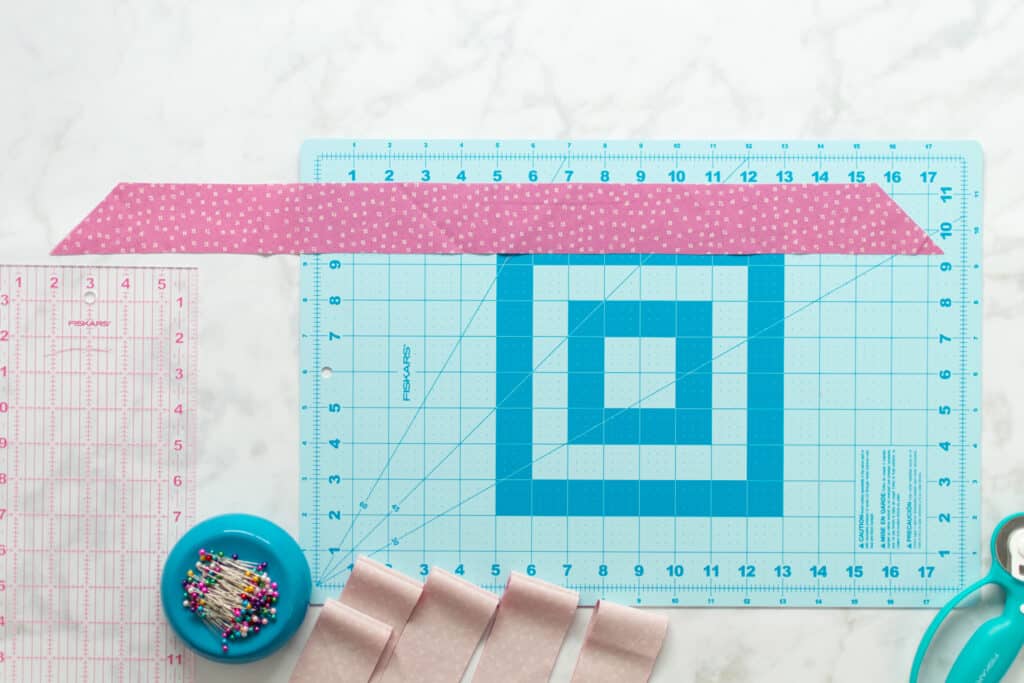
Take another strip and place it at a right angle to the first strip, right sides together, lining up the cut edges of the two bias strips. The sharper angled corner of each strip should hang over the edge of the fabric.
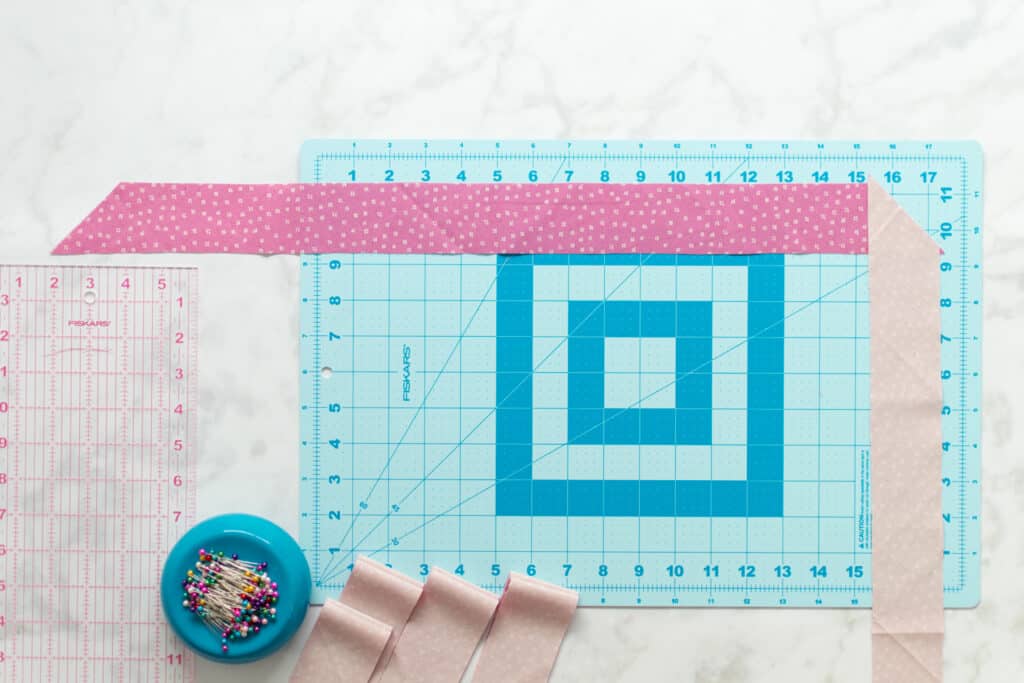
Mark a straight line for your seam from the upper left intersection point to the lower right intersection point, below the overhang at the corners.
Pin the two pieces together, being careful to keep them aligned properly as you pin.
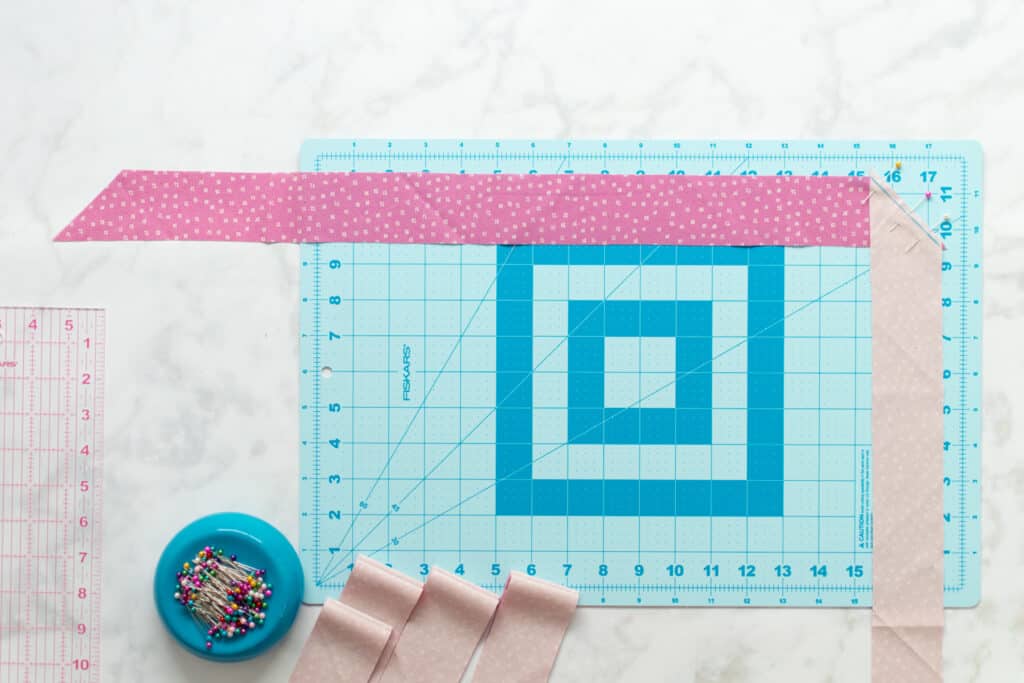
Sew along the seam line you drew.
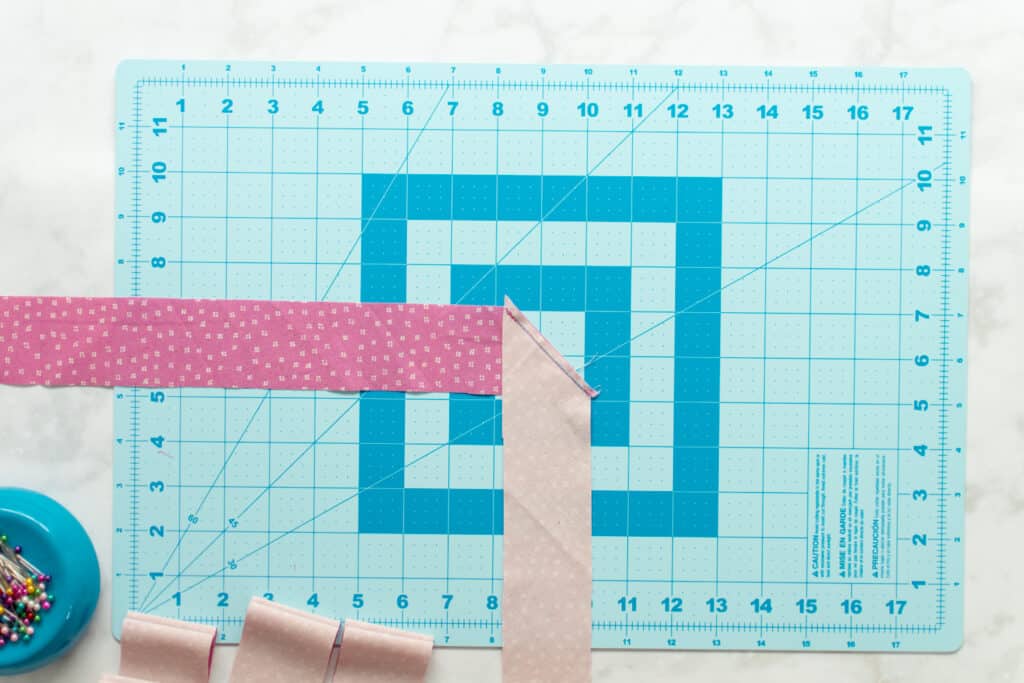
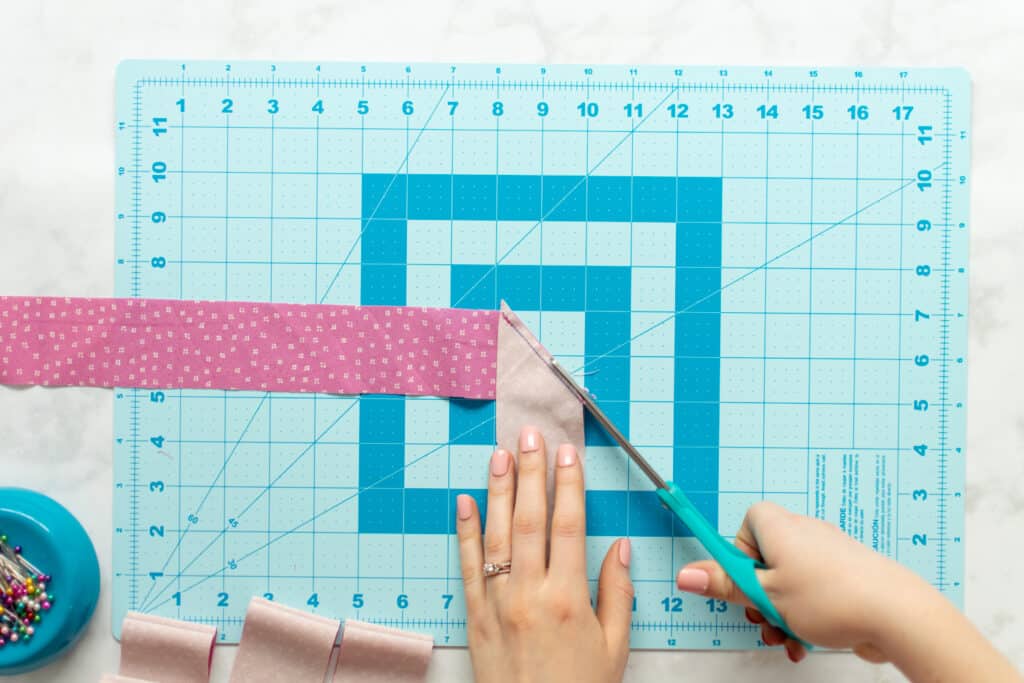
Once sewn, trim away the excess fabric to the right of your stitching to about ¼ inch from your stitching line, then press this seam allowance open.
*PRO TIP: It’s important to sew these strips of fabric together at an angle so that the bulk of all those seam allowances is distributed across the fabric better, rather than having an area with a lot of bulk at each seam. This makes it easier to fold the finished bias tape.

Repeat this process to sew each remaining bias strip onto your constantly lengthening piece of fabric.
Step 4: Fold to Make Single Fold Bias Tape
To make single-fold bias tape, you’ll need to fold in each long edge towards the wrong side so that they meet in the middle.
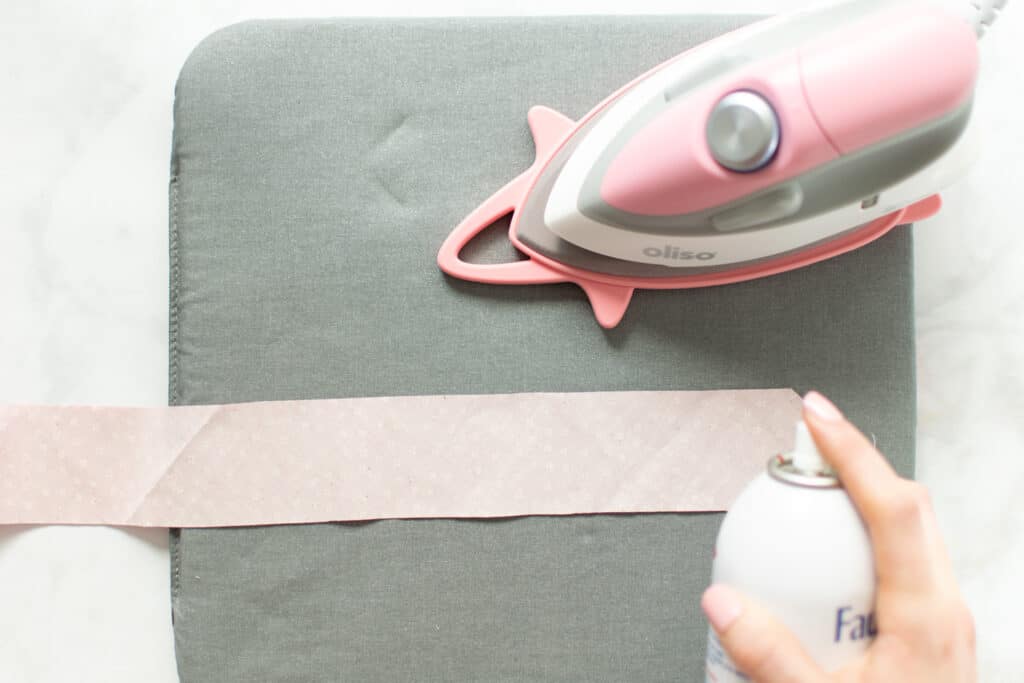
Before you start, it can really help to lightly spritz your bias strip with spray starch. This helps the fabric to press more readily and makes it easier to work with.
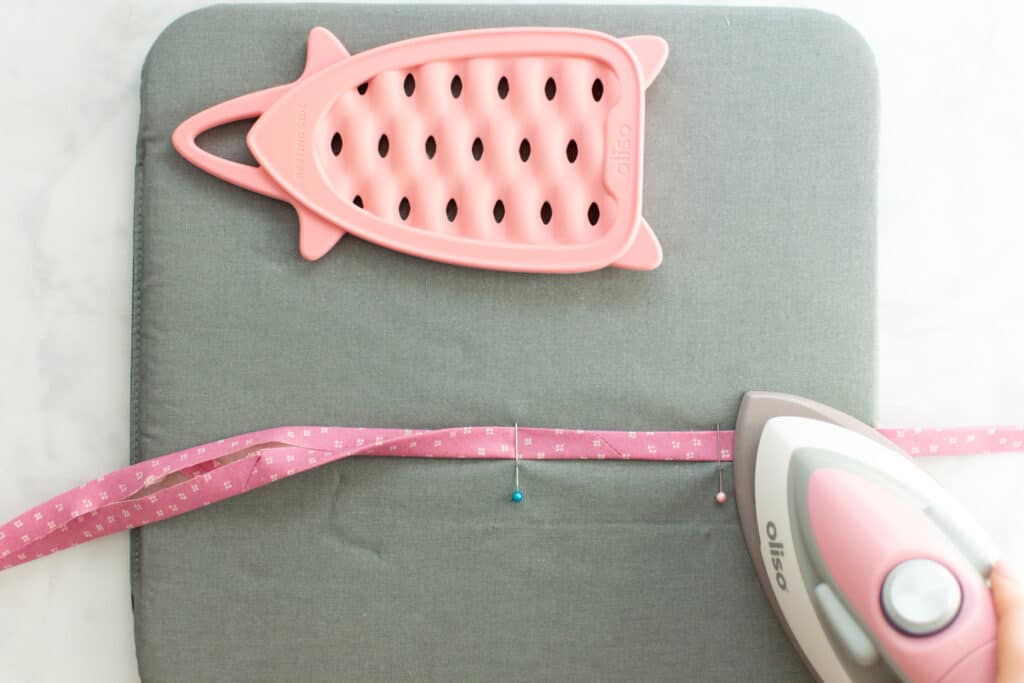
If you don’t have a bias tape maker, I’ve got a hack for you – all you need are sewing pins!
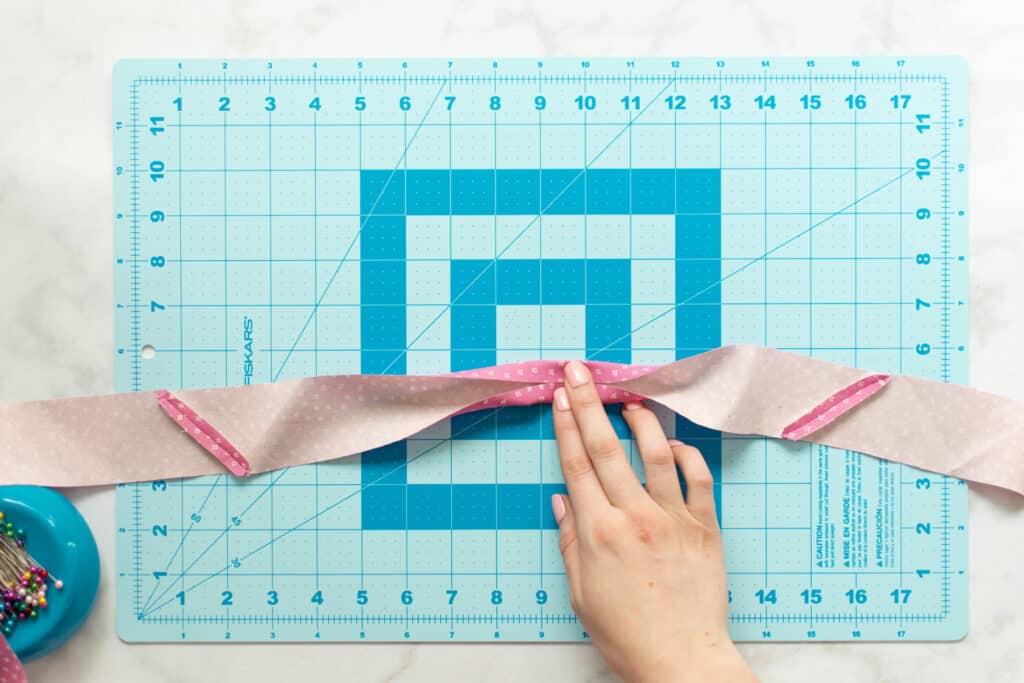
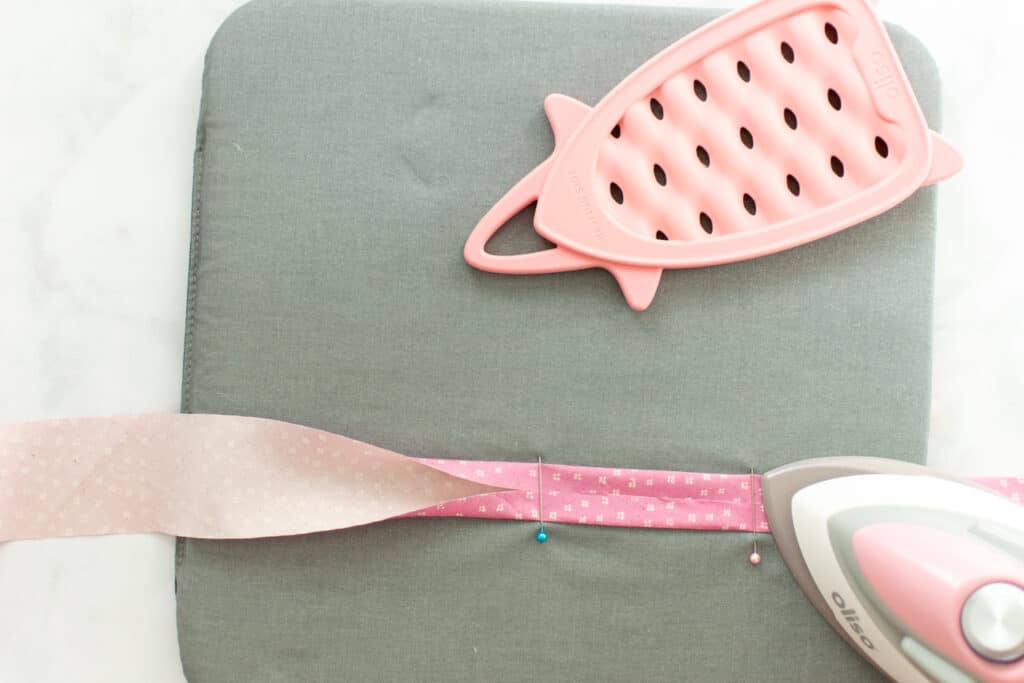
Fold a section of your bias tape near one end so that the edges meet at the center of the wrong side.
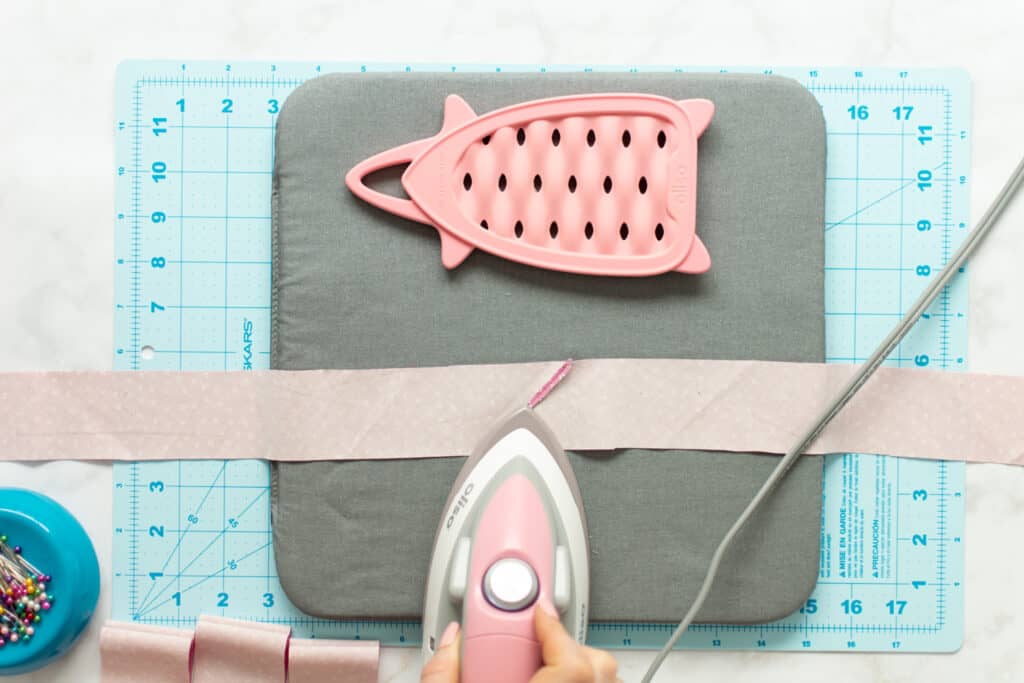
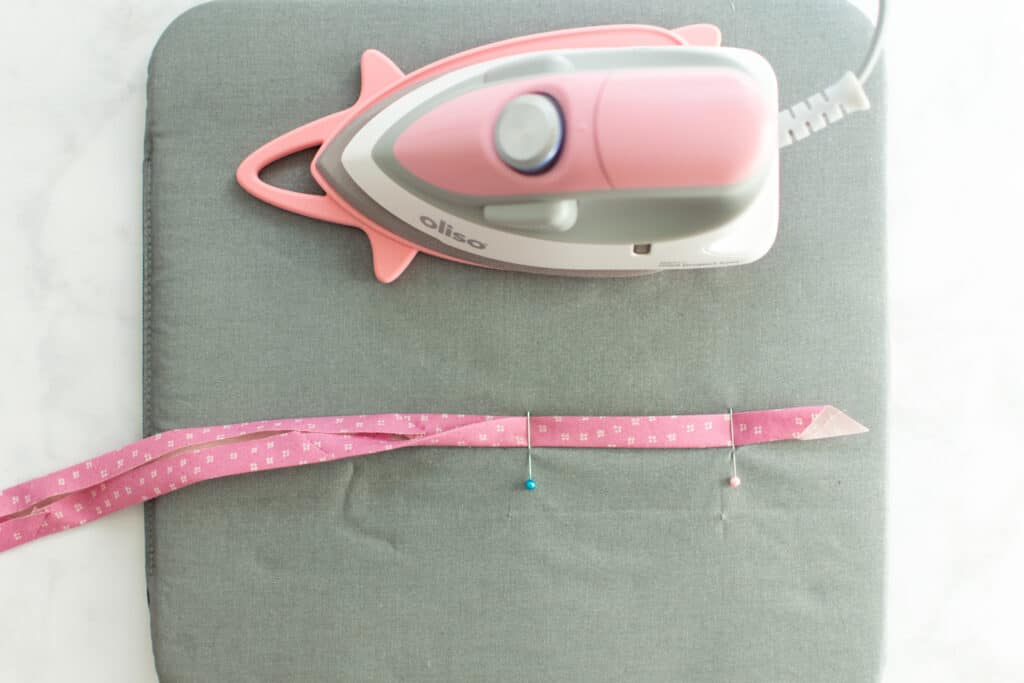
Insert a pin through your ironing board cover right next to the lower edge of your bias tape. Take the pin up and over your tape and insert the other end of the pin into the ironing board cover next to the upper edge of the bias tape.
This will create a perfectly sized notch for the bias tape to pass under as you fold and press. Repeat this process with another pin about 2 inches further towards the center of the bias tape.

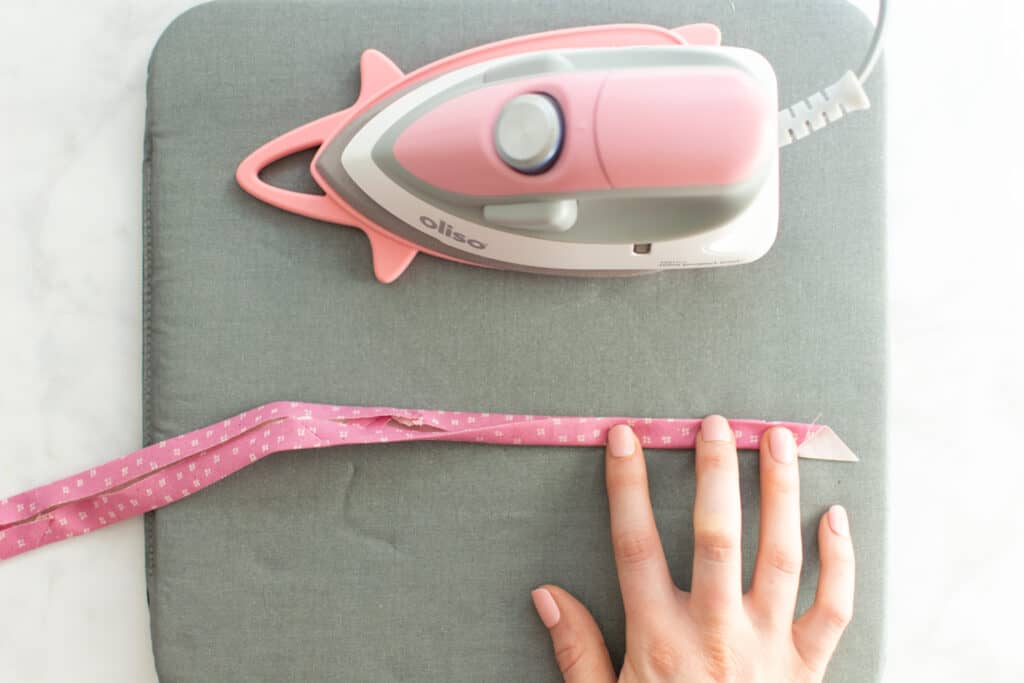
Next, gently pull the bias tape through the pins and press it flat with your iron right as it emerges from the outermost set of pins. The pin guides will create the folds in the fabric as you pull the tape through, and your iron will lock it all in place.
*PRO TIP: Near the beginning, you may need to help fold the fabric as you guide it under the first pin.
You now have single fold bias tape! If you want to make double fold bias tape, simply go on to the next step.
Step 5: Fold Again to Make Double Fold Bias Tape
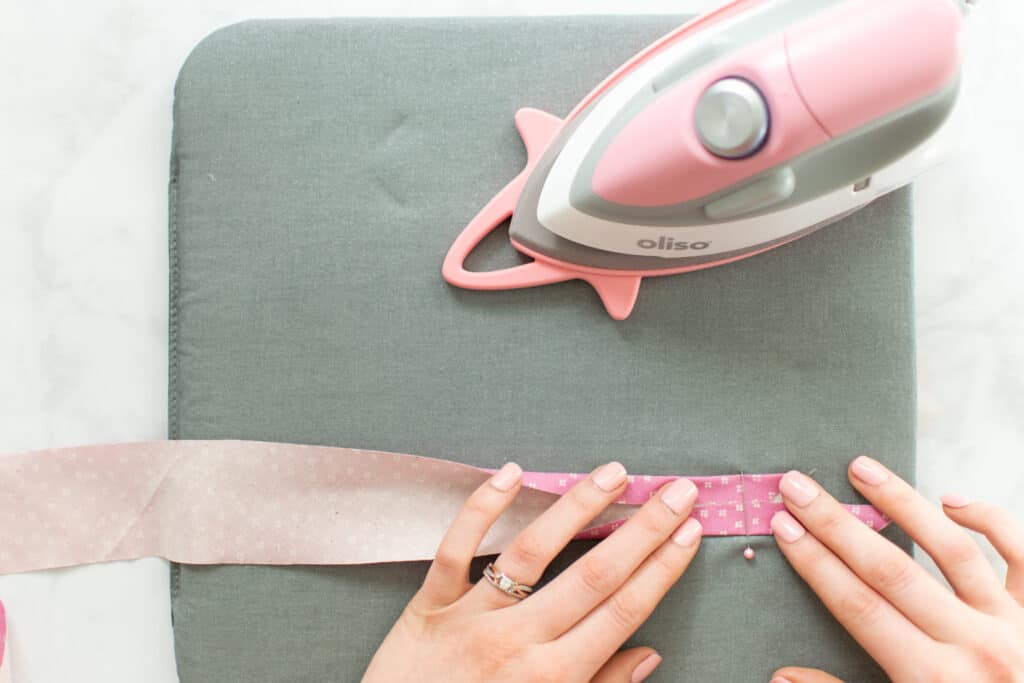
To make double fold bias tape, fold your single fold tape in half lengthwise, encasing the raw edges to the inside.
Using the same method as before, insert two more pins over this newly folded tape to form a narrower guide.
Slowly pull the fabric through the new guide, pressing it in place as it emerges from the pins.
*PRO TIP: While this is certainly not necessary, you can fold your double fold bias tape so that one edge is slightly (think ⅛ inch or less) longer than the other. This makes the bias tape easier to topstitch in place later.
To do this, make sure the longer side is on the inside of your project so that when you stitch along the edge from the outside, you’re sure to catch that slightly longer inner edge in your stitching.

That’s all there is to making bias tape!
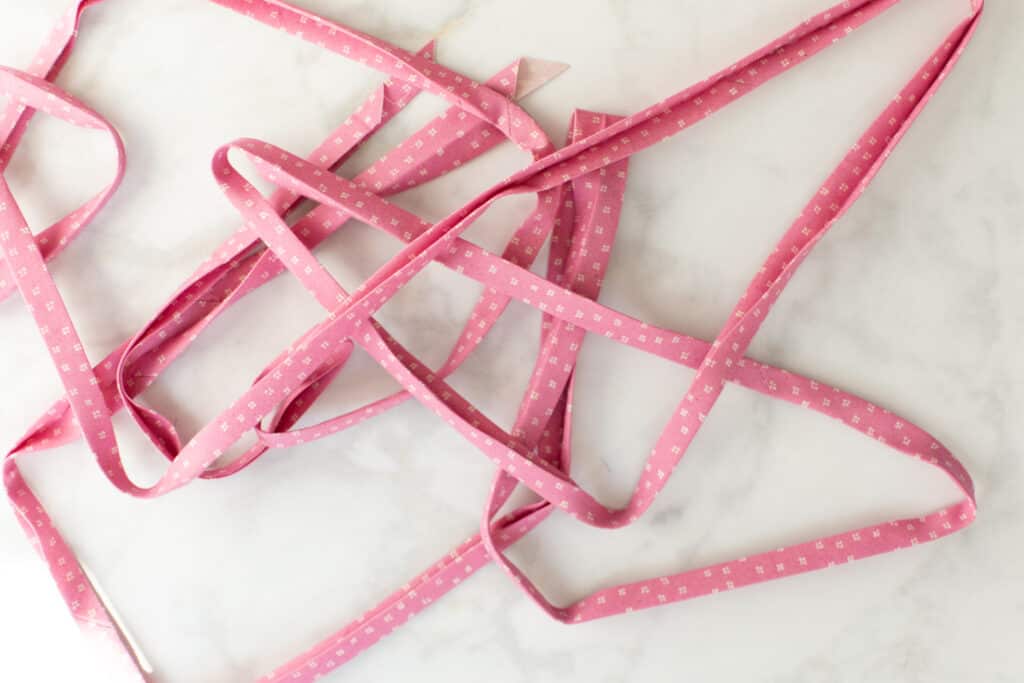
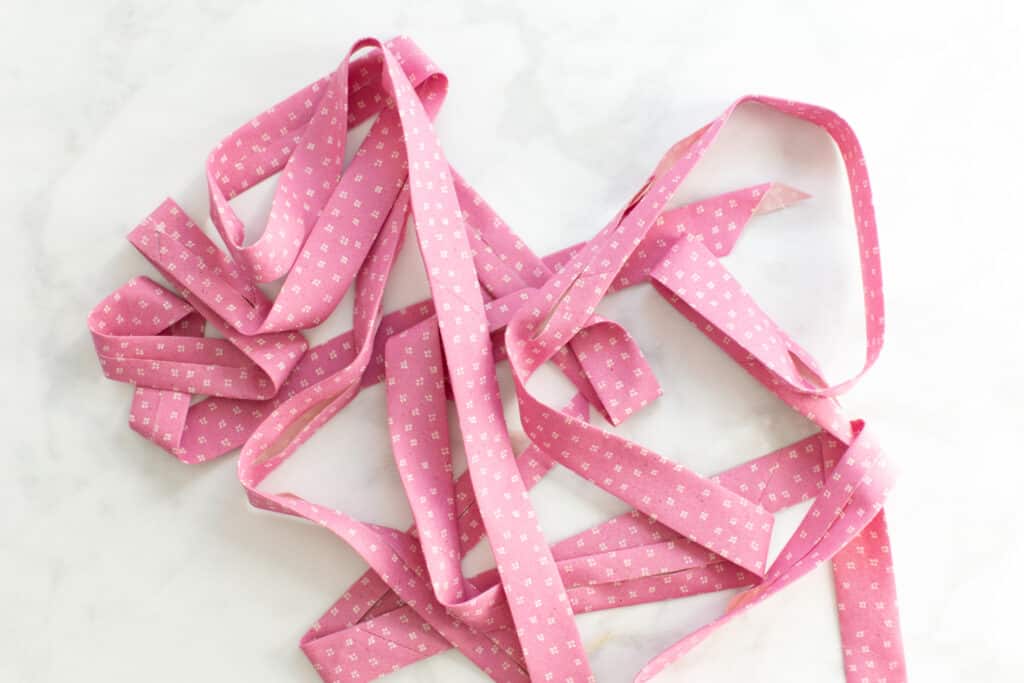
To keep your handmade bias tape organized, you can cut small rectangles from carboard or cardstock and wrap the tape around it, pinning the end of the tape in place to secure it. If that’s not your style, another option is the roll your bias tape into a nice, compact roll and pin the end to hold it down.

If you have any questions about making your own bias tape, feel free to leave them in the comments below so I can help you out!
Don’t forget to join my Facebook group where you can show us what you’re making, ask questions, and learn from others!

Follow me on Instagram for daily crafting inspiration and a look behind the scenes.
Do you realize that a pop up obiliterates the photos of what you're demonstrating? I'm sorry, but t's too much to have to sit through the same pop-up every time I scroll to a new illustrations.
Hi Giuditta, having ads enabled on my website allows me to provide all of my content to my readers for free.
To give you some insight, each post that I create typically requires 30-40 hours of work.
That involves researching the topic, testing different techniques, writing the blog post, photographing and videoing the step-by-step instructions, editing all the video and photos, and finally sharing it all for free.
While I can understand your frustration, ads are essential for our business. Without them, I wouldn't be able to provide quality content.
I have specifically opted out of having any ads on my blog that cannot be minimized. There is always an X that you can click to close an advertisement if it bothers you.
Thanks for supporting Sweet Red Poppy!
Thank you for all your work and great posts, Kimberly. I copy and paste the instrucctions into Word and then clean them up so I can keep a copy, which is difficult.
Instead of so much work on a post that we can't print and have so much difficulty scrolling through, it would be wonderful to have the option to buy a clean PDF file of instructions, as you do with some posts. I'm more than happy to pay for such helpful instructions.
You are amazing and I enjoy your posts very much. But having awesome instructions I can't keep to use another time is disappointing.