Make Your Little One An Adorable Dress With The Free Mila Girls Dress Sewing Pattern. Plus, Sew Up A Matching Doll Dress For Their Favorite Dollie!
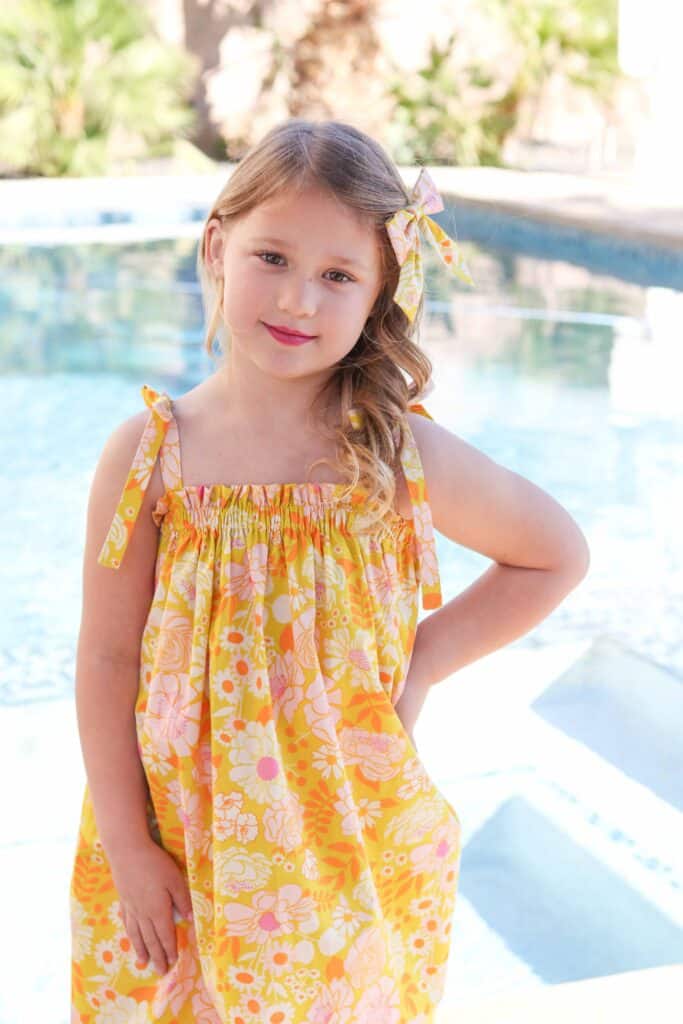
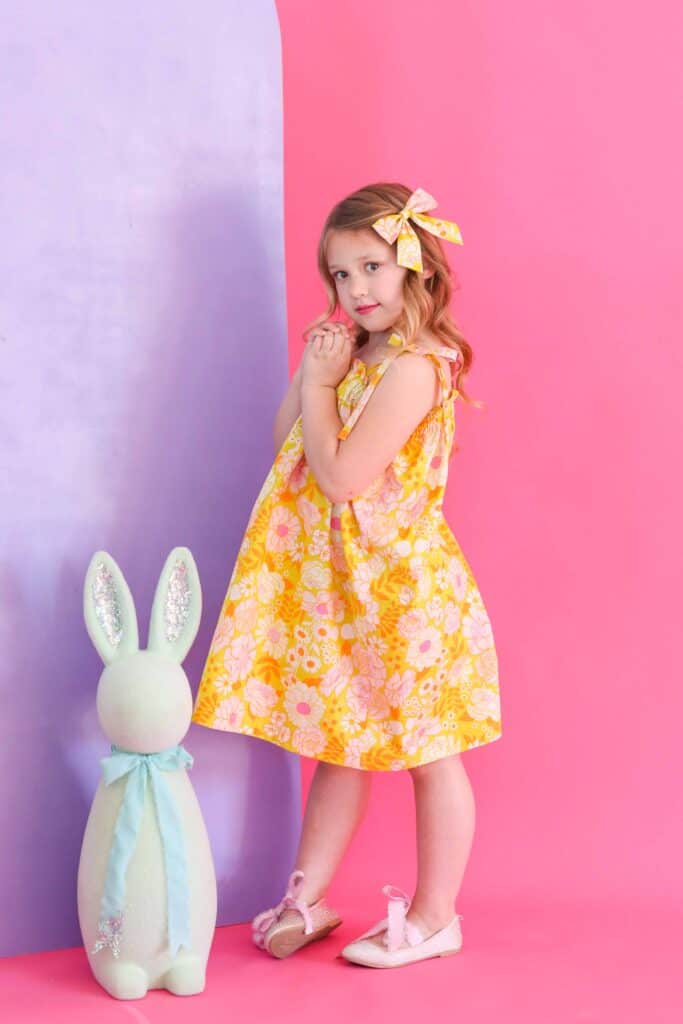
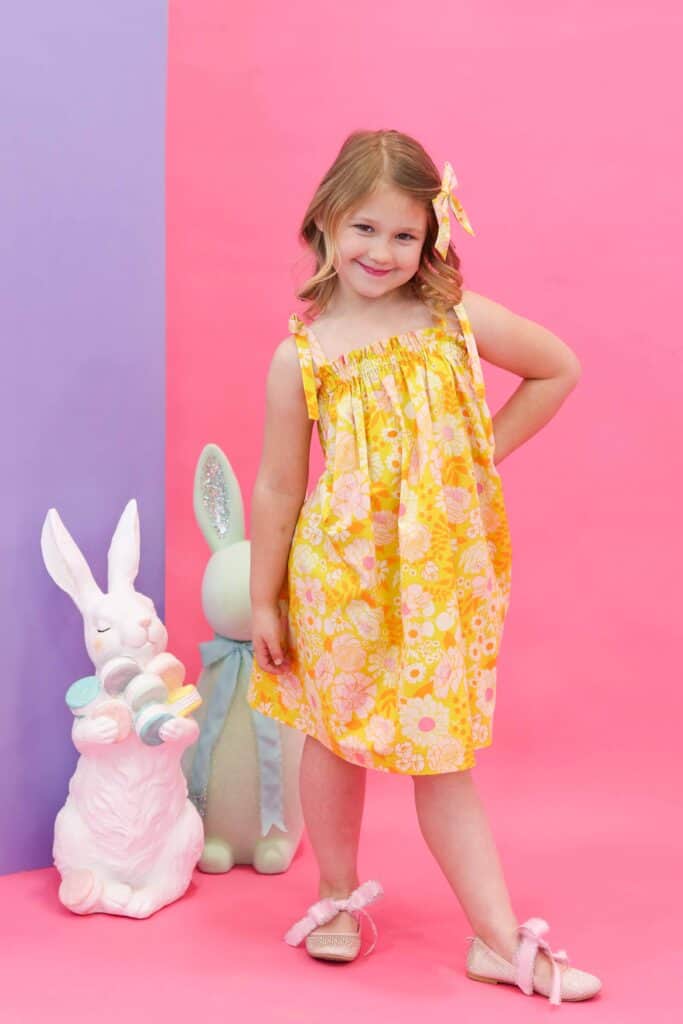
Today I'm sharing another brand new free sewing pattern - an adorable (and comfy) girls dress pattern! The Mila Dress is a cute swingy dress with charming little shoulder ties. This dress would make a wonderful Easter dress - or a great closet staple for all the summer shenanigans.
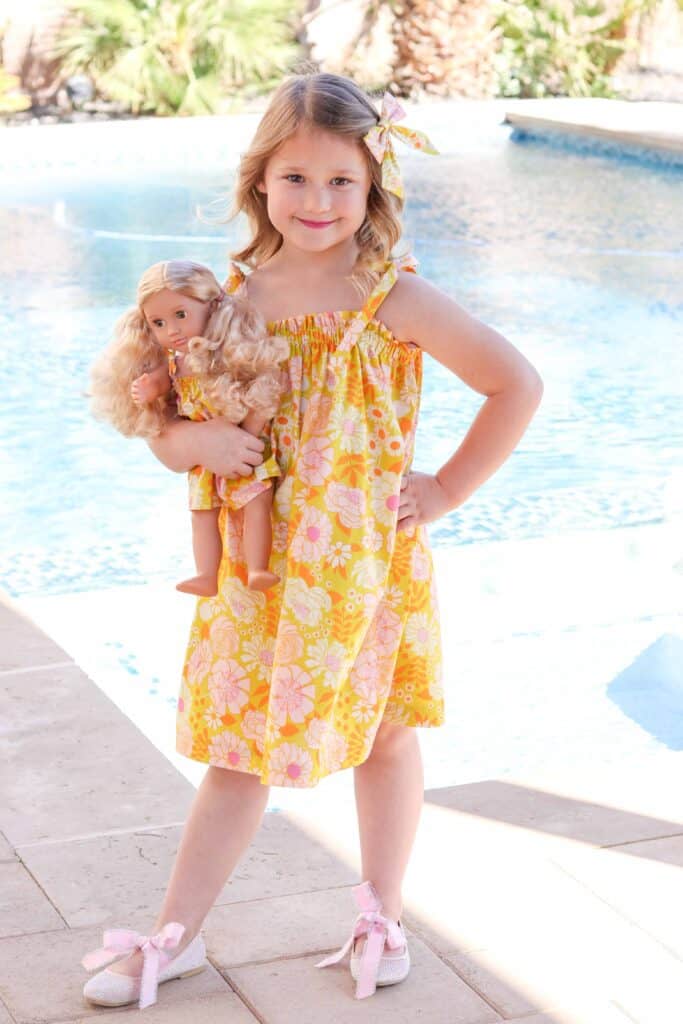
The best part is that the Mila Dress is simple and quick to sew. It's the perfect project for a beginner who wants to get started with garment sewing.
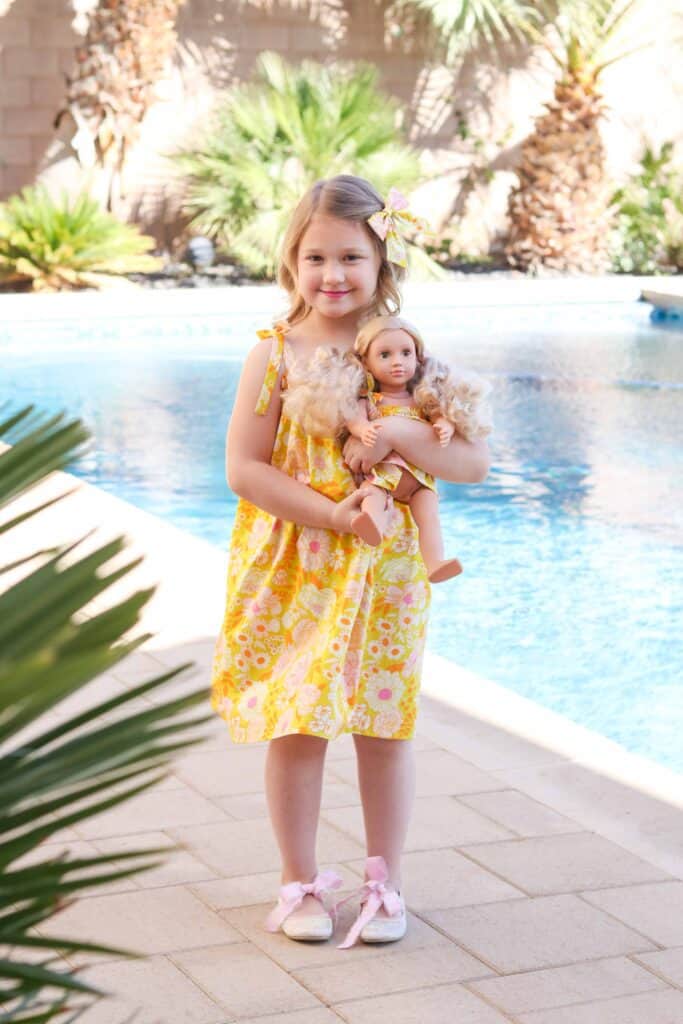
Plus, I've included a pattern for a matching Mila Doll Dress that fits most 18" dolls. Your girl will love being able to match her doll's outfit with her own - it's so fun!!

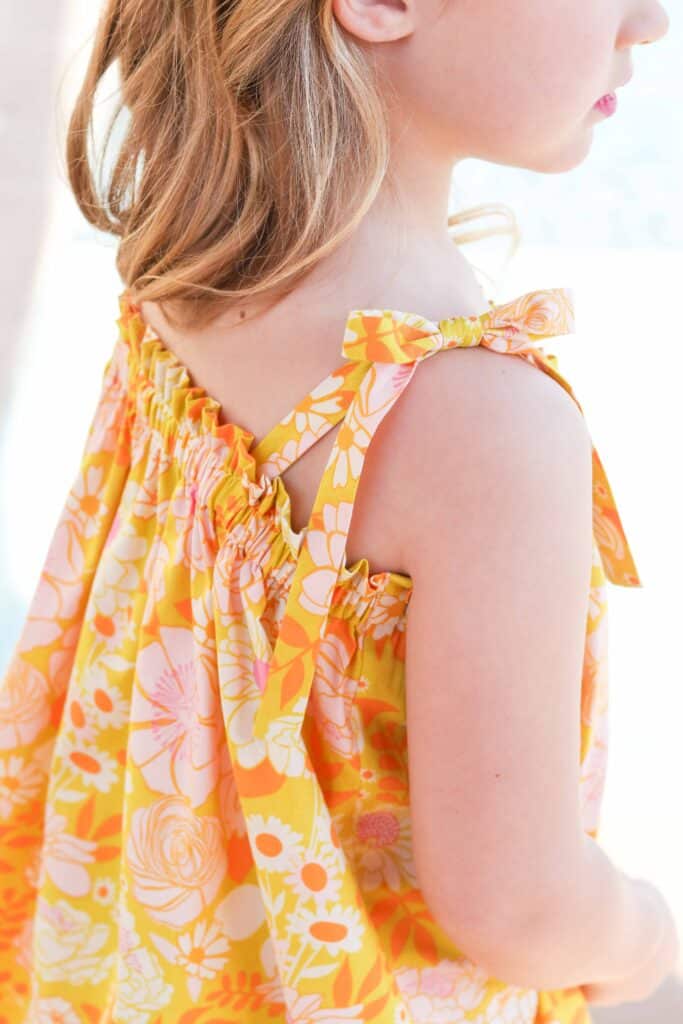
Table of Contents
About the Mila Girls Dress Pattern
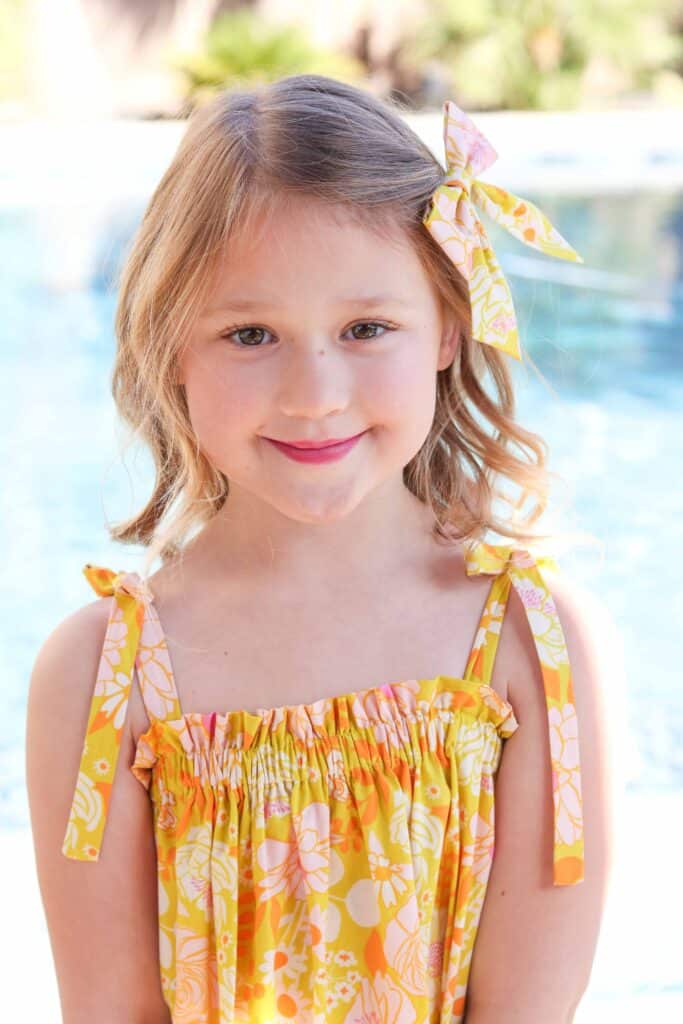
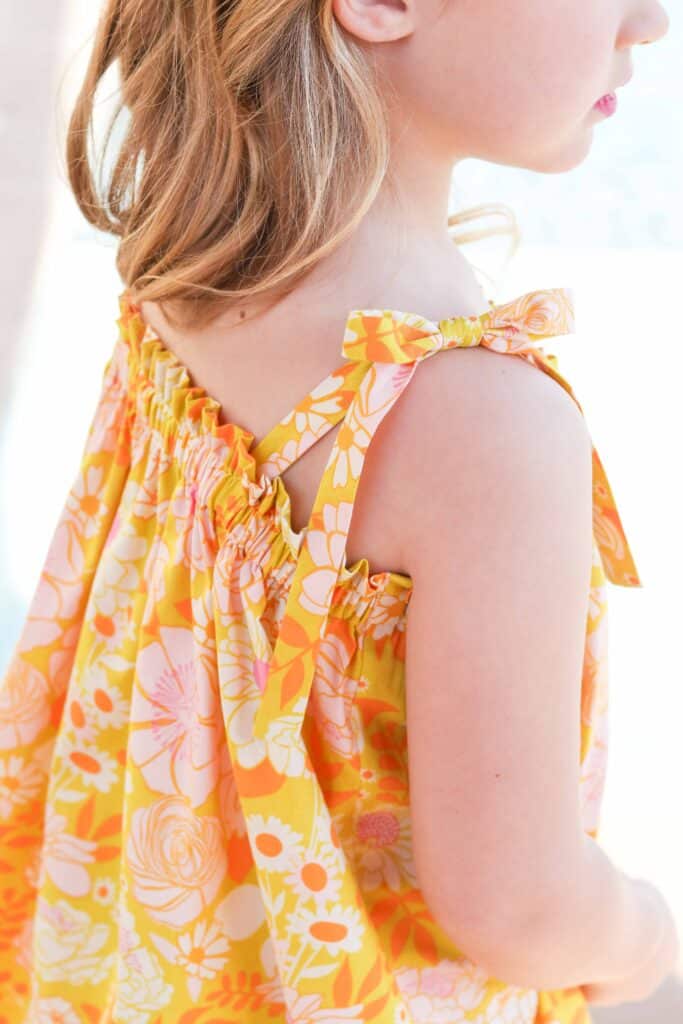
The Mila girls dress pattern makes a loose-fitting, below-the-knee dress with an elastic neckline and shoulder ties. The elastic neckline makes fitting easy - you're unlikely to need to make any fit adjustments other than changing the length of the hem for a taller or shorter child.
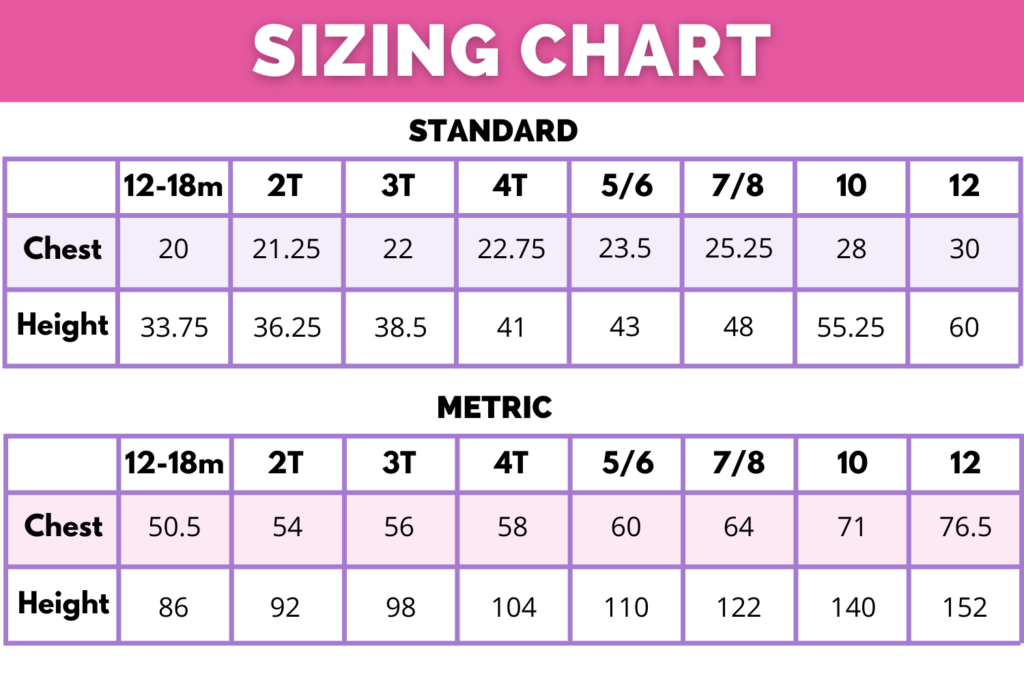
The dress is available in 8 different sizes to fit a range of different ages: 12-18 months, 2T, 3T, 4T, 5/6, 7/8, 10, and 12.
Are you looking for a matching bow pattern? Click here!

The matching doll dress is made to fit most 18" dolls. It is made just like the full-size dress, except with smaller elastic. The doll dress uses 1/4" elastic, while the girl's dress uses 3/4" elastic.
Sizing for the Mila Dress Pattern
To ensure that your Mila dress fits its intended wearer, it's important to start by choosing the appropriate size to cut and sew. In most cases, you'll be able to choose the size corresponding to the age of the child you're making the dress for. However, I highly recommend taking chest and height measurements and choosing the size that most closely fits your child's measurements.
Below is a sizing chart with the intended chest and height measurements for each dress size. If your child's measurements fall between sizes, size up for the best fit. If the chest and height measurements fall into different sizes, choose based on the chest measurement. You can always increase or decrease the hem length if needed for the perfect fit.
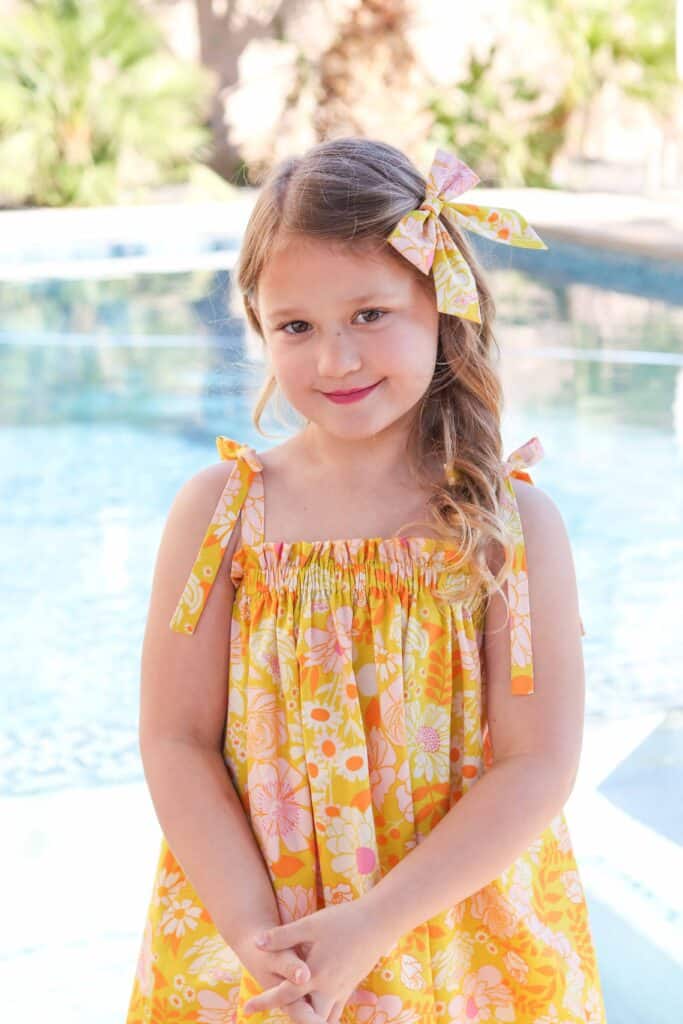
My daughter is pictured wearing a size 10 width with a size 7/8 length.
Fabric Requirements for the Mila Dress
The Mila Dress can be made from a few different fabric types depending on the look you are going for. Just make sure to choose a light- to medium-weight non-stretch fabric. Some of my favorite choices are cotton, linen, and double gauze.
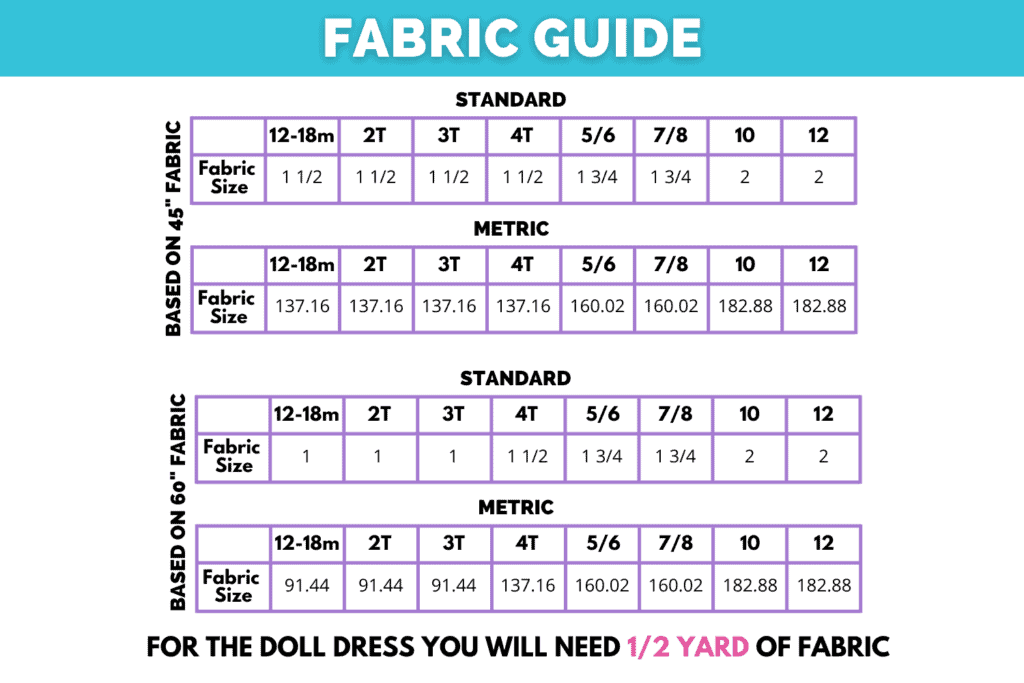
The fabric yardage requirements depend on the size of the dress you intend to sew. For the doll dress, you'll need 1/2 yard of fabric. For the girls dress pattern, check the fabric requirements chart below to find the yardage you'll need based on your dress size and fabric width.
Choosing the Right Elastic for the Mila Dress
Choosing the right elastic for your dress can make a big difference in how comfortable it will be to wear and how durable it will be. There are three types of elastic: Woven, Braided, and Knit. For this dress, I recommend using Woven or Knit elastic.
Braided elastic is made from a mix of polyester and rubber. It is very shrink-resistant. However, this type of elastic tends to narrow when stretched, making it prone to rolling or twisting. I don't recommend Braided elastic for this pattern.
Woven elastic is the firmest type of elastic, which helps it to resist rolling and twisting. This makes it great for both casings and sew-on applications. It is ideal for heavier-weight fabrics.
Knit elastic is my favorite type of elastic because it is softer than Woven, but still keeps its width while stretched. It is also great for both sew-on and casing applications and doesn't roll or twist as easily as Braided elastic.

Supplies to Sew the Mila Girls Dress Pattern
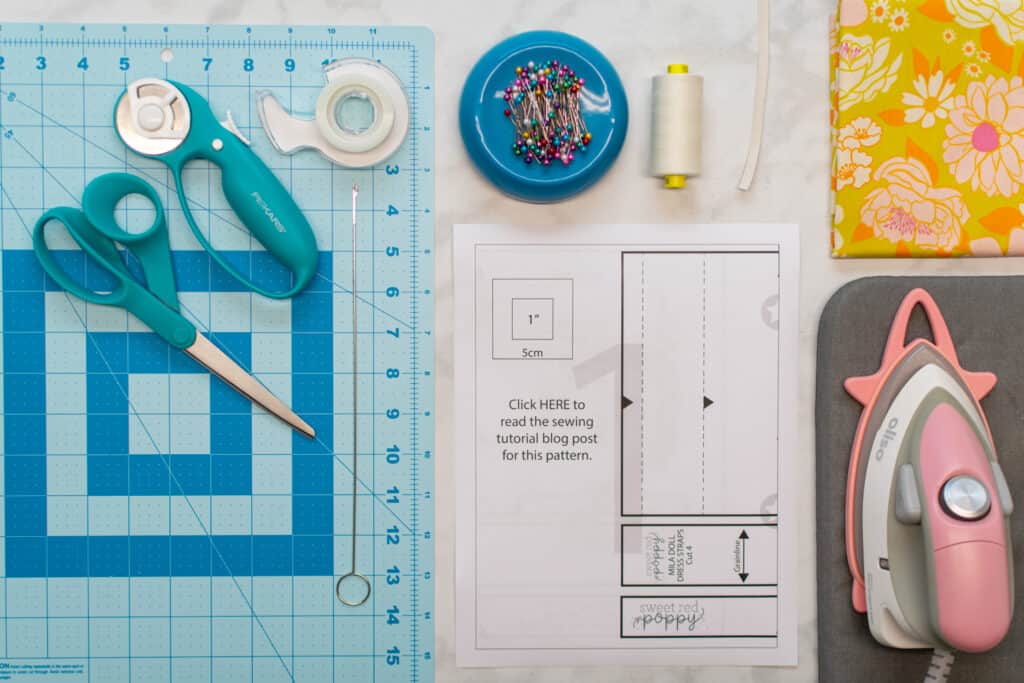
Here are the supplies you'll need to sew the Mila Dress, for both the girls dress pattern and the doll dress pattern.
- Free Mila Girls Dress Pattern
- Light- to Medium-Weight Woven Fabric (find yardage in the fabric requirements chart above)
- 10" of 1/4"-Wide Elastic (for doll dress)
- 1 Yard of 3/4"-Wide Elastic (for girls dress)
- Safety Pin or Loop Turner
- Scissors
- Rotary Cutter
- Rotary Cutting Mat
- Thread
- Sewing Pins
- Iron
- Ironing Board
- Sewing Machine
- Sewing Machine Needle
- Printer
- Printing Paper
- Tape

Click Here to Download the FREE Girls Dress Pattern

Step One: Download and Assemble the Girls Dress Pattern
First, download the pattern and open it in your PDF reader. I highly recommend using Adobe Acrobat.

*It's important not to print the pattern directly from your internet browser. Doing this can result in the pattern printing with incorrect scaling or wonky border lines.
Next, click on the "Print" icon. This will open a print settings dialog box. In the box, update the scaling to "Actual Size" or "Custom: 100%".

In addition, this pattern features a layers option so that you can print just the size(s) you need! To utilize this feature, click on the "Layers" icon - it looks like 2 stacked pages. Then, deselect the "Eye" icon next to each size that you DO NOT want to print.
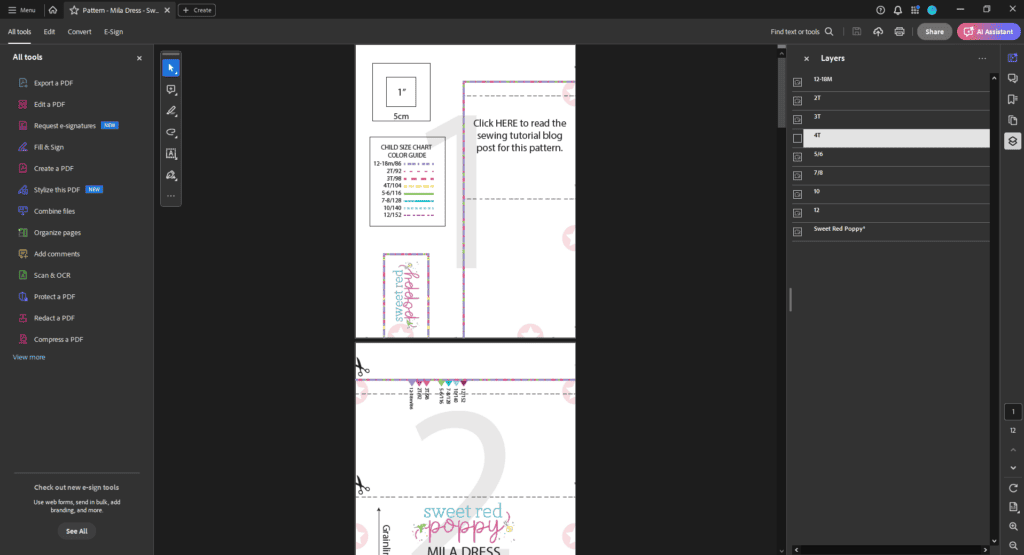
Next, print Page 1 of the pattern. This page contains a 1" x 1" test square.

Measure the test square with a ruler, measuring tape, or seam gauge. If the square measures exactly 1" x 1", you're good to print the remaining pages of the pattern. However, if it doesn't measure 1" x 1", you'll need to recheck your scaling settings and print the page again.
Once the pattern has been printed, you're ready to assemble it.
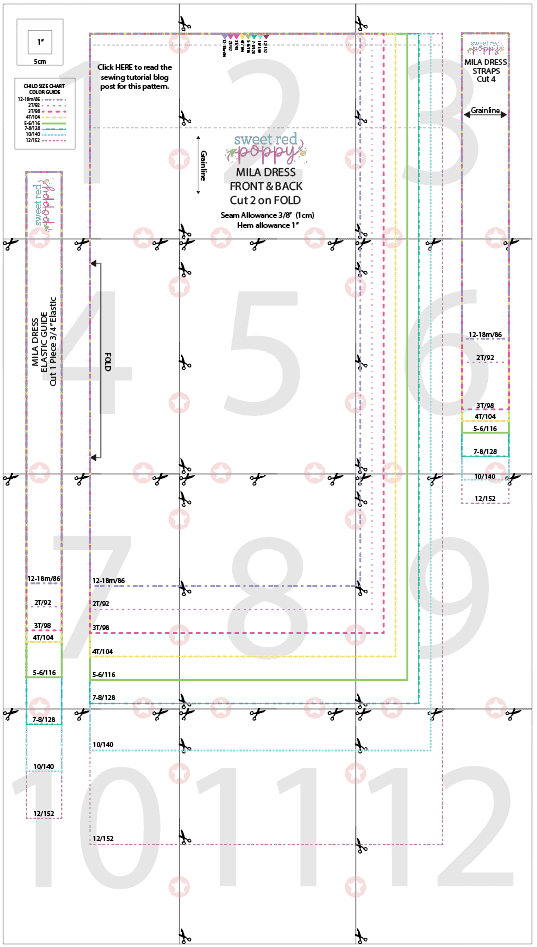
Arrange the pages according to the layout charts below. There are large numbers at the center of each page, as well as pink stars between pages, to help you align the papers accurately.
MILA DOLL DRESS PATTERN LAYOUT:
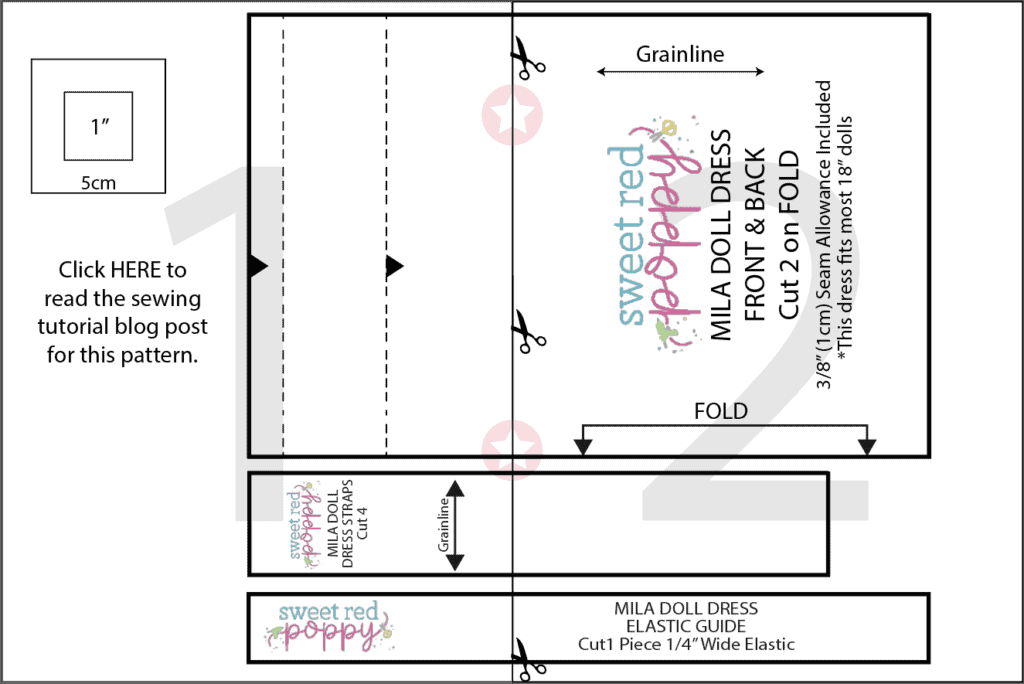
MILA GIRLS DRESS PATTERN LAYOUT:
Line up the edges of the pages and tape them together, ensuring that the pattern lines match up correctly.
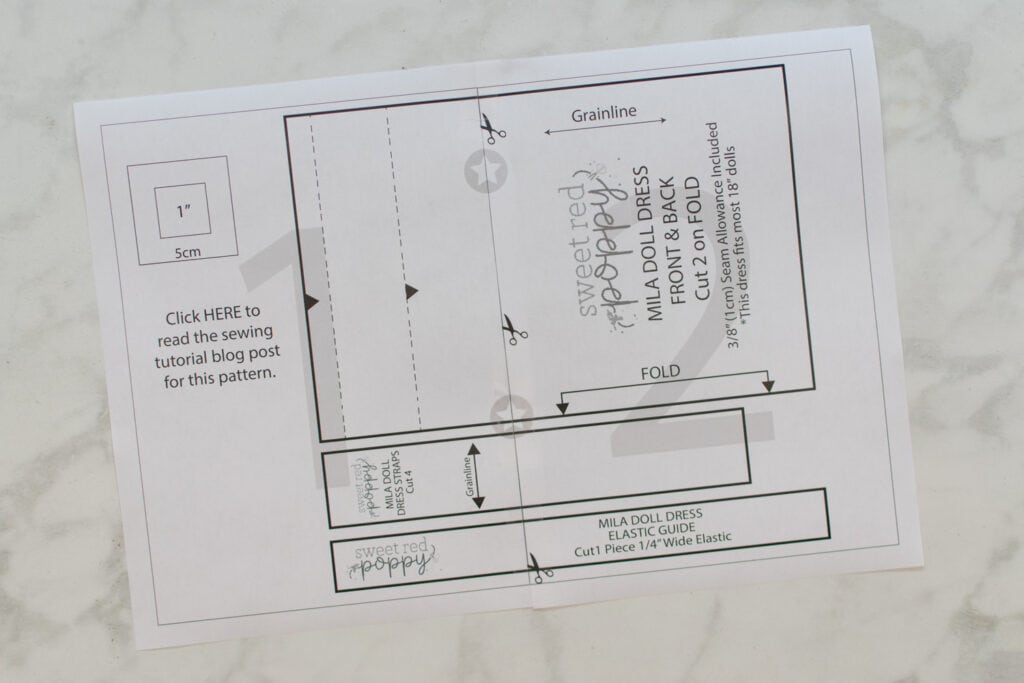
If you like, you can trim off the margins of each page before taping them together. Or, if you prefer, simply overlap the margins of the papers.
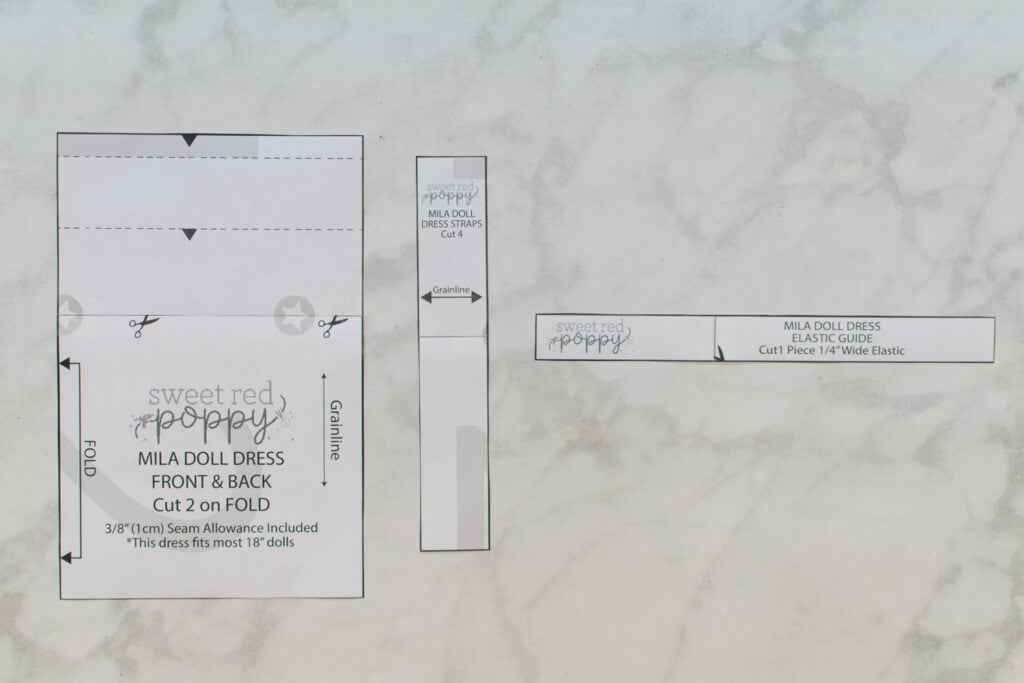
Then, cut out each pattern piece. There should be 3 pattern pieces: "Front & Back", "Straps", and "Elastic Guide".
Step Two: Cut the Materials
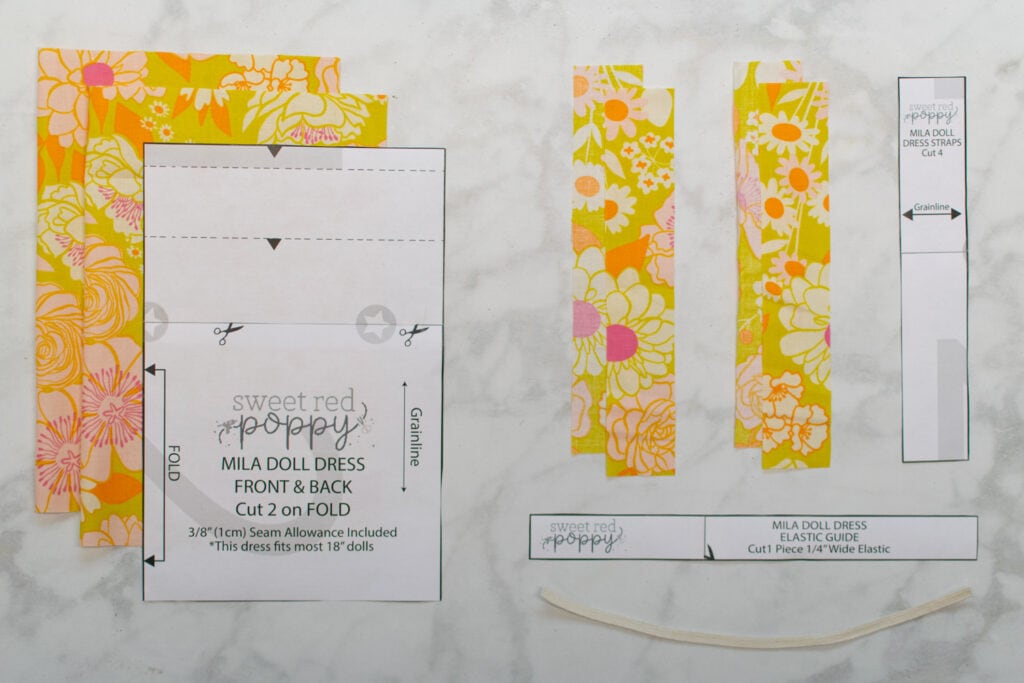
Once the pattern pieces have been prepared and cut out, you're ready to cut the materials for your dress.

Cut the following number of pieces from your fabric and elastic.
FOR THE DOLL DRESS PATTERN:
Fabric
- Front & Back: Cut 2 on Fold
- Straps: Cut 4
Elastic
- Elastic Guide: Cut 1 Piece of Elastic to the Length of the Elastic Guide
FOR THE GIRLS DRESS PATTERN:
Fabric
- Front & Back: Cut 2 on Fold
- Straps: Cut 4
Elastic
- Elastic Guide: Cut 1 Piece of Elastic to the Length of the Elastic Guide
Step Three: Transfer Pattern Markings
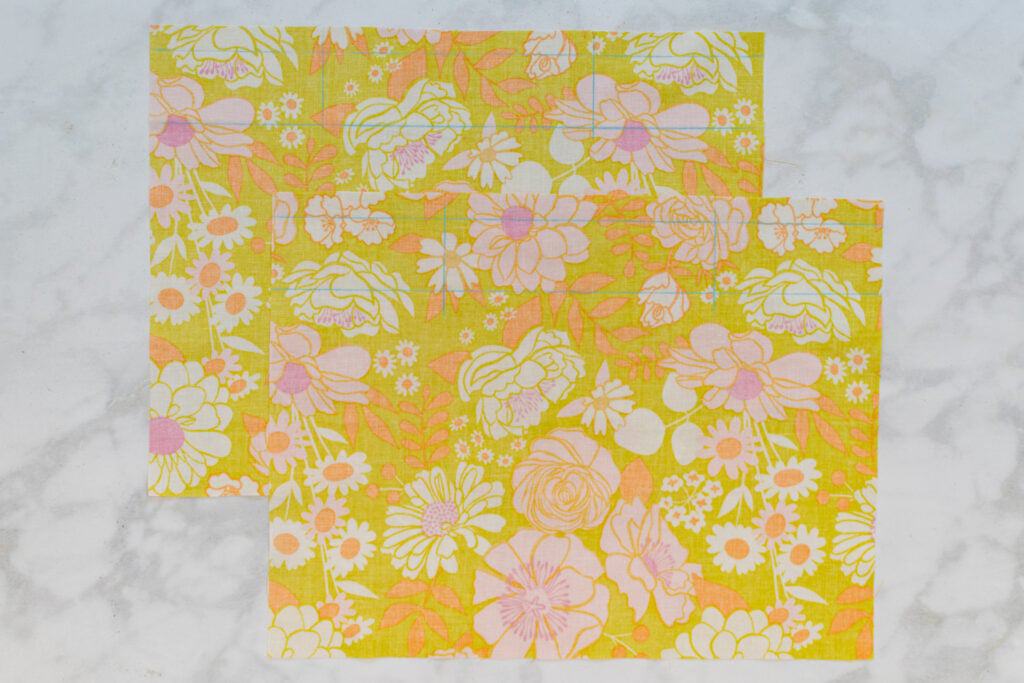
With the materials cut, we now need to transfer the pattern markings from the pattern to the fabric pieces. These pattern markings will help make it easier to accurately construct the garment.
First, use scissors to snip into both layers of fabric by 1/4" at the center of the notch at the top of the Front and Back pieces.
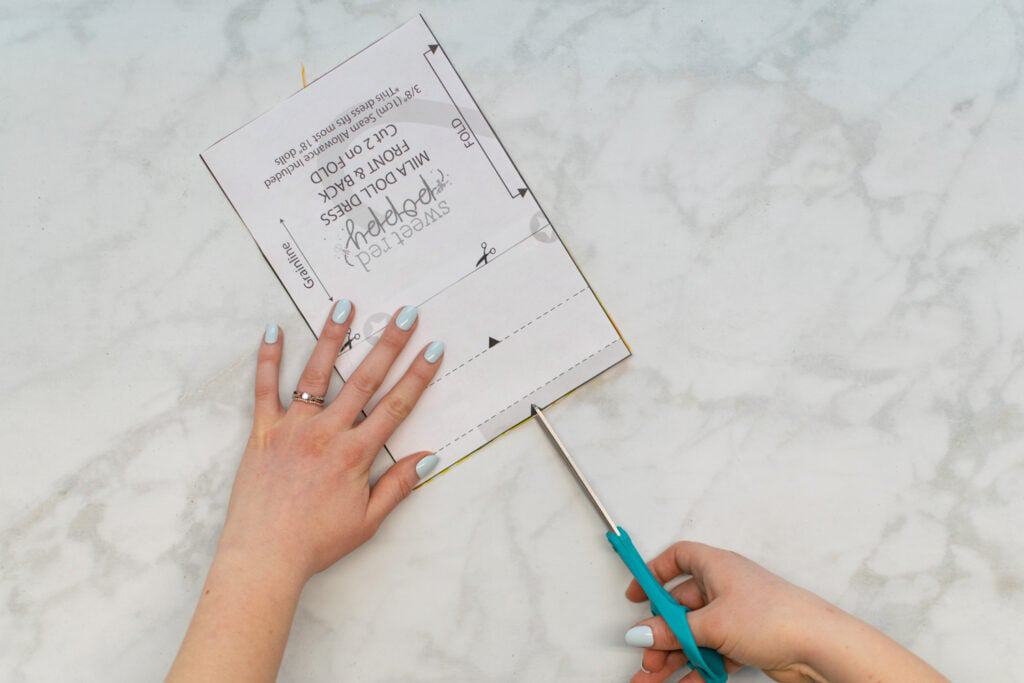
Next, mark in the two parallel horizontal lines at the top of the Front and Back pieces. Draw these lines on the wrong side of the fabric with a fabric marking pen or chalk.
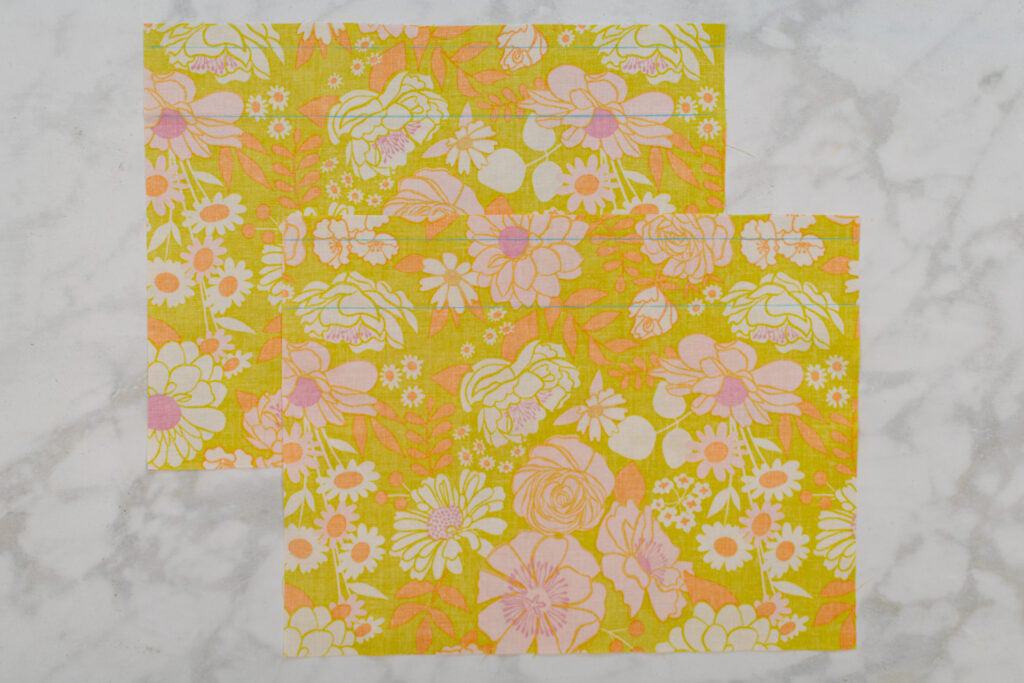
If you prefer to use a ruler, rather than transfer the lines from the paper pattern, draw your lines using these measurements:
FOR THE GIRLS DRESS PATTERN: Draw the first line 1/2" down from the top edge and the second line 4" down from the top of the dress.
FOR THE DOLL DRESS PATTERN: Draw the first line 1/2" down from the top edge and the second line 2" down from the top of the dress.
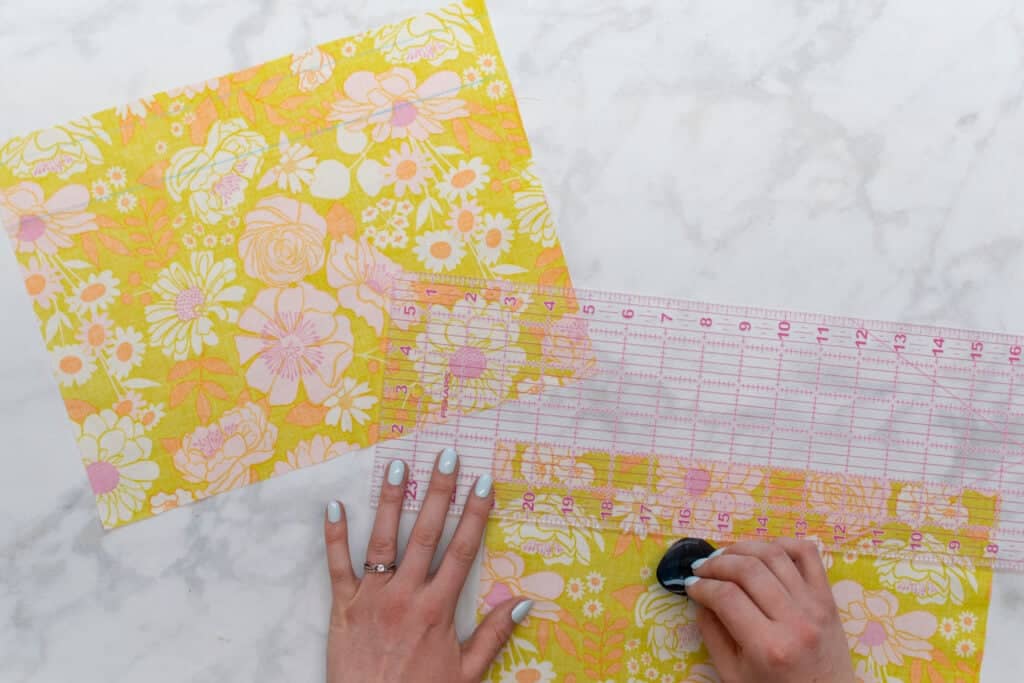
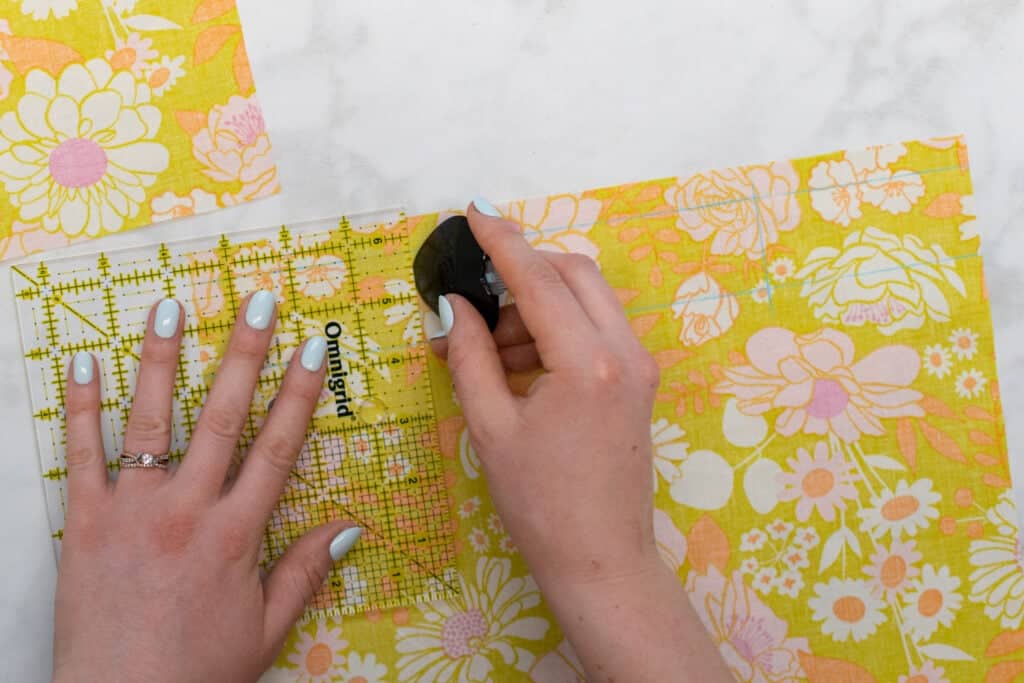
Finally, use a ruler and fabric marking pen to draw a vertical line straight down from each of the 2 notches in the top edge of each fabric piece. Draw each line from the top of the dress to the lower horizontal line.
Step Four: Prepare the Straps
You're ready to start sewing! Let's begin by preparing the straps for the dress.
First, fold and press each strap in half lengthwise with right sides together.
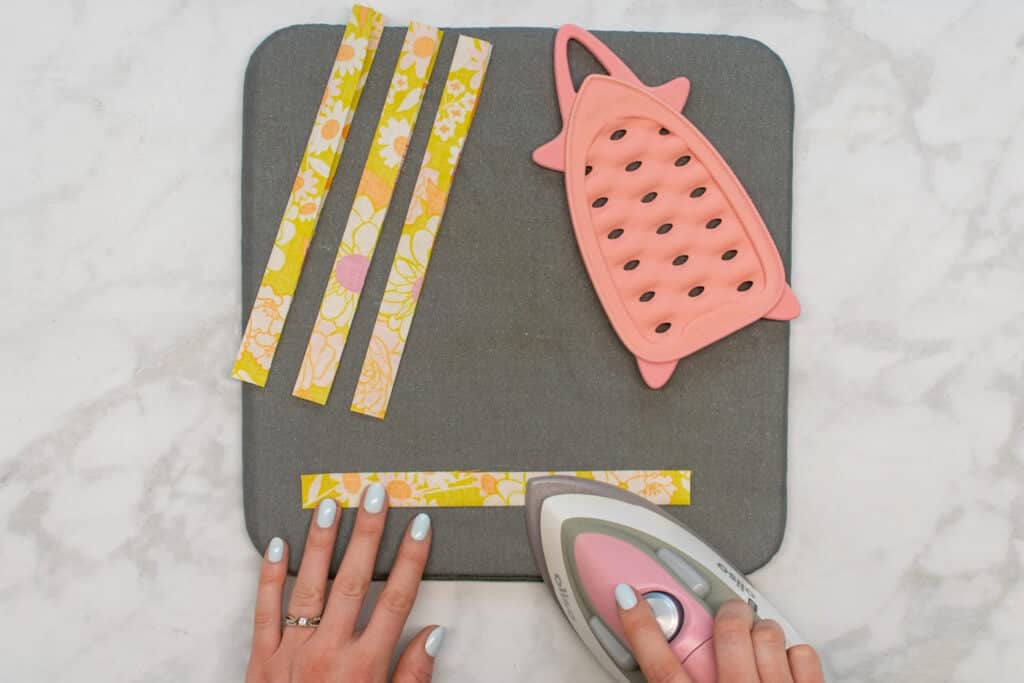
Pin the edges together.

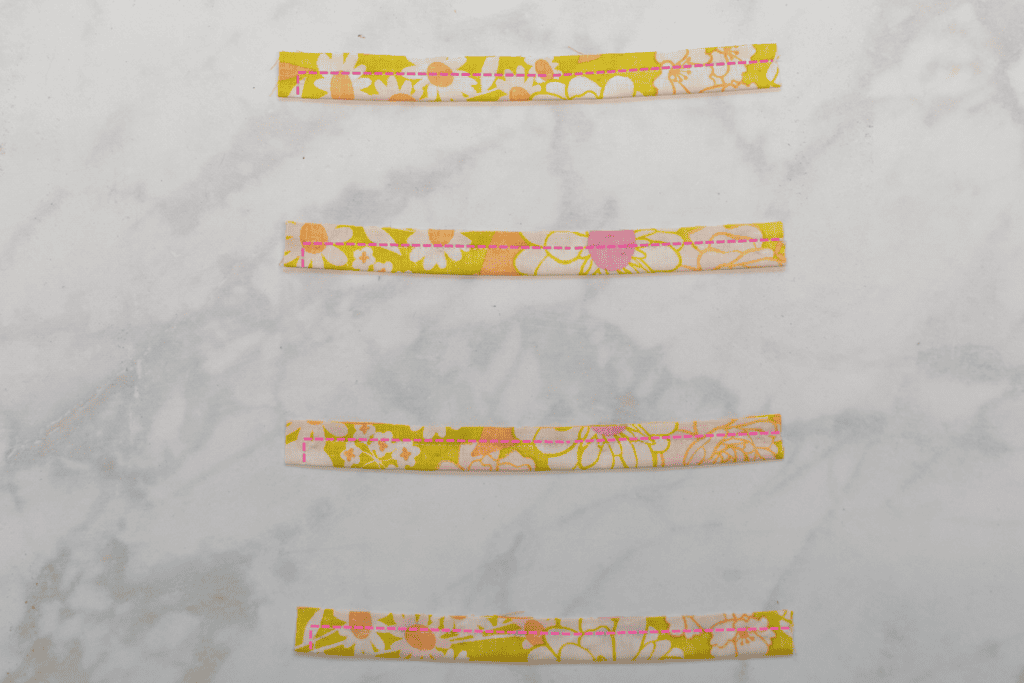
Next, on one of your straps, use a 1/4" seam allowance to stitch along one short end, rotate around the corner, then sew along the pinned long edge. Make sure to backstitch at the beginning and end of your seam.

To rotate around the corner, stop sewing when you reach 1/4" from the end of the corner. Then, lift the presser foot, ensuring that the needle is still down in the fabric. Rotate the fabric 90 degrees. The next straight edge should now be in front of the presser foot. Go ahead and put your presser foot down and continue sewing.

Then, repeat this process to stitch the remaining 3 straps.
Next, trim the seam allowance off of the stitched corner at a diagonal on each strap. Make sure to trim close to (but not through!) your stitching.
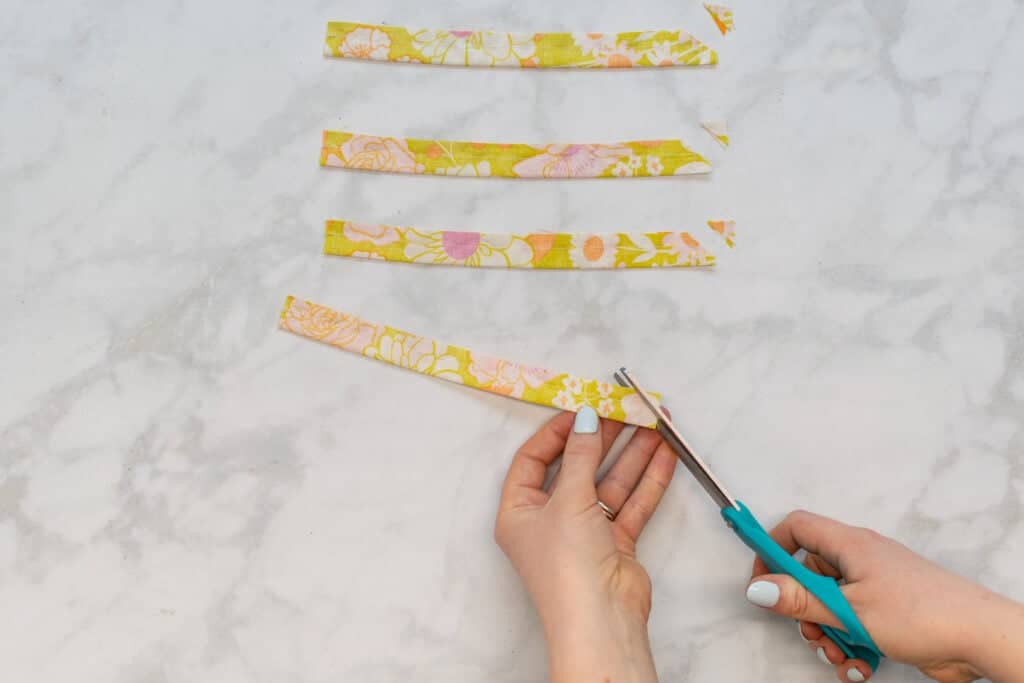
Then, trim the remaining seam allowances down by approximately half. This will help to reduce bulk in the finished straps.
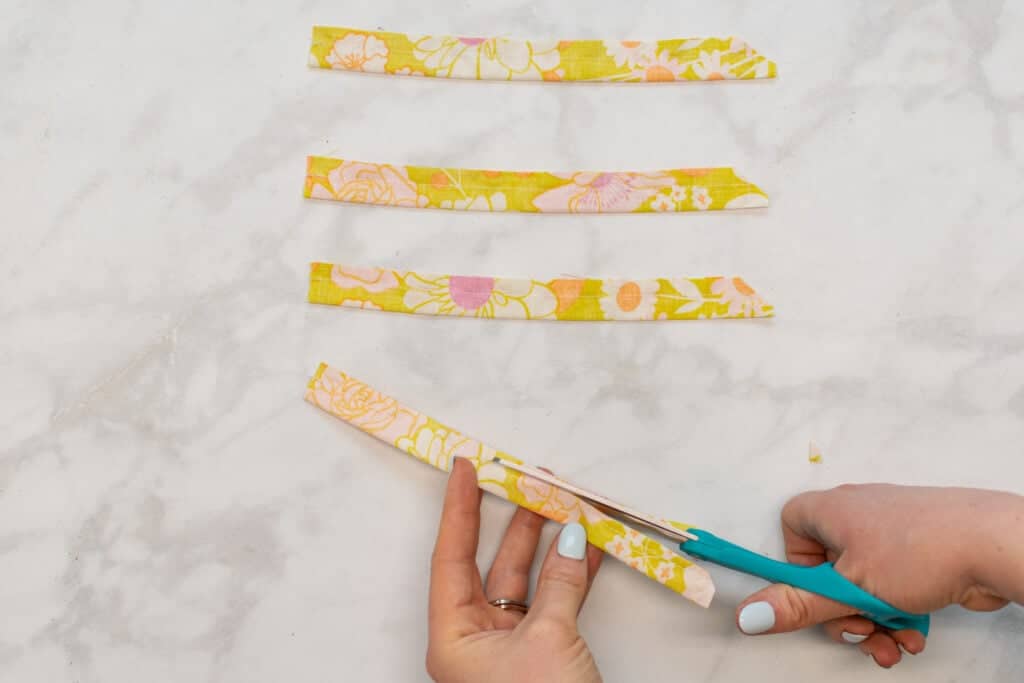
Once the straps have been stitched, turn them right sides out through the open end.
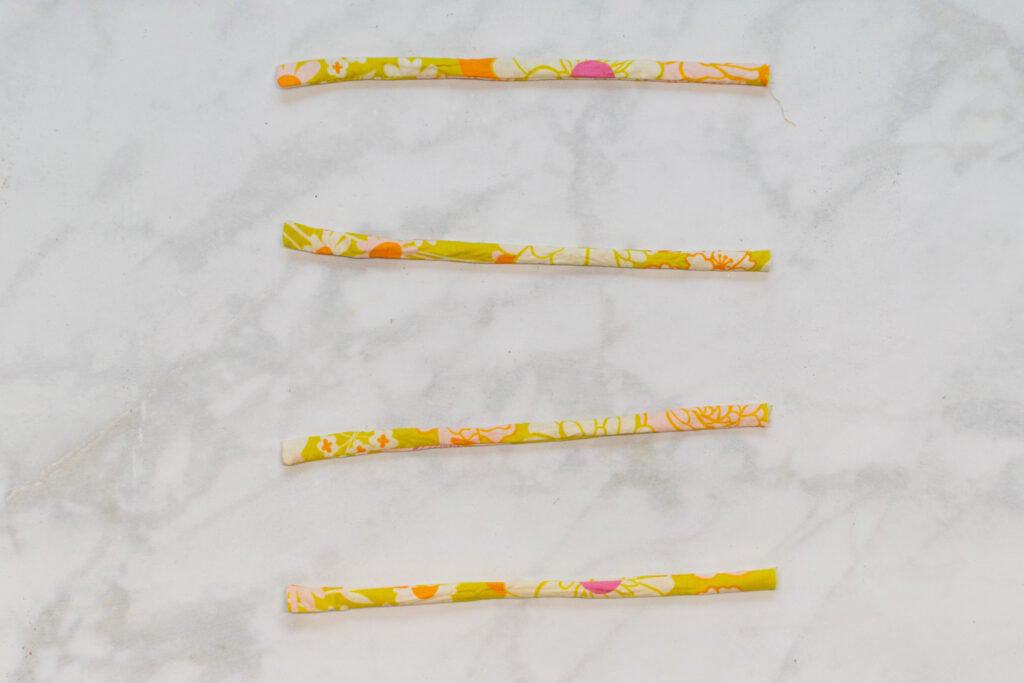
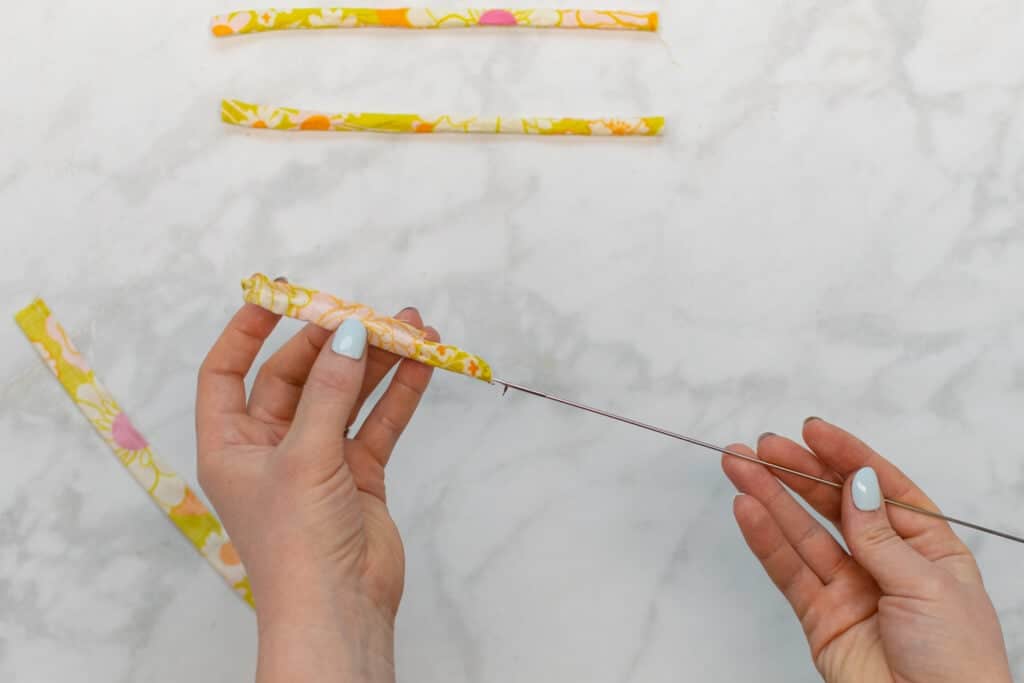
To turn the straps, you can either use a loop turner or safety pin to hook the end and pull it through the tube, or use a chopstick or skewer to push the stitched end through the tube.
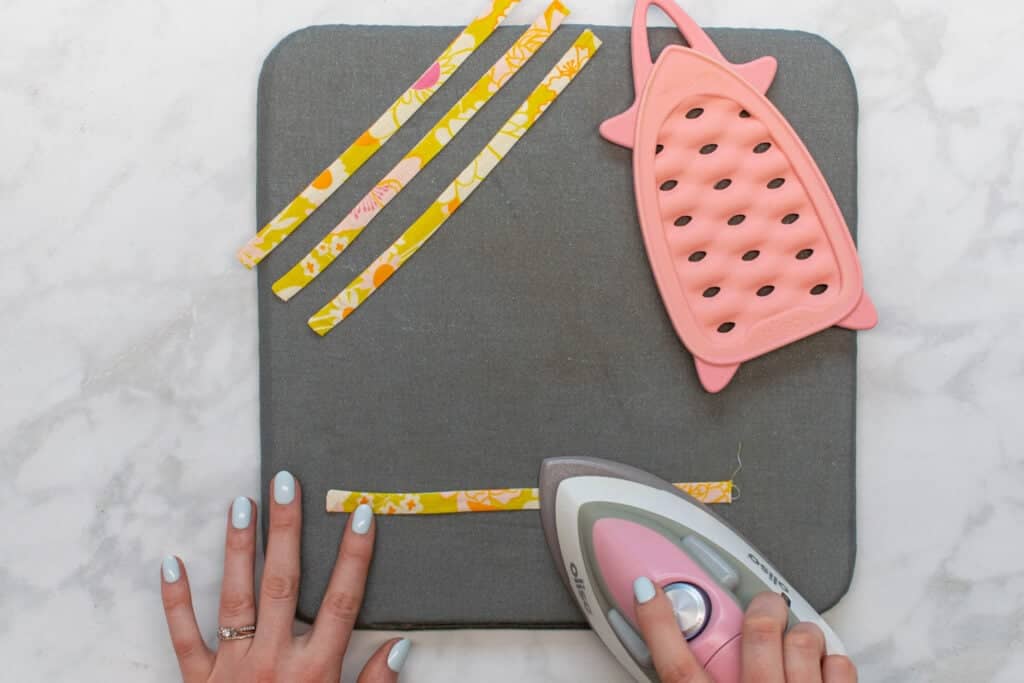
Finally, press the straps flat, pressing the seams to the very edges of each strap.
Step Five: Sew the Side Seams Using a French Seam
Set aside the straps for now - it's time to move on to putting together the body of the dress.
We're going to stitch up the side seams with french seams. This will result in a beautifully clean finish without any rough or unsightly raw edges inside the dress.
Start by placing the two body pieces wrong sides together. Keep in mind that this is the opposite of how you would normally line up fabrics before sewing.
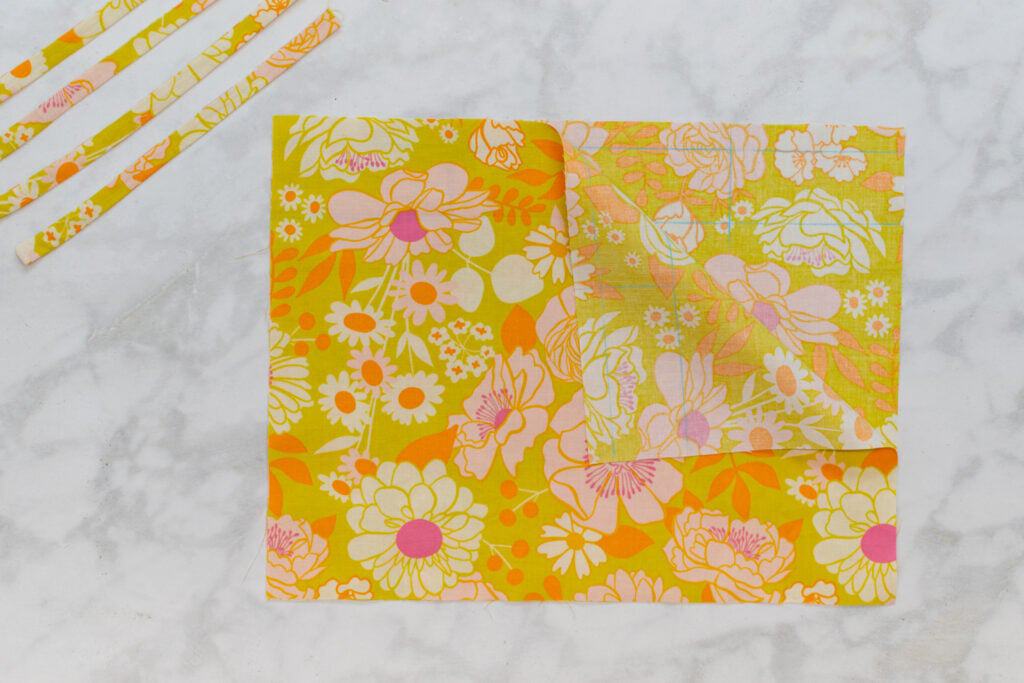
Line up and pin each side seam.

Then, stitch each side seam with a 3/8" seam allowance. Make sure to backstitch at the beginning and end.

Next, trim the seam allowances down by approximately half. This will ensure that no raw edges will stick out from the finished seam.
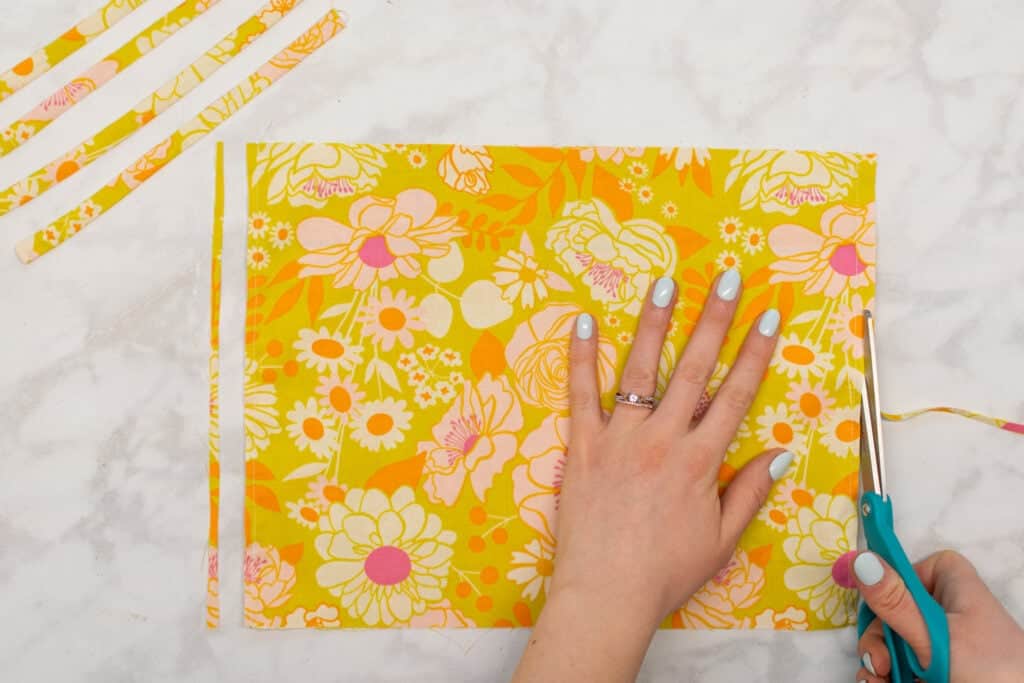
Turn the dress inside out, so that the right sides of the fabric are facing inwards. Then, take the dress to your ironing board.
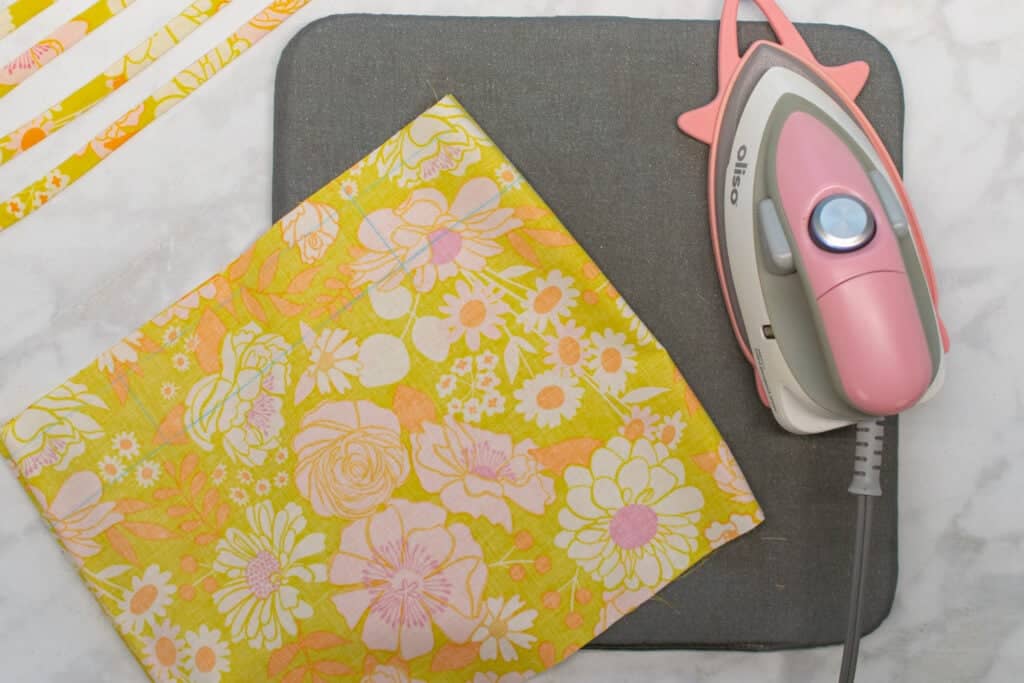
Press the side seams, pressing the seams all the way to the edges.

Pin each side seam again. This time the fabrics will be right sides together.
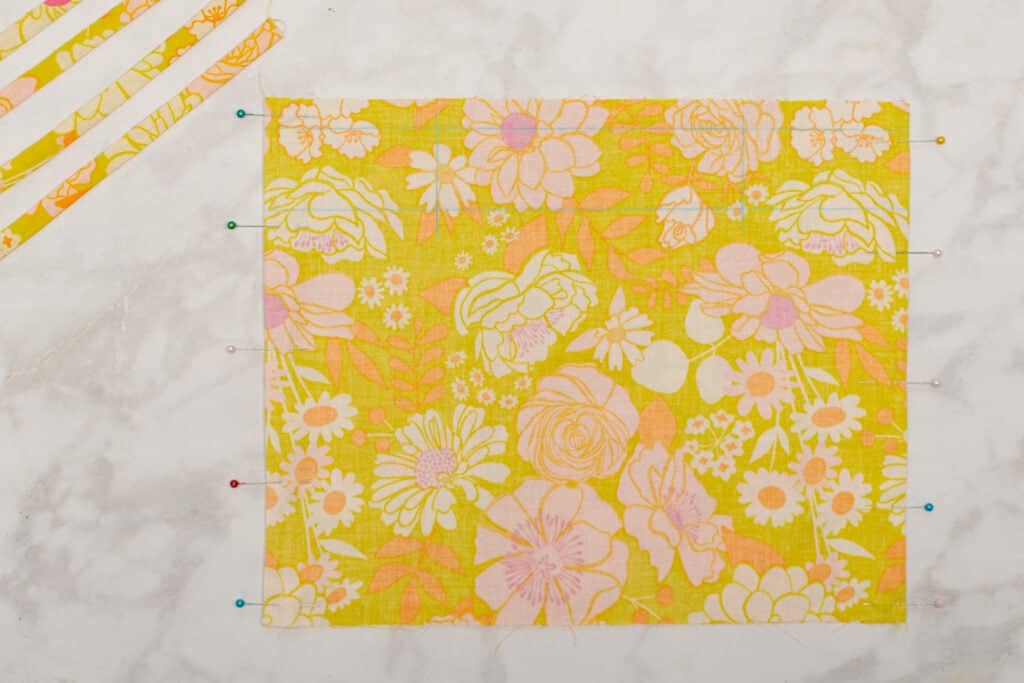
Stitch each side seam a second time with another 3/8" seam allowance. Once again, make sure to backstitch at the beginning and end.
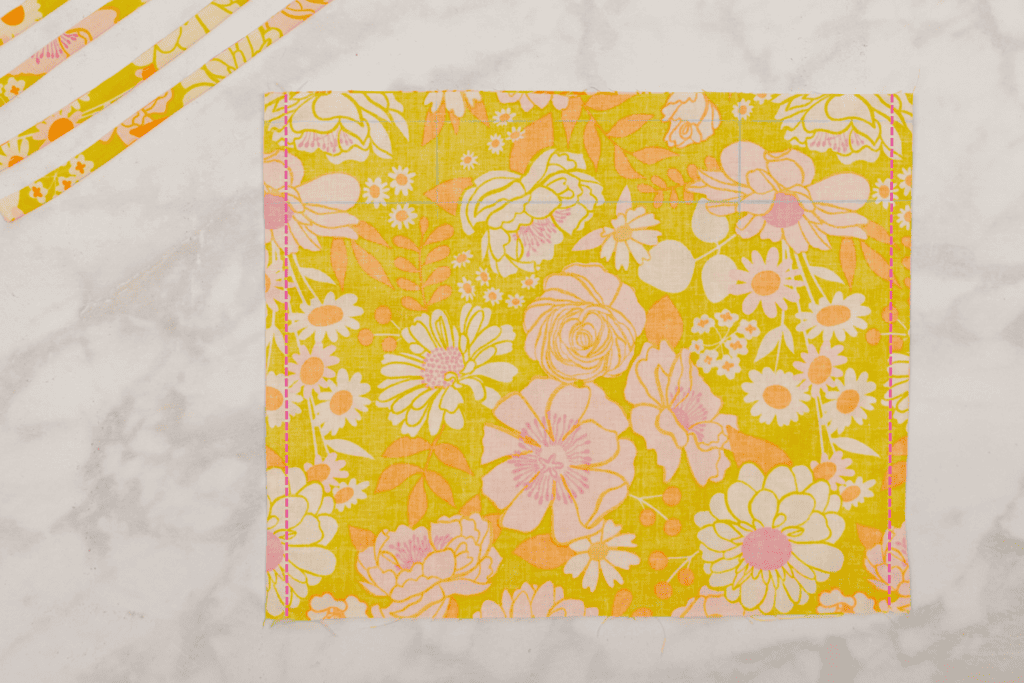
This second round of stitching will enclose the raw edges inside of the seam for a gorgeous, clean finish.
Finally, press the seam allowances to one side.
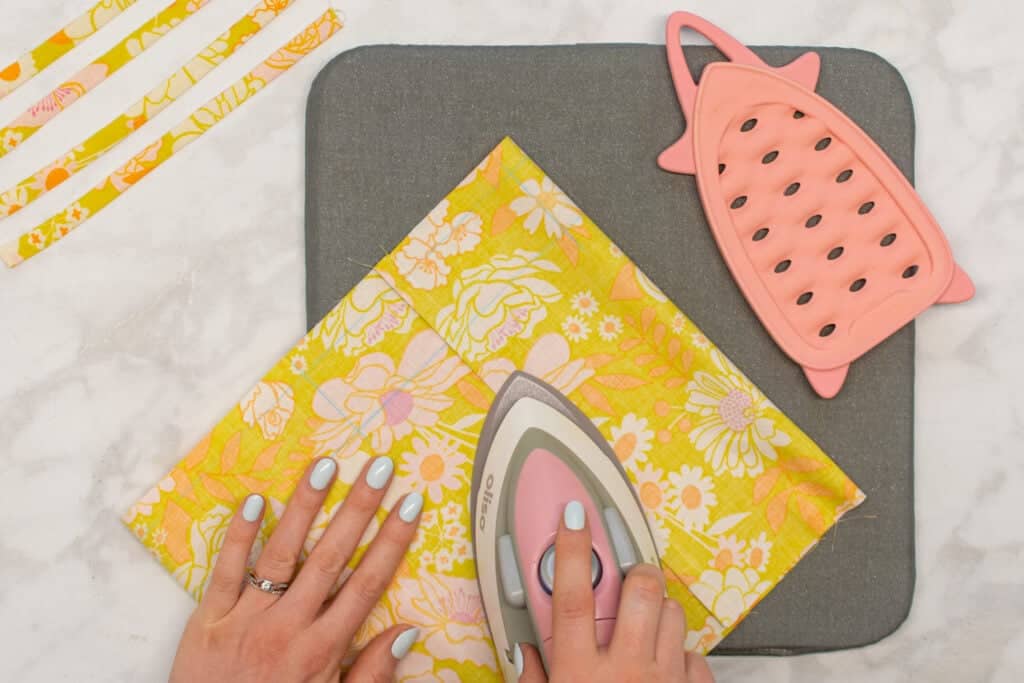
Step Six: Sew the Elastic Casing
Next, we need to prepare the elastic casing at the top edge of the dress.
With the dress inside out, place it on your ironing board or mat. Then, press the top edge to the inside by 1/2".
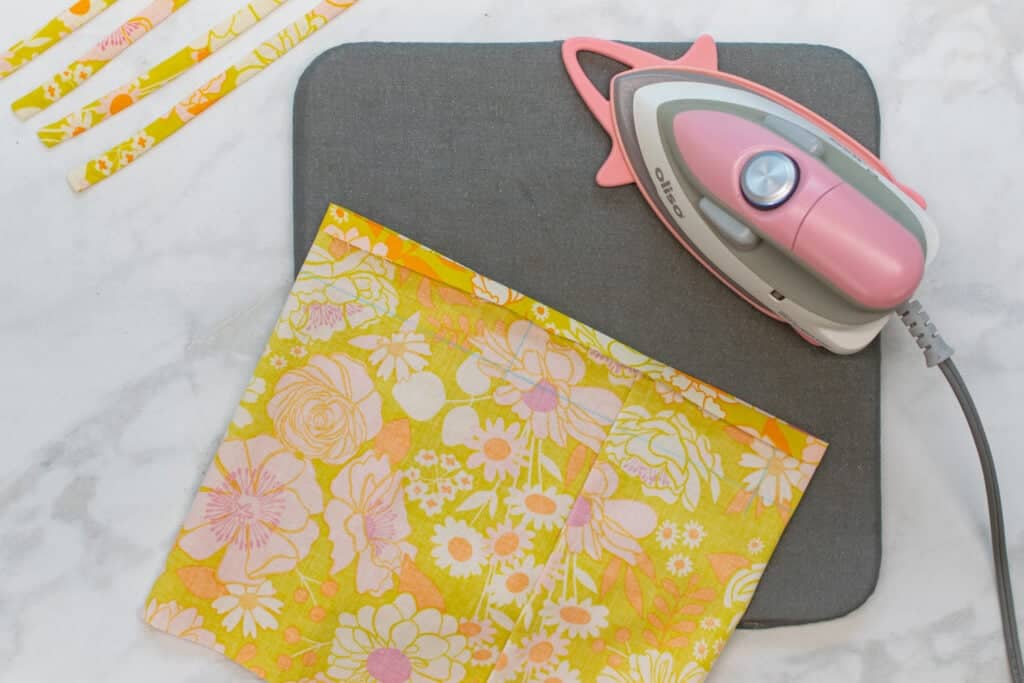
You can use your marked lines to ensure this edge is pressed accurately by folding the fabric along the upper line.
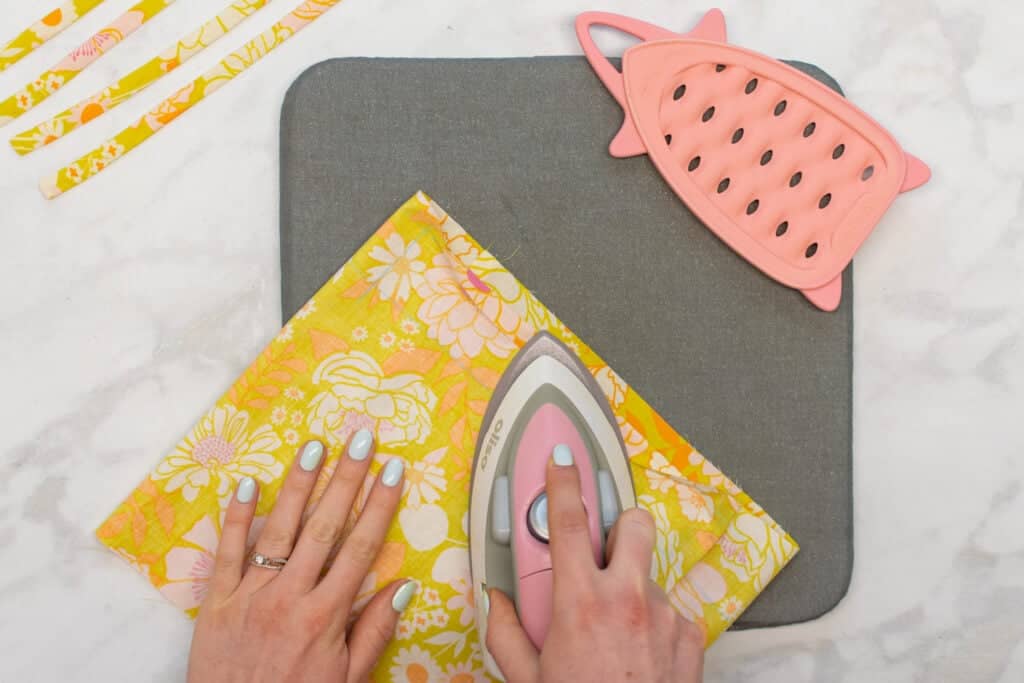
Then, fold the top edge over again so that the pressed edge matches up with the second marked line.
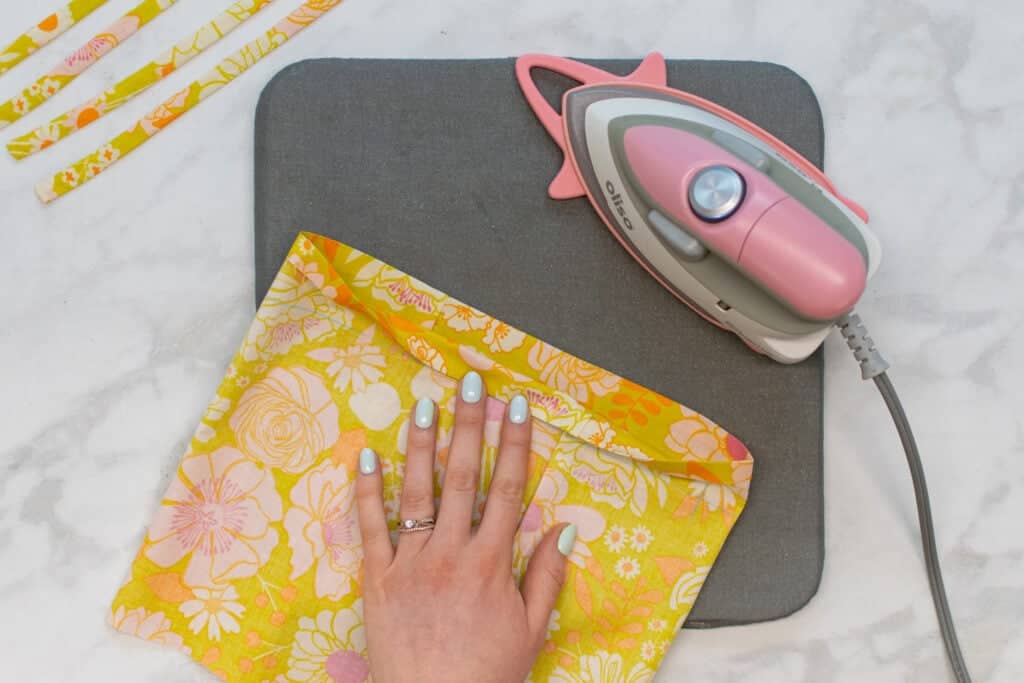
Press this fold in place.
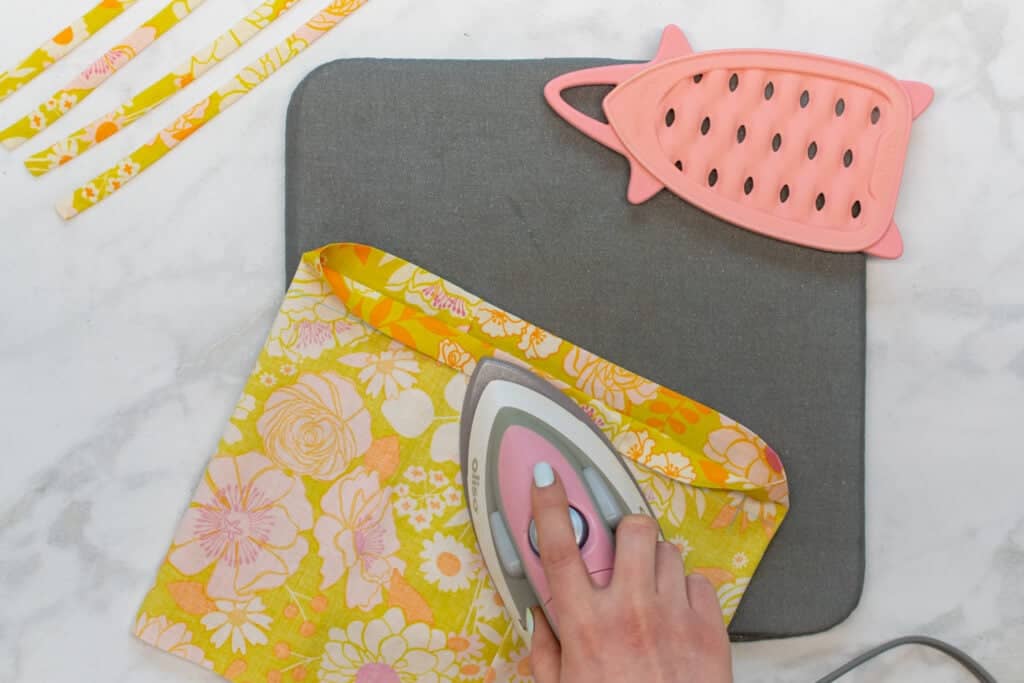
Pin all the way around the folded upper edge of the dress.
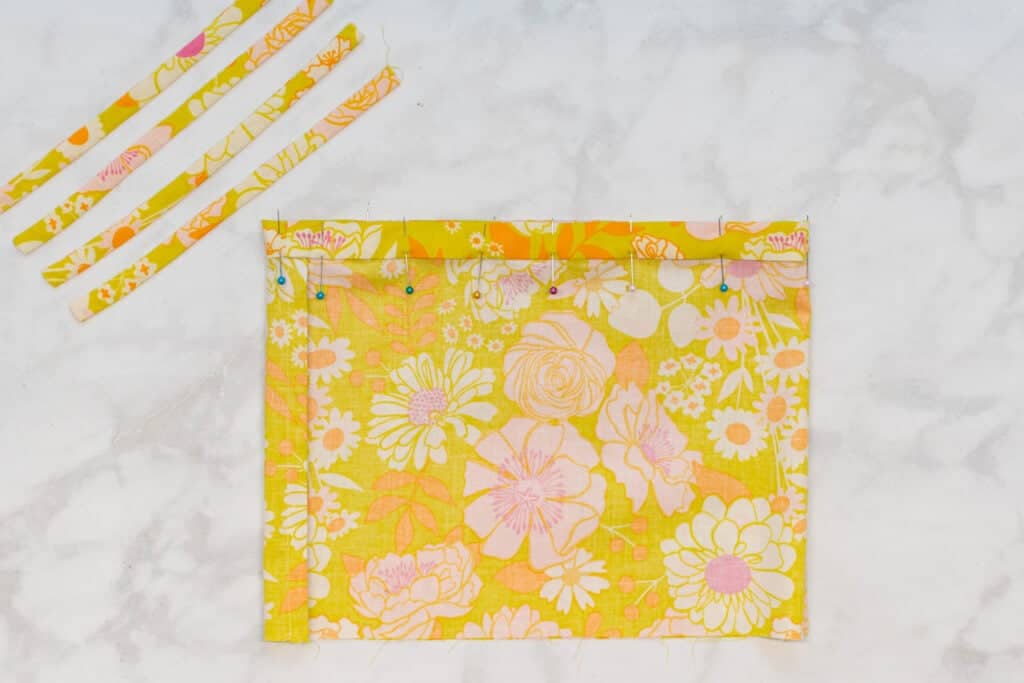
Next, find one of your marked vertical lines. Push the unfinished end of one of the straps under the folded fabric edge, lining up the strap at the center of the vertical marking.
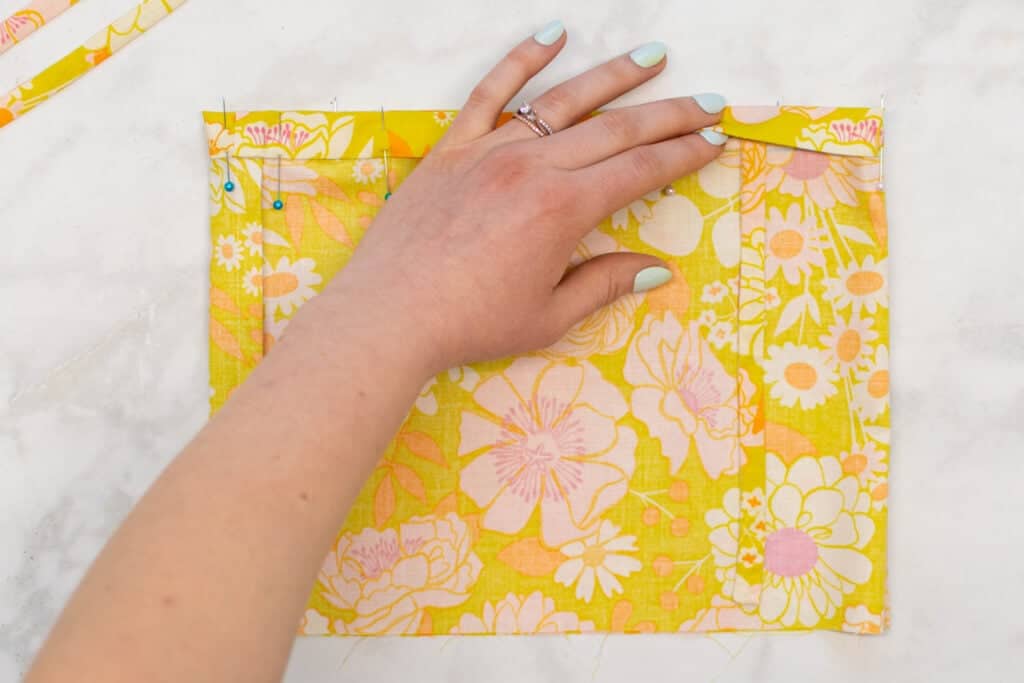
Pin this strap in place.
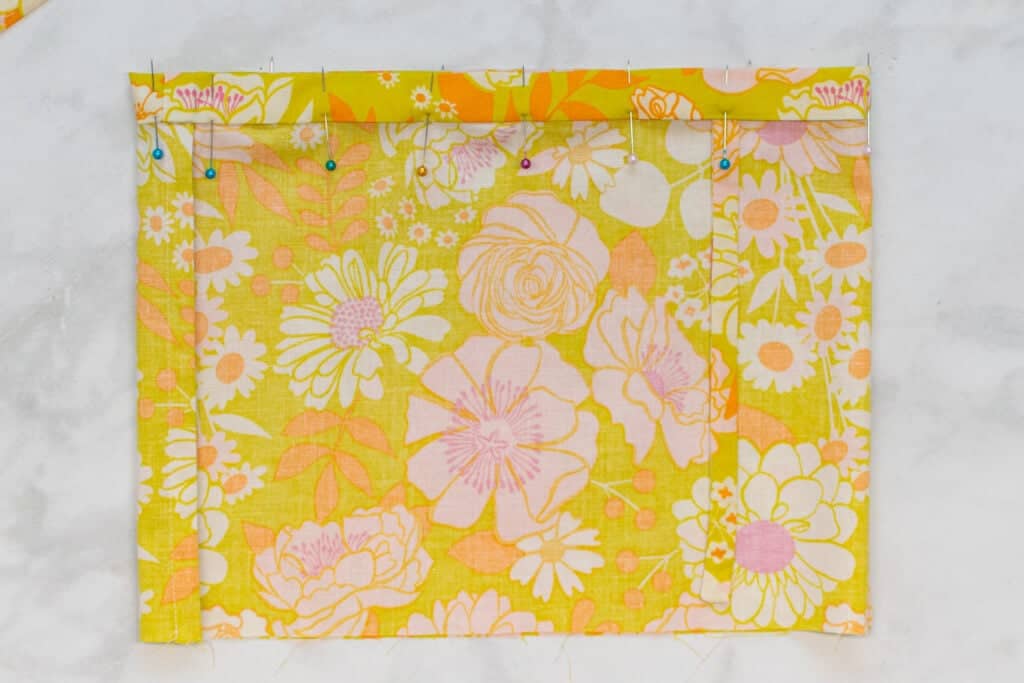
Then, repeat this process to pin each of the 3 remaining straps at one of the remaining 3 vertical markings.

Sewing 1/4" from the folded lower edge of the casing, sew around the casing. Leave an approximately 1" opening in the seam to insert the elastic through later.
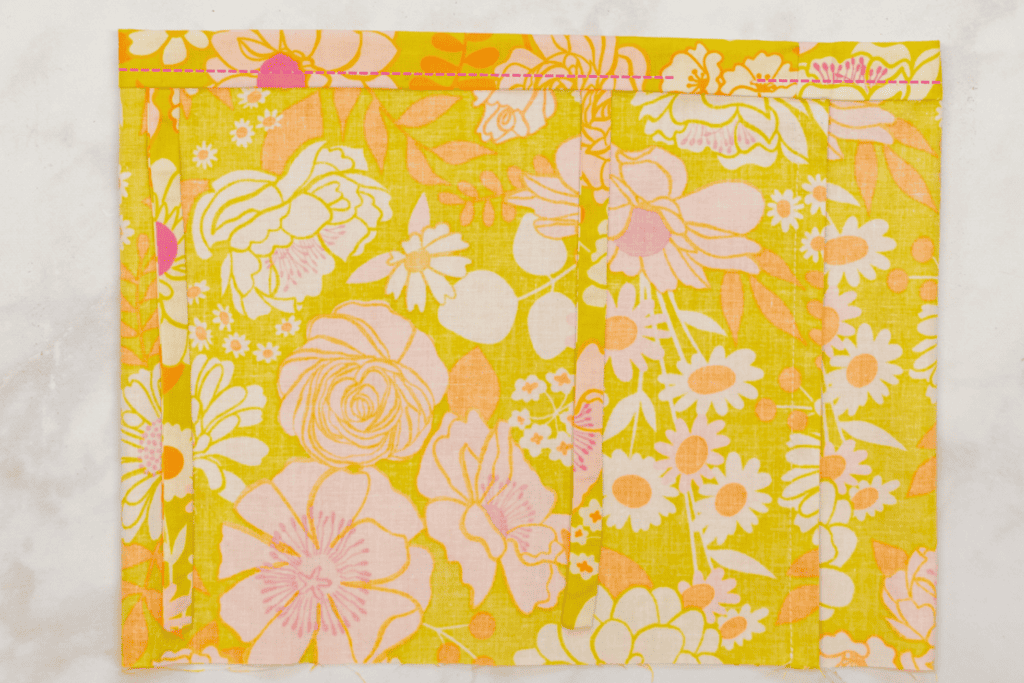
Then, press and pin each strap upwards away from the body of the dress. The straps will be laying across the casing vertically.

Next, stitch the upper portion of the casing by sewing a second line of stitching parallel to the first.
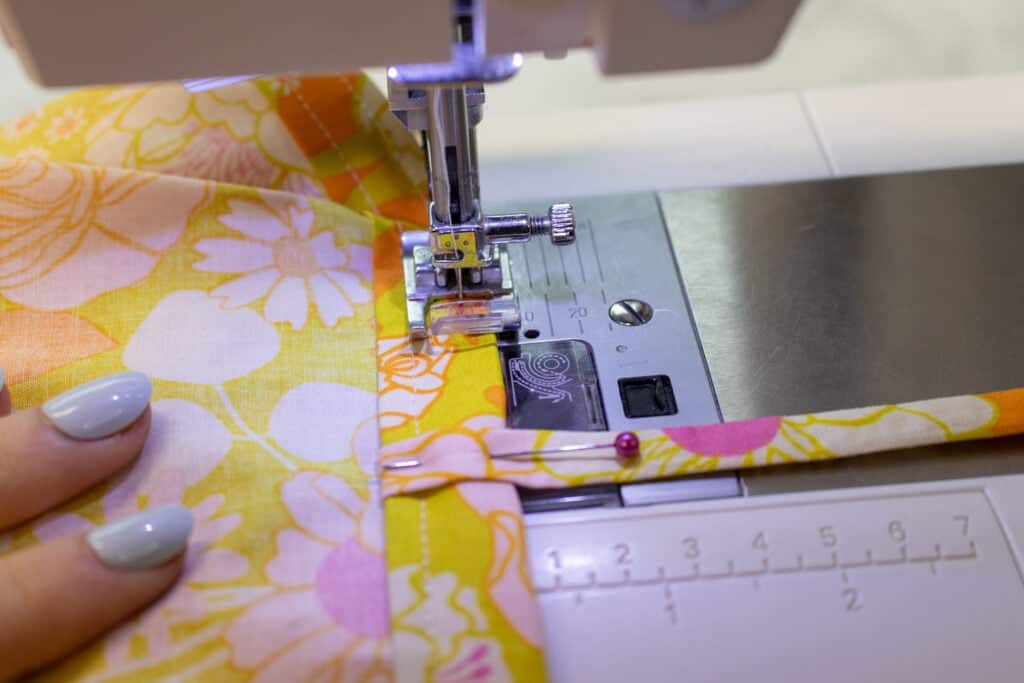
How far above the first line you should sew depends if you are sewing the doll dress or the girls dress:
FOR THE DOLL DRESS PATTERN: Sew a second line of stitching around the casing a little over 1/4" above the first line.
FOR THE GIRLS DRESS PATTERN: Sew a second line of stitching around the casing a little over 3/4" above the first line.
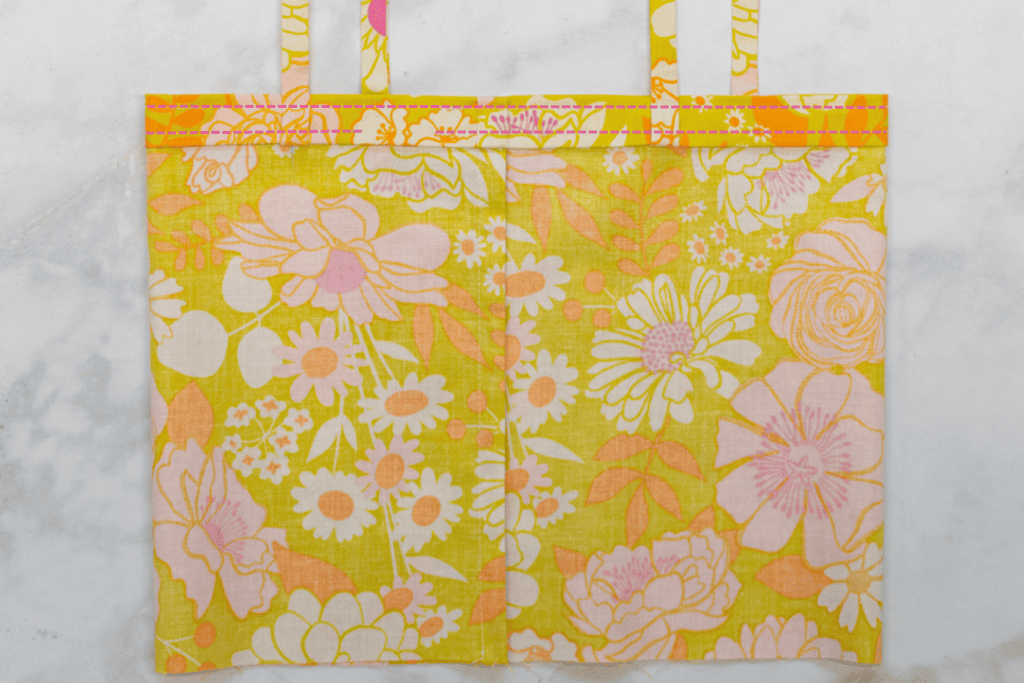
In this second pass of stitching, you will create the casing for the elastic, as well as stitch the straps into the right position.
Step Seven: Insert the Elastic
We're finally ready to insert the elastic into this dress!
To do this, start by attaching a safety pin to one end of your elastic.

Then, push the safety pin into the 1" opening in the casing.
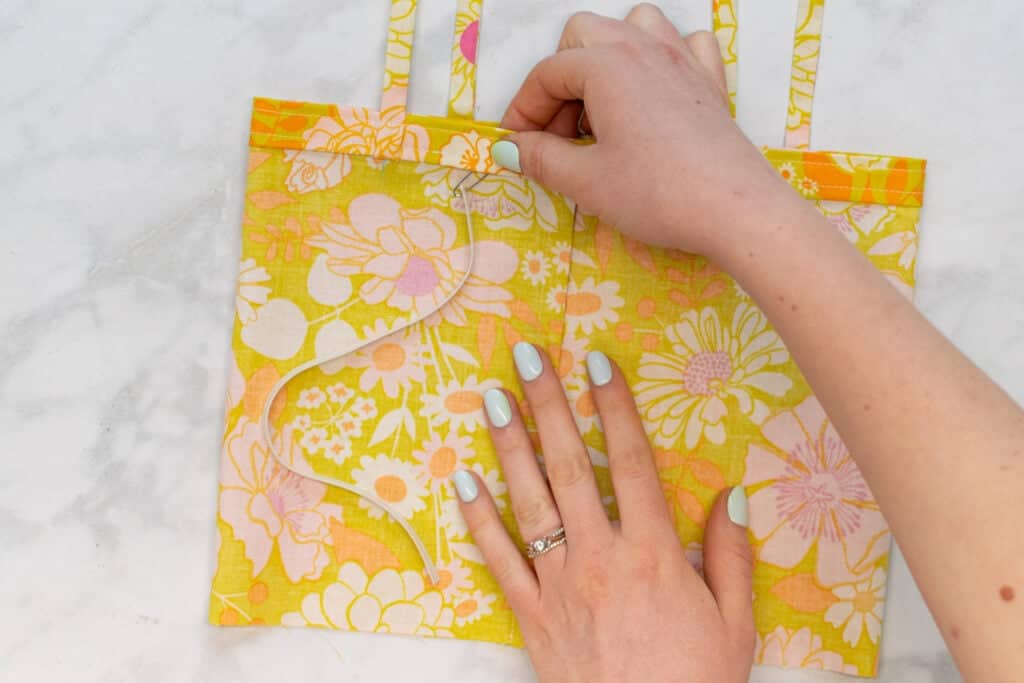
Continue feeding the safety pin slowly through the casing, pulling the fabric back over the safety pin as you go.
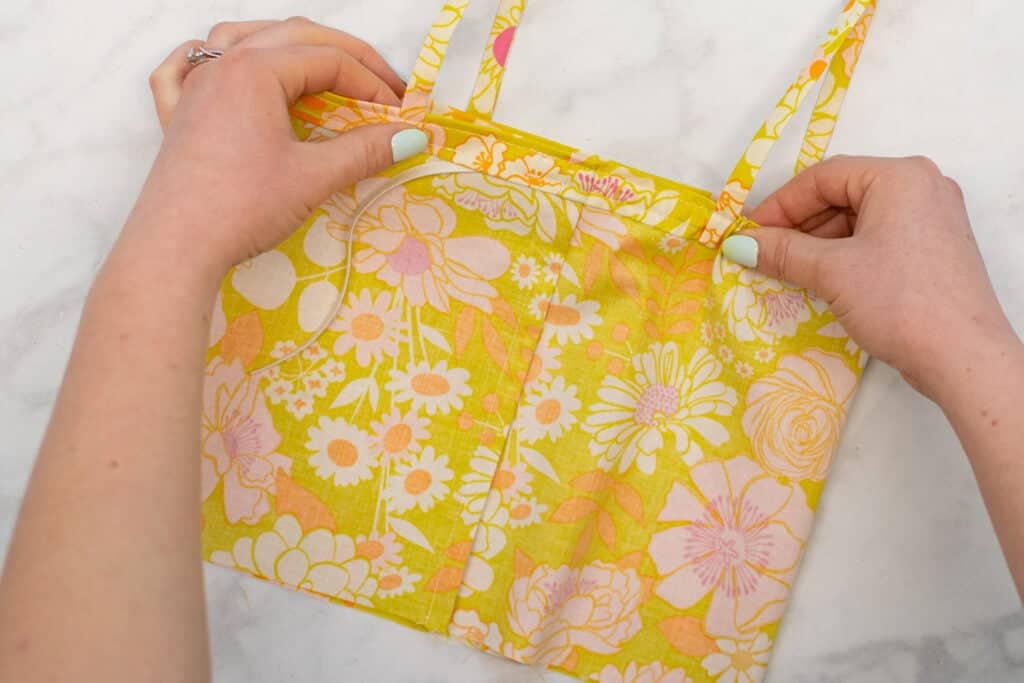
Be careful not to let the elastic fold or twist during the process. In addition, make sure that the second end of the elastic doesn't accidentally disappear into the casing!
*PRO TIP: To ensure that the tail end of my elastic doesn't accidentally get pulled into the casing, I like to attach a second safety pin to this end and pin it to the fabric just outside the opening in the casing.

Feed the first end of the elastic all the way through the casing until it comes out the other side of the opening.
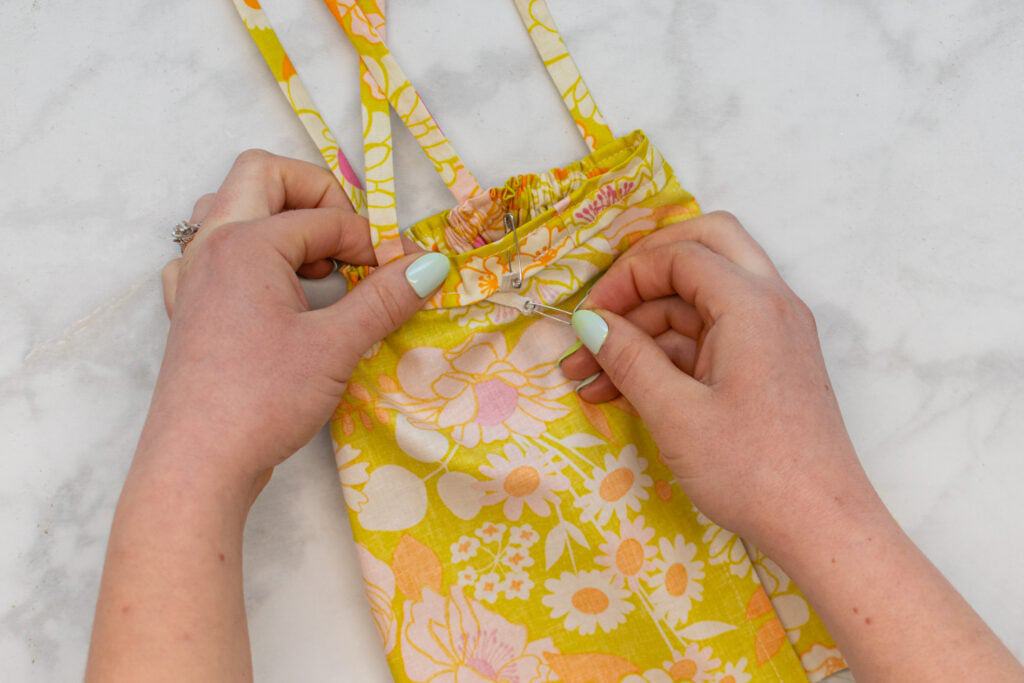
Overlap the two ends of the elastic by approximately 1/2", making sure that there are no twists in the elastic. Pin the two elastic ends together.

Stitch several times over and back across the overlapped elastic ends, using a zigzag stitch.
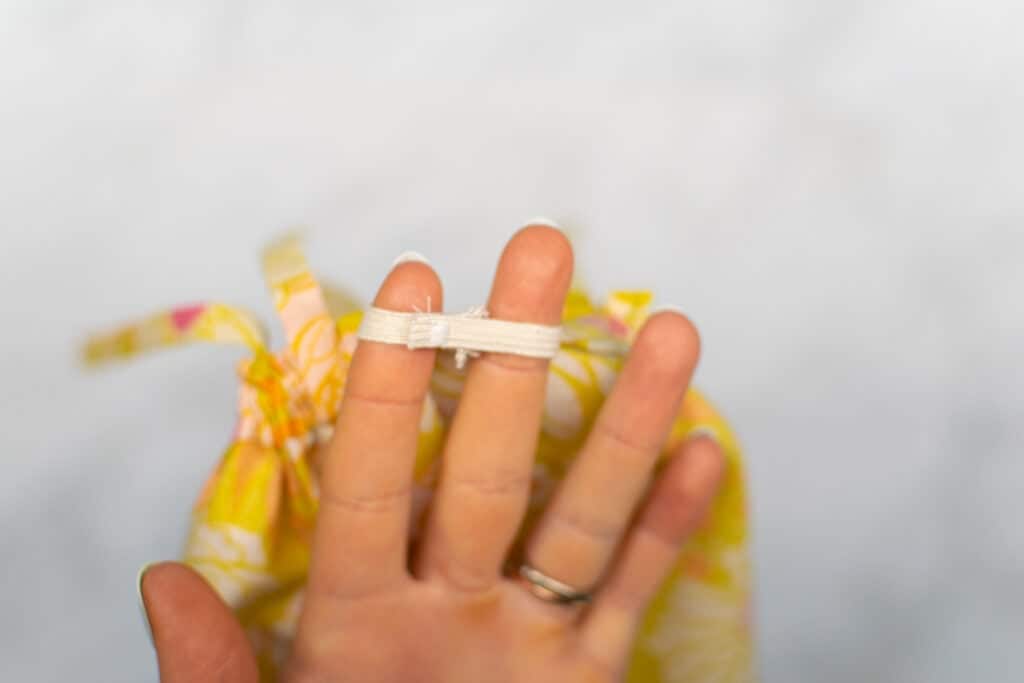
*PRO TIP: Pull the pinned elastic ends further out of the opening in the casing before sewing. This will make it easier to stitch the elastic without accidentally catching the fabric.
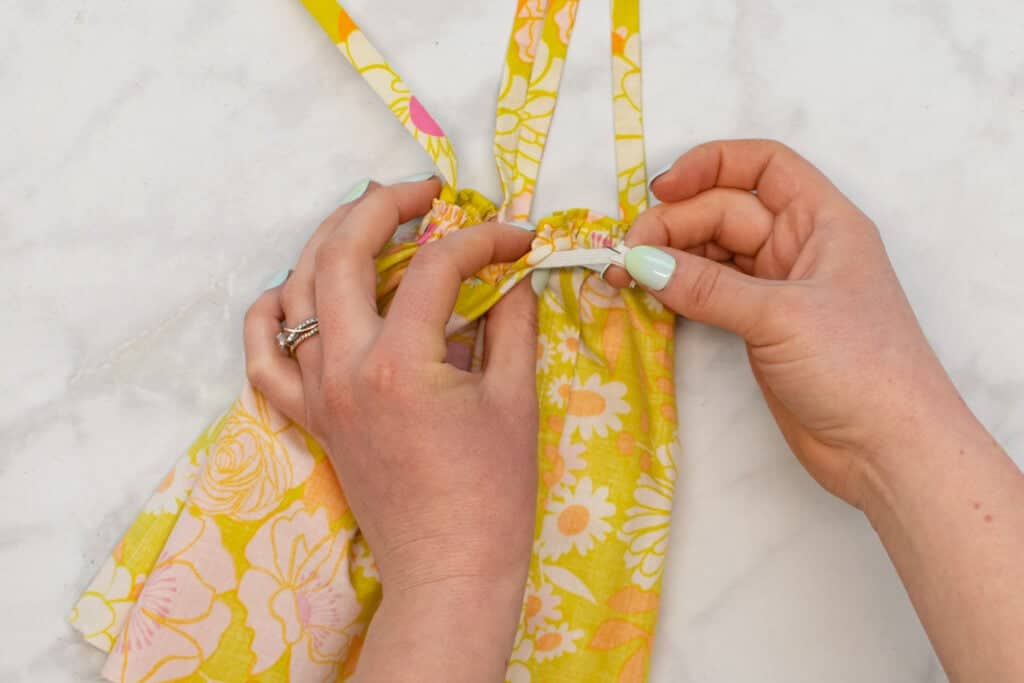
Finally, release the elastic and pull on the fabric casing to allow the elastic to snap back into the casing.

Stitch the 1" opening in the casing closed by connecting the two ends of the previous stitching lines with another line of stitches. Make sure to backstitch at the beginning and end!

Finally, even out the elastic by moving the gathers around the top of the dress with your fingers until you're happy with how they look.
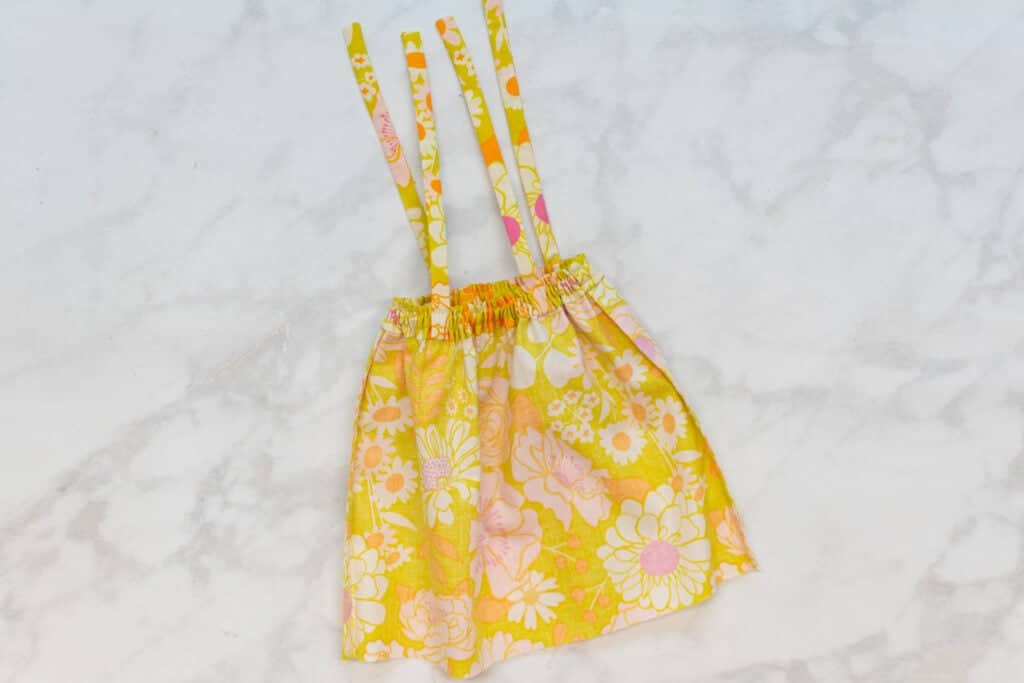
Step Eight: Hem the Dress
The final step is to hem the bottom of the dress!
To do this, turn the dress inside out and place it on your ironing board or mat.
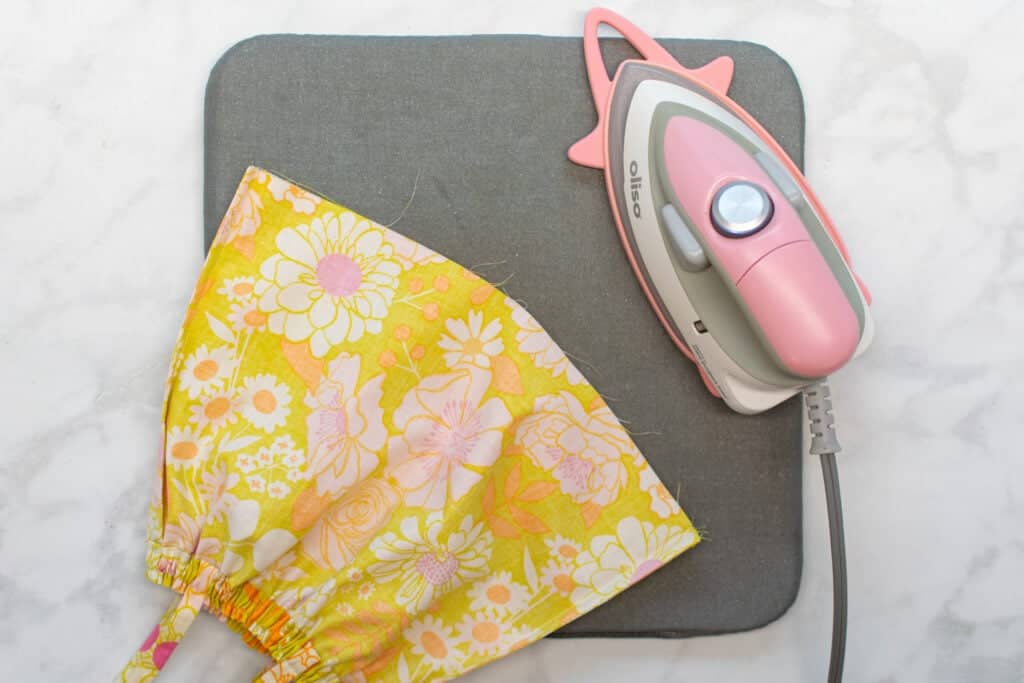
Press the bottom edge of the dress up to the inside by approximately 1/2".

Then, fold it up again by a second 1/2" and press the hem flat. This second fold will encase the raw edges inside the hem.
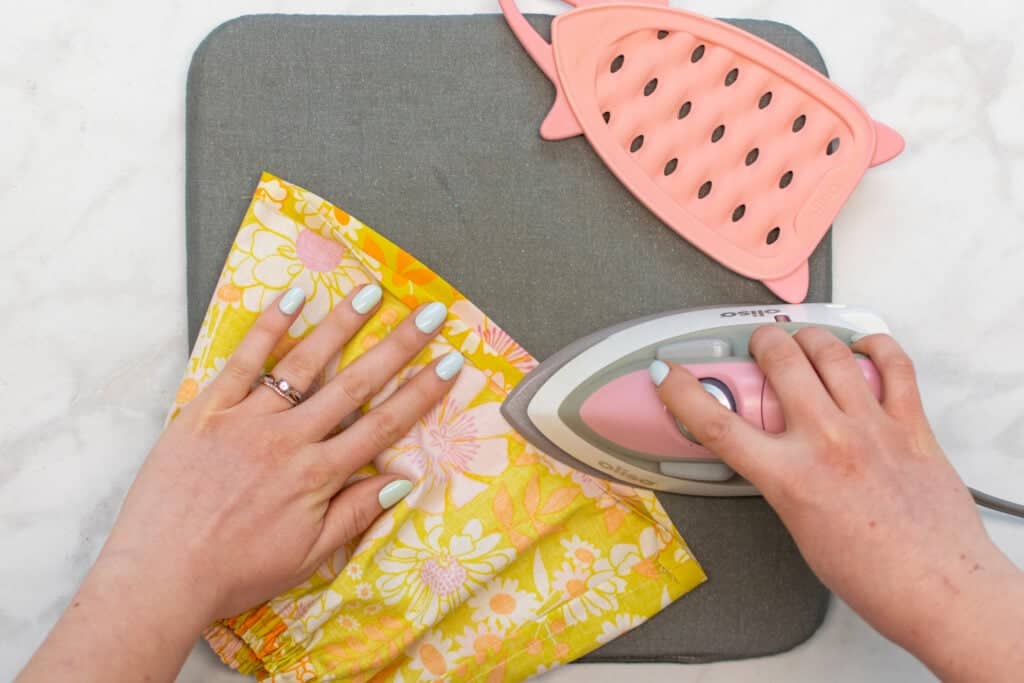
Then, pin the hem in place.
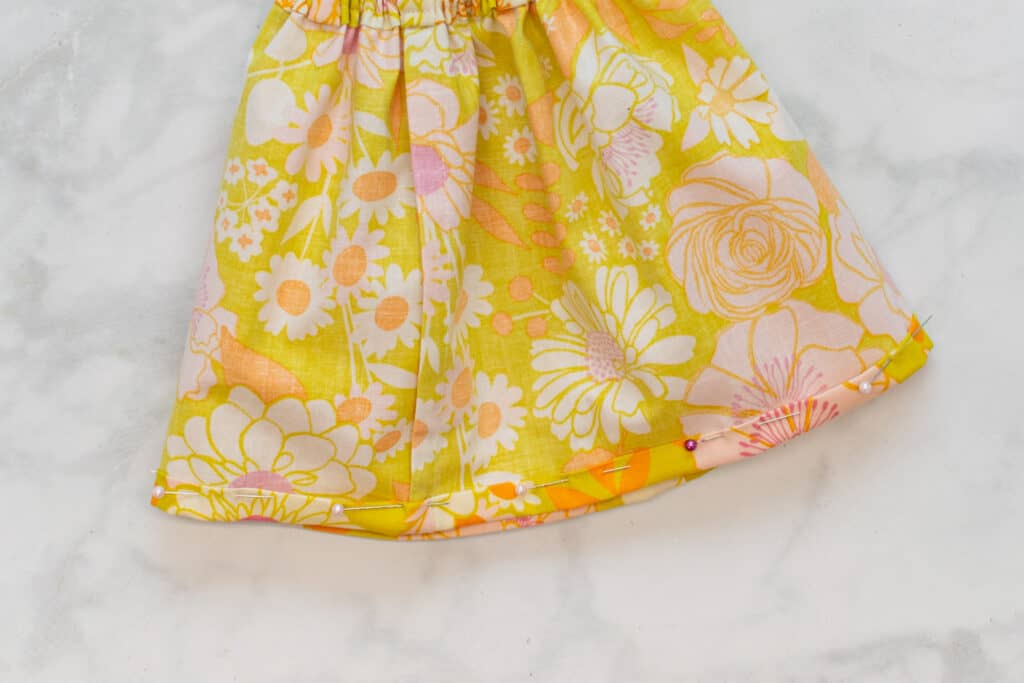
Topstitch the hem, sewing 1/8" - 1/4" from the interior folded edge of the hem.

Give everything a final press with your iron and you're finished! Congratulations!
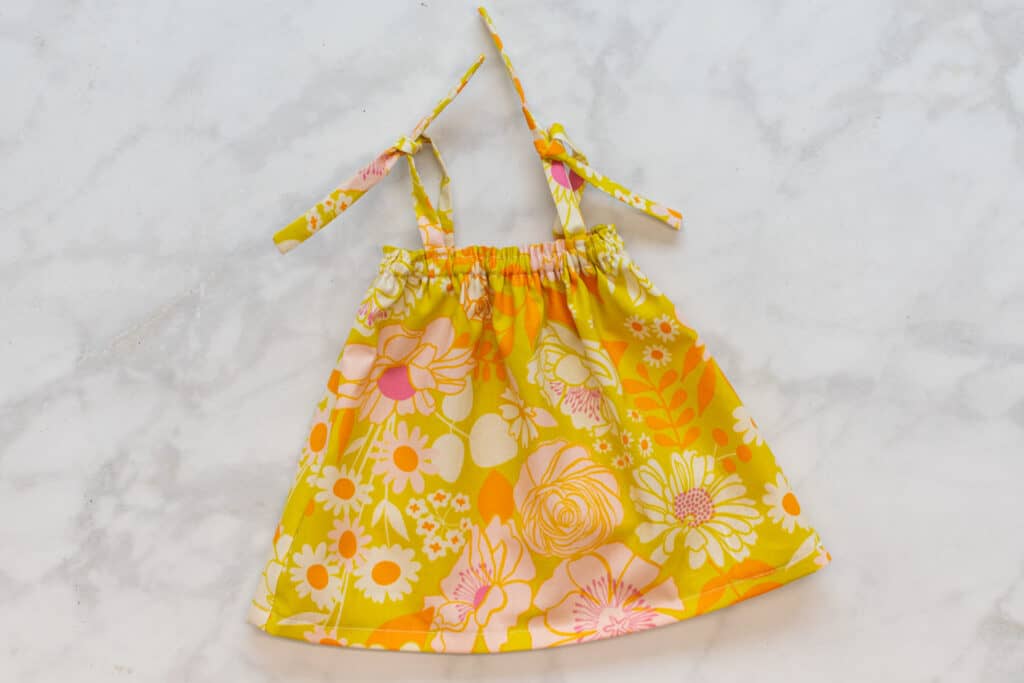
Now it's time to enjoy your finished dress!
Looking for even more free sewing patterns for kids? Be sure to check out the posts below!
Do you love your Mila Dress? Share your finished dress with us in the Sweet Red Poppy Crafting & Sewing Facebook Group!

Love love love the Mila dress. Thought it would be an awesome dress for my group to use for Dress A Girl. I’m trying g to read the instructions but the ads on the link is so off the hook that I can’t get through the instructions. I get so far and I get an error message. I tried numerous.times and it keeps happening. Is there a way to print the instructions without ads?
Is there a way to print off the instructions without battling the insane pop ups. I am having a horrible time just trying to type this comment
Most page like this will have what they call , Simple page, where the information is gathered together with out the ads being placed over the information and the thrust of the article can be printed or in my case I have a pdf maker on the printer that allows me to capture the info and place it in a folder with the pattern.
Switched from pc to iPad, much easier. Good luck!
How far do you put the unfinished strap edge in the folded area? Should it touch the ironed edge (for the dress approx. 2 inches in)?