Table of Contents
Sailor Hair Bow Sewing Tutorial and Free Printable PDF Pattern
Follow this Simple and Sweet Sailor Hair Bow Step-by-Step Photo and Video Tutorial and Download the Free Printable PDF Pattern.
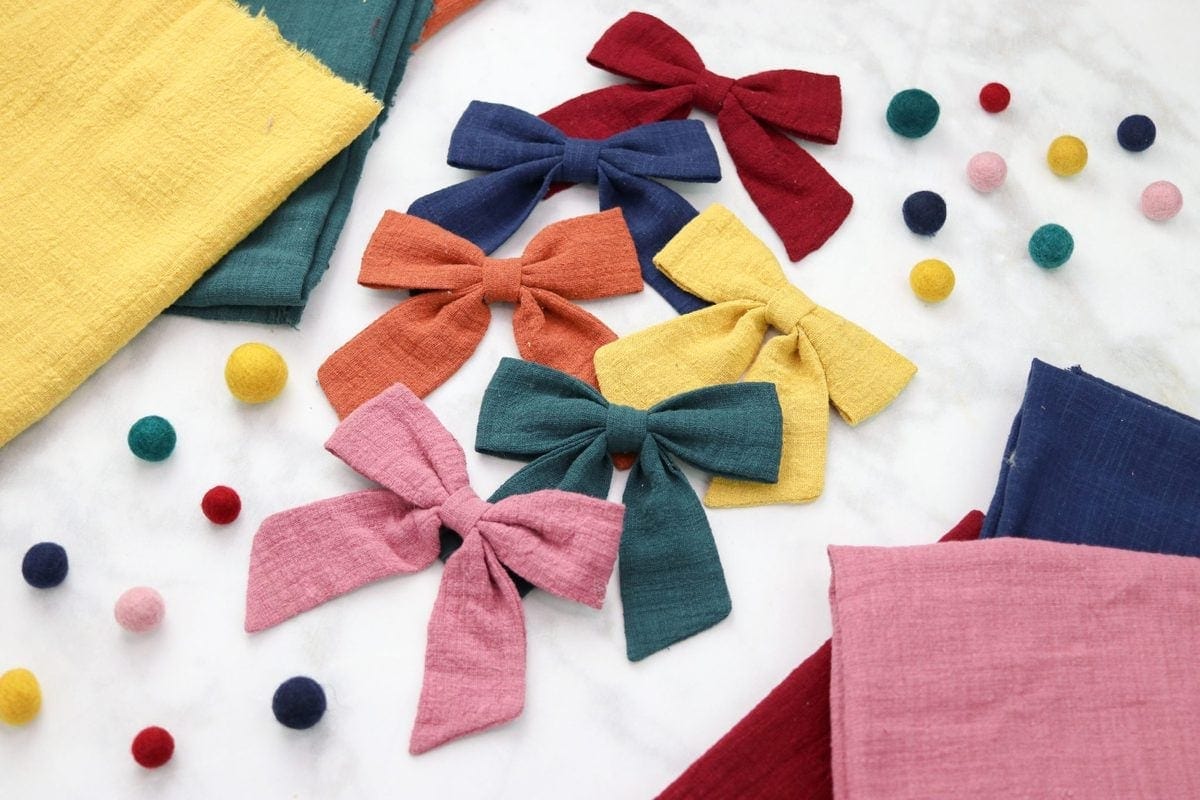
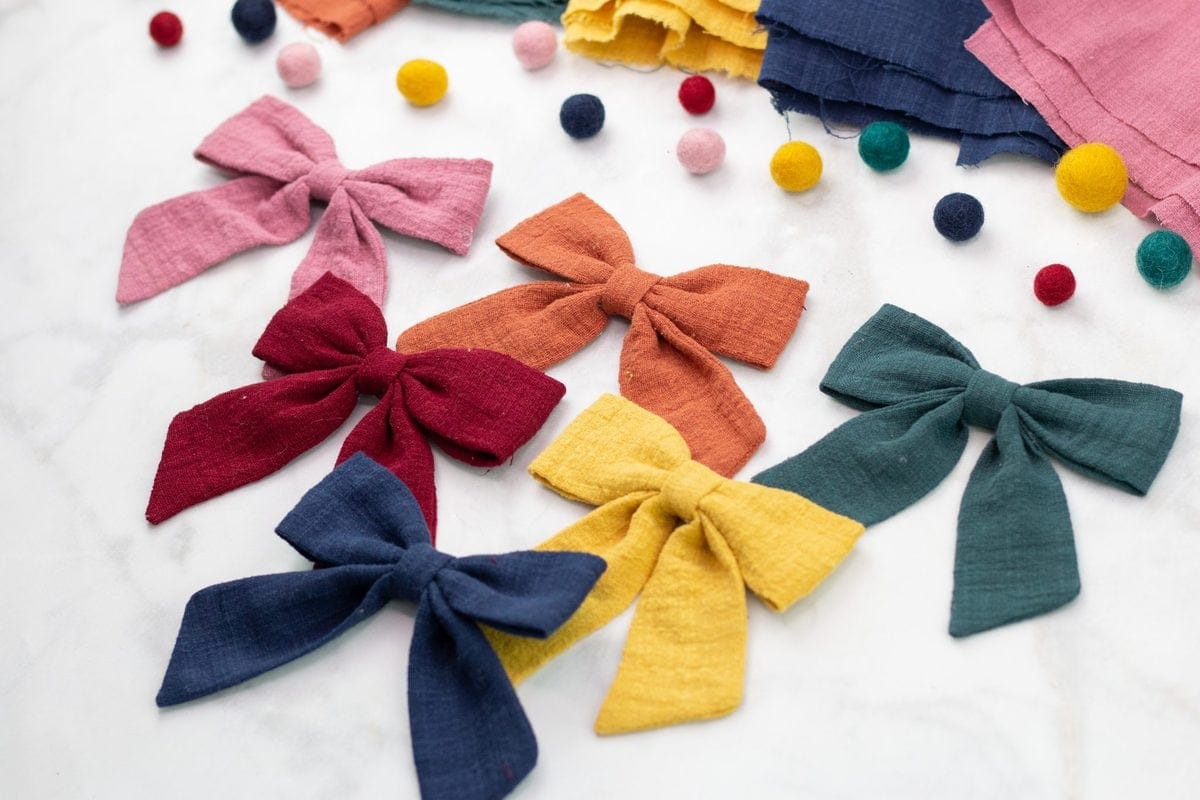
I love creating hair bows for my two little girls and this pattern is my new favorite! I know, I know, I say that every time! But this one really takes the cake! It's simple and sweet and has a bit of vintage flair to it. You can dress it up with a fancy fabric or make it out of a simple chambray for everyday use.
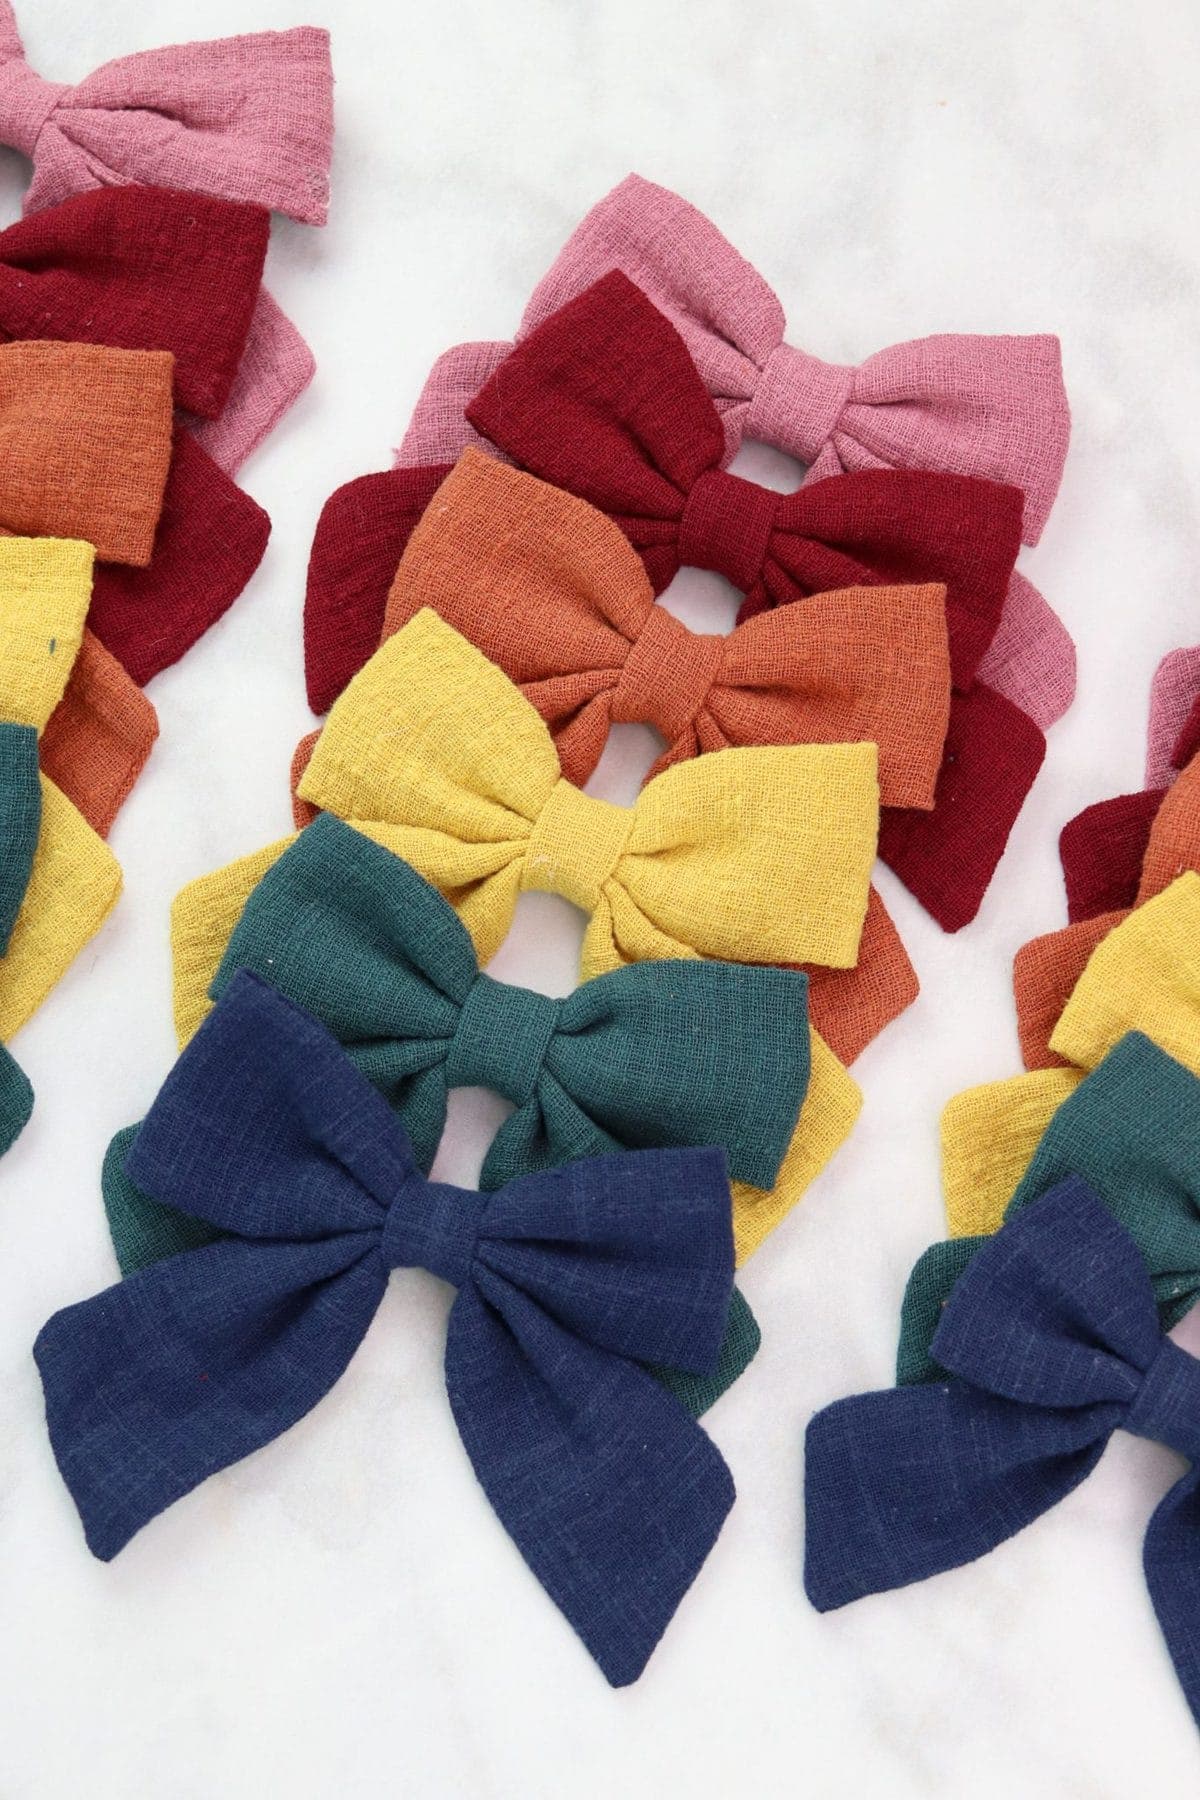
I've made over 40 of these bows figuring out the very best method for construction and I'm so excited to share everything with you! Also, there are four different sizes making it perfect for all ages. Yes, I've even thrown one of these bows in my hair with a low pony-tail and it's pretty dang cute!
If you have an Etsy shop these bows are a great item to sell! I'll even give you tips on how to make them assembly-line style to maximize your time! If you've ever wondered how to make a baby hair bow, then this pattern is for you! Make sure to check out all of my hair bow tutorials here:
Supplies
Fat Quarter of Quilting Cotton (here's the linen I used)
Sewing Machine
Coordinating Thread
Small Alligator Clip
Hot Glue Gun
Plastic Hair Elastics
Printer & Paper
Scissors or Rotary
Iron
Get the free pattern here!
If you have a Cricut Maker you can download the SVG files as well and cut them on your Cricut Maker.
Print and Assemble the PDF Sailor Bow Pattern
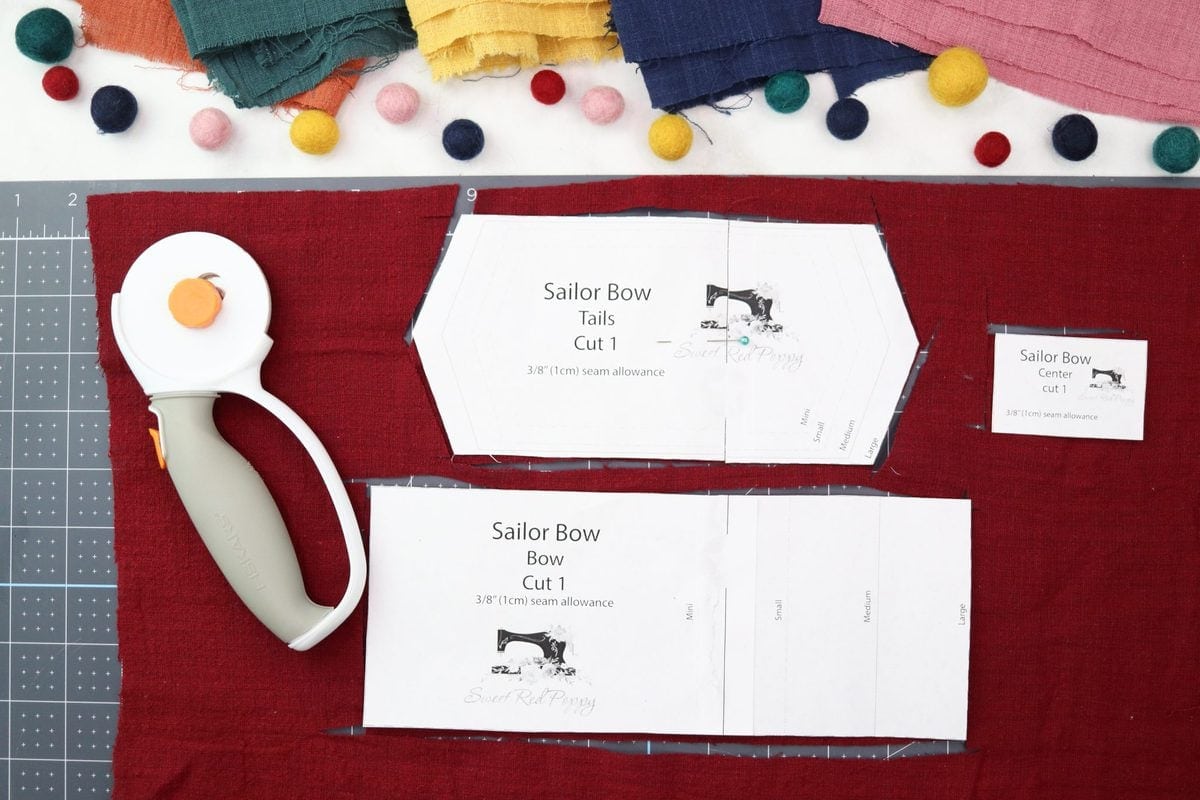
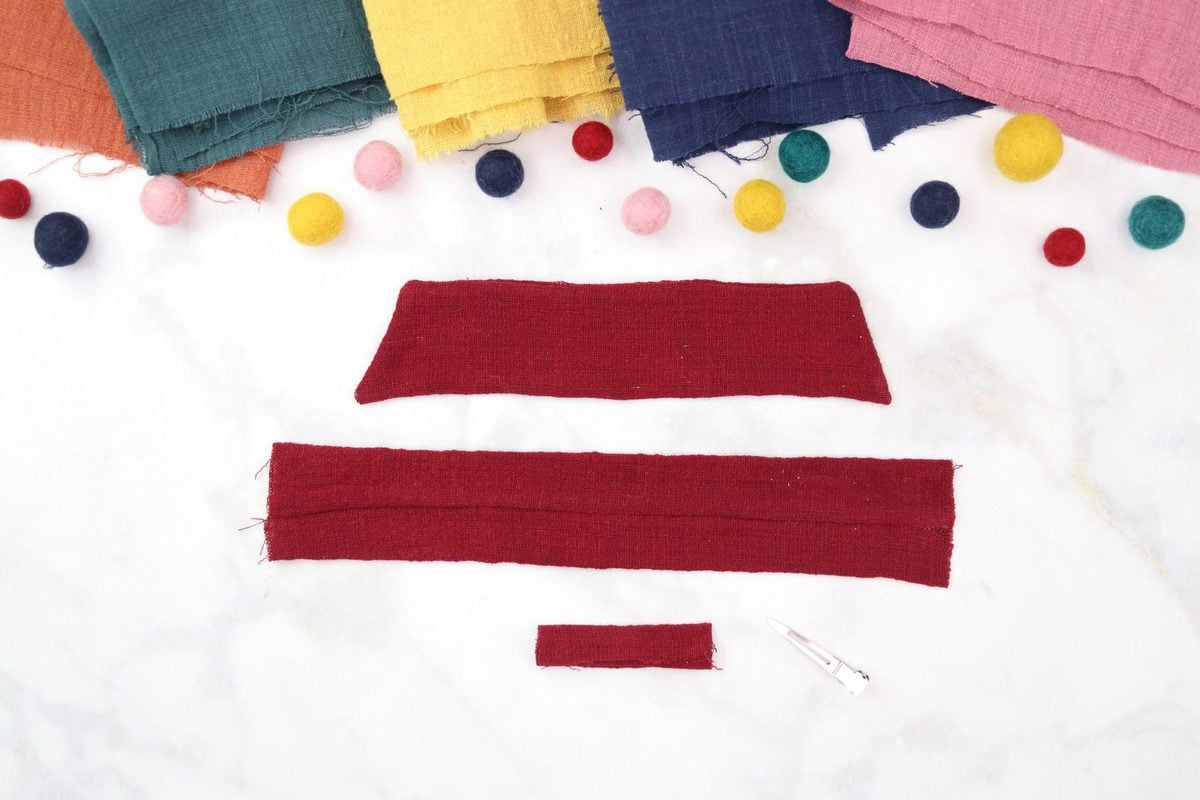
Download the Sailor Hair Bow PDF Pattern to your desktop. Open the file and print the pattern. If you plan on making multiple different sizes, print multiple copies of the pattern. Align and tape the pattern pieces together. Choose your desired size and cut around the pattern pieces. You should have three different pattern pieces.
Cut out the Fabric
Lay the fabric out on a flat surface. If you plan to make multiple bows you can layer your fabric and cut multiple bows at once. This is a great way to save time!
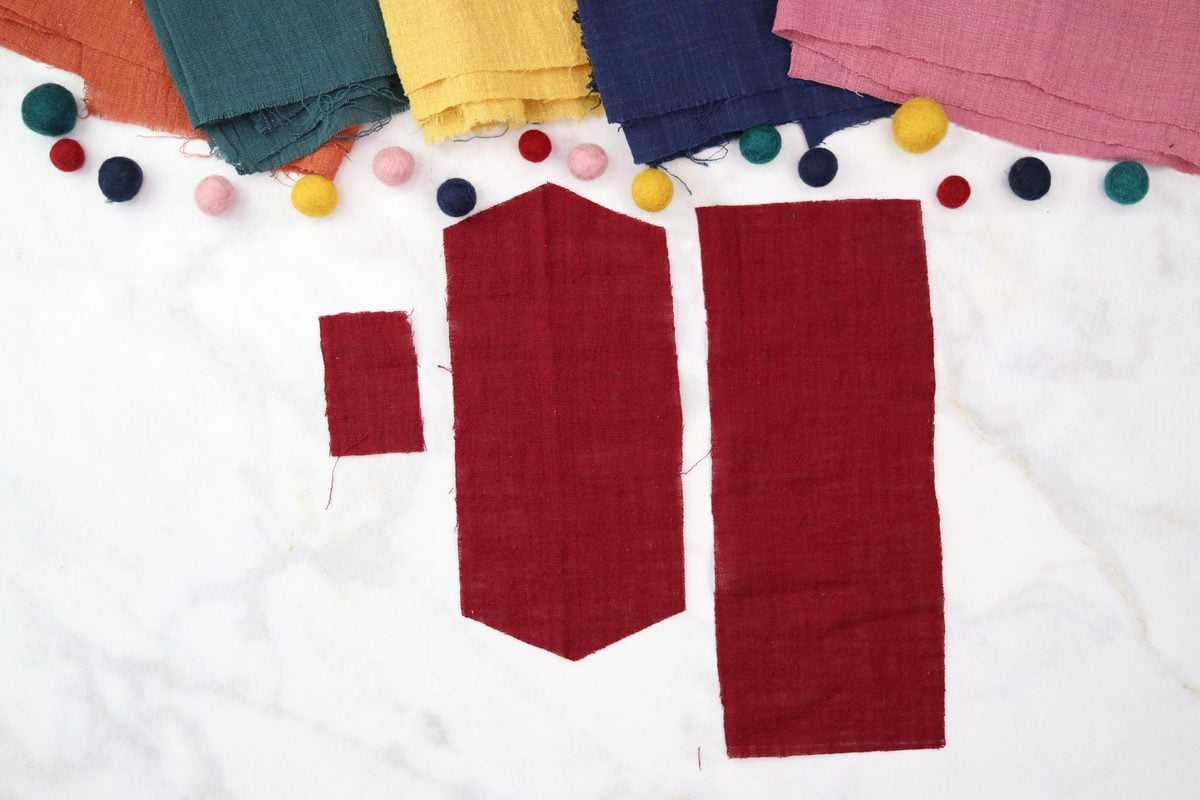
Lay each pattern piece out so it is straight across the grain of the fabric. Use a pin to attach the pattern piece to the fabric and cut around each pattern.
Sew the Sailor Bow Pieces
Now it's time to start sewing! Thread your machine with a coordinating color of thread to match the bow. In the photos below you will notice I used a contrasting color of thread so that you could easily see the stitching lines.
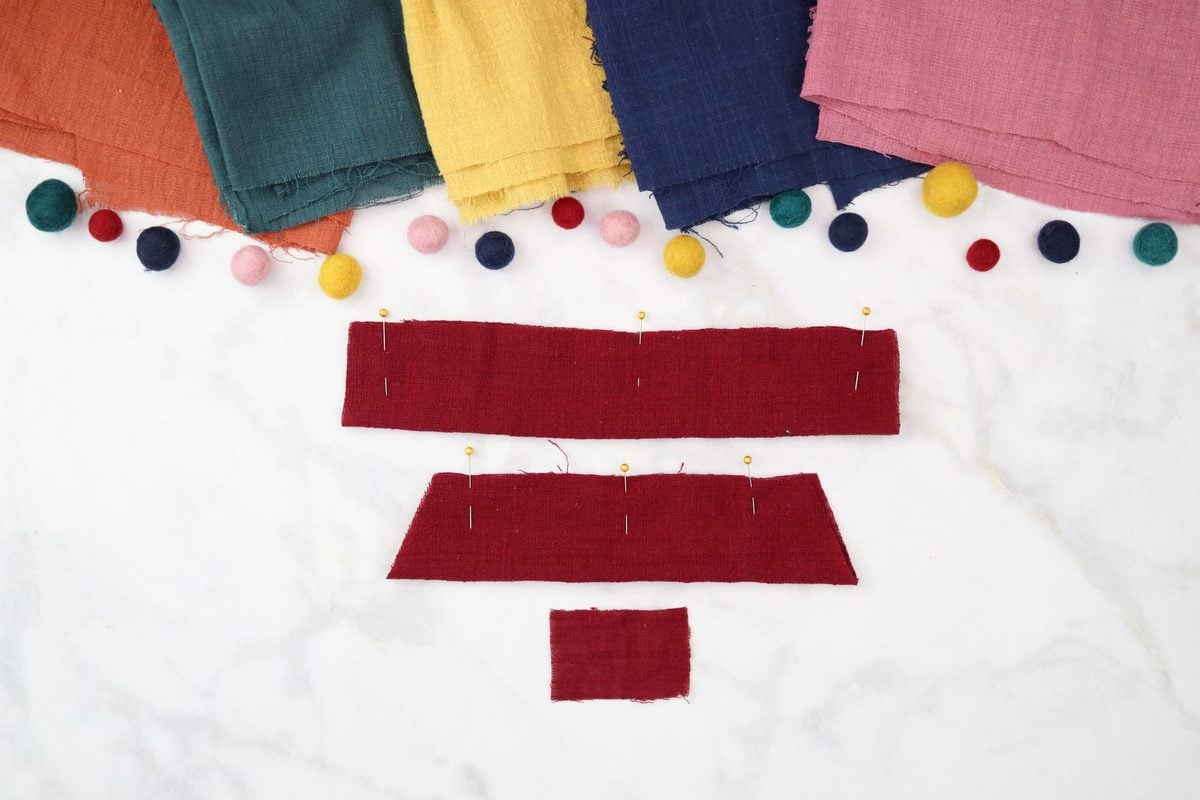
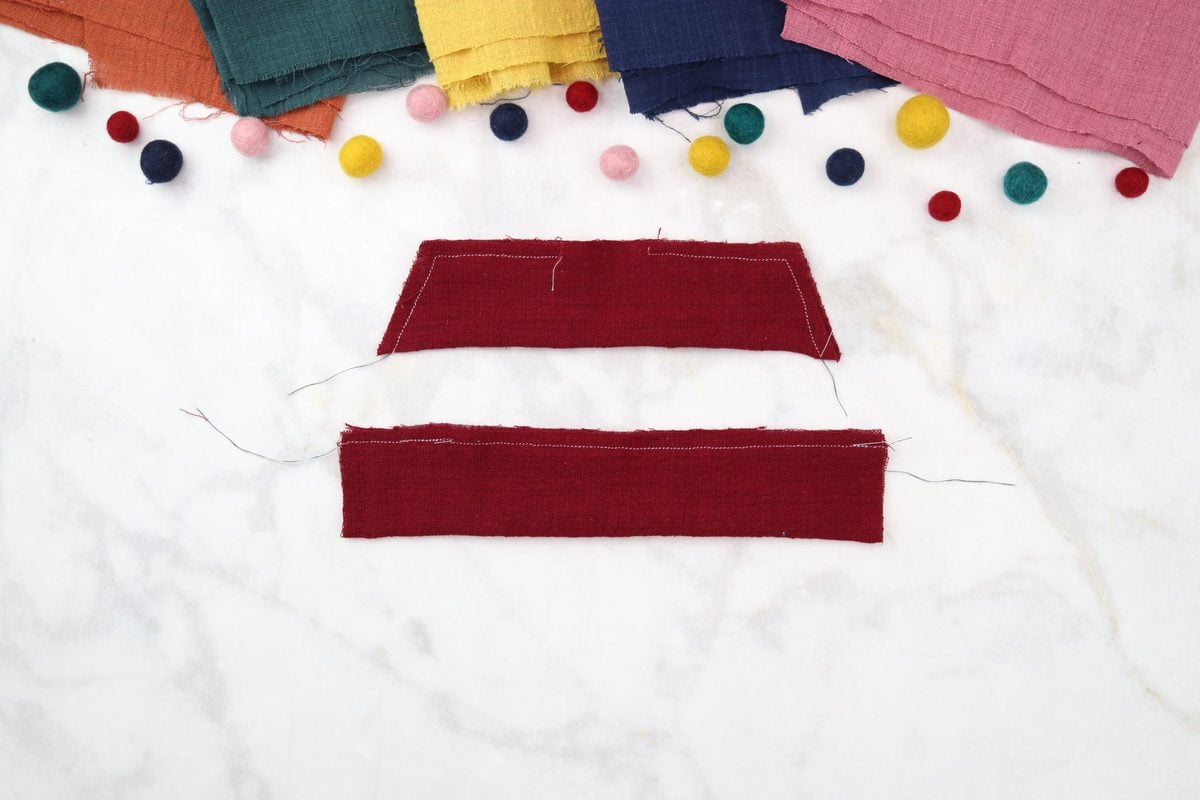
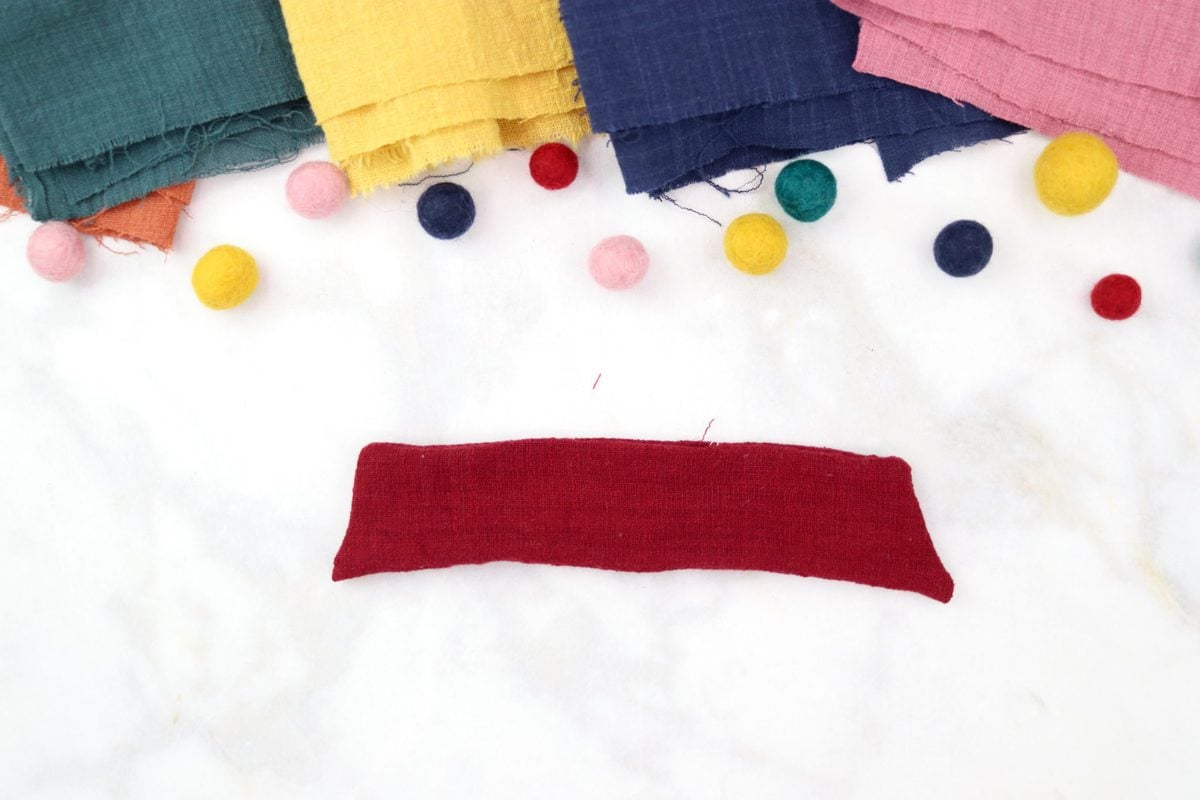
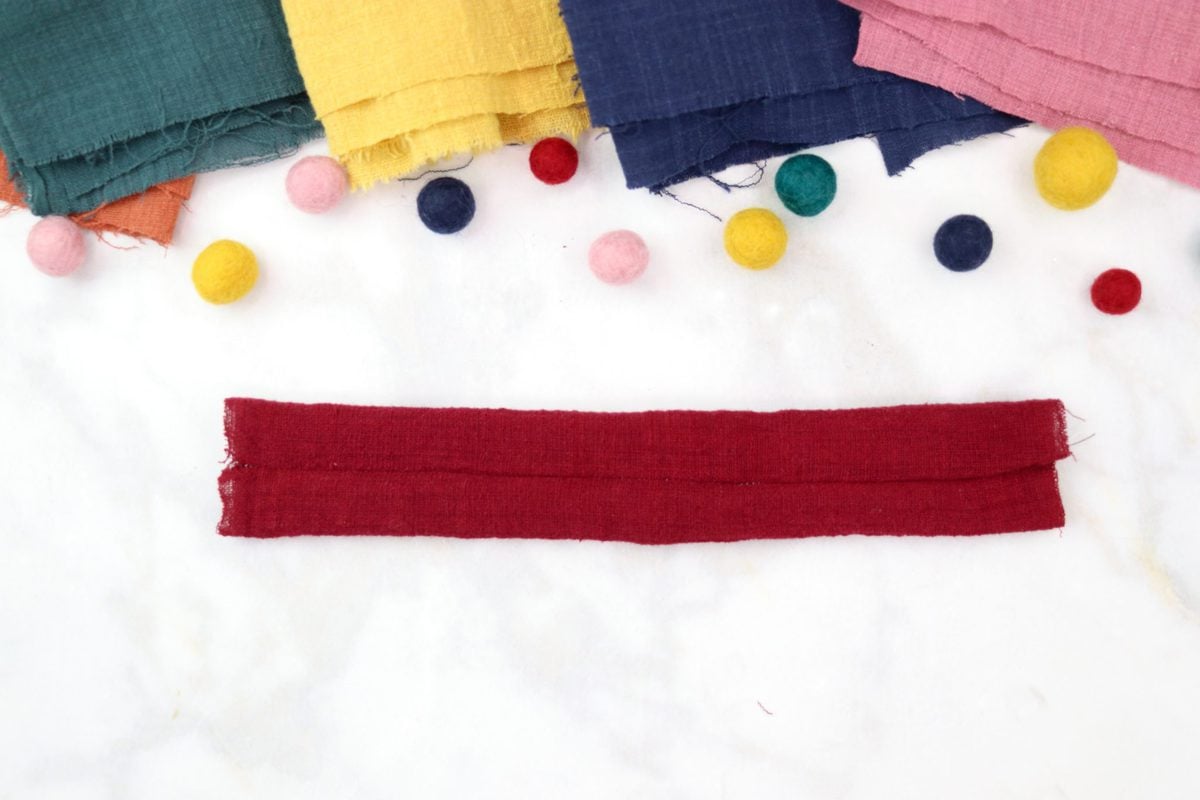
Fold the rectangle in half length wise with wrong sides together. With a 3/8th's inch seam allowance sew along the raw edge of the fabric making sure to backstitch at the beginning and the ending of the bow. Backstitching gives extra support to the seam so that it doesn't unravel as you are turning it right side out.
Fold the bow tail piece in half. Start at the angled corner and sew to the opposite side leaving a one-inch hole in the middle for turning. Make sure to backstitch at the beginning and ending of the opening.
Turn the Bow Right Side Out
Turn each bow right side out so that the seams are hidden on the inside. Use a threaded needle to pull out the corners of the bow tails for nice, sharp points. roll the seam allowance on the main bow to the center back.
Press Each Pattern Piece
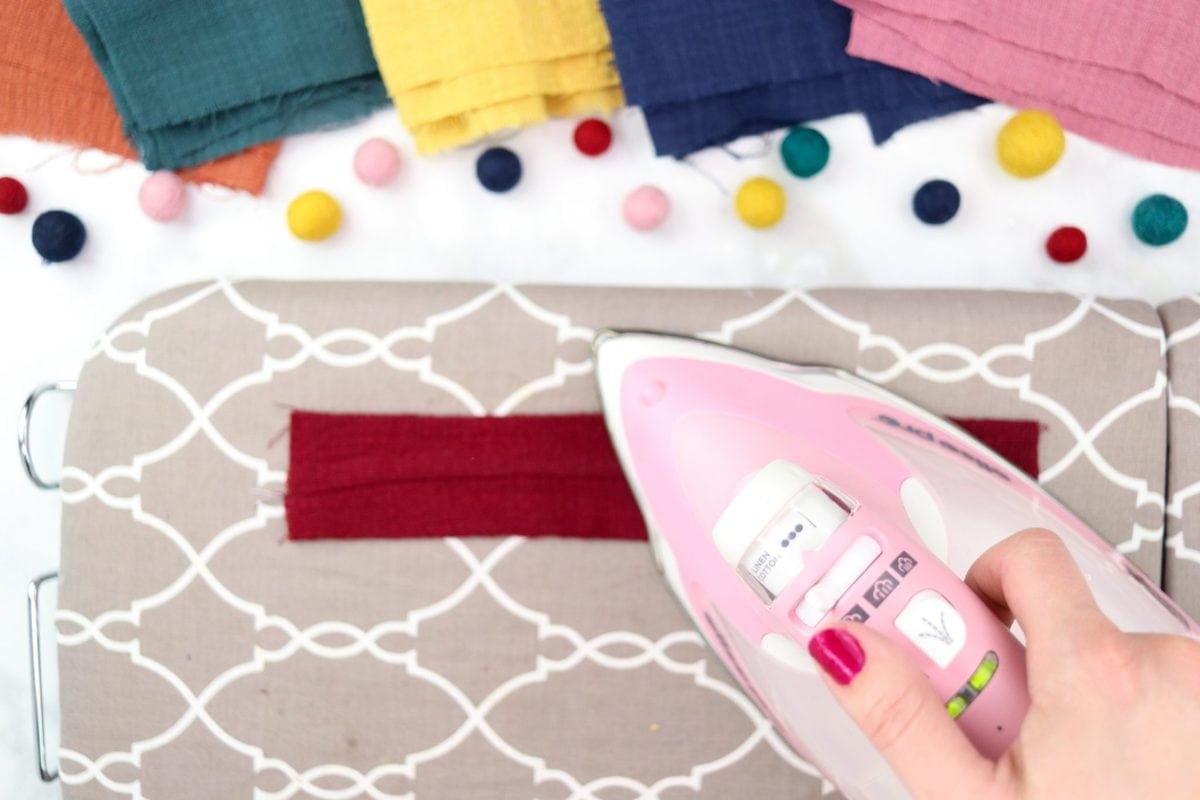
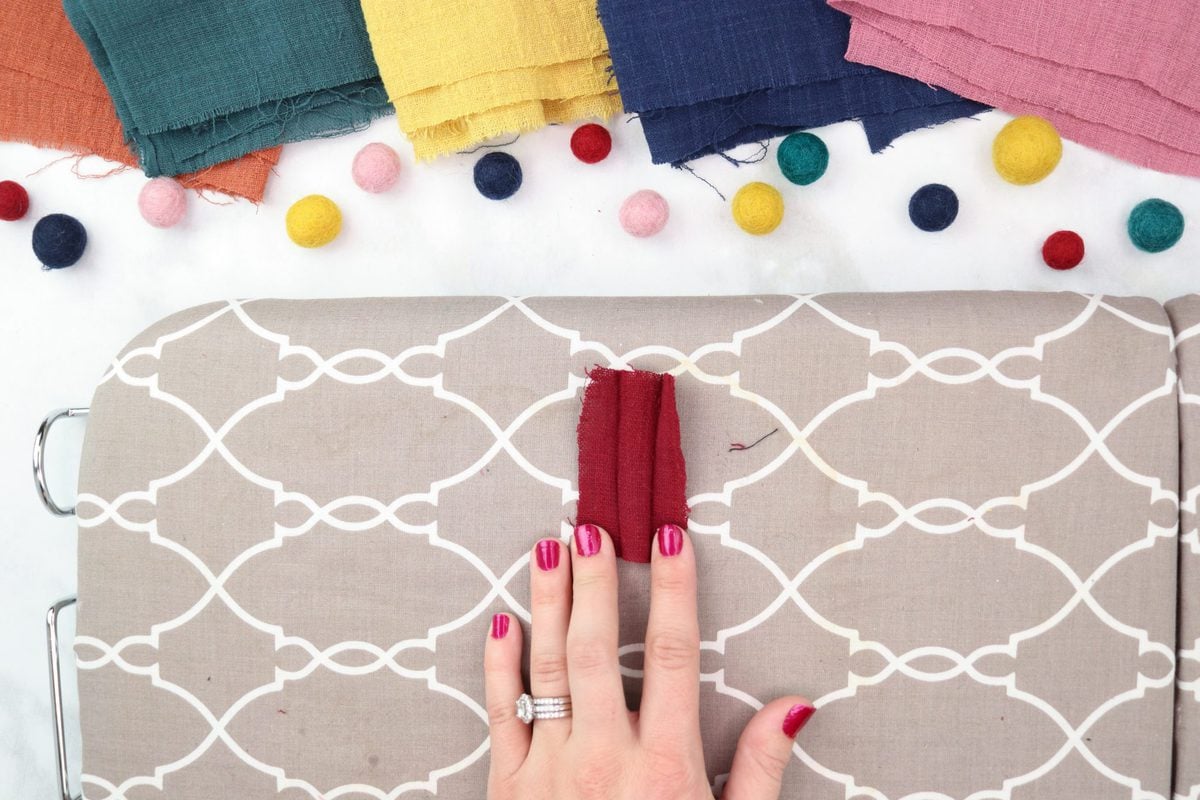
Press the two main bow pieces so they are flat. Fold the smallest bow center in thirds and press it.
Assemble the Sailor Hair Bow
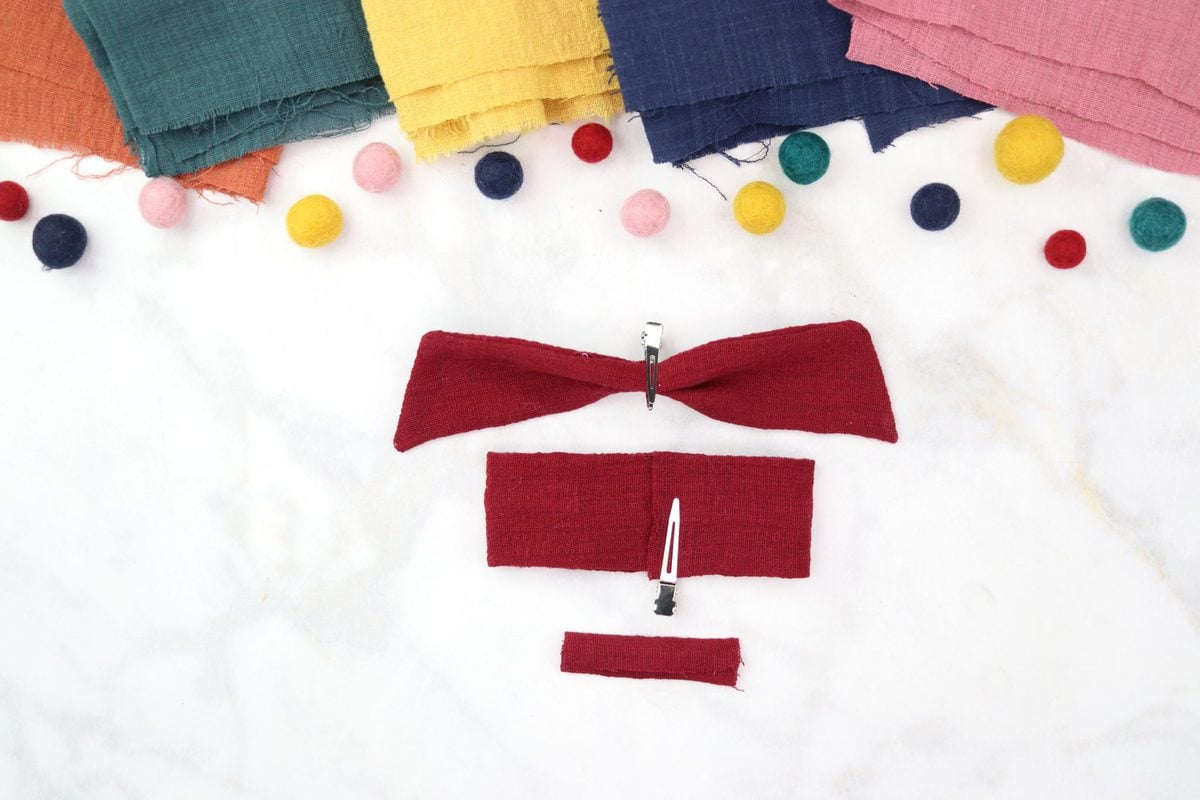
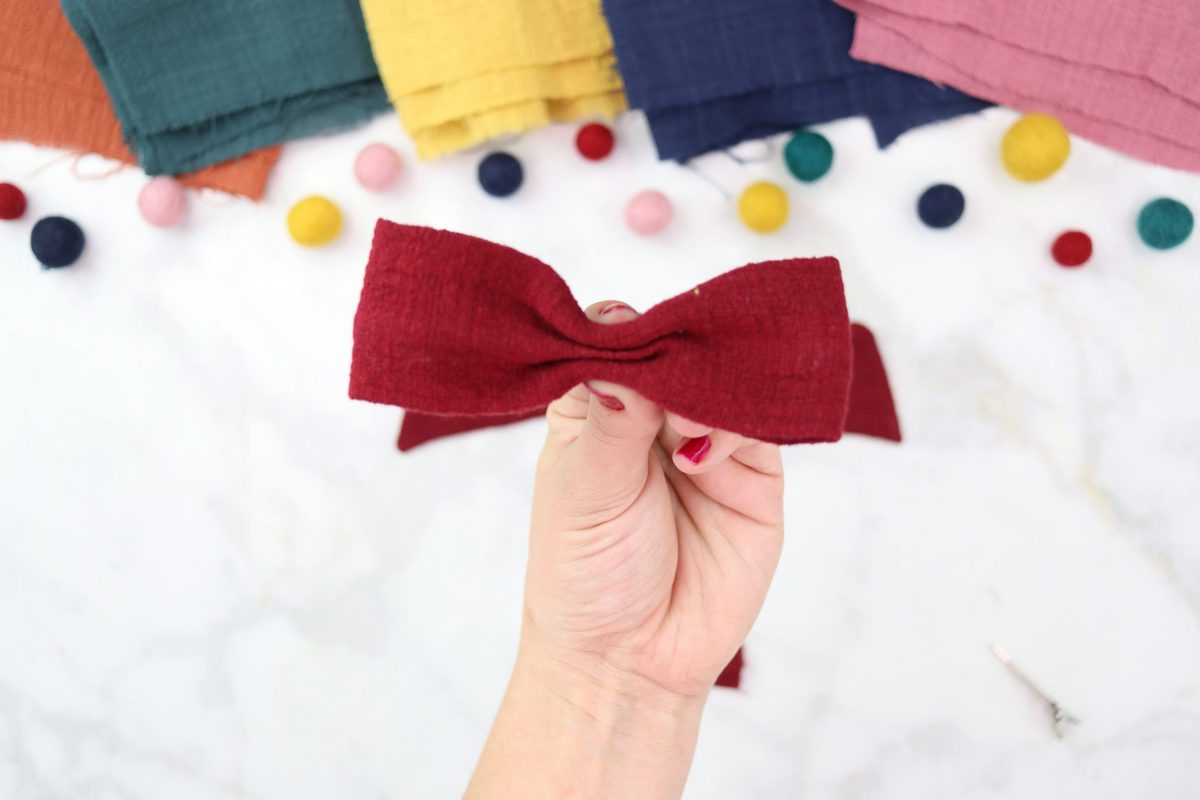
Pinch the bow tails in half and fold back the sides, repeat this on the main bow as well after you've folded it in half. The seams should be folded away from you. Use a small elastic hair tie to place the main bow on top of the bow tails and keep them in place. Now you can adjust them to make sure they are perfectly centered.
Attach the Hair Clip
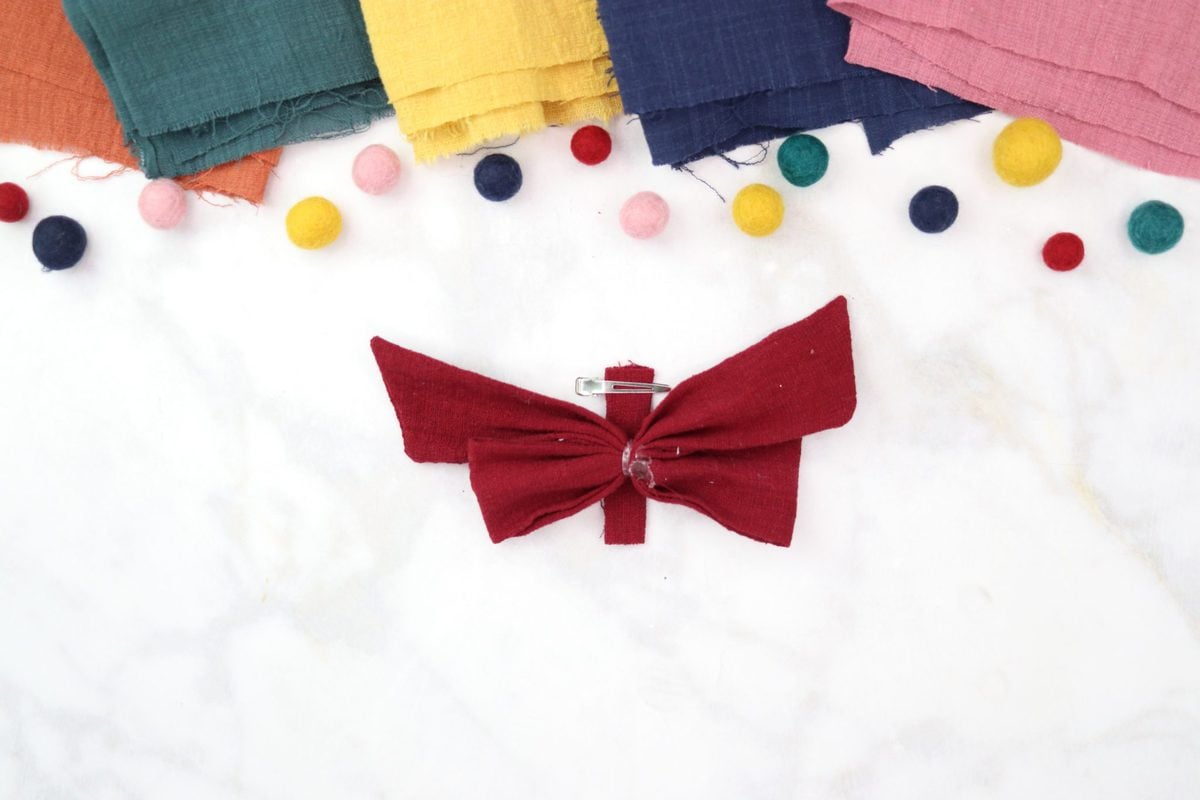
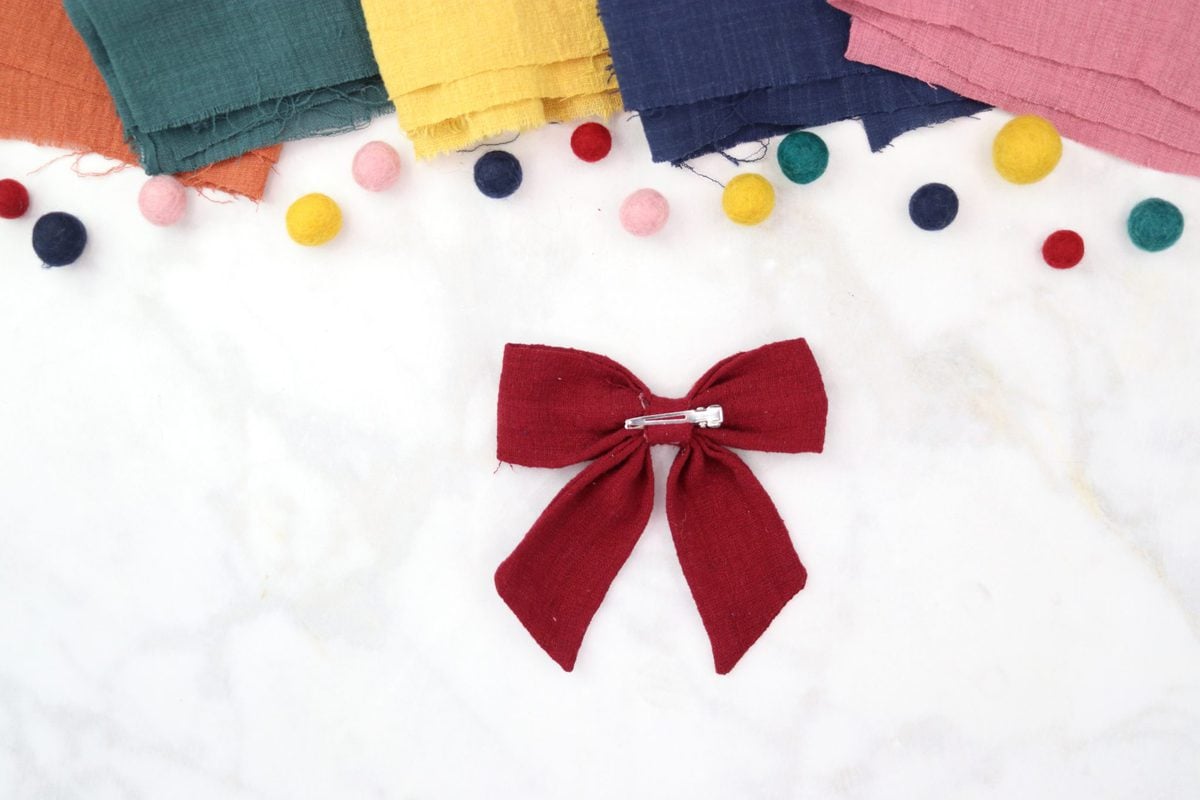
With a dot of hot glue attach the hair clip to the middle bow band. Lay the bow face down on top of the band. Fold the clip upwards onto the bow and attach with a dot of hot glue. Tightly pull the bottom of the band around the bow and upwards as you open the clip. Close the clip. Fold the raw edge under and place a small dot of glue on it. Attach it to the bow band and allow it to cool completely.
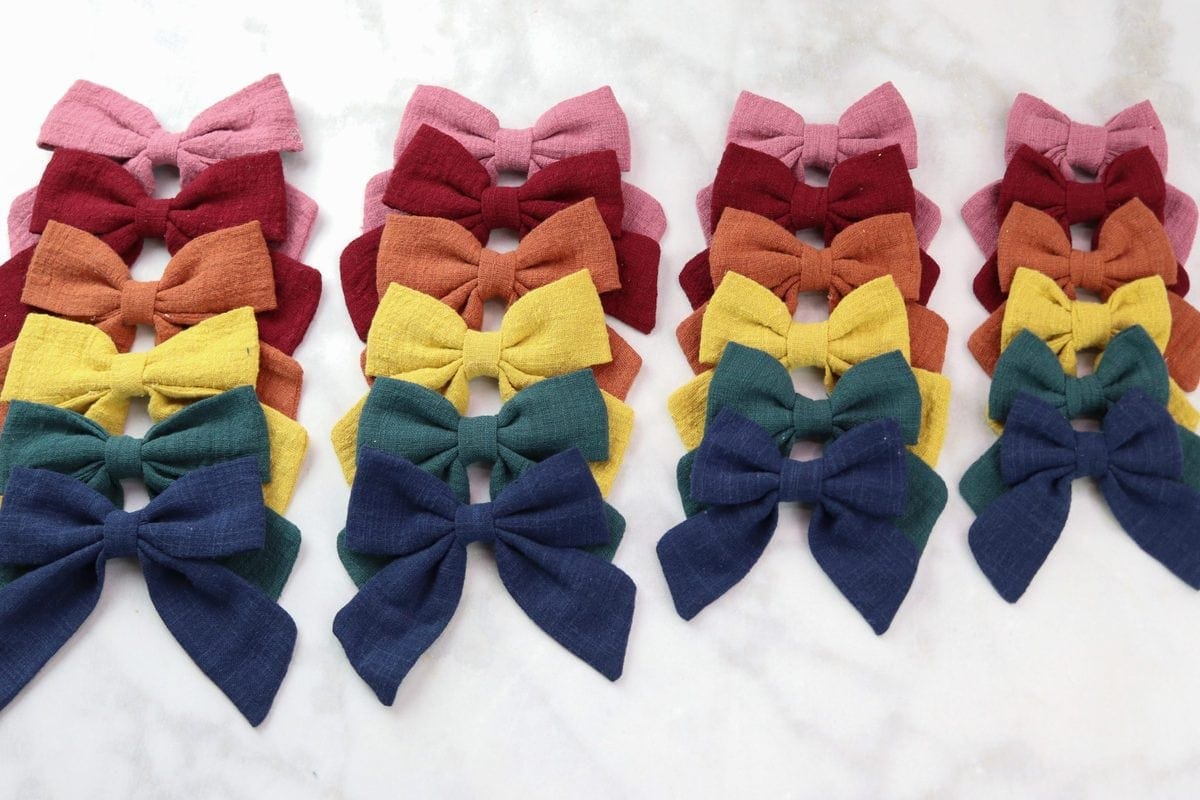
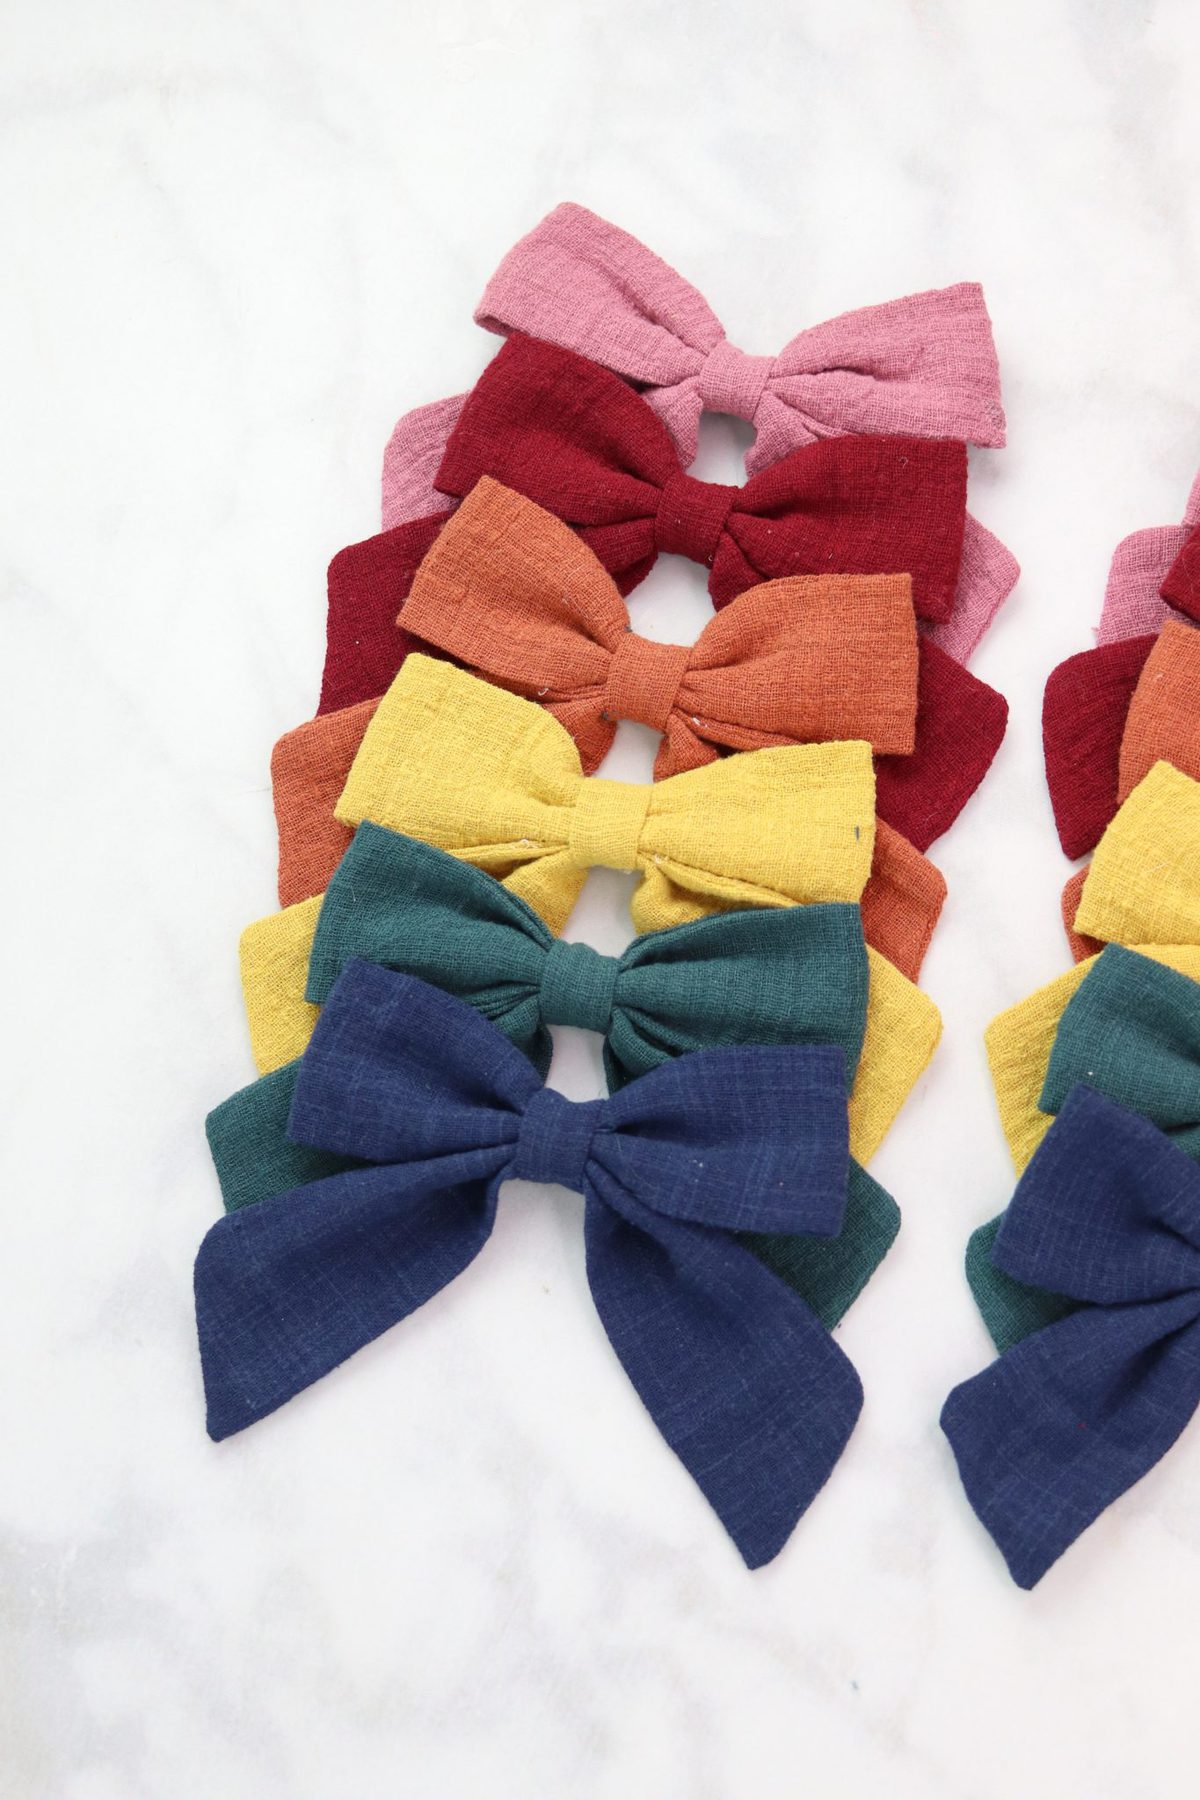
Here's an example of all four different sizes.
Let's get social! I love to see what you are making with my patterns and tutorials!


Could you please re-post or send the link to where you purchased your linen! Thank you!
Am I missing something here...why would you put wrong sides together for the rectangle piece?
Hi, I was unable to get the pattern to download. Is there another way to access the pattern?
Thanks!
Good for beginners
Não consegui pegar o molde
Alguém pode me ajudar por favor
Do you know roughly how big the original cut of fabric needs to be to cut out all 3 of the pattern pieces? Just wanting to make a few of these but need to know how big the cuts of fabric need to be when I go buy them. Thanks!
Hey Lauryn,
Unsure if you received your answer. The equivalent of a FAT QUARTER (18.0" X 21.0") should net you a few of these. I have constructed many different sizes/types of bows in my 55 years of crafting. Although I love it, the Sweet Red Poppy's requires three separate pieces for construction whereas the typical sailor hair bow utilizes only two (2) pieces of fabric (6.0" X 15.0"; 2.0" X 4.5"). I hope this helps. Cheers
Buenos días , saludos !! eres genial y de un corazón tan noble que contagias ganas de seguir adelante con tus ganas de enseñarnos todos lo que sabes he aprendido con tus vídeos tan bien explicados y los patrones son lo máximo. Agradezco infinitamente tu apoyo Dios te bendiga siempre y a tu familia .
where do i find the svg files???
Curly wigs add a touch of elegance and style. Their natural-looking curls create a playful and voluminous look. Perfect for a change or a special occasion, they enhance your beauty effortlessly. https://hairfactory.com/bella/
Such a cute bow! I've very excited to make some to match the Mila Dress pattern!
1 question, there was mention of SVG for the bow although I can't find it. Is the SVG for cutting pieces with Cricut still around? Thank you!