Learn How to Sew a Clear Vinyl Confetti Zipper Pouch in Three Different Sizes With This Step-by-Step Tutorial, Video, and Free Sewing Pattern.
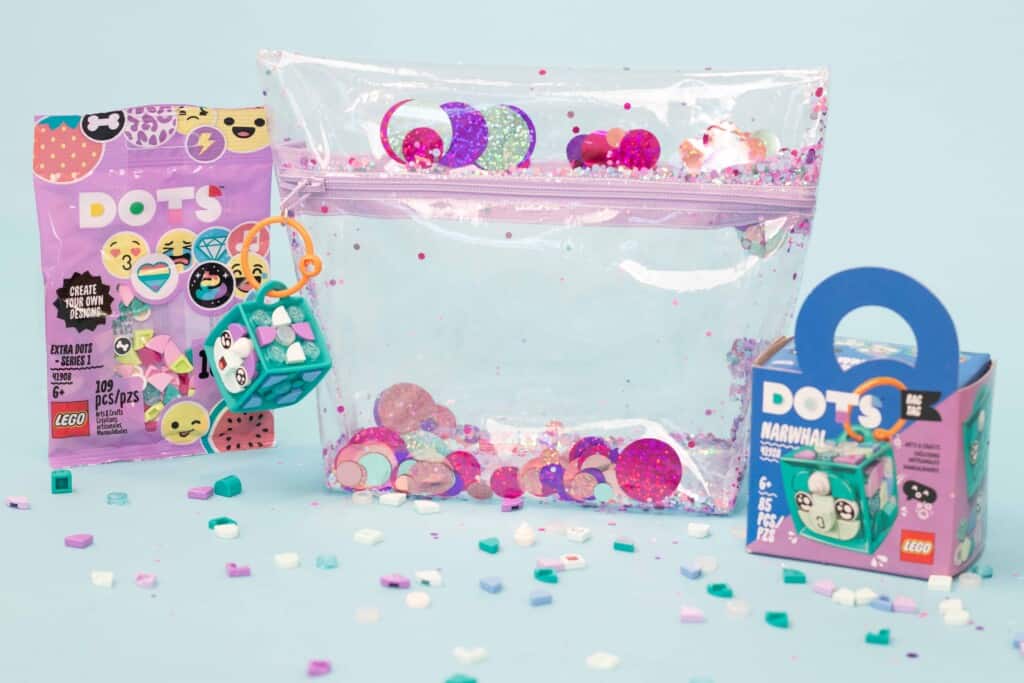
What's cuter than confetti and glitter-filled vinyl pouches? Today, I'm sharing this vinyl pouch sewing pattern with you in three different sizes.
This is a sponsored post written in partnership with JOANN.
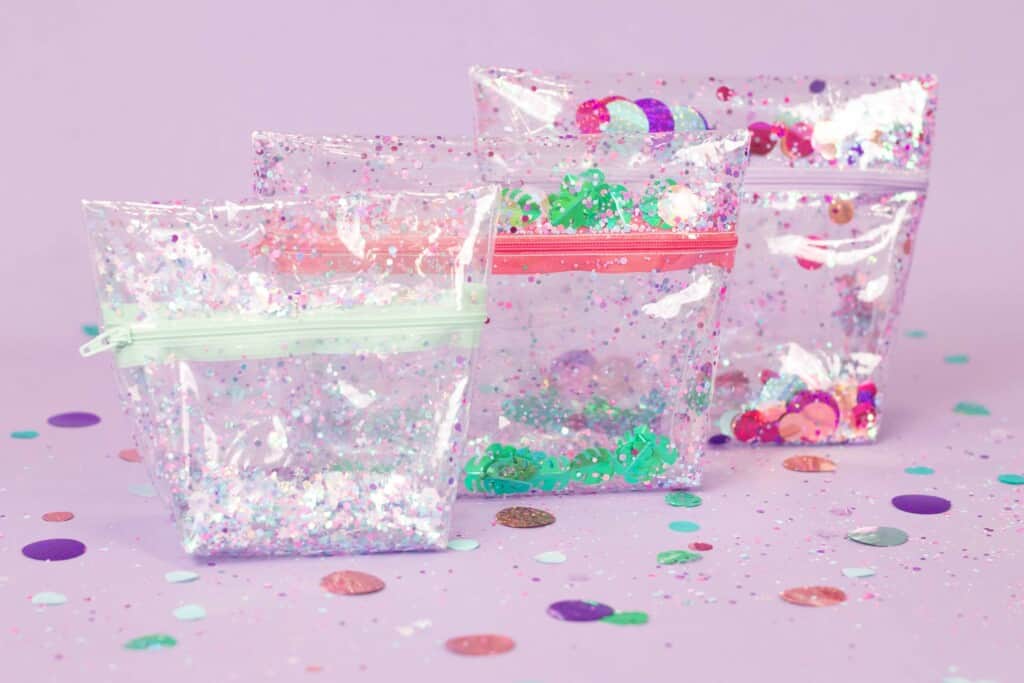
These pouches are perfect for transporting supplies, using as a cosmetic bag, or for small items.
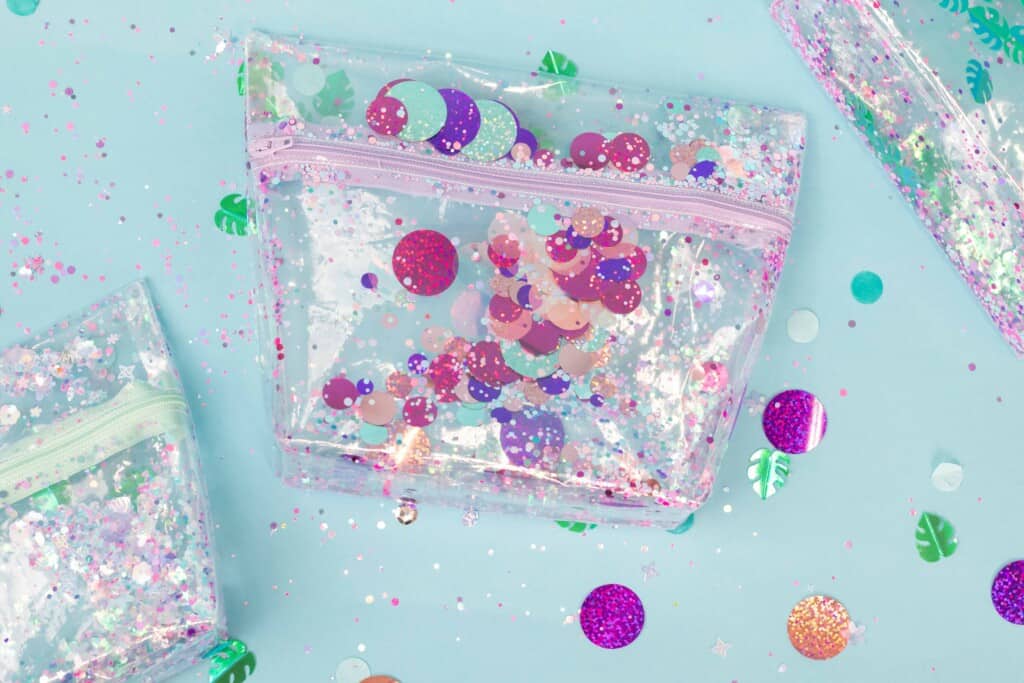
They also make great gifts! You can add custom confetti to this clear vinyl bag for a truly customized gift. I used my Cricut machine to cut out the confetti in my bag from party foil.
I teamed up with JOANN, to bring you this pattern for free! JOANN is my one-stop shop for all of my sewing needs.
Table of Contents
Want to learn how to make even MORE fabric bags?
Get 11 different bag patterns and gain access to a comprehensive collection of bag patterns and tutorials my All The Bags 150+ page Ebook by clicking here.
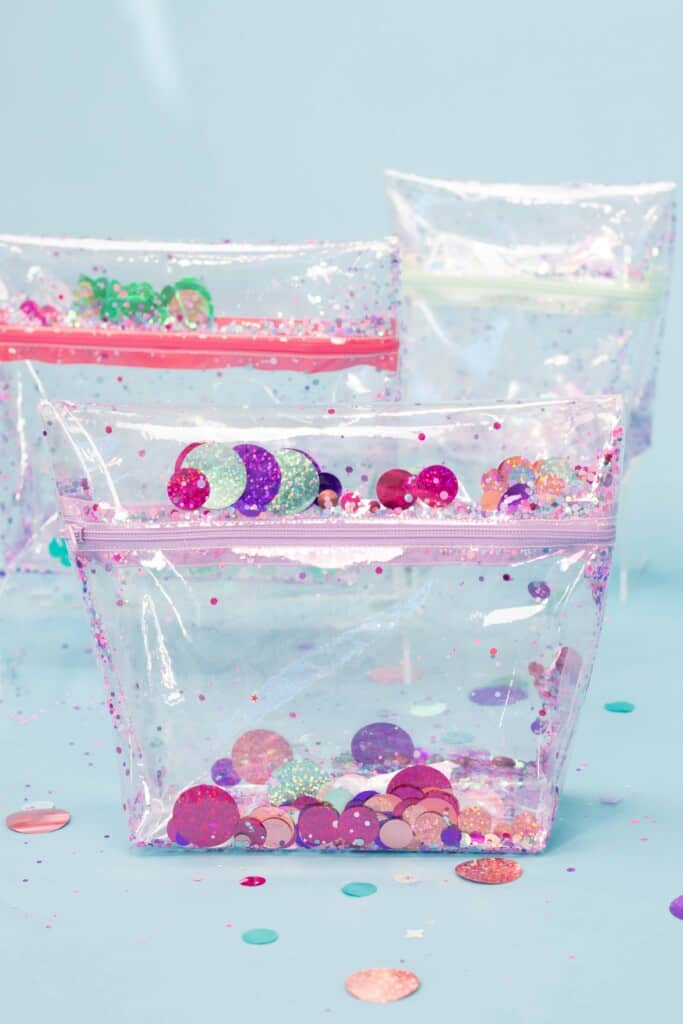
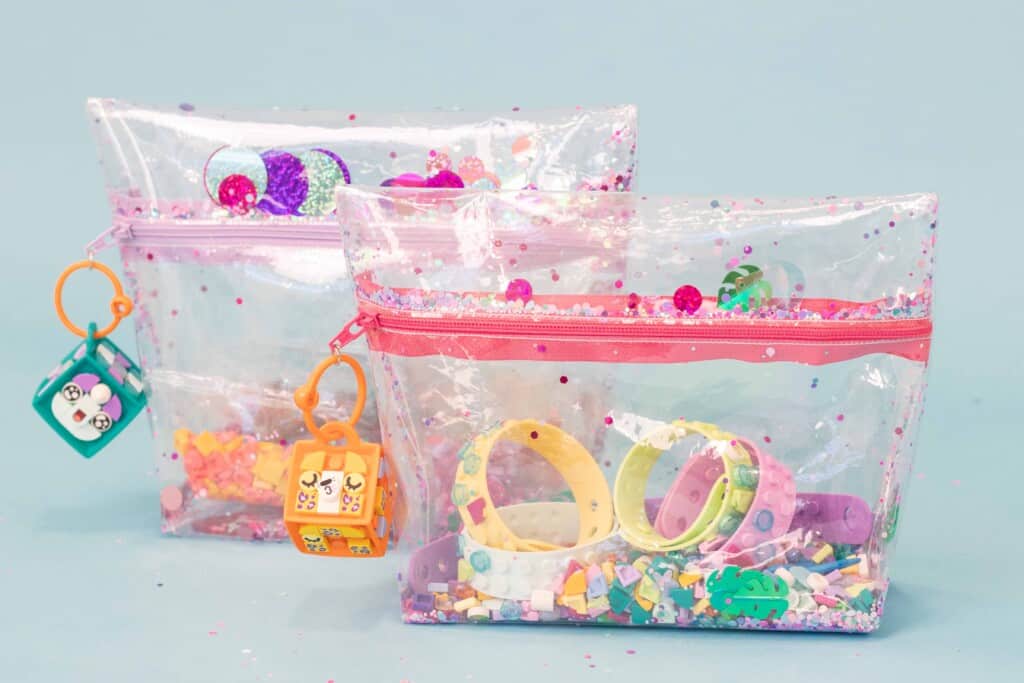
My girls are using their clear vinyl pouches to store all of their LEGO Dots. If you haven't heard about LEGO Dots before read this post!
I added a fun little LEGO Dots Bag Tag to encourage my girls to customize their bags. They had so much fun creating the adorable little faces. You can find LEGO Dots products at JOANN.
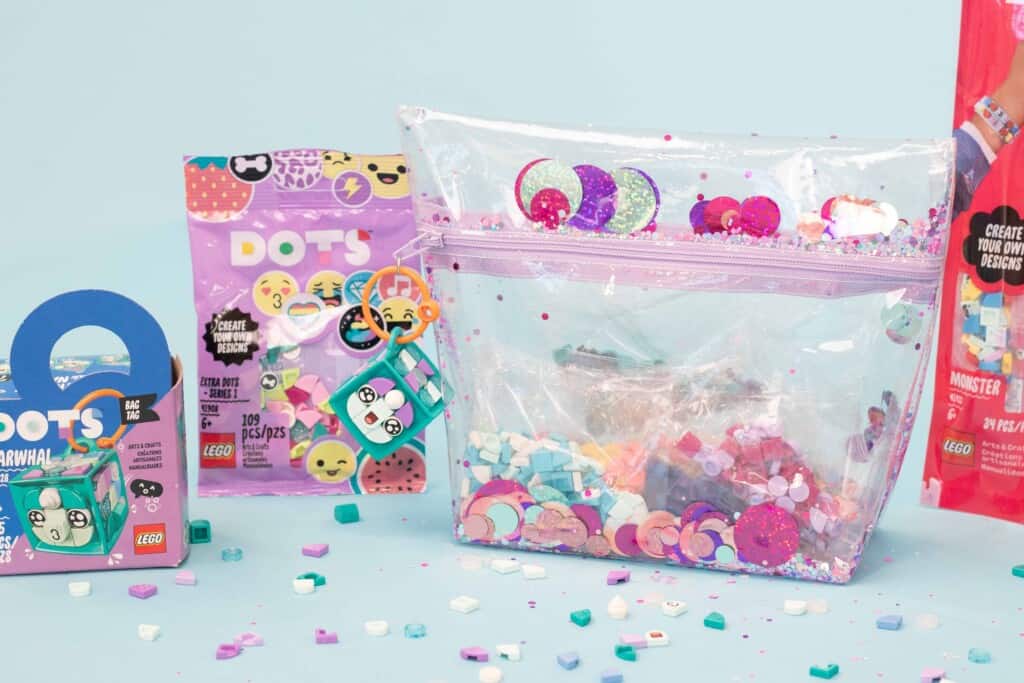
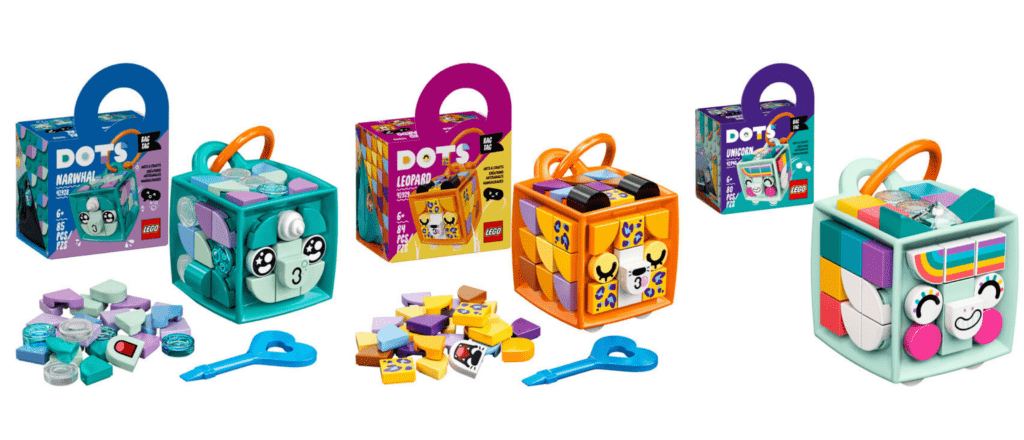
These clear bags are perfect for storing LEGO Dots bracelets and pieces! I stopped by JOANN and stocked up on Lego Dots kits because they make for great Christmas presents.
As a parent, it’s one of the toys I feel good about buying because it encourages their individuality and creativity.
Sewing Pattern Details
This pattern features a printable PDF sewing pattern that comes in three different sizes. A 1"x1" square is included for printing accuracy.
Worried about sewing with vinyl? Don't be! I'll walk you through everything you need to know! Let's get started!
What Weight of Vinyl Should You Use?
Vinyl comes in a variety of different weights which are measured by the gauge. The lower the gauge of vinyl the thinner the vinyl will be. For example, an 8 gauge vinyl will be very thin, while a 40 gauge vinyl will be quite thick.
Vinyl also comes in a variety of different finishes. You can choose clear, frosted, or tinted vinyl.
If you are planning on making this pouch with two layers of vinyl so that you can include glitter or confetti inside you'll want to go with a lighter-weight vinyl.
I used 12 gauge vinyl for my project. If you plan on sewing this pouch with only one layer of vinyl, I'd recommend using slightly thicker vinyl such as a 16 or 18 gauge. This will give your project more support while still being malleable.
Keep in mind that projects that require you to turn them right side out (like this one) are easier to make with a thinner gauge vinyl.
Single Layer Pouch: 12 - 18 Gauge Vinyl
Double Layer Pouch: 8 - 12 Gauge Vinyl
Where Can You Find Clear Vinyl for Sewing Pouches?
You can find clear vinyl in the home decor fabric aisle of JOANN. It's rolled around a large cardboard tube that you'll need to remove from the stand and take to the specialty cutting counter. Your JOANN store should have a large variety of weights available for you to choose from.
You can also order clear vinyl from JOANN.com by clicking here.
How Should I Store Clear Vinyl?
It's best to keep clear vinyl stored in a roll to prevent any creasing or wrinkling from taking place. If you do end up with wrinkles from storage. Lay the vinyl out on a flat surface near a window. This will allow the material to warm up and release wrinkles. You can also use a blow dryer on low heat if you need a little extra heat!
Can You Iron Clear Vinyl?
Surprisingly, the answer to this question is yes! If done properly, you can definitely iron clear vinyl. To do this, you'll want to warm your iron up to low-medium heat. Place a pressing cloth over the vinyl and then press in small increments of time.
If you don't have a pressing cloth, you can also use a piece of quilting cotton. I'd recommend using a white piece of fabric so you don't accidentally transfer color or a print to the vinyl.
Allow the vinyl a few seconds to cool down before using.
*This technique should be done with caution to avoid melting or damaging the vinyl.
Can You Use Pins with Clear Vinyl?
You'll want to steer clear of sewing pins when working with vinyl to prevent puncturing the fabric. Instead, opt for craft clips or tape!
When cutting out a pattern you can tape it to the material or use a washable marker to outline the pattern onto the vinyl and then cut it out.
How To Keep Vinyl From Sticking to the Presser Foot?
Sewing with clear vinyl can be a bit tricky! There are a few different ways you can prevent your vinyl from sticking to your presser foot or your sewing machine.
First, adhere a piece of tape to the bottom of your presser foot. the sticky side should be placed against the bottom of the foot. This will allow the fabric to move more easily under the foot.
Second, sew the vinyl with the tissue paper that it comes with. Place a piece of tissue paper underneath your project as you sew it. Simply rip it away once you finish sewing.
Lastly, a small drop of sewing oil along the line that you will be sewing can help your foot to glide across the vinyl without getting stuck.
SUPPLIES
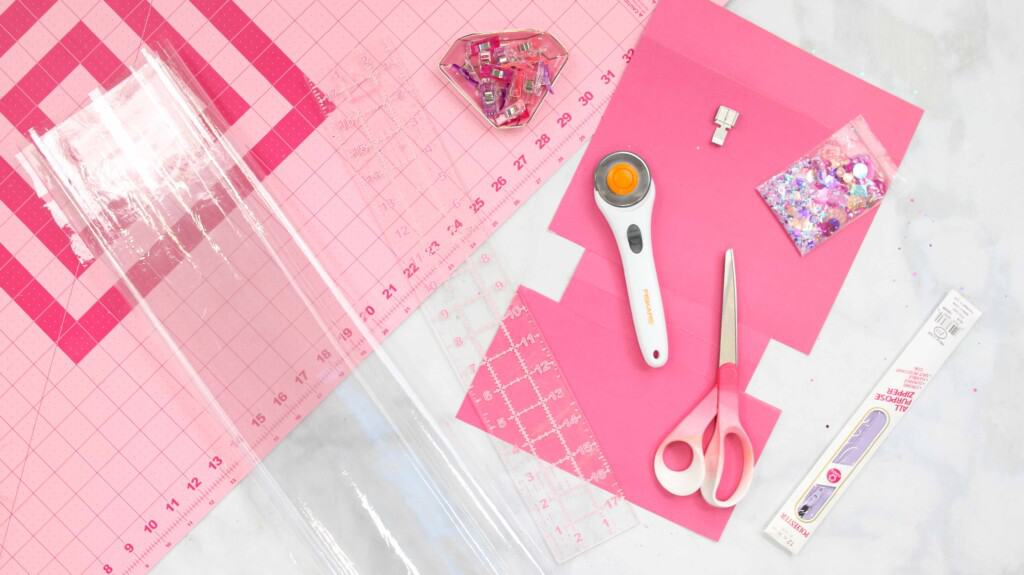
- Clear Vinyl
- Zipper
- Sewing Machine
- Scissors or Rotary Cutter & Mat
- Thread
- Clips
- Sewing Machine Needle
- Printer
- Printing Paper
- Tape
Download the Free Sewing Pattern Here!
STEP 1: PRINT SEWING PATTERN & ASSEMBLE
Download the pattern to your computer and print the pattern at 100% with no scaling.
Immediately check the 1” x 1” square to ensure the pattern has printed off correctly. If the 1" square measures larger or smaller the pattern will need to be reprinted for accuracy.
Lay the pages out in numerical order. When you come to a paper without stars on the right-hand side you’ve reached the end of a row. Place the next paper below the first row.
Align the stars of each page and the black lines and tape them in place.
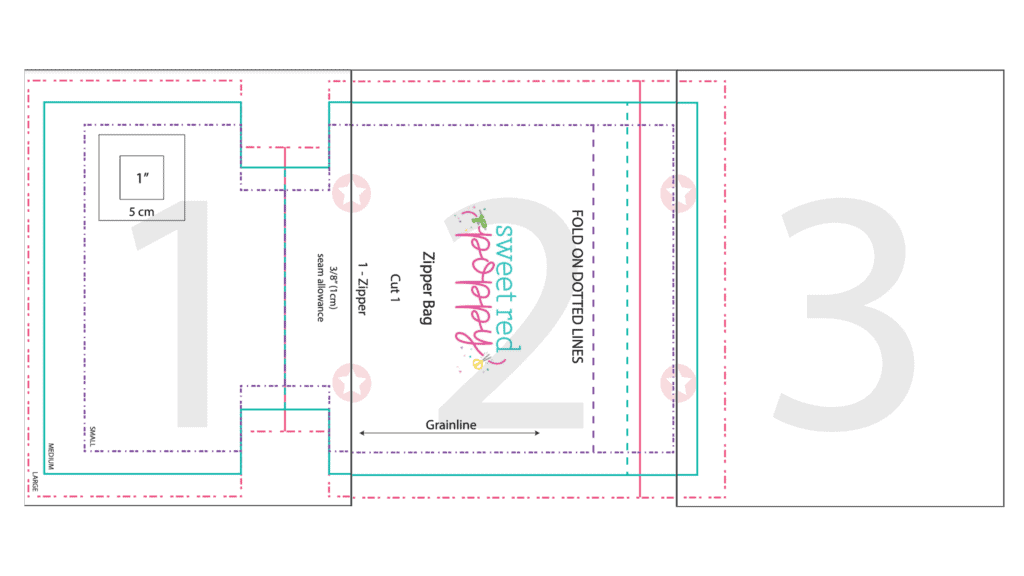
Then, cut out the pattern in your desired size.
* PRO TIP - Print off the pattern on cardstock so that it will last for multiples uses.
STEP 2: CUT OUT VINYL FABRIC
Lay a sheet of clear vinyl out on the table in front of you. Fold the fabric in half so you can cut through two layers of fabric at once.
Place the pattern piece on top of the vinyl fabric. Use tape or a pattern weight to hold the pattern in place.
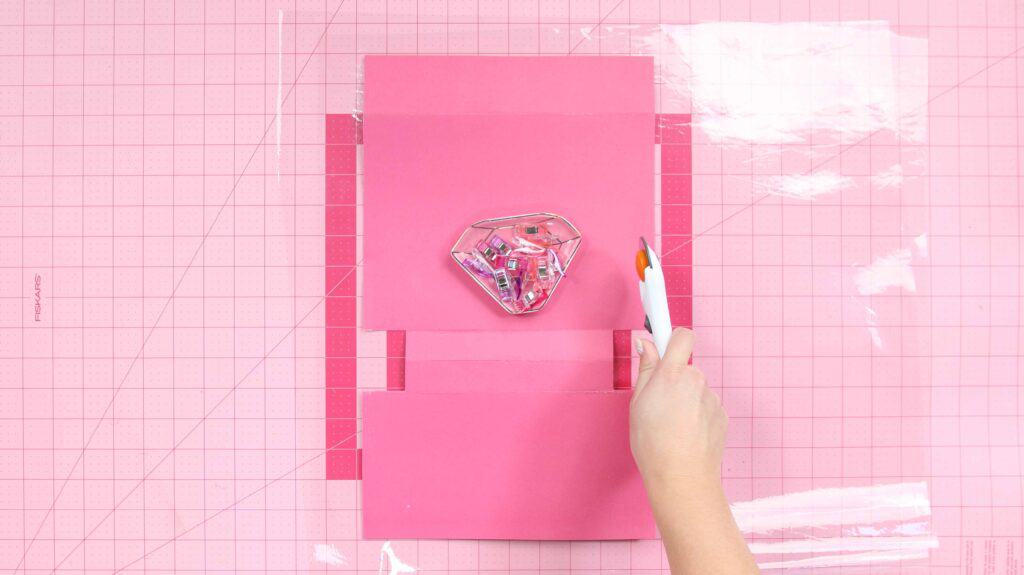
Cut around the pattern pieces. You'll find it's easiest to cut the innermost part of the cutouts with scissors instead of a rotary cutter.
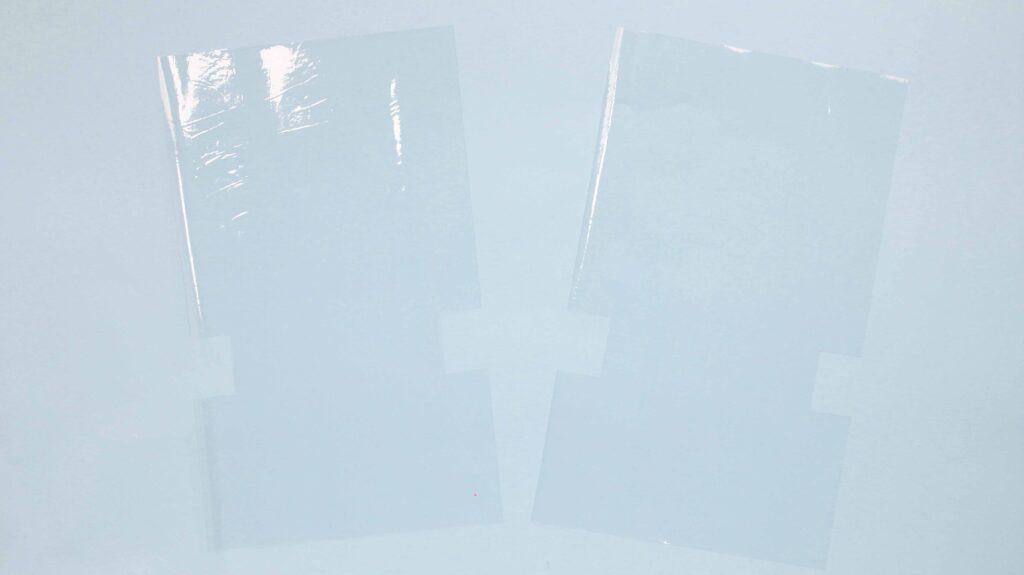
OR
Use a washable marker to trace around the outside of the sewing pattern. Remove the pattern and cut on the inside of the line with scissors.
STEP 3: SEW ZIPPER
Stack the two layers on top of each other.
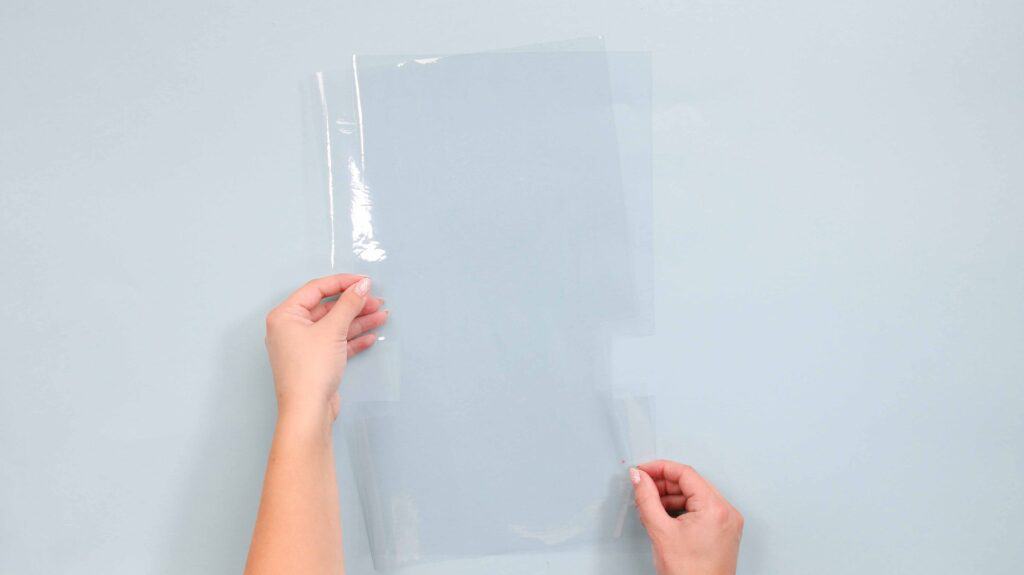
Fold the bottom of the pouch upwards like the photo below.
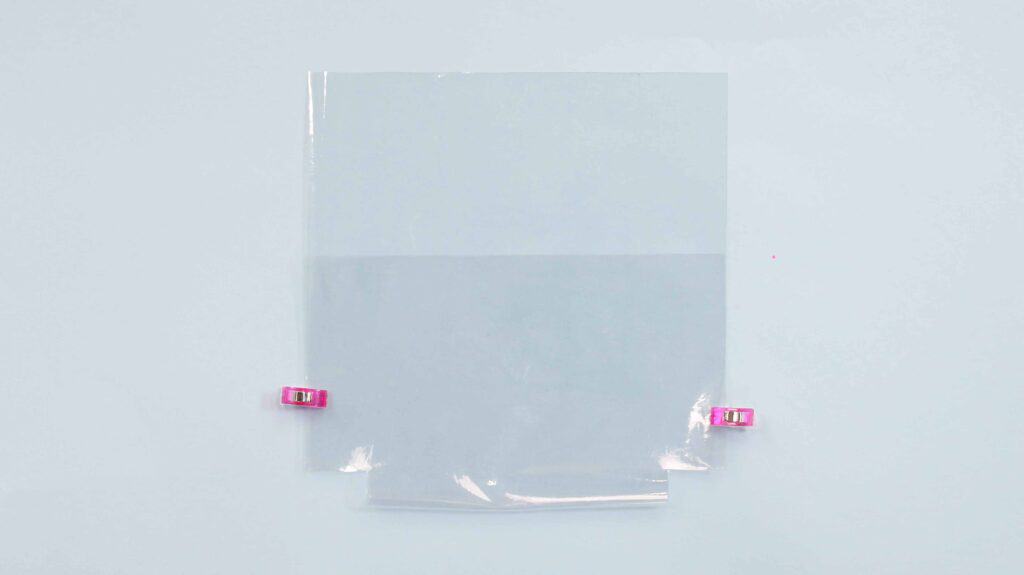
Fold the top of the pouch to meet the edge of the bottom.
Open the zipper all the way. I'm using a zipper that's larger than what I need so I can easily sew both sides and then trim away the excess zipper.
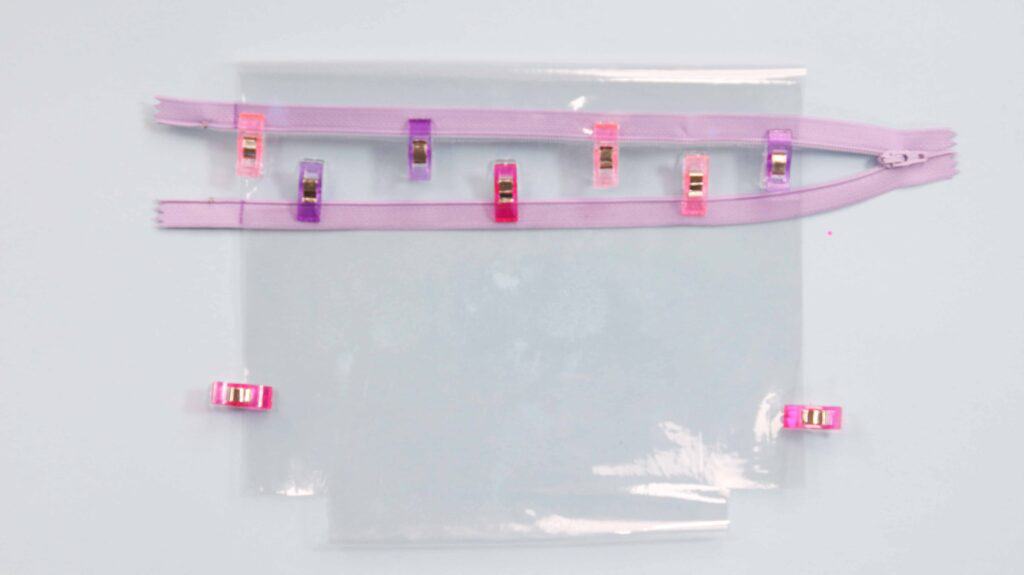
Slide the zipper tape underneath both layers of the top vinyl edge and clip or tape the zipper in place. Repeat this on the opposite side as well.
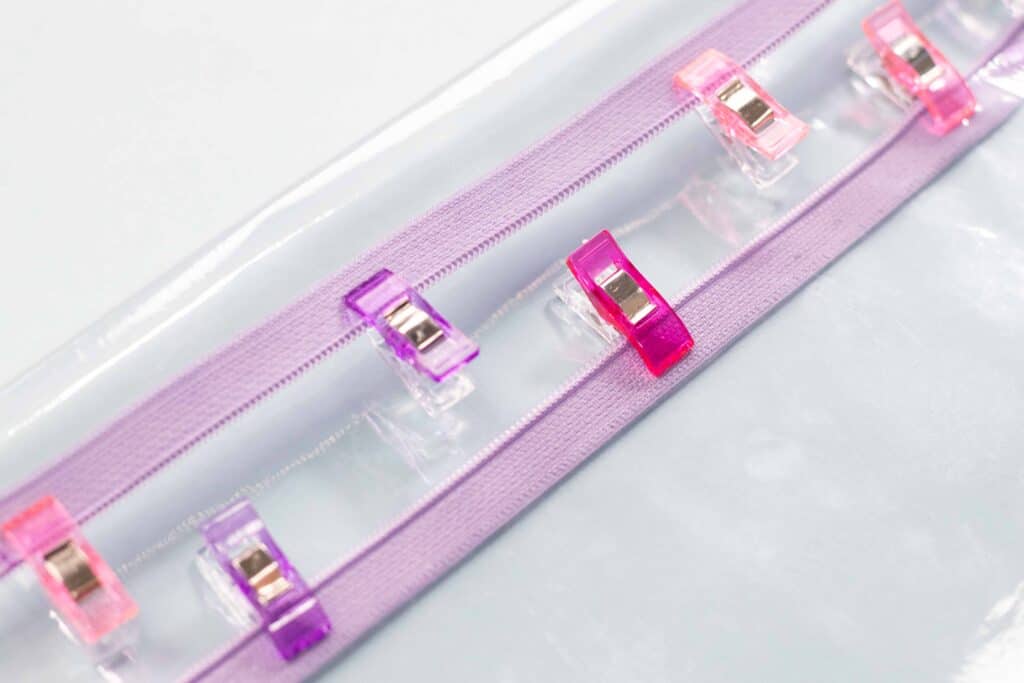
PRO TIP - Place a piece of tape along the backside of the zipper to secure it to the vinyl. This will prevent it from shifting as you sew.
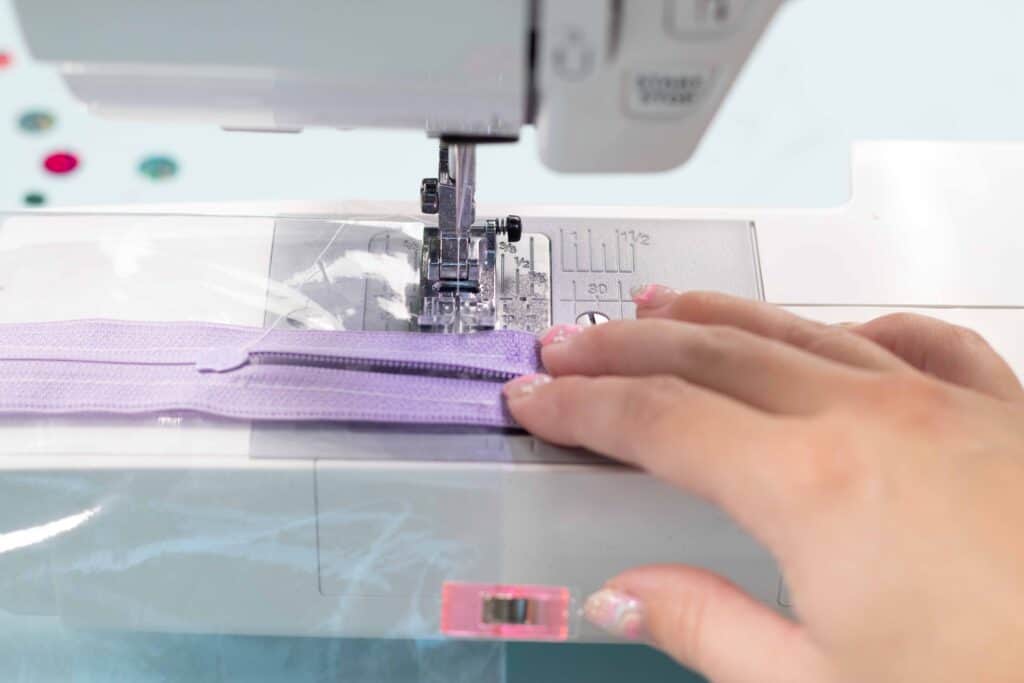
Switch your normal sewing foot to a zipper sewing foot. Sew next to the zipper tape making sure that you are catching the vinyl as you sew.
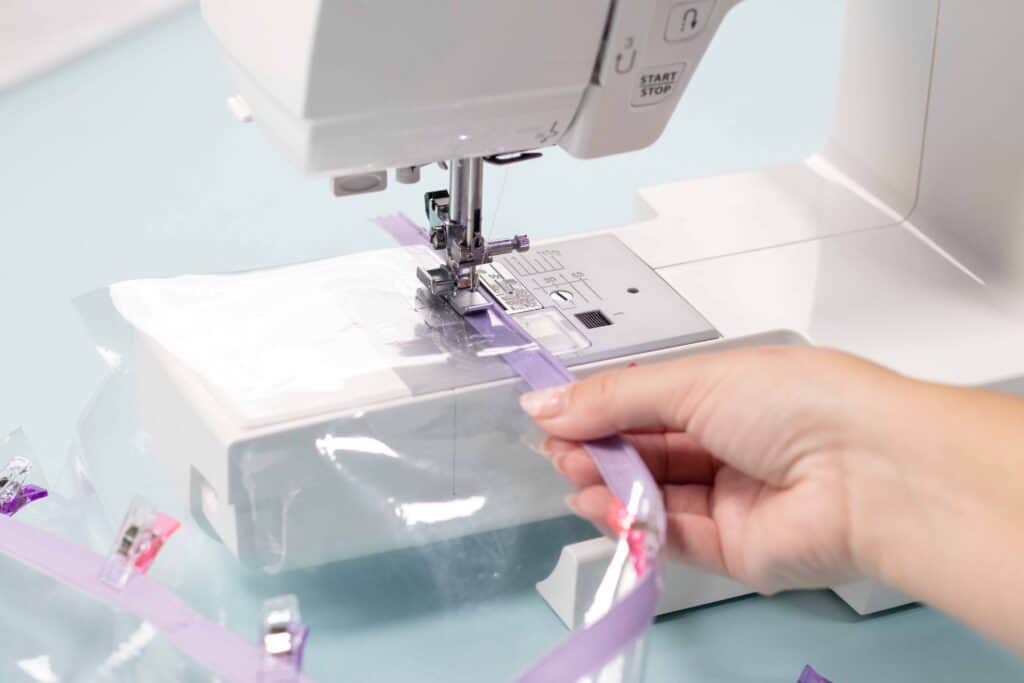
Don't forget to backstitch at the beginning and end of the zipper tape.
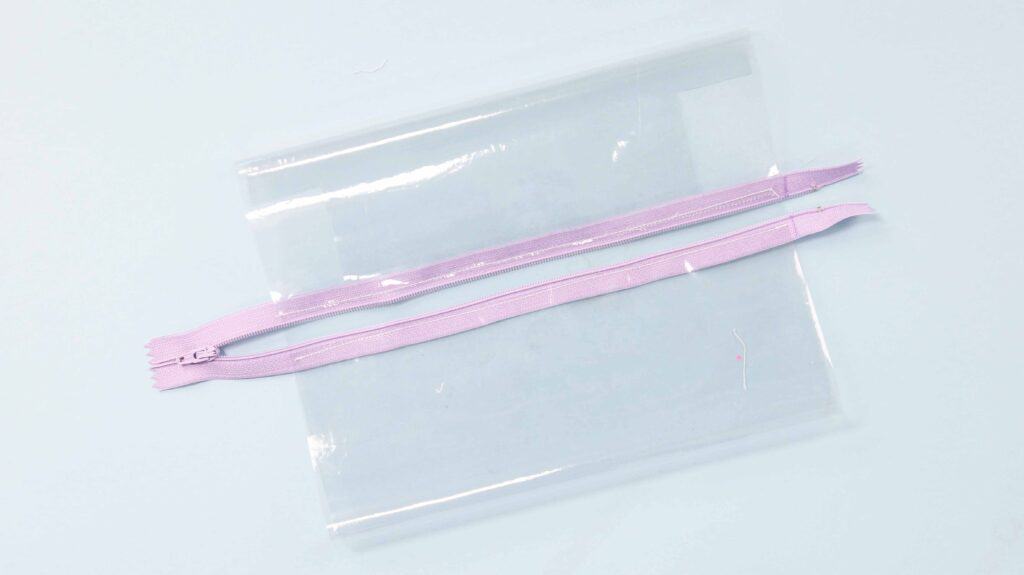
Repeat this process on the other side of the zipper tape as well.
Zip the zipper closed and check the stitching line to ensure that you've caught the vinyl along the entire zipper tape.
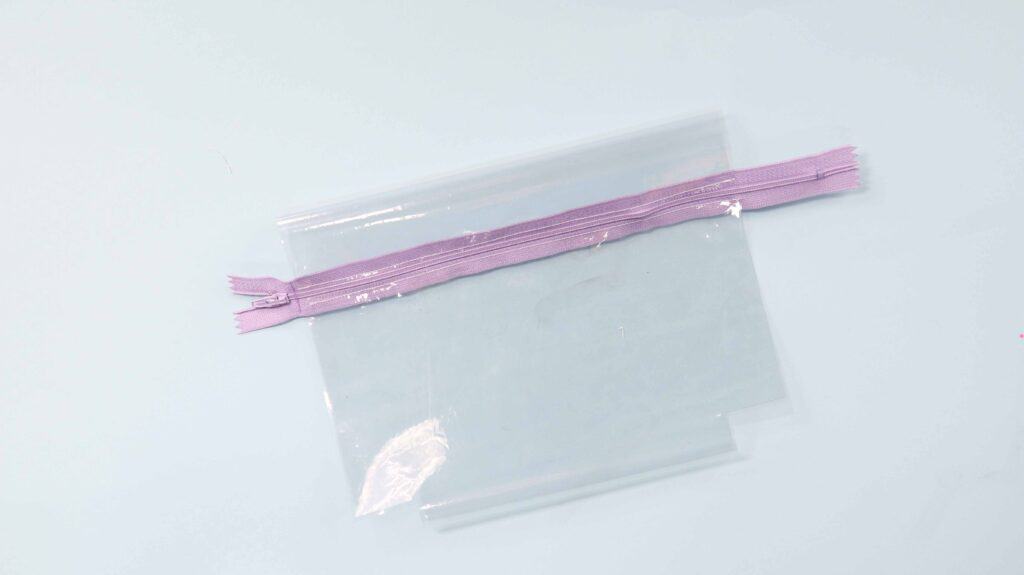
STEP 4: SEW ZIPPER POUCH SIDES
Switch back to a normal sewing foot for this step.
Open the zipper and turn the zipper pouch inside out. Align the sides of the pouch and use clips to secure them in place.
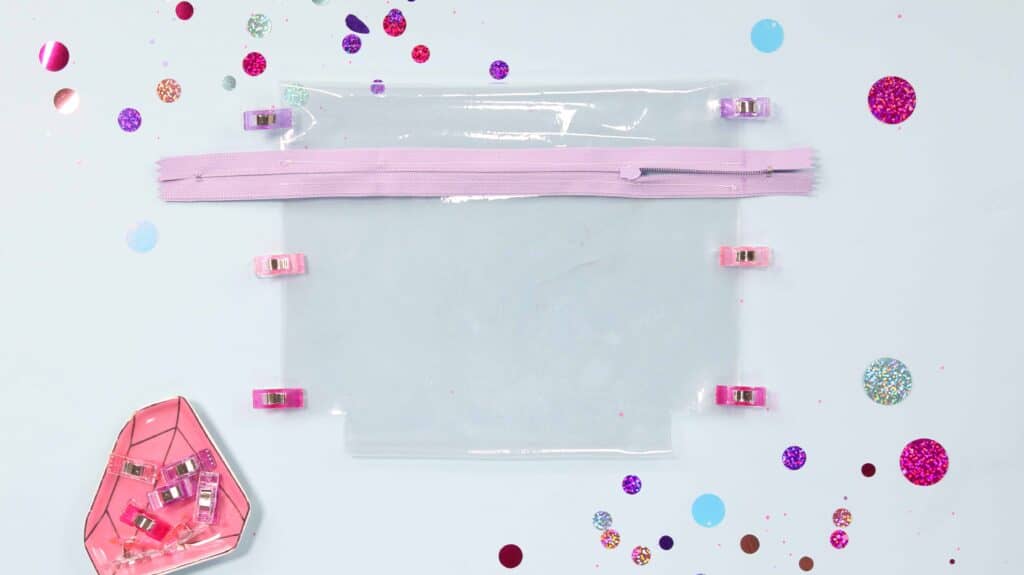
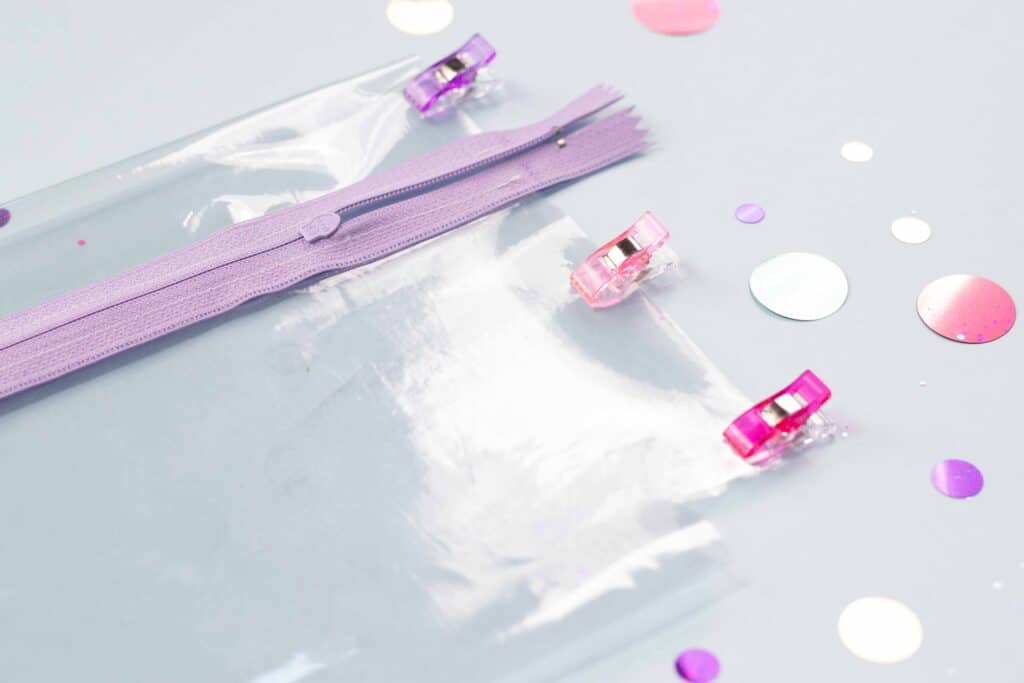
With a 3/8" seam allowance sew the sides of the zipper pouch closed. As you approach the zipper tape slow down and stitch with care to avoid breaking your needle.
Do not sew the square cutouts at the bottom.
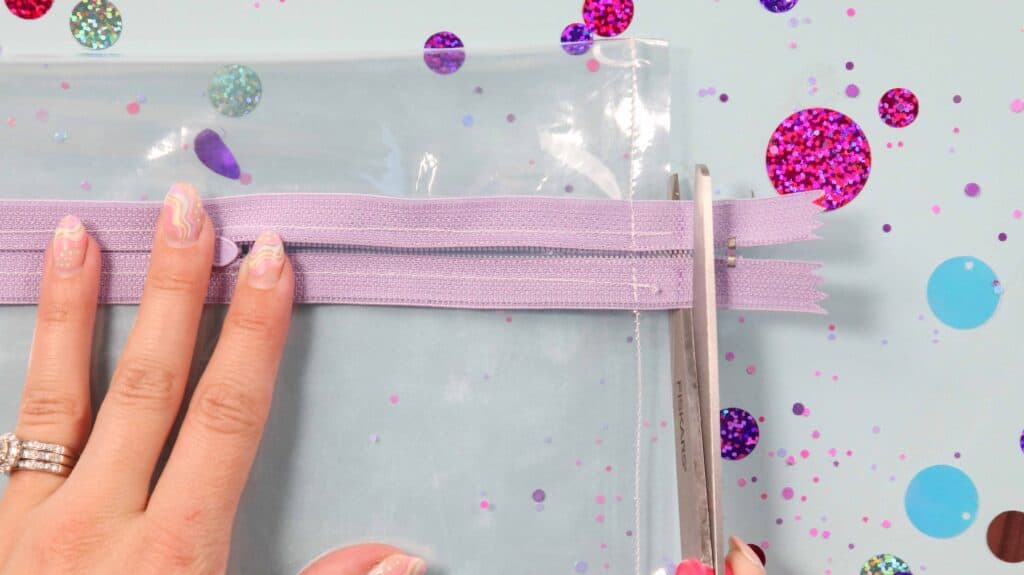
Trim away the excess zipper tape.
STEP 5: SEW BOXED CORNER
Now it's time to box one of the corners of the zipper pouch. Be sure to do this next step to only ONE side! The other side will be sewn after filling the hole with glitter.
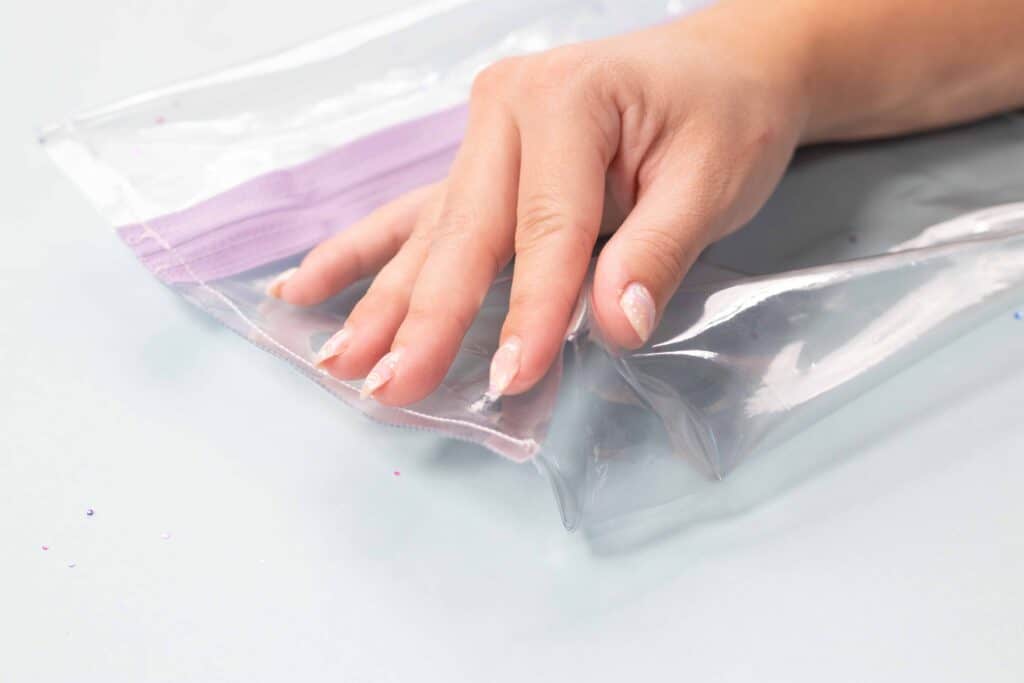
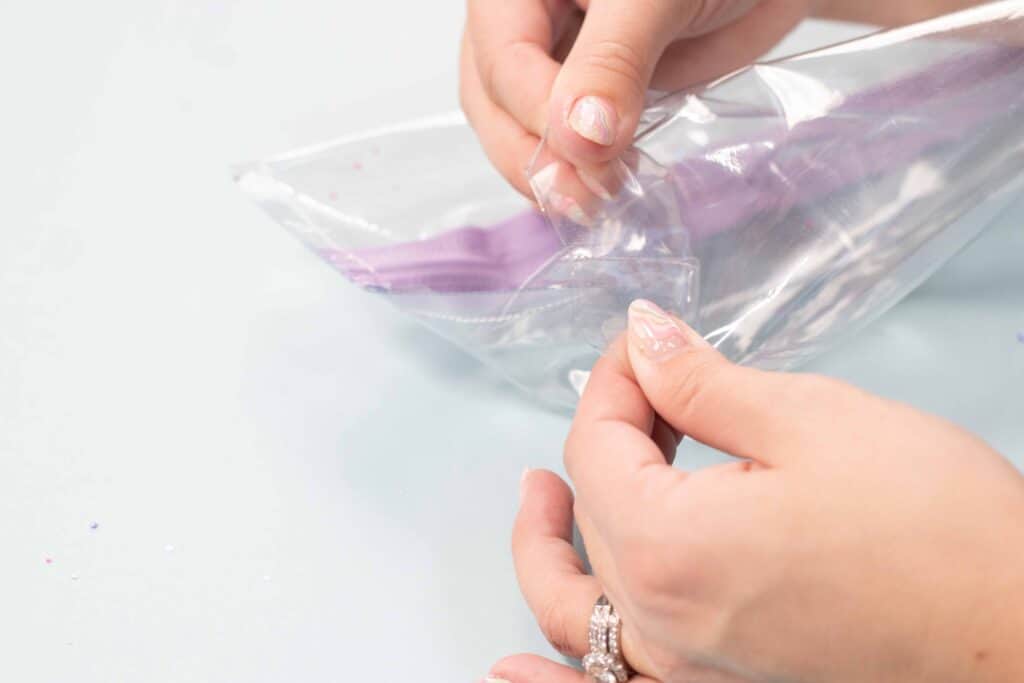
With both hands pinch the inner corner of the cutout on either side and pull it apart. Folding the fabric to align the seam to the center. The fabric should be aligned so that it’s straight across along the top.
Secure the vinyl together using clips.
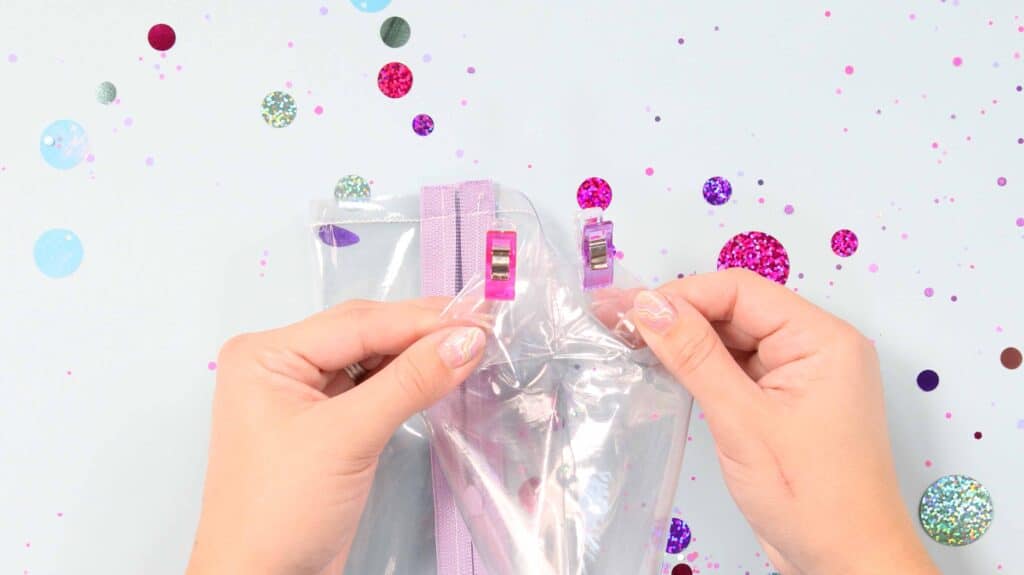
This step can be a bit tricky and may require wiggling the fabric around to get it just right because the vinyl likes to stick to itself.
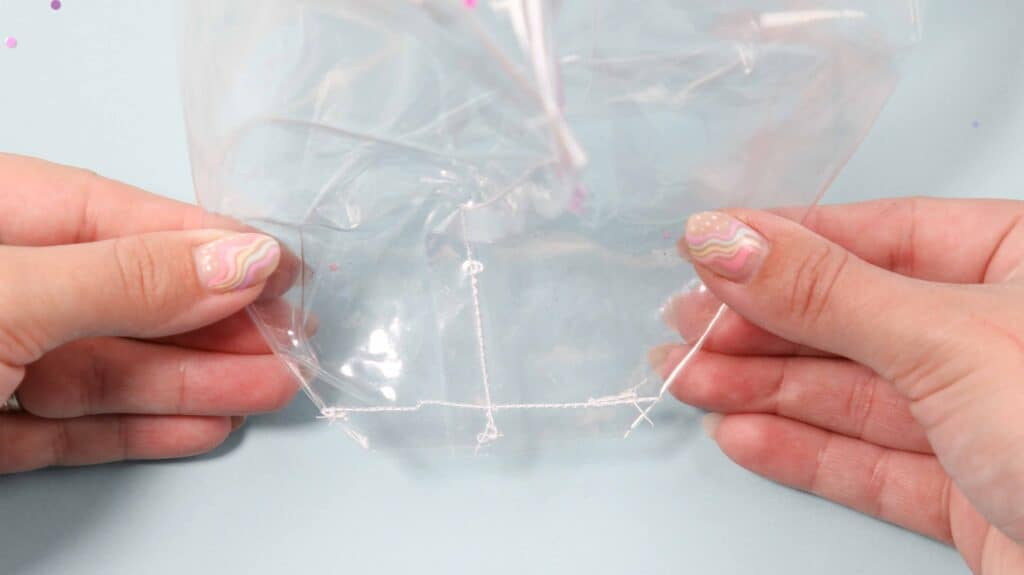
Sew along 3/8" from the edge of the fabric to create the boxed corner.
STEP 6: ADD GLITTER OR CONFETTI
Open up the boxed corner that's not sewn. Pour your glitter or confetti mixture between the main and lining layers.
It can be helpful to use a small funnel on this step to prevent the glitter from spilling.
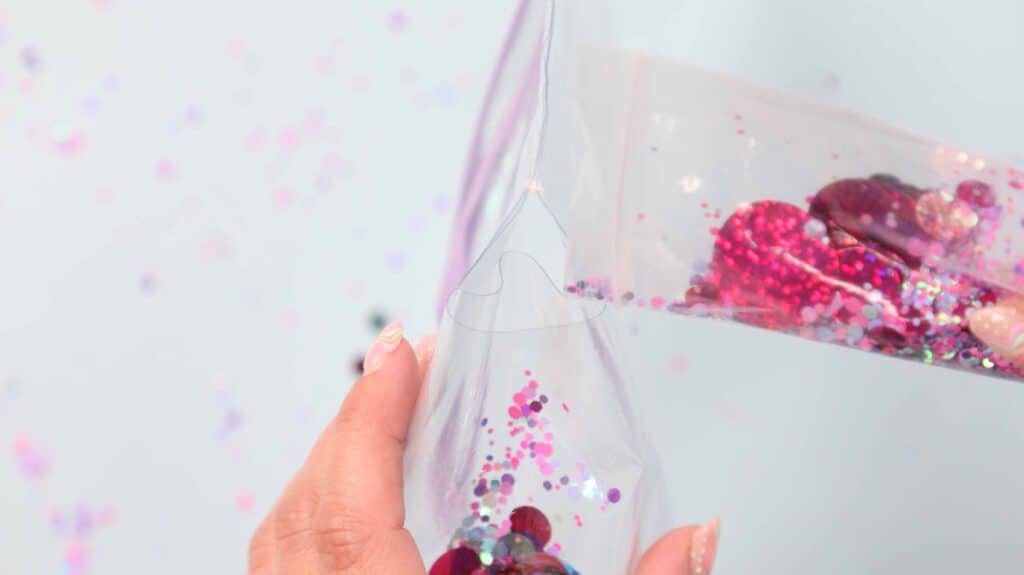
Once you're happy with the amount of glitter, you can box this corner following the instructions from the last step and sew it closed.
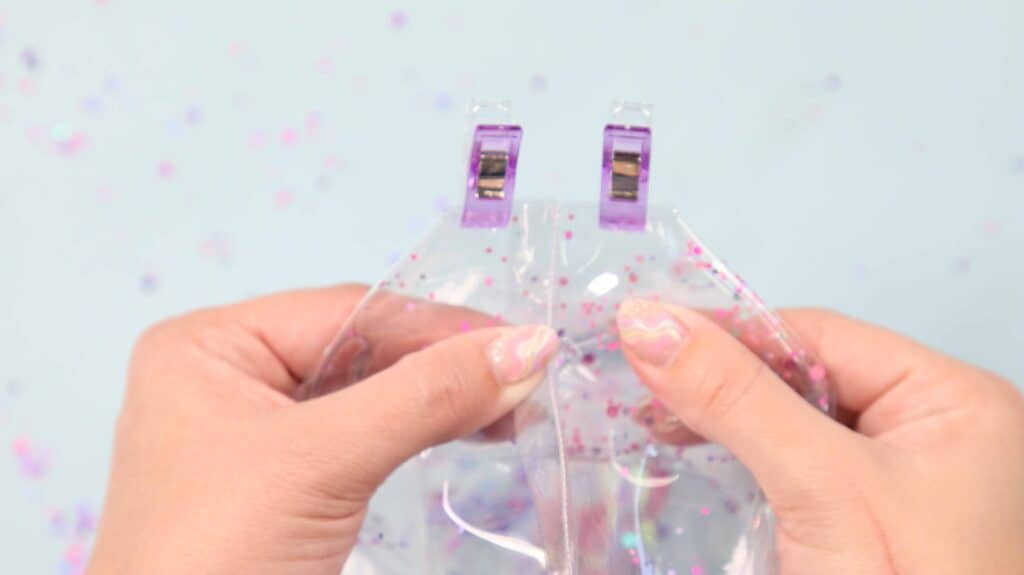
*I cut out confetti on my Cricut machine using Cricut's Party Foil and combined it with glitter.
STEP 7: TURN RIGHT SIDE OUT
Now that everything has been sewn, it's time to turn the bag right side out.
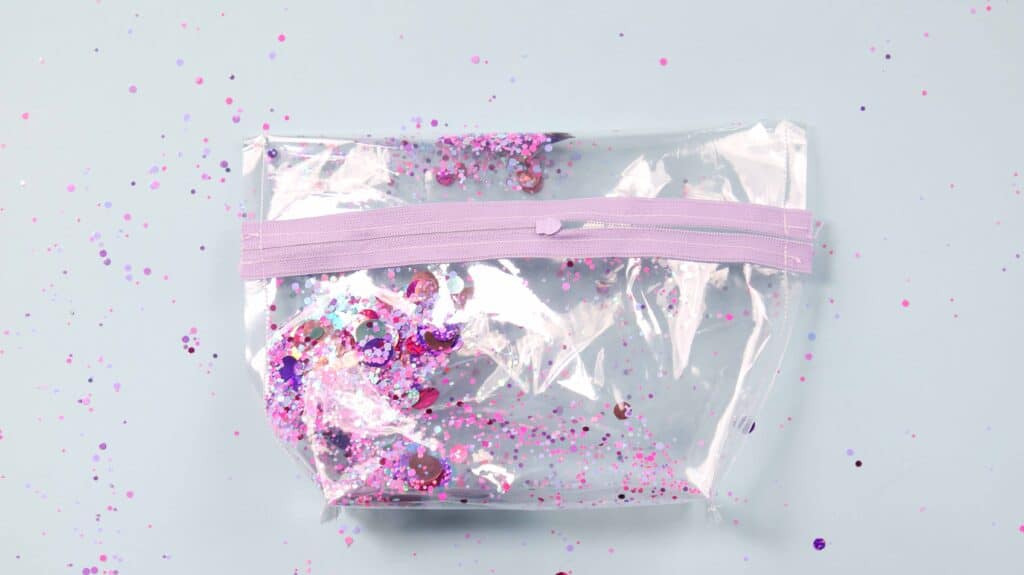
Slowly turn the vinyl zipper pouch right side out, making sure not to put too much stress on any of the seams. You don't want to accidentally tear the vinyl.
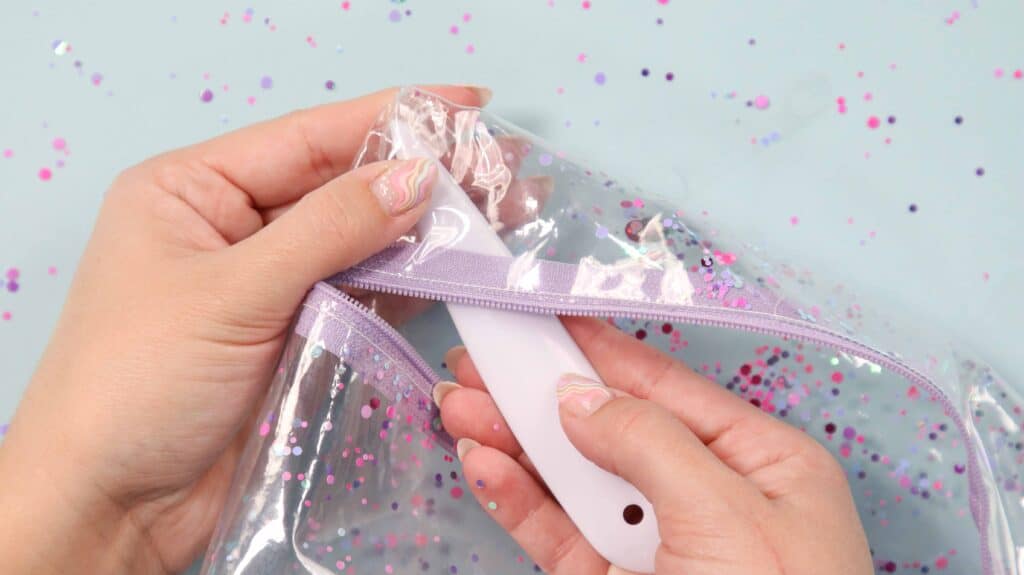
Once the pouch is turned right side out, use a turning tool to gently push the corners out. This step is important if you want your bag to look like it was professionally made.
Finally, use a pressing cloth and an iron on low heat to press the seams in short increments of time.
Now you have adorable confetti-filled vinyl zipper pouches!!
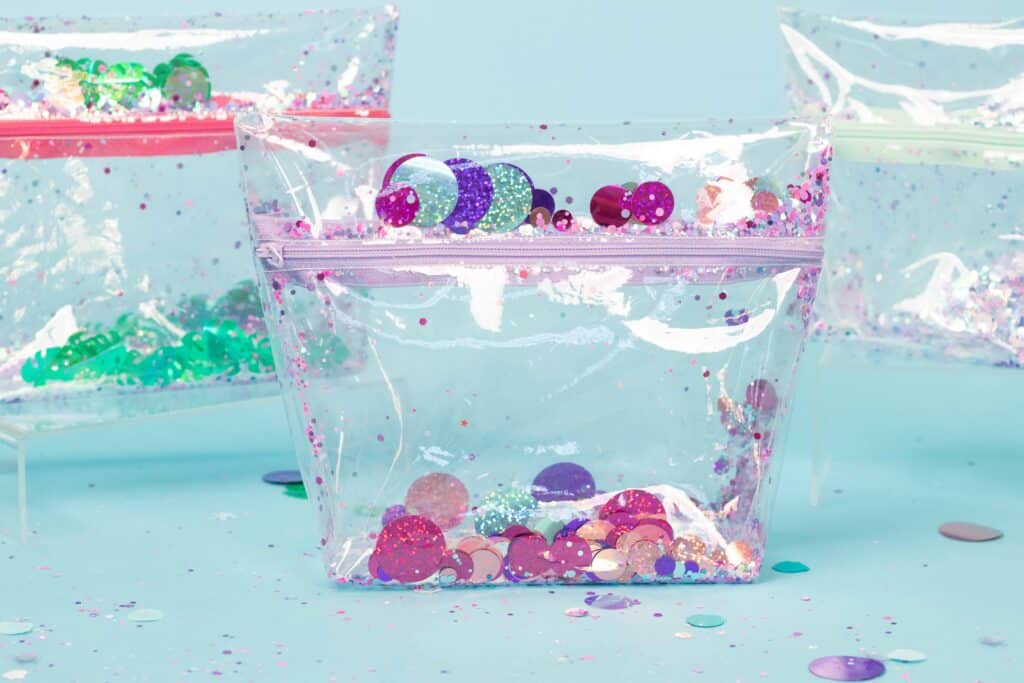
Don't forget to order or pick up all of the supplies for this tutorial from your local JOANN.

Join my crafting and sewing Facebook group where you can show us what you’re making, ask questions, and learn from others!
Want to learn more about LEGO Dots? Click here!
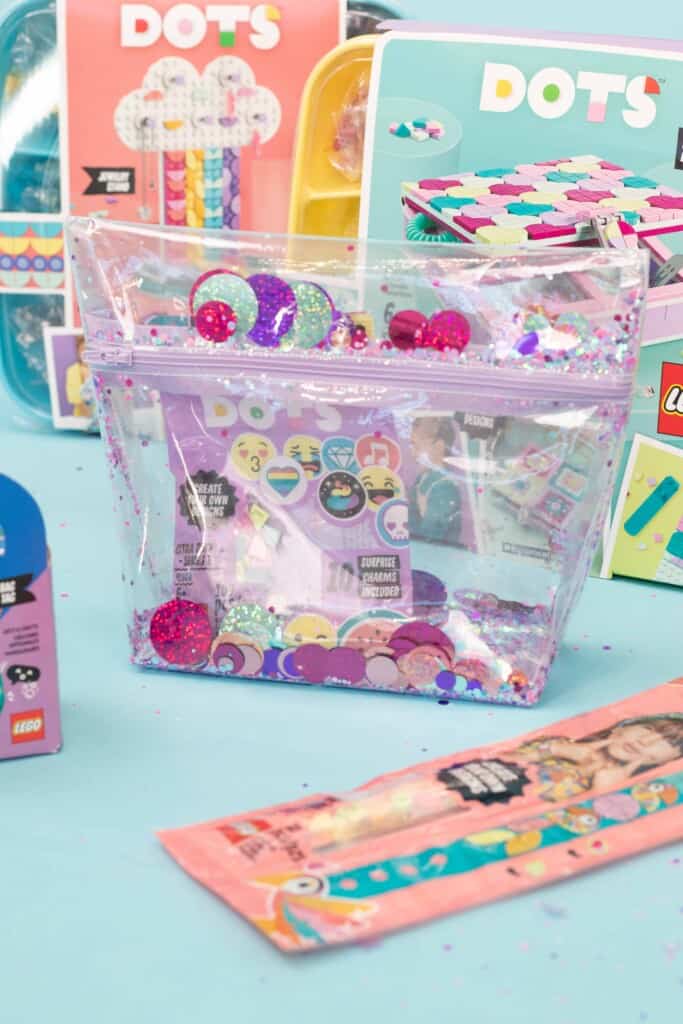
They are the epitome of customization. Accessorizing galore!
Don't want to forget about this post? Save it for later! Save it to Pinterest here.

How do you keep two layers apart to distribute the confetti
Thank you for this project. My first time using vinyl and the instructions with it was a disaster. Your explanation is most helpful. Thank you.