Learn How to Make Personalized Infusible Ink Mother's Day Mug With an Adorable Gift Box Using a Cricut Machine and Cricut Mug Press.
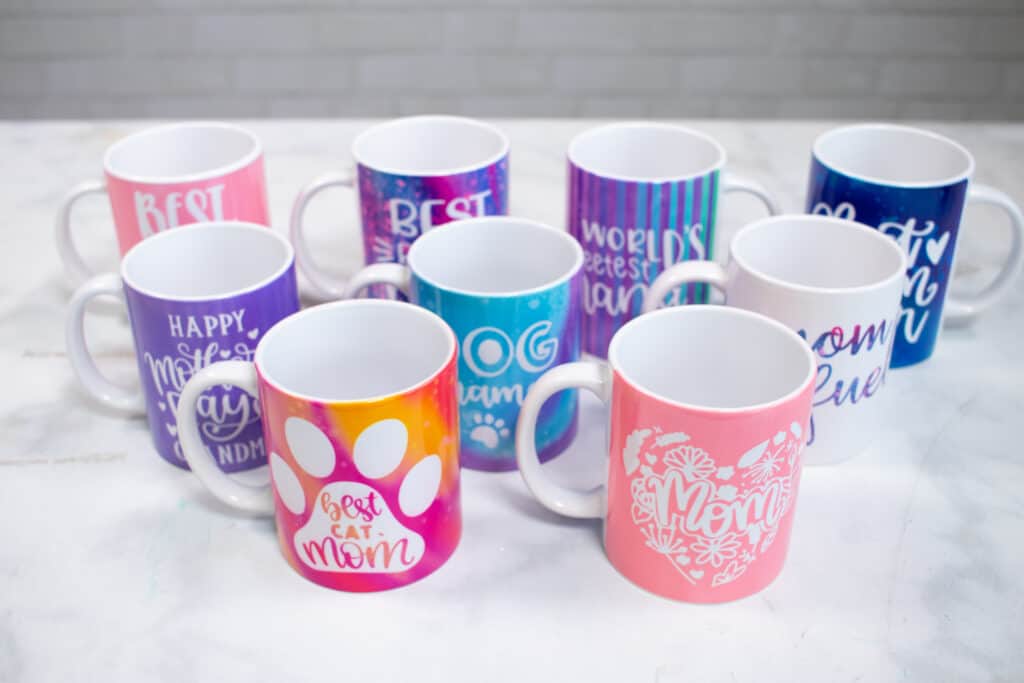
Ever since I got my hands on the Cricut Mug Press, I can’t stop making mugs. I may have an entire shelf full of Cricut mugs now. With Mother’s Day coming up, I decided to add a few more to my collection.
That’s why I created this step-by-step tutorial to show you how to create your very own adorable Mother’s Day mugs.
A big thanks to JOANN for sponsoring this post. You can find all of the supplies in this post at your local JOANN store or on JOANN.com.
Table of Contents
DIY MOTHER'S DAY MUG
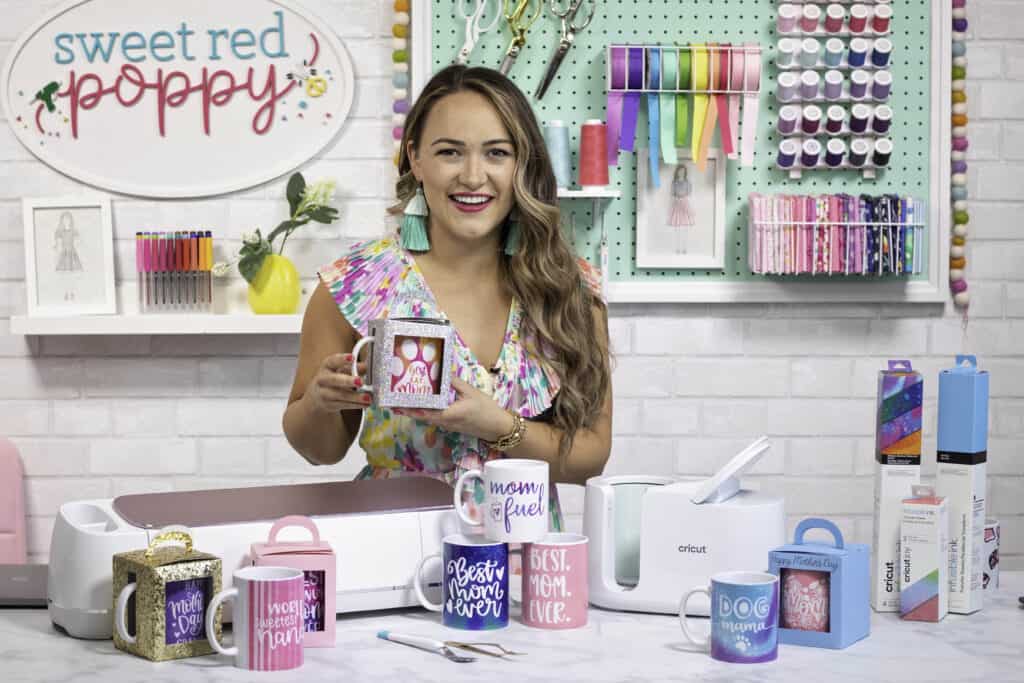
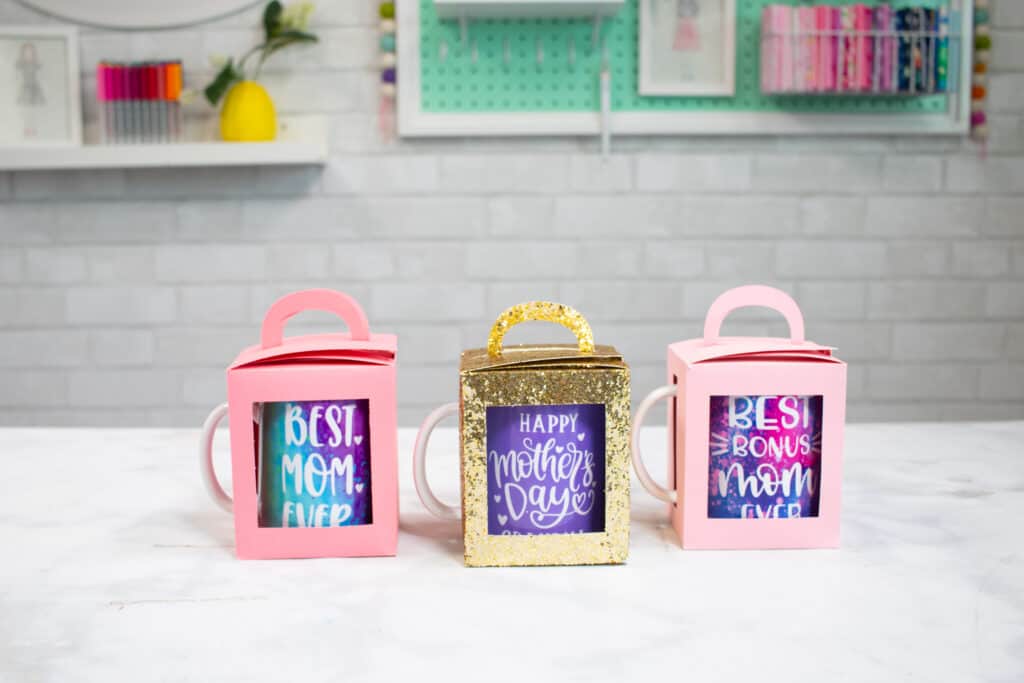
As a bonus, I’ll walk you through how to create a mug gift box using my FREE SVG file. The best part about this box is it can be reused for any holiday or special event! Be sure to scroll down for the mug gift box tutorial.
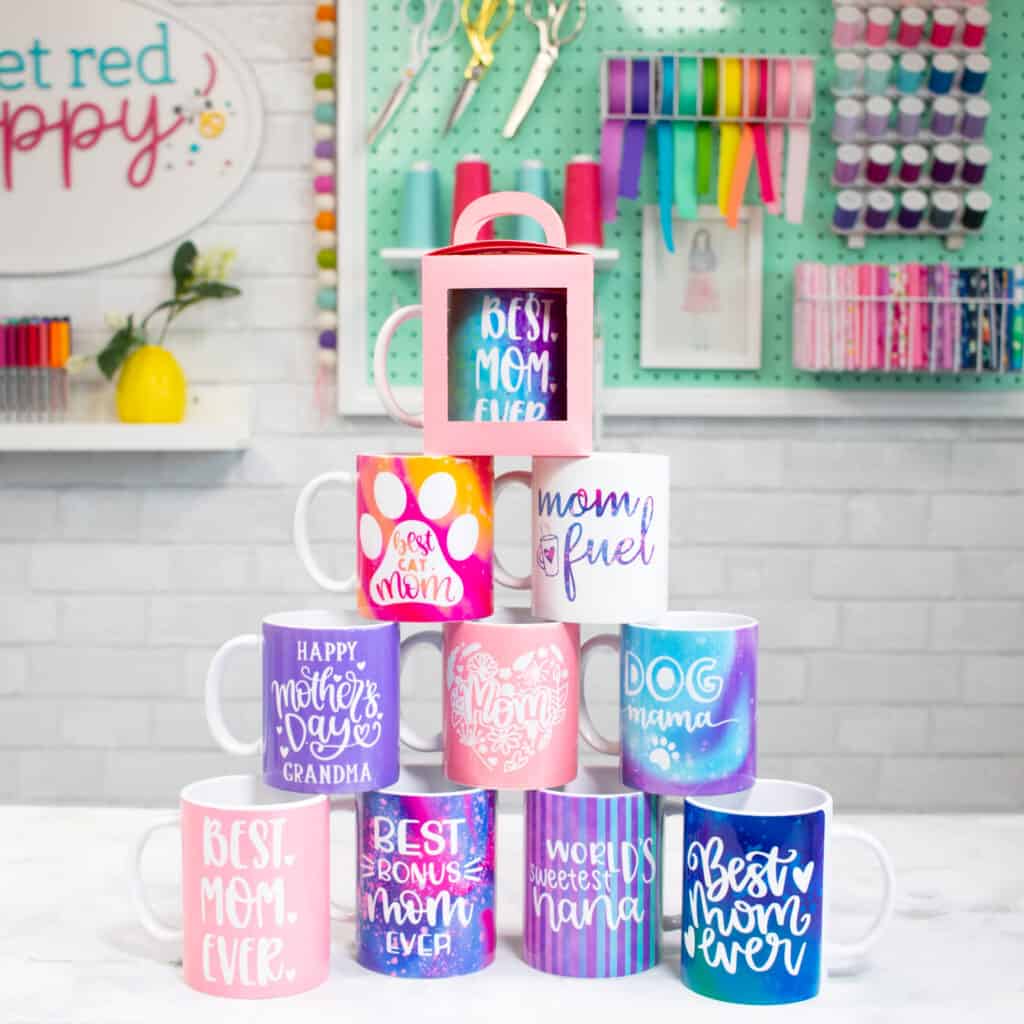
In this step-by-step tutorial, learn how to create the perfect mug with the Cricut Mug Press and a matching gift box for your DIY mug.
What is the Cricut Mug Press?
The Cricut Mug Press enables you to easily create professional-looking mugs in minutes. The ingenious design is safe and easy to use. For more information on the Cricut Mug Press, be sure to check out my blog post HERE.
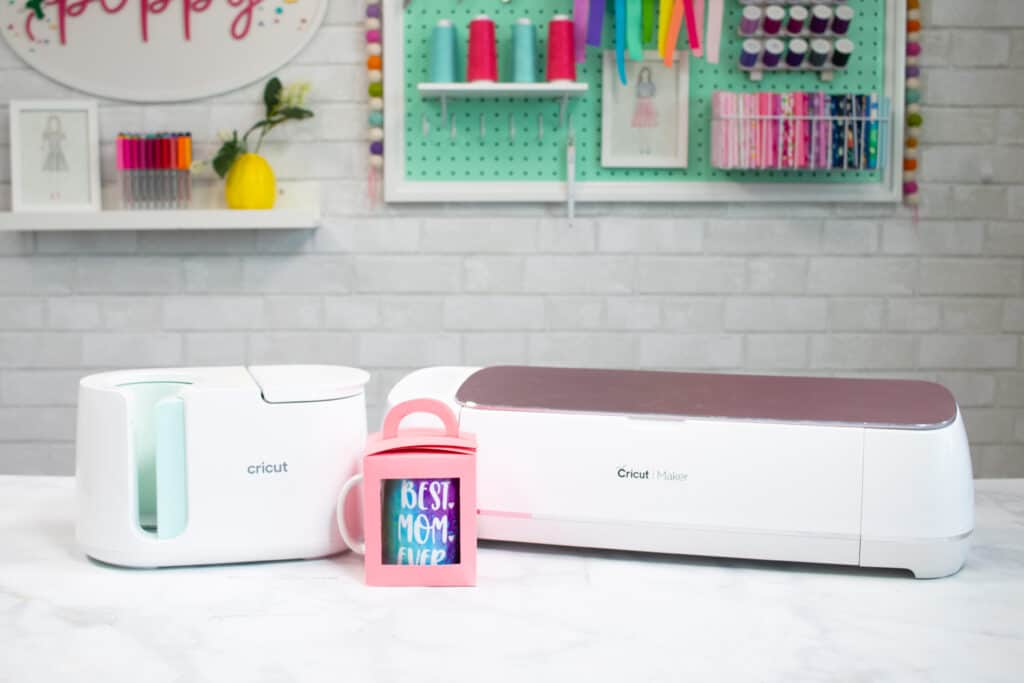
How to Make a DIY Mother’s Day Mug in 5 Easy Steps
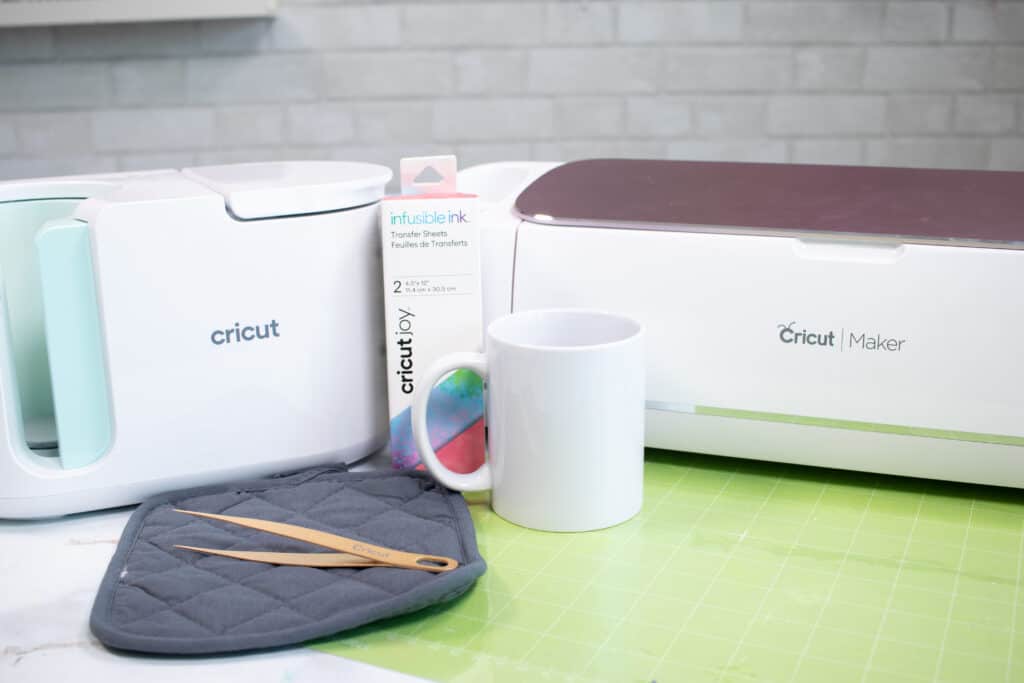
For this project, you need:
- Cricut Joy, Explore Air 2, or Maker
- Infusible Ink Transfer Sheets
- Cricut Mug Blank
- Heat Resistant Tape
- Cricut Mug Press
- Standard Cutting Mat
- 12 oz Mug Wrap Files
- 15 oz. Mug Wrap Files
- Fine-Point Blade
- Rubbing Alcohol
- Lint-Free Cloth
Step 1 - Cut Your Design
To begin, open Design Space.
Click HERE to be brought to my Mother’s Day Mug files in Design Space. I have mug wraps for Cricut's 12-ounce mugs and one for Cricut's 15-ounce mugs.
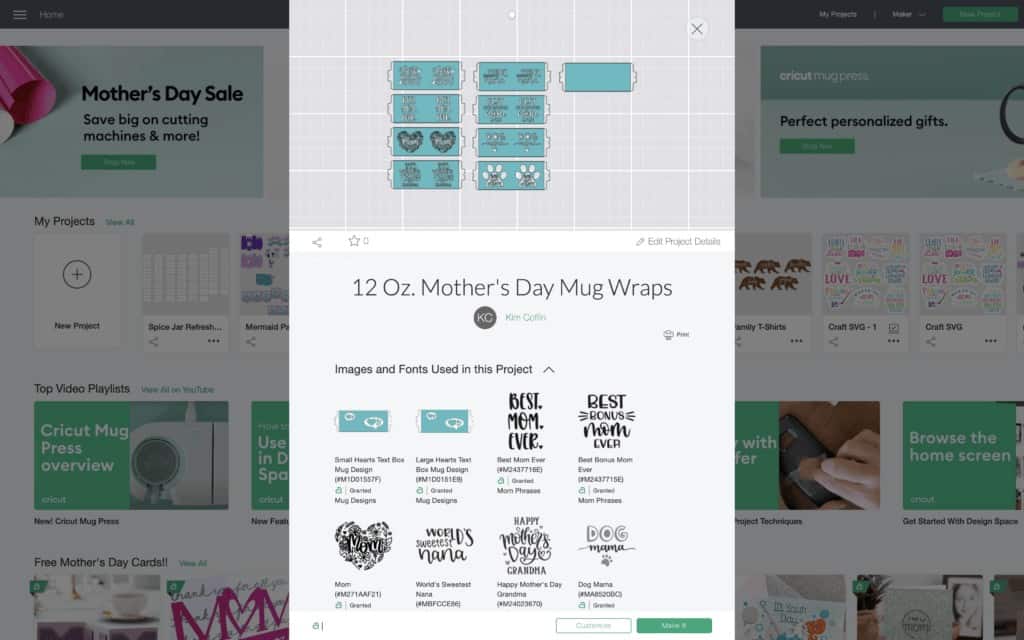
Click “Customize.”
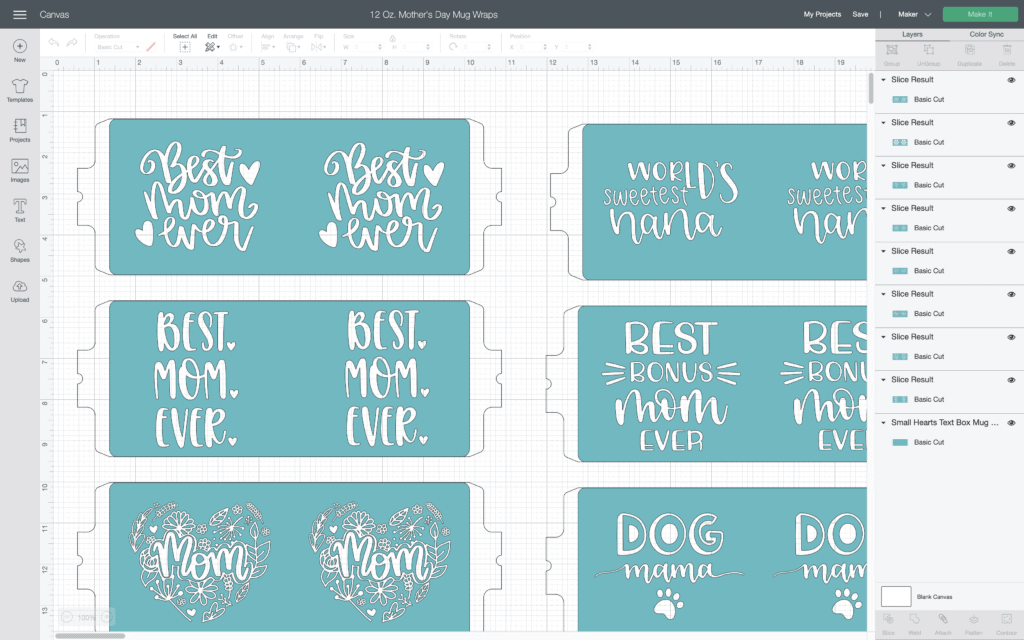
Choose the design you want to cut out and hide or delete the rest of the files.
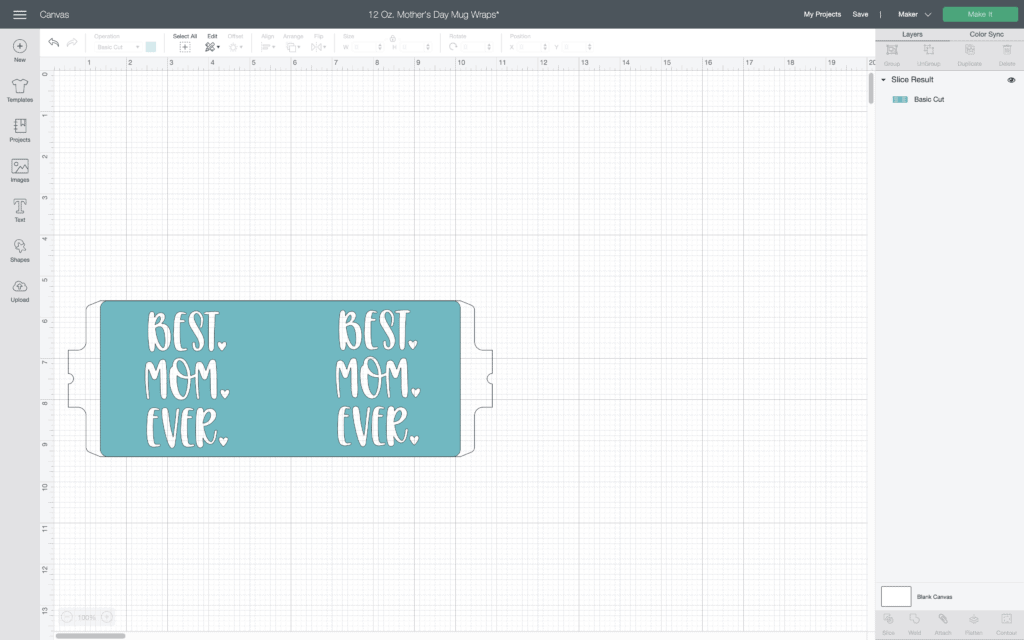
Once you have your design ready, click “Make It.”
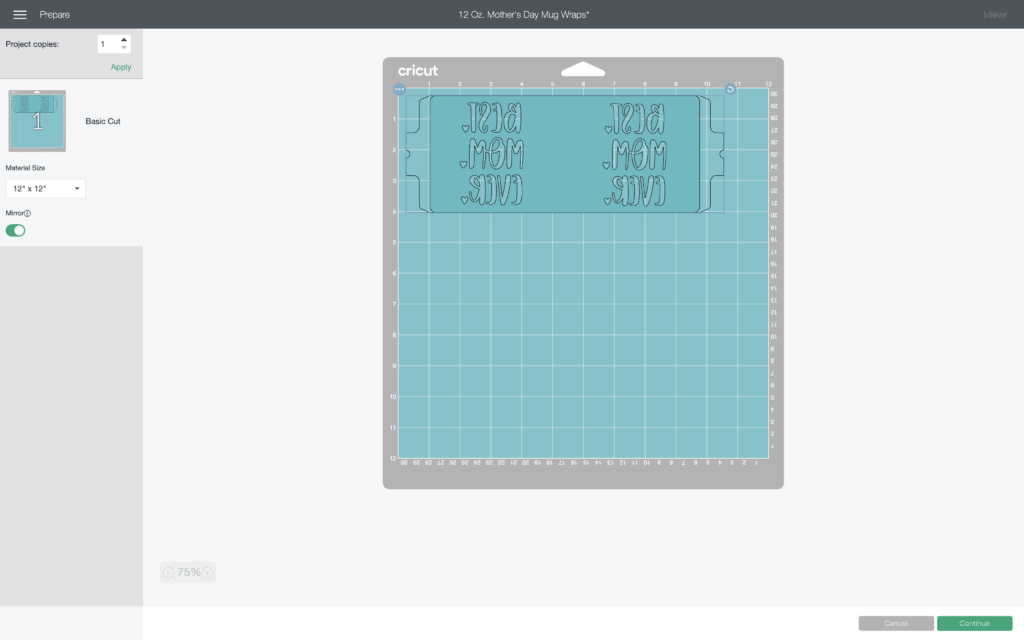
Be sure to turn mirror ON. If you don't do this, your design will appear backwards when you apply it to your mug.
Click “Continue.”
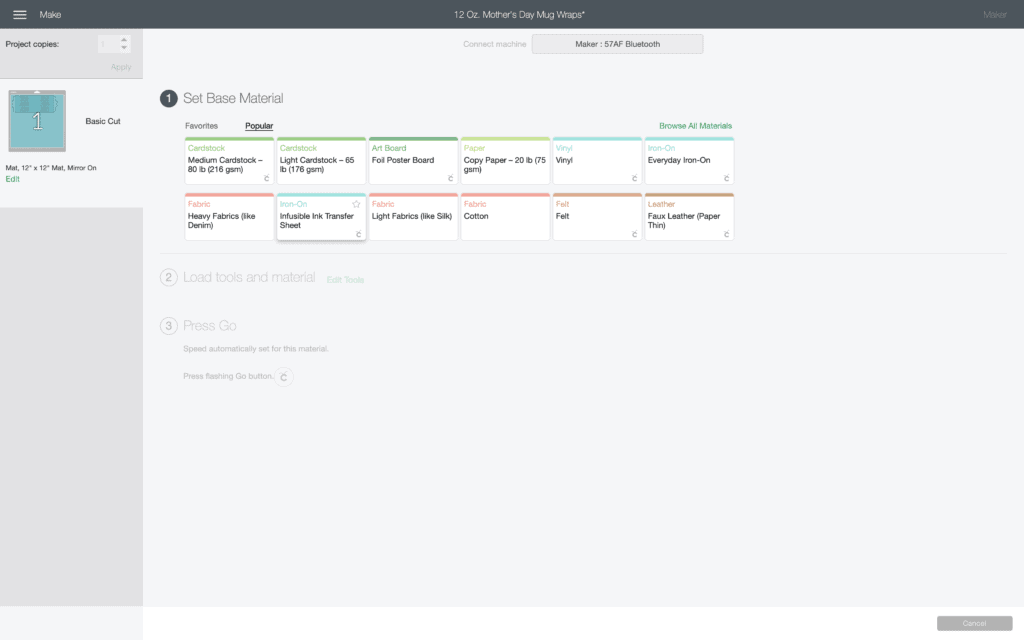
Select “Infusible Ink Transfer Sheets” as your material and be sure that your machine is loaded with the Fine-Point Blade.
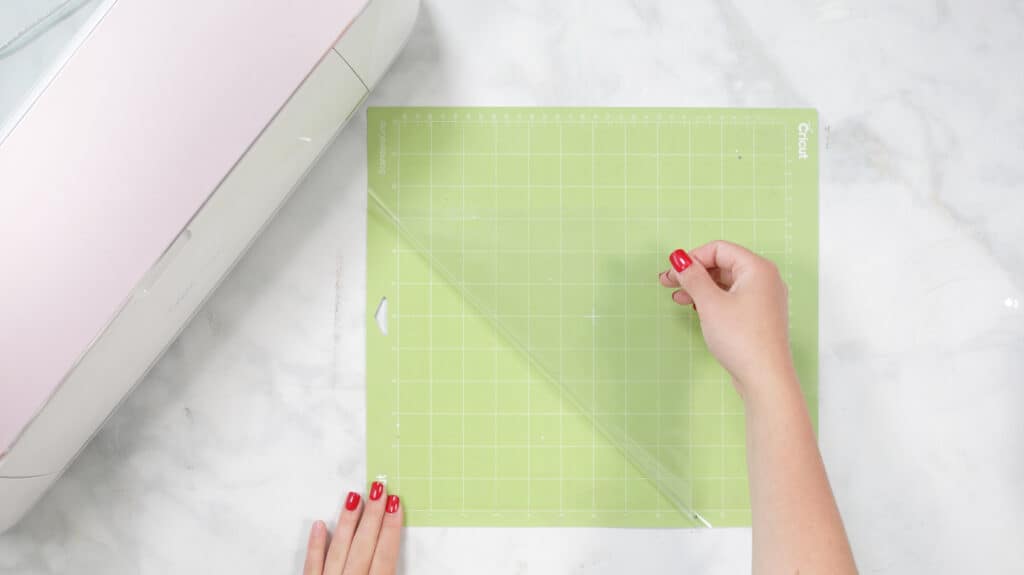
Remove the clear plastic liner from your mat.
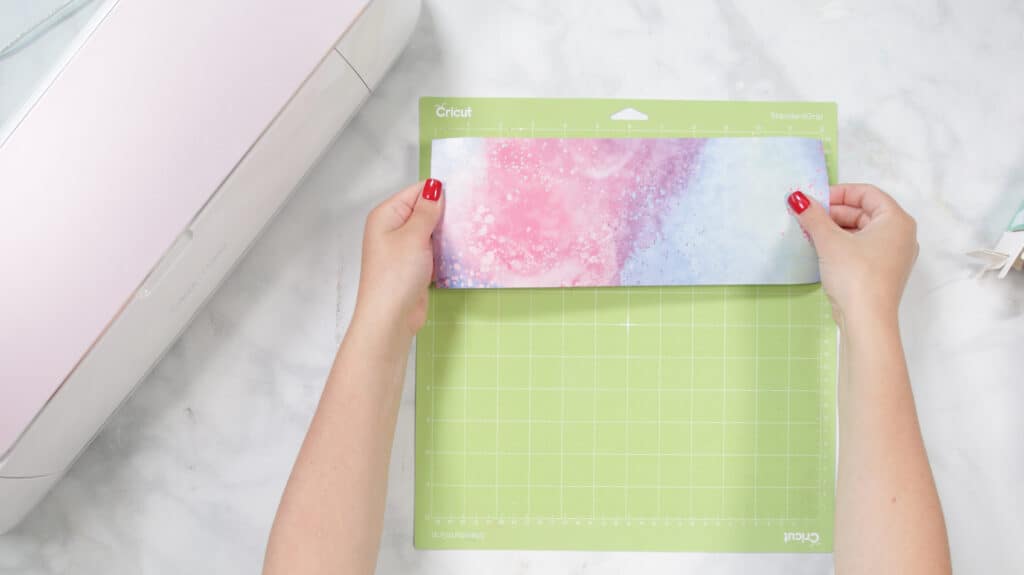
Place your Infusible Ink Transfer Sheet onto the StandardGrip Mat. Use the gridlines to keep everything straight.
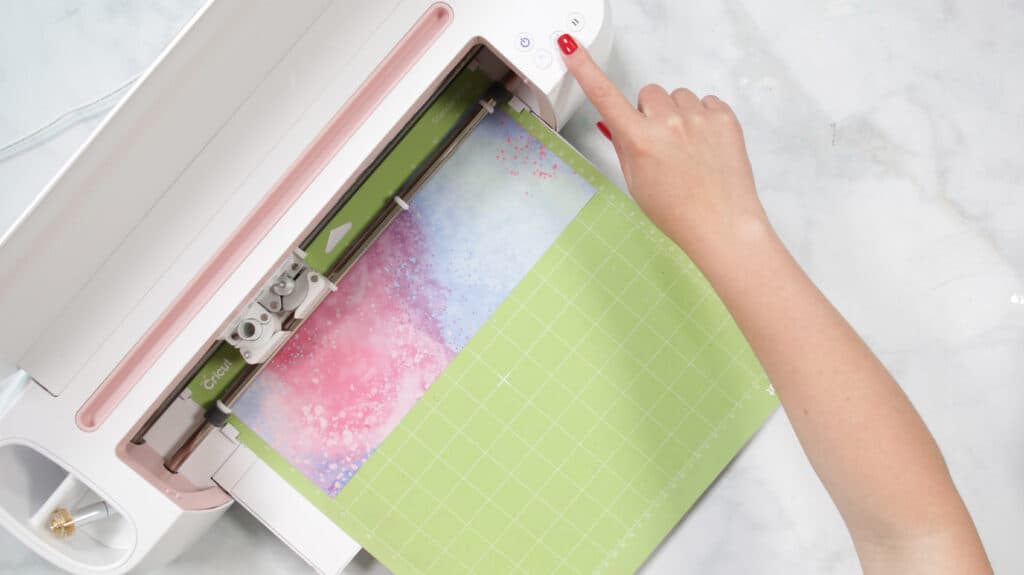
Load your mat into the machine and click the flashing "C" to begin cutting.
Step 2 - Weed Design
Once your design has finished cutting, unload it from the machine.
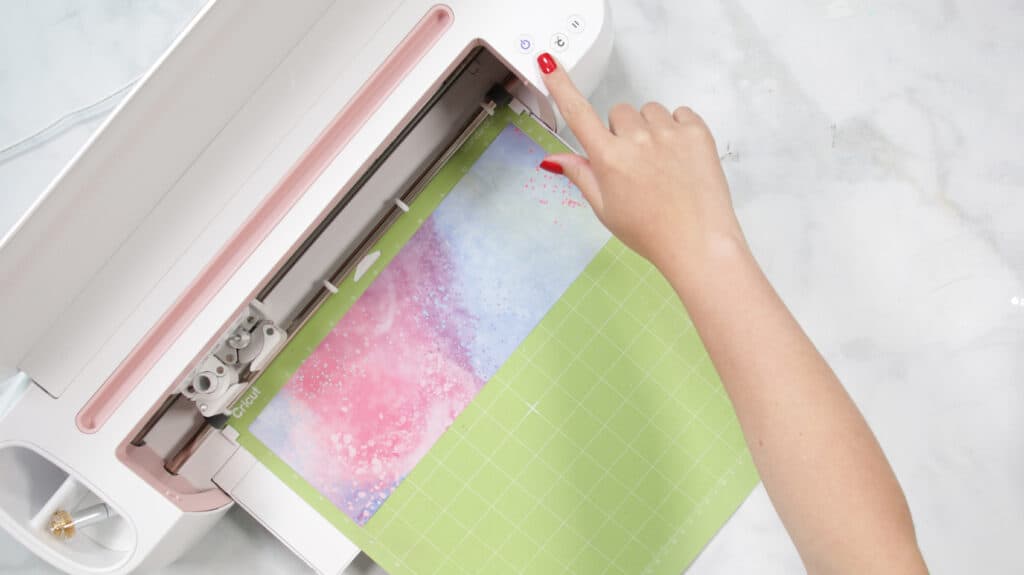
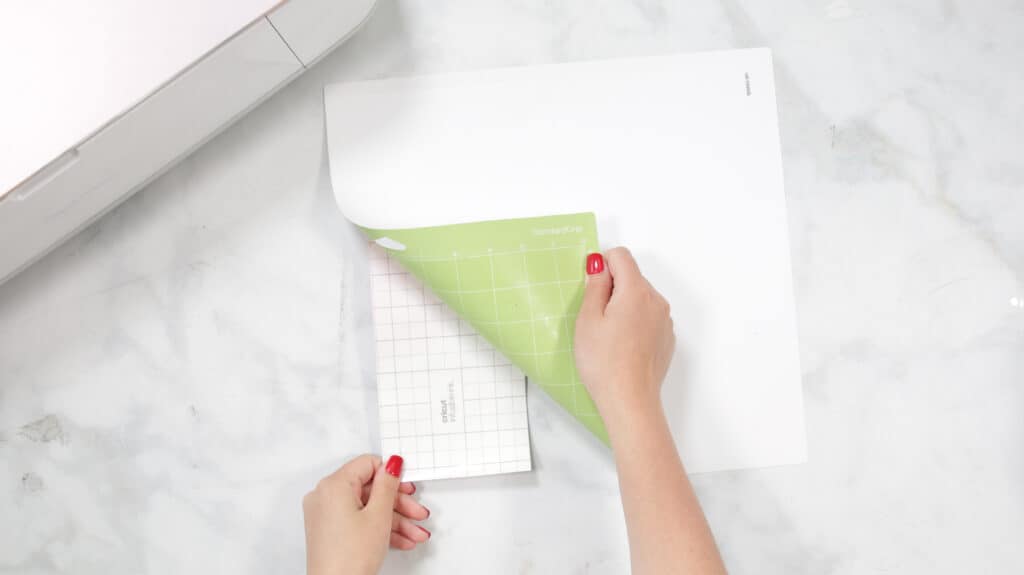
Flip your mat over and peel the mat away from your transfer.
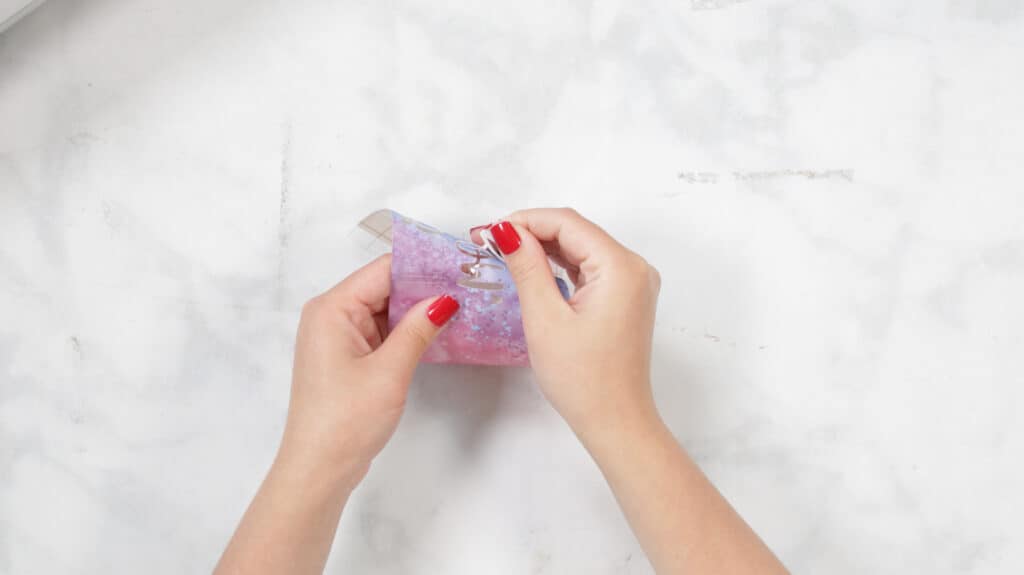
Gently roll the cut area to remove the excess, negative space from your design. For more intricate designs, use tweezers to weed your design.
Step 3 - Prep Mug
Clean your mug using rubbing alcohol. Let it completely dry before placing your Infusible Ink design on it.
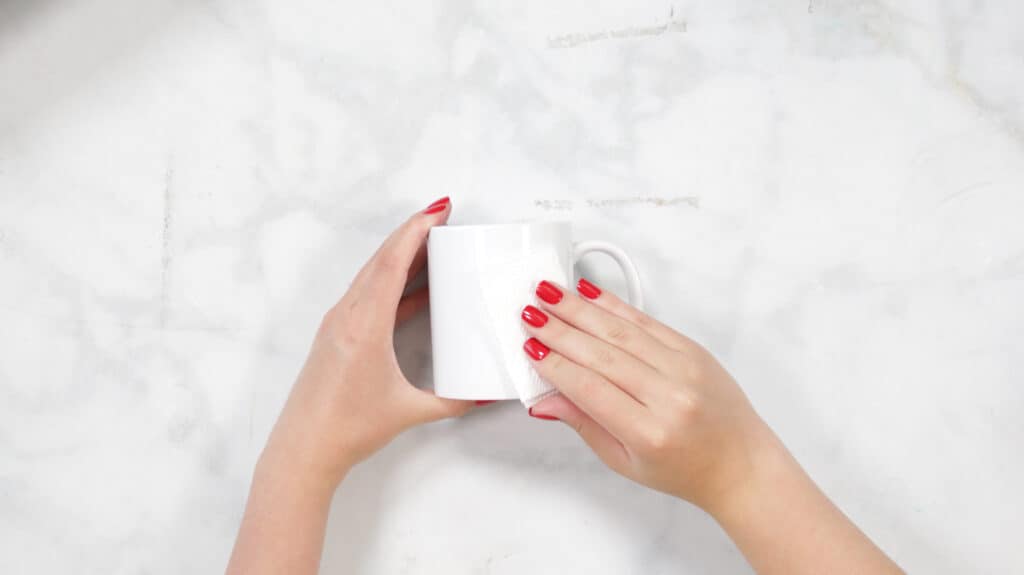
If needed, secure it to your mug using heat-resistant tape.
Heat-resistant tape prevents your transfer sheet from shifting during the press. You don’t want the transfer sheet to move around at all because it causes ghosting, leaving a lighter impression of the design to the side.
Step 4 – Apply Your Design Using the Cricut Mug Press
To heat up your Mug Press, plug it in and click the power button. The power button turns green when the press is completely heated up.
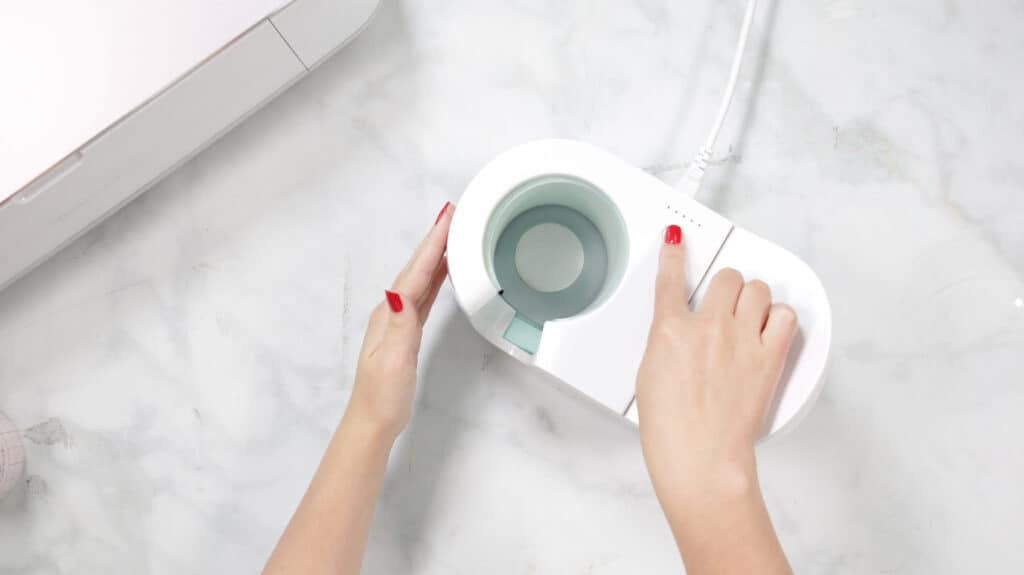
The Mug Press only heats up to one temperature making it super easy to use.
Next, insert the mug into the press. Make sure that the lever is completely up when you insert it in.
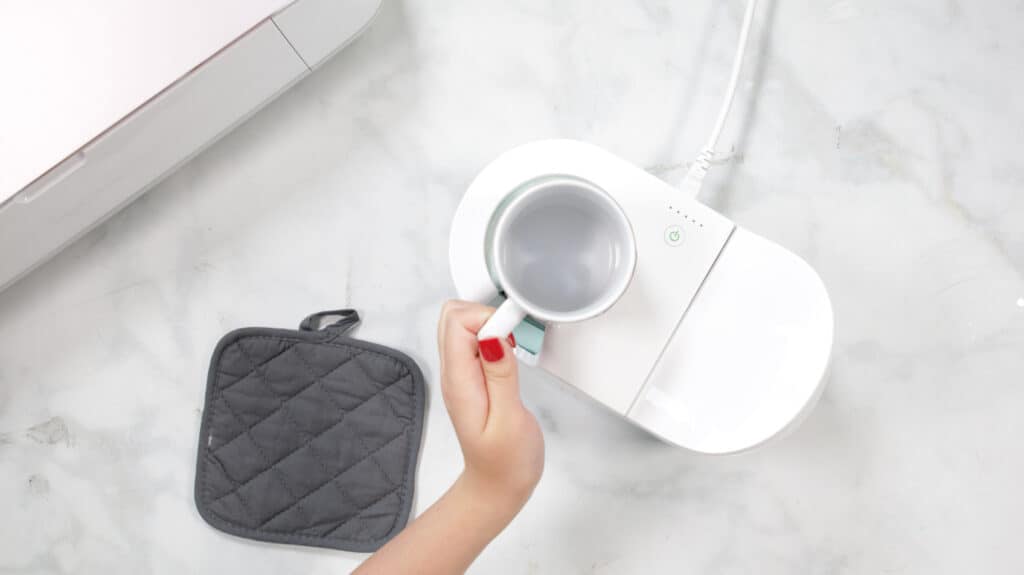
Once it’s in, press the lever down and let the mug press do the rest.
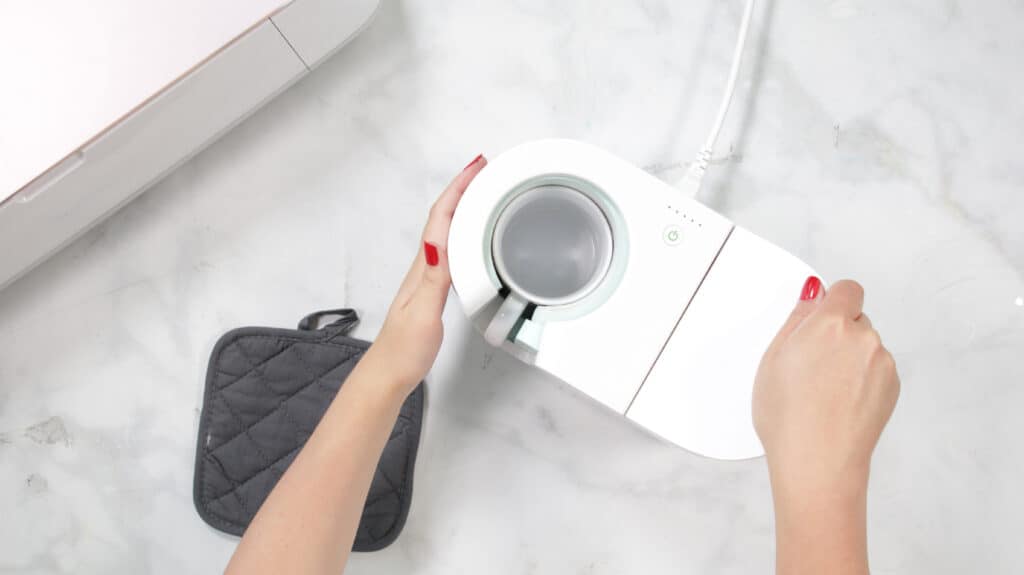
The five lights above the power button let you know how far along your mug is in the process. Once the press is complete, your machine will beep and all five lights will flash.
To take the mug out, lift up on the lever and pull your mug straight up.
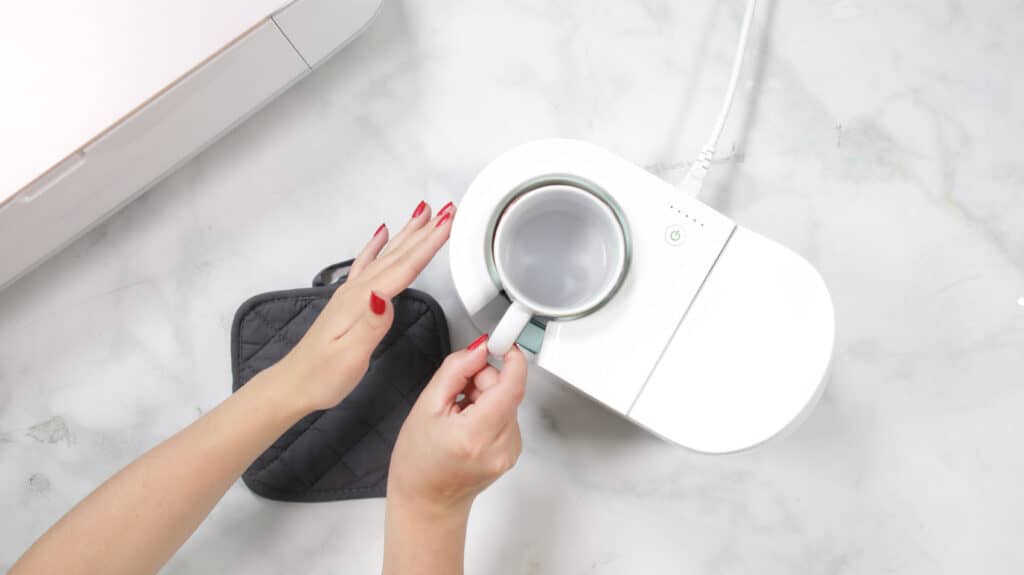
CAUTION: Your mug is going to be extremely hot, so be extra careful taking it out.
Step 5 – Let Your Custom Mug Cool
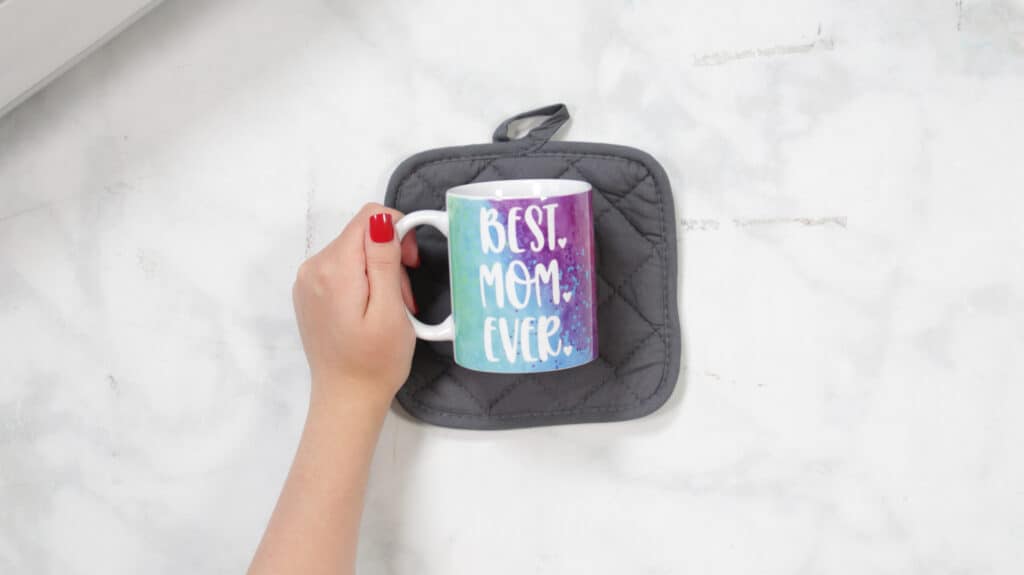
Set your mug on a heat-resistant surface and let it cool completely.
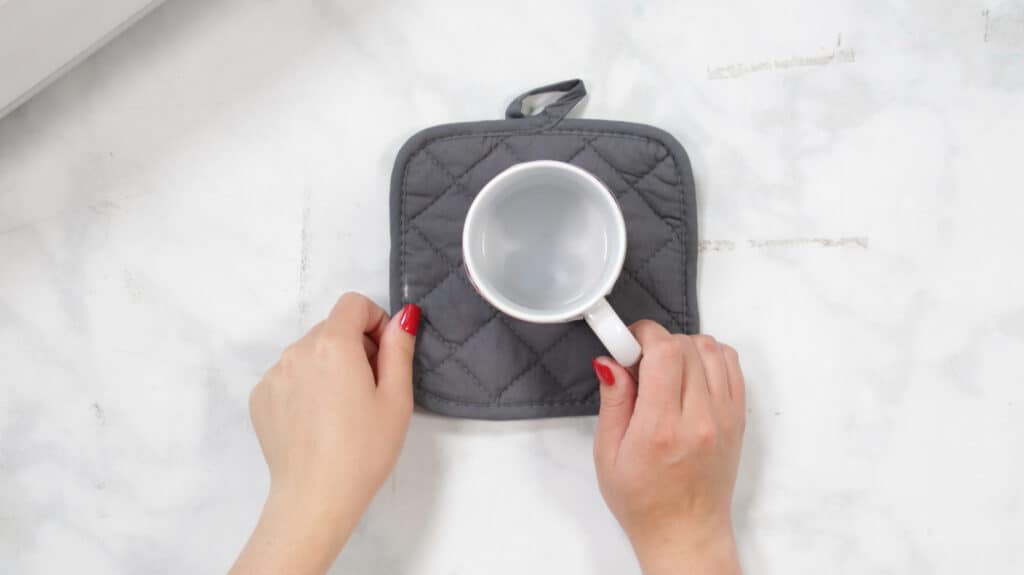
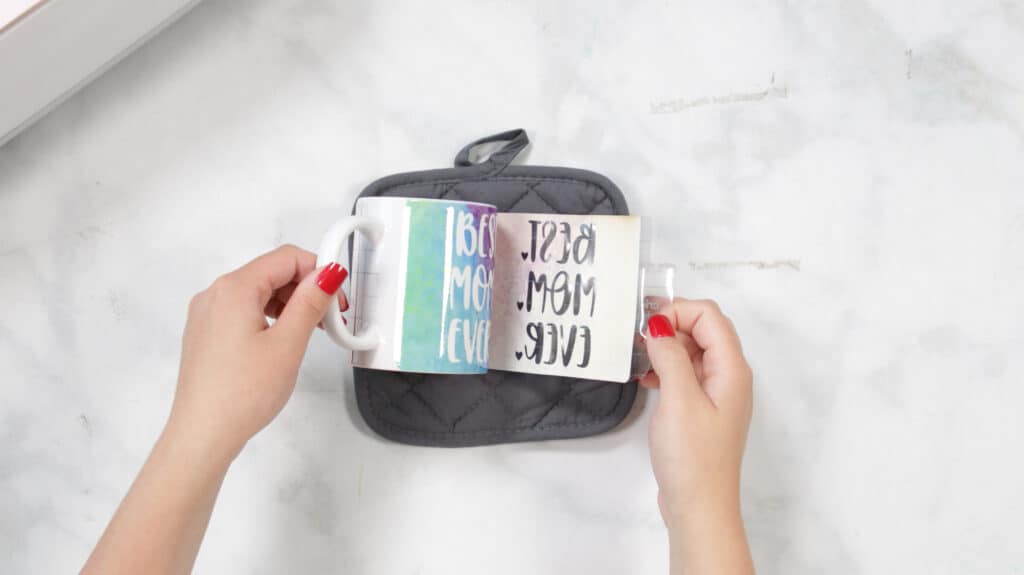
Once it is completely cool, remove the transfer sheet to reveal your custom mug.
I hope you enjoyed learning a little more about the Cricut Mug Press!
For more Mug Press projects, check out my post HERE.
Now that you have your mug, it’s time to make the gift box!
How to Make a DIY Mug Gift Box in 4 Easy Steps
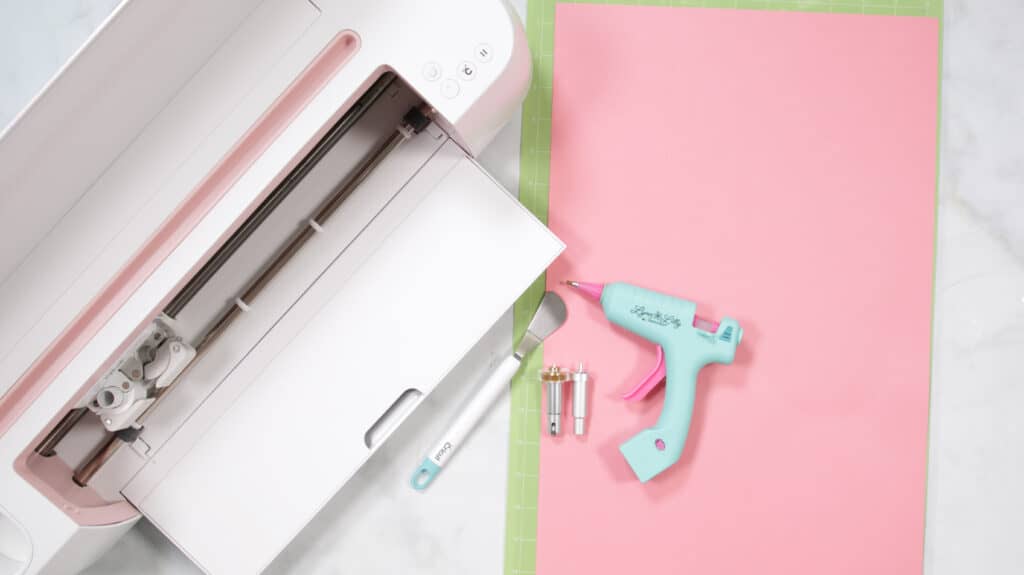
For this project, you need:
- Explore Air 2, or Maker
- Fine-Point Blade
- Scoring Wheel or Stylus
- 12”x 24” StandardGrip Mat
- 12”x 24” Glitter Cardstock
- SVG File
- Tape or Glue
DOWNLOAD THE FREE GIFT BOX SVG FILE HERE.
Step 1 - Upload SVG File
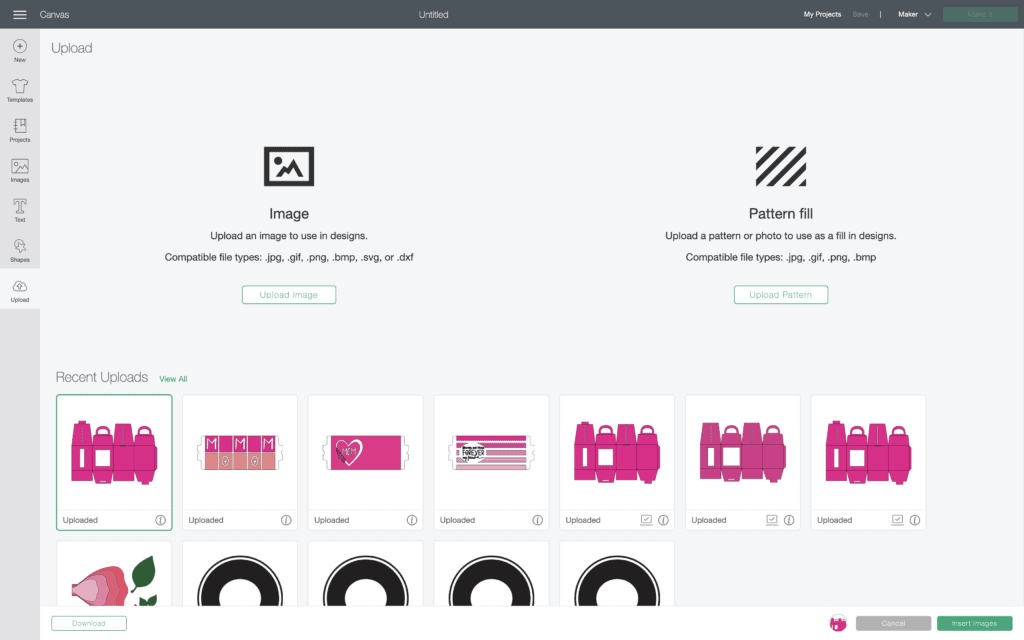
To begin, download the mug box SVG file. You can find a link to download the file right below the supply list.
Once you have the file downloaded, upload it to Design Space.
Step 2 - Cut Design
Before you cut this out, you need to change the black cut line to a score line. Click on the black line, and change the Linetype to “Score.”
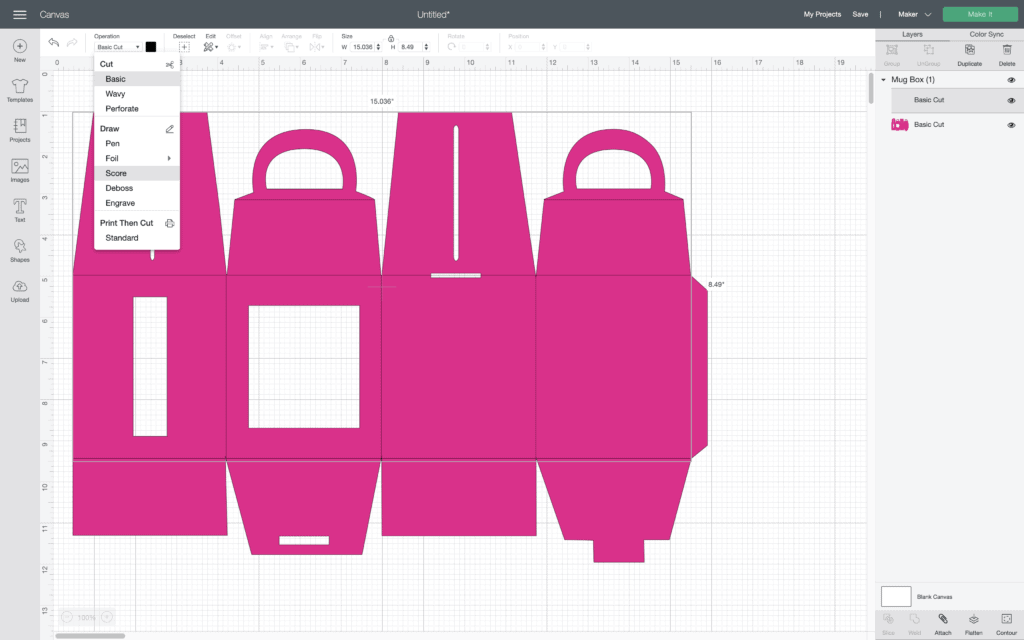
Next, attach the score line to the box. Select both and hit “Attach.”
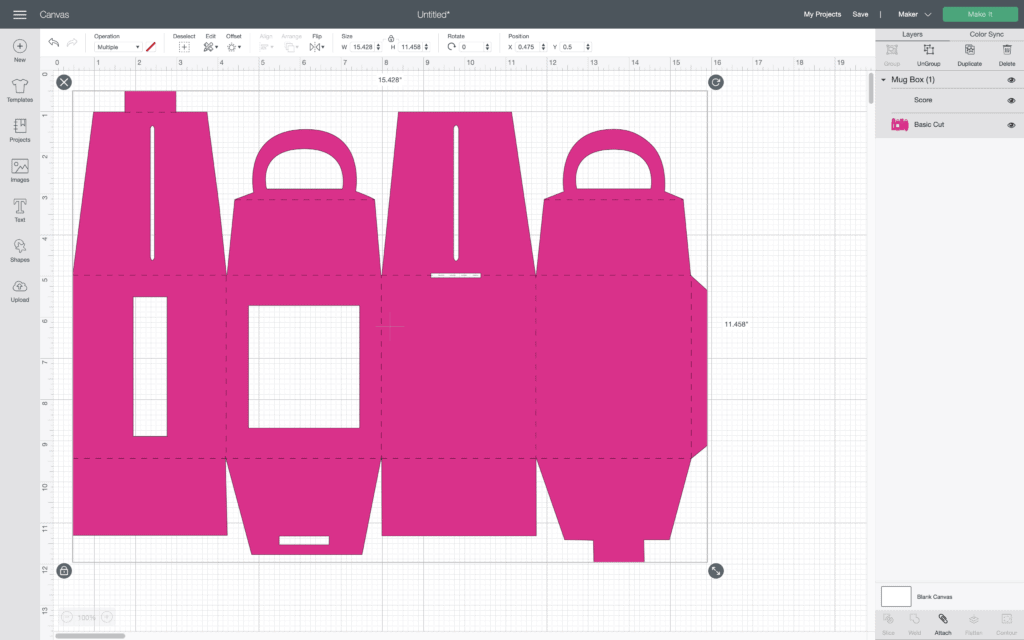
Click “Make It.”
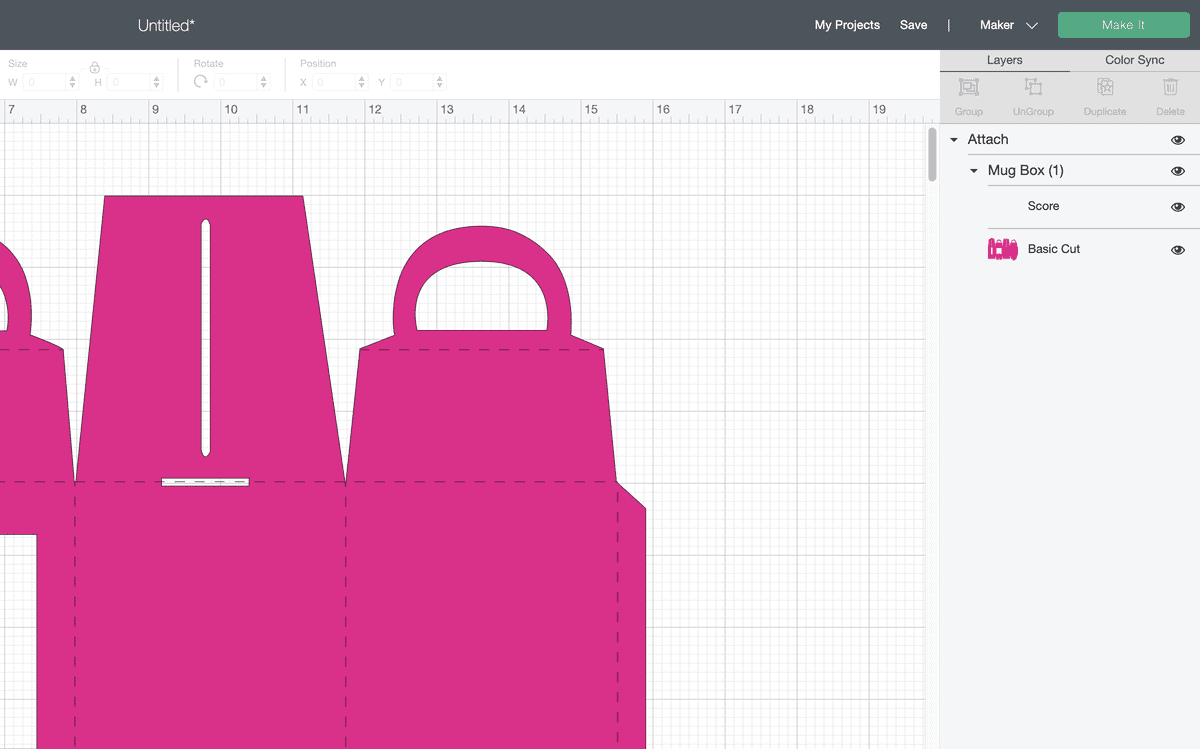
Click “Continue.”
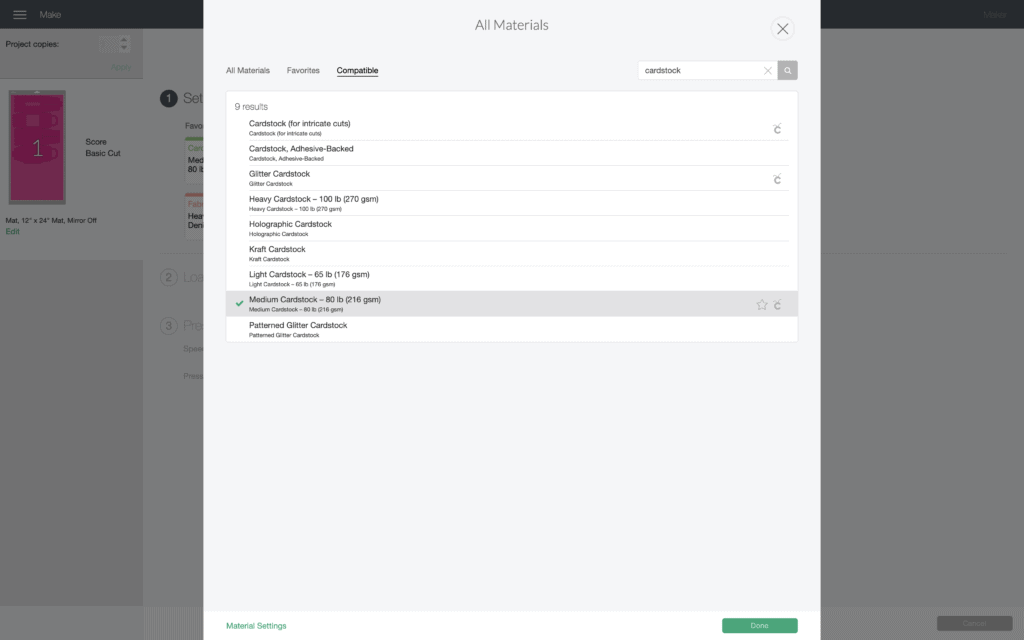
Select the material you are using.
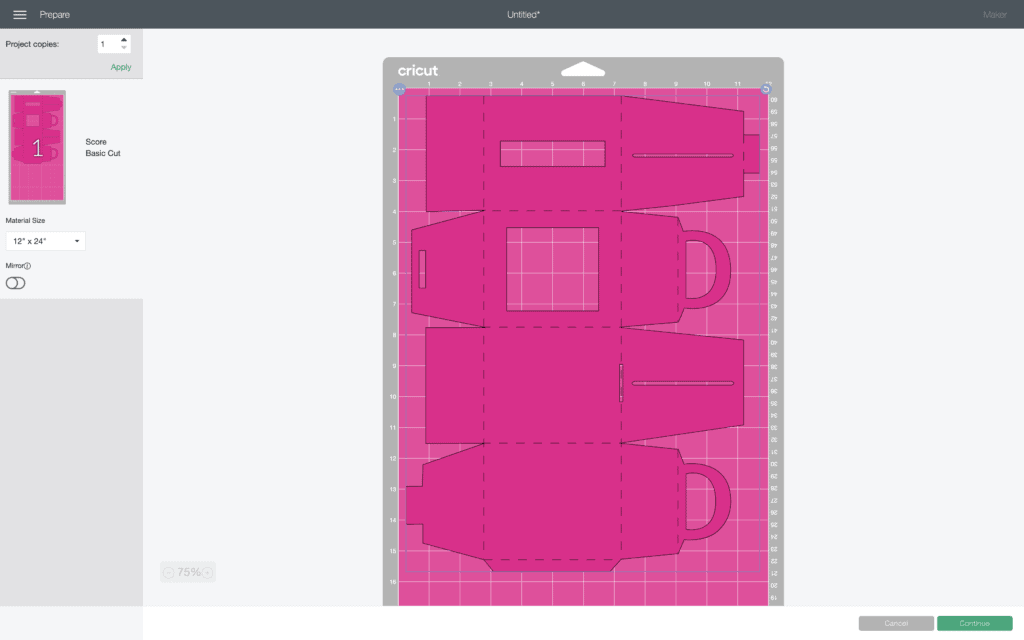
Next, prepare your mat.
Begin by removing the clear protective liner from your cutting mat. Set this somewhere safe since you need to put it back on your mat once you are finished using the mat.
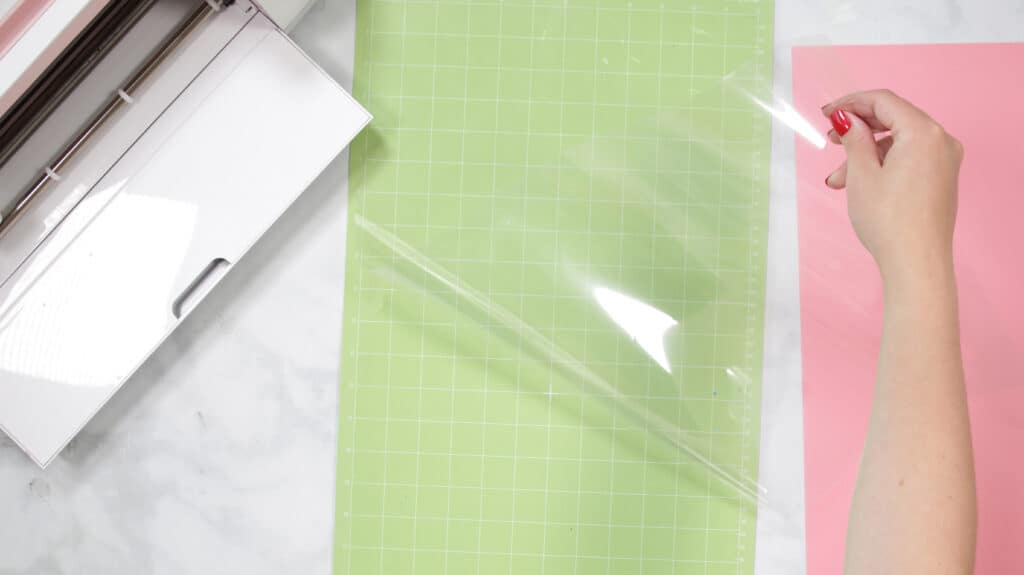
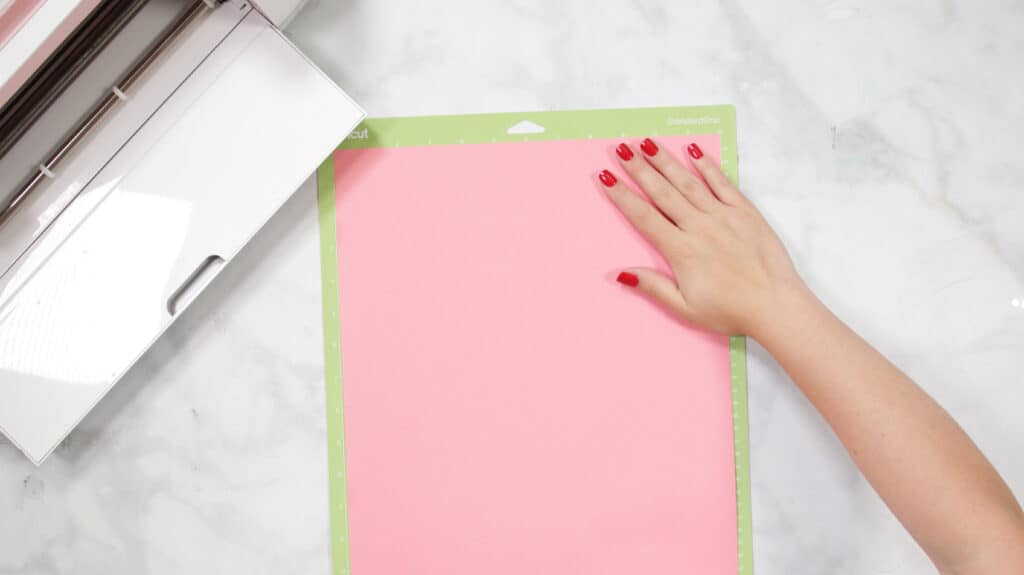
Adhere your sheet of cardstock to the mat, using the gridlines as a guide.
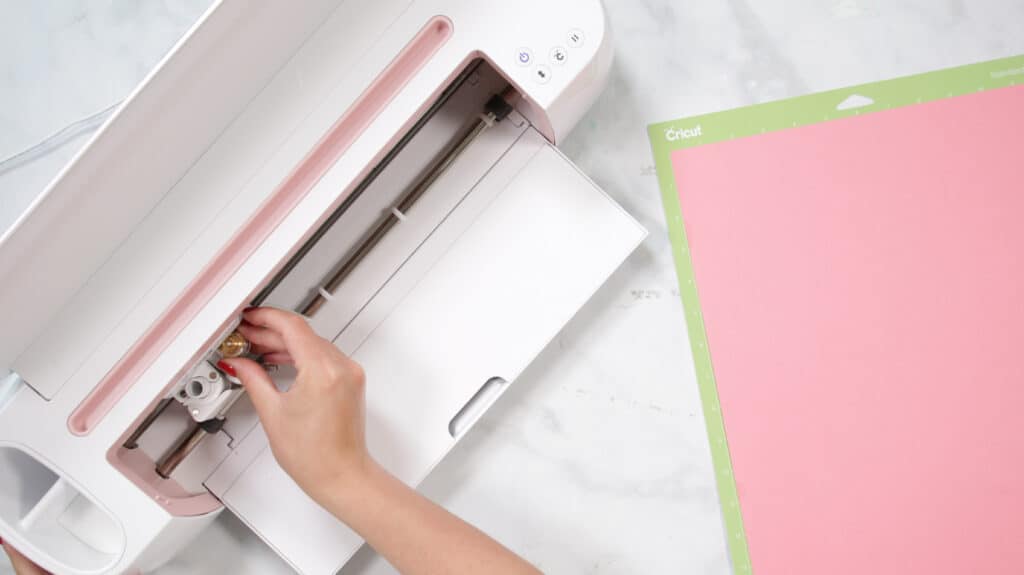
Following the prompts within Design Space, load your machine with either the scoring wheel or stylus.
Line your mat up and click the arrow button to load it in.
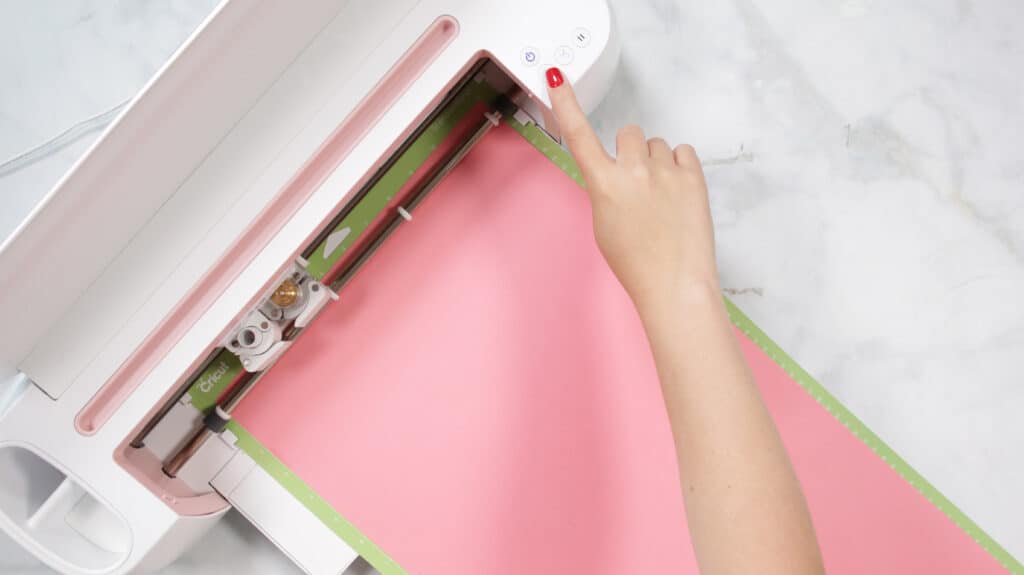
Click the flashing “C” button to begin scoring.
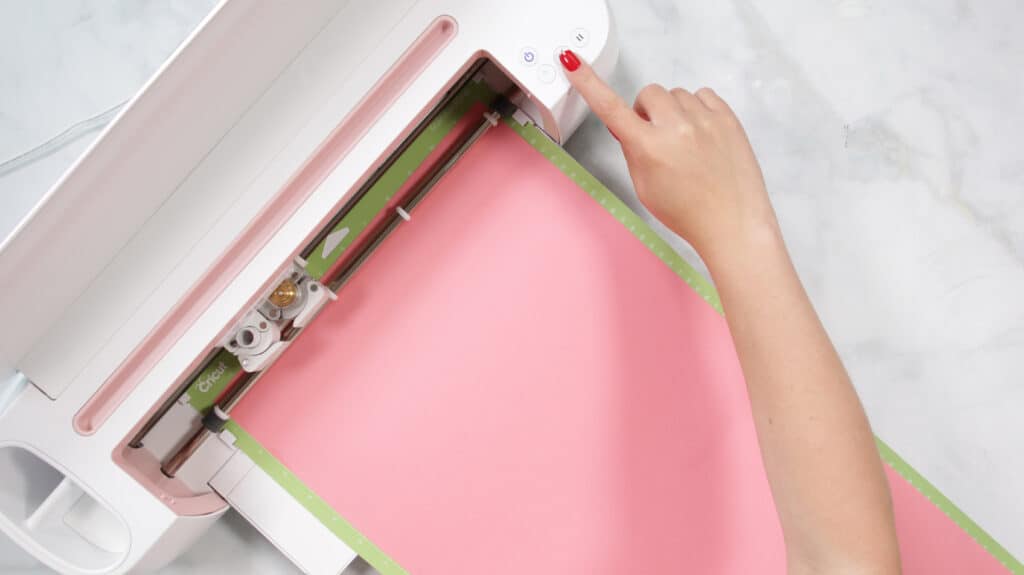
Once your machine has finished scoring, Design Space prompts you to switch blades.
Without unloading your mat, unload the scoring stylus or wheel and load the Fine-Point Blade.
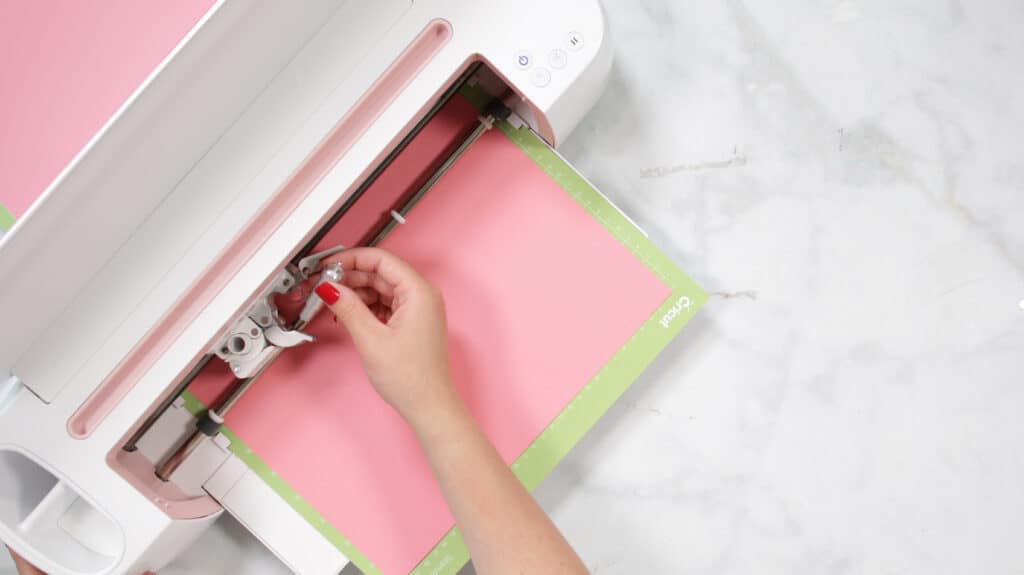
Click the flashing “C” button to begin cutting.
Step 3 - Remove Cardstock from Mat
Once the machine has finished cutting, unload your mat.
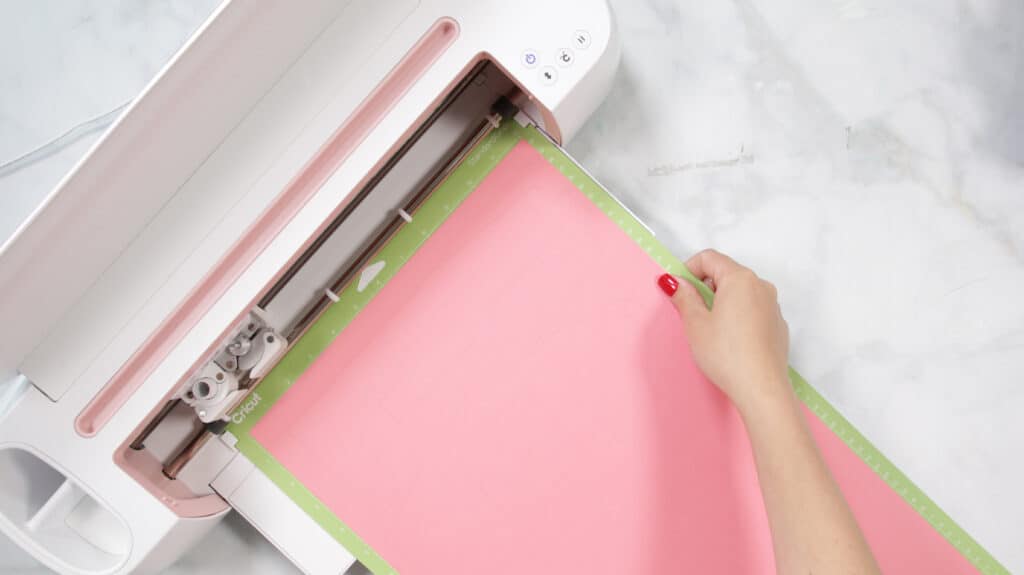
Carefully remove the project from the mat by flipping the mat over and gently pulling the mat away from the cardstock.
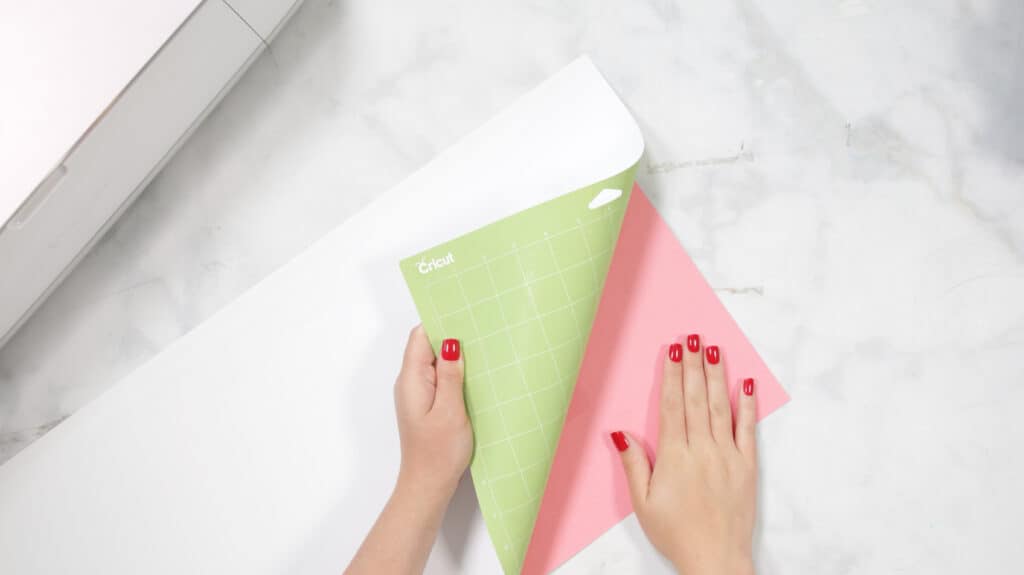
If you need a little help, you can use the spatula to lift up the cardstock.
Step 4 - Assemble Box
Now that everything is cut out, it's time to assemble the gift box.
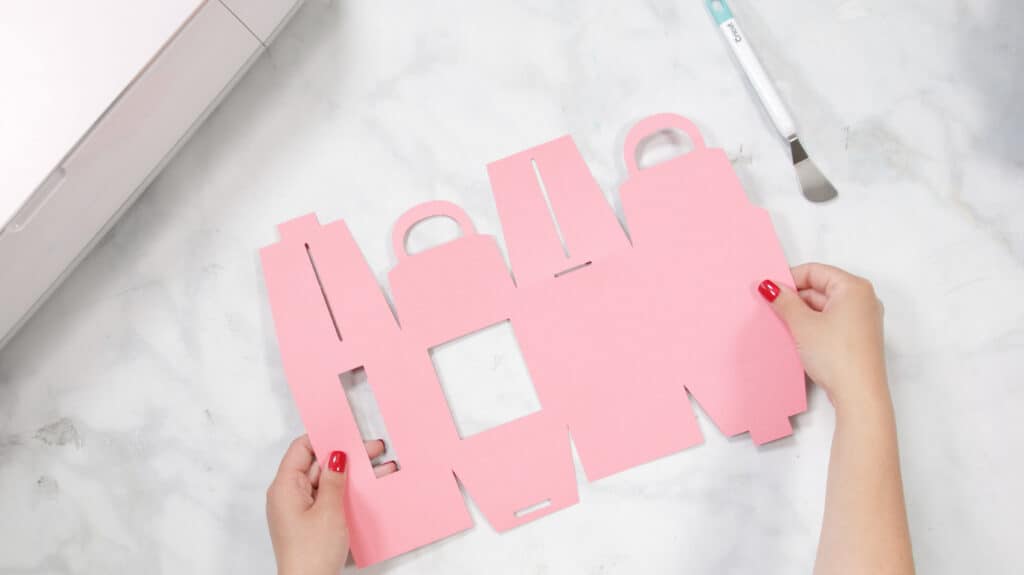
I like to begin by folding in the sides of my box.
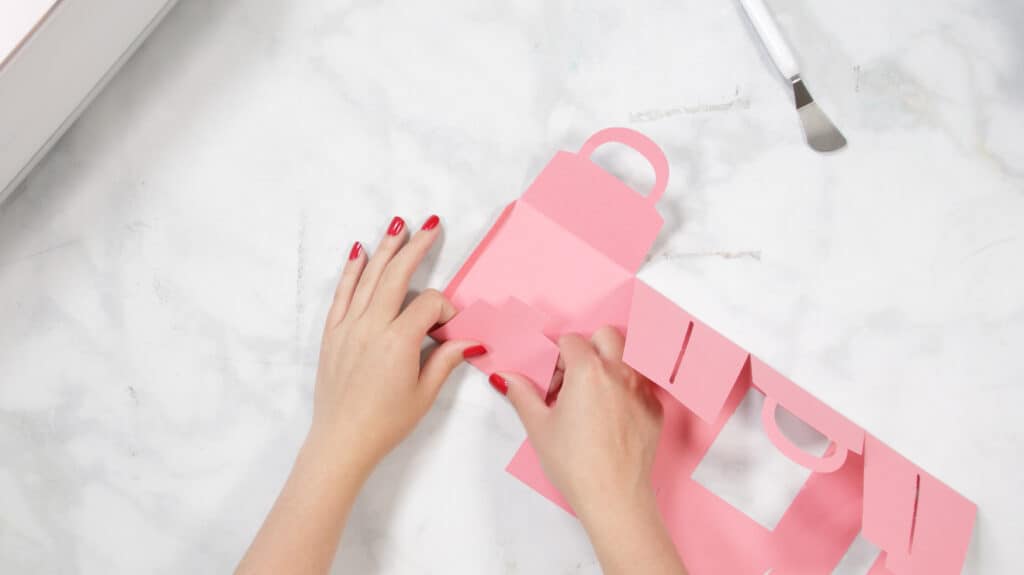
Without securing the edge, we’re going to put together the bottom of the box. Secure the bottom by inserting the tab into the slot.
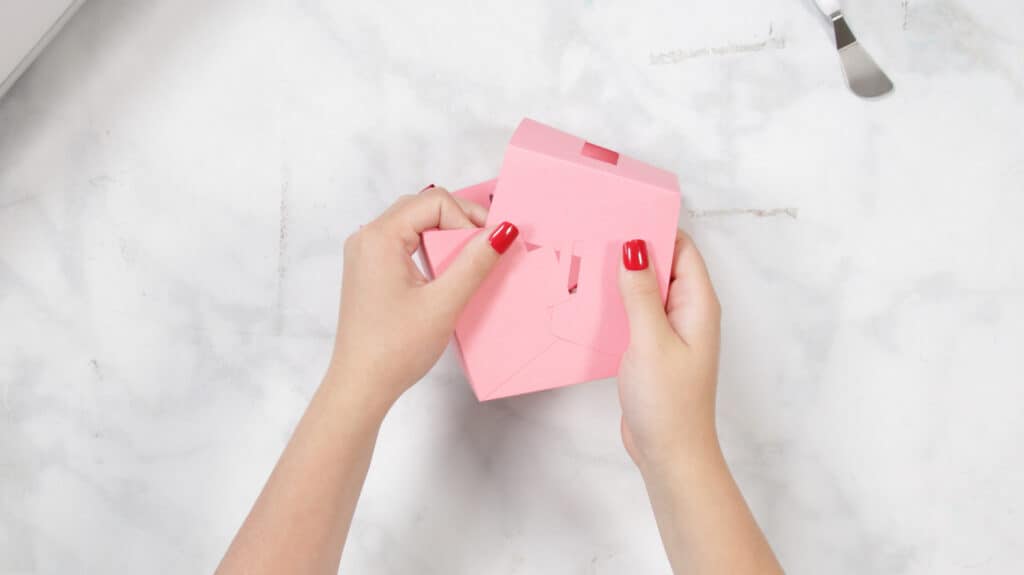
Secure the side of the box with glue or tape. Be sure to secure it to the inside of the box instead of the outside.
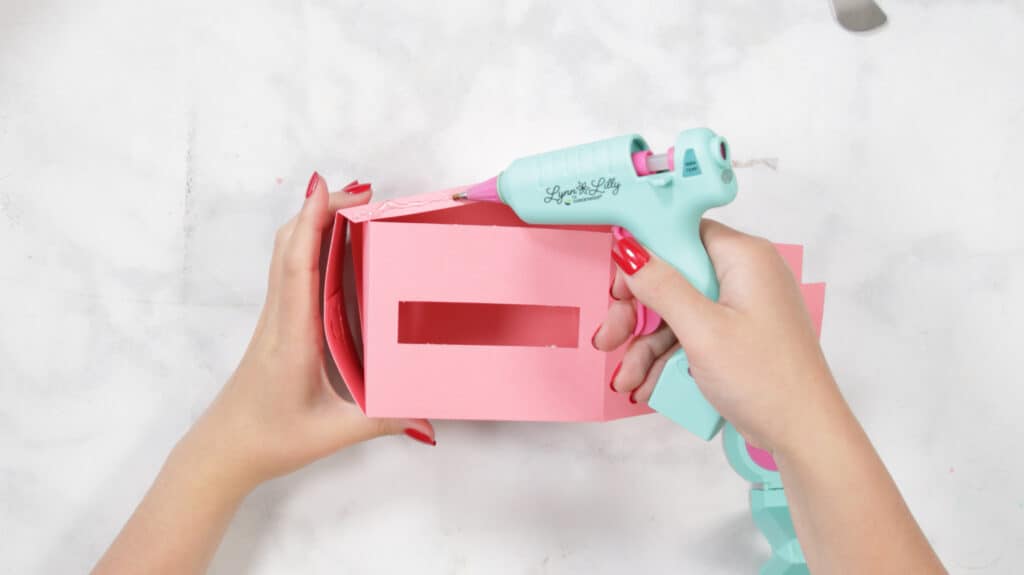
Next, insert your mug!
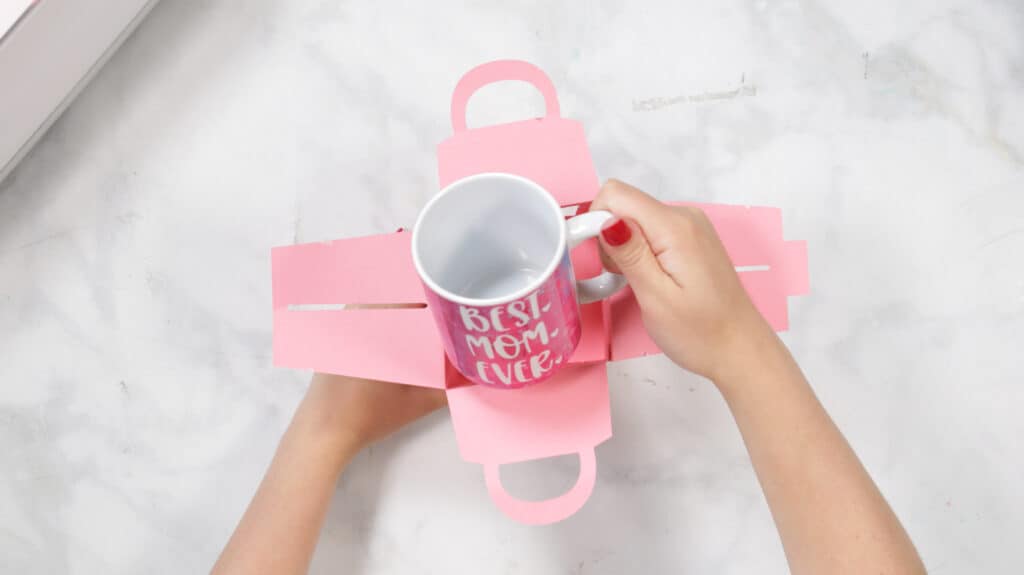
Finally, close the top of the box.
Begin by folding in the two sides with the handle loops.
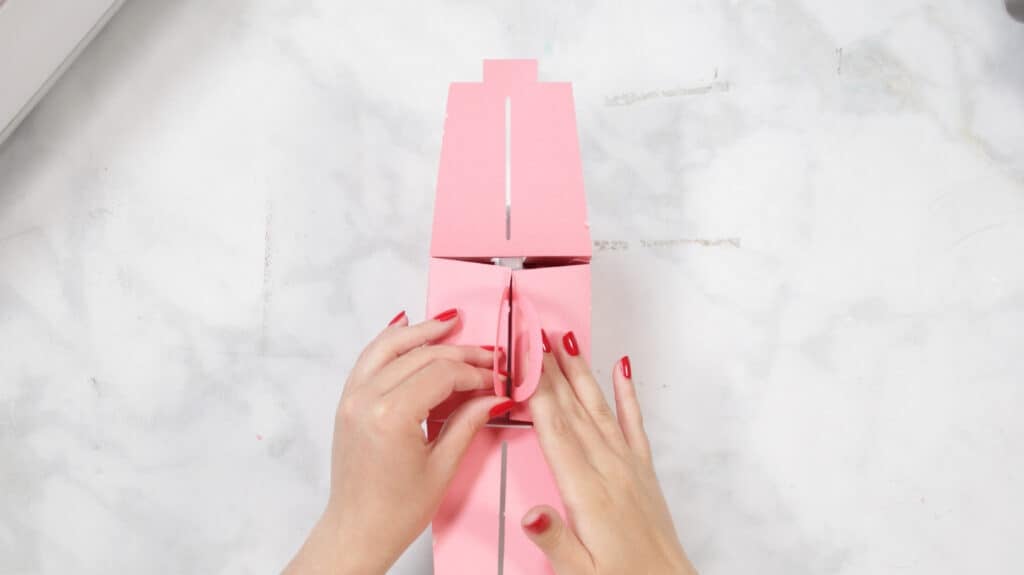
Next, you’re going to fold over these last two sides and secure the box by inserting the tab.
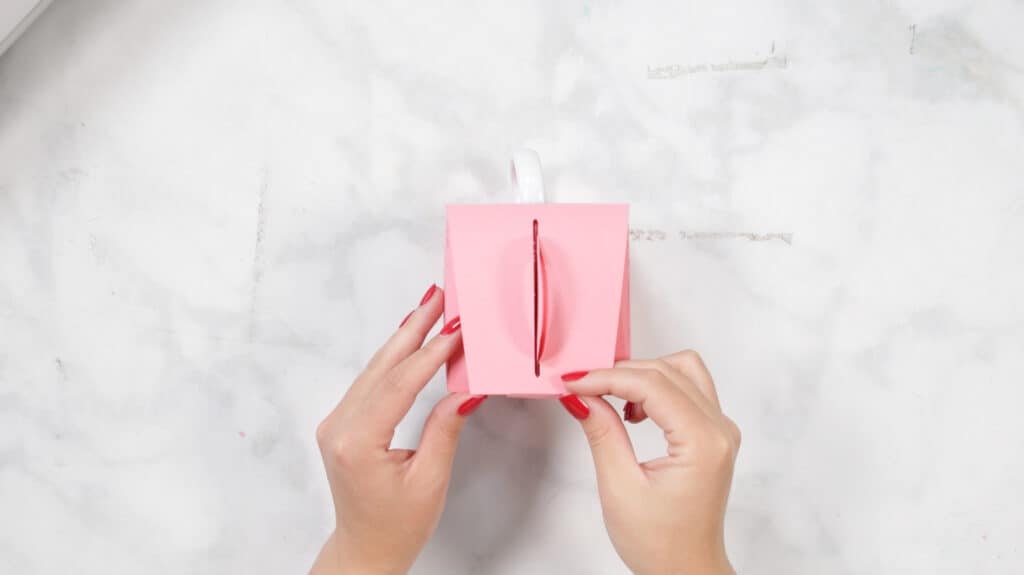
Now you have an adorable Mug Box!
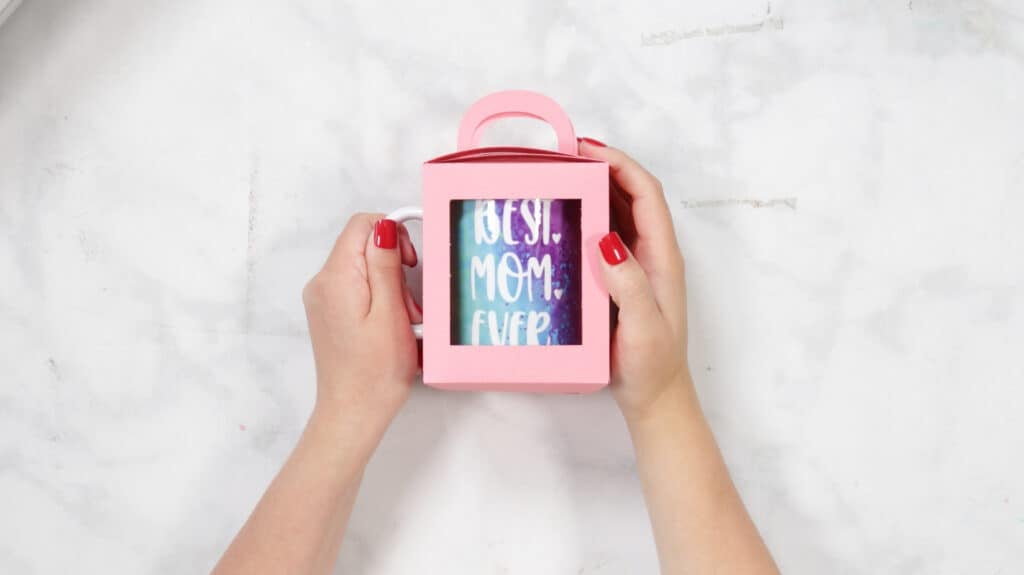
If you create your own custom mug or mug box, be sure to post it on Instagram and tag me so I can see it! @sweetredpoppy #sweetredpoppy
Do you own a Mother's Day mug? Let me know in a comment below!

These are adorable! Thank you for the tutorials and the free files! The boxes make them even more awesome!
Thanks a million!
Is it possible to make mugs like these without a mug press?
Love your tutorial. Just got my press Monday. How do I get the free svg please
Thank you so much! Just what I was looking for! Your tutorials are so helpful.
Is it possible to make mugs like these without a mug press?
I've been looking around. I do not have a Cricut and I really want one. This would be so fun for so many, many crafts and things.
Thank you so much this was so easy,
Thank you for the mug box pattern