Learn Some Kitchen Organization Hacks With This Simple Spice Jar Refresh Using Cricut Joy Smart Writable Vinyl and the Cricut Joy Machine.
When everything is easy to find and has a designated home, it makes clean up so much easier!
When I first got my Cricut Joy, I went a little bit crazy labeling everything. From my linen closet to my pantry, everything got an update. Today, I'll be sharing a full step-by-step tutorial so you can do the same thing!
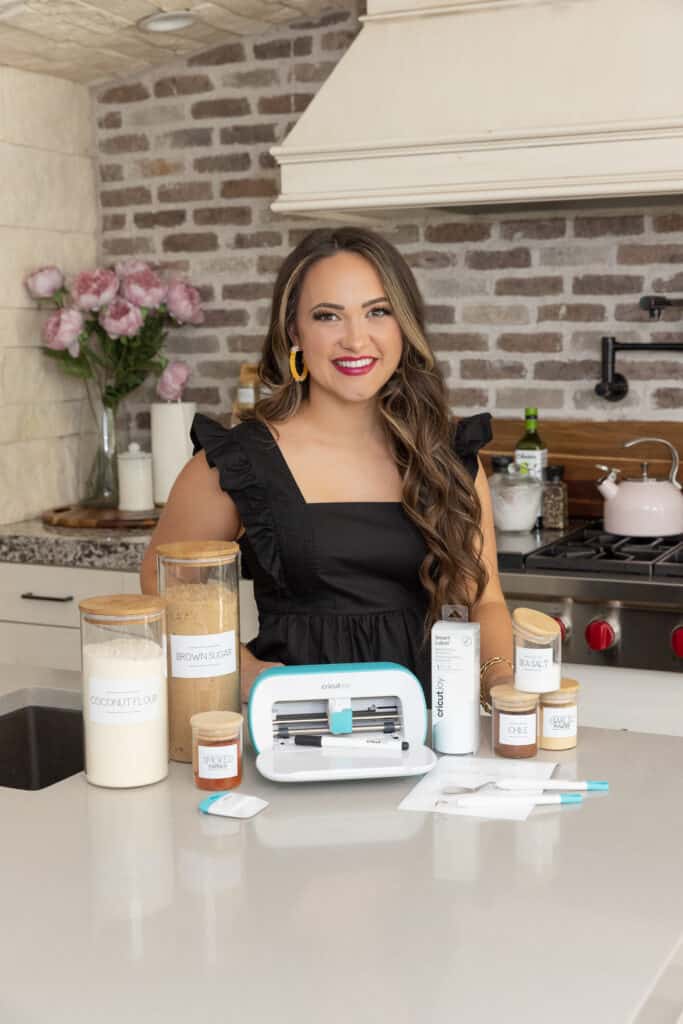
After getting new spice jars, I decided it was time to organize and relabel my kitchen.
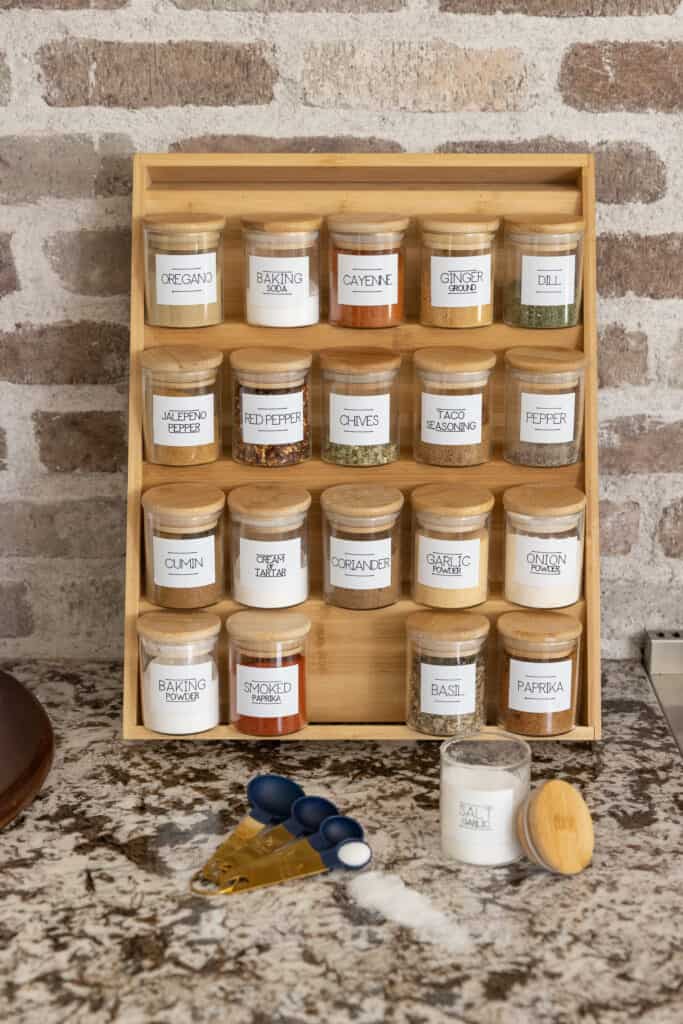
I had quite a mess of different-sized and labeled jars that made finding what I needed almost impossible.
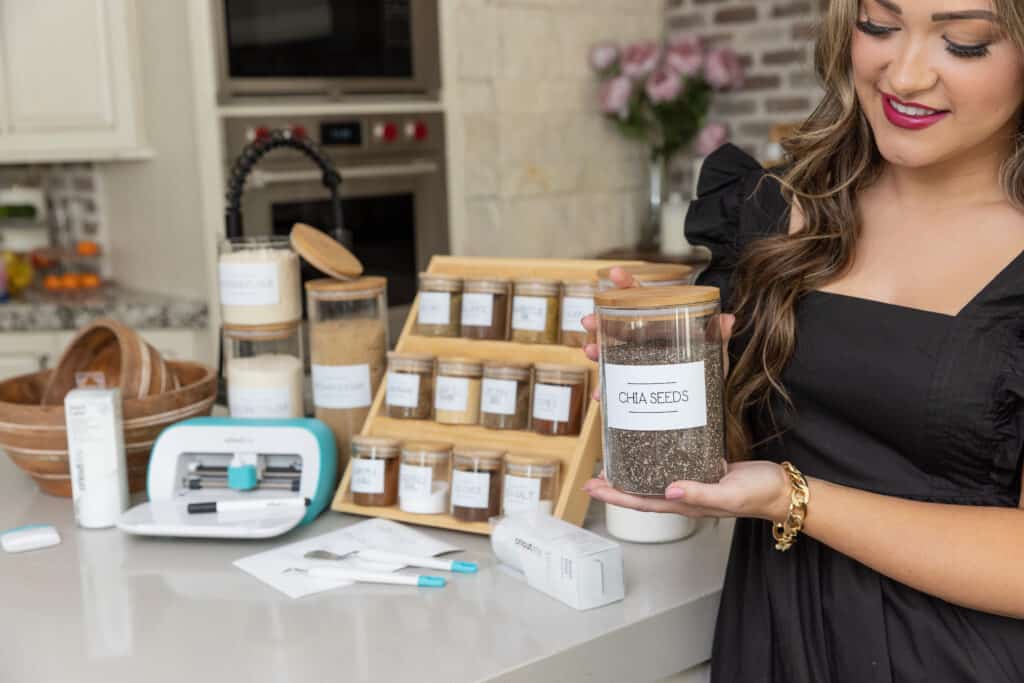
Cricut is the perfect companion for a DIY kitchen organization project!
Kitchen Organization Hacks
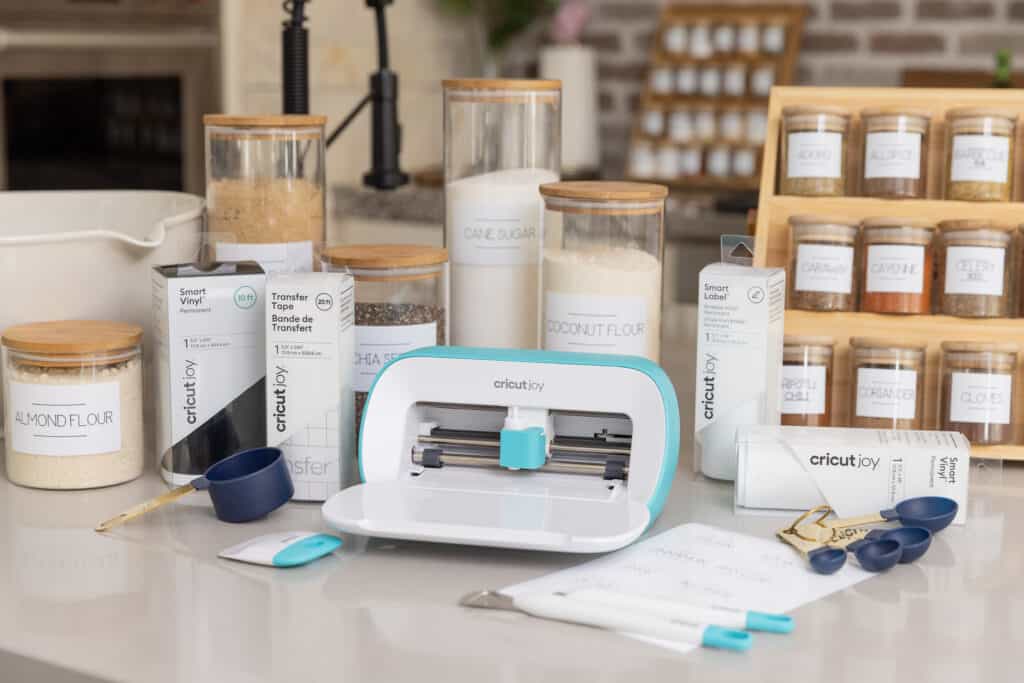
I created these adorable custom labels using the Cricut Joy and Cricut Joy Smart Label Writable Vinyl. Scroll down for a step-by-step tutorial of how to make your own adorable spice jar labels.
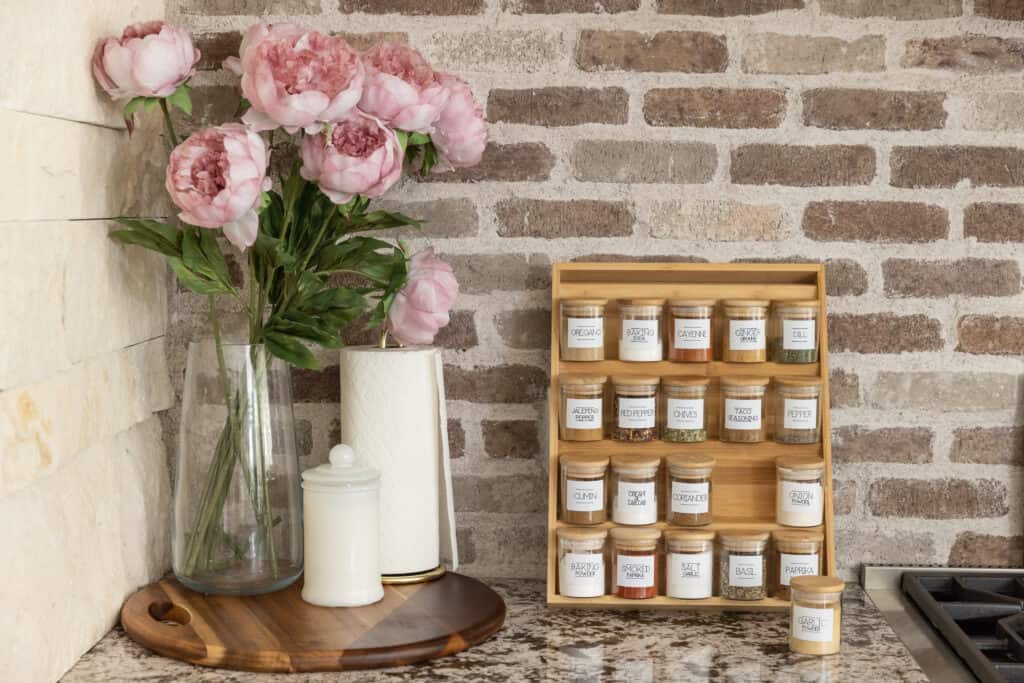
If you’ve never used Smart Label Vinyl, don’t worry, I’m going to walk you through every single step.
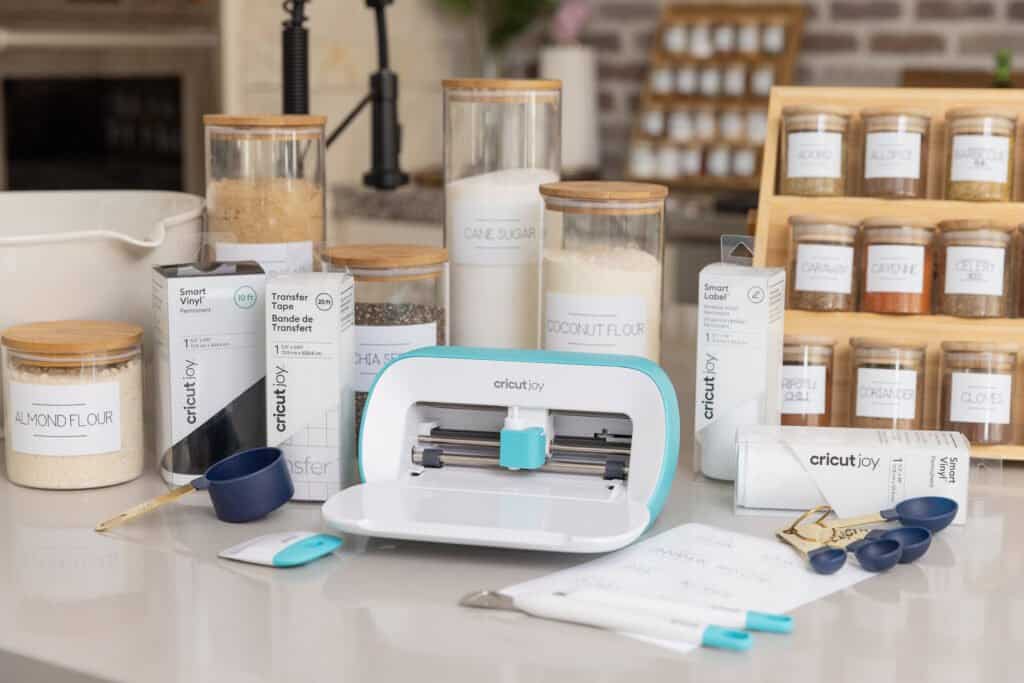
What is Cricut Joy Smart Label Writable Vinyl?
Cricut Joy’s Smart Writable Vinyl is a part of Cricut’s Smart Materials line. Smart Materials feature a thicker backing, enabling you to cut without using a mat. I love these for quick projects! Right now, Cricut carries Smart Vinyl, Smart Paper, and Smart Iron-On.
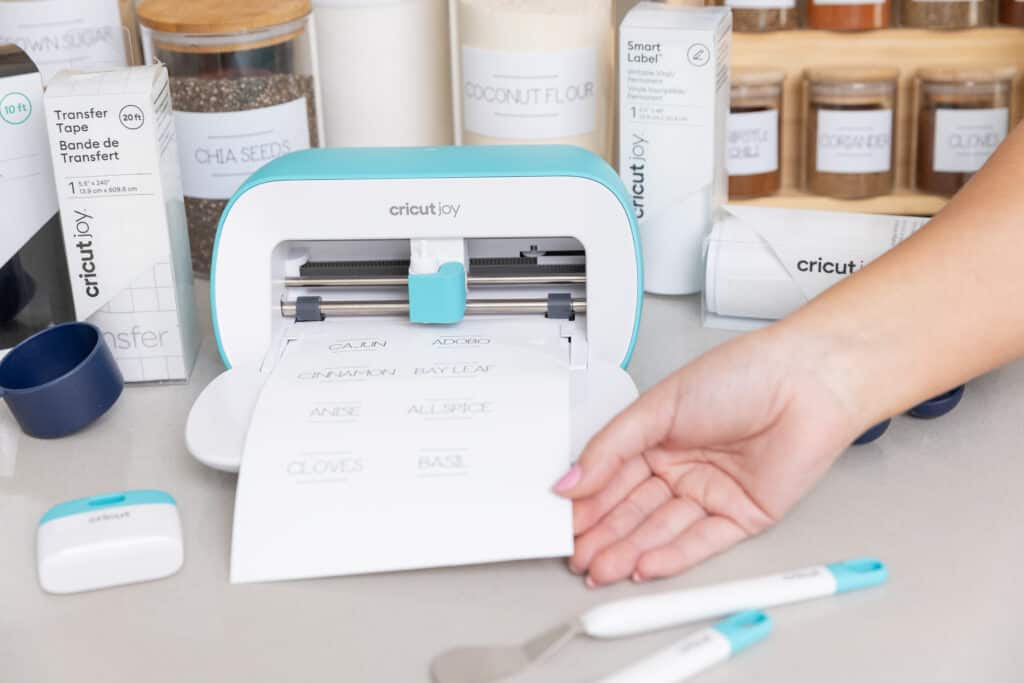
In addition to not having to use a mat, Smart Label Writable Vinyl lets you draw and write directly on the vinyl. It’s my go-to material for all of my DIY kitchen organization projects.
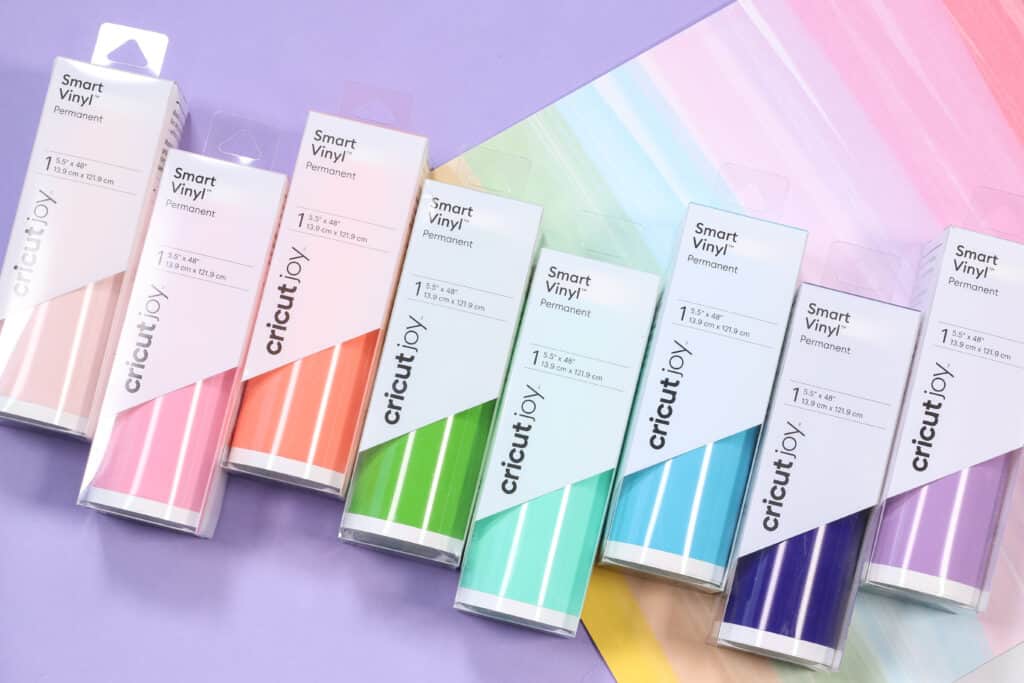
For more information about Smart Materials and the Cricut Joy, check out my blog post HERE.
How to Create Custom Spice Jar Labels in 5 Easy Steps
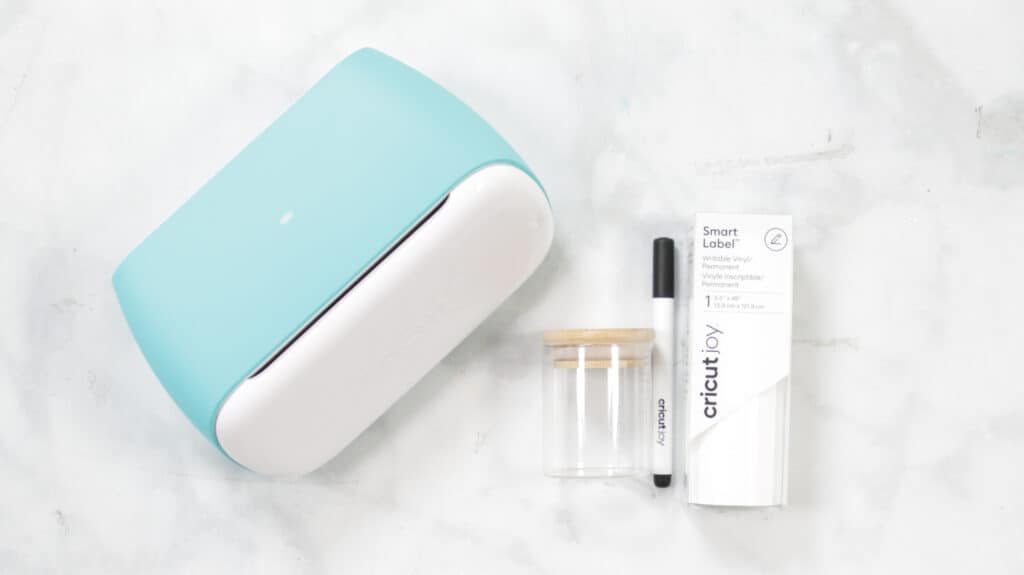
For this project, you need:
- Cricut Joy
- Cricut Joy Smart Label Writable Vinyl
- Black Fine-Point Pen
- Fine-Point Blade
- Rubbing Alcohol (Optional for Cleaning)
- 4 oz. Spice Jars (This is the size I used)
- 2 oz. Spice Jars
- Standing Spice Jar Bamboo Organizer
- Drawer Insert Bamboo Organizer
- Glass and Bamboo Lid Pantry Jars
Step 1 - Design Labels
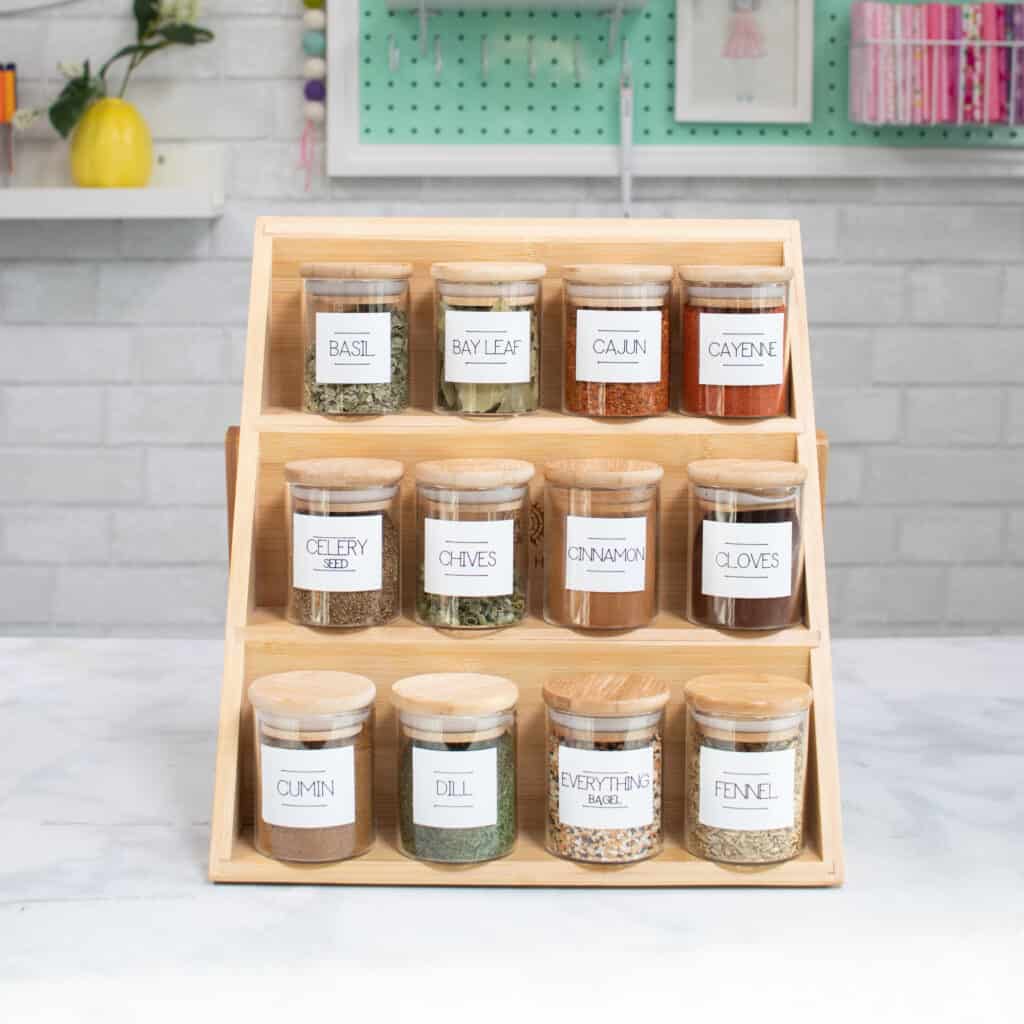
In this tutorial, I’ll be using 4 oz glass spice jars with a bamboo lid that I purchased from Amazon. This is a slightly larger size than most spice jars but works really well if you purchase spices in bulk. I’ve linked to them as well as a smaller 2 oz. size.
I also purchased two different spice organizers. One of them fits into a drawer and the other stands up inside of a shelf or on a counter. What I love about storing spices this way is that it’s so easy to see what you have and easily find what you need.
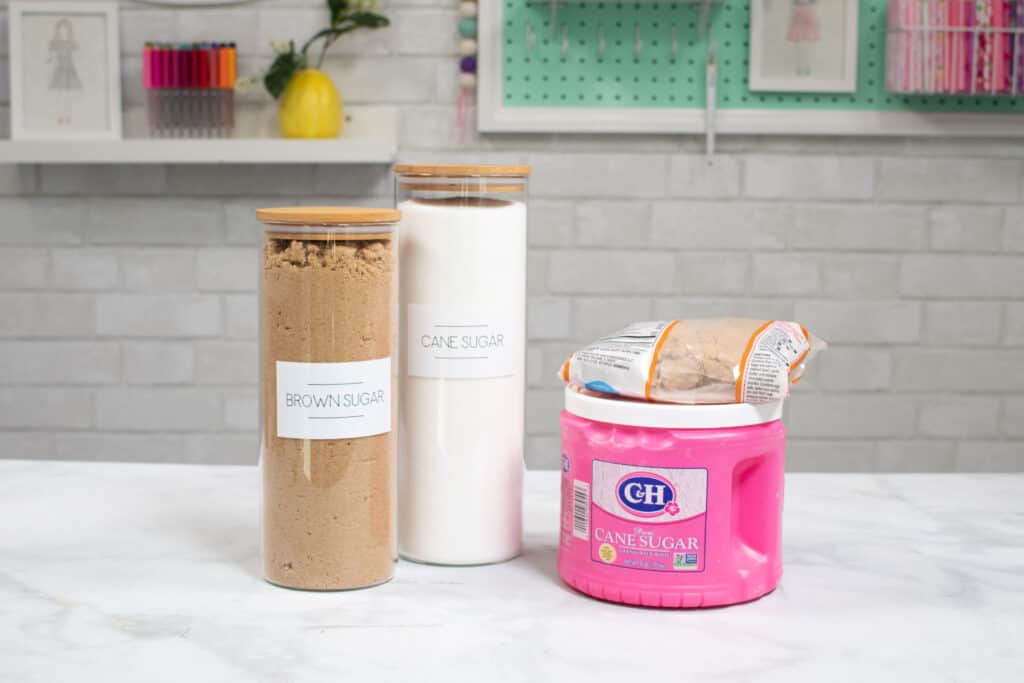
This labeling project can also be used on larger jars as well. It’s a great way to streamline your pantry!
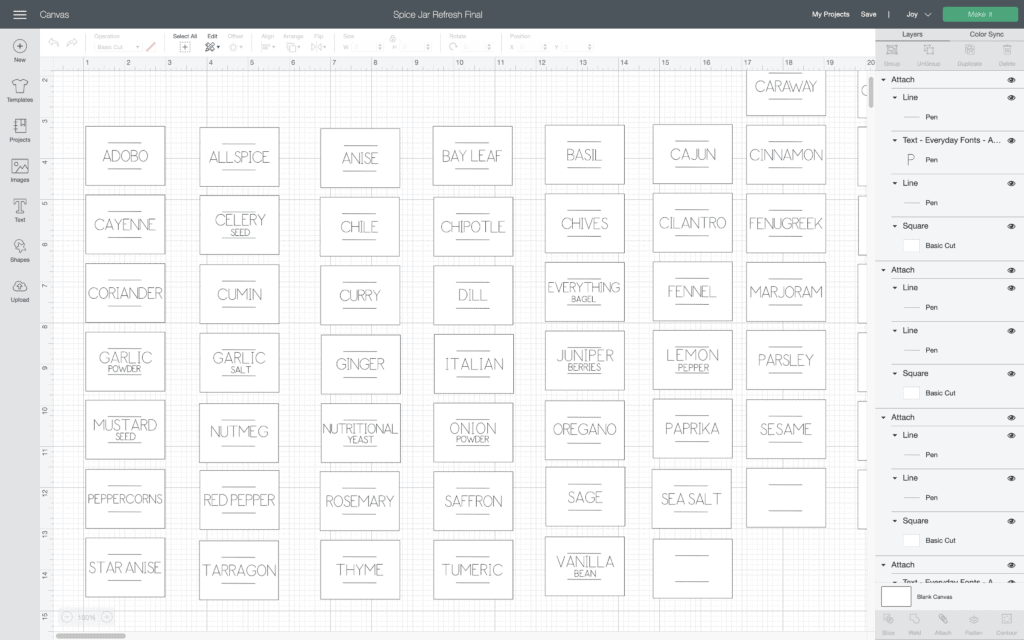
To begin, open up Design Space. You can create your own labels, or use my spice jar label file HERE.
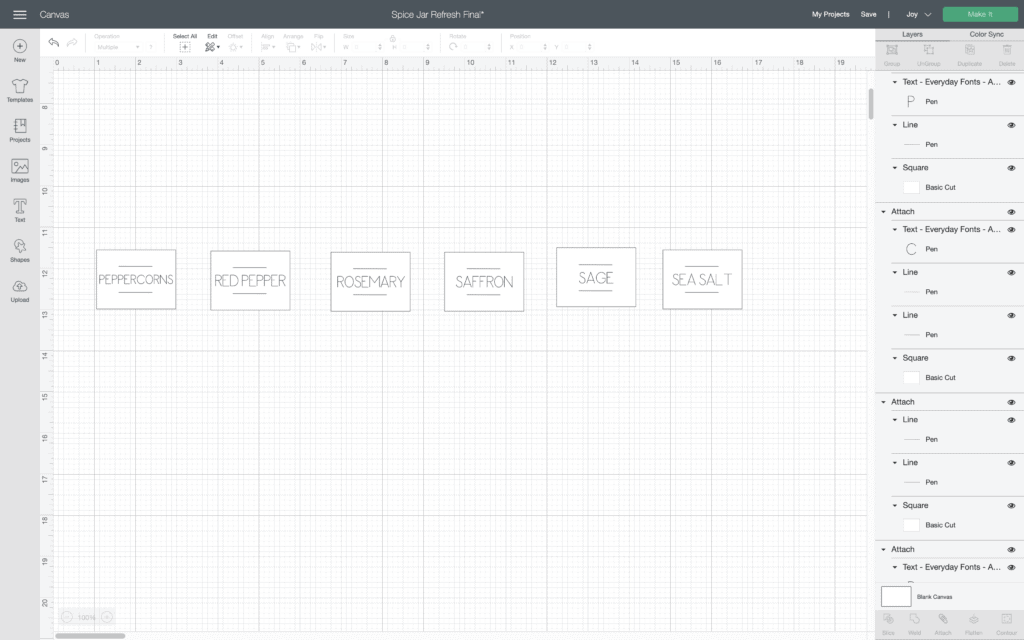
Delete and add labels to fit your needs.
Resize it to fit your jar. You’ll want to take a quick measurement of your jar as every spice jar is shaped differently. I like to leave some space around my label so I can clearly see how much of a spice I have left in the jar. That makes it easier to do a quick inventory when I’m running low on spices.
Once everything looks good, click “Make It.”
Step 2 - Cut Labels
Select if you are cutting with or without a mat.
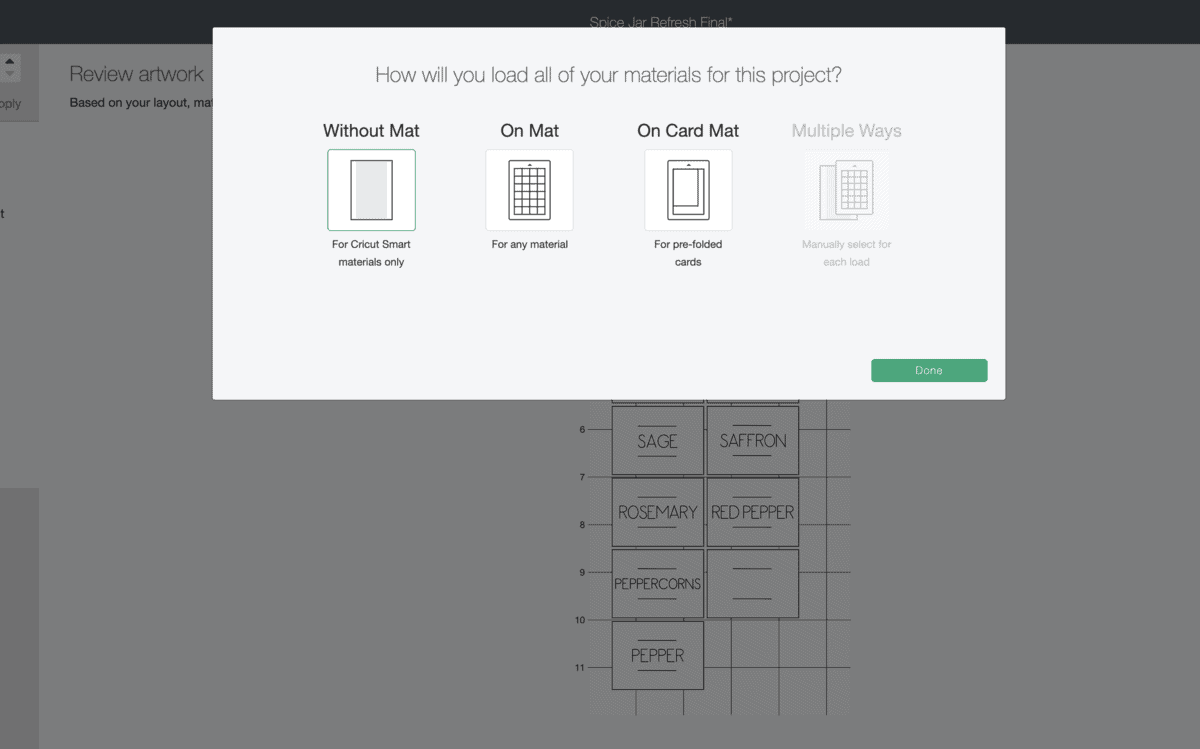
Click “Continue.”
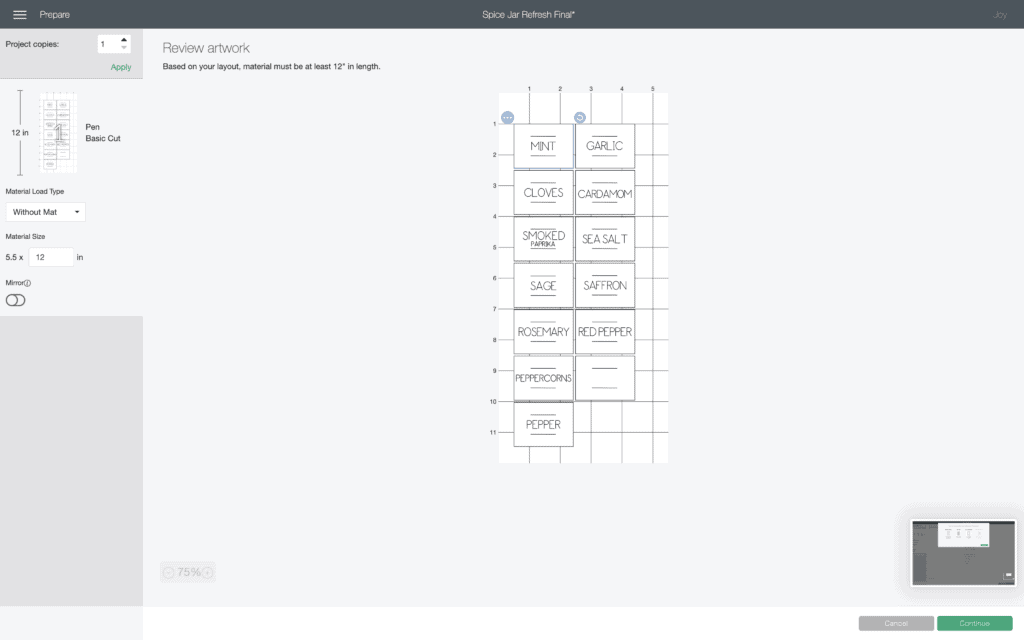
Connect to your machine

Select your material.
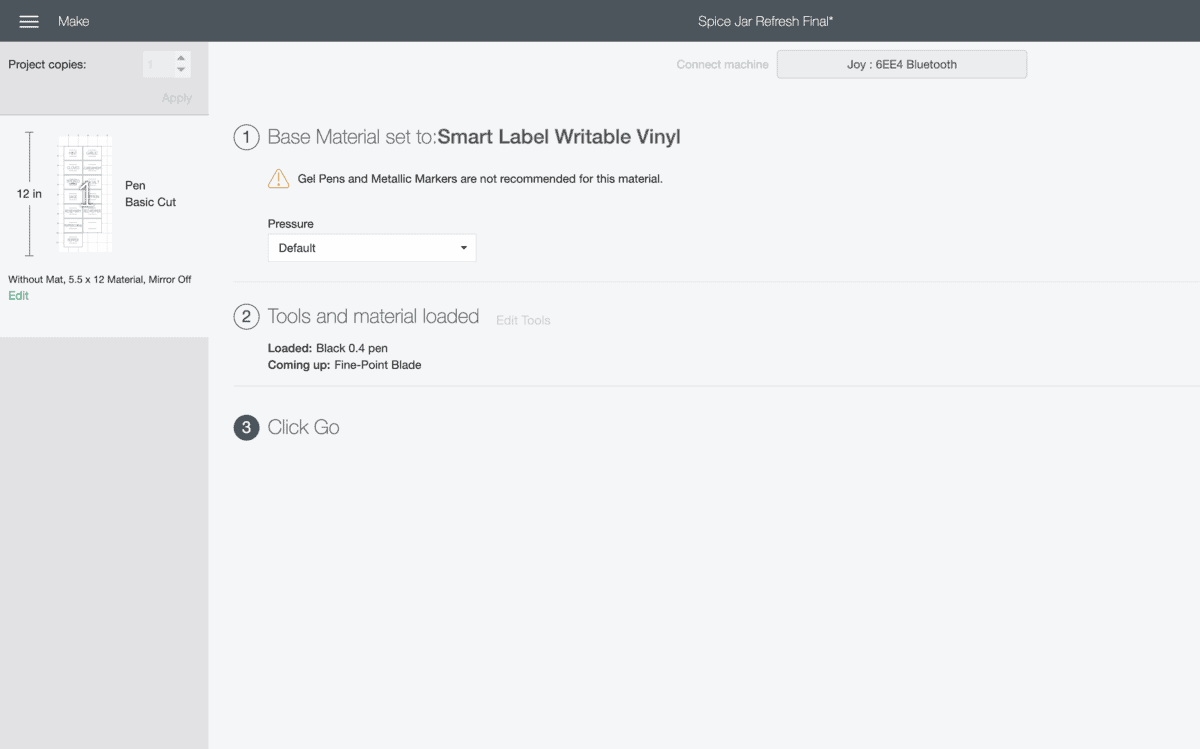
Insert your pen into the clamp.
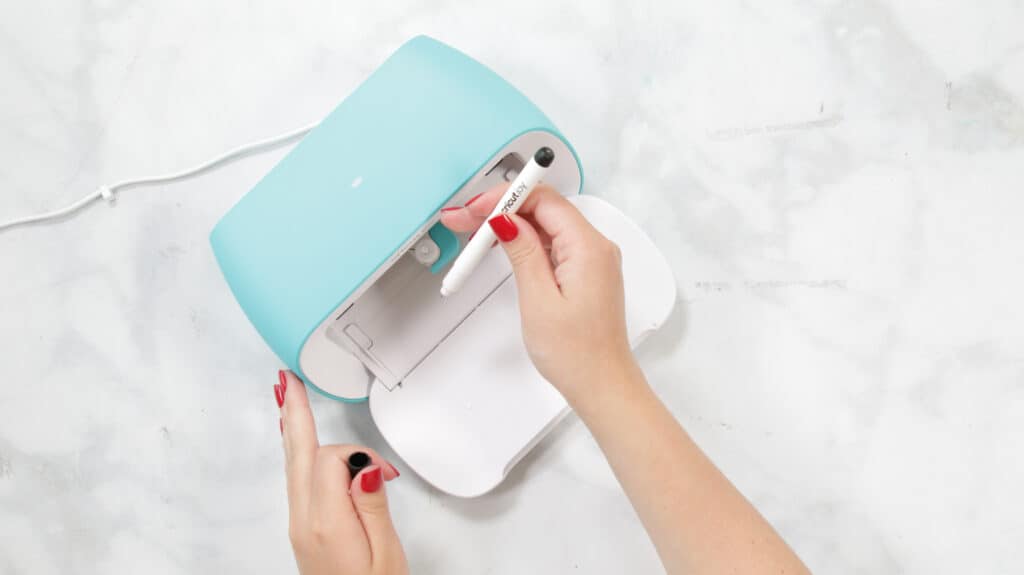
Load your Smart Material into the Joy.
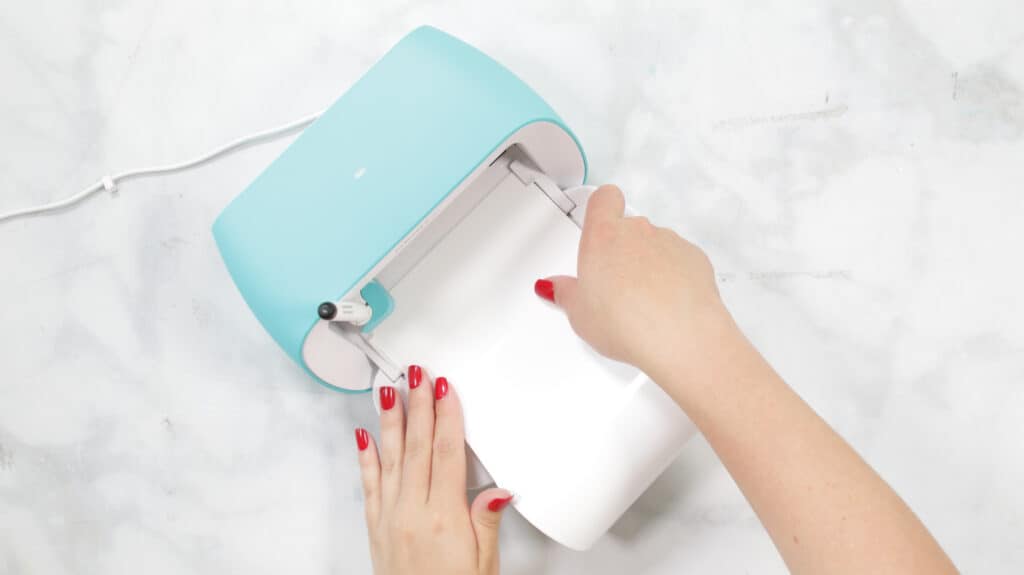
Press “Go” within Design Space to begin writing.
After Joy has finished writing, take out the pen and insert your Fine-Point Blade into the clamp.
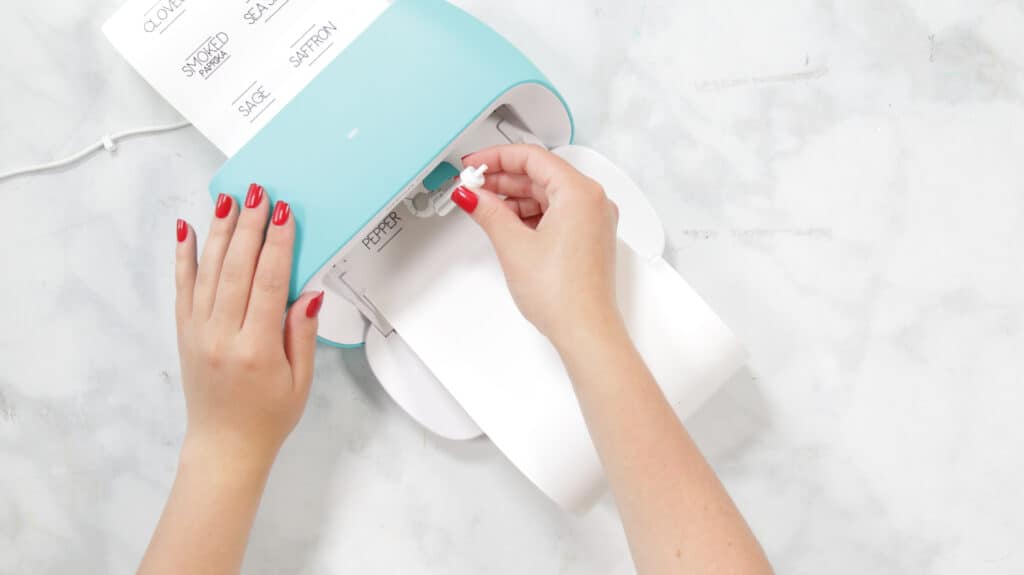
Press “Go” to begin cutting.
Once your machine has finished cutting, click “Unload” to unload your design.
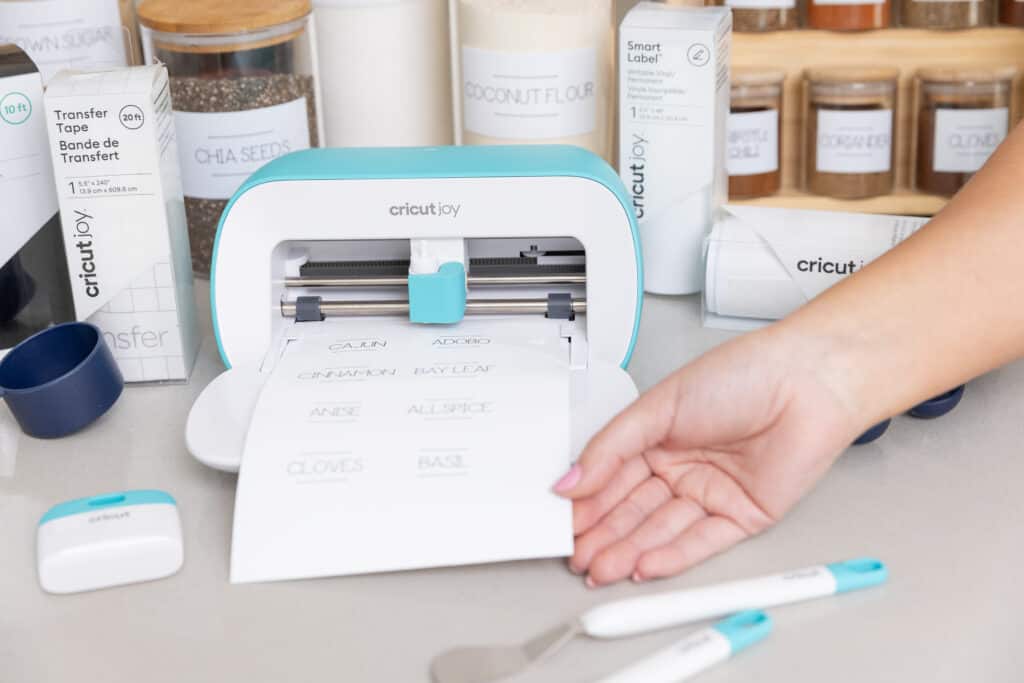
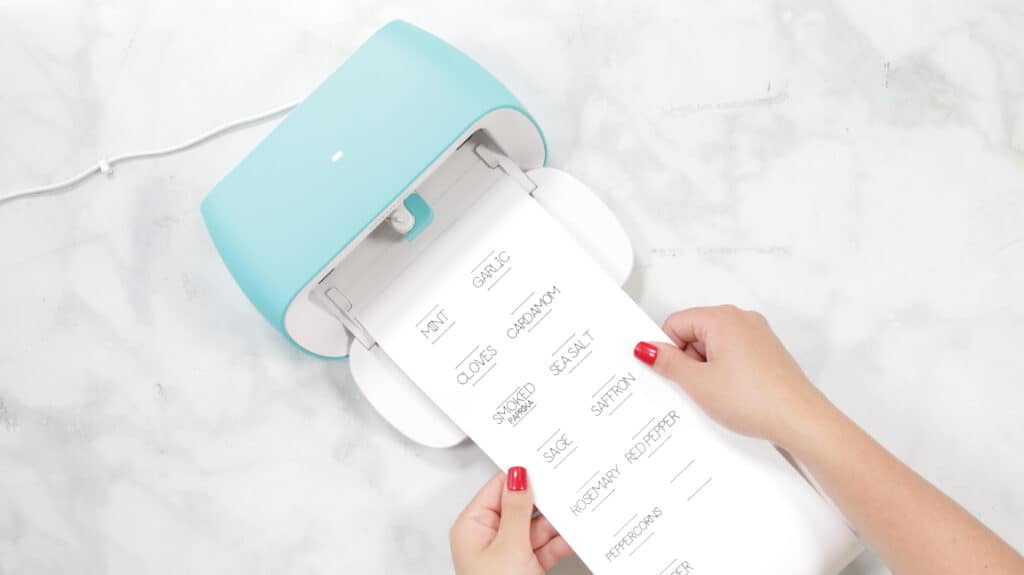
Now you have these cute spice jar labels!
Step 3 - Apply Labels
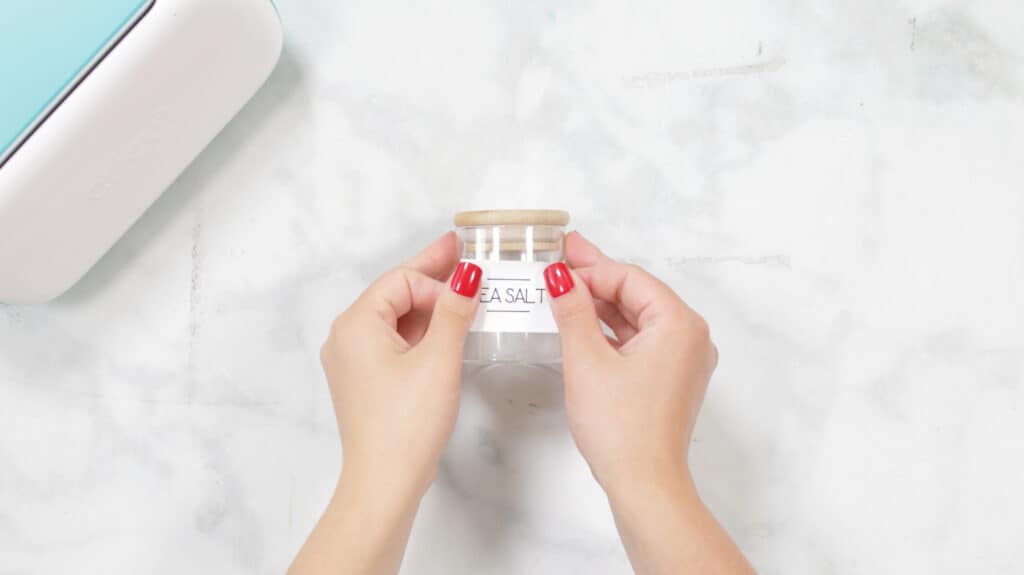
Simply peel and stick them to your jar.
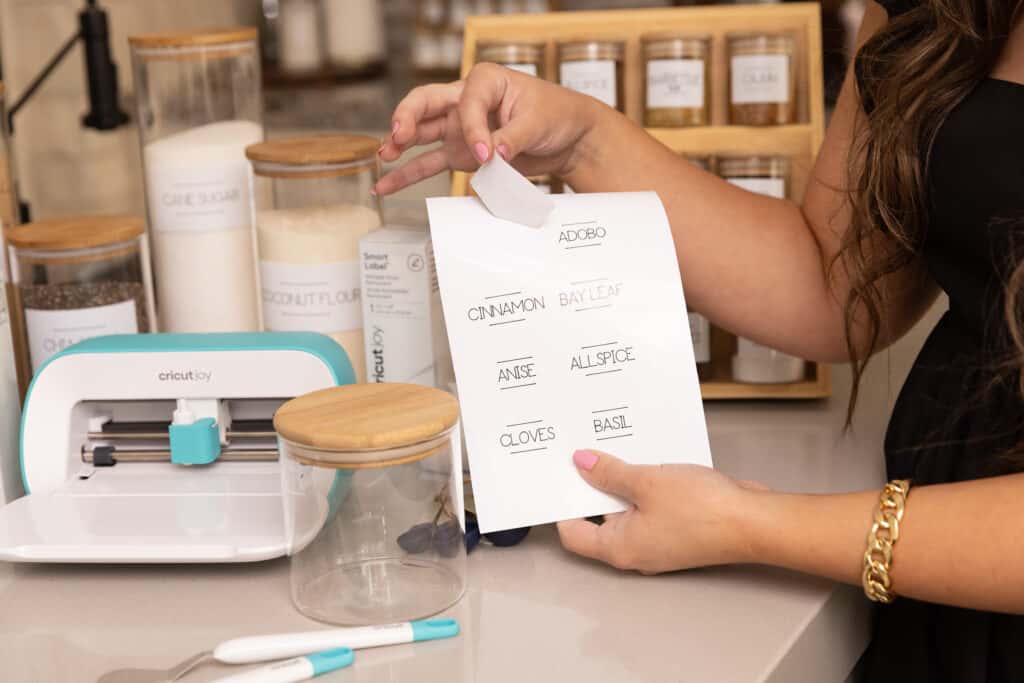
Before applying them to your jars, make sure the jars are clean and dry. You can clean them with rubbing alcohol to remove any residue from the surface. Make sure to let the glass dry completely before applying the label.
While this tutorial only covers spice jar labels, there is so much more you can do! Whether you label your pantry, under the sink, or lunch boxes, the Cricut Joy is the perfect DIY kitchen organization companion.
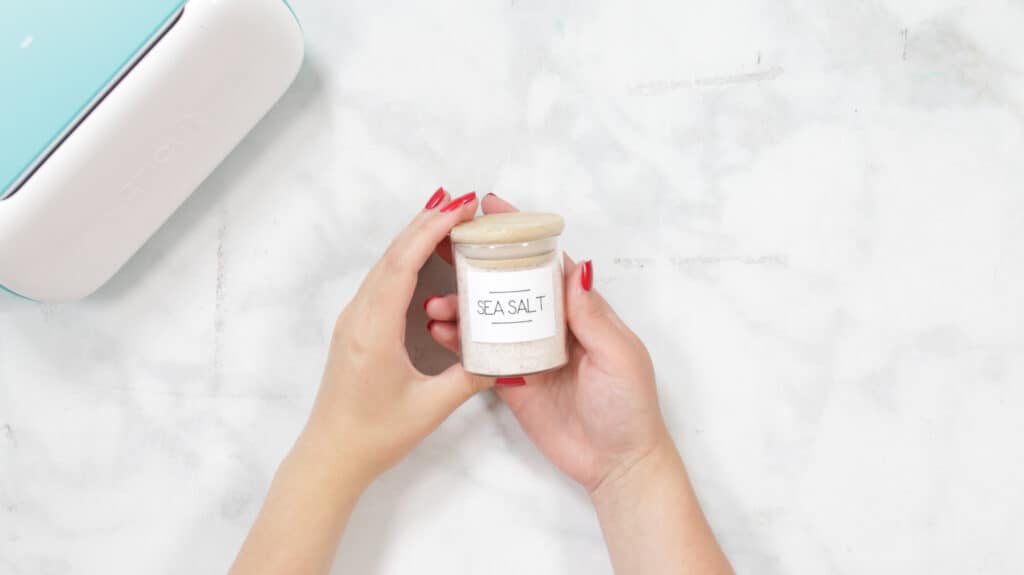
Planning your own DIY kitchen organization project? Be sure to share your pictures on Facebook or Instagram and tag me so I can see!
Make sure to join my Crafting & Sewing FB group and share what you are making with us!
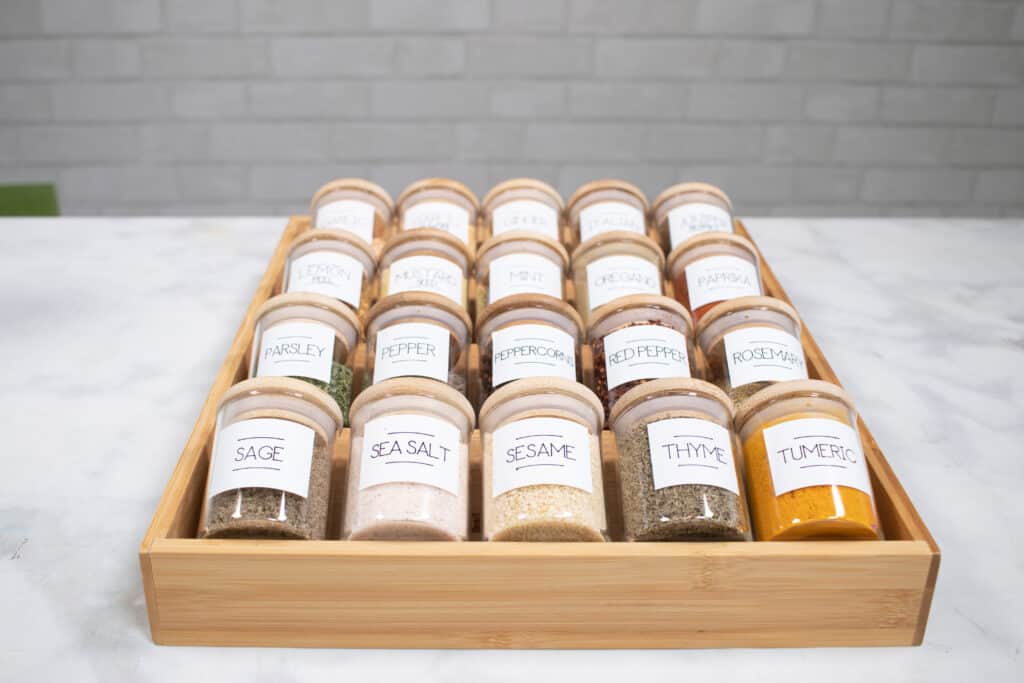
What are some of your favorite kitchen organization hacks? Let me know in a comment below!

Wow!! I totally want to do this- my kitchen is so.. random and I’d love to stream line it like you did! Do the smart materials come for a cricut maker as well?