Have you seen the new Cricut Mug Press? If you’re still a little nervous to try it out, don’t worry. In this step-by-step tutorial, I’ll walk you through everything you need to know to achieve flawless results using Cricut Infusible Ink Pens.
What is the Cricut Mug Press?
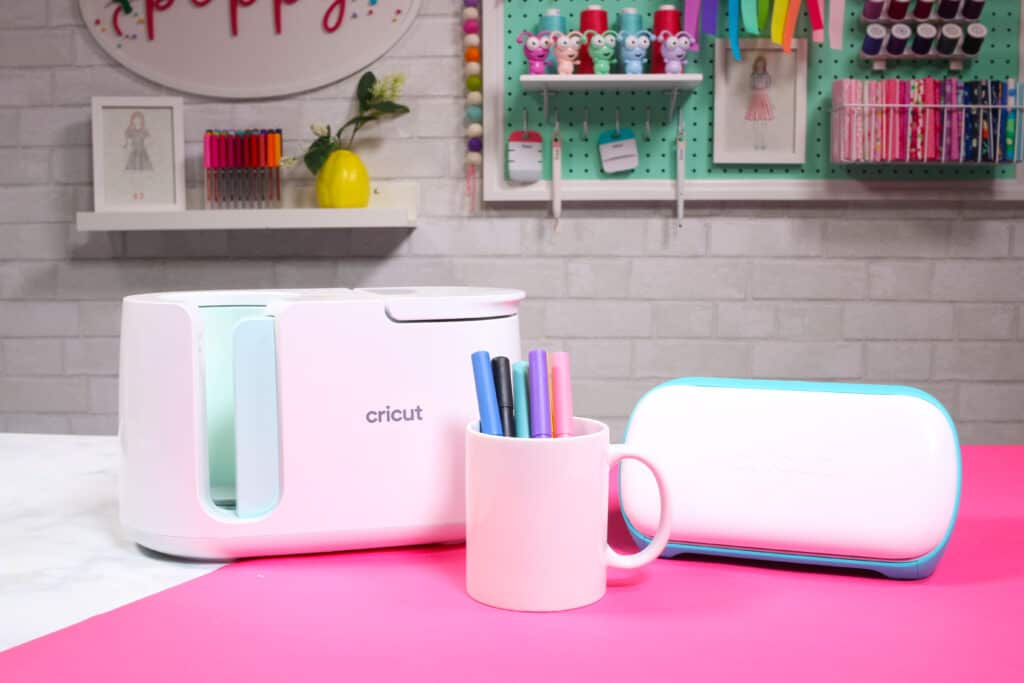
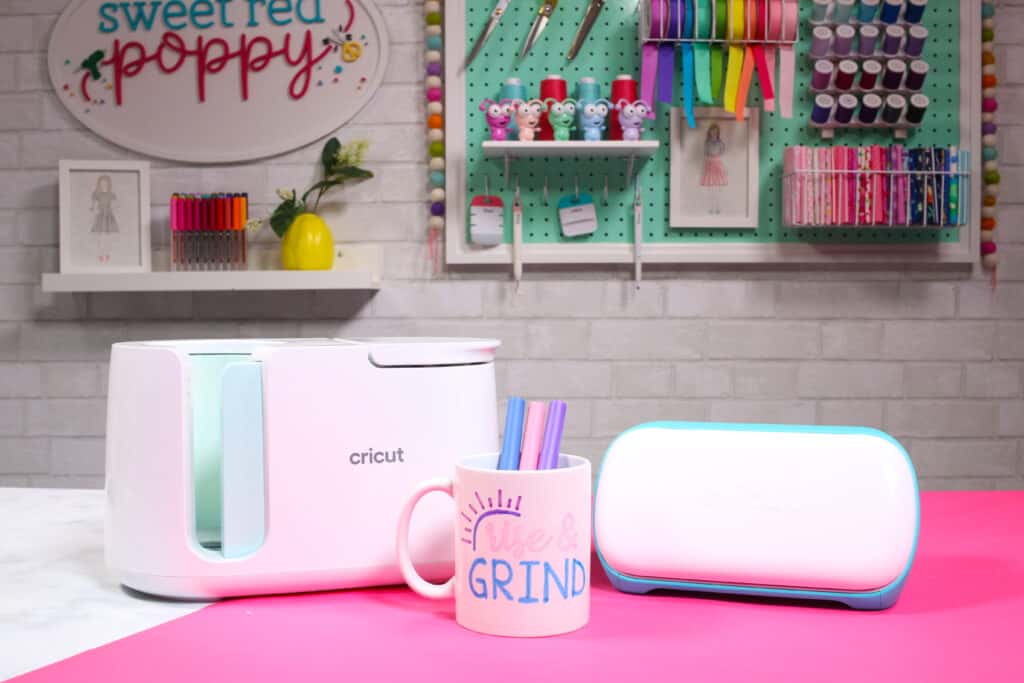
The Cricut Mug Press enables you to easily create professional-looking mugs in minutes. The ingenious design is safe and easy to use. For more information on the Cricut Mug Press, be sure to check out my blog post HERE.

How to Make a Custom Mug with Cricut's Mug Press and Cricut Infusible Ink Pens
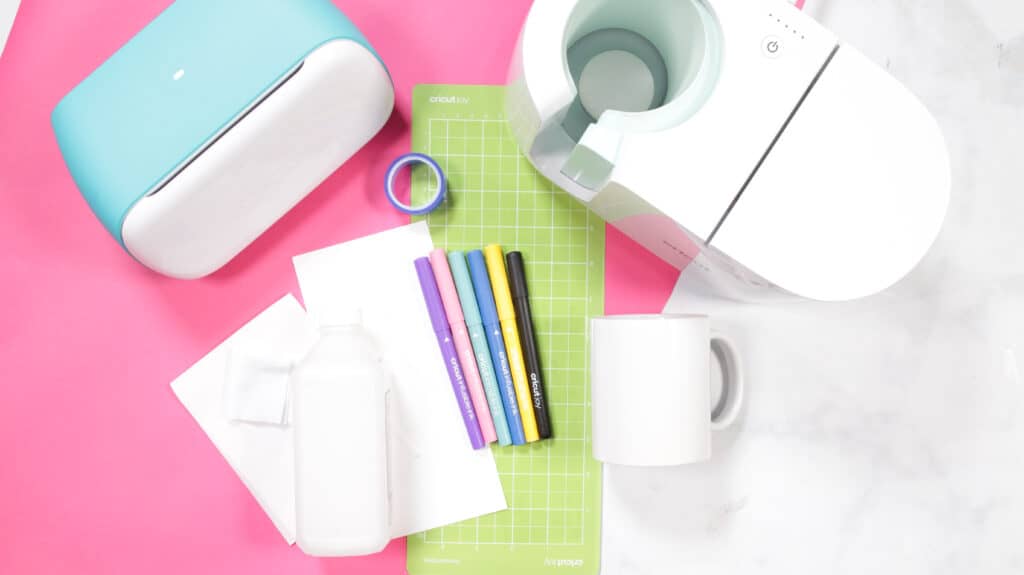
- Cricut Joy, Explore, or Maker
- Infusible Ink Transfer Sheets
- Standard Grip Mat
- Design File
- Fine-Point Blade
- Alcohol Wipes
- Cricut Mug Blank
- Heat Resistant Tape
- Cricut Mug Press
- Infusible Ink Pens
- Copy Paper
Click HERE to download FREE SVG Files for the Cricut Mug Press.
Learn how to use Cricut Infusible Ink Transfer Sheets with the Cricut Mug Press here.
Step 1 - Cut and Draw Your Design
Begin by opening up Design Space.
Upload any of my FREE Mug SVG Designs. You can download all 20 just below the supply list.
Resize your design if needed.
Here you can change the pens to Infusible Ink as well as select the exact colors you are going to be using.
Once you have your design ready, go ahead and click “Make It.”
This brings you to the prepare screen. Be sure to "Mirror" your design.
Click “Continue.”
Select “Copy Paper” as your material.
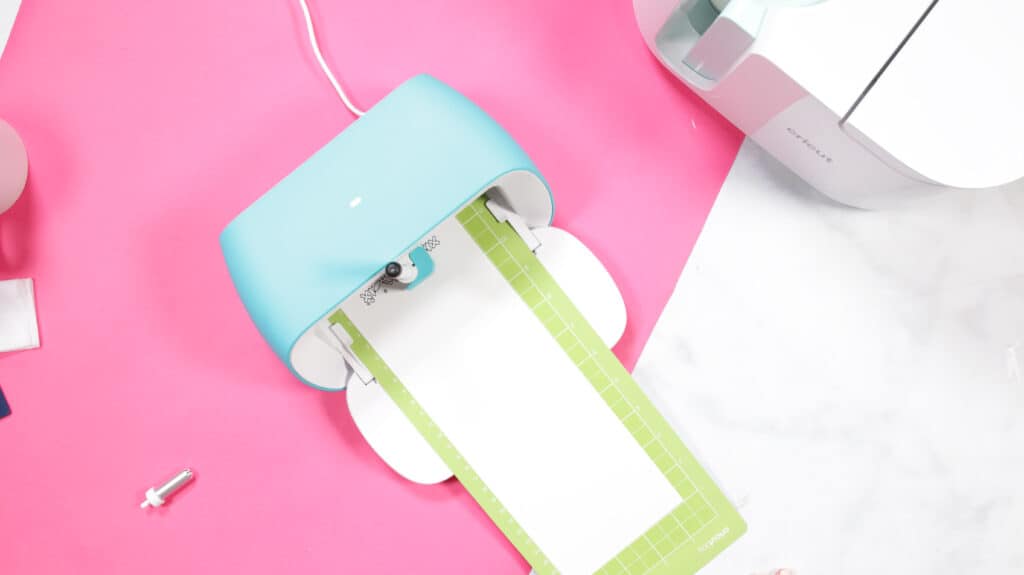
Load your first color of Infusible Ink Pen into your machine.
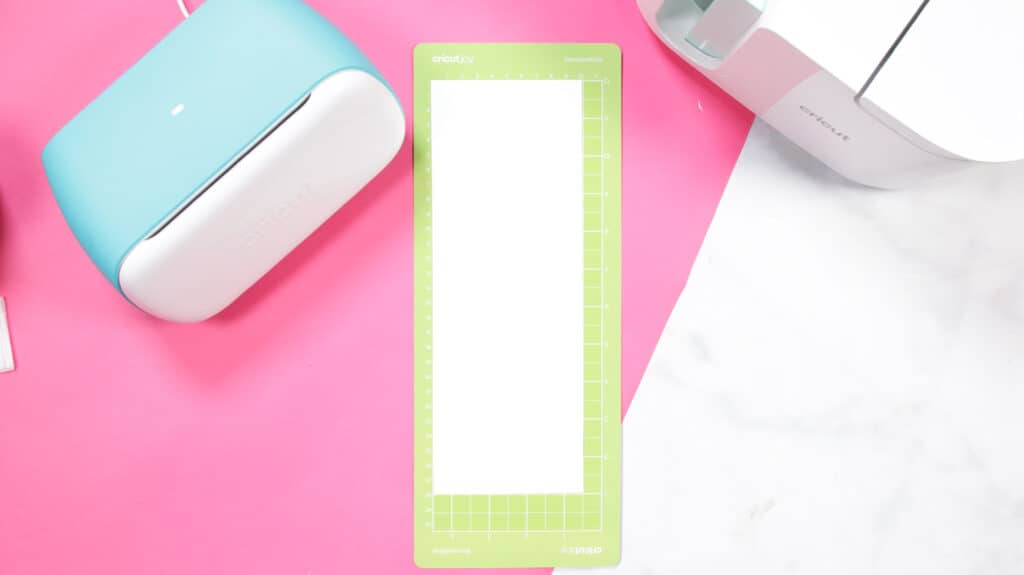
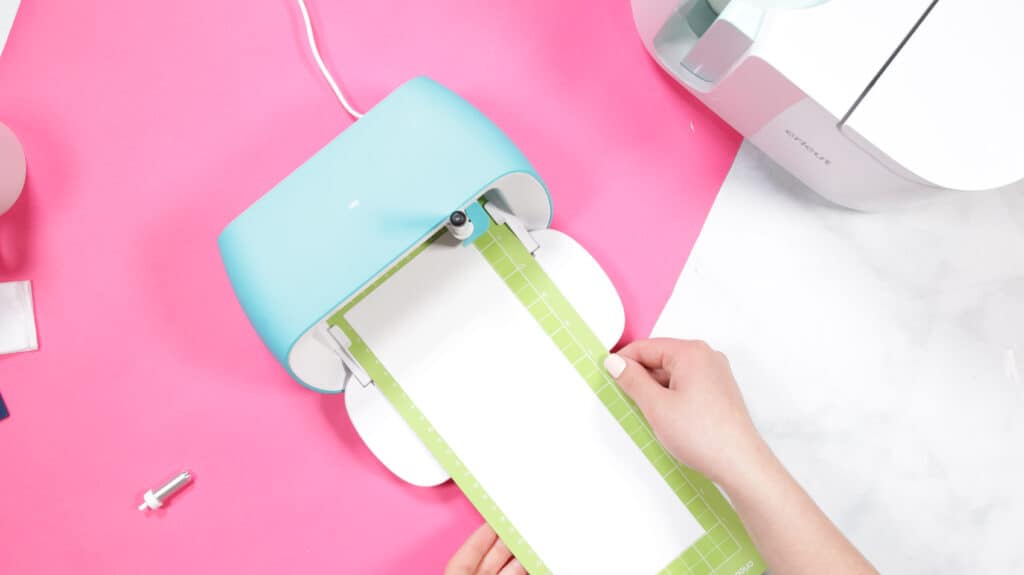
Place your sheet of copy paper on a StandardGrip Mat. Insert it into the machine and press the flashing "C" button to begin drawing.
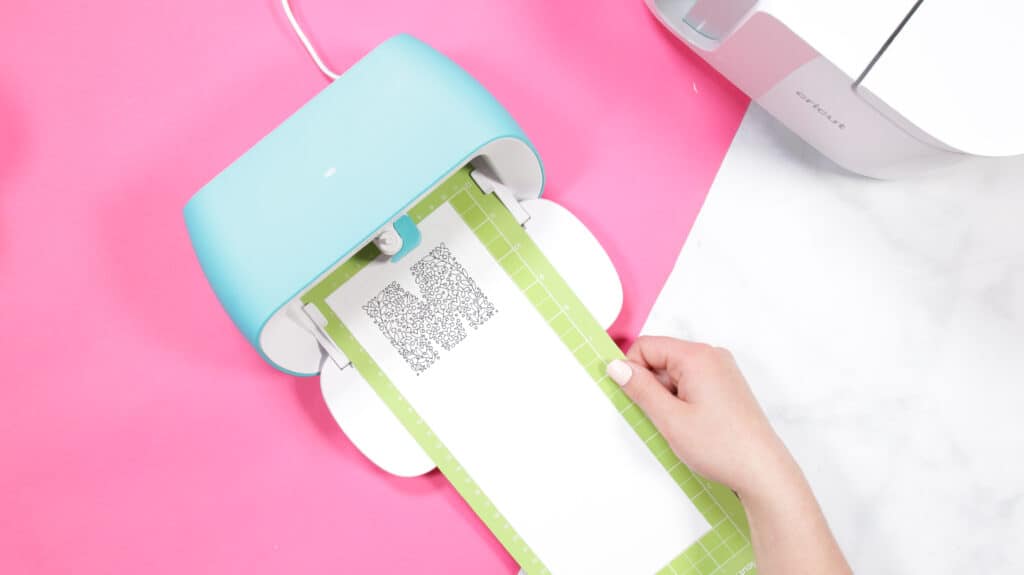
Following the prompts within Design Space, repeat with your other colors until your design is complete.
Once your design is drawn, switch to the Fine-Point Blade to cut out your design.
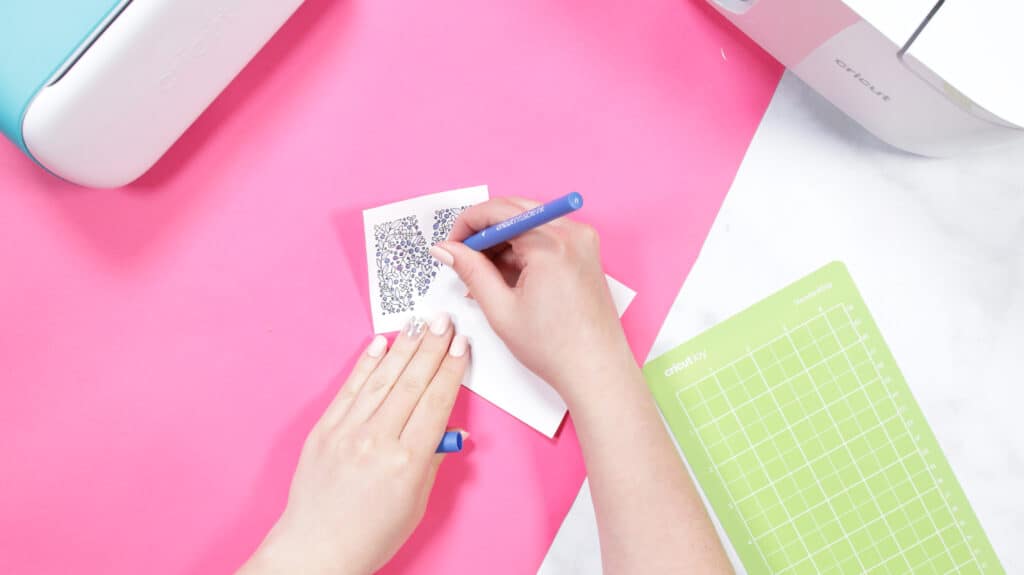
Now that your transfer is completely cut out, feel free to color it in.
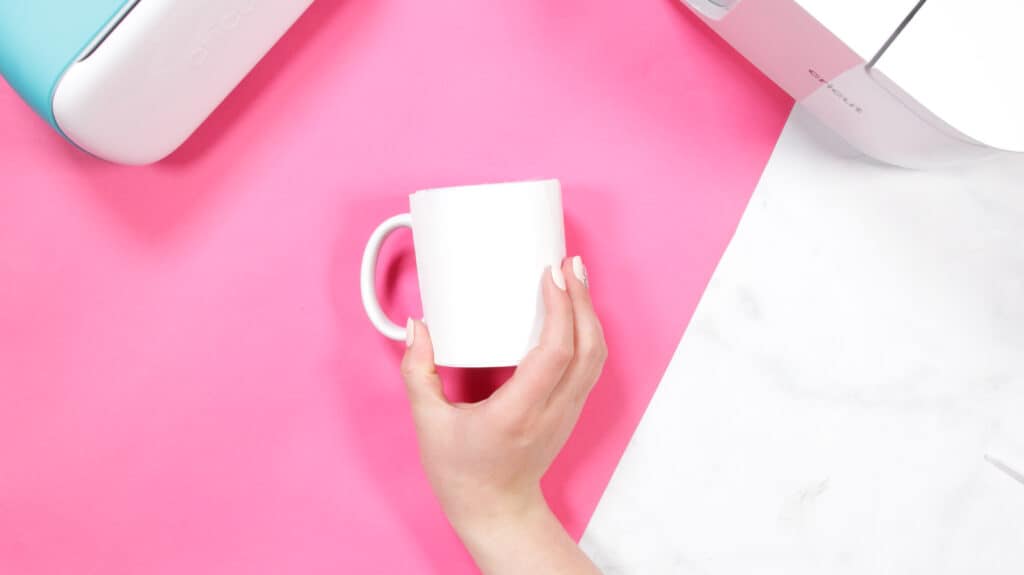
Step 2 - Prepare Your Mug
To begin, clean your mug using rubbing alcohol.
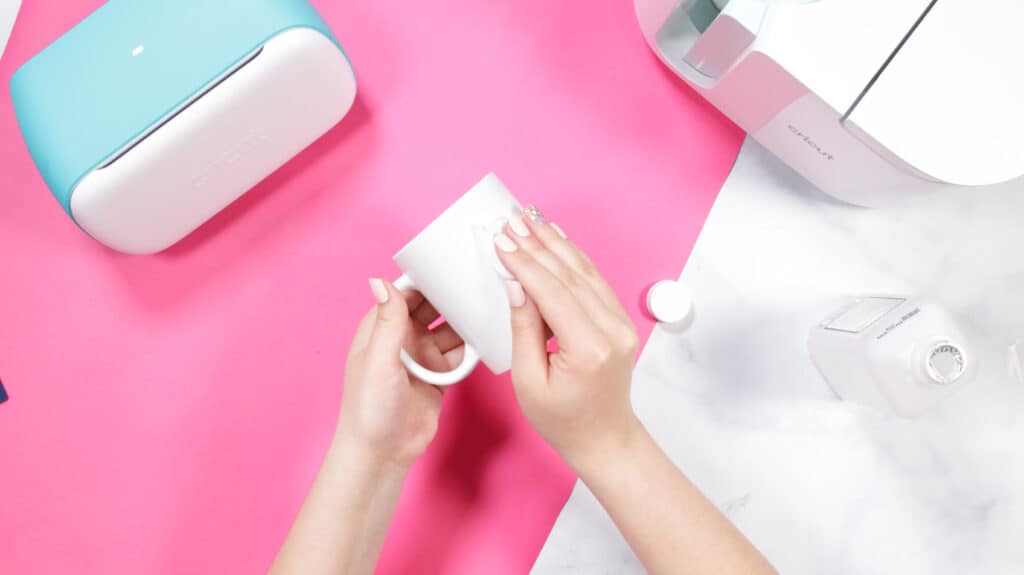
Once it is dry, use a lint-free cloth to remove any stray hairs or lint from your mug.
Be sure to let your mug completely dry before placing your Infusible Ink design on it.
Step 3 - Heat Up Your Mug Press
To heat up your Mug Press, plug it in, and then click the power button to turn it on. The power button will turn green when the press is heated up.
The Mug Press only heats up to one temperature making it super easy to use.
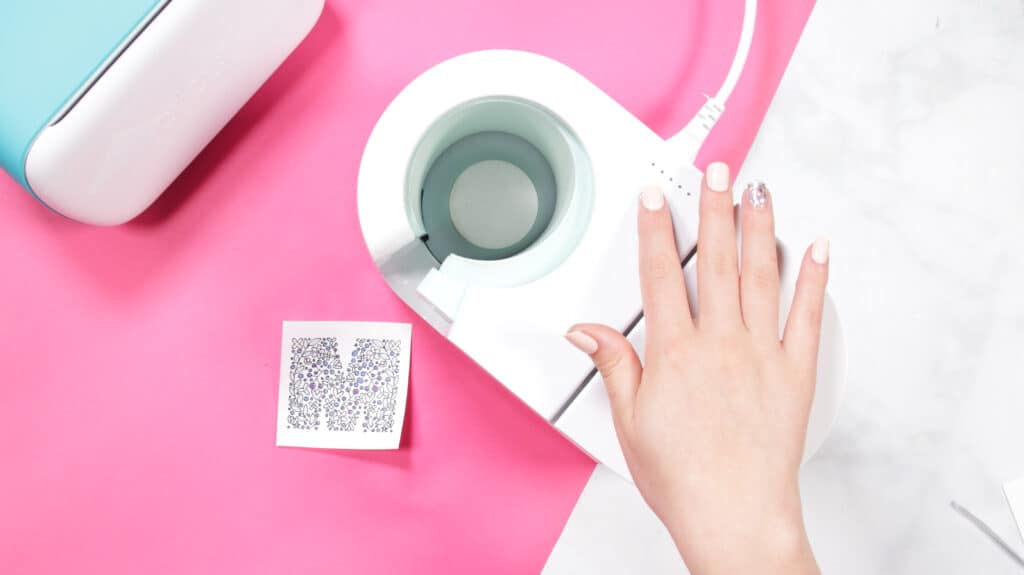
Step 4 - Attach Your Design to Your Mug
Once you have your design cut out and ready to go, it’s time to secure it to your mug using heat-resistant tape.
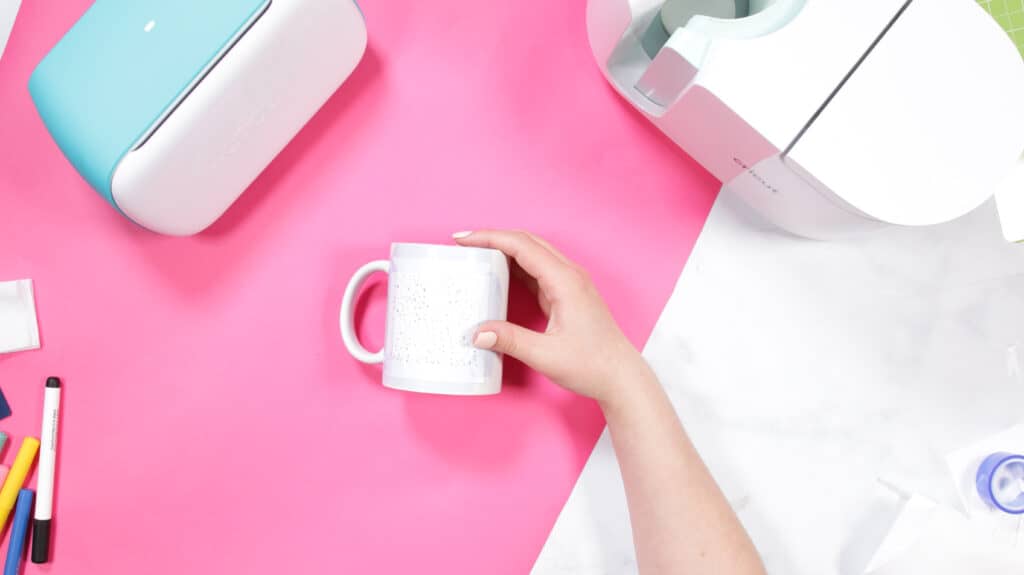
I like to place a piece of tape along both sides to really secure the transfer to the mug.
Heat-resistant tape prevents your transfer sheet from shifting during the press. You don't want the transfer sheet to move around at all because it causes ghosting, leaving a lighter impression of the design to the side.
Next, secure a piece of butcher paper around your design, making sure to completely cover the copy paper. This protects your Mug Press from any ink that might bleed through.
Step 5 - Press Your Mug Using the Cricut Mug Press
Now, insert the mug into the press. Make sure that the lever is completely up when you insert it in.
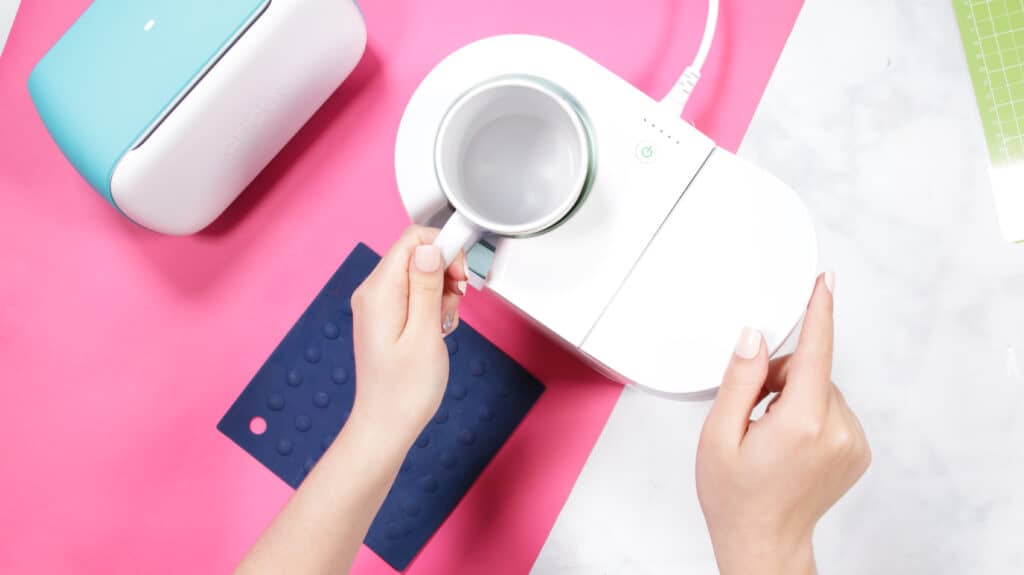
Once it’s in, press the lever down and let the Cricut Mug Press do the rest.
You’ll notice these five lights above the power button. These let you know how far along your mug is in the process. Once the press is complete, your machine will beep and all five lights will flash.

Step 6 - Let Your Mug Cool
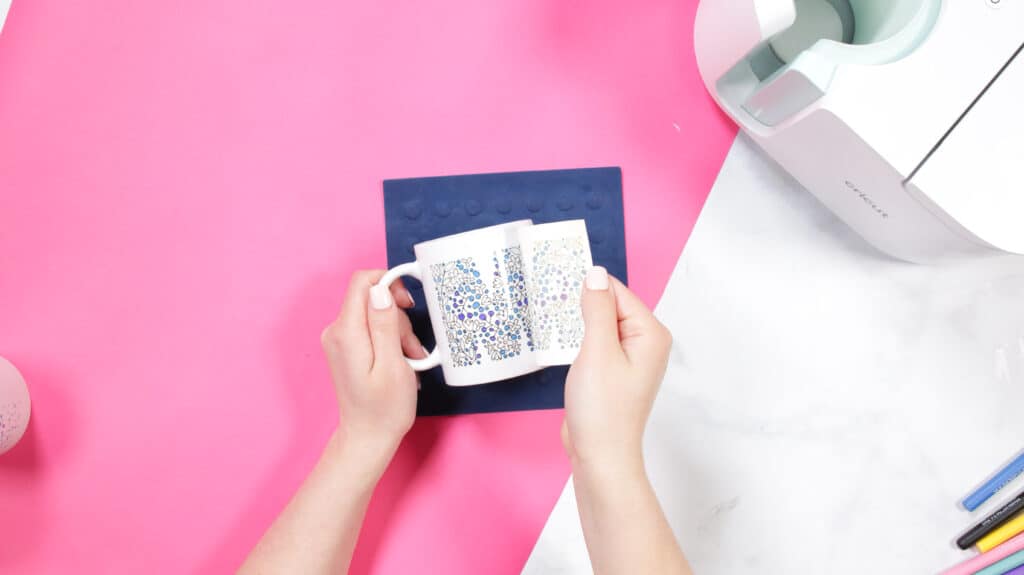
To take the mug out, just lift up on the lever and pull your mug straight out.

Now, your mug is going to be extremely hot, so be extra careful taking it out.
Set it on a heat-resistant surface and let it cool completely. Now you can remove the transfer to reveal your custom mug!
Step 7 - Enjoy!
Now we have this adorable mug. I hope you enjoyed learning a little more about the Cricut Mug Press. I can not wait to see what you create!
Looking for most Mug Press tutorials? Be sure to check out my Infusible Ink Mug Press tutorial HERE.

Share your finished mugs with us in the Sweet Red Poppy Crafting & Sewing Group!
Troubleshooting
When using Infusible Ink and the Cricut Mug Press, there are a few things that can go wrong. Here are the top problems I see as well as solutions to prevent them from happening to you.
My Infusible Ink Transfer is Faded or Uneven
This is one of the most common problems with Infusible Ink. There are a couple of reasons this could be happening.
First, there is something in between your mug and transfer sheet, causing it not to lay evenly. Make sure that you clean your mug beforehand.
Another reason for fading is that you're not using Cricut's Mug Blanks. Cricut's straight-edged mugs are designed to work seamlessly with Infusible Ink and Cricut's Mug Press.
Fading can also occur if you do not press your mug for the correct amount of time. Only take out your mug when you hear the Mug Press beep and see all 5 lights flashing.
Finally, an uneven transfer can be caused by moisture. After cleaning your mug, be sure to let it completely dry beforehand.
My Infusible Ink Design Ghosted
If your transfer sheet shifts during or after the press, you may lift it up to find that it has "ghosted" or left a light image slightly off-center.
When pressing your design, be sure to secure it with heat-resistant tape. Once your press has finished, wait until it has completely cooled before removing the transfer sheet.
My Design is Off-Centered
Your design may shift and become off-centered if you do not use enough (or any) heat-resistant tape. I like to tape down all 4 sides of my transfer just to be safe.
I hope you enjoyed learning more about Cricut's Mug Press and Infusible Ink. Do you have any questions about the Mug Press or Infusible Ink? Be sure to let me know in the comments below.
Have you used a Cricut infusible ink pens? let me know in a comment below!
Can this be used on glass and stainless steel mugs? What about mugs that are tapered or
Can you use the mug press for different size mugs, 11 oz. or 15 oz.?
I thank you for this. So pretty. Nice gifts.
What size do you recommend the image be for the smaller Cricut mug blank? I have the press and a set of 6 mugs and I can't wait to play!