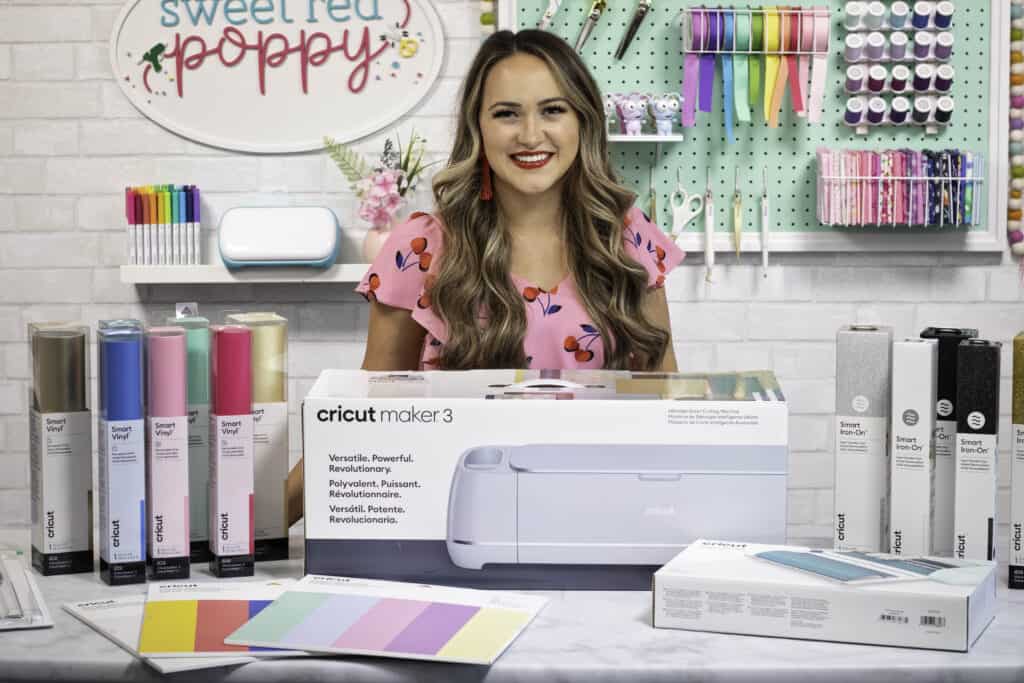
Learn How to Unbox the New Maker 3, Set It Up, Connect to Cricut Design Space and Cut Your First Test Sticker With the Cricut Maker 3 Using Smart Materials with this Step-by-Step Tutorial.
In this post, I’ll be going over exactly what to expect when you unbox your new Cricut Maker 3 machine. Whether you want to follow along with me or just get an idea of if this machine is right for you, you’re in the right place! Let's go ahead and unbox this machine!
Looking for even more information on the Cricut Maker 3? Check out my blog post HERE to learn everything you need to know!
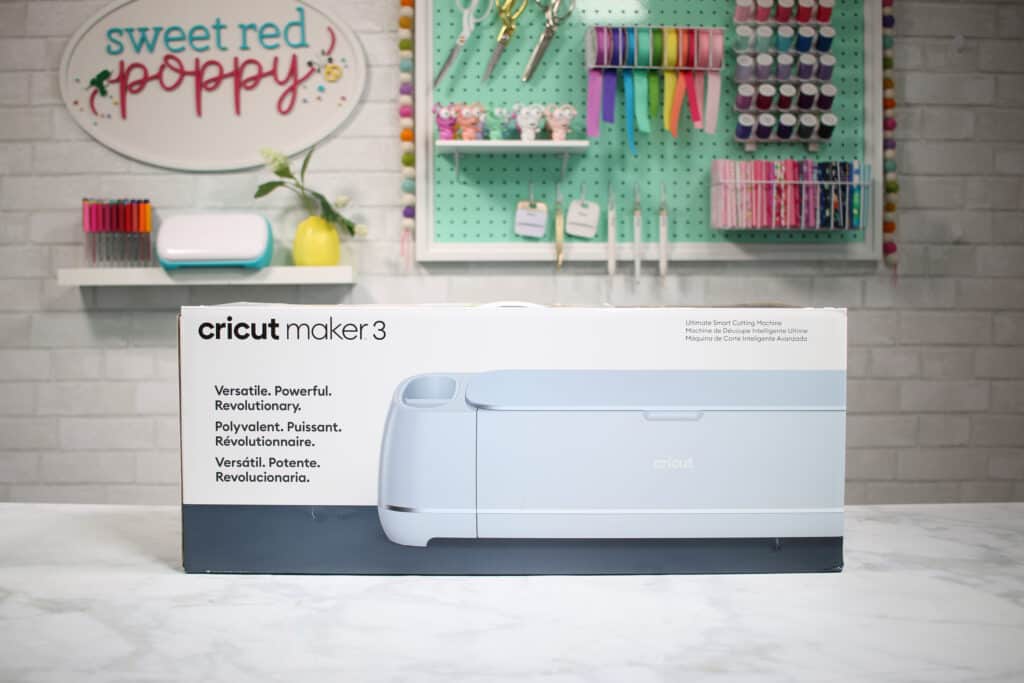
How to Unbox Your Cricut Maker 3
Ready to get started? Let’s open up this box!
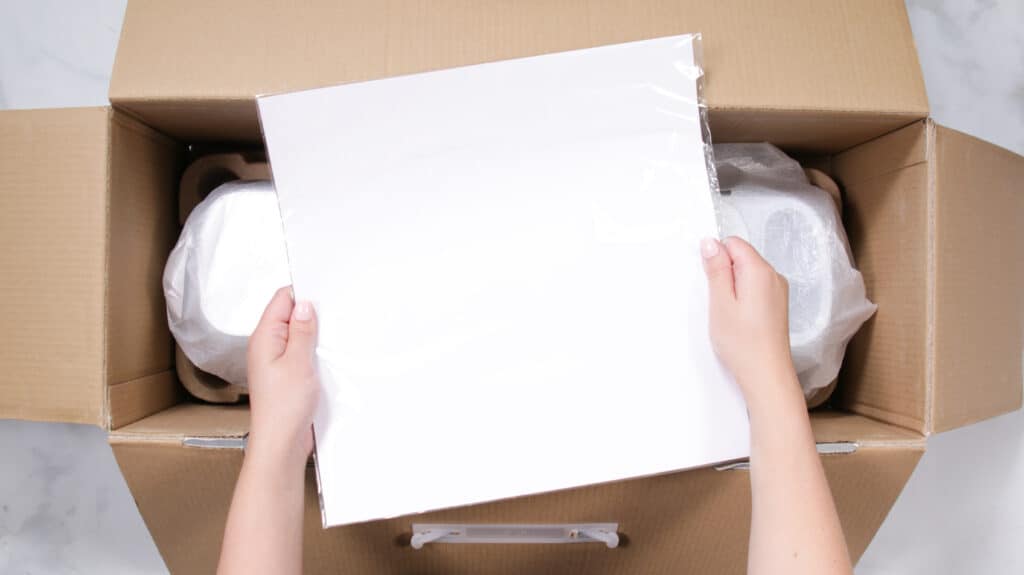
When you open up your box, you will see this envelope. Inside is a sample of Cricut’s Smart Vinyl for your first cut.
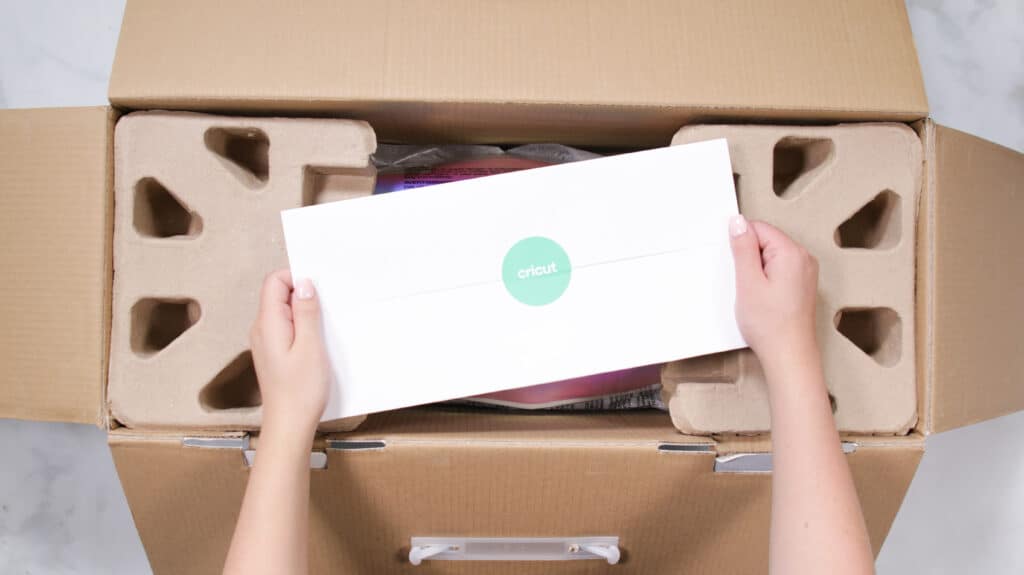
Go ahead and set this aside for later.
Remove the cardboard inserts.
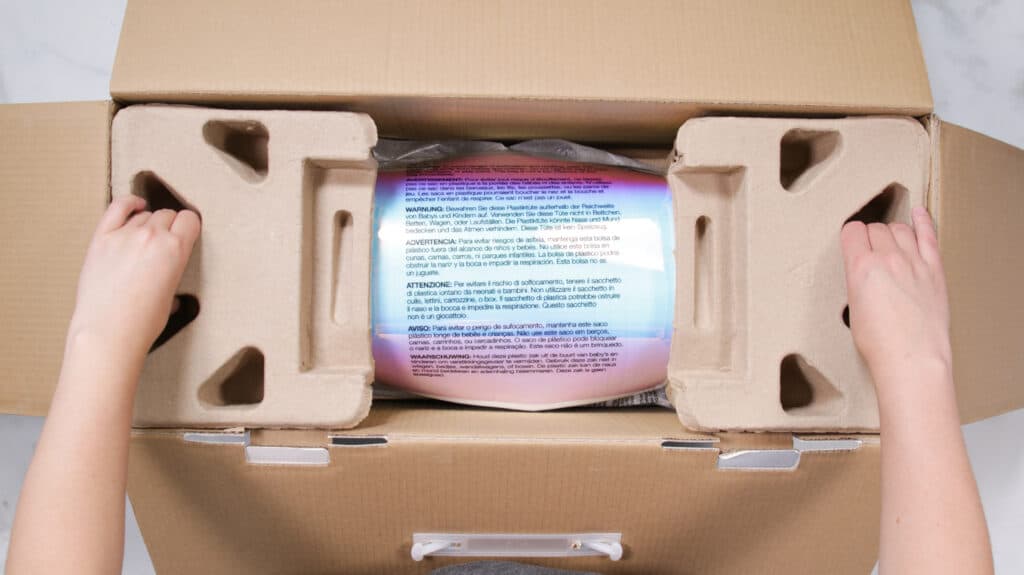
Next, you’ll find a sheet of Smart Vinyl, Smart Iron-On, Smart Paper Sticker Cardstock, and Transfer Tape. I love that Cricut gives you smart material right away to try out. With Smart Materials, you can cut two times faster and up to 12 feet in material, making your projects quicker.
For more information about Smart Materials, check out this post HERE.
Underneath that is your machine. Go ahead and pull it out.
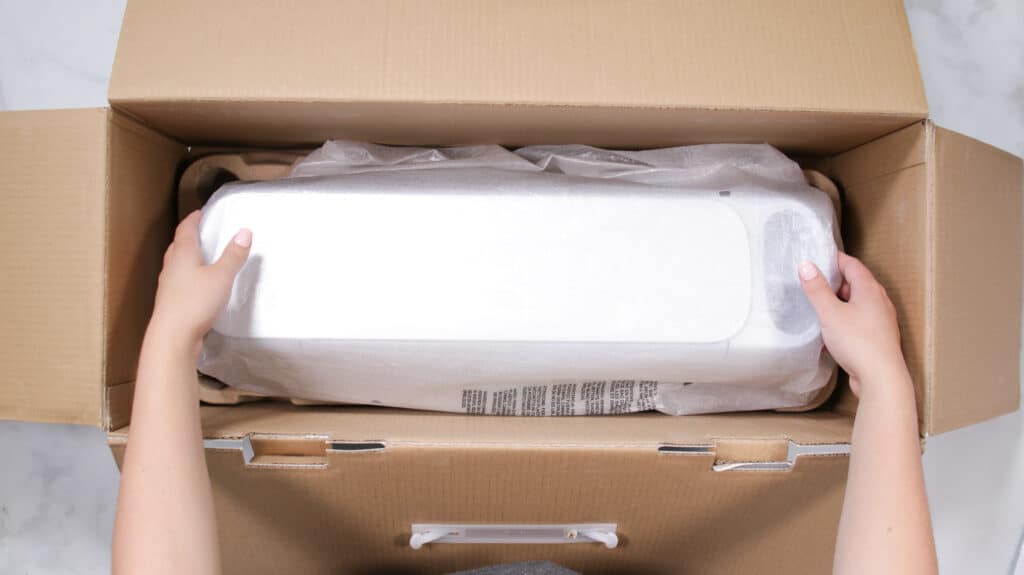
The machine is preloaded with a Premium Fine-Point Blade.

Located underneath the Maker 3 are your USB cable and power adapter.
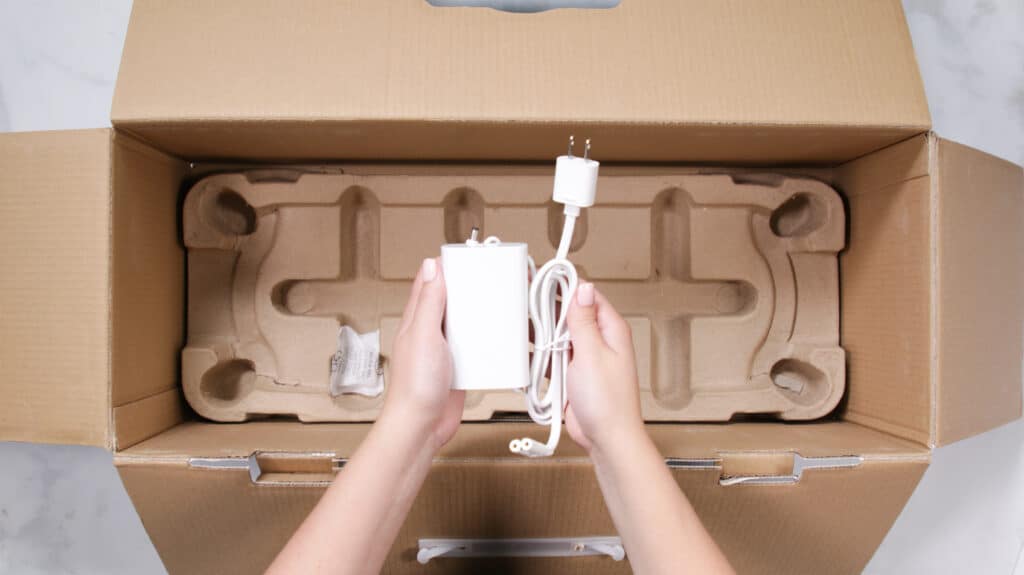
Pull these out and set the box aside.
Remove the plastic from the Maker and lift the top to open it up.
Remove the styrofoam from the tool housing.
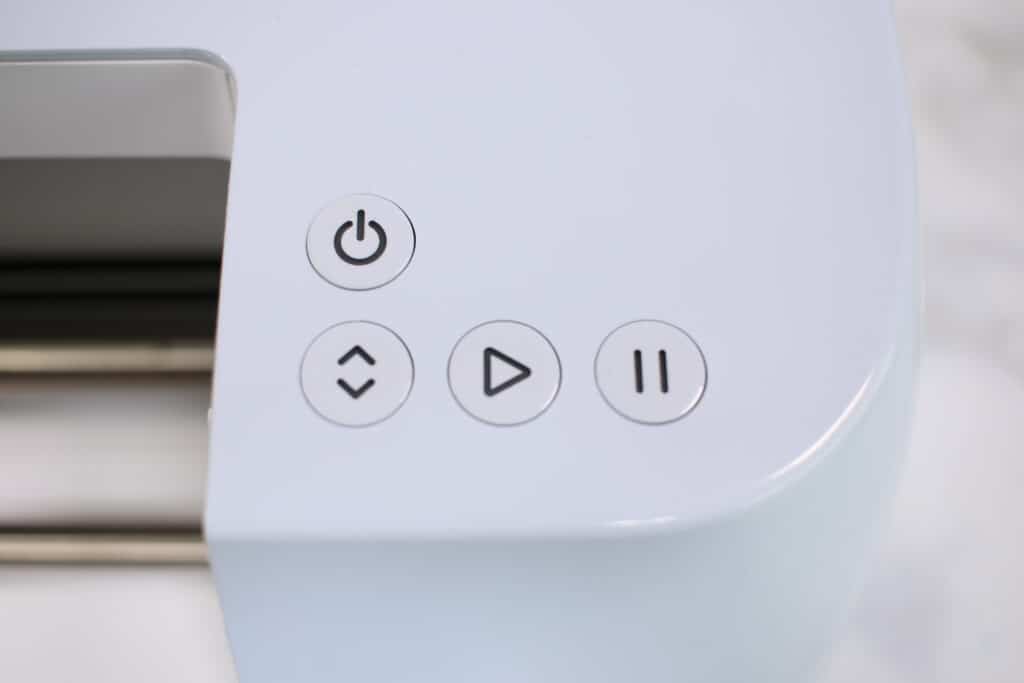
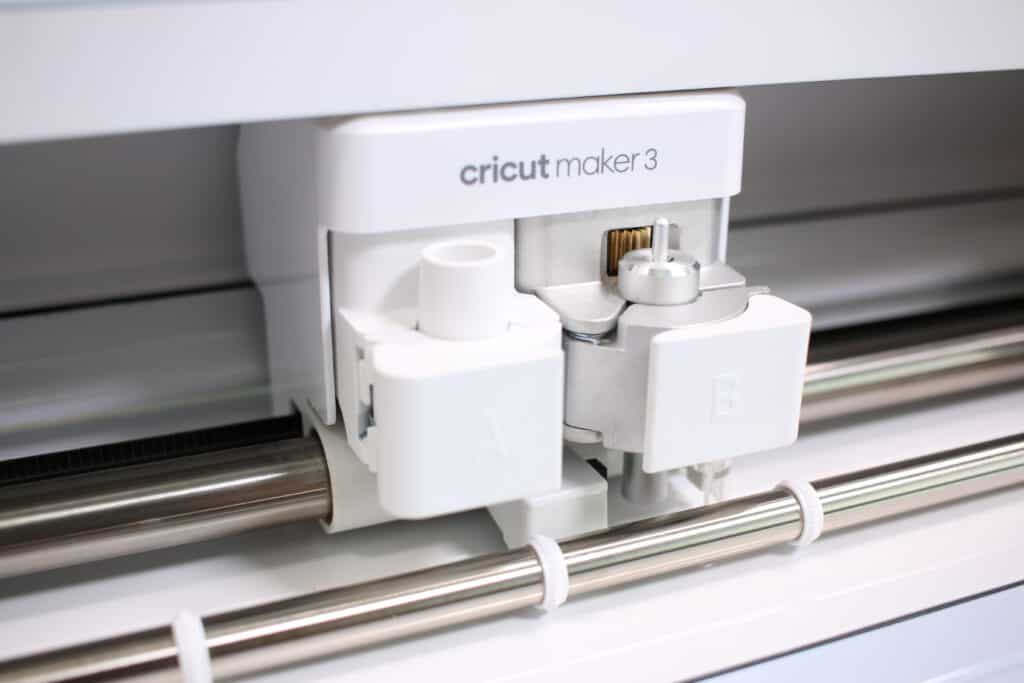
On the right-hand side of the machine, you’ll see 4 different buttons: the power button, load and unload button, start button, and pause button.
The premium Fine-Point Blade is installed in clamp B. To switch it out with another tool, simply pull on this clasp, remove the tool. Insert a new one and secure it.
Clamp A is designed to hold pens, markers, or a scoring stylus.
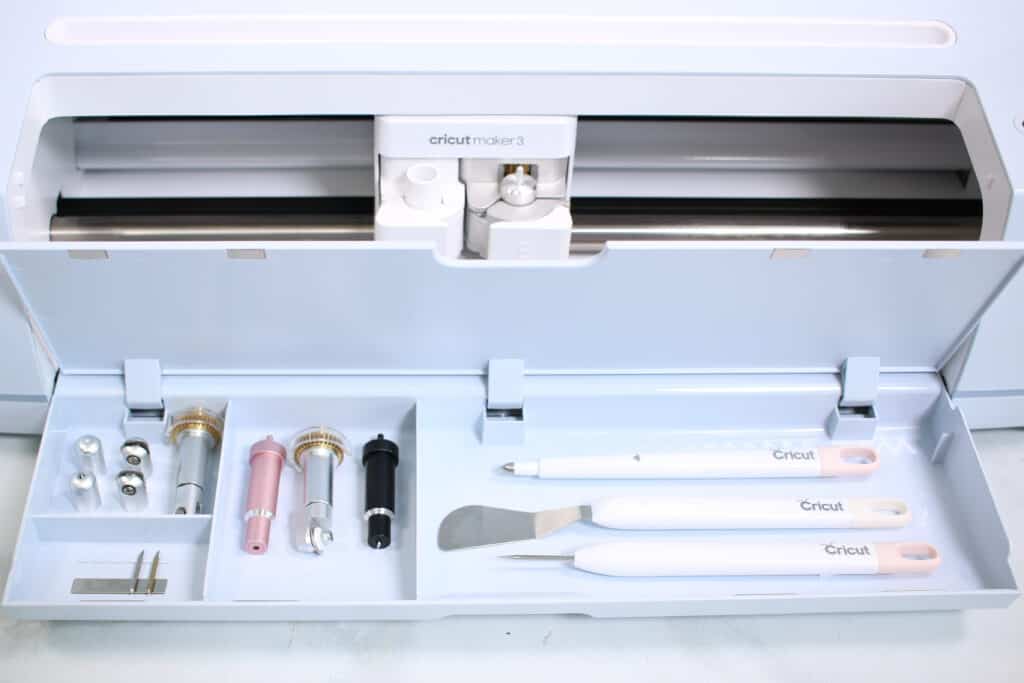
On the left is a silicone storage cup. Each section is lined with a silicone layer, making it perfect to store your tools and blades in.
At the bottom of the Maker, you’ll find an additional storage compartment. I love using this to store extra blades as well as my hand tools.
Just like the previous model, the Maker 3 features a slot along the top to hold your phone or tablet while crafting. Plus, you can use the Maker to charge your device. Just use the USB port on the side of the machine.
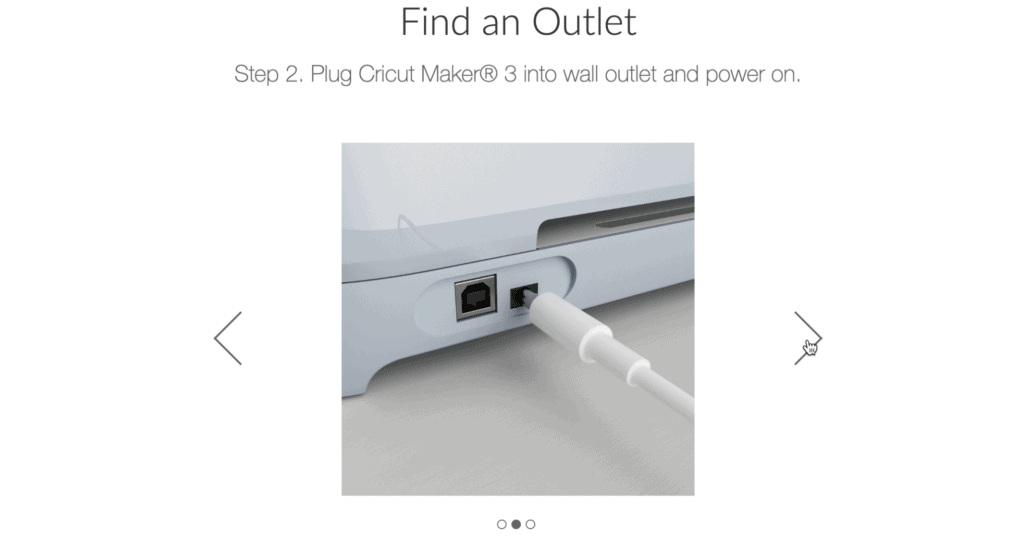
The power plug-in is located at the back of the machine. Go ahead and plug it in to get started.
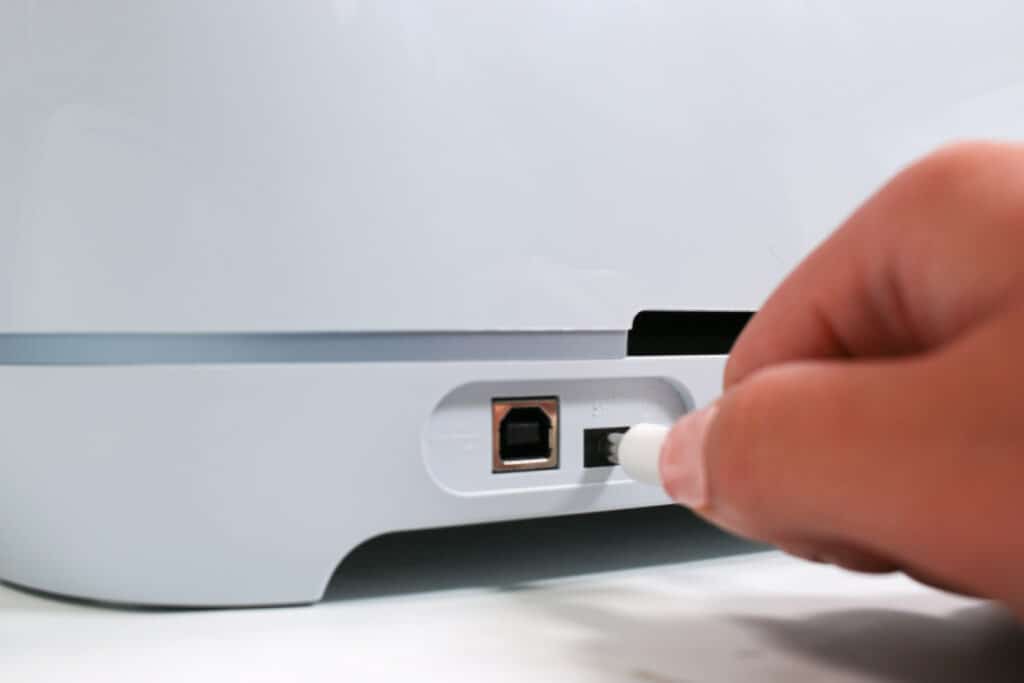
Plus the round end of your power cord into your machine and the other end into a power outlet.
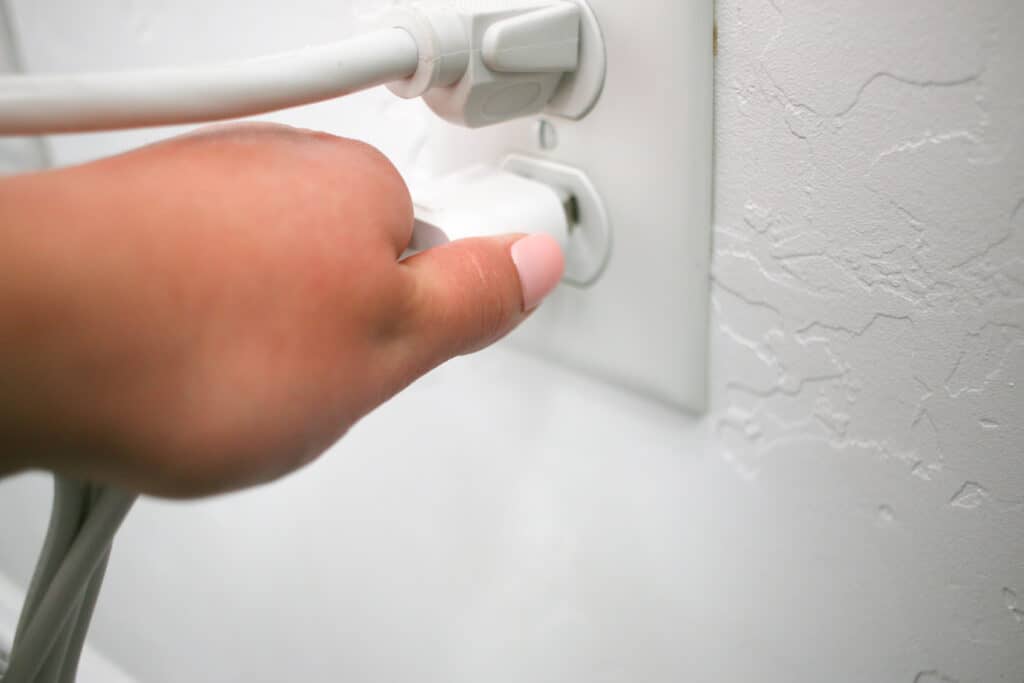
Click the power button to power on your machine.
How to Setup Your Cricut Maker 3
To begin, go to cricut.com/setup.
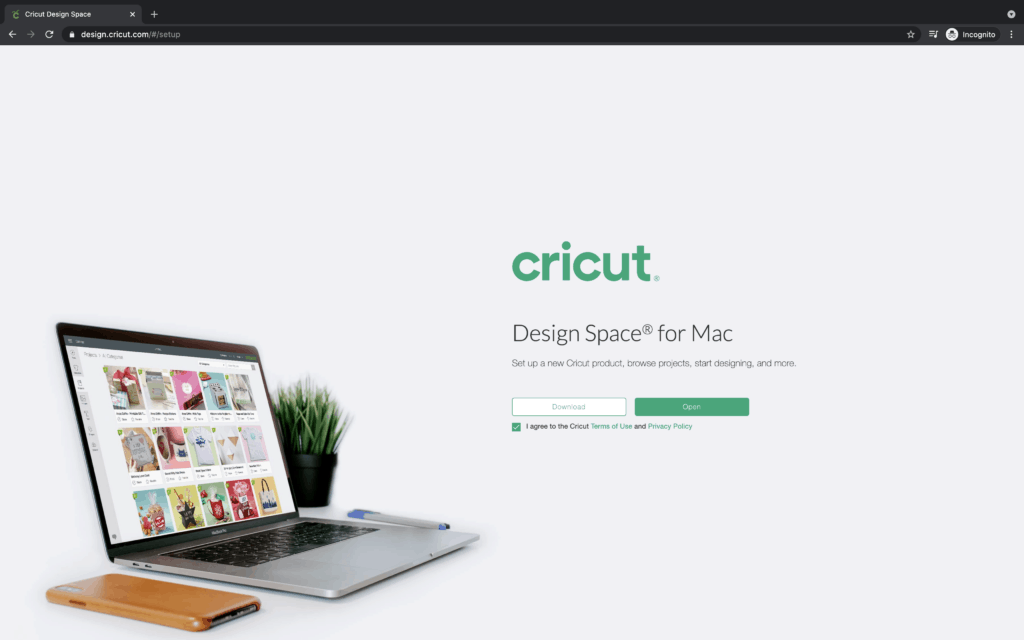
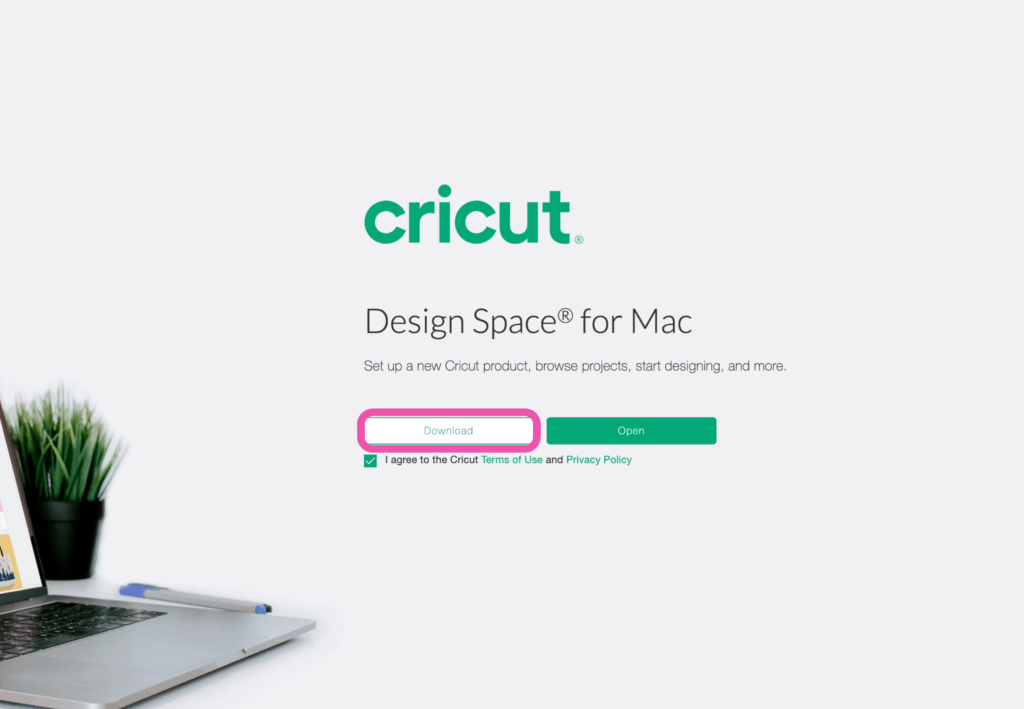
This brings you to the correct place to download Design Space for your device.
Click on “Download.”
If you haven’t already, create a Cricut ID.
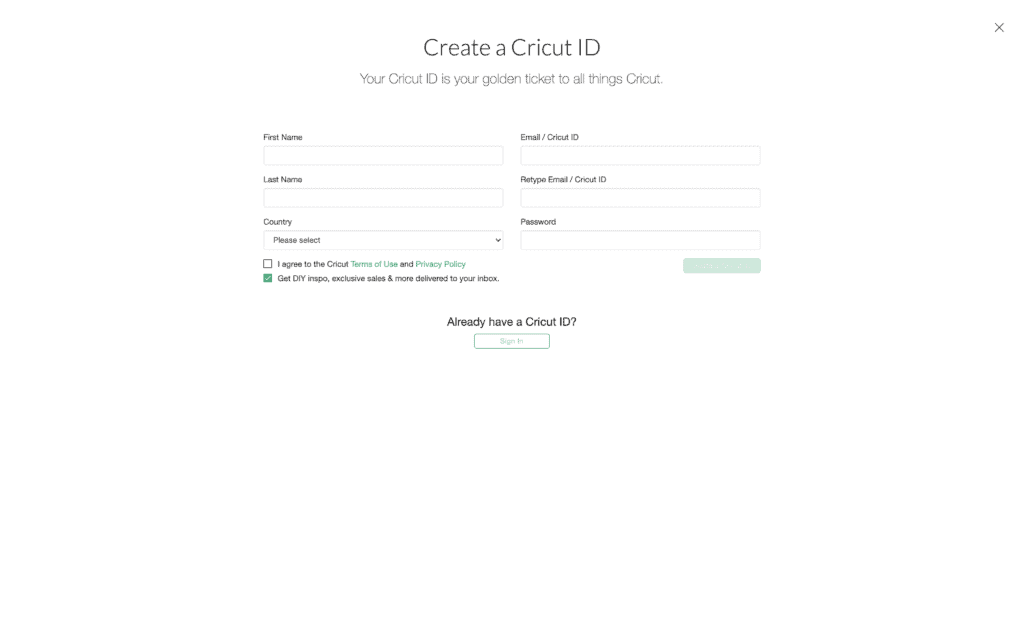
This allows you to create your own projects and access them from anywhere.
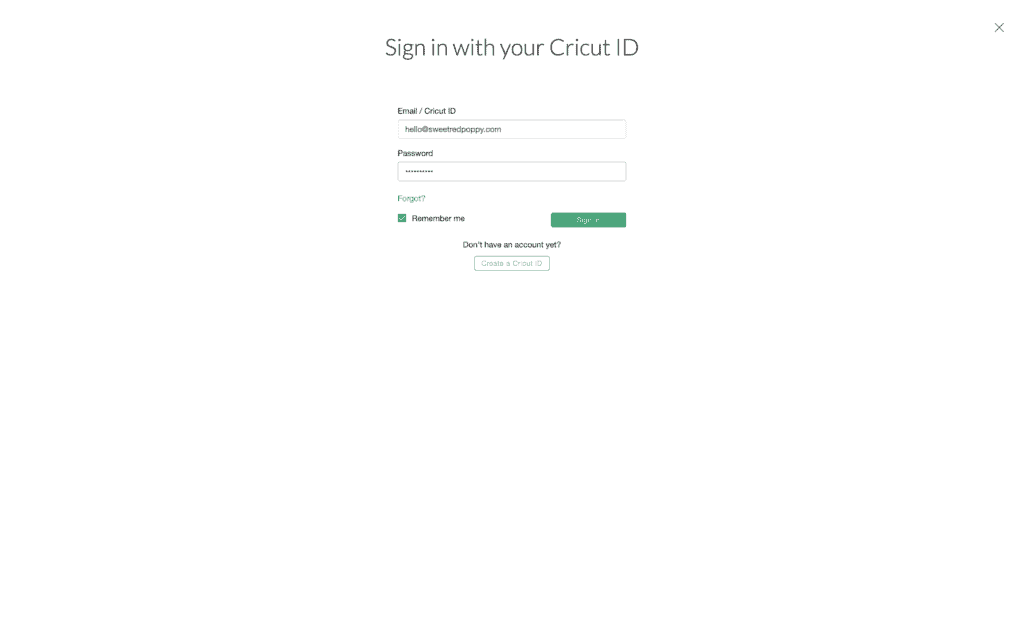
Once you have your login, go ahead and log into Design Space.
All Cricut machines come with a 1 month free trial of Cricut Access, so be sure to take advantage of that. Cricut Access is a monthly or yearly membership that gives you access to hundreds of thousands of images, fonts, and projects. While you don’t have to be a Cricut Access member to use your machine, I’ve found that it’s worth the money if you are crafting regularly.
In addition to your trial, your maker comes with 100 ready-to-make projects.
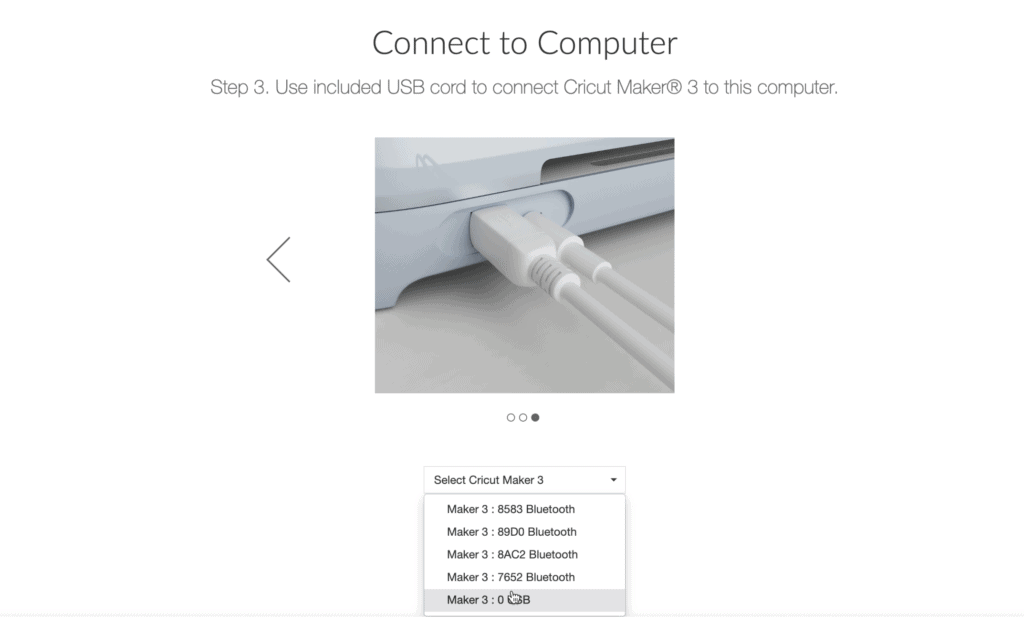
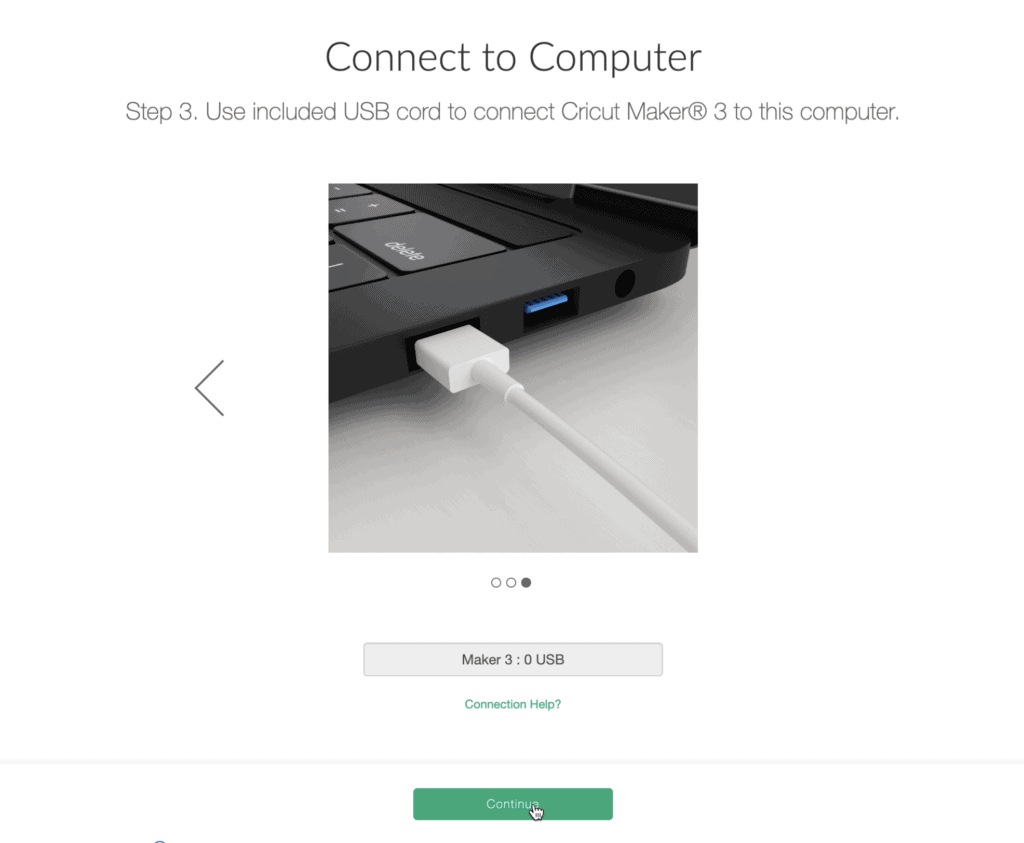
Connect your machine to your computer using Bluetooth or a USB cord.
Click on “New Product Set-Up.”
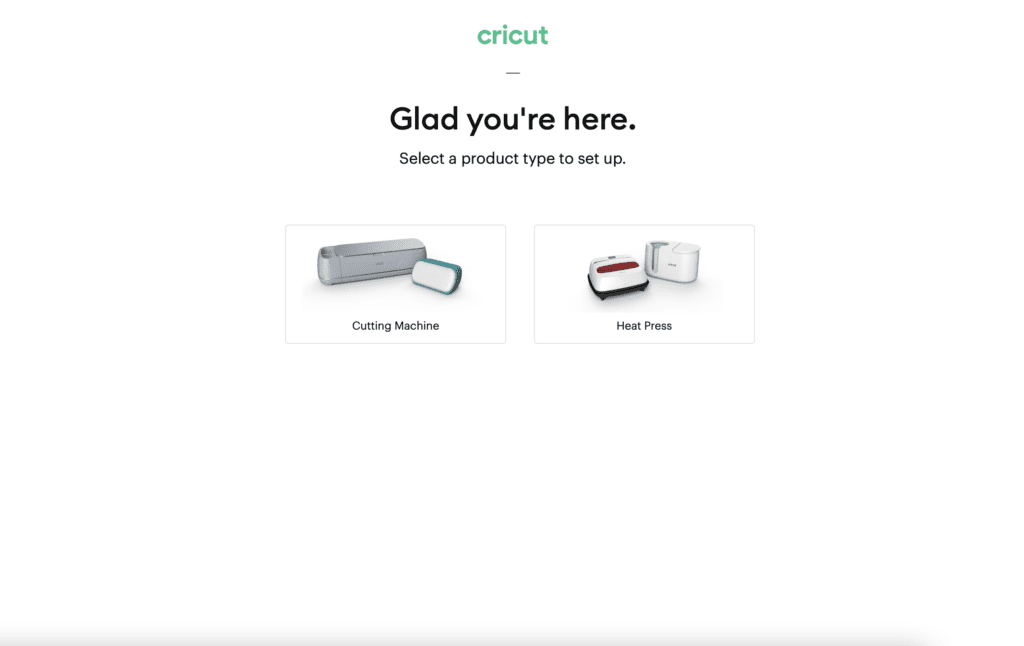
“Cutting Machine.”
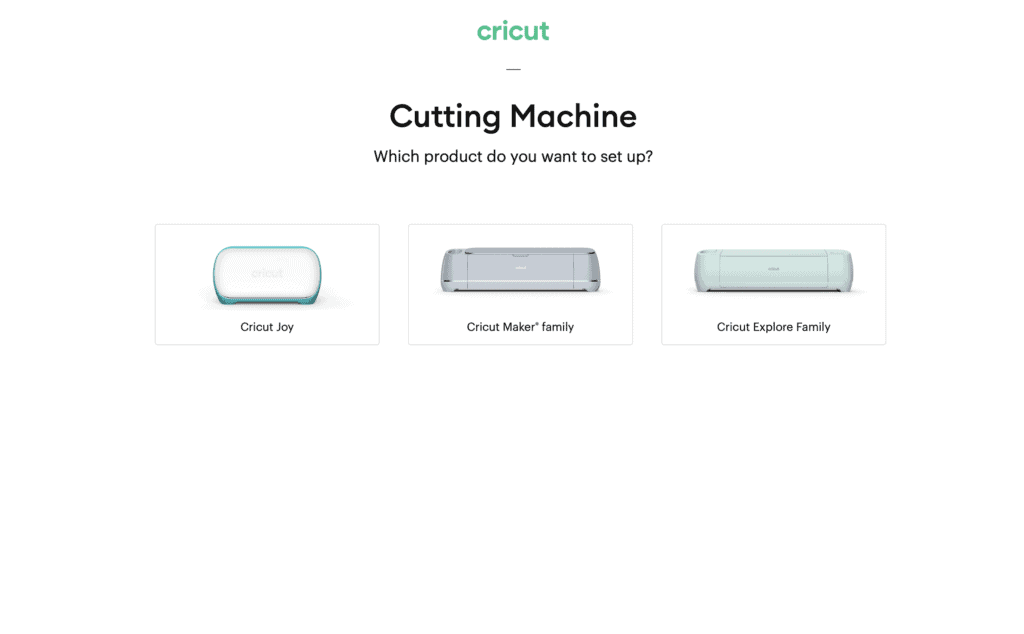
Then select “Cricut Maker family” and "Cricut Maker 3."
Follow the prompts within Design Space, making sure your maker is plugged in and connected to your computer.
If at any point you get stuck or need help, you can always contact Cricut’s Customer Care for extra assistance.
Click “Continue.”
If you’re wanting to sign up for the free trial of Cricut Access, click “Start My Trial.”

Activate your Cricut machine and allow it to update.
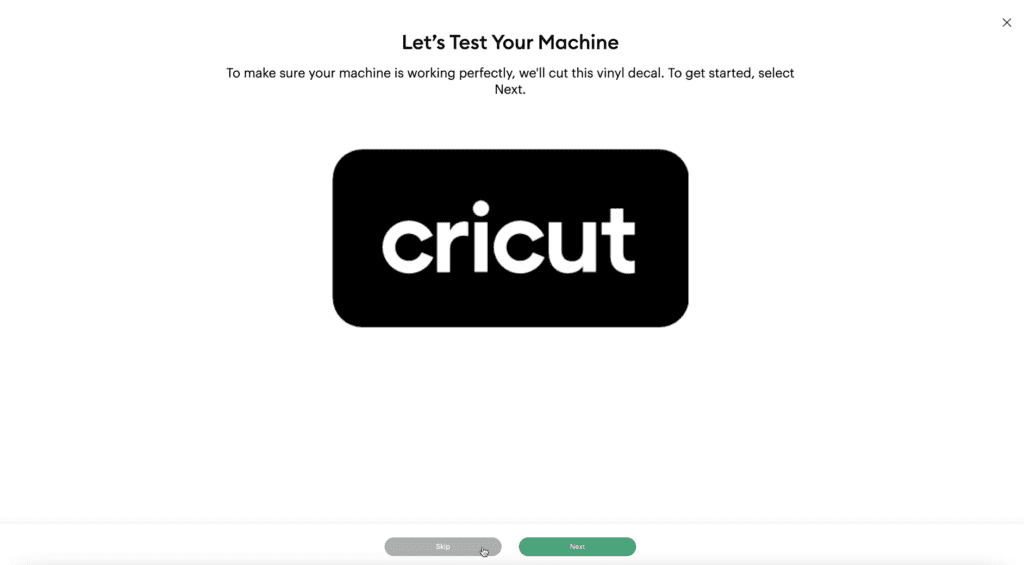
Once the setup is complete, you will be prompted to do a test cut. Click "Next" and follow the prompts.
After your test cut, Cricut will redirect you to a Ready to Learn Learning Plan landing Page. This page will teach you the basics of Cricut Design Space and materials.
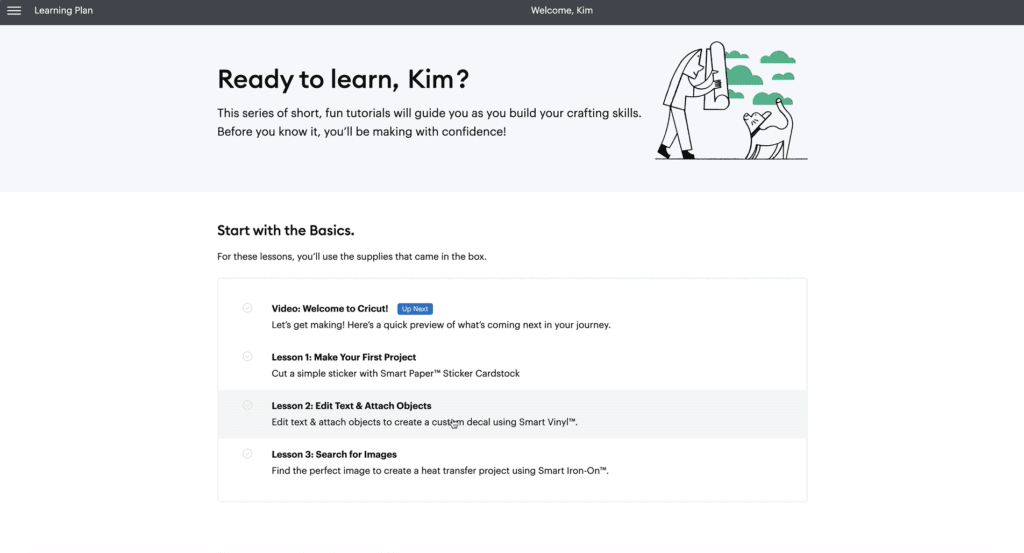
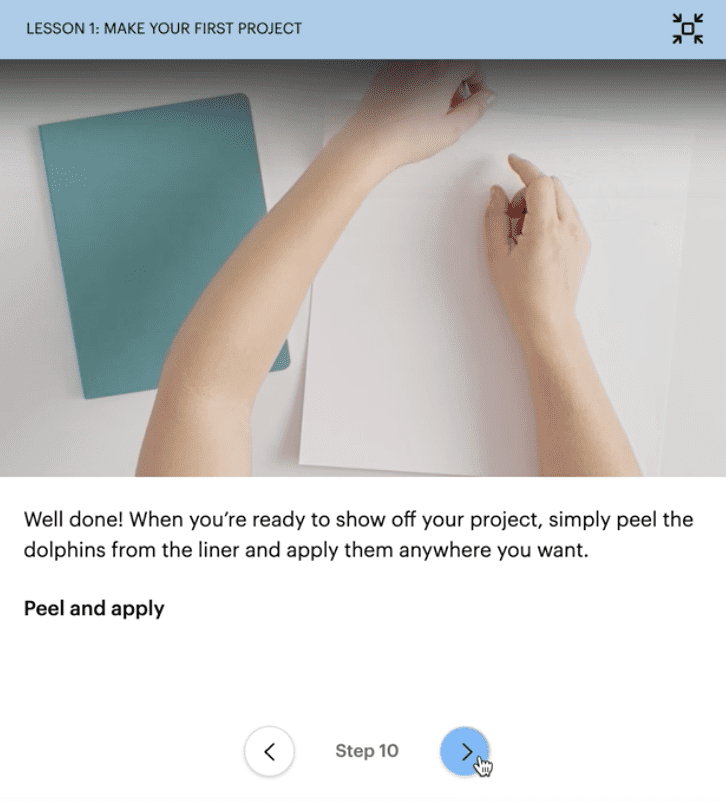
Now it’s time to get started on our very first project! Select "Lesson 1: Make Your First Project" and begin.
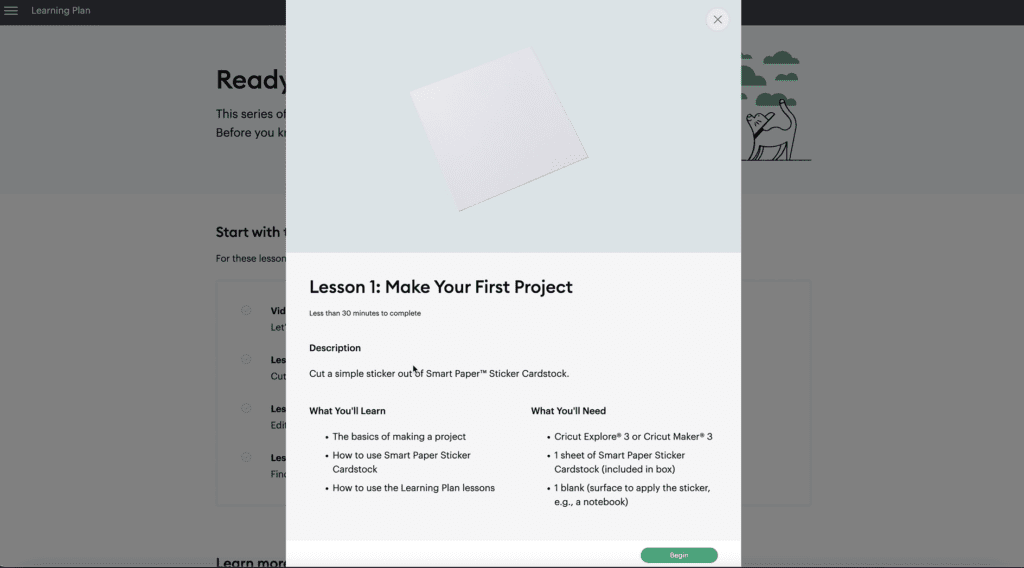
It will take you to your canvas and provide you with step-by-step instructions. You'll want to read and complete each step.
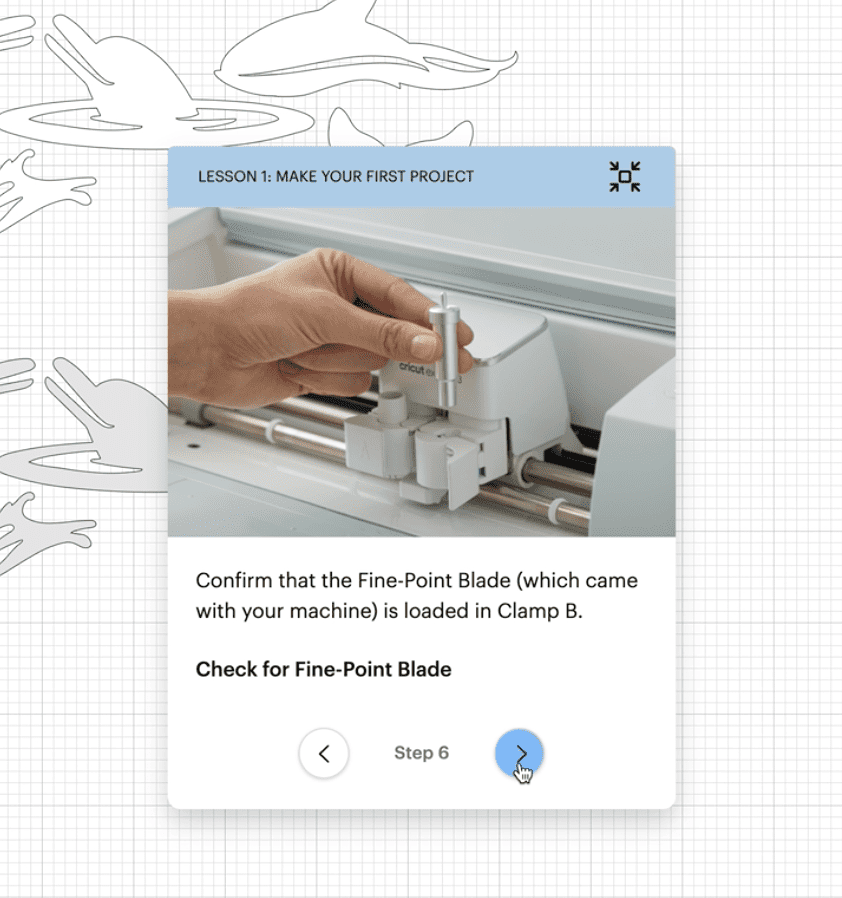
First, confirm that your Fine-Point Blade is in your machine.
Insert your Smart Material into your machine, making sure it is underneath the white guides. Press the load arrow to load your material in.

Now, the Maker is going to straighten out your material and measure it to ensure you have enough for the cut.
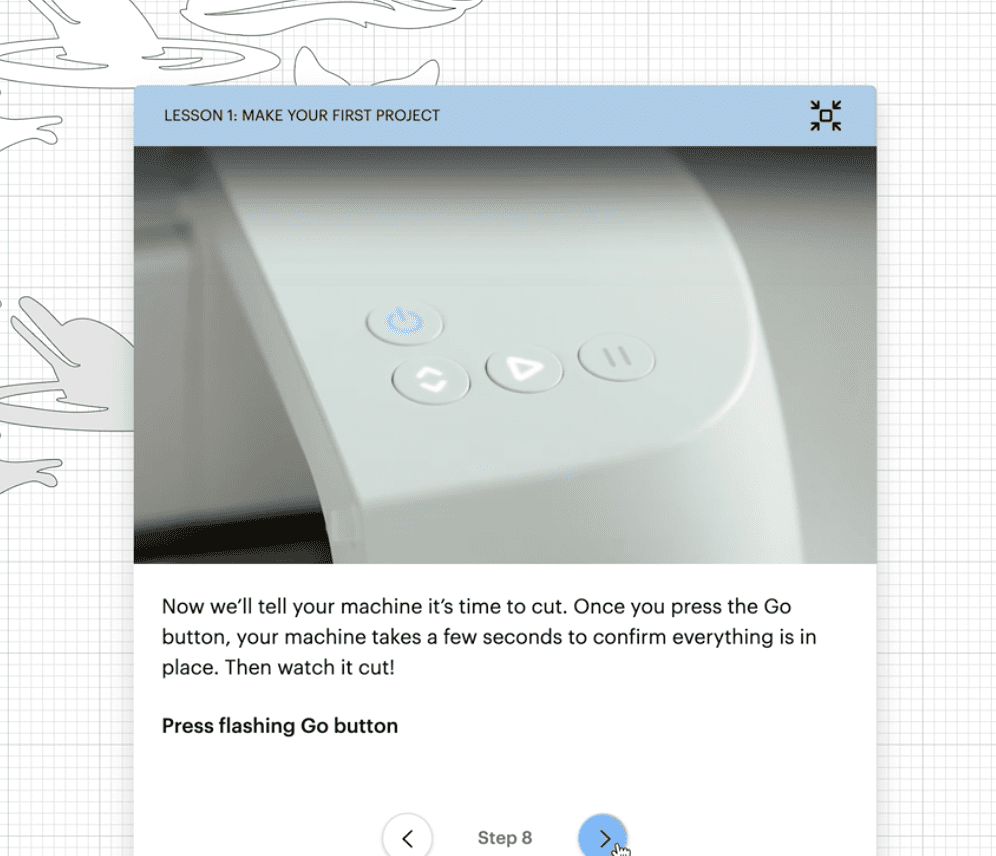
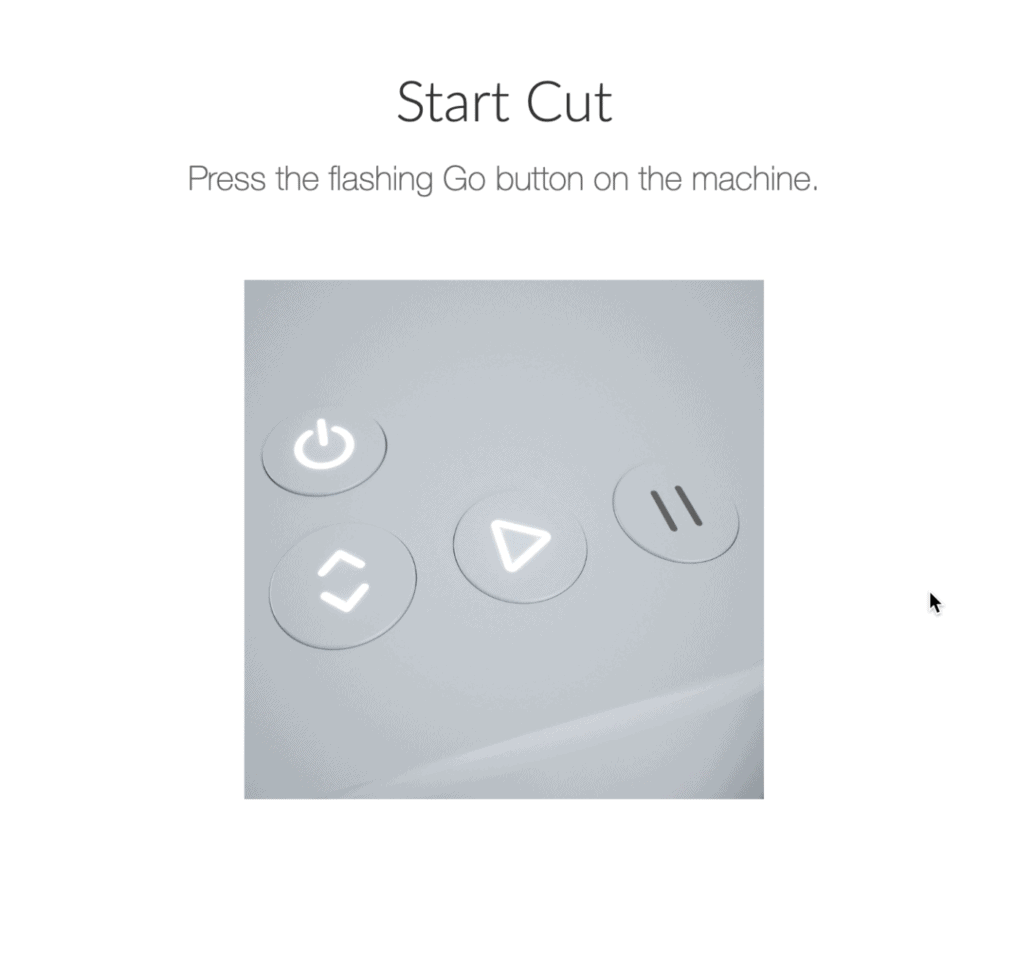
And press the blinking start button to begin cutting.
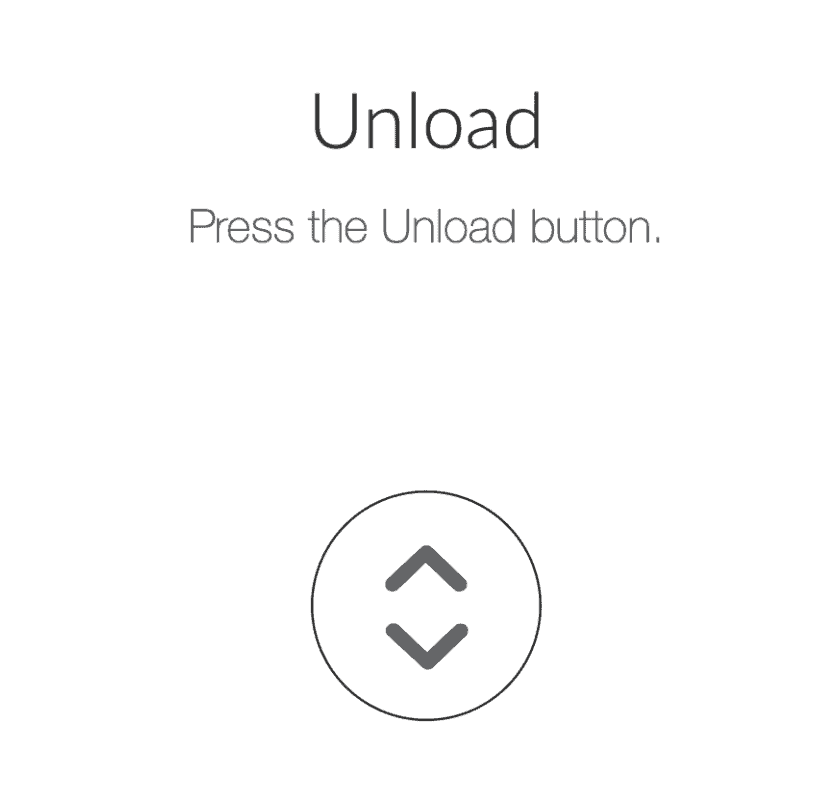
Once it has finished cutting, press the unload button.
I hope you enjoyed learning a little more about how to set up the new Cricut Maker 3.
Need more Cricut help? Join over 25,000 customers who are getting the most out of their Cricut machine using the Sweet Red Poppy's Guide to Cricut! Get access to 160+ pages, 30+ printabe cheat sheets, tips & tricks from the expert, projects, and bonus SVG files.

Leave a Reply