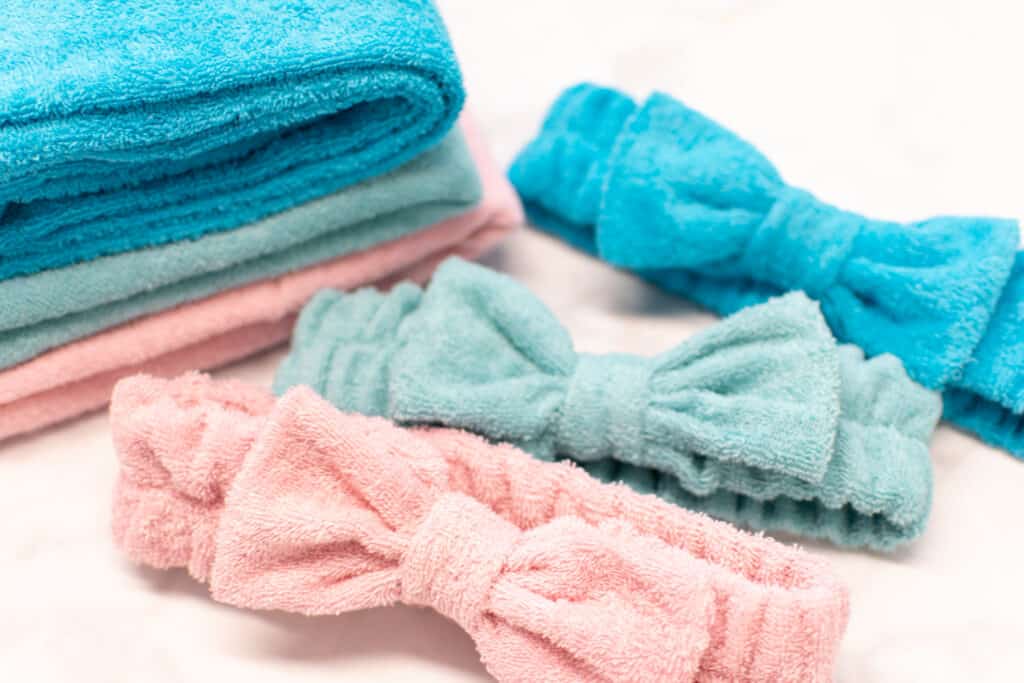
Learn How to Sew an Adorable Terry Cloth Facial Headband With This Step-By-Step Tutorial and Free Sewing Pattern.
Stitch up some self-care with a DIY facial headband. If you've ever been annoyed by your hair getting in the way while you're washing your face or putting on makeup - you need to try a spa headband!

With this step-by-step tutorial and FREE sewing pattern, you can sew up your very own (absolutely adorable) facial headband!
And after you've made a headband for yourself, you might want to make a few more as gifts for your friends and family. Everyone needs a cute, fluffy headband to brighten up their morning routine!
Table of Contents
What is a Facial Headband?
A facial headband, or a spa headband, is a wide headband that is usually worn while washing your face, doing makeup, or enjoying a skin-care face mask.
The point of the headband is to keep all the little stray hairs slicked back away from your face so they don't get in the way.

I love wearing a spa headband during my morning and evening routines. It makes face cleansing and applying makeup easier and more fun!
Fabric Requirements for a Facial Headband
Facial headbands are usually wider than a typical headband, so they can hold the hair back further away from your face. They're typically made from either cotton terry cloth or microfiber terry fabric.
Both cotton and microfiber terry are often used to make bath towels and washrags, which means they're very absorbent and plush fabrics. This makes for a perfect spa headband because the thick towel-like fabric will soak up any excess liquid from your face wash or moisturizers without allowing it to get into your hair.
No more halos of wet hair around your forehead after washing your face!
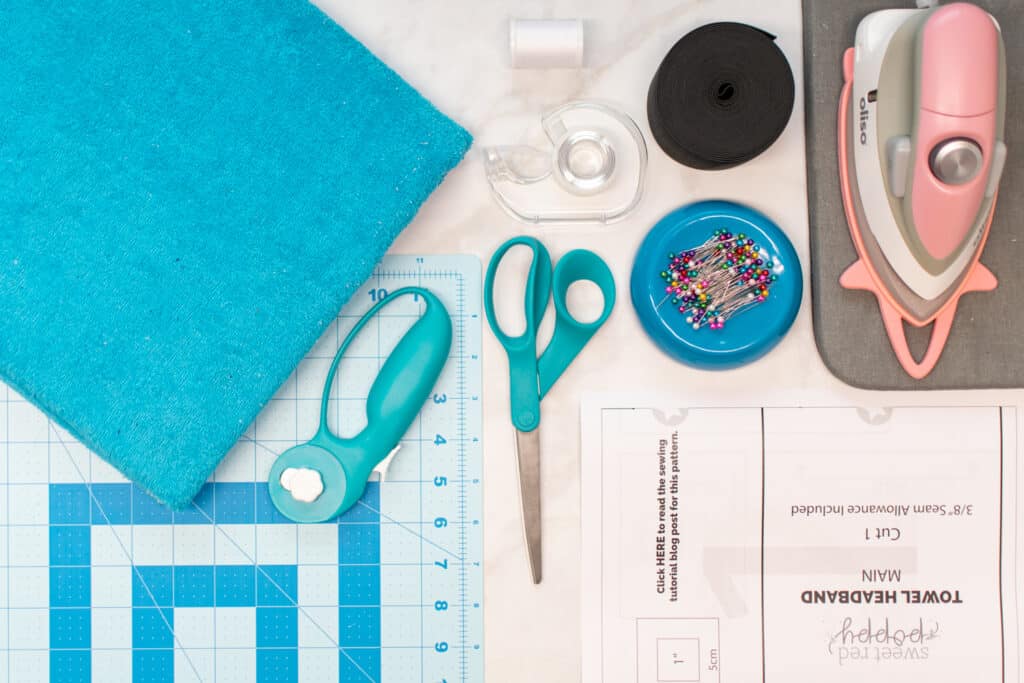
Supplies to Make a Facial Headband
- 1/4 Yard of Terry Cloth Fabric
- 3/4 Yard of 2" Elastic
- Matching Thread
- Scissors
- Rotary Cutter
- Cutting Mat
- Pins
- Safety Pins
- Sewing Machine
- Sewing Machine Needle
- Iron
- Ironing Board
- Serger (Optional)
- Printer
- Printing Paper
- Tape
Download the Free Facial Headband Sewing Pattern Here

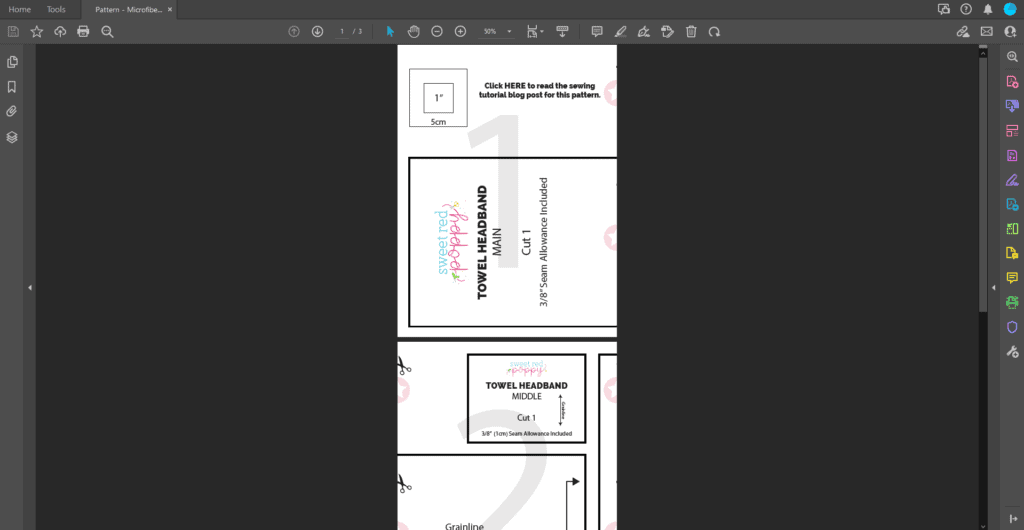
Step 1: Download and Cut Out the Pattern
Start by downloading the free facial headband pattern to your computer. Open the pattern in your PDF reader. I highly recommend using Adobe Acrobat.
*PRO TIP: It's important not to print a PDF pattern directly from your browser because it can result in the pattern printing with incorrect scaling and with wonky border lines.
Next, click "print" to bring up the print settings box. In this box, set the scaling to "Actual Size" or "Custom Scaling: 100%".
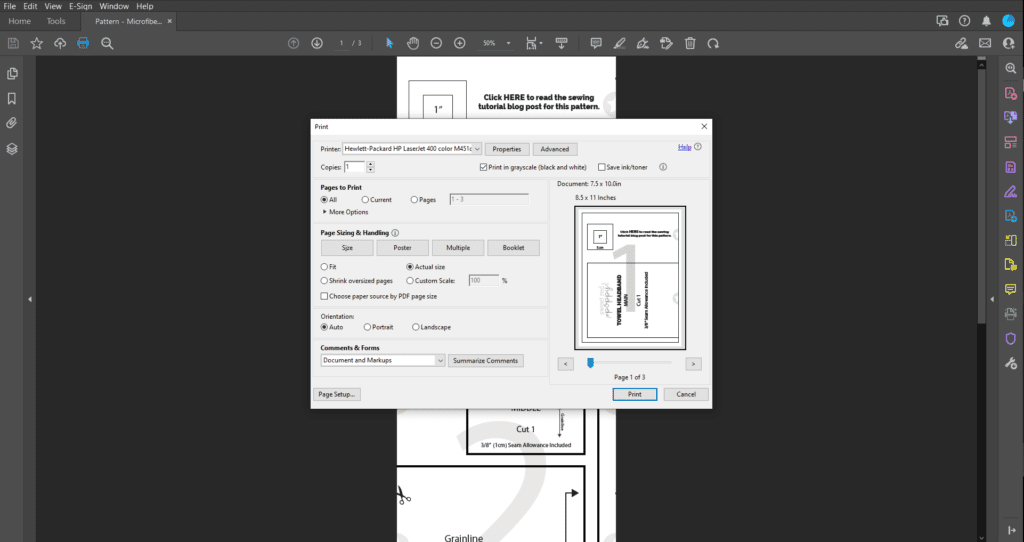
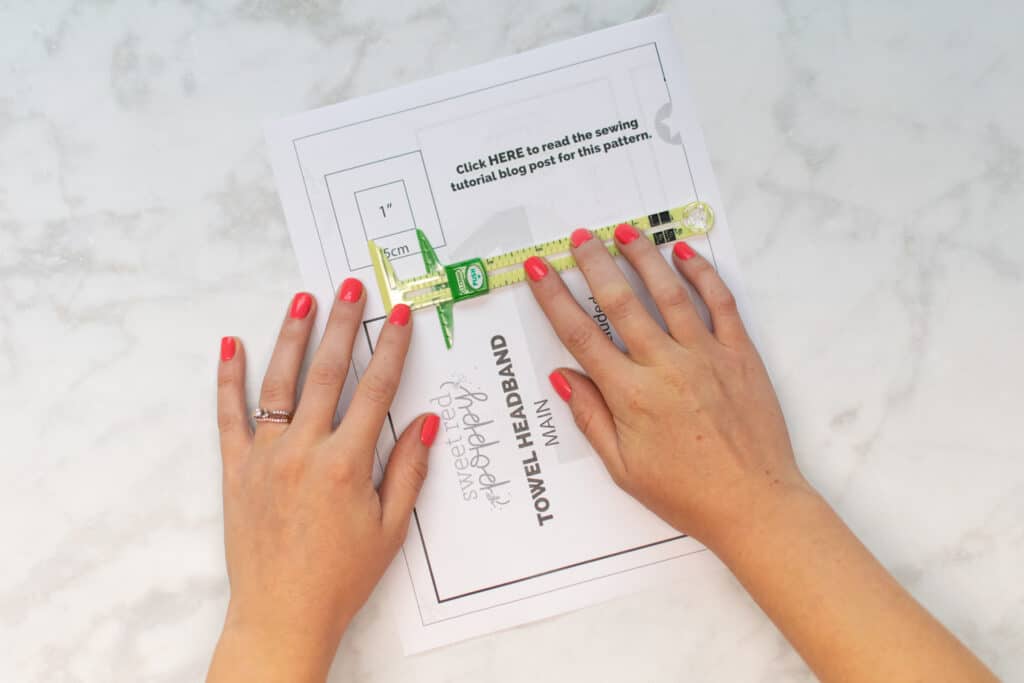
Print Page 1 of the pattern. This page contains a 1" x 1" test square to ensure the scaling is set properly. Measure the test square - if it measures 1" x 1", print the rest of the pattern. However, if it doesn't measure 1" x 1", recheck your print settings and print the pattern again.
After the pages of your pattern have been printed, assemble them by lining up the stars and lines of the pattern and taping the pages together. The large numbers at the center of each paper will help you keep the pages in order.
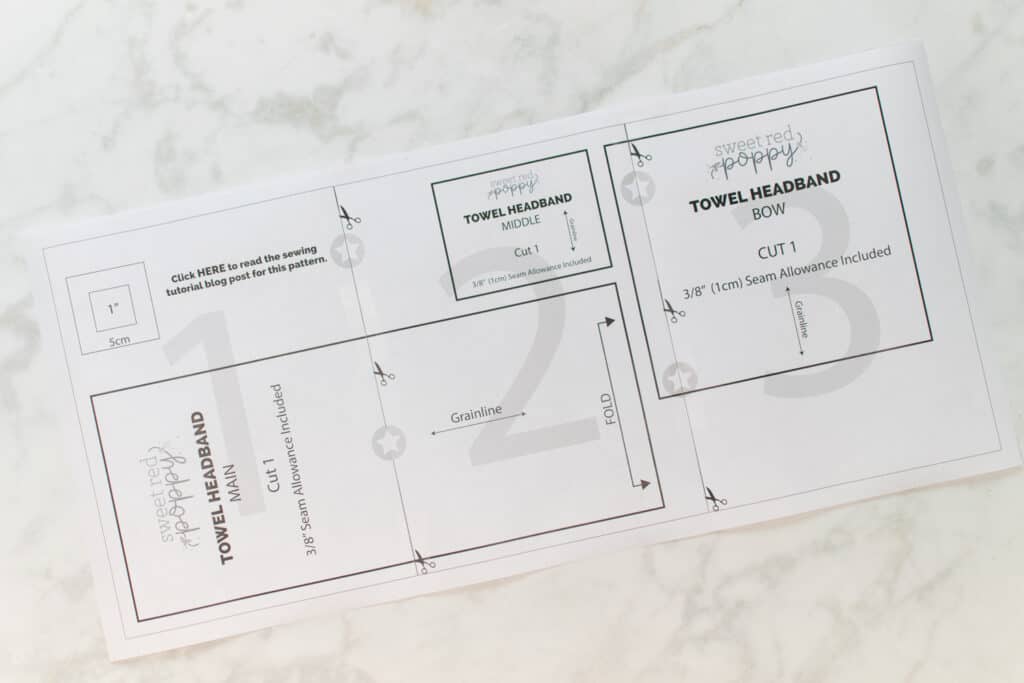
It can help to trim away the excess paper along the sides before taping the pages together, or you can simply overlap the paper margins. If you decide to overlap the edges, holding the pages up to a light can help you see through the paper and align the pattern lines correctly.
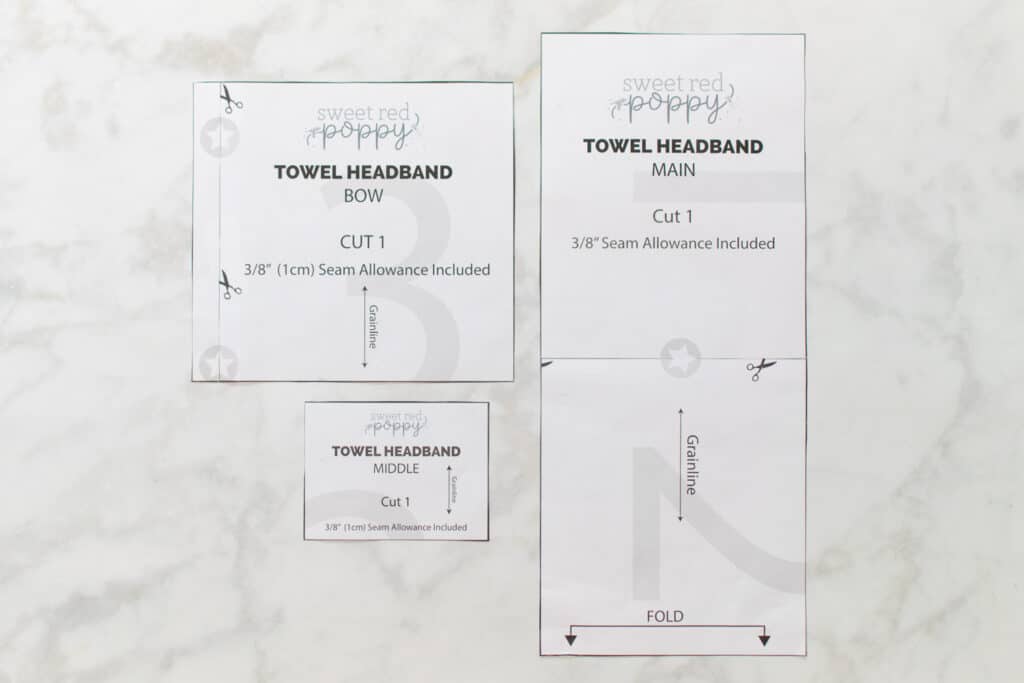
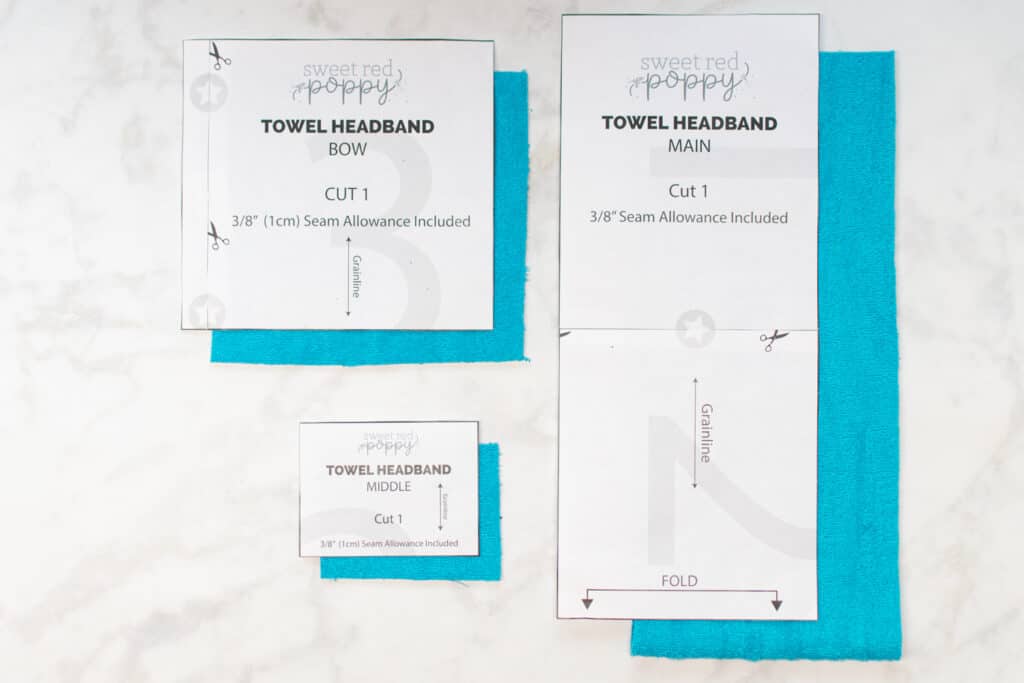
Once assembled, cut out each of the pattern pieces. You will have 3 pattern pieces: The "Main", "Middle", and "Bow".
Step 2: Cut Out Your Facial Headband
Now it's time to pull out your terry cloth fabric and cut out the pieces of your new facial headband.
Cut the following number of pieces from your fabric.
Terry Cloth Fabric
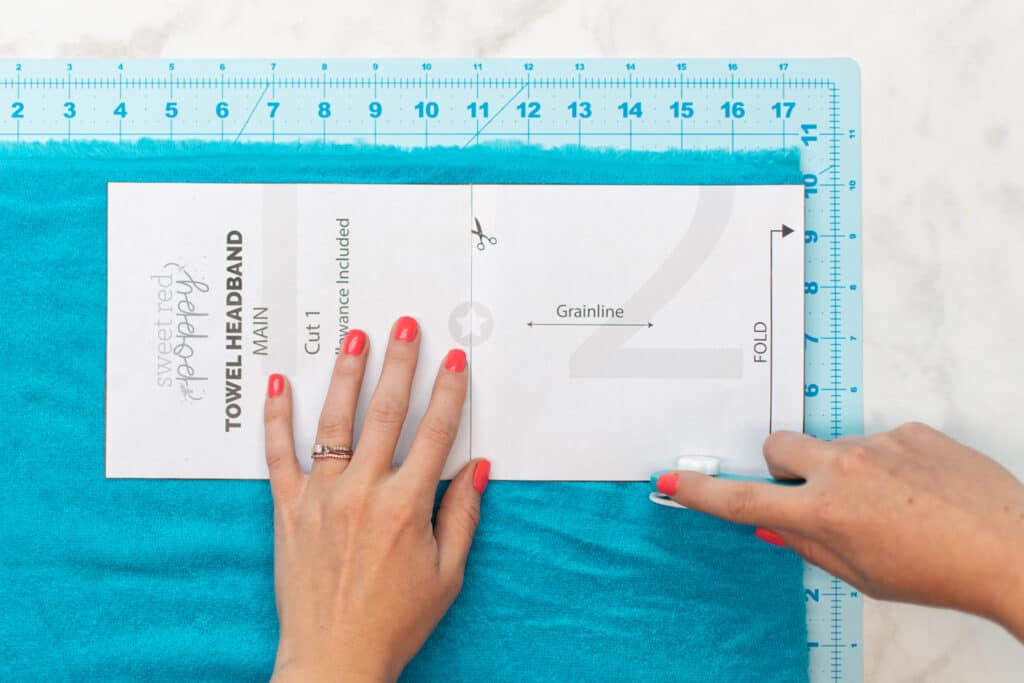
- Main: Cut 1 On the Fold
- Middle: Cut 1
- Bow: Cut 1
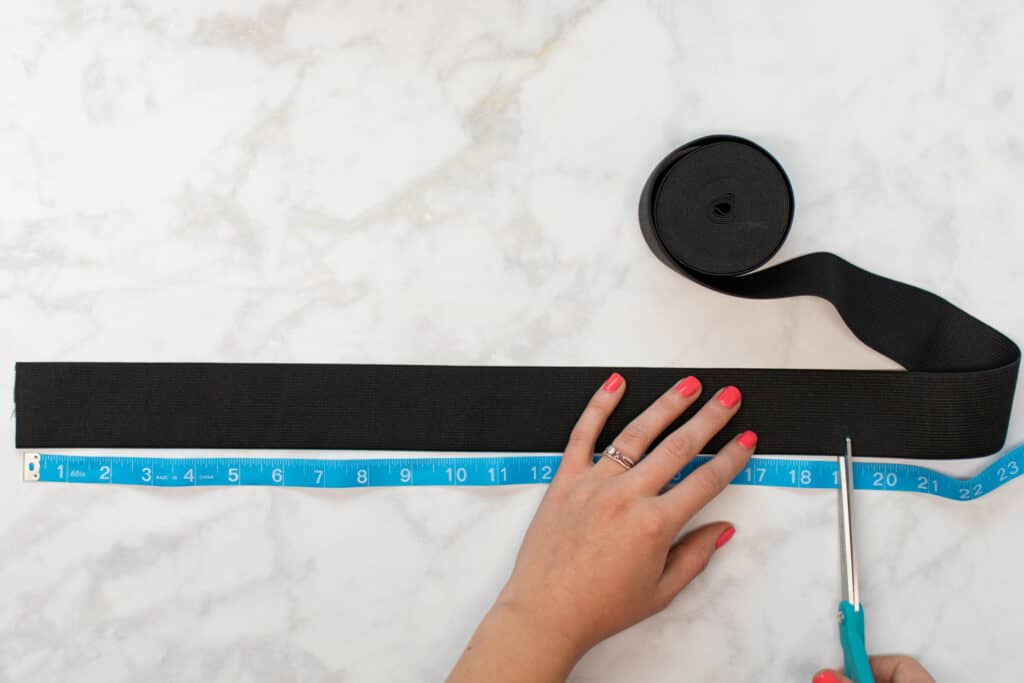
Next, cut a 19" length of 2-inch elastic.
Step 3: Create the Casing
Next, you'll need to sew the main body of your headband, which will also serve as a casing for the elastic.
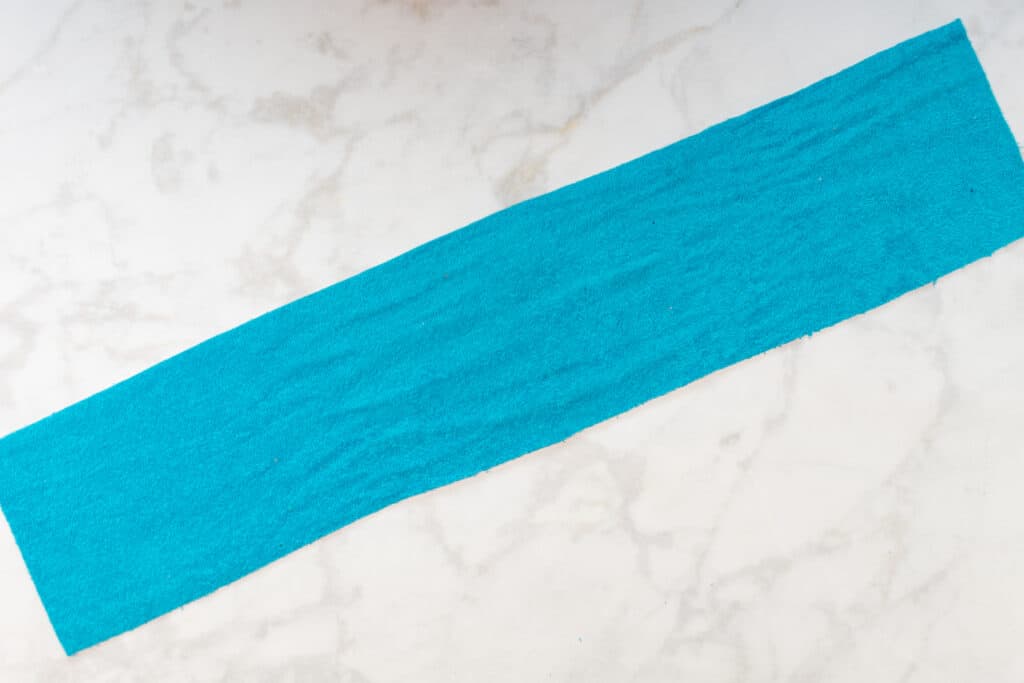
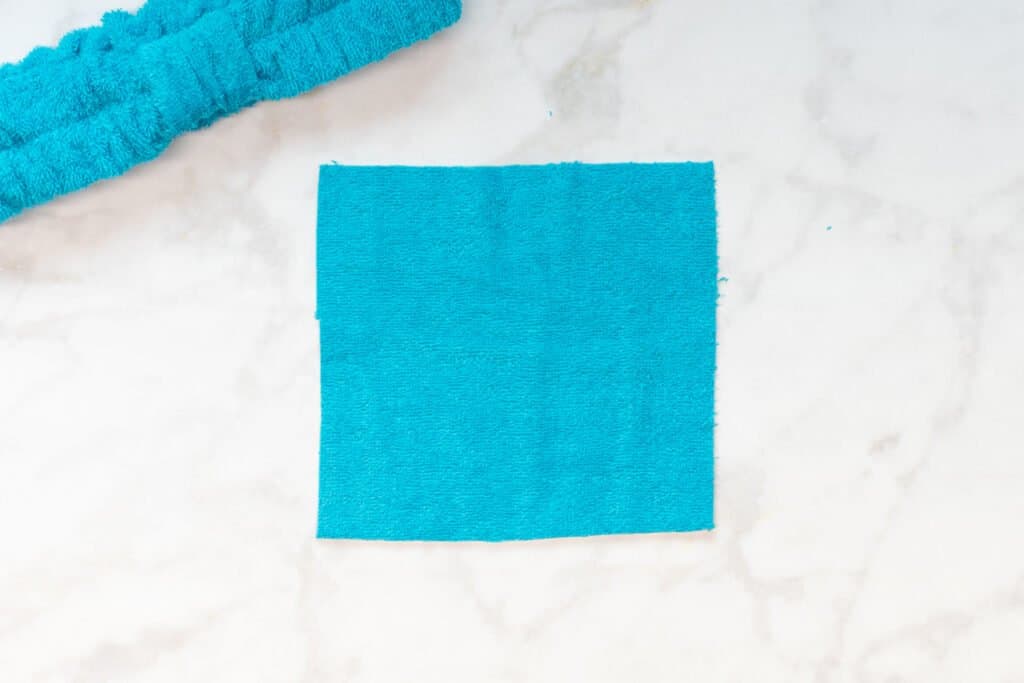
Start by laying the Main piece right sides up on your table.
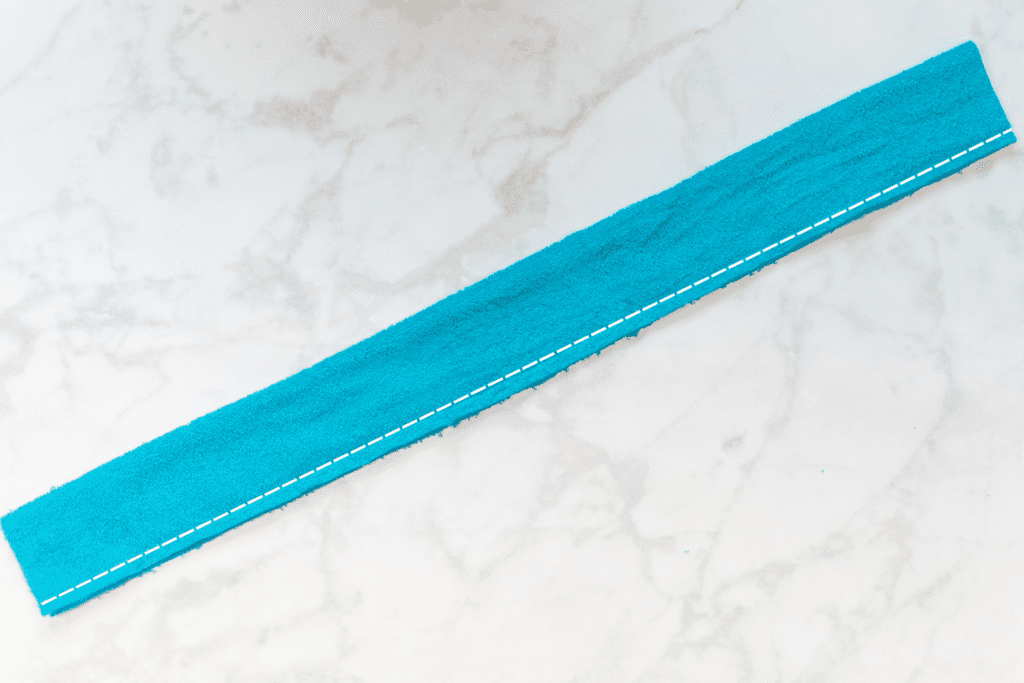
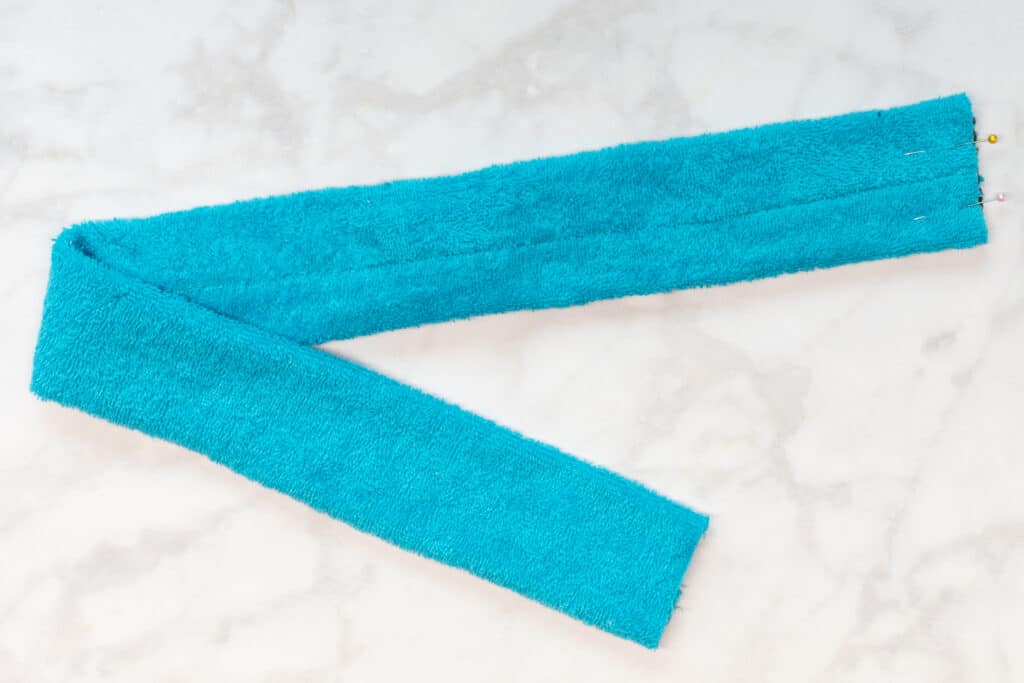
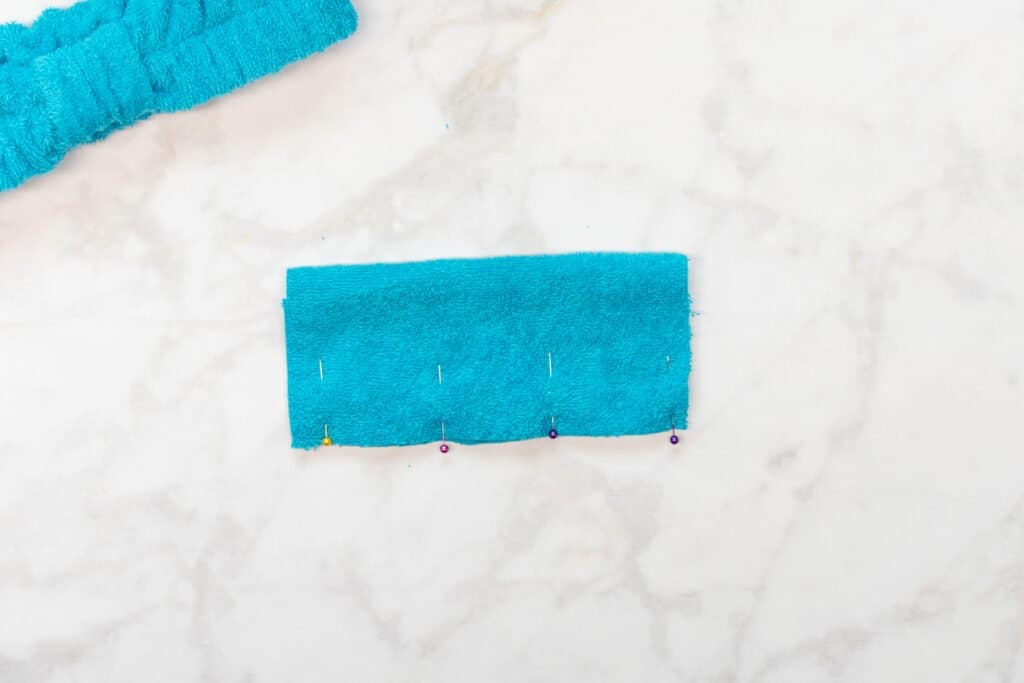
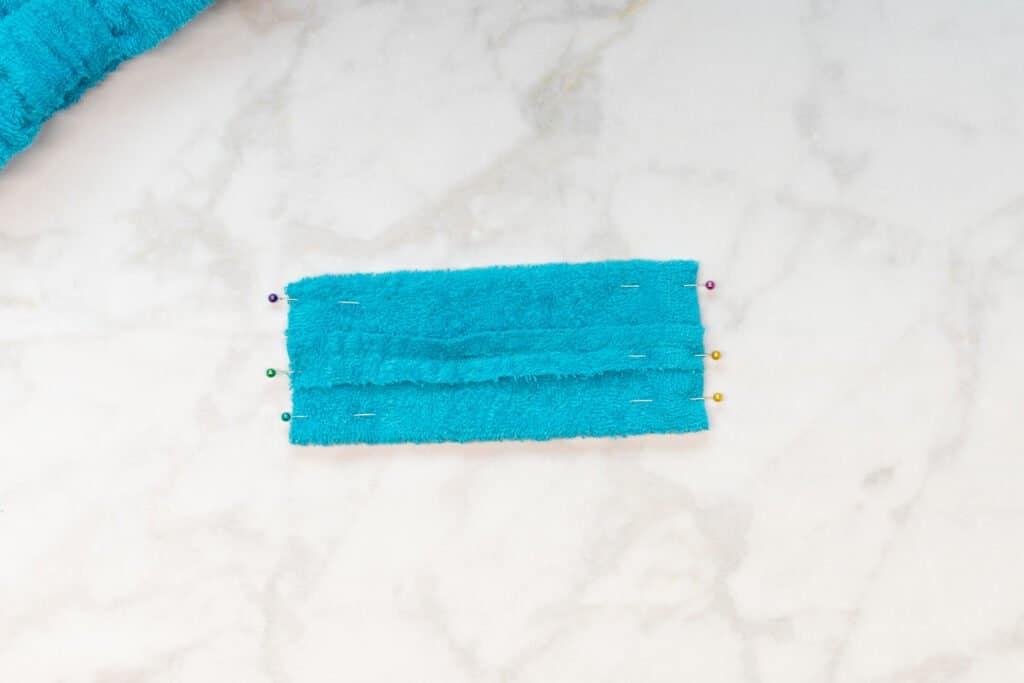
Then, fold the Main piece in half lengthwise with right sides together. Pin the edges together.
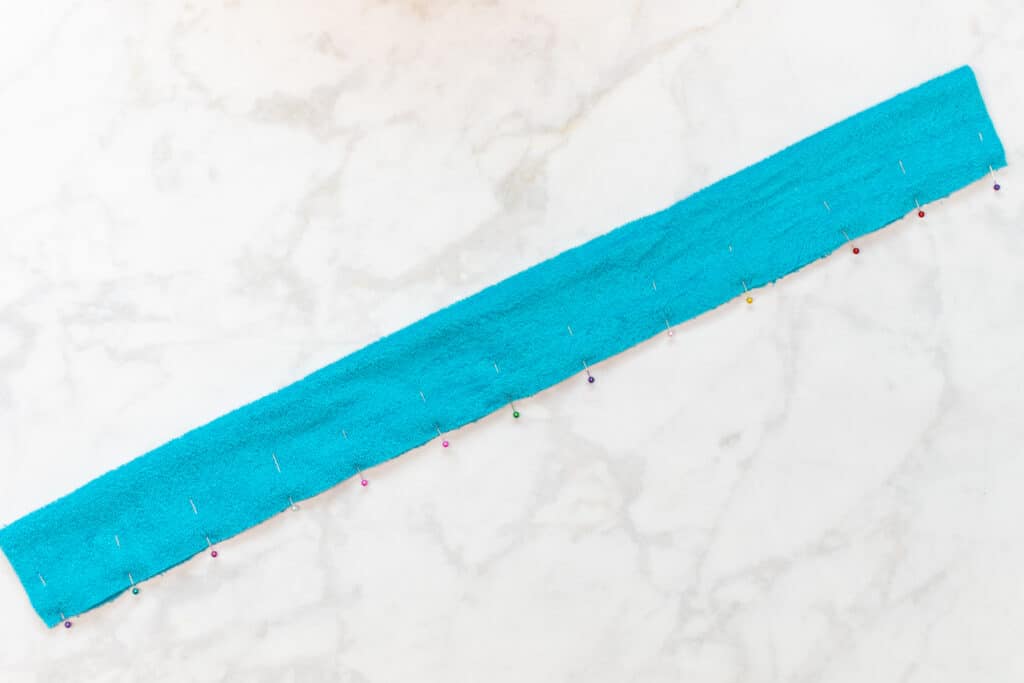
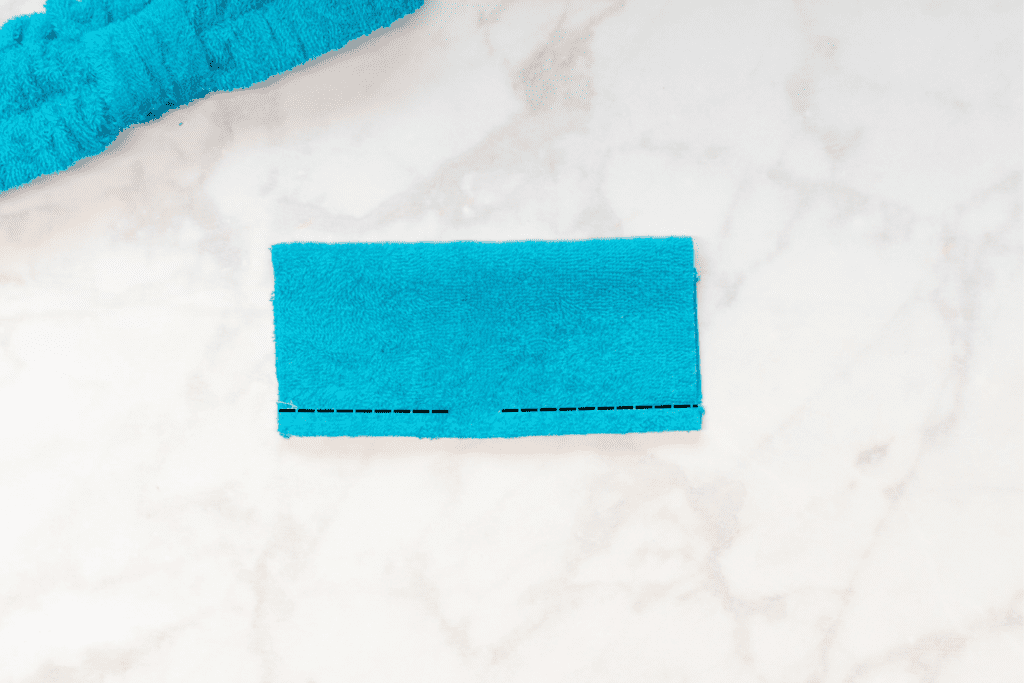
Sew the length of the long, pinned edge of the Main with a 3/8" seam allowance.
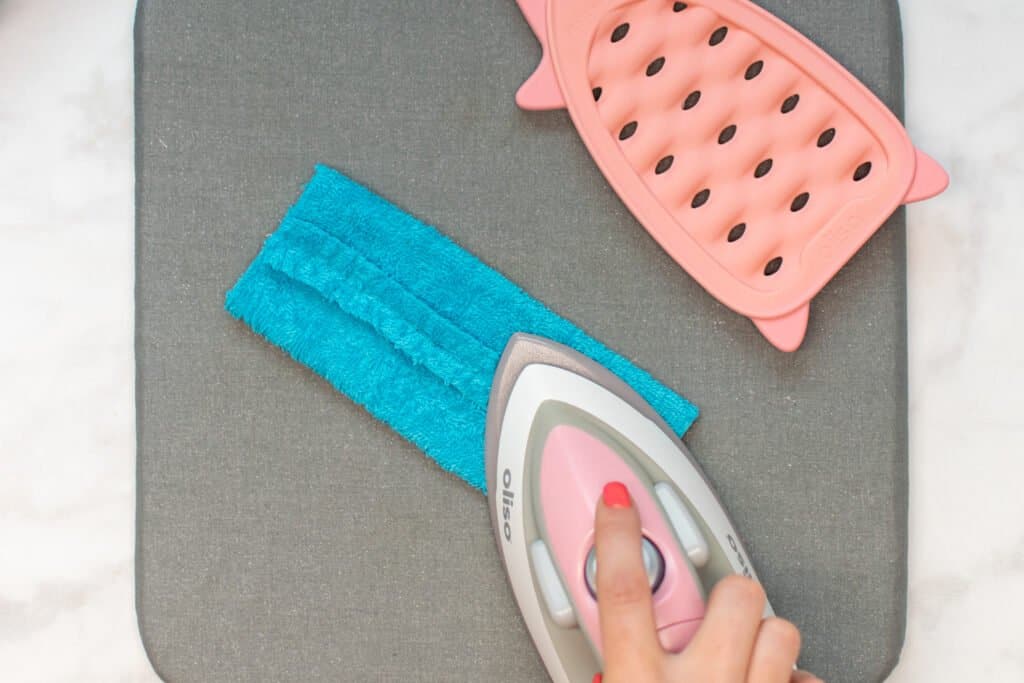
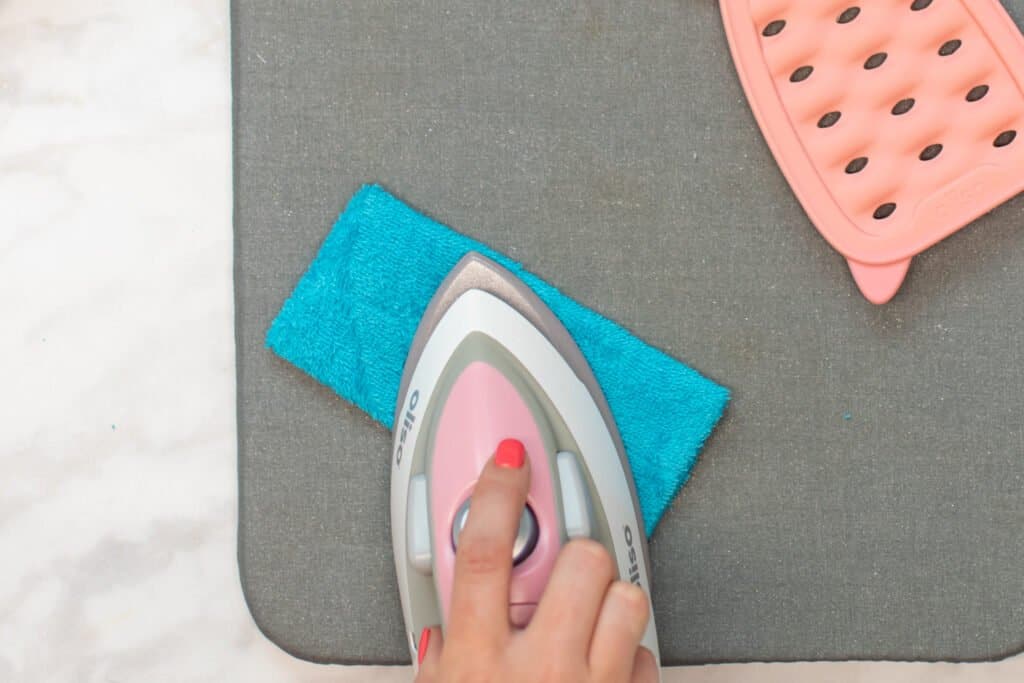
Press the seam allowance open.

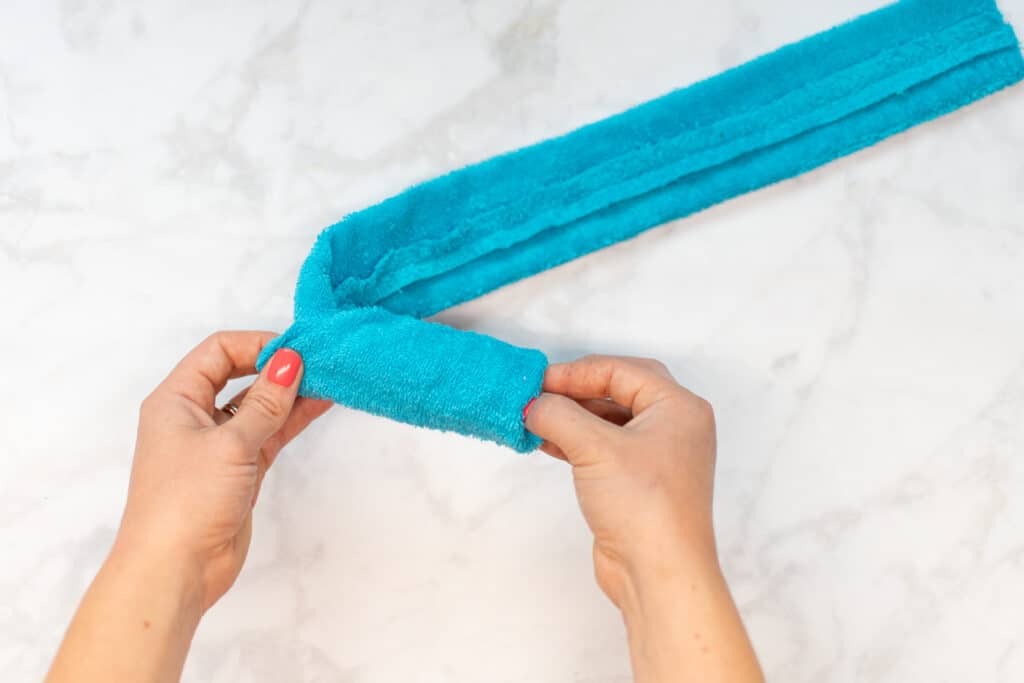
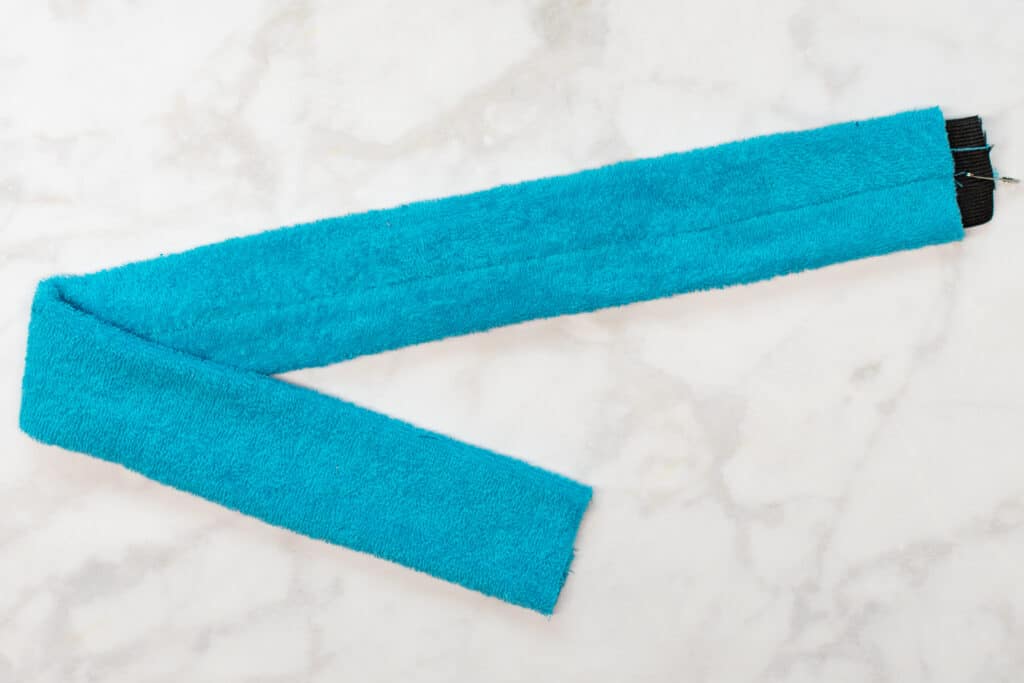
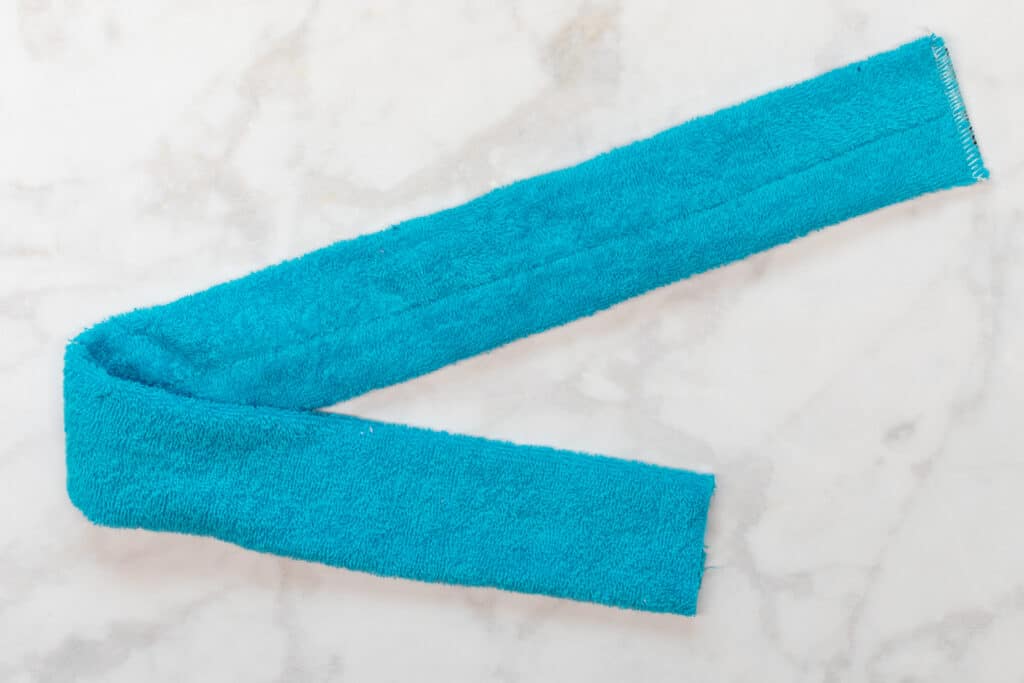
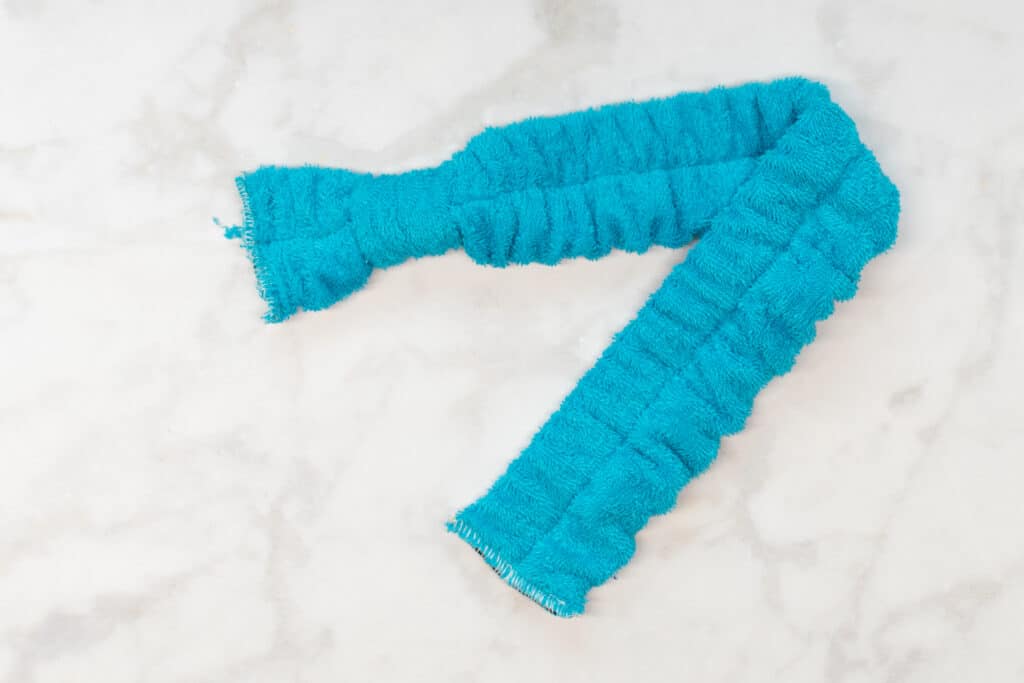
Turn the stitched Main piece right sides out.
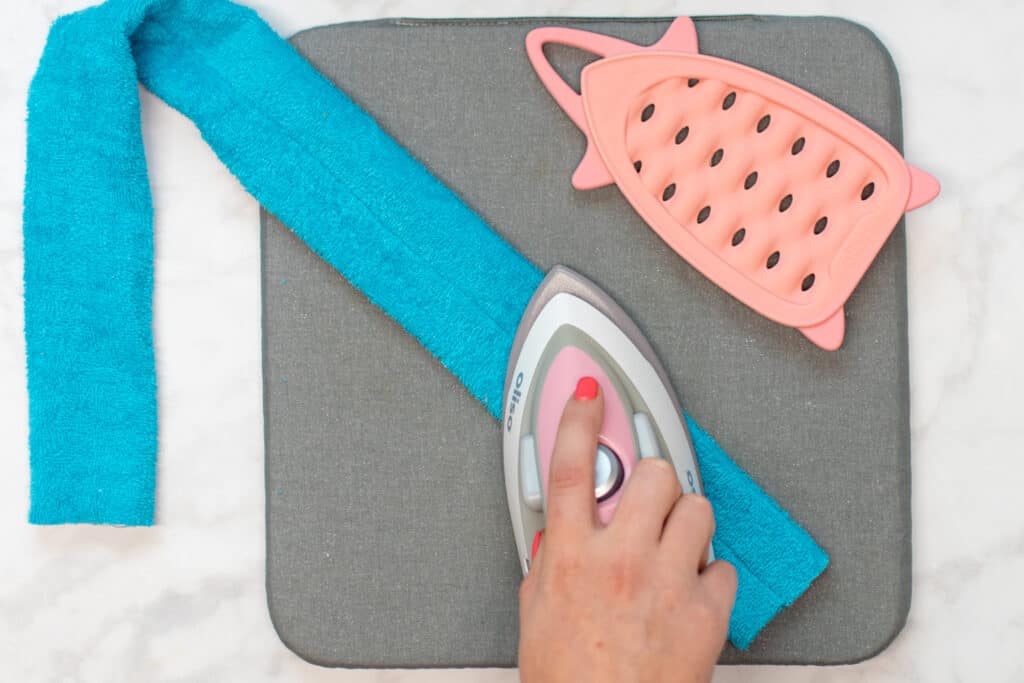
Then, press it flat, pressing the seam to the center of the headband. You can eyeball this or measure in from each edge to make sure the seam is exactly in the center.
Step 4: Insert the Elastic into the Casing
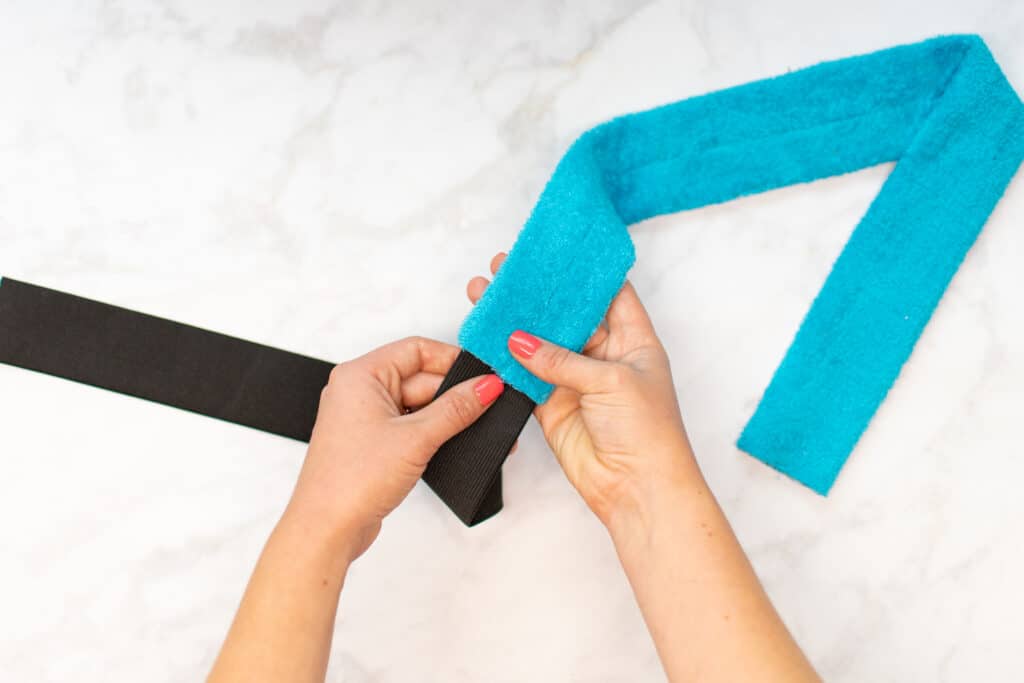
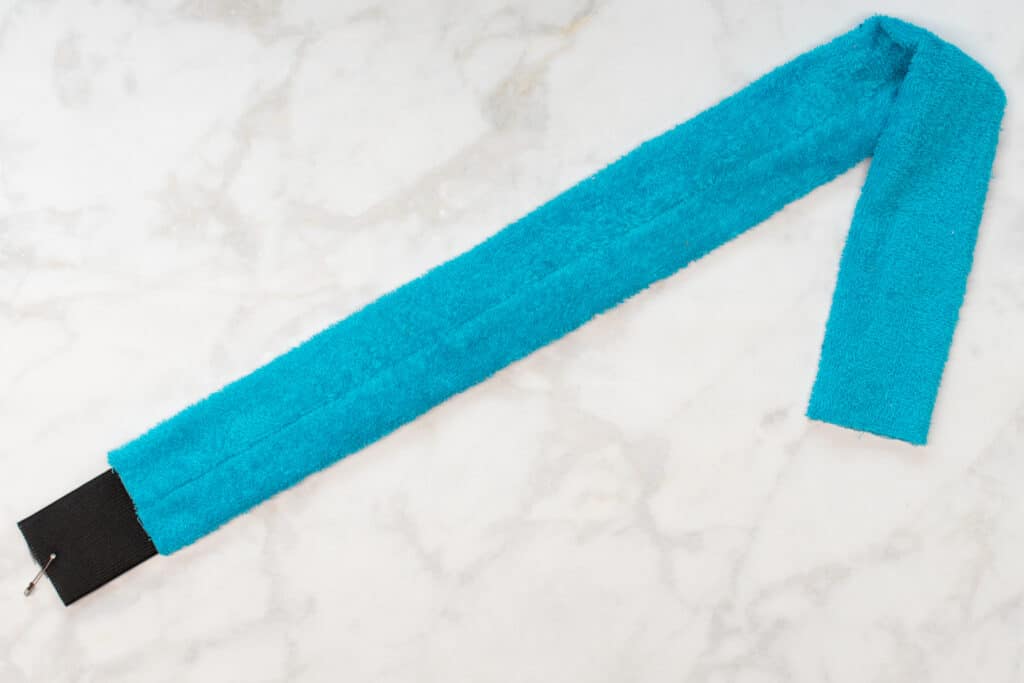
Your casing is now ready for the elastic. Start by attaching a safety pin to one end of your elastic.
*PRO TIP: If you have a loop turner, use that to easily pull the elastic through the headband. It's much faster than the safety pin method I'm showing you here!

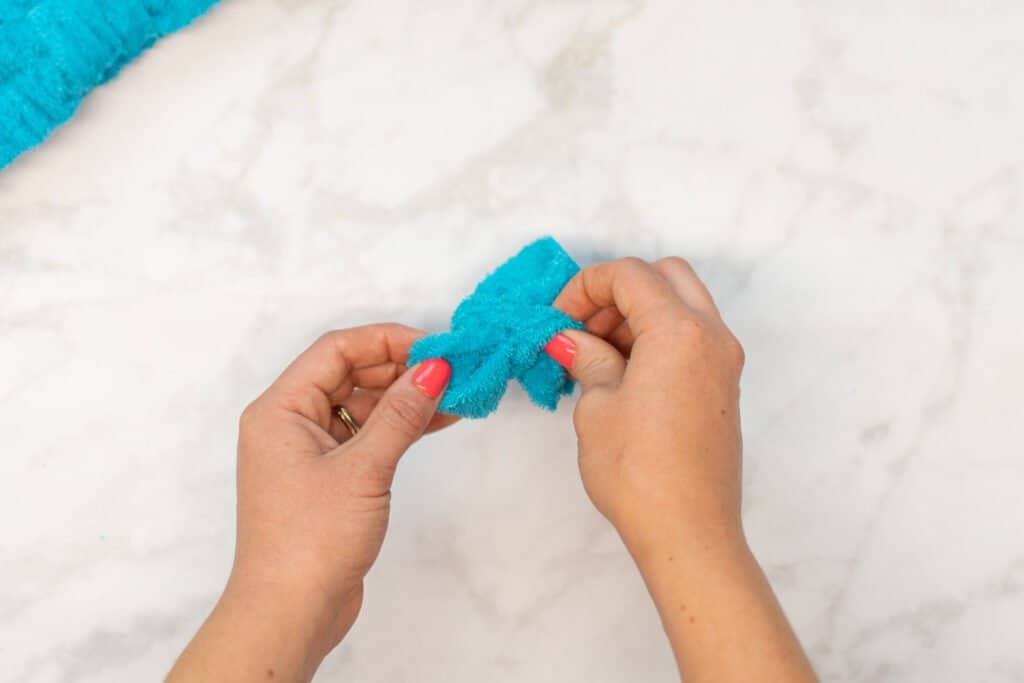
Push the safety pin end of the elastic into one end of the headband.
Next, slowly work the elastic further through the tube of fabric by pushing the fabric up over the safety pin, holding the safety pin in place with one hand, then pulling the fabric over the elastic with the other hand.
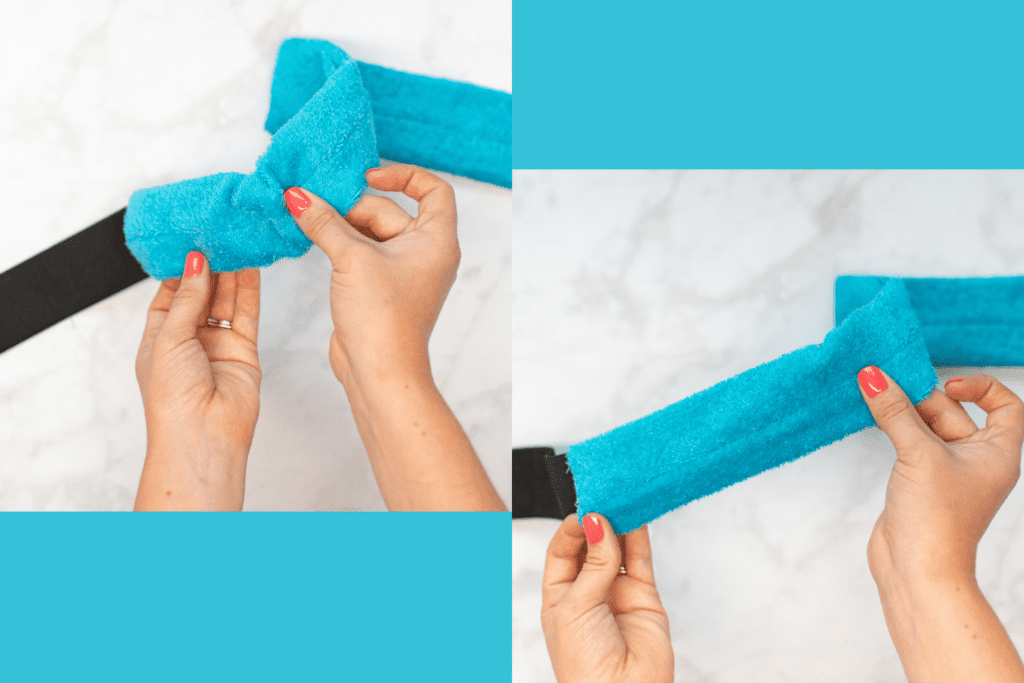
Continue this process until the non-safety pin end of the elastic is about to disappear into the fabric. Then, add a safety pin to that end.
Keep working the elastic through the tube until the first end reaches the far end of the fabric.
Remove the safety pin and pin this end of the elastic to the edge of the fabric.
Then, take the headband to your sewing machine and sew across the pinned short end with a 3/8 inch seam allowance to secure the elastic to the fabric.
*PRO TIP: I like to use my serger for this, but you can use either a straight stitch or a zigzag stitch on your sewing machine if you prefer.
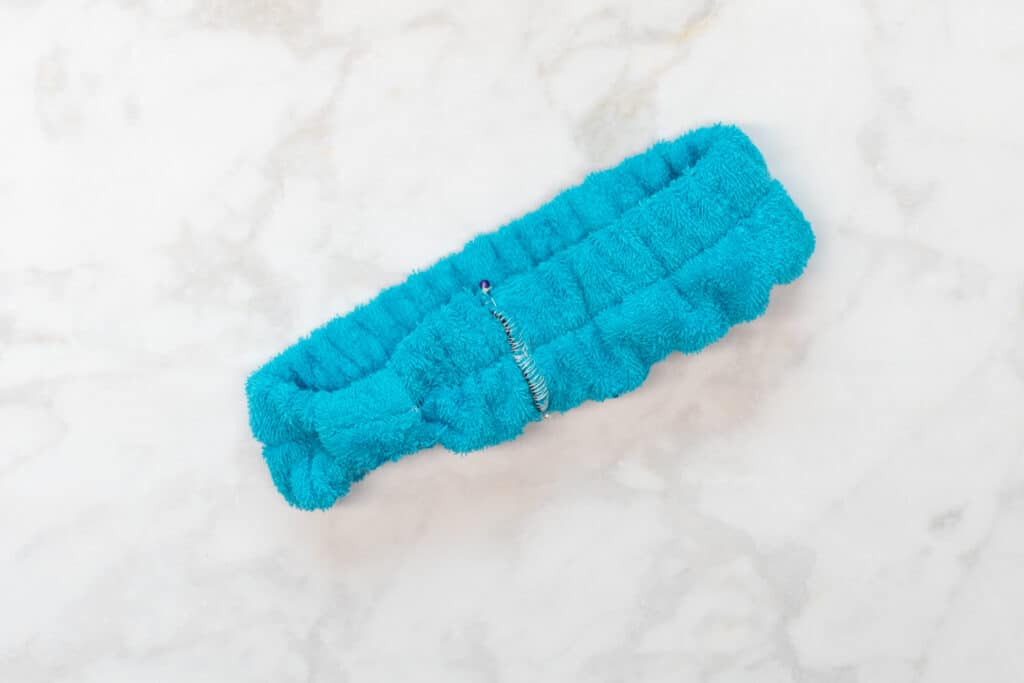
Next, use the second safety pin to work the second end of the elastic back through the tube to the other fabric end.
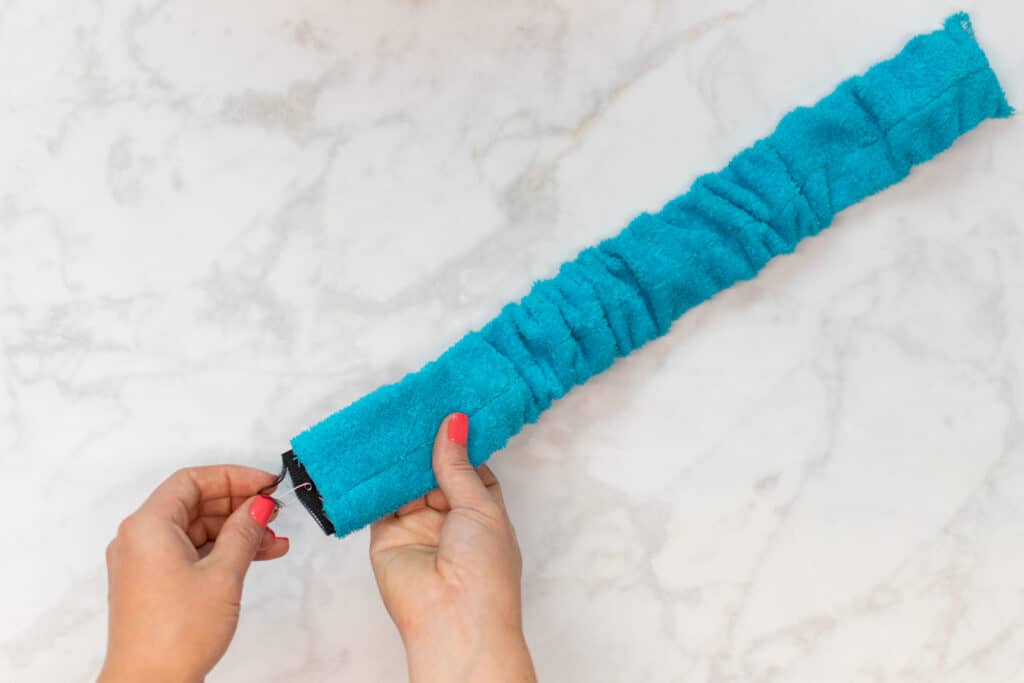
Remove the safety pin and pin this second elastic end to the fabric edge. The elastic is shorter than the fabric, so the fabric will bunch up in the center over the elastic.

Sew across the second fabric/elastic end the same way you sewed the first end.
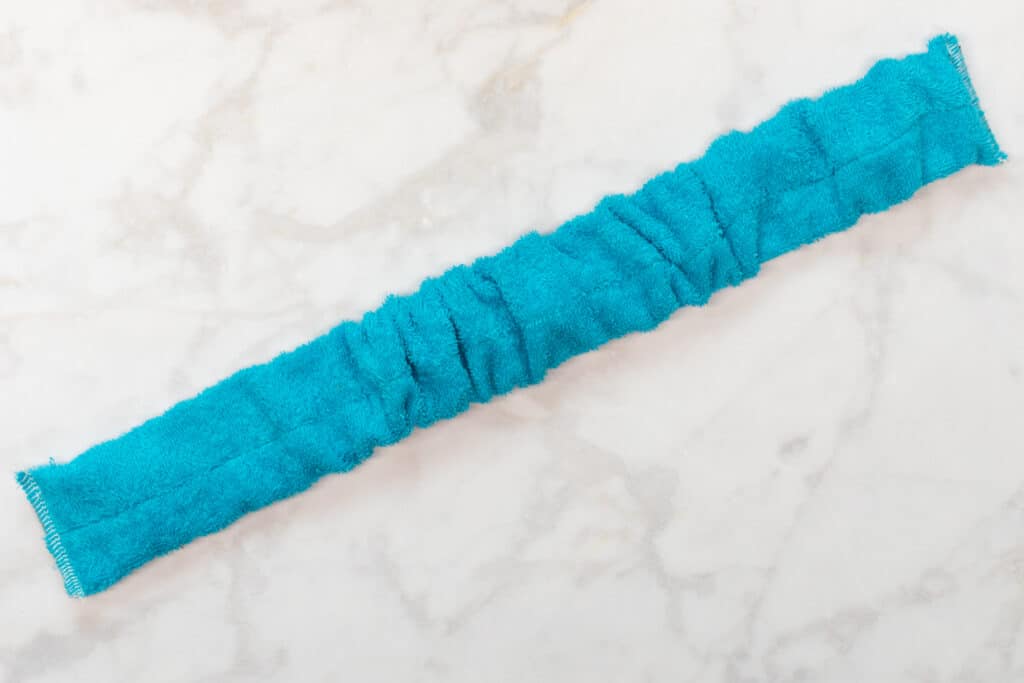
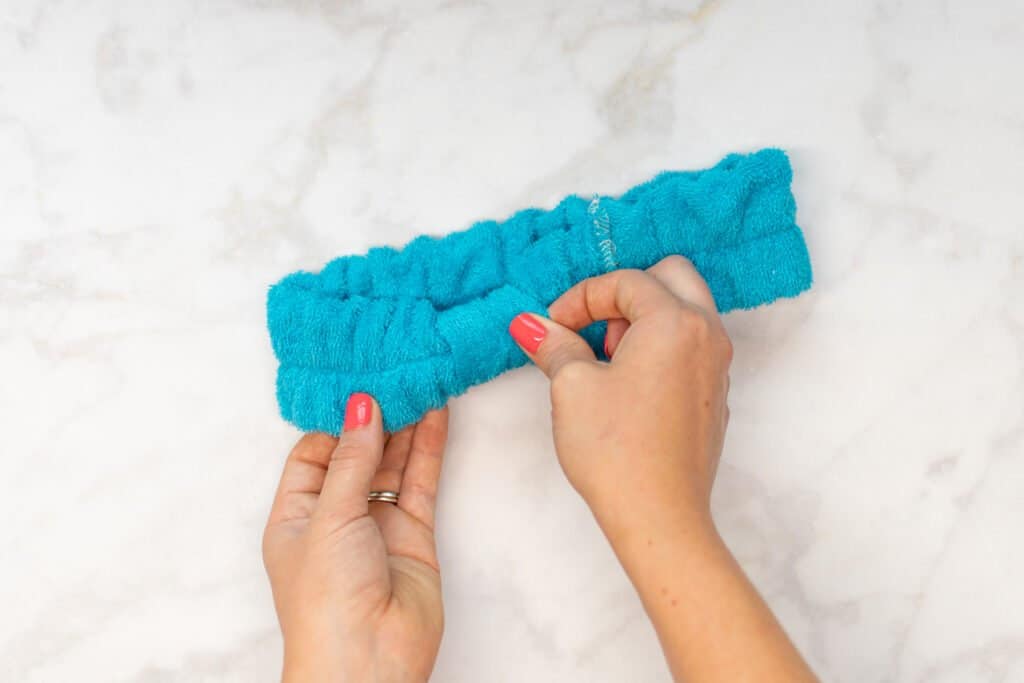
Finally, stretch the elastic to its maximum stretch length, then release it to even out the gathers across the headband.
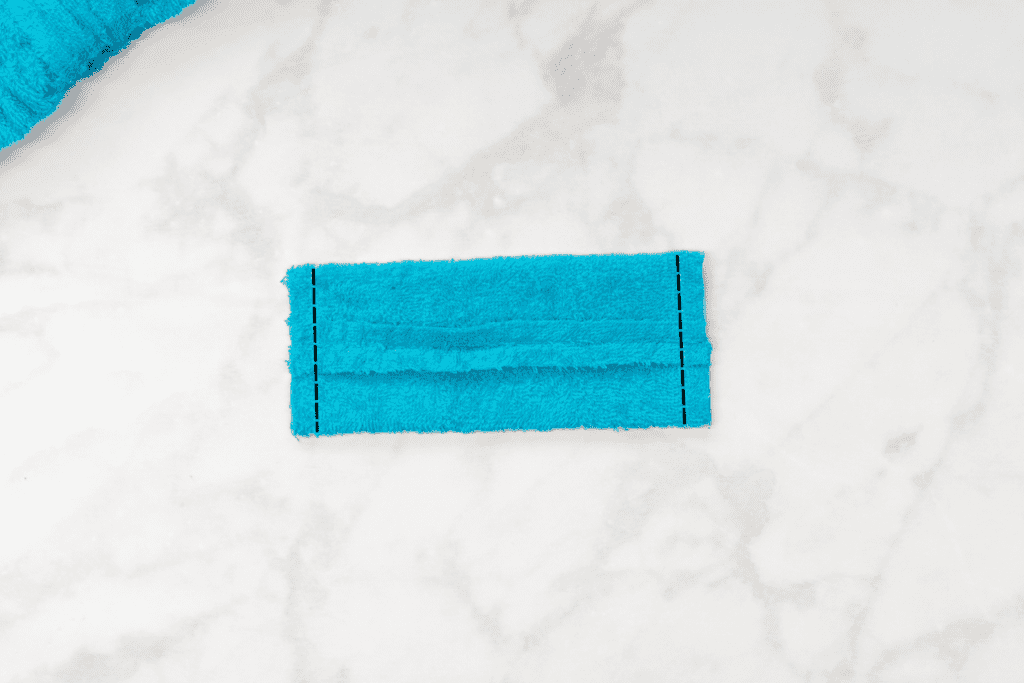
Step 5: Topstitch the Center
Next, you'll need to sew a line of topstitching down the middle of the casing, following the center seam on the back as your guide.
Take the headband to your sewing machine and set your machine to a regular straight stitch. Then, begin sewing down the center seam, backstitching at the beginning. Stop after about half an inch of fabric is emerging from the back of the presser foot.
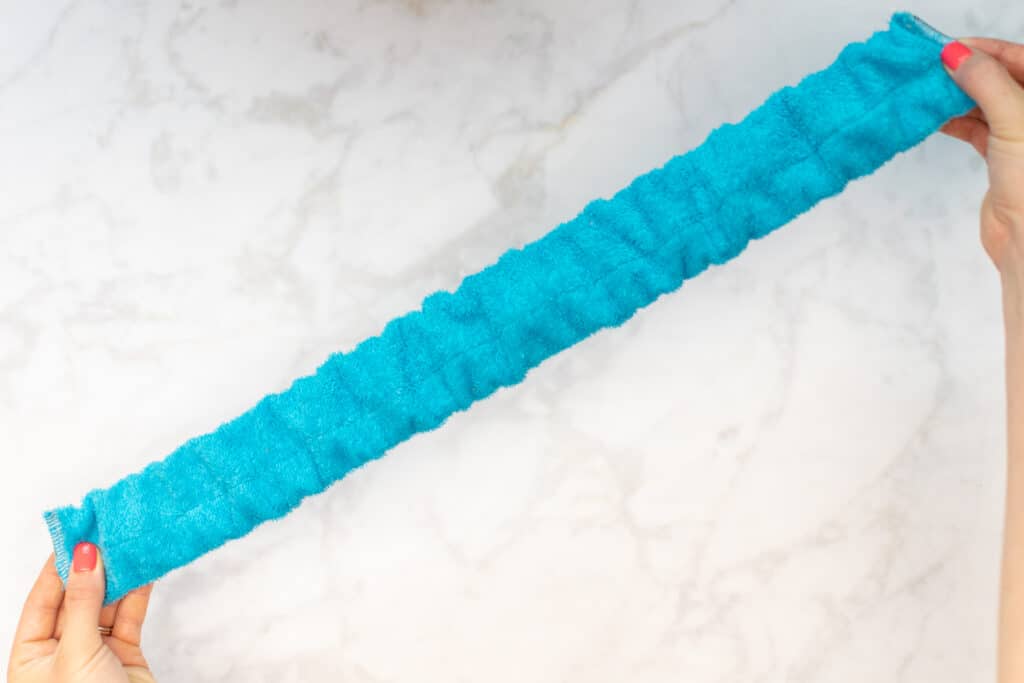
Next, stretch the elastic from both behind and in front of the presser foot as you continue sewing down the center seam. This will make the fabric lay flat in front of the needle as you sew.
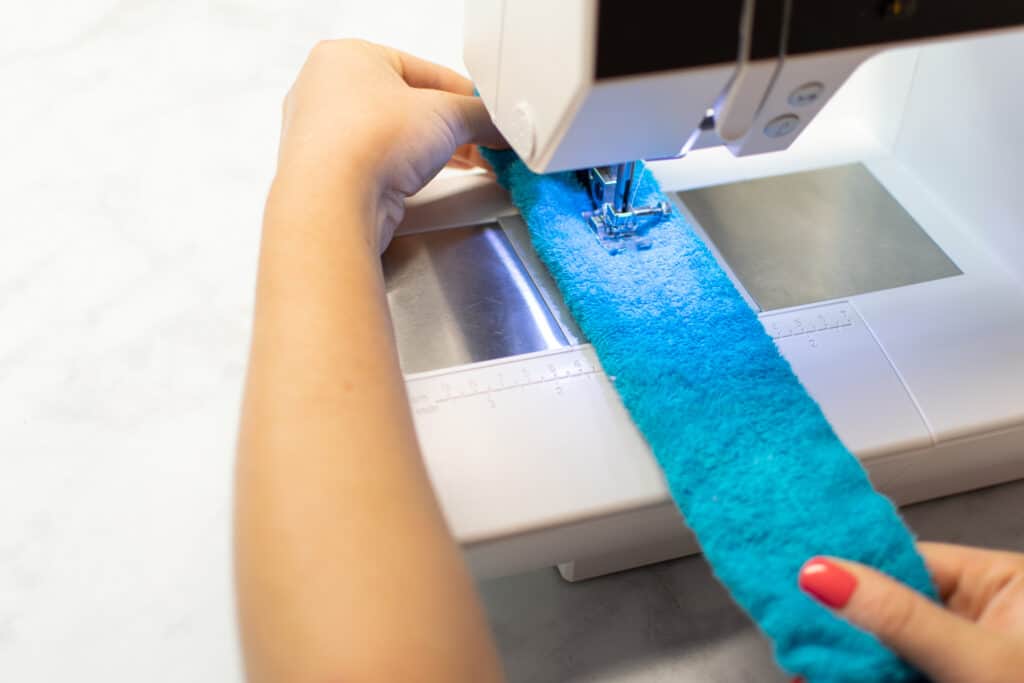
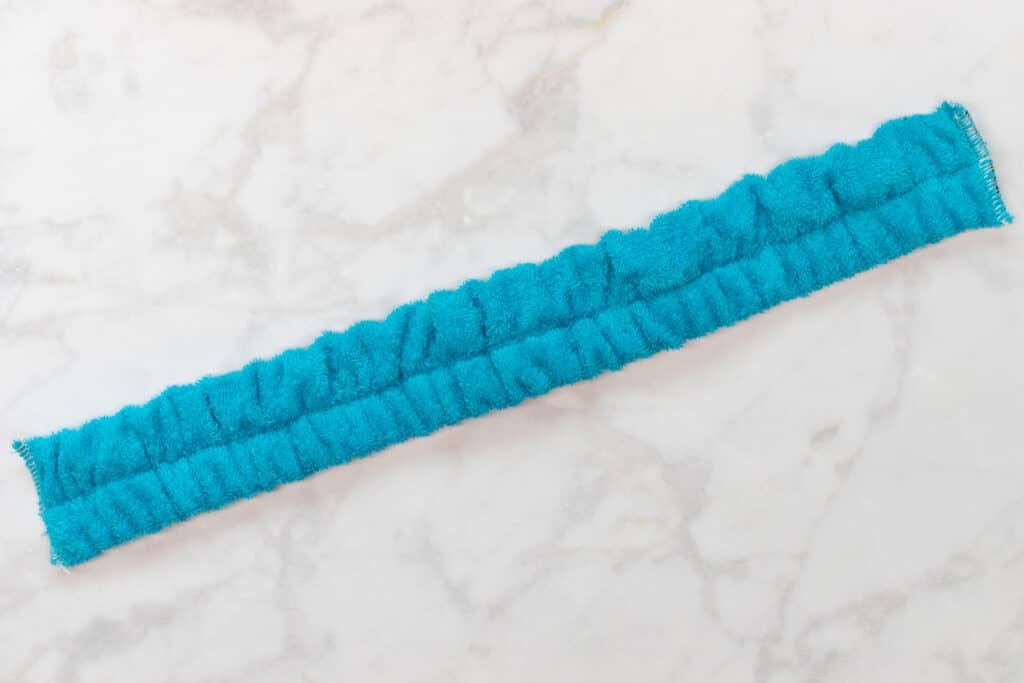
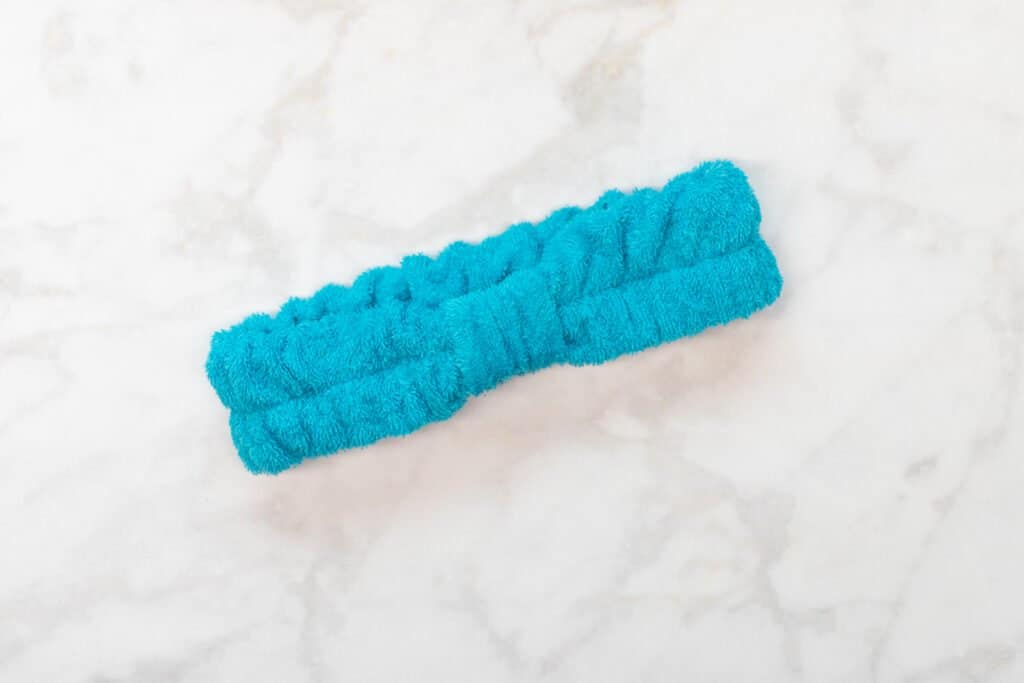
At the far end, backstitch and trim your thread tails. Once released from stretching, the headband will form nice, even gathers and will have a beautiful line of stitching down the center. This stitching will also help to keep your elastic in place as you wash and wear the headband.
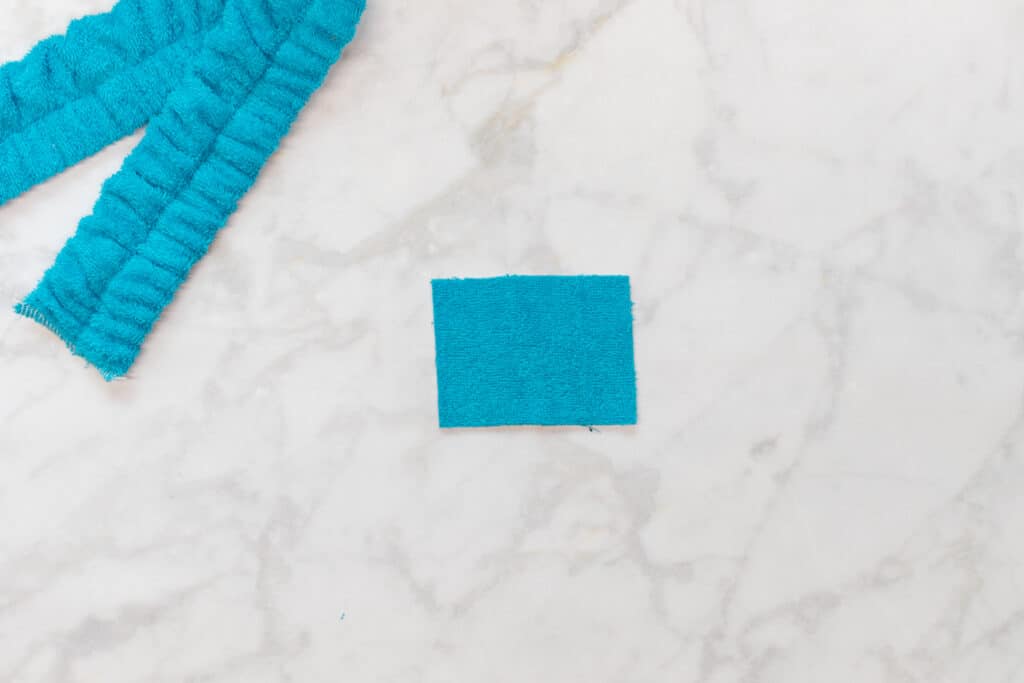
Step 6: Create the Loop and Attach it to the Headband
The next step is to create the loop that will form the center of the bow. Grab the Middle piece - this will become our loop.
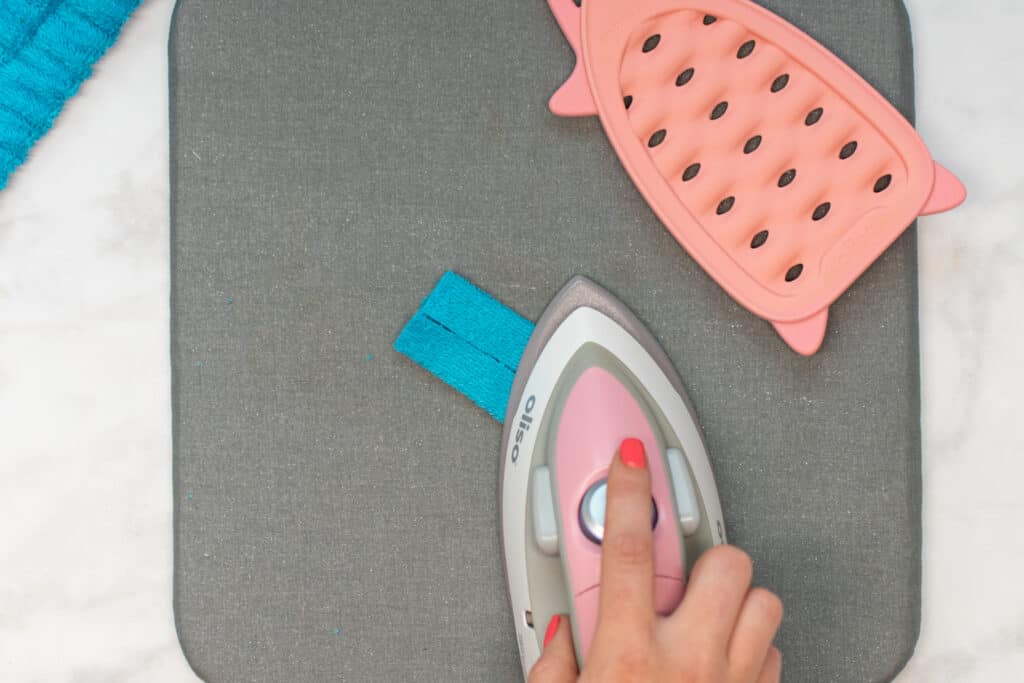
Fold the Middle piece in half lengthwise with wrong sides together and press.
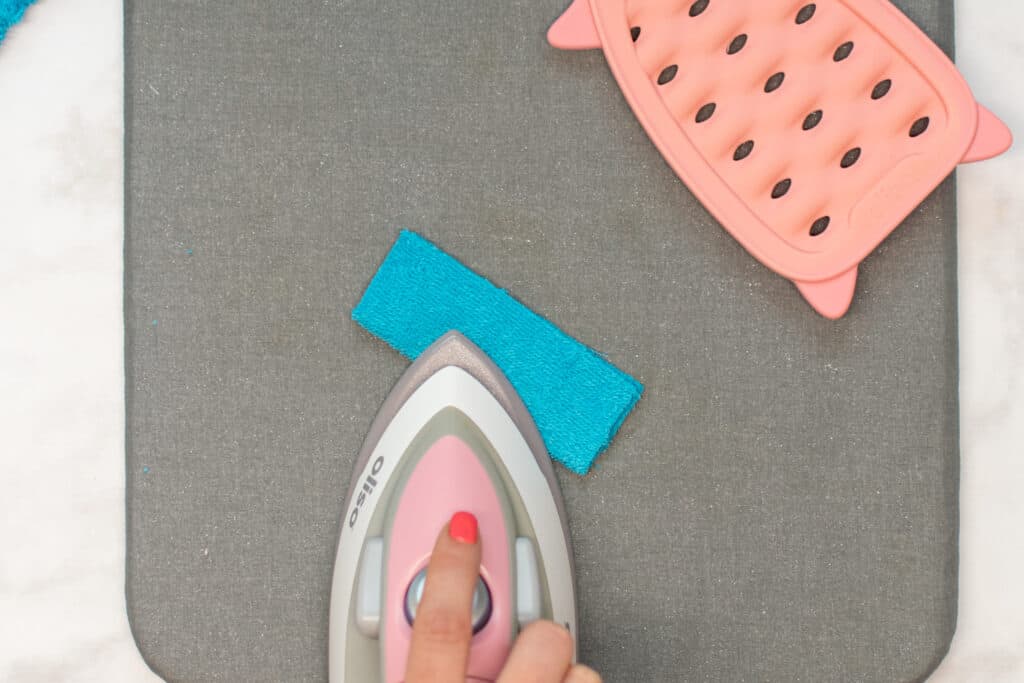
Unfold the Middle, then fold the long edges to the wrong side so that they meet up at the center crease. Press well.
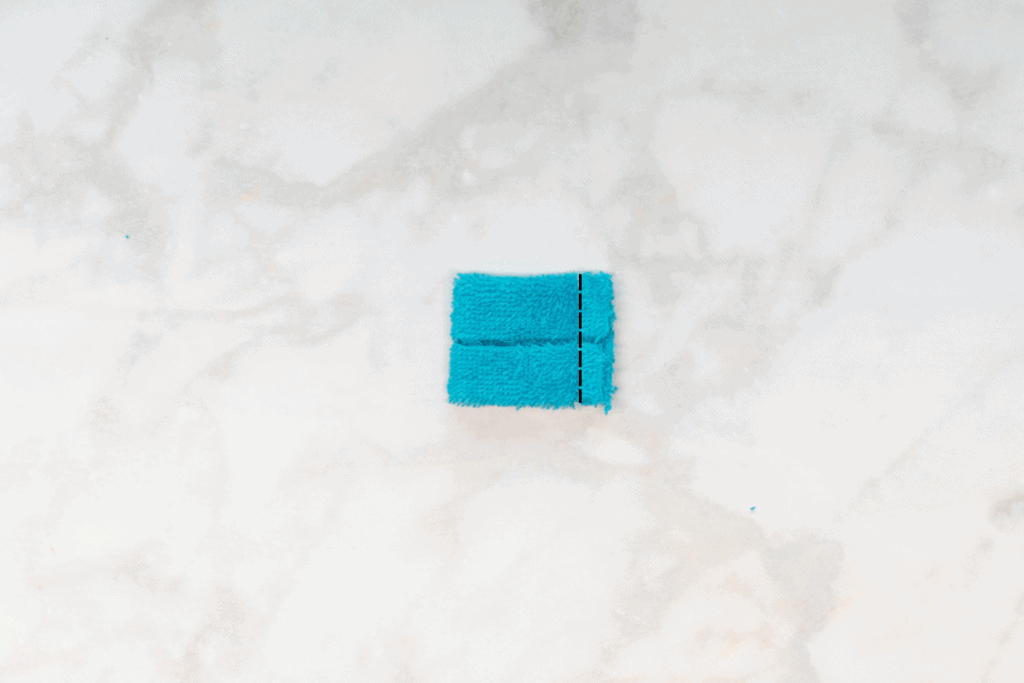
Fold the pressed middle piece in half short-ways with right sides together. Pin the short ends together.
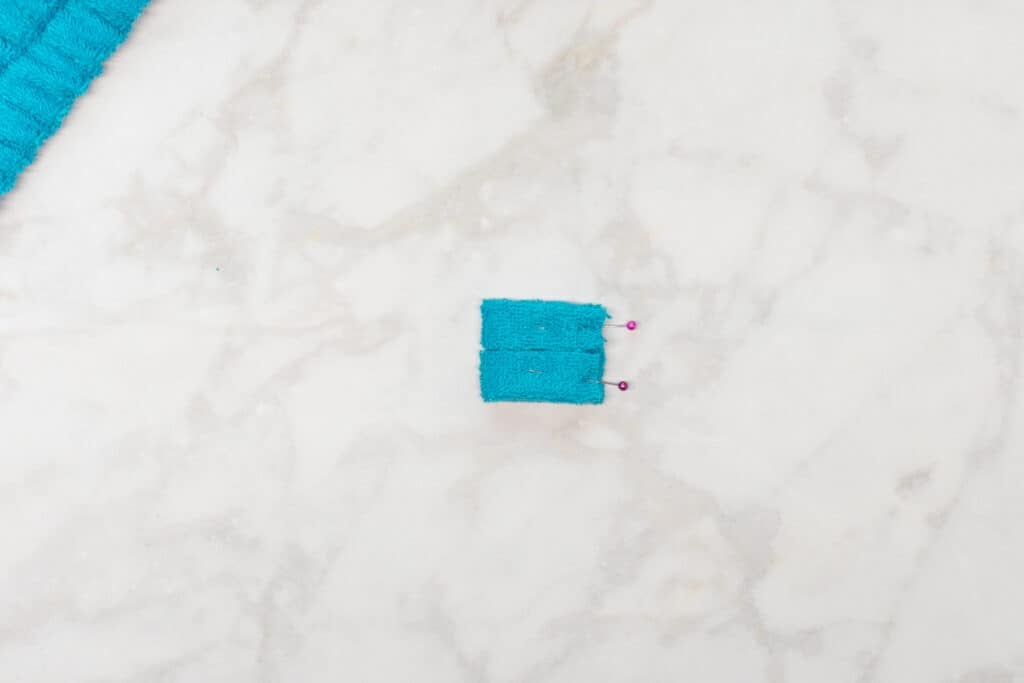
Sew the short ends together with a 3/8" seam allowance.
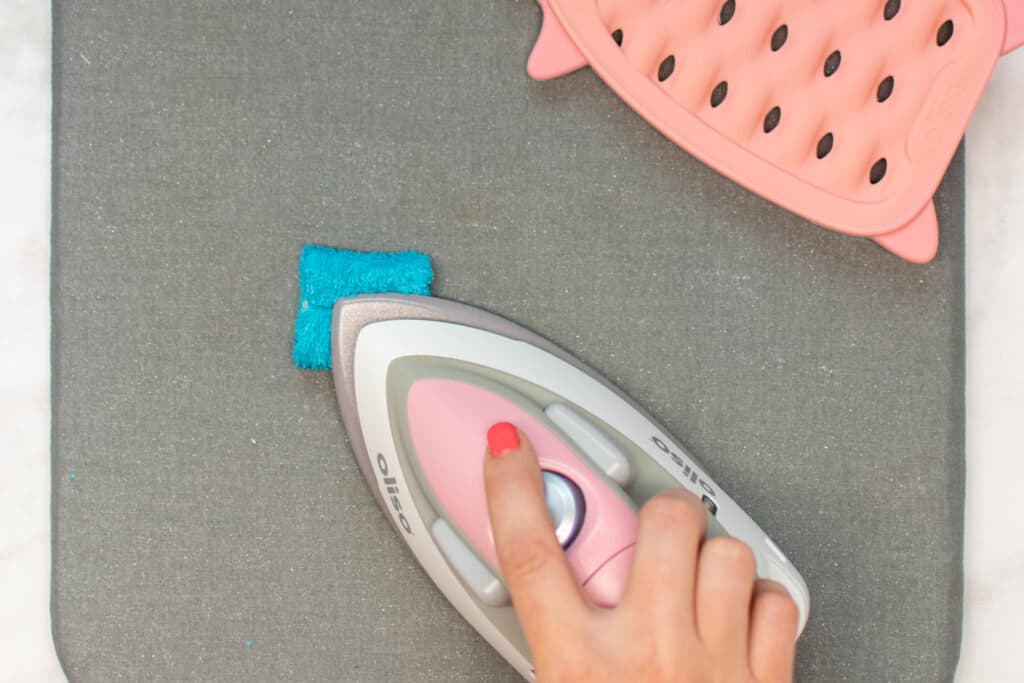
Turn the loop right sides out and press it flat.
Then, slide the finished loop onto one end of the headband, sliding it just a couple of inches in from the end.
*PRO TIP: The loop is much smaller than the width of the headband, so it can take some effort to get it squished onto the headband. But if you take your time and work it onto the headband slowly, you'll get it!
Next, overlap the ends of the headband by approximately 1/4 inch and pin them together.
Sew a straight stitch down the center of the overlapped ends of the headband to secure them together.

Finally, slide the loop along the headband to center it over the overlapped and stitched ends of the headband. Again, take your time to work the loop into place!
Step 7: Create the Bow and Finish the Headband
The final step is to create the cute little bow that will go under the loop on the headband.
First, fold the Bow piece in half lengthwise with right sides together. Pin these edges together.
Next, sew the pinned edge of the bow piece, leaving an approximately 1-inch long opening in the middle.
Press the seam allowances open, pressing the seam to the center of one side of the bow.
Pin each of the short ends closed.
Stitch both short ends with a 3/8" seam allowance.
Next, trim away the corners of the seam allowance close to the stitching to reduce bulk. This will help you to get nice, sharp corners.

Turn the bow right sides out through the 1" opening you left in the long, center seam.
Press the bow flat with your iron.
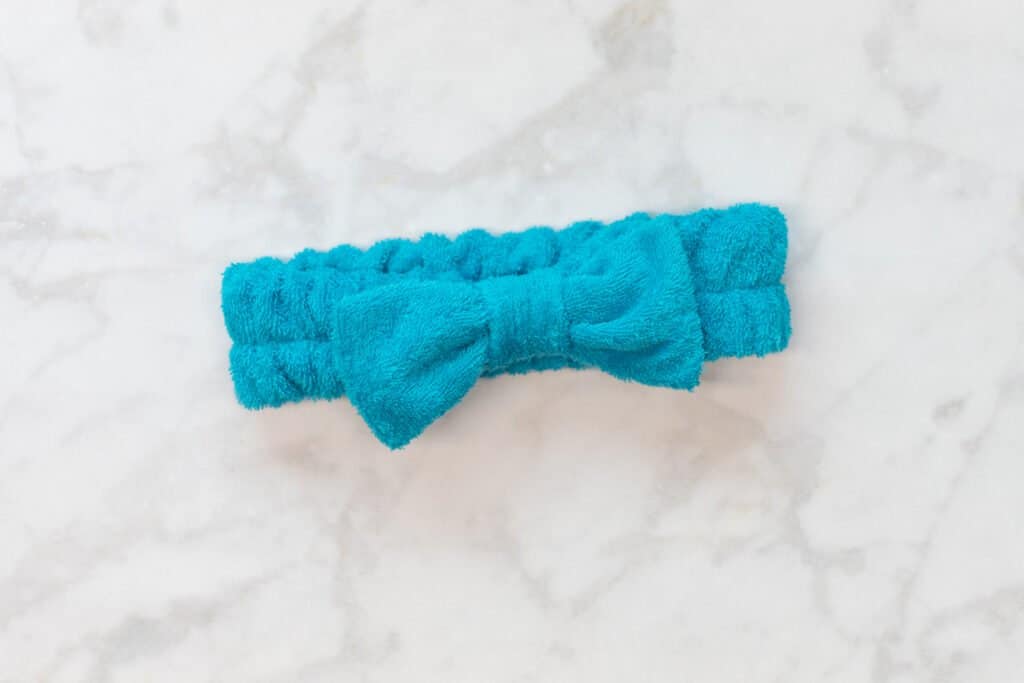
Finally, insert the bow, seam side down, into the loop so that there is an even amount of fabric on both sides. It will be tight to fit the fabric of the bow under the loop, but take your time and adjust until you're happy with how it looks.
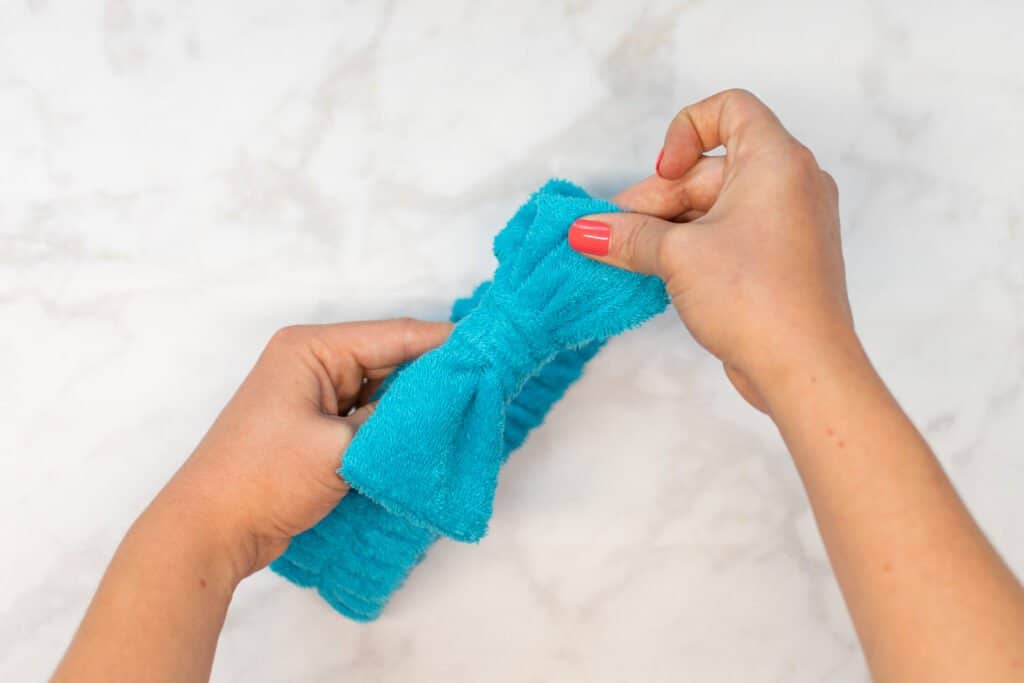
*Optional: I find that the loop usually keeps the bow tightly in place, but if you prefer, you can add fabric glue to the center of bow to keep it in place.
Looking for more free sewing patterns and tutorials? Try one of the patterns below!
- How to Sew Fabric Storage Bins
- Tote Bag Sewing Pattern
- Free Reversible Bucket Hat Sewing Pattern
- How to Sew an Easy Dolman T-Shirt

Did you make your own facial headband? Post a picture on Instagram with the hashtag #sweetredpoppy - I would love to see how it turned out!

Don't forget to join my Facebook group where you can show us what you're making, ask questions, and learn from others.
Don't want to forget about this project? Click here to save this post to Pinterest!

How do I print the directions? I down loaded and printed the pattern but i can’t get the directions to print with the photos.
Love this! Easy instructions and enjoyed making. Will be making more!
I would also like to know how to print the directions