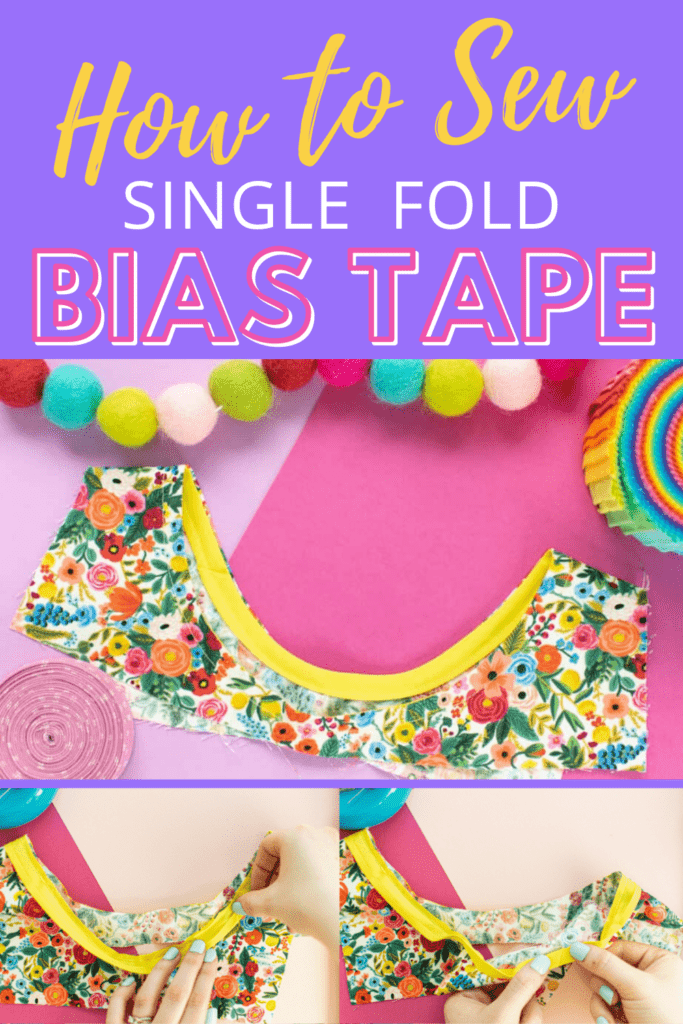
Learn How to Sew Single Fold Bias Tape Along a Curved Neckline
Single fold bias tape is a great way to finish the raw edges of necklines and armholes of tops and dresses. Facings can be bulky and they just never seem to stay flat - bias tape is a great alternative!

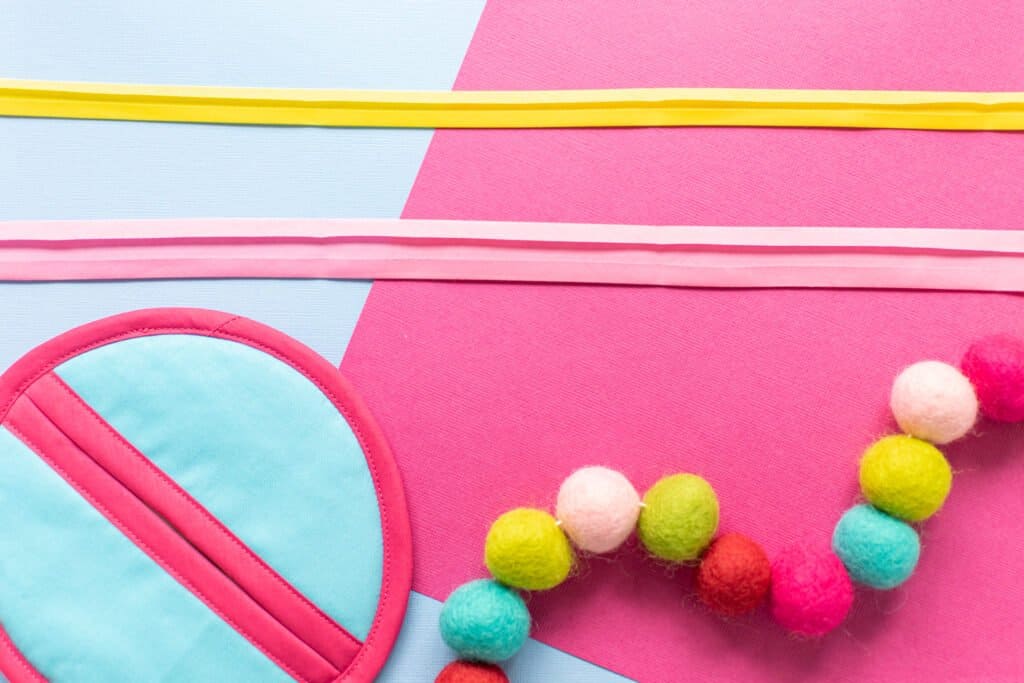
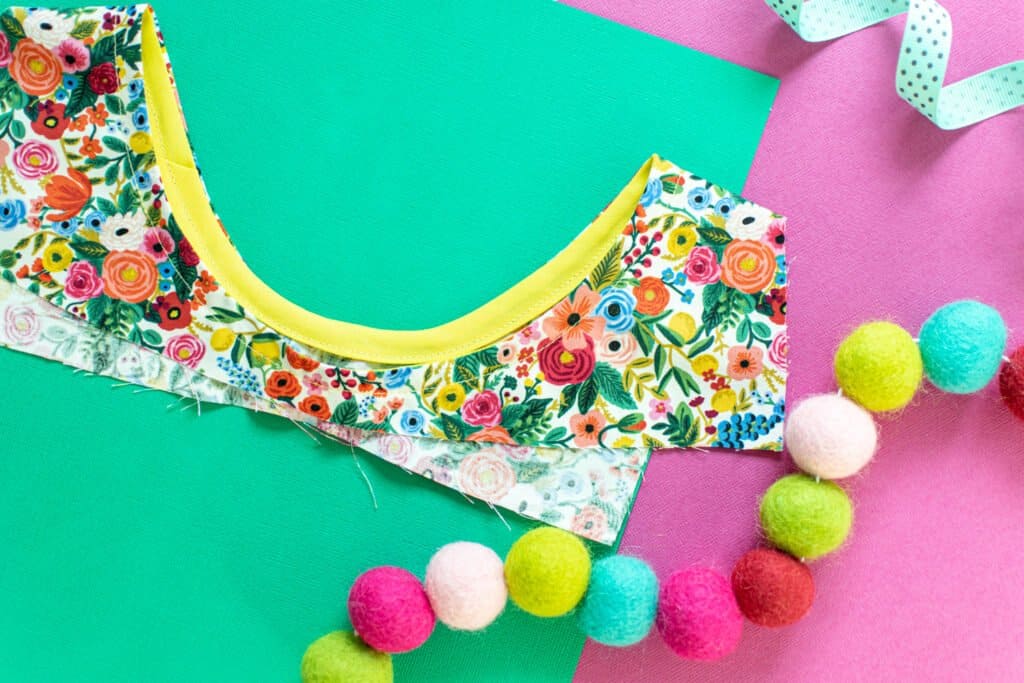
Finishing a neckline or armhole with bias tape will give your project a beautiful finish and a fun pop of color!
Table of Contents
What is Bias Tape?
If you've never worked with bias tape before, let's start with a quick overview of the basics. If you're looking for more detailed information on what bias tape is and different ways to use it, check out this post.
Bias tape is a narrow strip of fabric that is cut from a fabric on the bias. The bias of a fabric runs at a 45-degree angle to the grain and selvage edges.
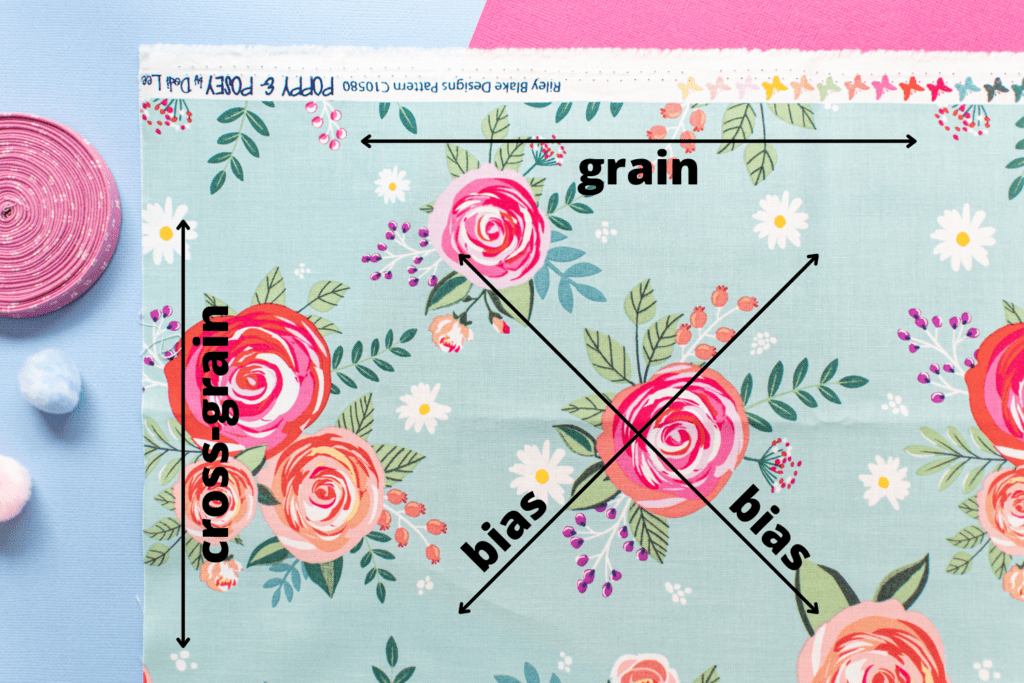
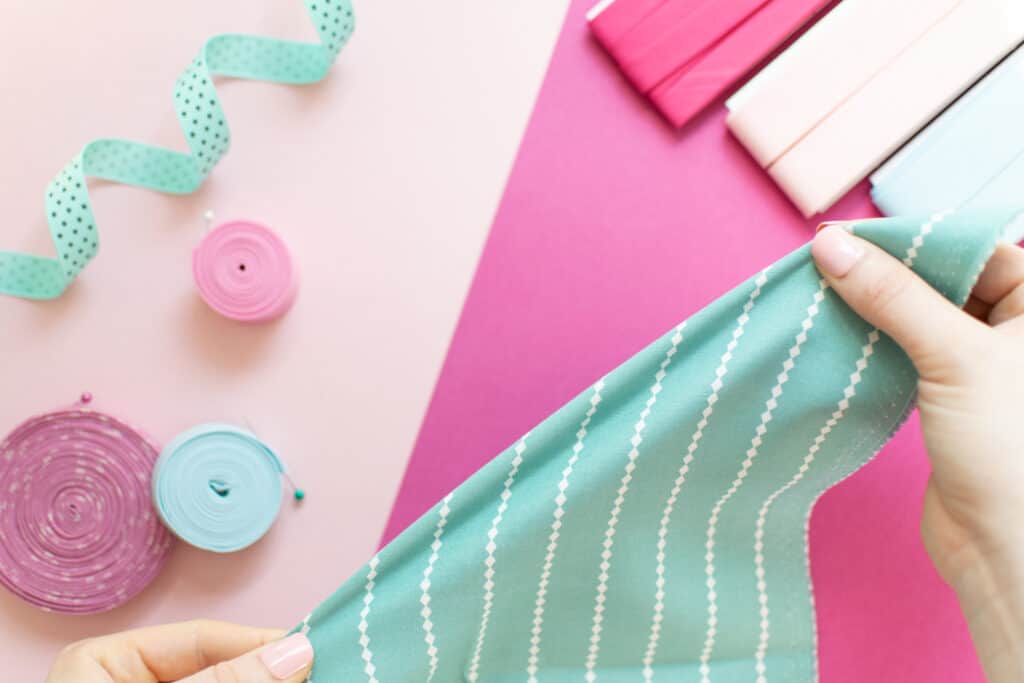
Woven fabrics have some give and stretch on the bias, making bias tape great for forming to curves.
*NOTE: Knit fabrics are made differently than wovens. They have the most stretch on the cross-grain, not the bias. So, if you want to bind an edge of a knit garment, it's best to cut your bindings on the cross-grain.
There are two main types of bias tape - single fold bias tape and double fold bias tape.
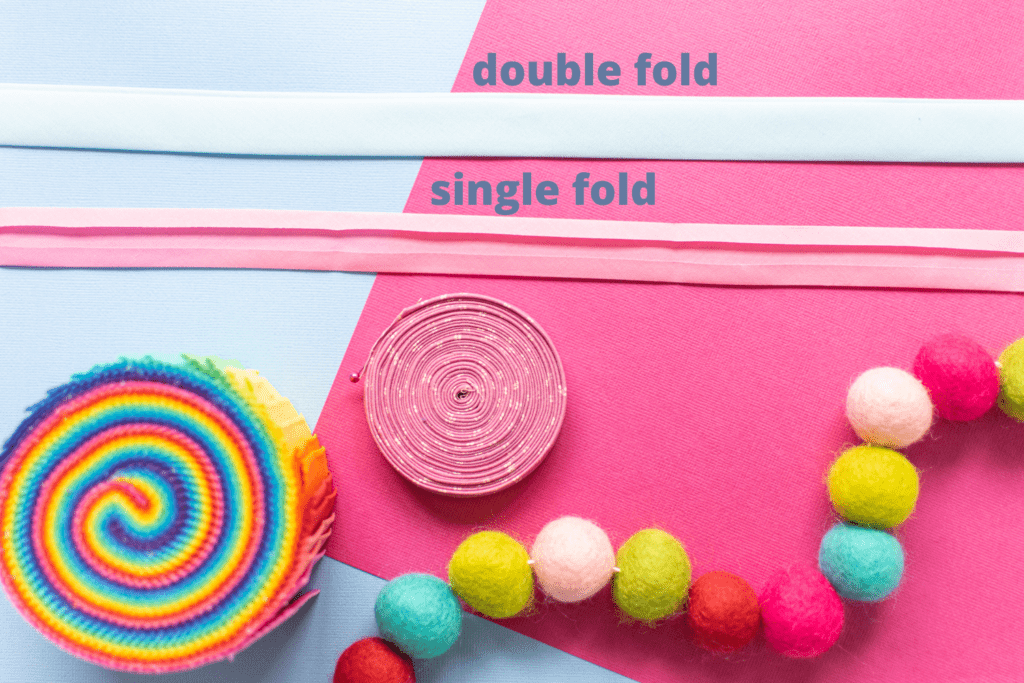
Single Fold Bias Tape vs. Double Fold Bias Tape
The long edges of single fold bias tape are folded to the wrong side once, so that they meet near the middle. This type of bias tape is usually used as an alternative to a facing, folded all the way to the wrong side of a project.
Double fold bias tape is simply single fold bias tape, folded in half lengthwise one more time. Double fold tape is usually used to sandwich the raw edges of a project. This creates a beautiful contrasting binding.
Learn how to sew double fold bias tape with this step-by-step tutorial.
How to Sew Single Fold Bias Tape
In this tutorial, I'm sharing how to sew single fold bias tape as an alternative to a facing on a project. It's a great way to finish necklines and armholes on tops and dresses!
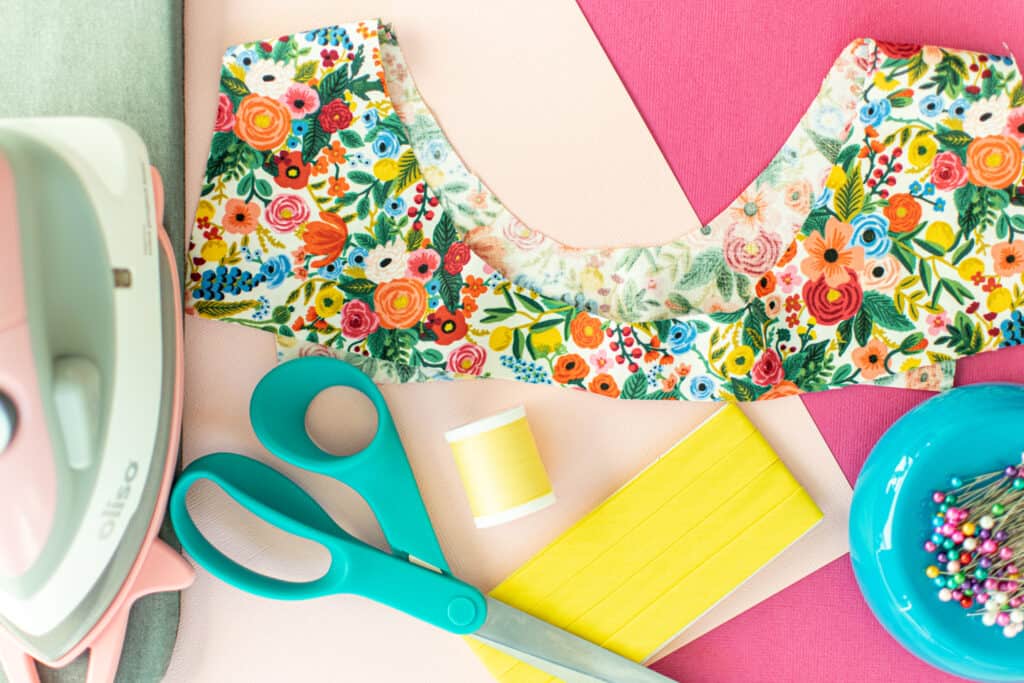
Supplies
Here are the supplies you’ll need to use single fold bias tape to finish an edge.
- Single Fold Bias Tape (make your own here)
- Rotary Cutter
- Rotary Cutting Mat
- Pins
- Thread
- Sewing Machine Needle
- Sewing Machine
- Iron
- Ironing Mat
- Fabric Pen
- Project with Unfinished Edges
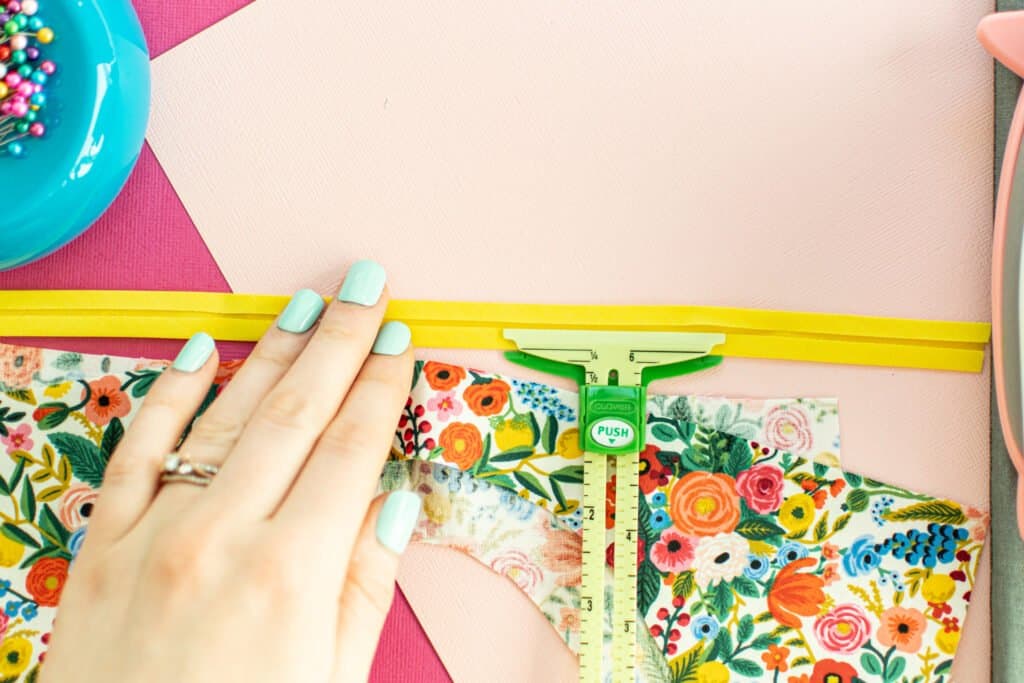
Step 1: Check Your Seam Allowance
First, you’ll need to make sure that the seam allowance on your project matches the seam allowance on your bias tape. The seam allowance of the bias tape will be the distance from one of the raw edges of the tape to the closest fold – I like to measure this with a seam gauge before starting.
Next, cut down the seam allowance on the edge of your project to the seam allowance of your bias tape. For example, if your bias tape seam allowance is ¼ inch and your project has a seam allowance of ⅝ inch built in, you’ll need to trim away ⅜ inch from the edge of your project (⅝ inch minus ¼ inch).
Step 2: First Pass of Stitching
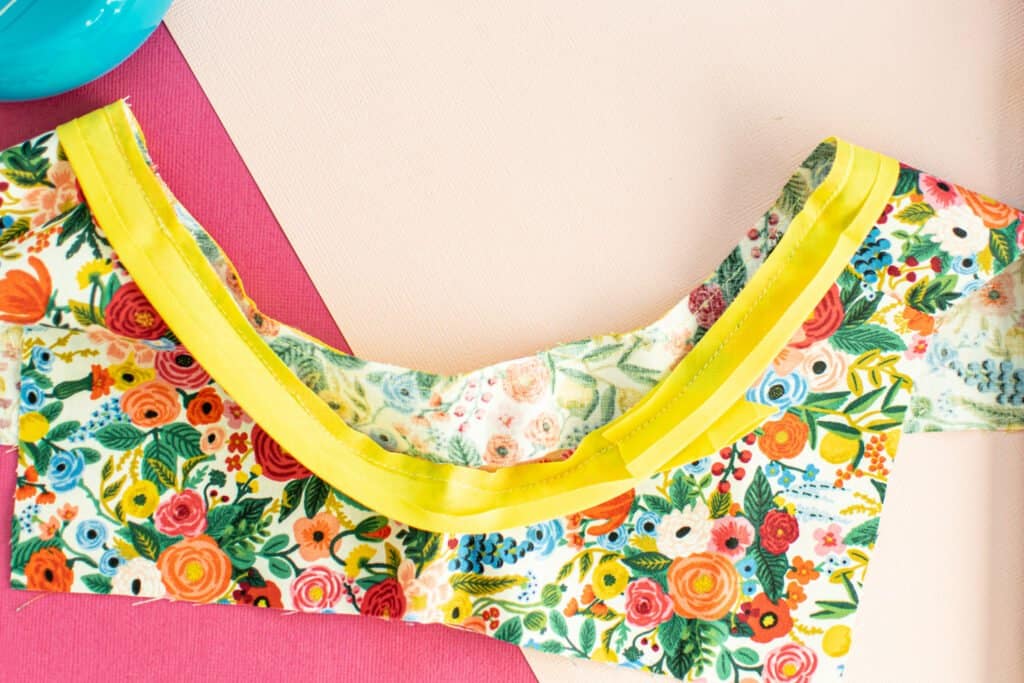
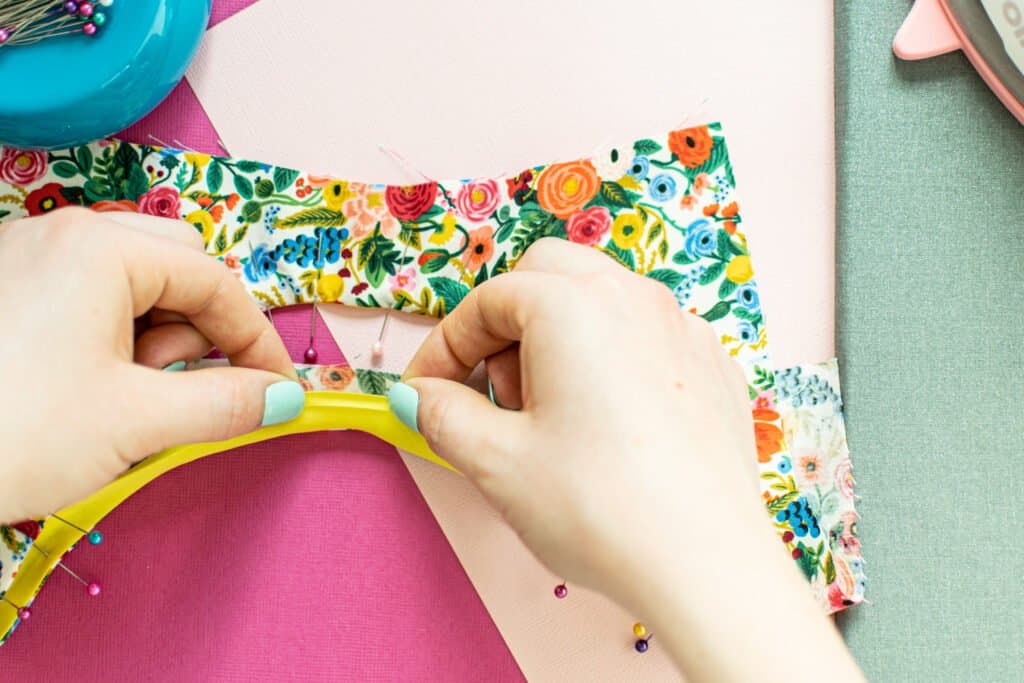
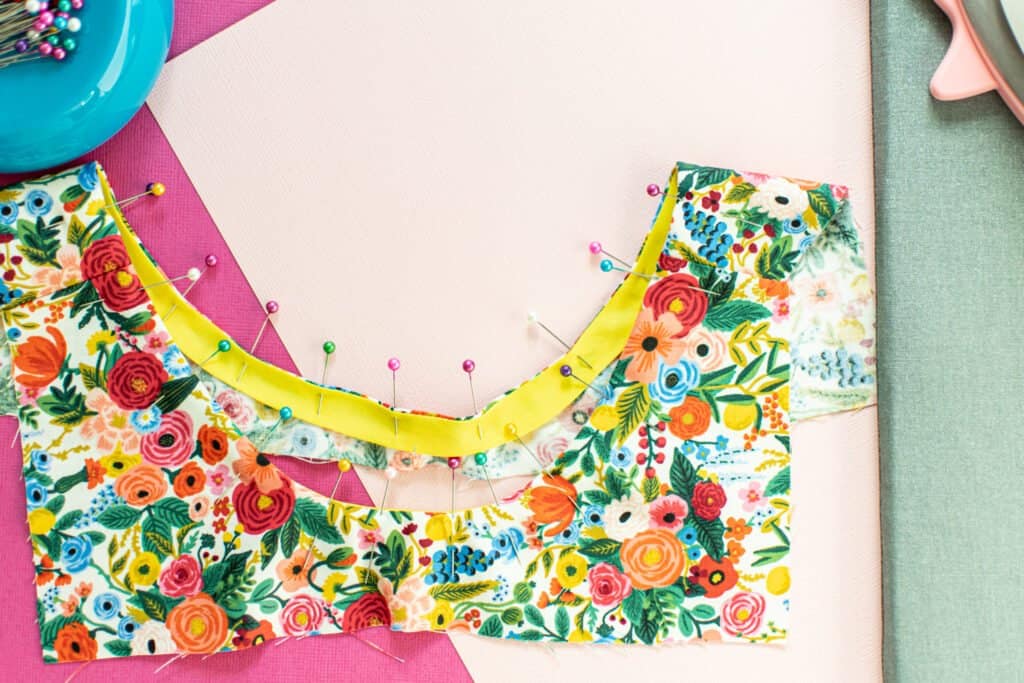
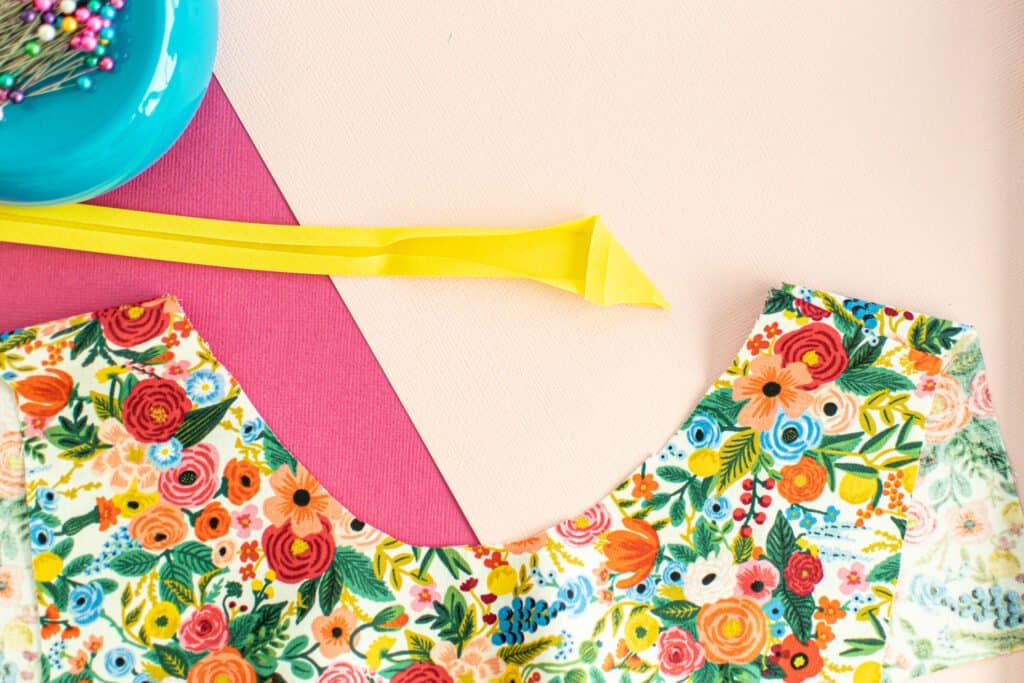
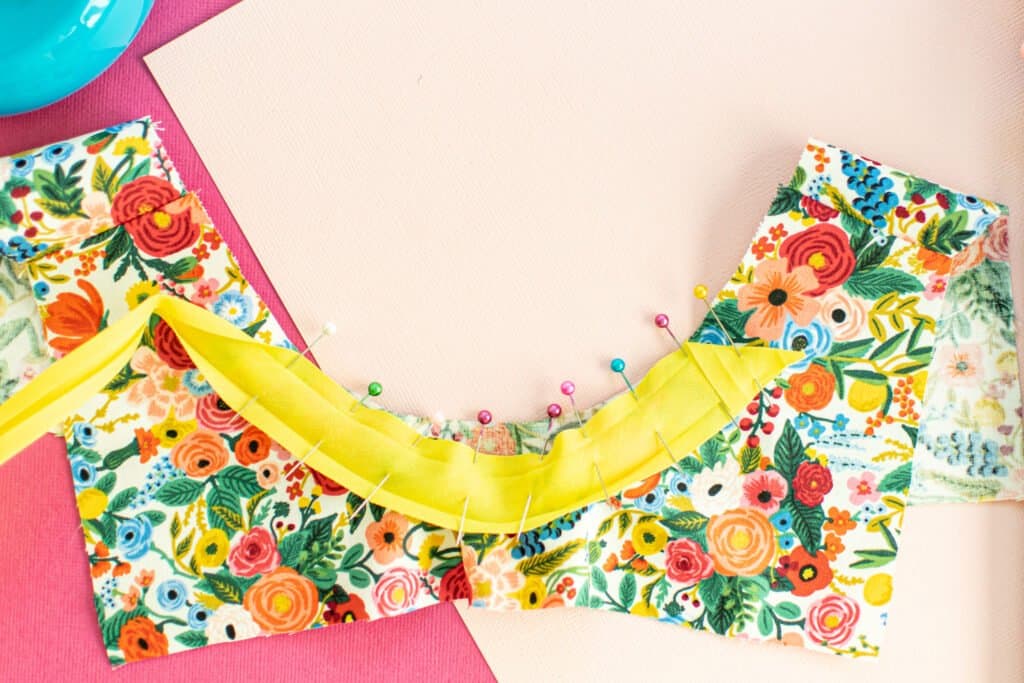
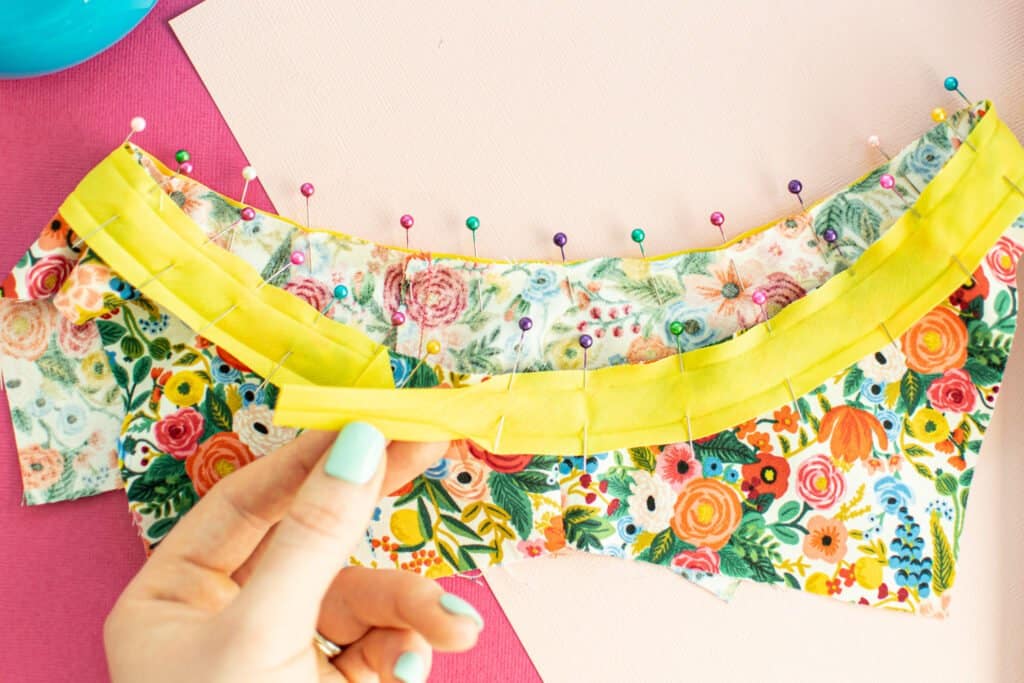
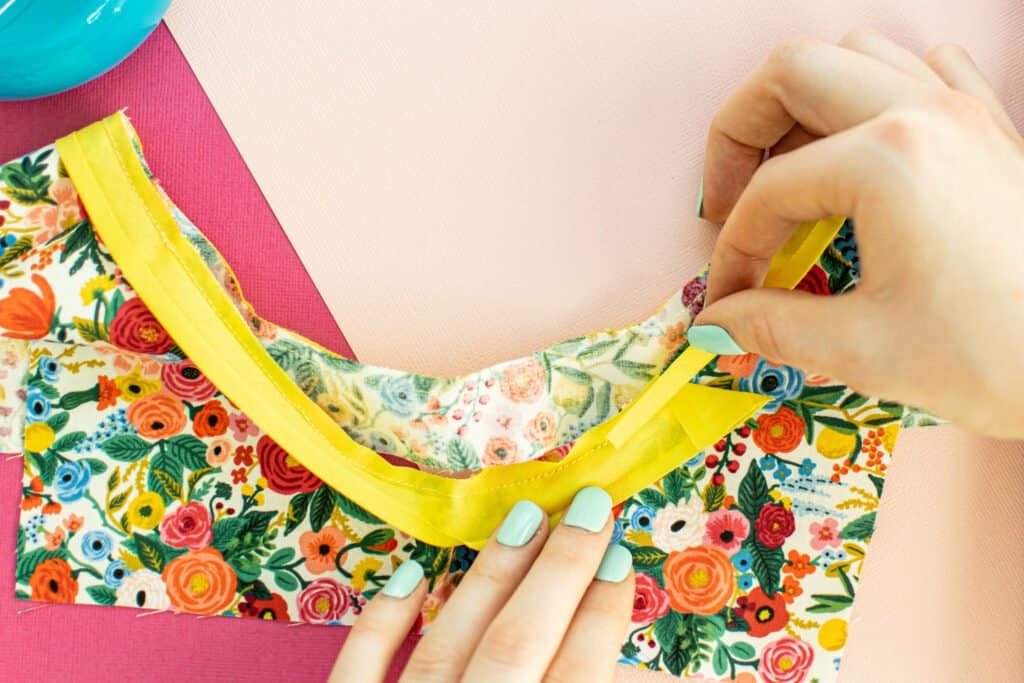
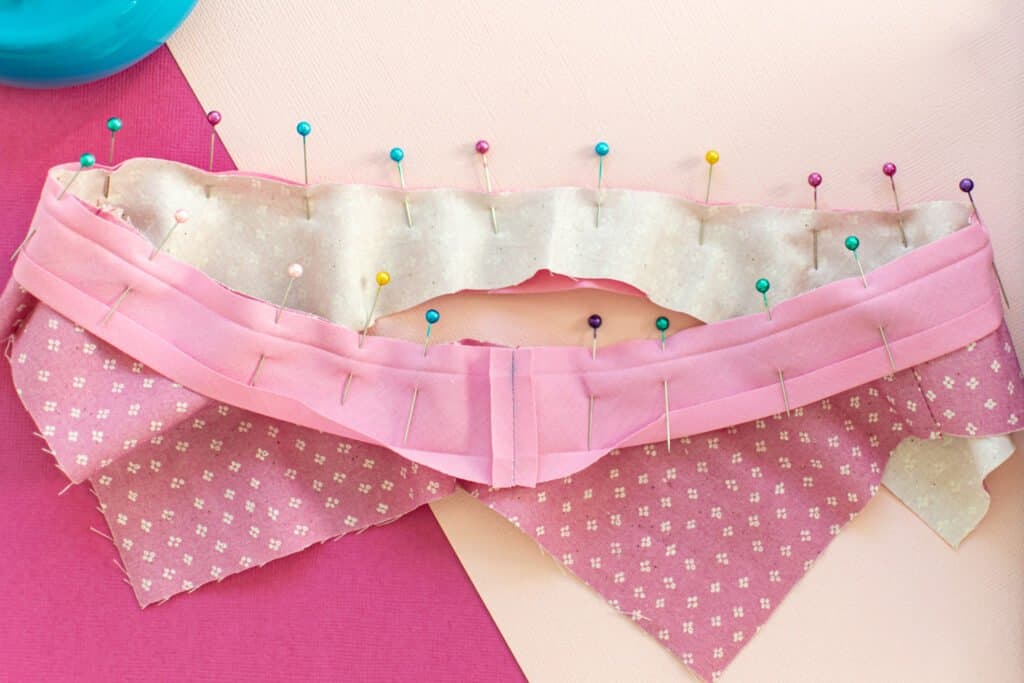
Unfold one side of the bias tape and line up the raw edge of the tape with the raw edge of your project with right sides together overlapping the ends of the bias tape by a few inches (scroll down for more details on this). Pin in place.

Next, sew the bias tape to your project, sewing inside of the first fold of the bias tape.
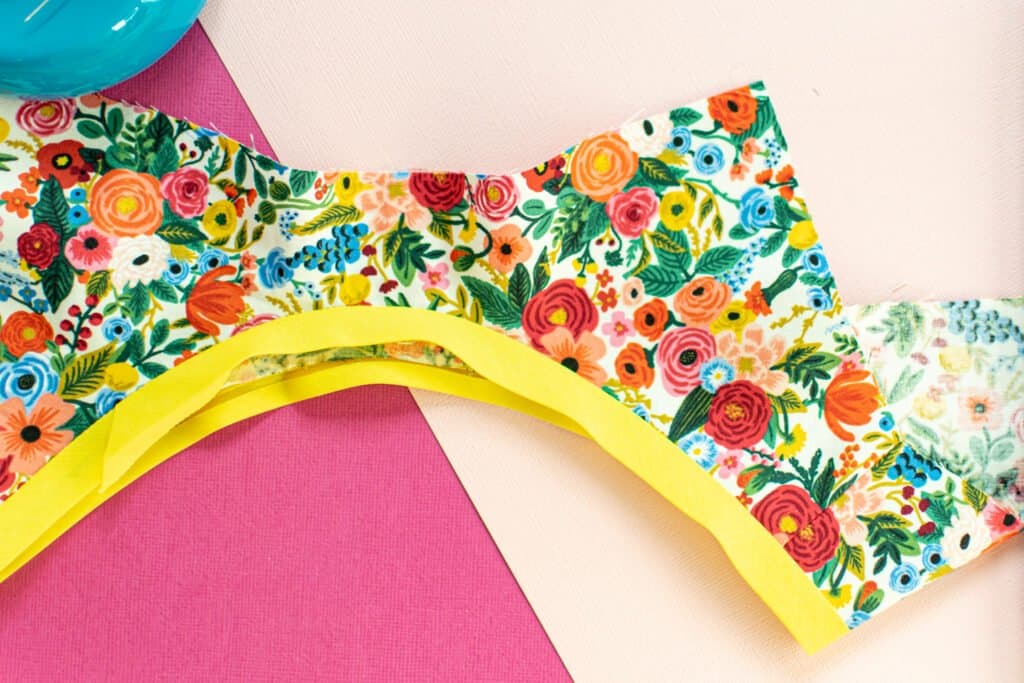
Press the bias tape up away from the fabric, pressing the seam allowances up towards the bias tape.

Step 3: Second Pass of Stitching
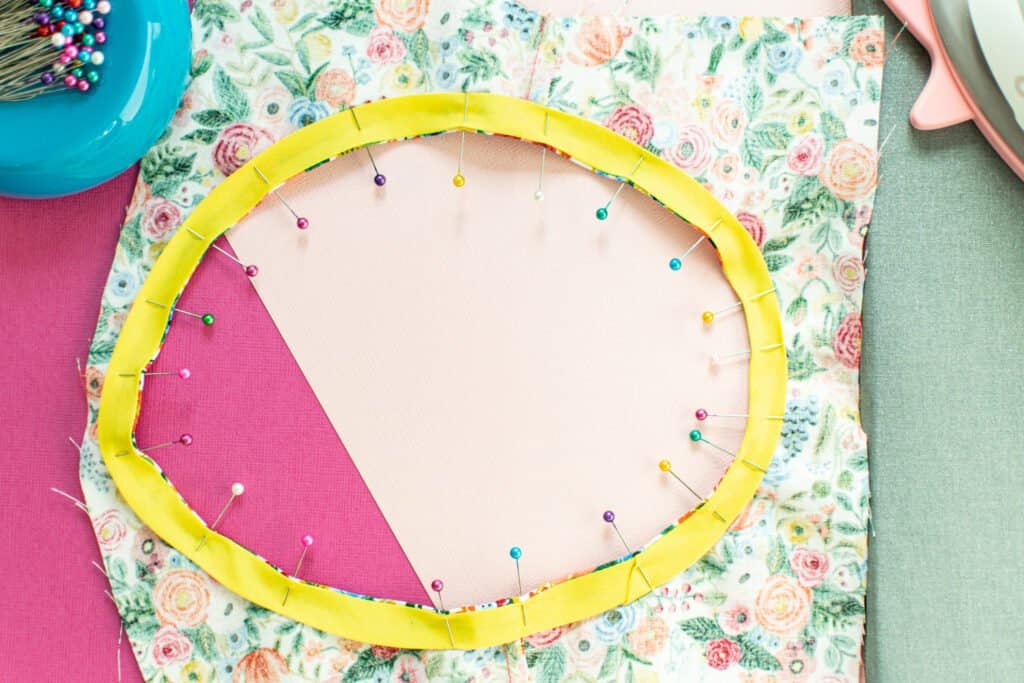
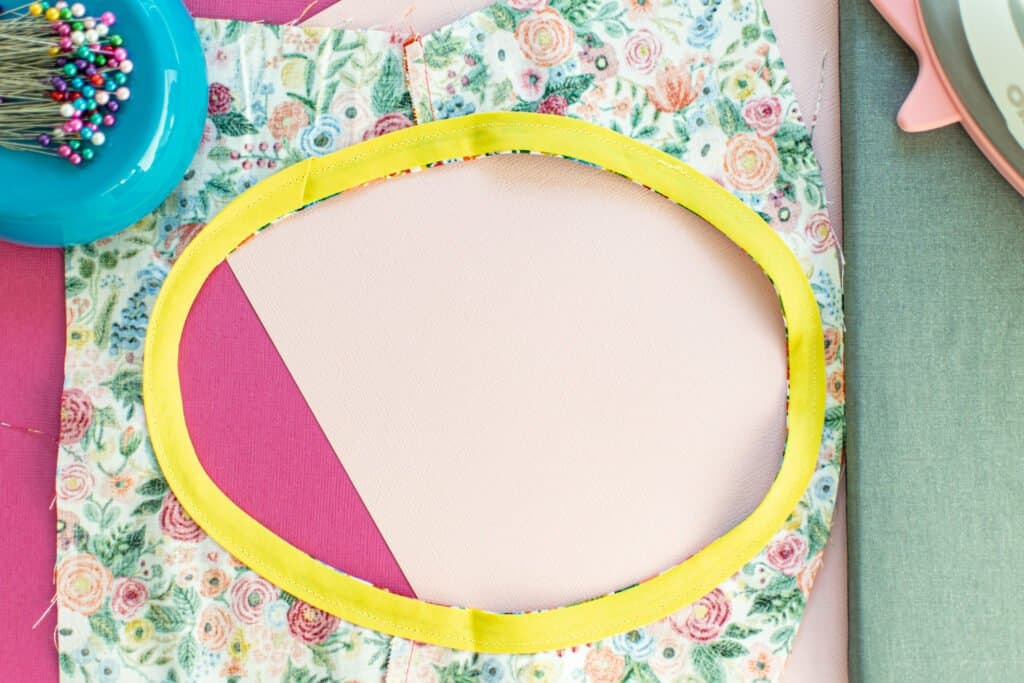
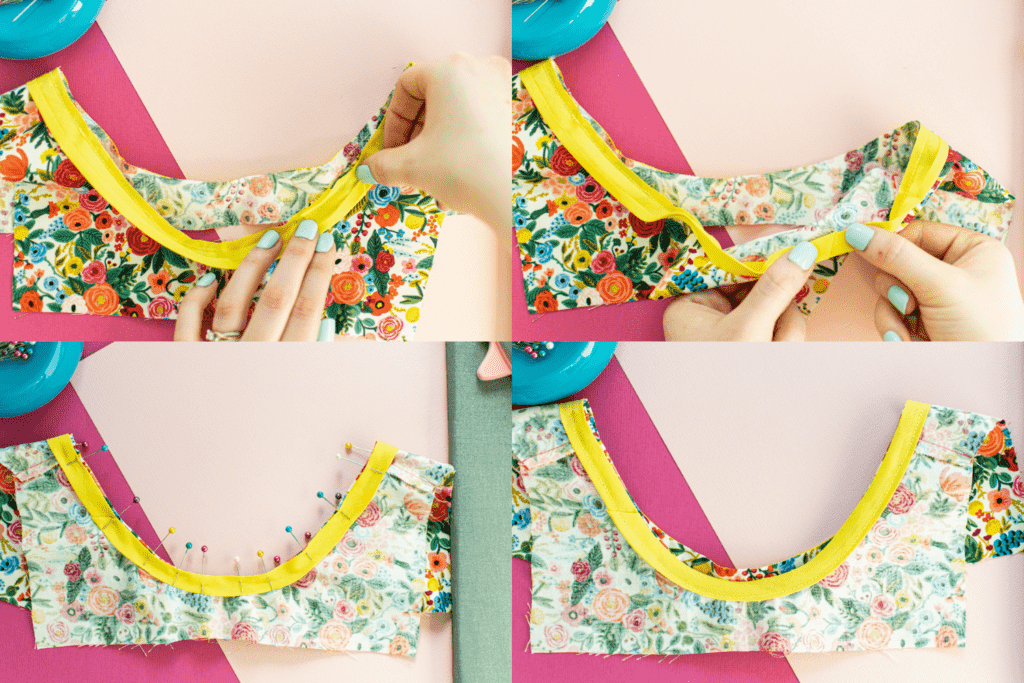
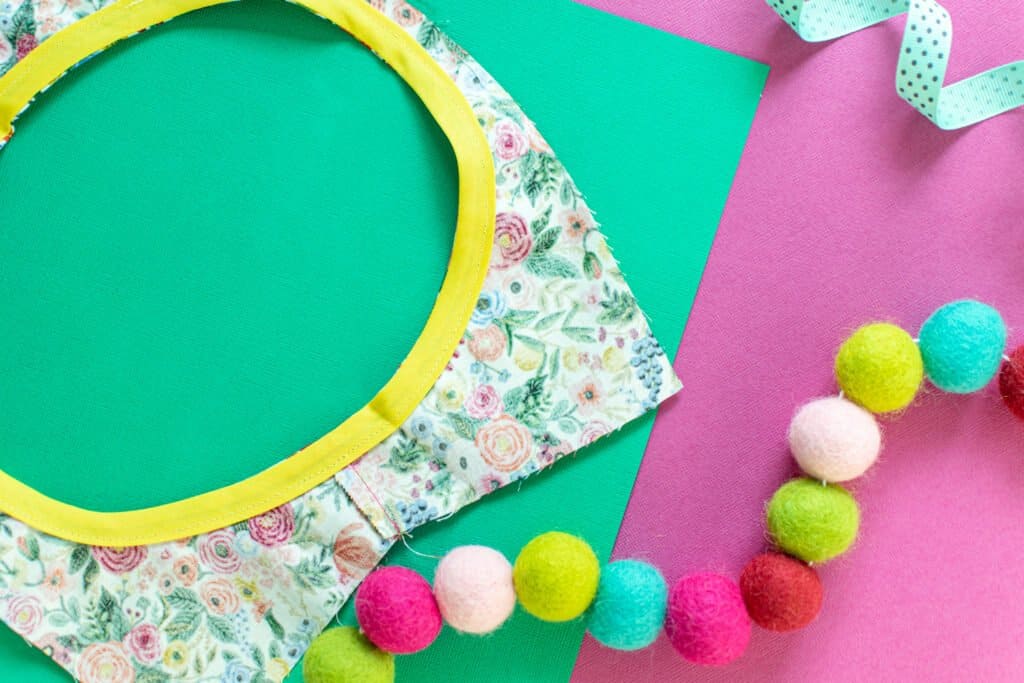
Fold the bias tape up and over the edge of the fabric, folding it all the way to the wrong side of your project. Make sure not to pull too hard on the tape as you fold – that can cause puckering, which is not what we’re looking for!
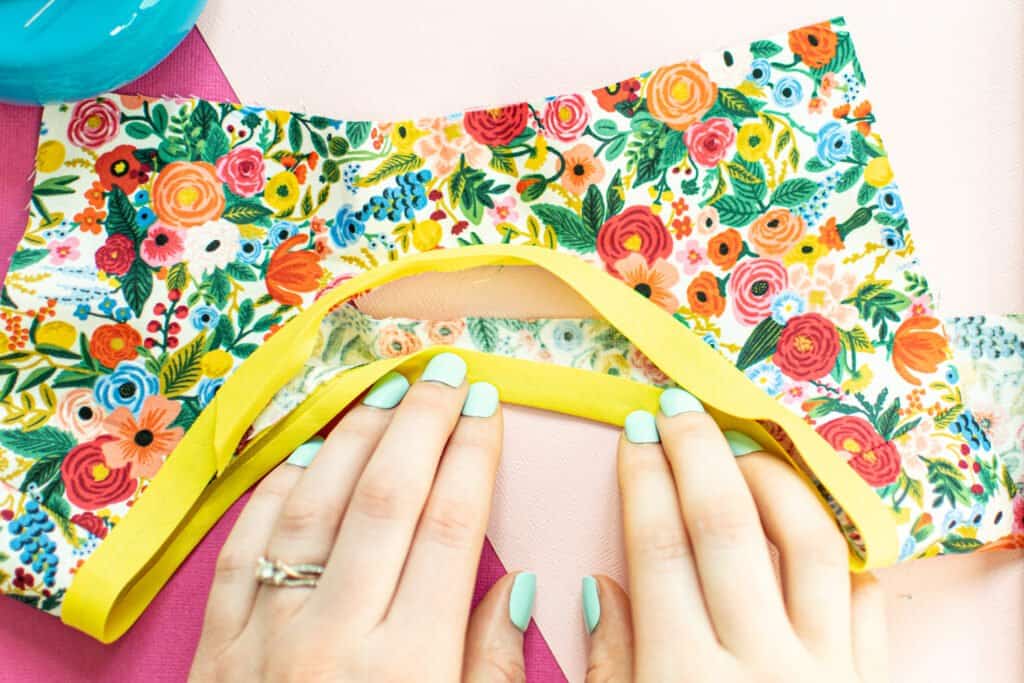
Press and pin the tape in place so that it is laying nice and flat and is not visible from the right side.
*PRO TIP: Around the very curved areas, spend some time stretching the unsewn edge of the bias tape firmly with your fingers to help it form to the curve and lay flat. This really makes a big difference in getting a nice, flat finish.
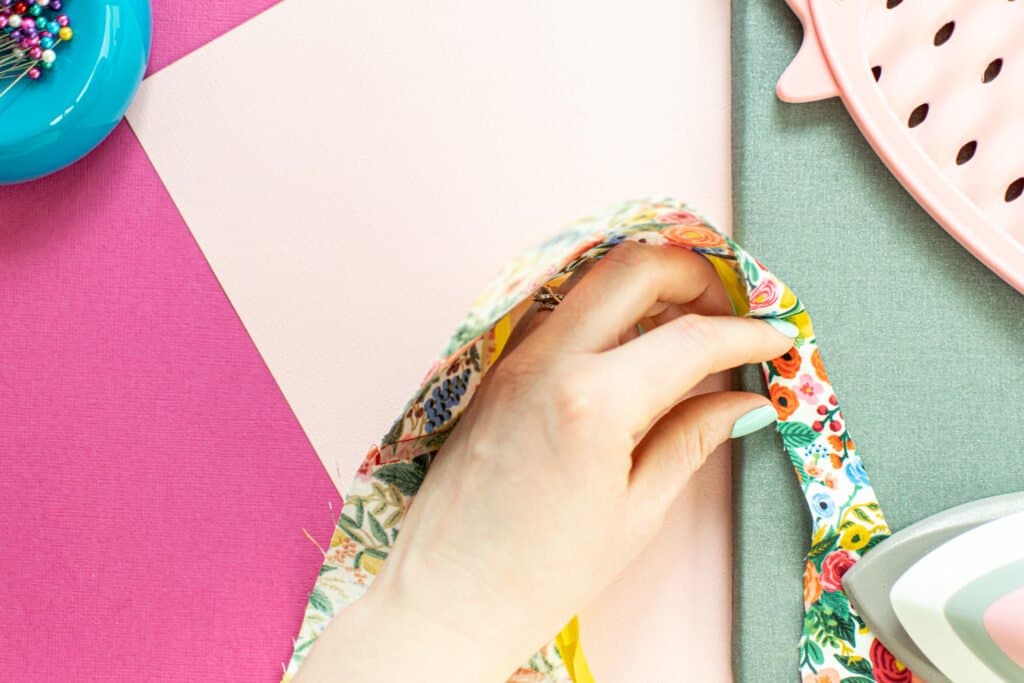
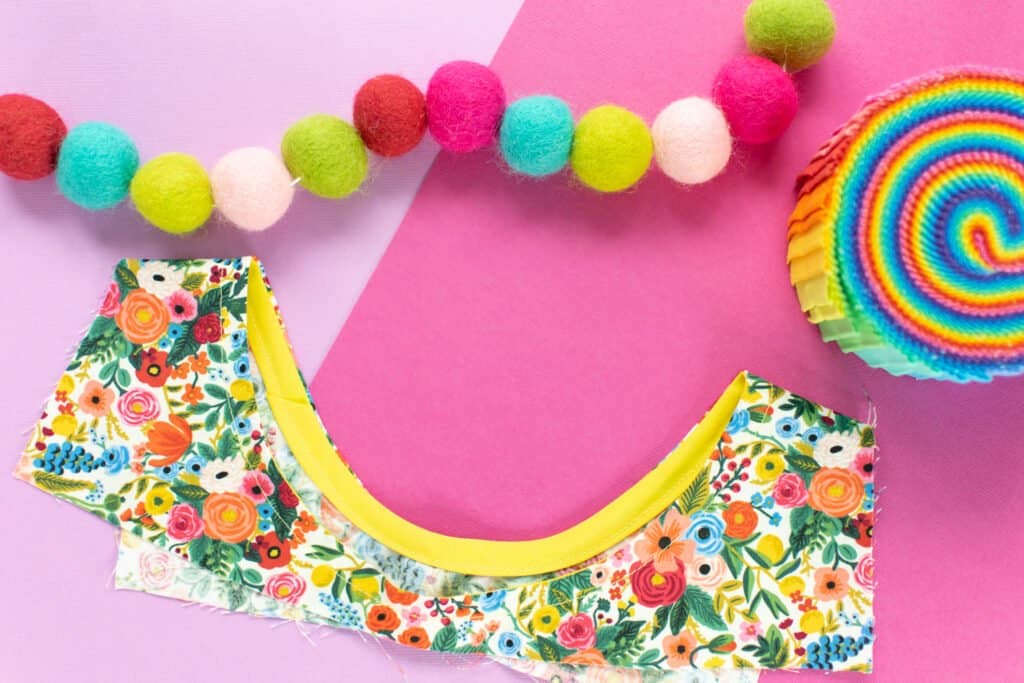
You'll now have your bias tape fully pinned (and hopefully laying flat!) around the edge of your project.
From the right side, topstitch near the lower folded edge of the bias tape to secure it in place, hiding all of the raw edges inside.
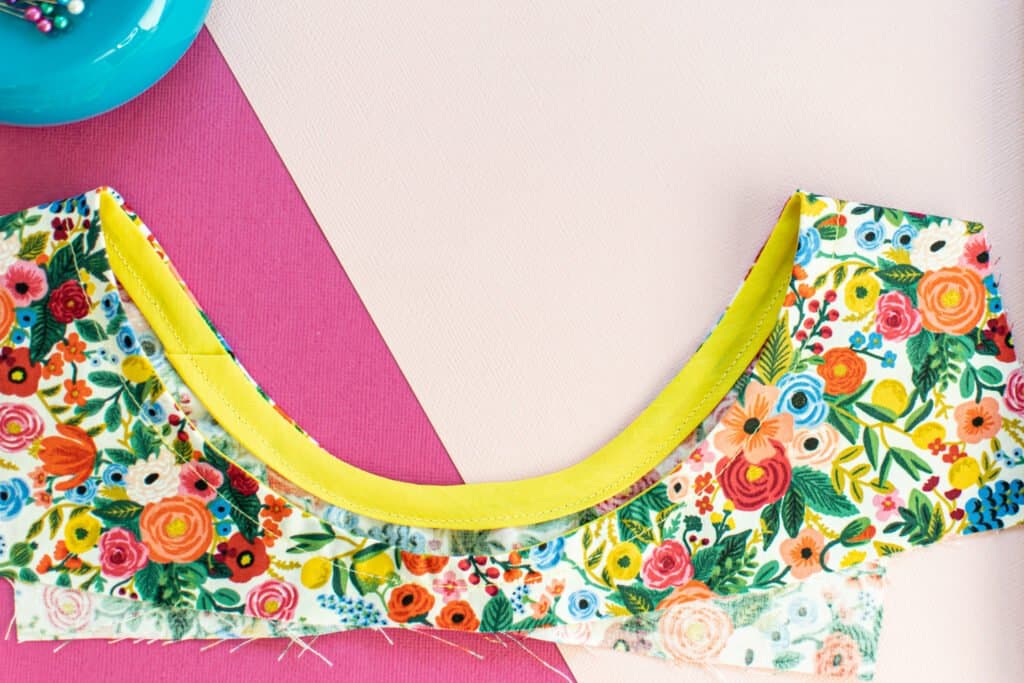
*PRO TIP: Use a thread that matches the fabric of your project in the needle and a thread that matches the bias tape in your bobbin for a really clean, professional look.
Overlapping the Ends: 2 Ways
Often, when sewing bias tape, you’ll be attaching it to an enclosed area and will need to overlap and finish the ends. You have two different options for connecting the ends of your bias tape.
*PRO TIP: Regardless of the method you choose, try to place the connection point in an inconspicuous location such as the back of a neckline or the underarm of an armhole.
Method 1: Folding Method
First, the easier method is to start pinning the bias tape with the end folded down at a 45-degree angle.
Once the bias tape has been pinned all the way around, overlap the other end by about 1 inch.
Next, stitch the bias tape to your project as normal.
When you fold the bias tape to the wrong side and complete your second pass of stitching, the angled, folded end will cover the unfinished end of the bias tape. The result is a beautiful angled connection point.
Method 2: Seaming Method
The other method is the more traditional one, which is slightly more difficult but allows you to achieve a flatter connection on the bias tape. This example features double fold bias tape however the method is the same for both single and double fold bias tape.
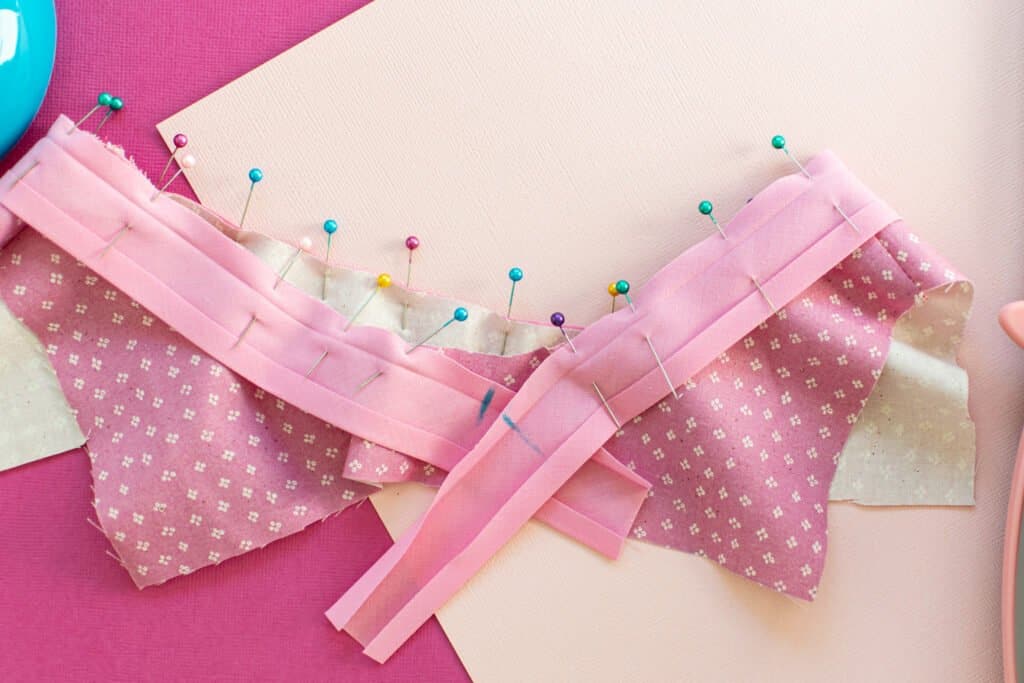
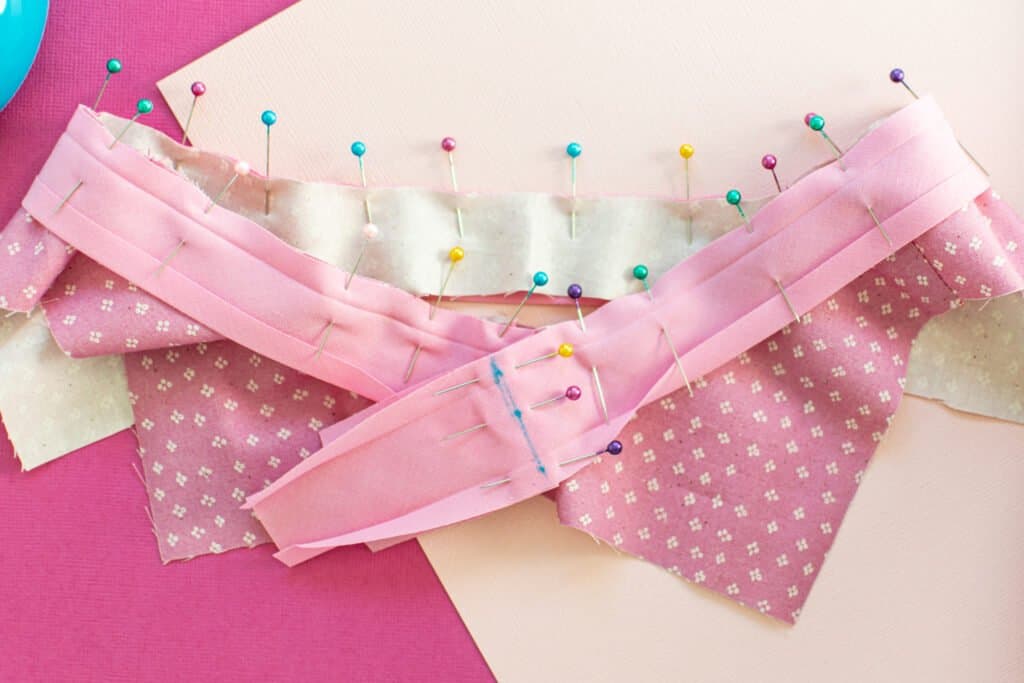
For this method, start pinning the bias tape to your project about 2 inches from the end, leaving the end of the bias tape free. When you near your starting point, stop pinning approximately 1 inch before reaching your first pin. Trim the longer end of your bias tape to leave a 2-inch tail.
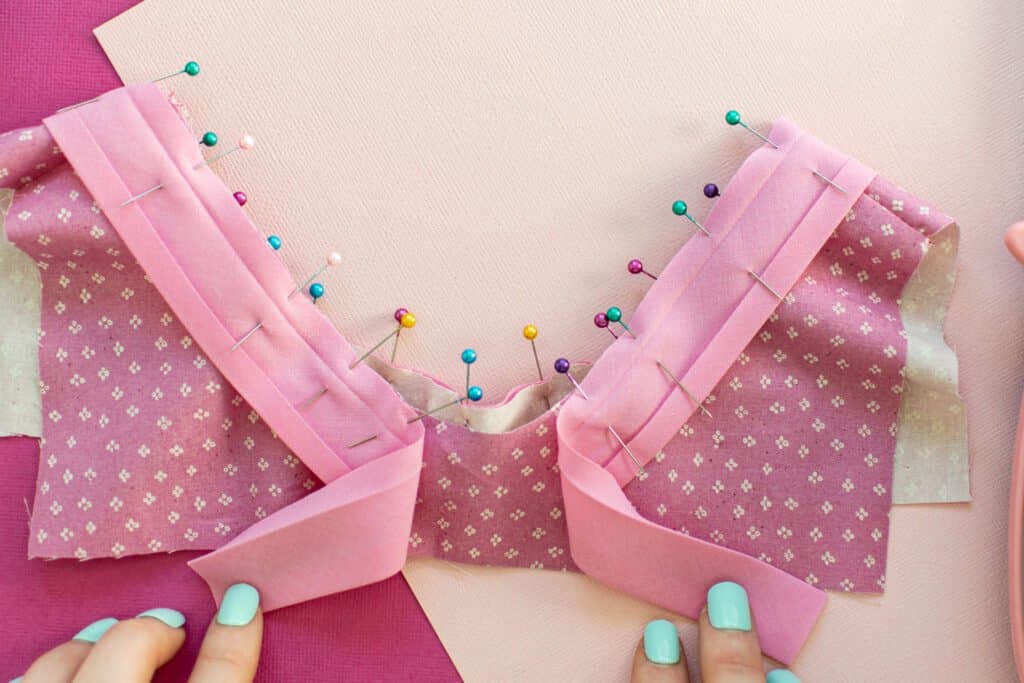
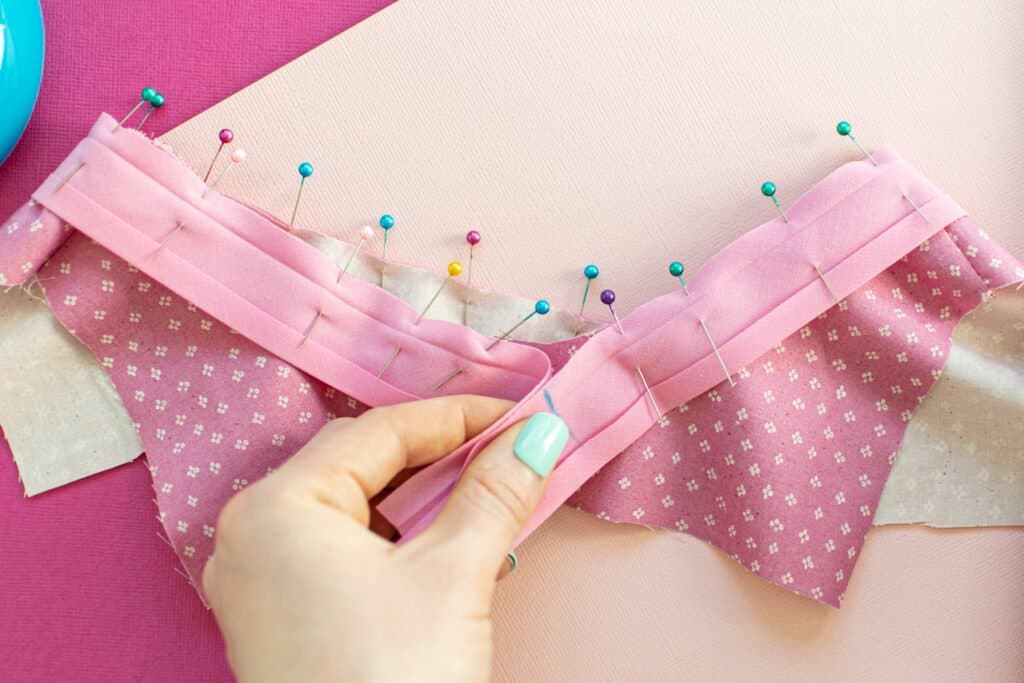
Overlap the ends of the bias tape along the remaining unsewn bit of your project edge
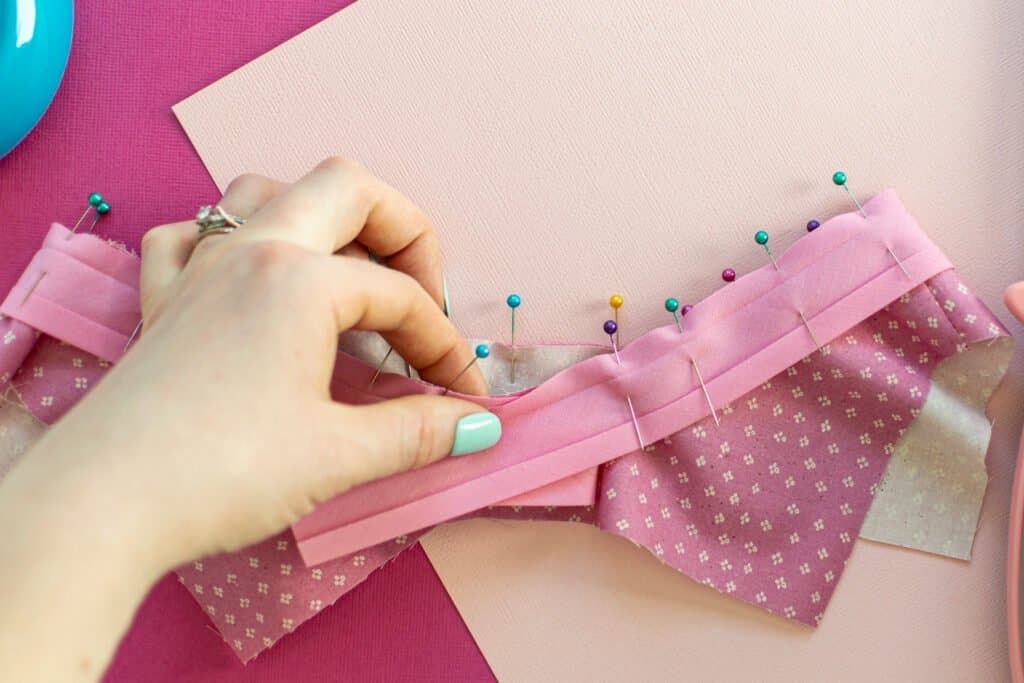
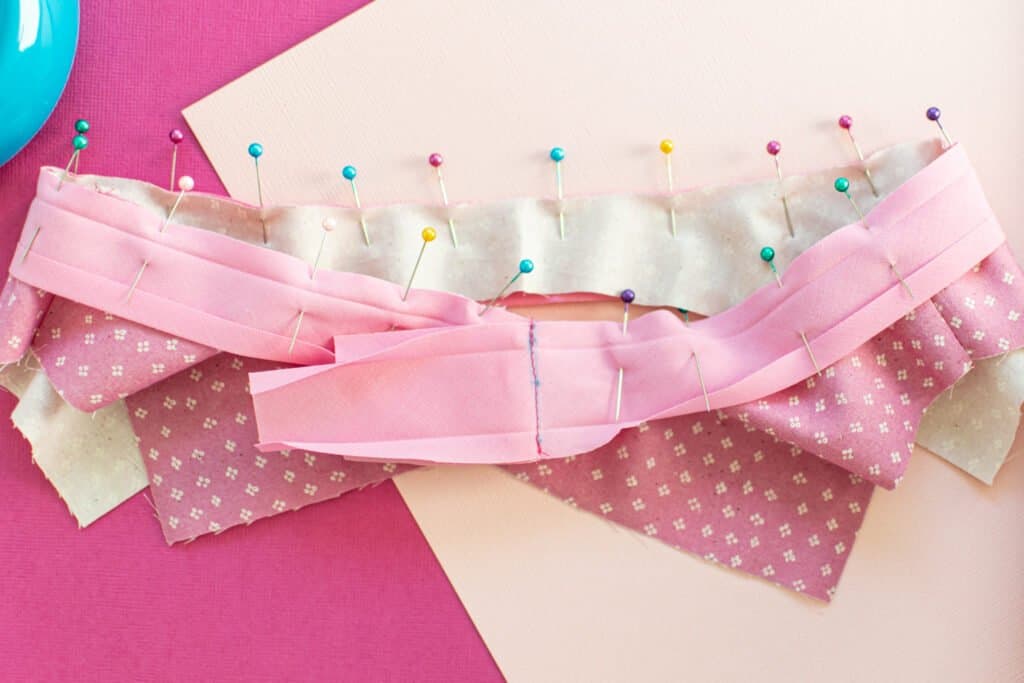
Mark both bias tape tails at an overlapping point near the center of the gap in stitching.
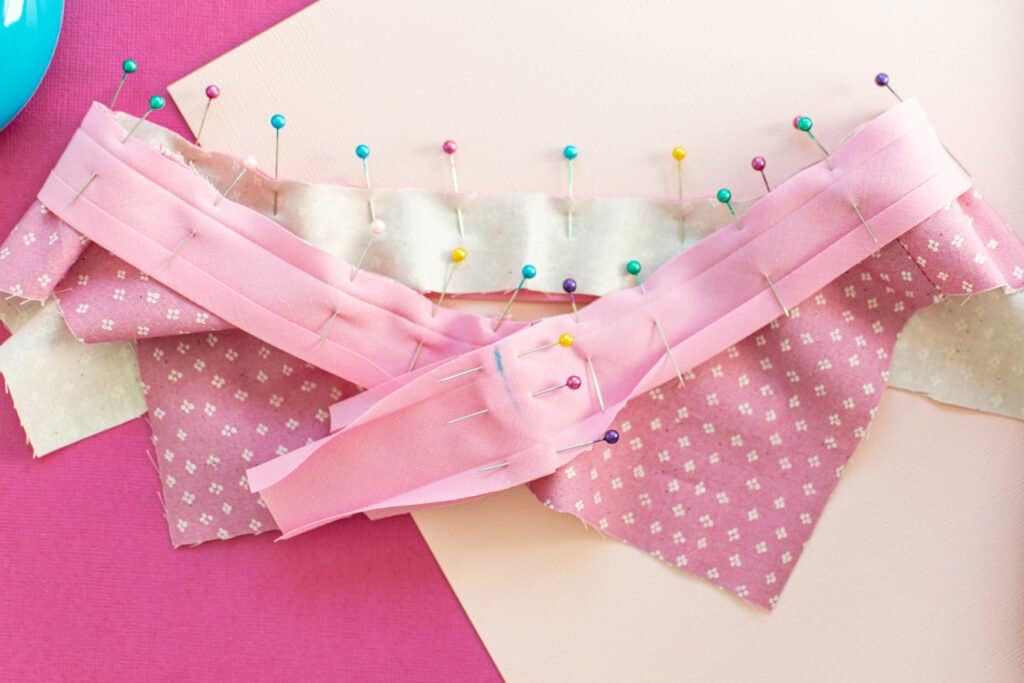
Hold the bias tape tails together, with right sides together, matching up the markings.
Pin the bias tape tails together.
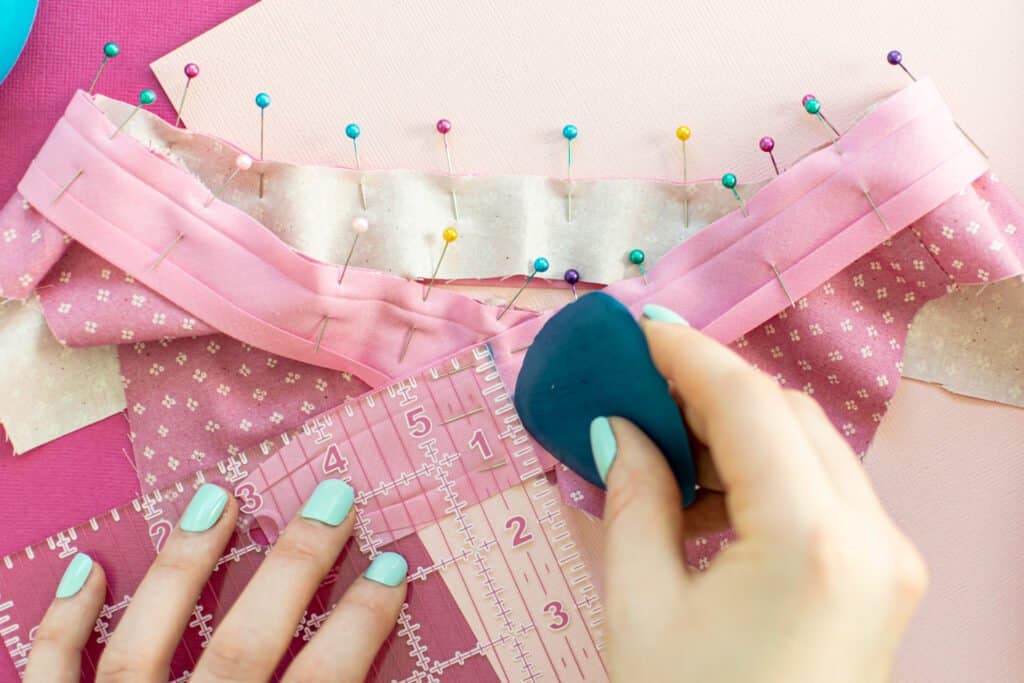
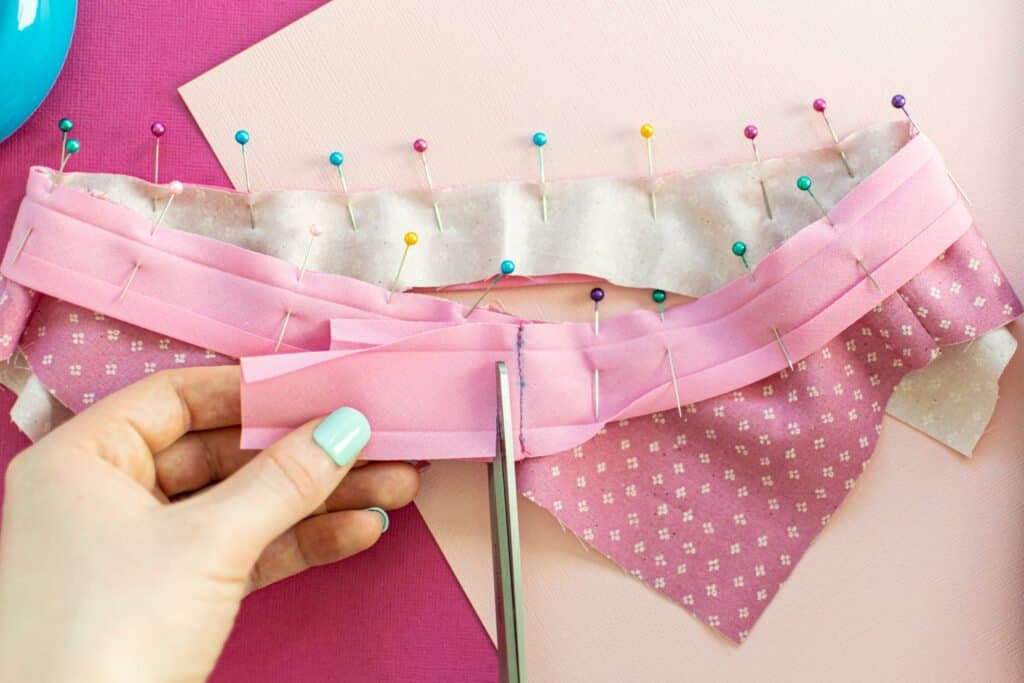
Using a straight-edge ruler, mark your stitching line across the bias tape tails, going through the marking on one side of the bias tape.
Pulling the fabric of your project out of the way, stitch the two ends of the bias tape together, following your marked stitching line.
Trim the seam allowance down to ¼ inch, then press the seam allowance open.
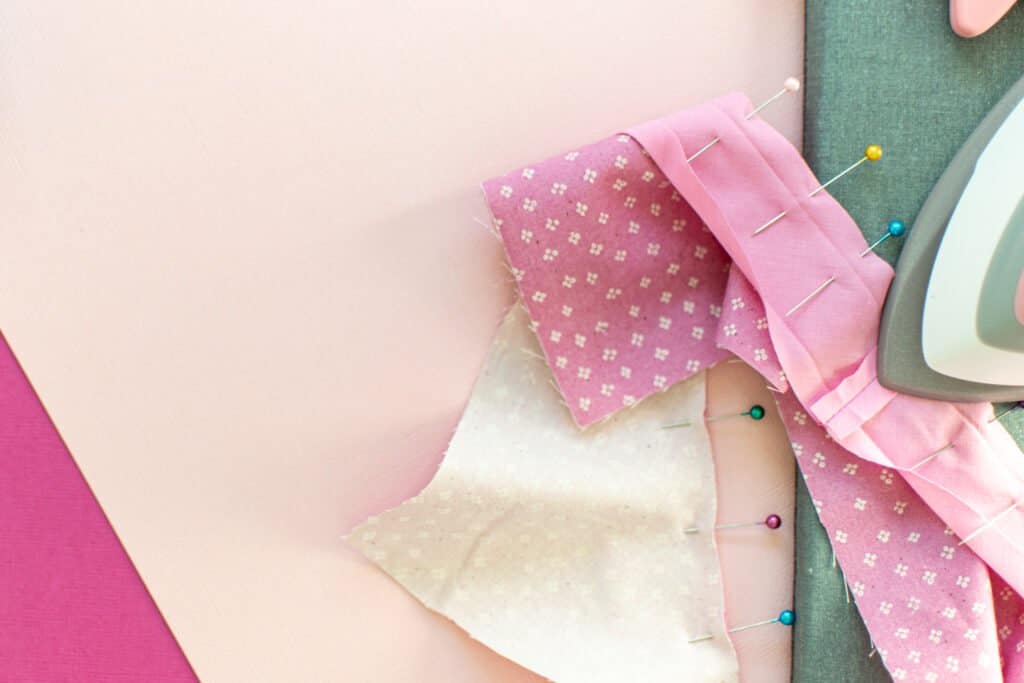
You can then proceed to sew your bias tape to your project as normal.
That's how simple it is to use single fold bias tape to finish the edges of your projects! Have you ever tried using bias tape instead of a facing?
Don’t forget to join my Facebook group where you can show us what you’re making, ask questions, and learn from others!
Follow me on Instagram for daily crafting inspiration and a look behind the scenes.
Don’t want to forget about this tutorial? Save this post for later! Click here to save this project on Pinterest.
Leave a Reply