Three Easy & Inexpensive Ways to Use Cardstock to Decorate for Valentine's Day With the Cricut Explore Air 2.
Valentine's Day is one of my very favorite holidays. The combination of reds and pinks makes my heart soar, and I dream about decorating for this heart-filled holiday for months on end!

After I've taken down all of my Christmas decorations, my house always looks so bare that I immediately break out my Valentine's Day decor to cheer it back up!

This year, I wanted to challenge myself to decorate a Valentine's day party using cardstock in a variety of different ways.
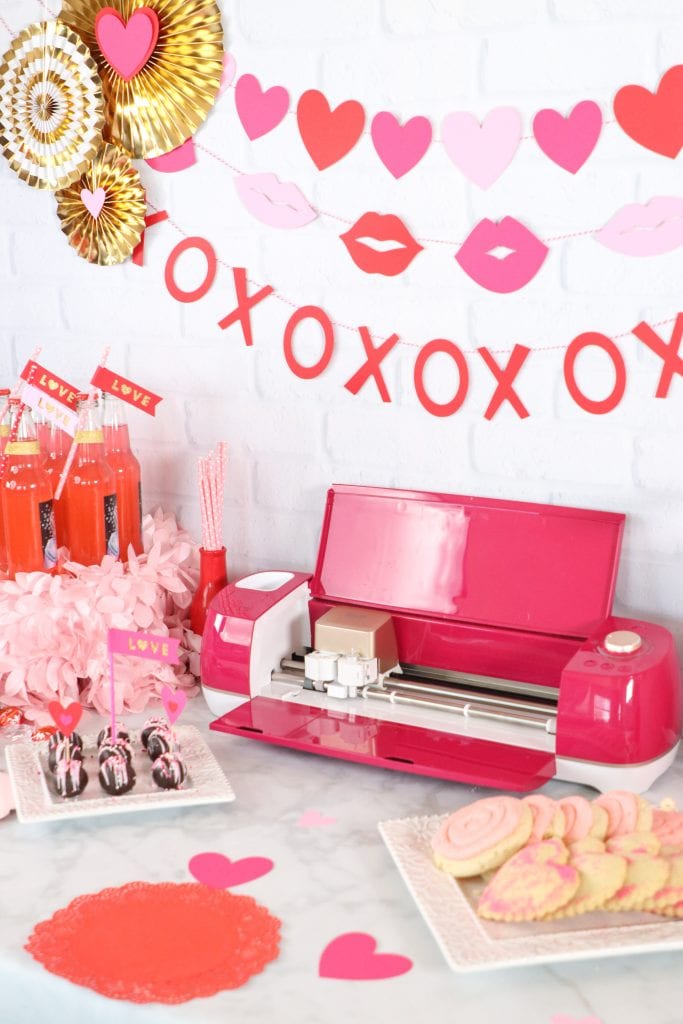
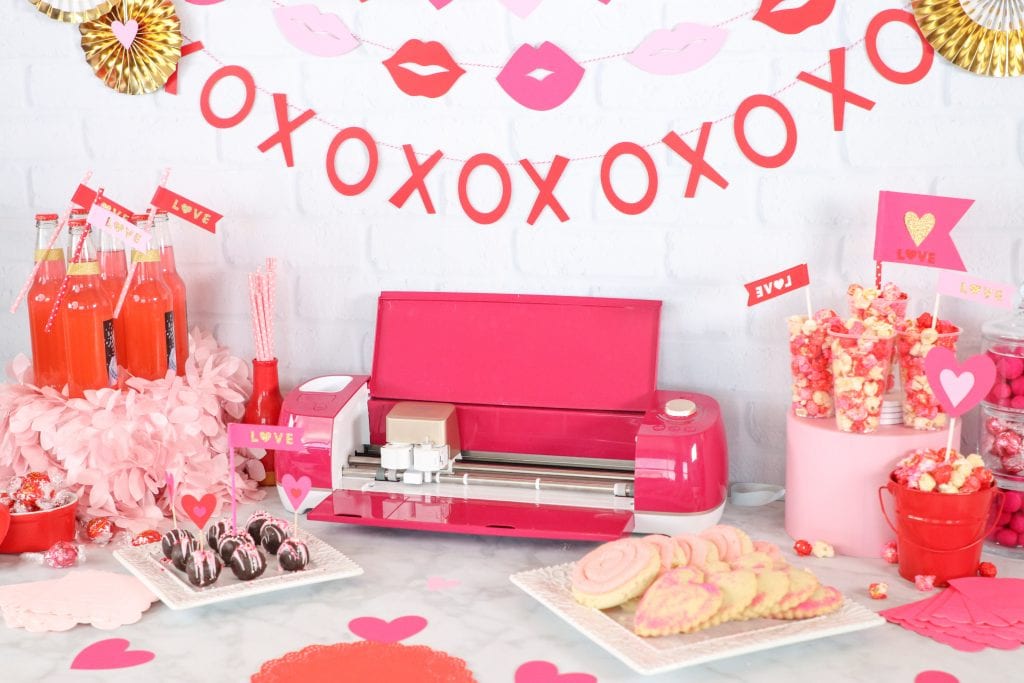
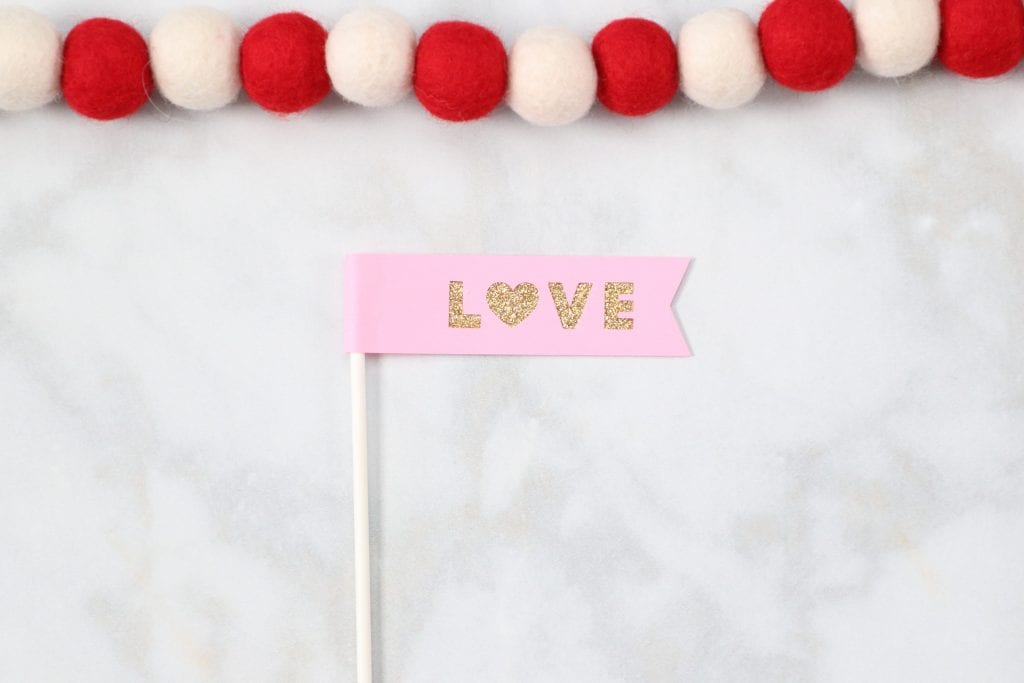
In this post, I'll share how to make a layered Valentine's Day banner, dessert toppers, and decorative straw tags. Each project requires minimal work and supplies and it's perfect for last-minute decor on a budget!
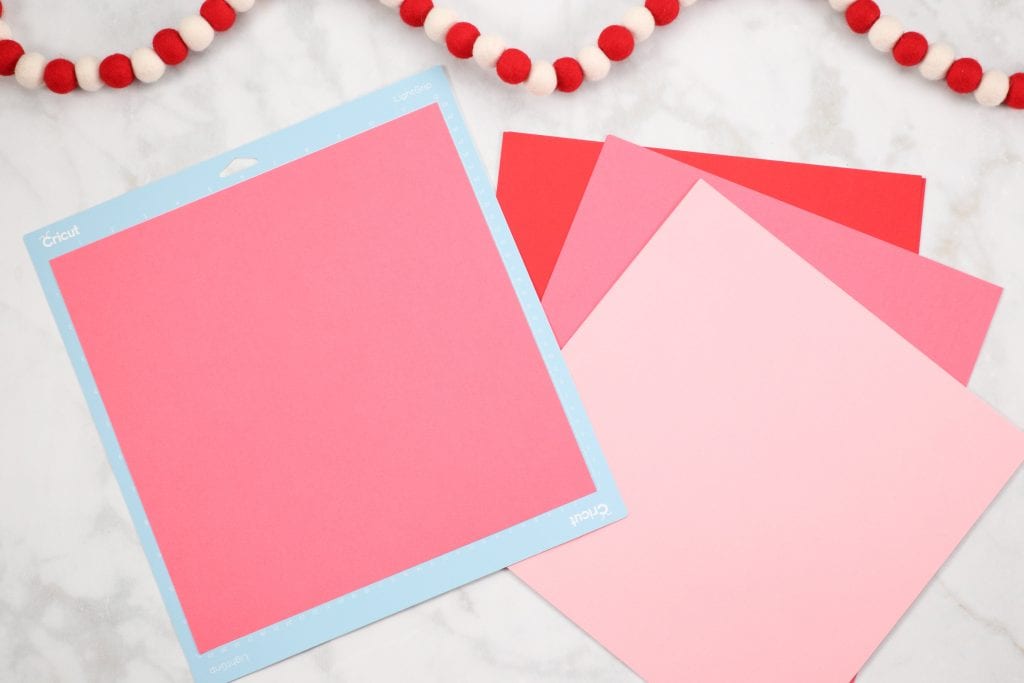
For this project, grab a package of Cricut cardstock. This Cardstock Sampler in Red Tones (24 sheets) comes with a variety of shades of pink and red which is absolutely perfect for Valentine's Day!
Why Shop Through My Links
When you shop through my affiliate links, it doesn't cost you anything extra, but it helps me out in a big way! I earn a small commission from those purchases, and that support allows me to continue creating and sharing free tutorials and patterns for you. Thank you so much for helping me keep this creative community going! 💕
Table of Contents
Valentine's Day Party Decor Supplies
- Cricut Explore
- Cardstock
- Glue
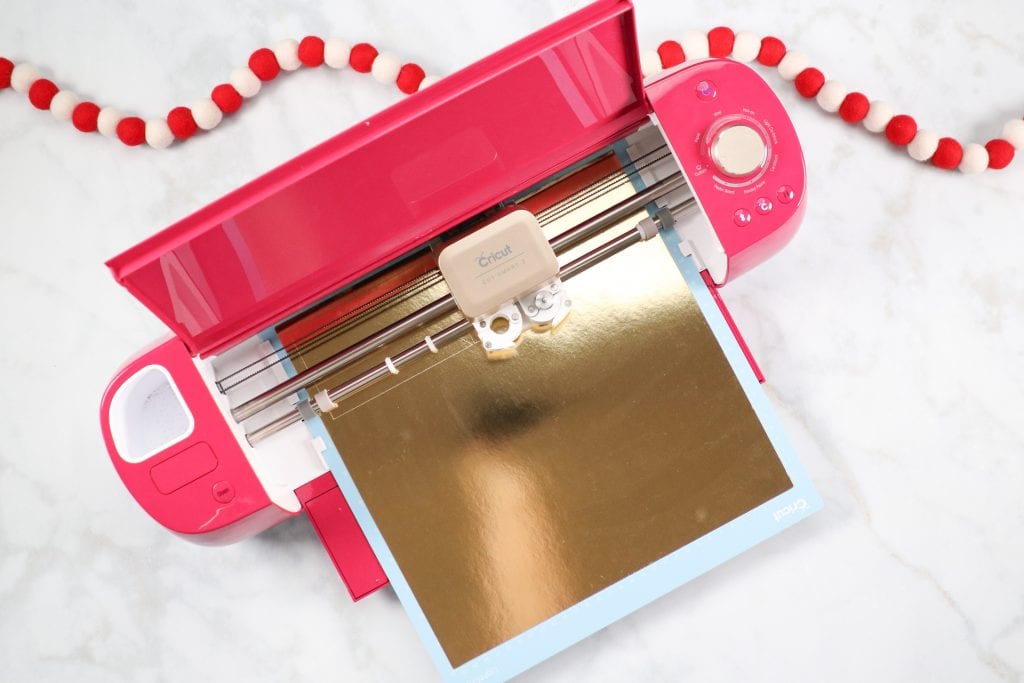
- Glitter Cardstock
- Light Grip Mat
- Bakers Twine
- Straws or Toothpicks
- Cricut Design Space Files
Cricut Design Space Valentine's Garland Files
Cut Cardstock on the Cricut
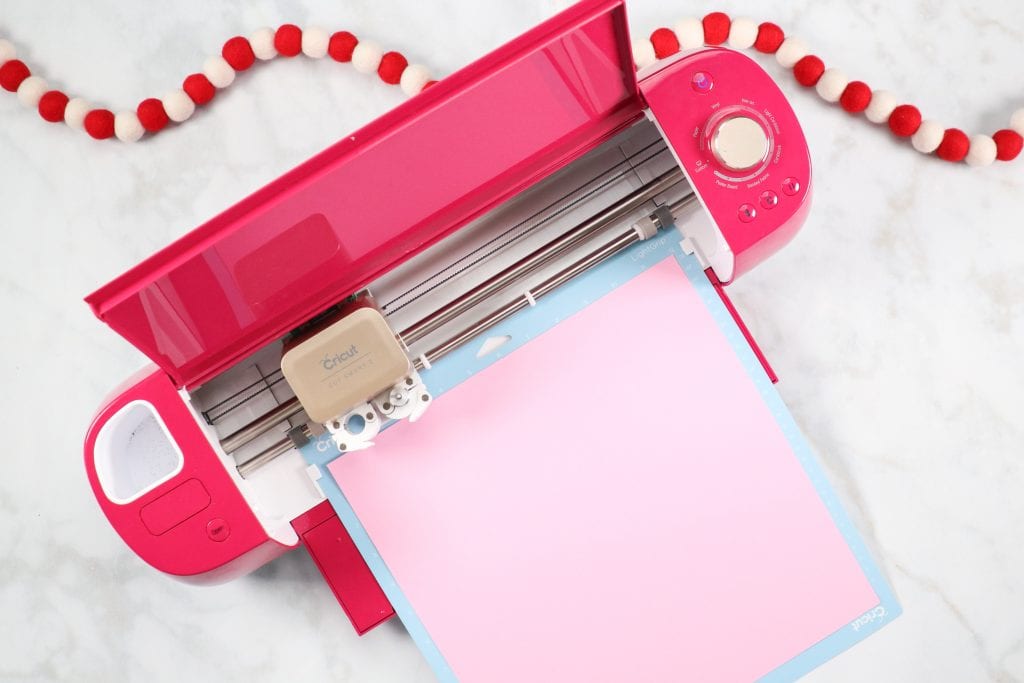
Step 1. Lay a piece of card stock on a blue Light Grip mat.
Step 2. Open Design Space to access the cut files. You can resize the images to your desired height and width. You can also, duplicate the images to create the perfect amount for your project.
Step 3. Click Make It.
Step 4. Select Cardstock. I always choose “more” pressure to ensure it cuts all the way through.
Step 5. Load the mat, and click the Cricut button.
Step 6. Unload the mat once it has finished cutting and reload a new mat with the next color of Cardstock
Create the Designs
Step 1. Remove the paper from the mat. It’s easiest to do this by placing the mat upside down and pulling the mat away from the paper. This will prevent the paper from curling as it’s removed.

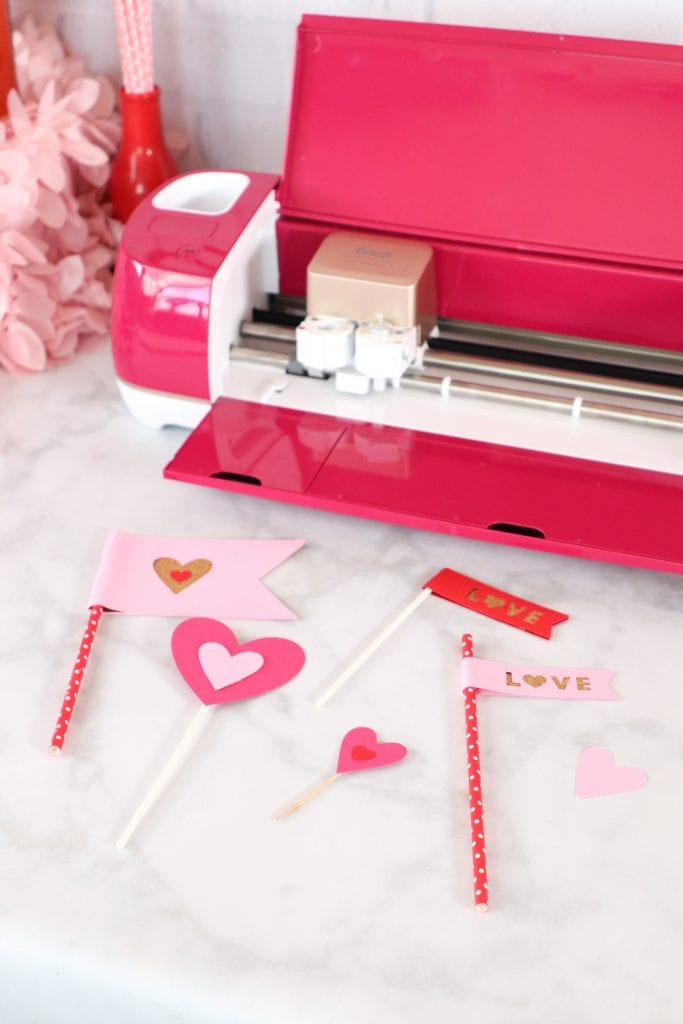
Step 2. With paper glue, layer the dessert topper or straw tags with the sparkle paper. Add another layer of glue, a straw or toothpick and fold the design in half. Let it dry completely.
Step 3. Lay the banner pieces out in front of you in the order you want them to be displayed. With paper glue, draw a line of glue along the back of each image and place bakers twine on top of it. Secure the twine to the cardstock and allow it to dry completely.
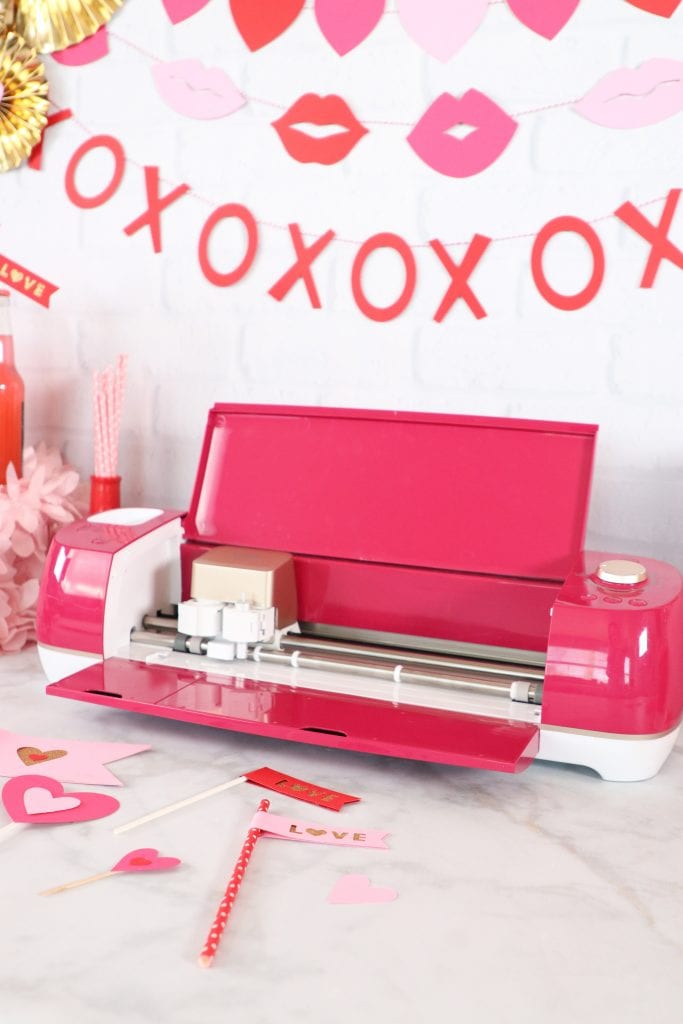
Assemble Valentine's Day Projects
Step 1. Tie all three of the garlands together with varying lengths.

Step 2. Tape the straw tags to their bottles and place each of the dessert toppers.


Now you have adorable Valentine's day party decor!
I can't wait to see what you create with this tutorial. Don't forget to share your creations with me on Instagram and in my Facebook group.

Want even more Cricut Valentine's Day decoration ideas? Check out this Valentine's Day Banner. You'll love making these Valentine's Day Treat Boxes!
Save these Valentine's Day party ideas for later! Click here to save on Pinterest.

This is a sponsored conversation written by me on behalf of Cricut. The opinions and text are all mine.
My daughter was born on Valentine's Day so it's our favorite holiday too. Making those cute banners for decoration =)
Where can i find an svg file for the x o and kisses?
And i am new to cricuit thank you so much for sharing and teaching all these wonderful things
Just use which ever font you like in cricut design space, then size it to the size you want, duplicate as many as you need and cut 🙂
I can’t find the files to make these where are they? Link please. I’m getting frustrated.
Valentine decorations are really cute. Unfortunately, I am not able to access since I do not own a Cricut.